Part 1: Curves
Open a new Rhino File and practice the curves commands by completing the following steps. Organize your Rhino file so each step is clear. Use the Text command to label each step and the commands you used.
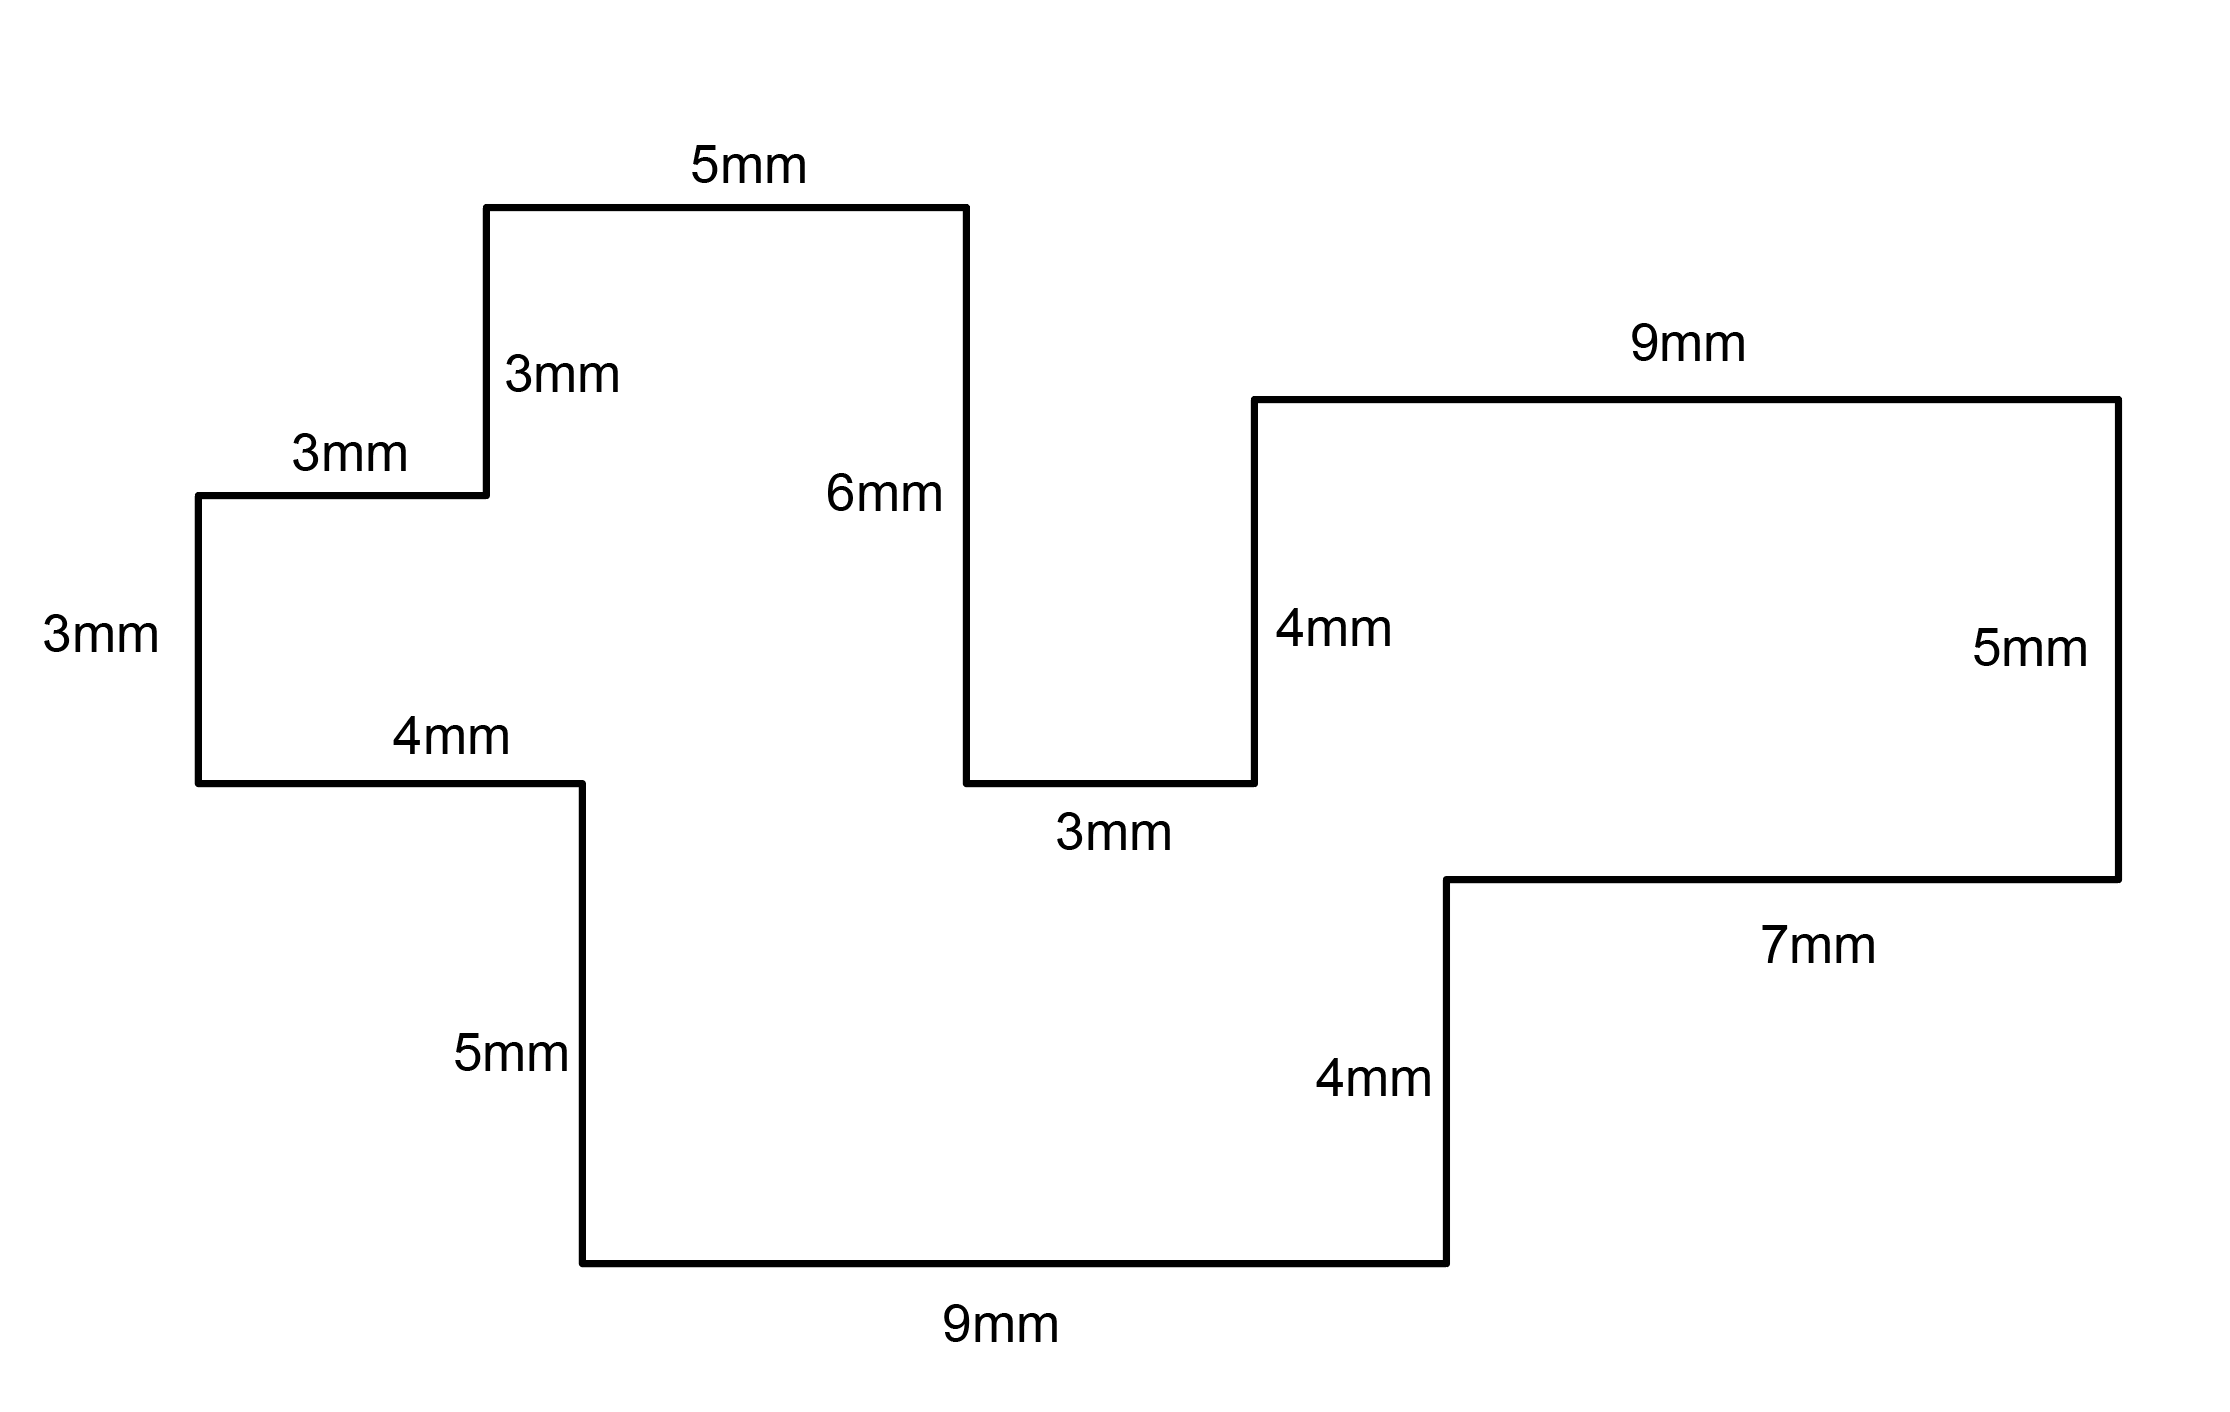
- Make the specific footprint below.
- Commands: Polyline
- Commands: Polyline
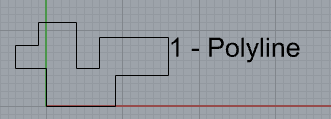
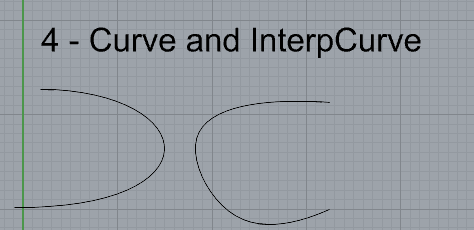
- Make 2 closed rounded curves using the various curve commands.
- Commands: Curve, InterpCurve, HandleCurve
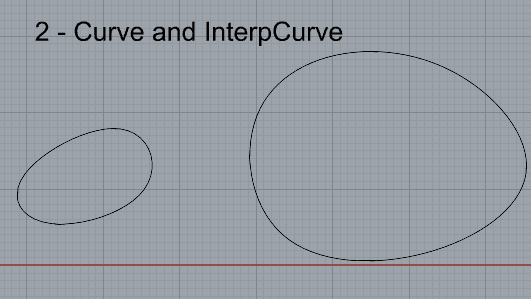
- Make 2 closed curves using polygon, ellipse, or circle
- Commands: Circle, Ellipse, Polygon
- Make 2 open curves
- Commands: Curve, InterpCurve, HandleCurve, Sketch
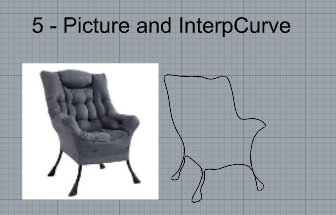
- Import a picture and trace an image
- Commands: Picture, InterpCurve
- Pick one open curve, and one closed rounded curve and make three copies of each.
- Commands: Copy

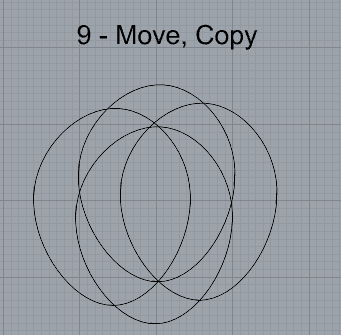
- Take at least 3 of your closed curves and overlap them to create a new shape
- Commands: Move

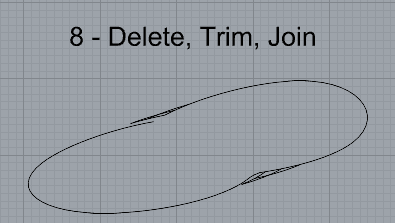
- Use split, delete, and trim to combine these curves into one open curve
- Commands: Split, Delete, Trim, Join, Explode
- Take at least two curves and use various transformations make a pattern or composition.
- Commands: Move, Copy, Rotate, Mirror, Array, Scale, Offset, Fillet, FilletCorners
- Organize your Rhino file so each step is clear. Use the Text command to label each step and the commands you used. Add a link to your FirstnameLastname_Curves file at this point in your post.
Part 2: Surfaces
Open a new Rhino File and practice the surfaces commands below by making two different surfaces for each command. Organize your Rhino file so each step is clear. You may want to use some of the curves you modeled in Part 1. Use the Text command to label each step and the commands you used.
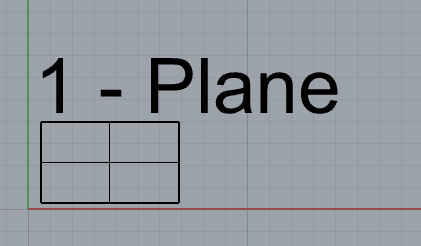
- Plane
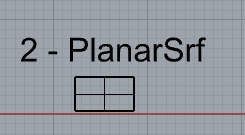
- PlanarSrf
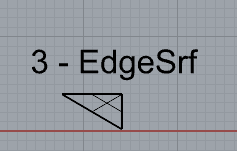
- EdgeSrf
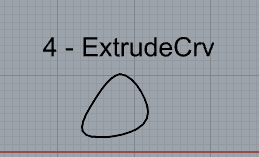
- ExtrudeCrv
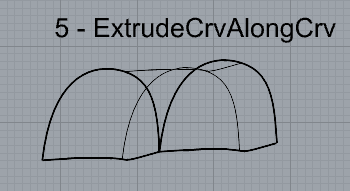
- ExtrudeCrvAlongCrv
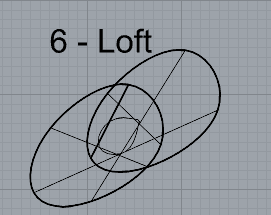
- Loft
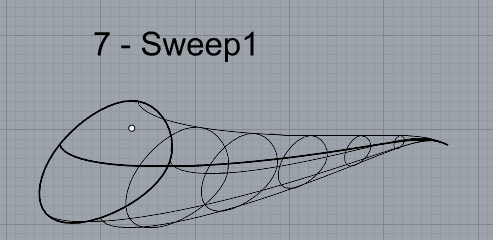
- Sweep1
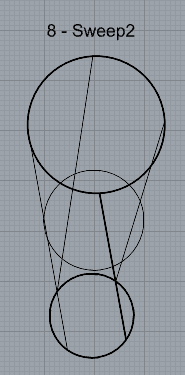
- Sweep2
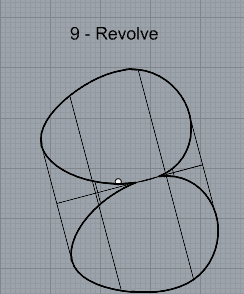
- Revolve
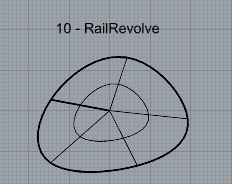
- RailRevolve
- Add a link to your FirstnameLastname_Surfaces file at this point in your post.
Part 3: Solids
Open a new Rhino File and practice the solids commands below by making two different solids for each command. You may want to use some of the curves and surfaces you modeled in Parts 1 and 2. Organize your Rhino file so each step is clear. Use the Text command to label each step and the commands you used.
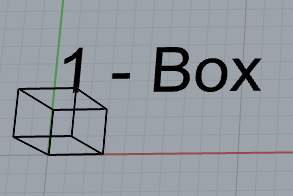
- Box
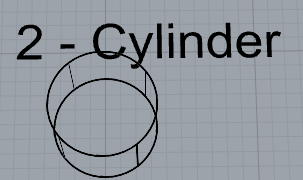
- Cylinder
- Sphere

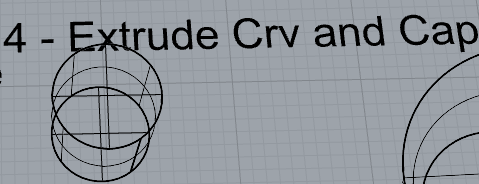
- ExtrudeCrv and Cap
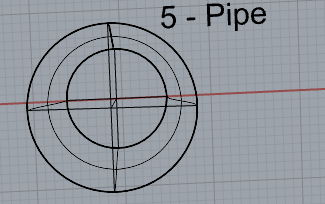
- Pipe
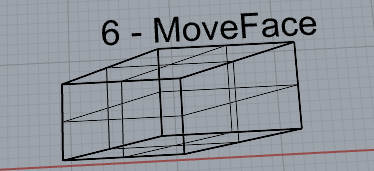
- MoveFace
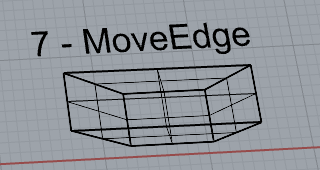
- MoveEdge
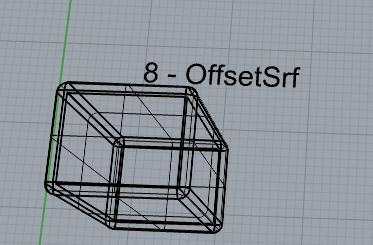
- OffsetSrf
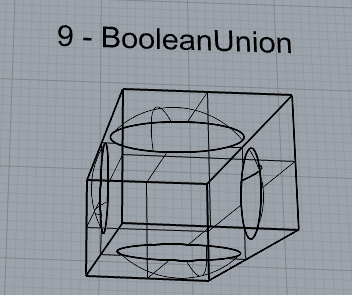
- BooleanUnion
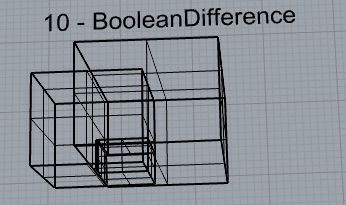
- BooleanDifference
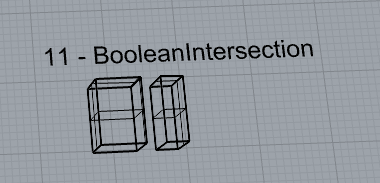
- Boolean Intersection
- BooleanSplit
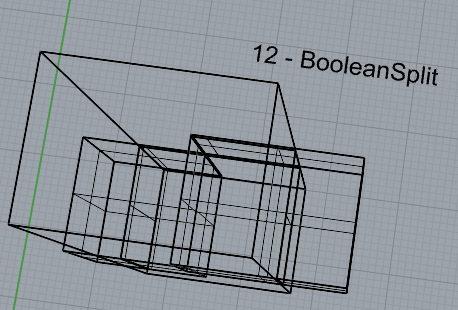
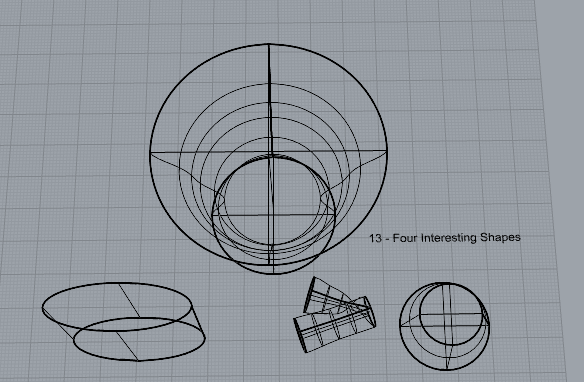
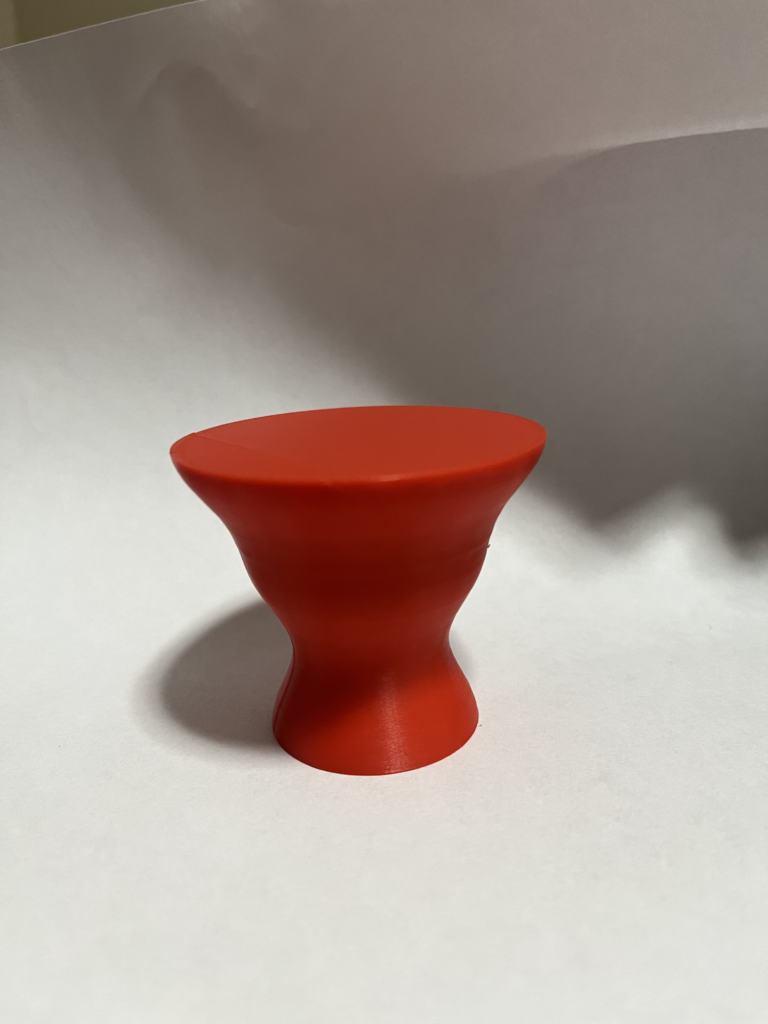
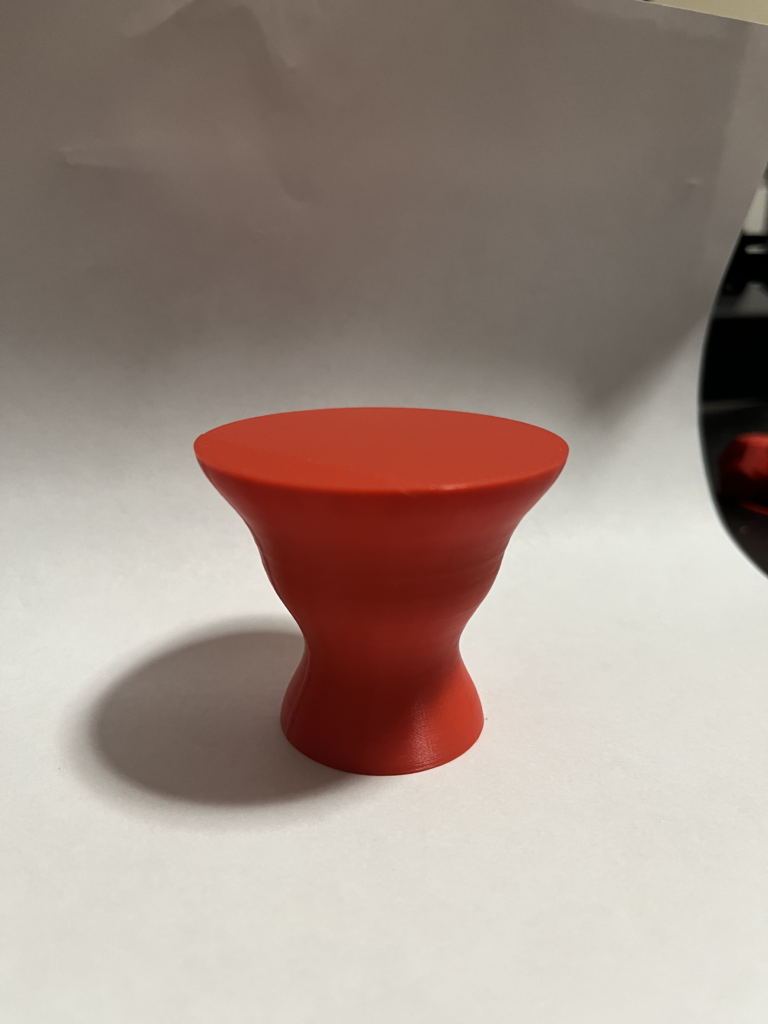
- Using the surfaces and solids you modeled and the Boolean tools, make three solid shapes you find interesting.
(I made 4), I printed the top one.
- Add a link to your FirstnameLastname_Solids file at this point in your post.
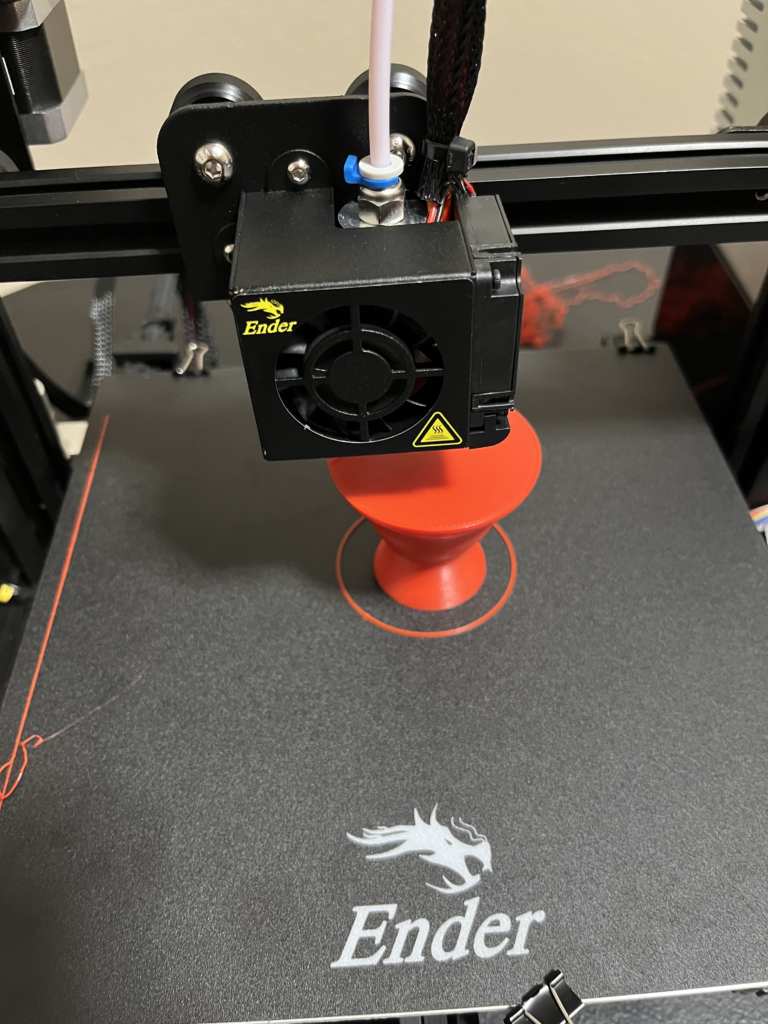
Part 4: 3D Printing
- Pick one of the shapes you created and 3D print it using your 3D printer. Note: to be able to print an object with the 3d printer, it must be watertight. That means that your shape must be a closed form with no naked edges and no holes.
- Export your model in the .stl file format. Import the .stl file into Cura and slice it, generating a .gcode file your printer can interpret.
- Your final print should be at least 3″ x 3″ x 3″ in size. Note: the print doesn’t have to be square, but the total volume should be approximately 9 in^3.
My 3D Print – The printing process for my piece was fairly straightforward. I tried to put a lot of thought into the design to make it sturdy and easy to print. I believe this made the printing process easier as a whole. The actual print didn’t have any problems. I think my print came out rather well. I was trying to design a table/coffee table that people could sit at and their legs would not hit the table. I think my design is sturdy and practical as well as looking modern. Perhaps in a further iteration I could make the design more intricate.
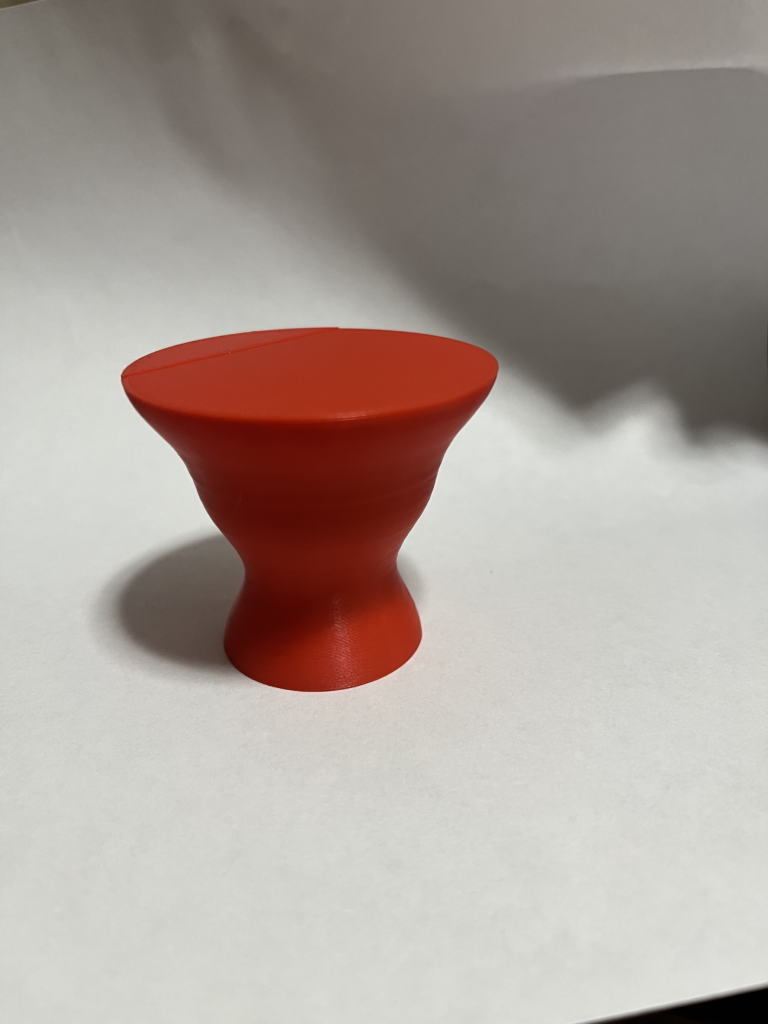
Hey Wayne, I really like the table you designed and I totally agree with you and can for sure see this being a modern table design. What method did you use to spherically taper down the edges? Keep up the great work!
Nice shape Wayne, I’m surprised the angle was shallow enough to not need any supports! I really expected it to have needed either supports or for the model to be flipped upside down.
I’m also impressed that no supports were needed! I guess I still have a lot to learn about what a 3D printer can and can’t do. I also love that you thought about a use for your design beyond simply “it looks cool”.
Hey Wayne!
Your print turned out great! I agree with Nathaniel’s point—it’s awesome that you’ve already thought of a practical use for your piece. I also really liked some of your other designs in previous sections, like the Boolean Union one. Nice job, and I’m excited to see what you print next!