Bed size: 40 x 24 inches (1016 x 610 mm)
Lasers: 250Watt C02 + 50W Fiber
Datasheet
Training and Safety
You must got through a laser cutter training led by Leah before using the machine. After the training, you must sign and email a copy of the Hand and Machine Laser Cutter SOP to Leah before you can use the machine.
Getting Ready to Cut
- Join the handandmachine network. You cannot access the machine from any other network. The password is written on the white board in the lab.
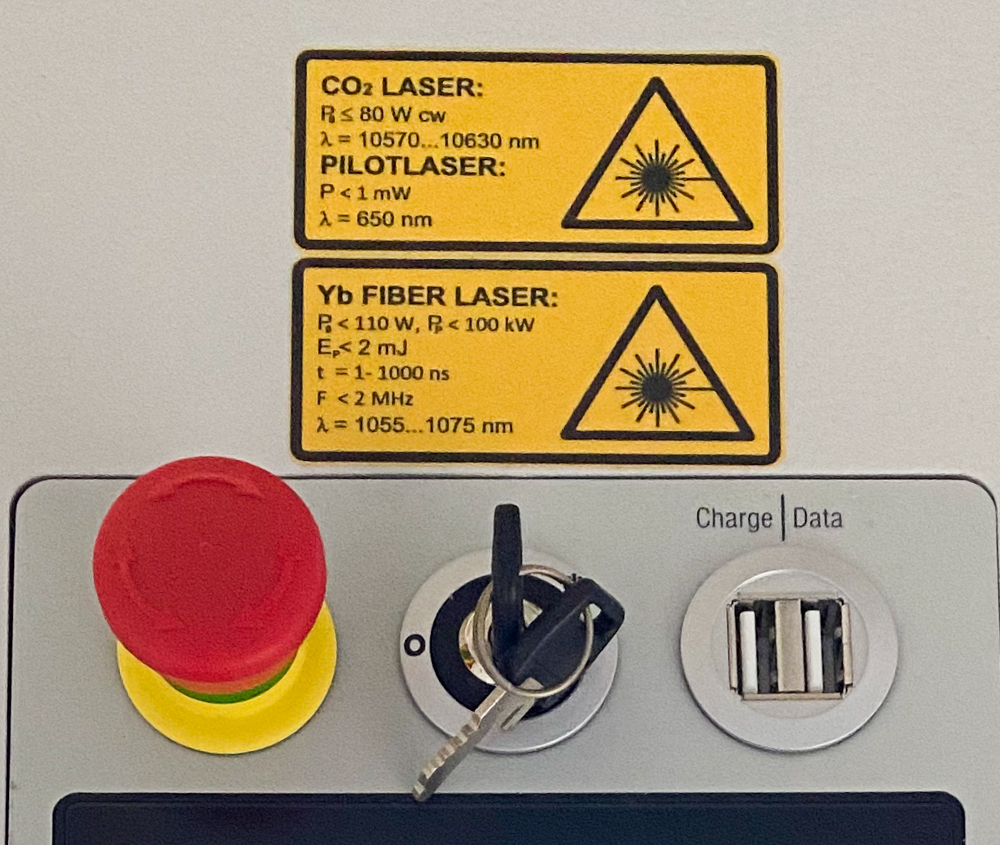
- Turn on the laser cutter. You cannot access the laser cutter software (Ruby) unless the machine is turned on. Turn the key on the top of the laser cutter all the way to the right and release it. The machine will begin to boot up. The key is visible in the middle of the image below.
- Install security certificates. If this is your first time using the laser cutter, you will need to visit:
http://ruby-lkow4ft.local:5000/certificate and install the machine’s security certificate for your browser to be able to access the machine. For more information, see this guide for PCs and this guide for Macs. - Open a Chrome browser and log in. The Ruby software only works on Chrome. Log in to the machine interface here:
https://ruby-lkow4ft.local:2402/
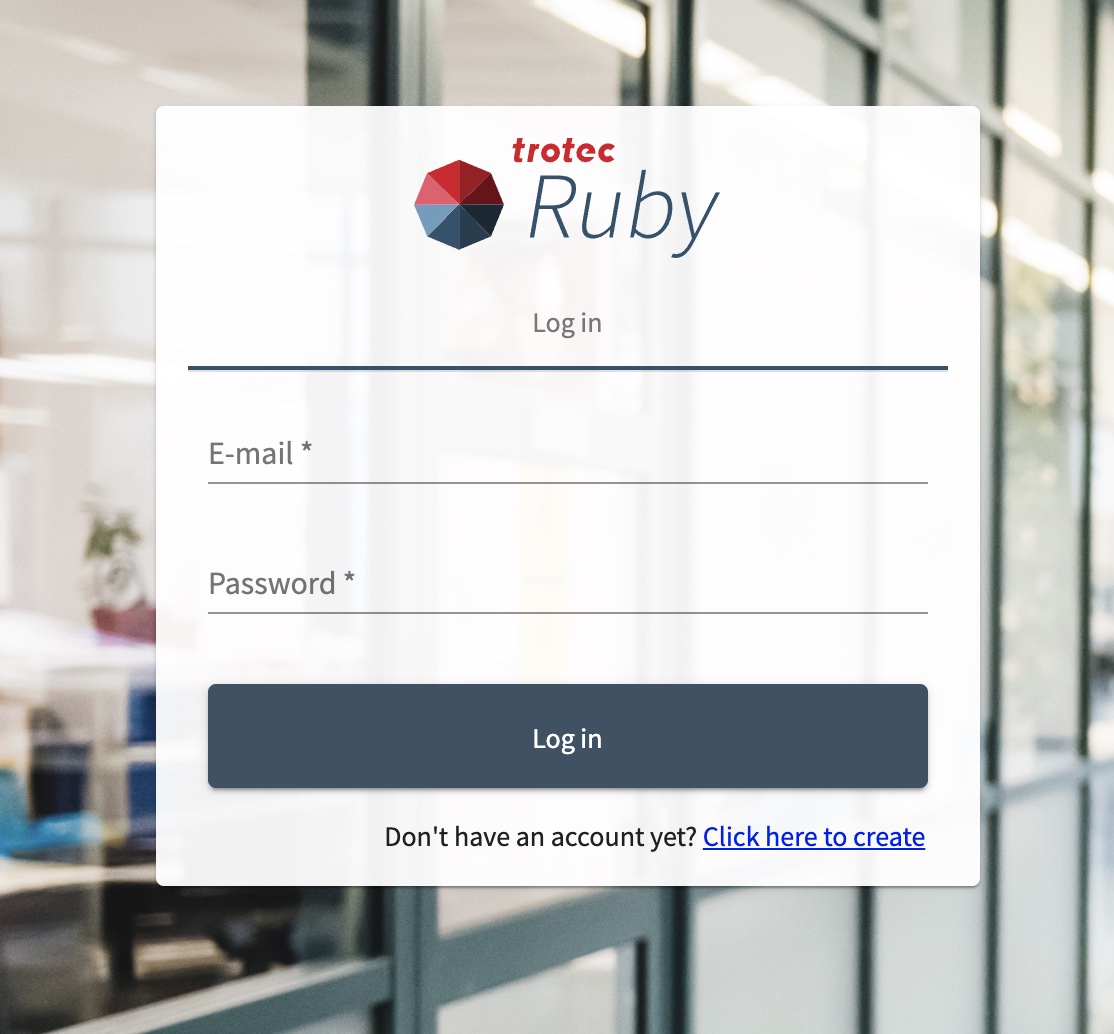
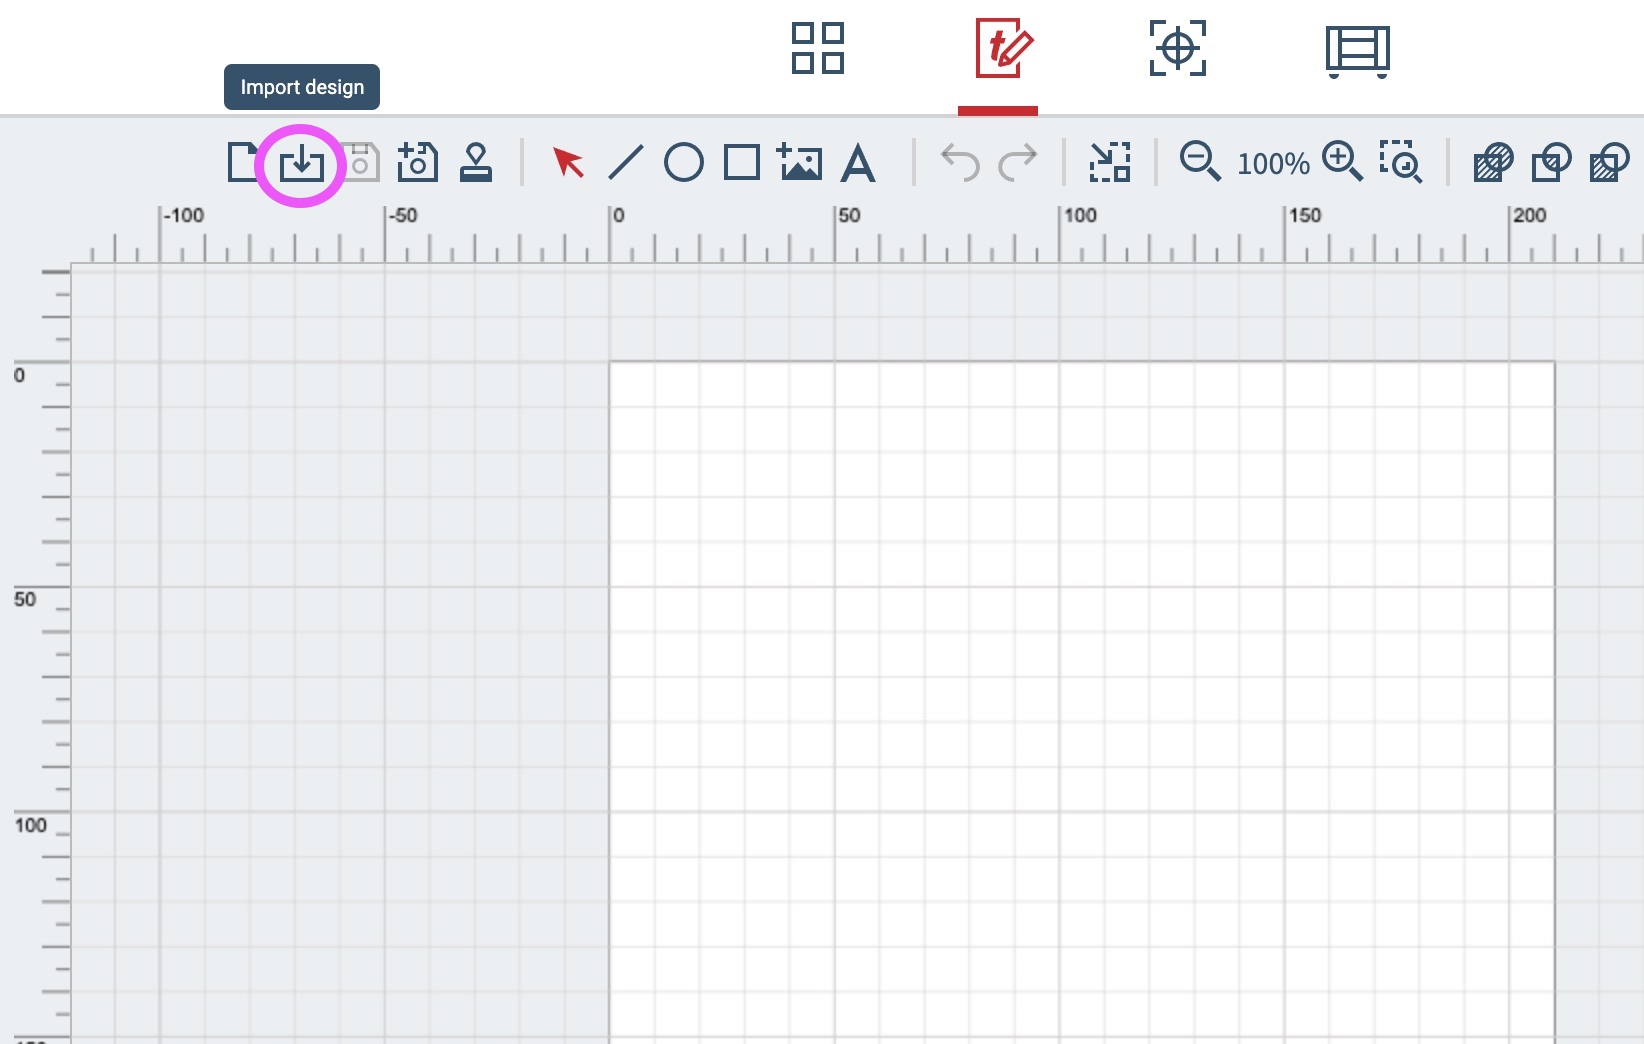
You will be given a log in once you sign and return the Hand and Machine Laser Cutter SOP. - Open your file. The software will open in the Design view. Click on the import icon to upload your file. Browse to the file location on your computer and select it. Ruby can open .ai, .pdf, and other vector graphic files files. It can also upload image files like .png and .jpg. This is not recommended.
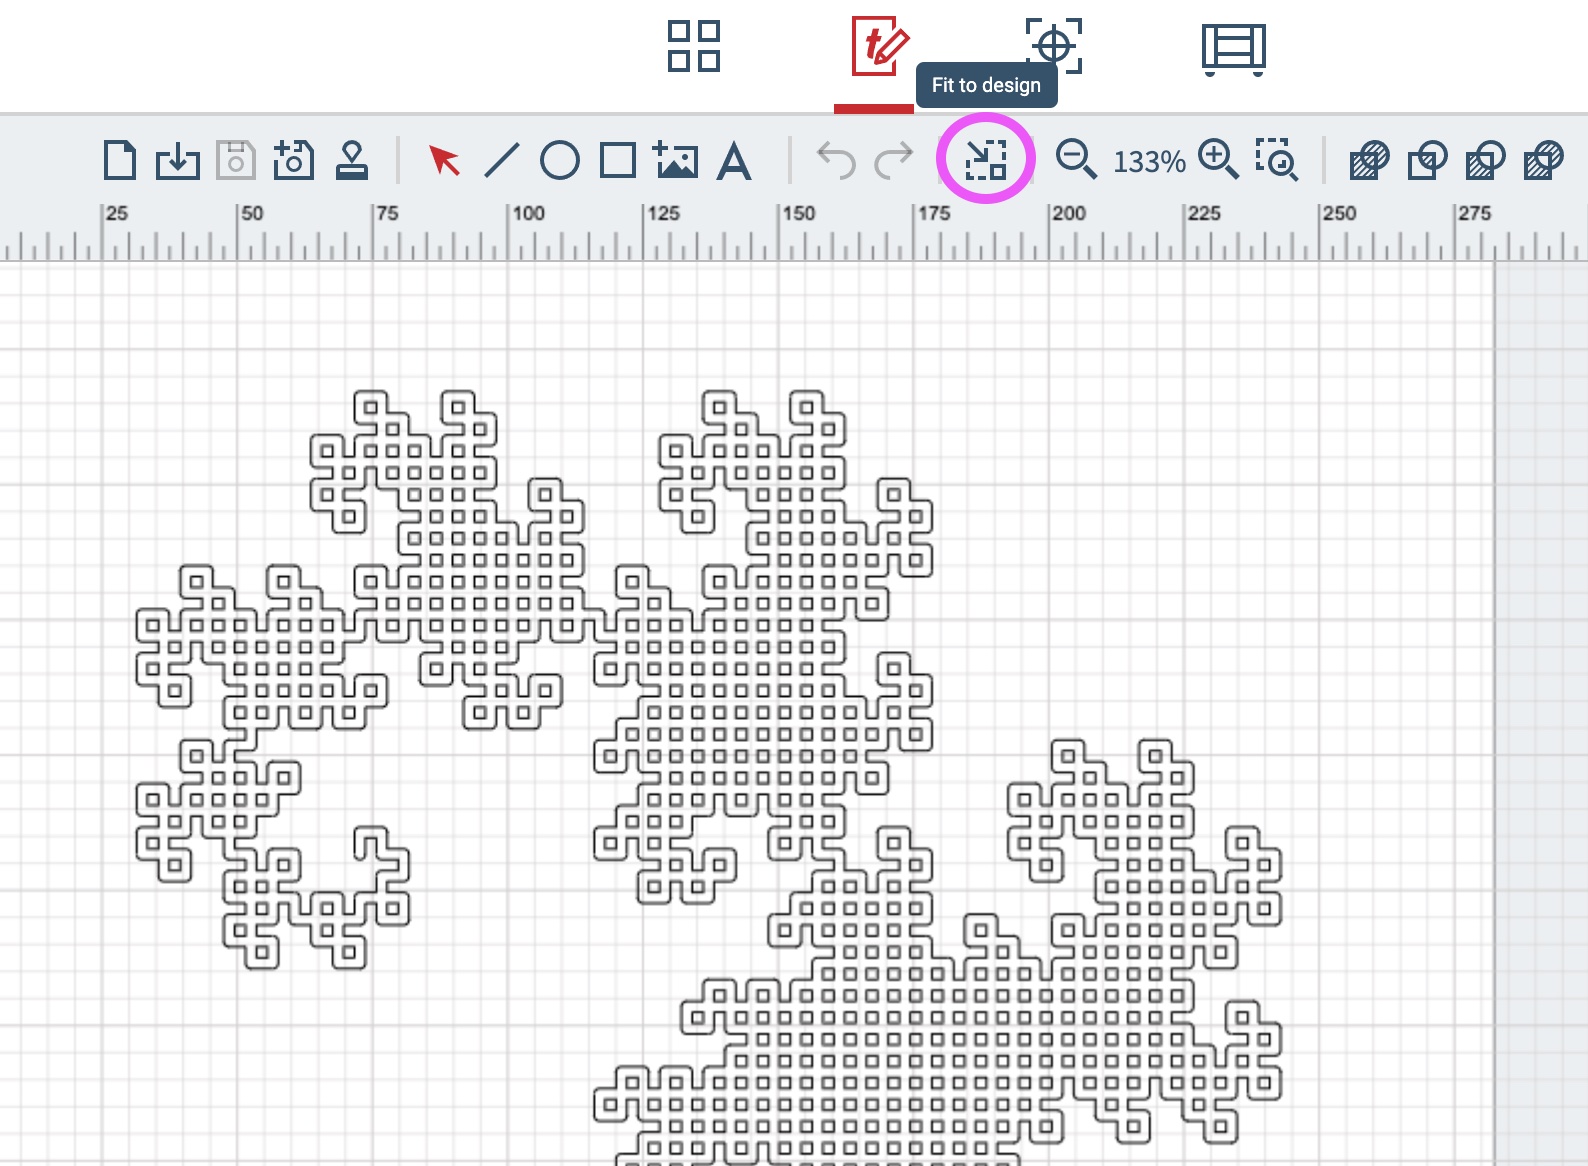
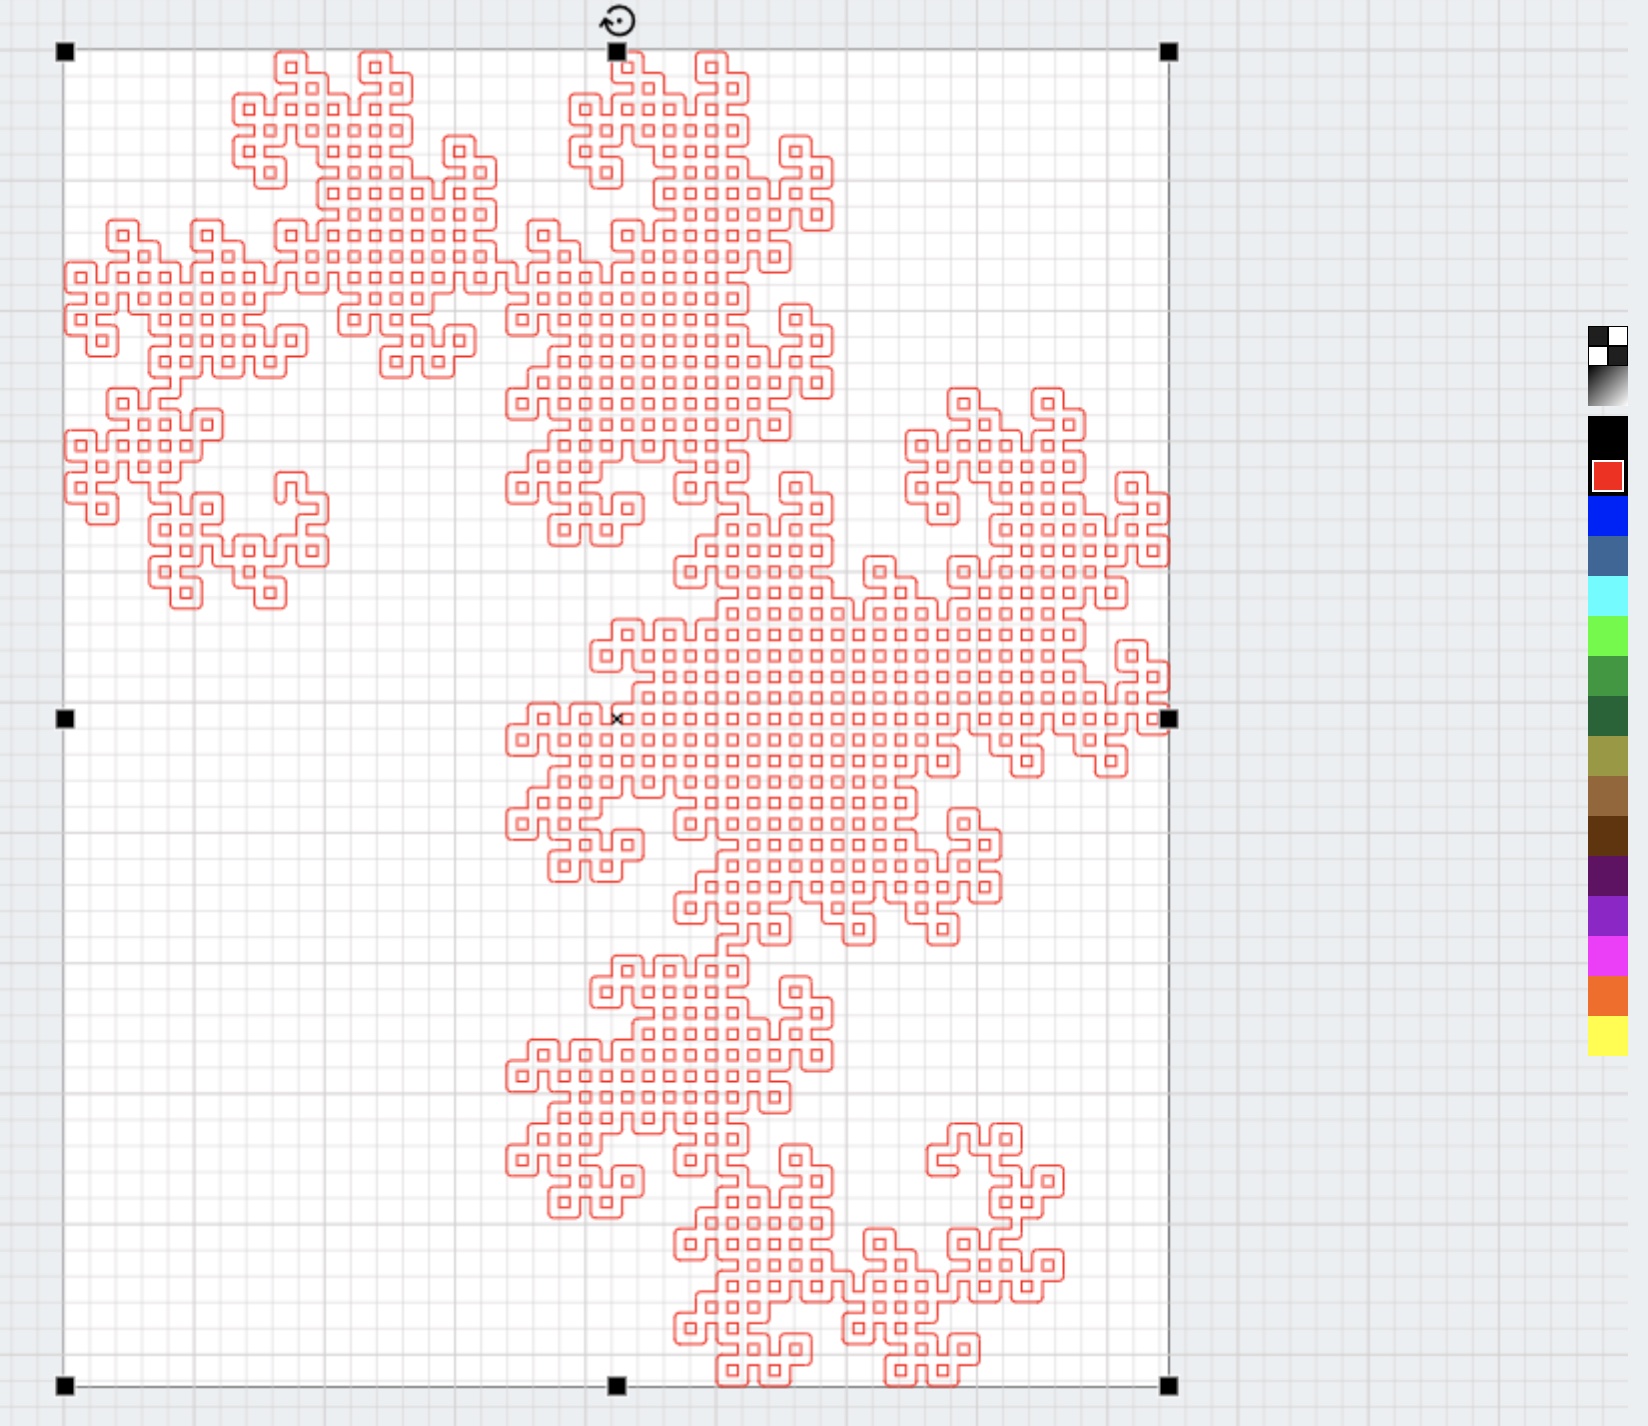
Click on the icon for your file on the left of the screen to open it in design view. My file is a lacy dragon curve.

- Fit to design. Click on the Fit to design icon to trim extra whitespace from your design.
- Choose colors. At this point you can change the color of different elements of your design. Each color can be mapped to a different laser behavior. By default red is used for cutting (vector paths) and black is used for etching (raster paths).
- Generate a laser cutter job. Click on the Create Job button in the upper right hand corner to generate a job for the laser cutter. A new view will open up with job settings.
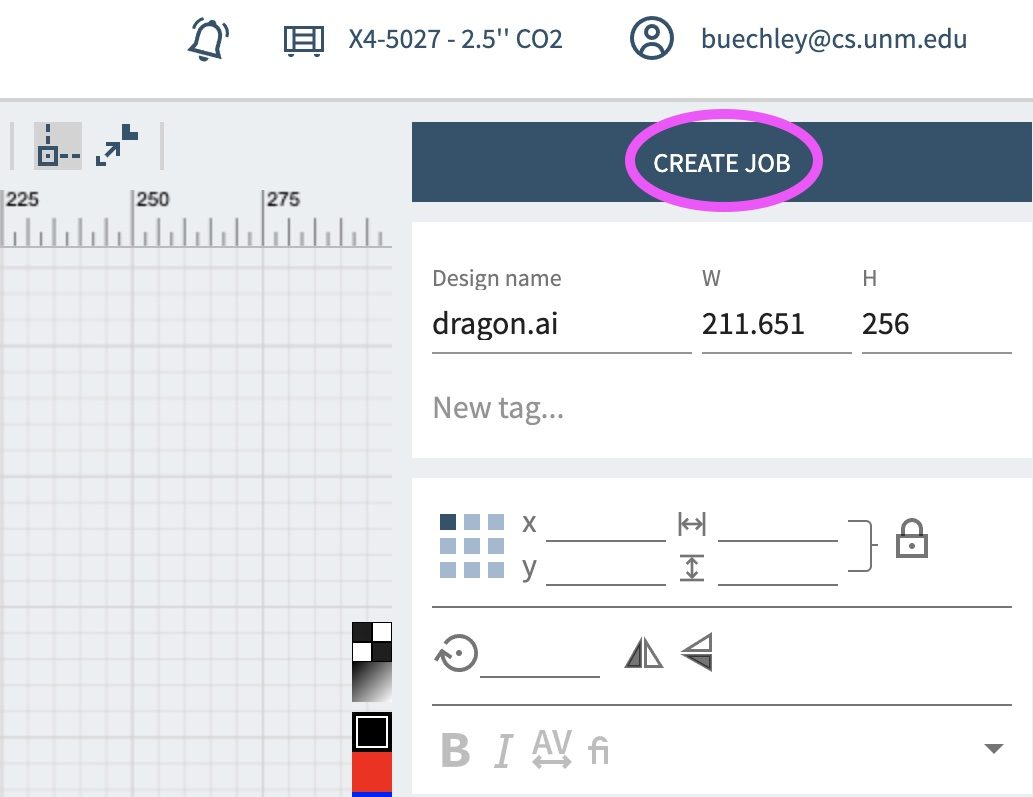
- Choose a material. Materials are listed in the right hand side of the interface. Type out the name of your material for new options to appear. Make sure that the colors of your drawing are mapped to the desired cut behavior for that material. In the image below, I have chosen a Wood Plywood with a thickness of .12″ (3mm). Note how the red color is mapped to cutting.

- Send job to laser cutter. Click on the Push to Laser button to send your job to the machine. This will open up a view like the one shown below.
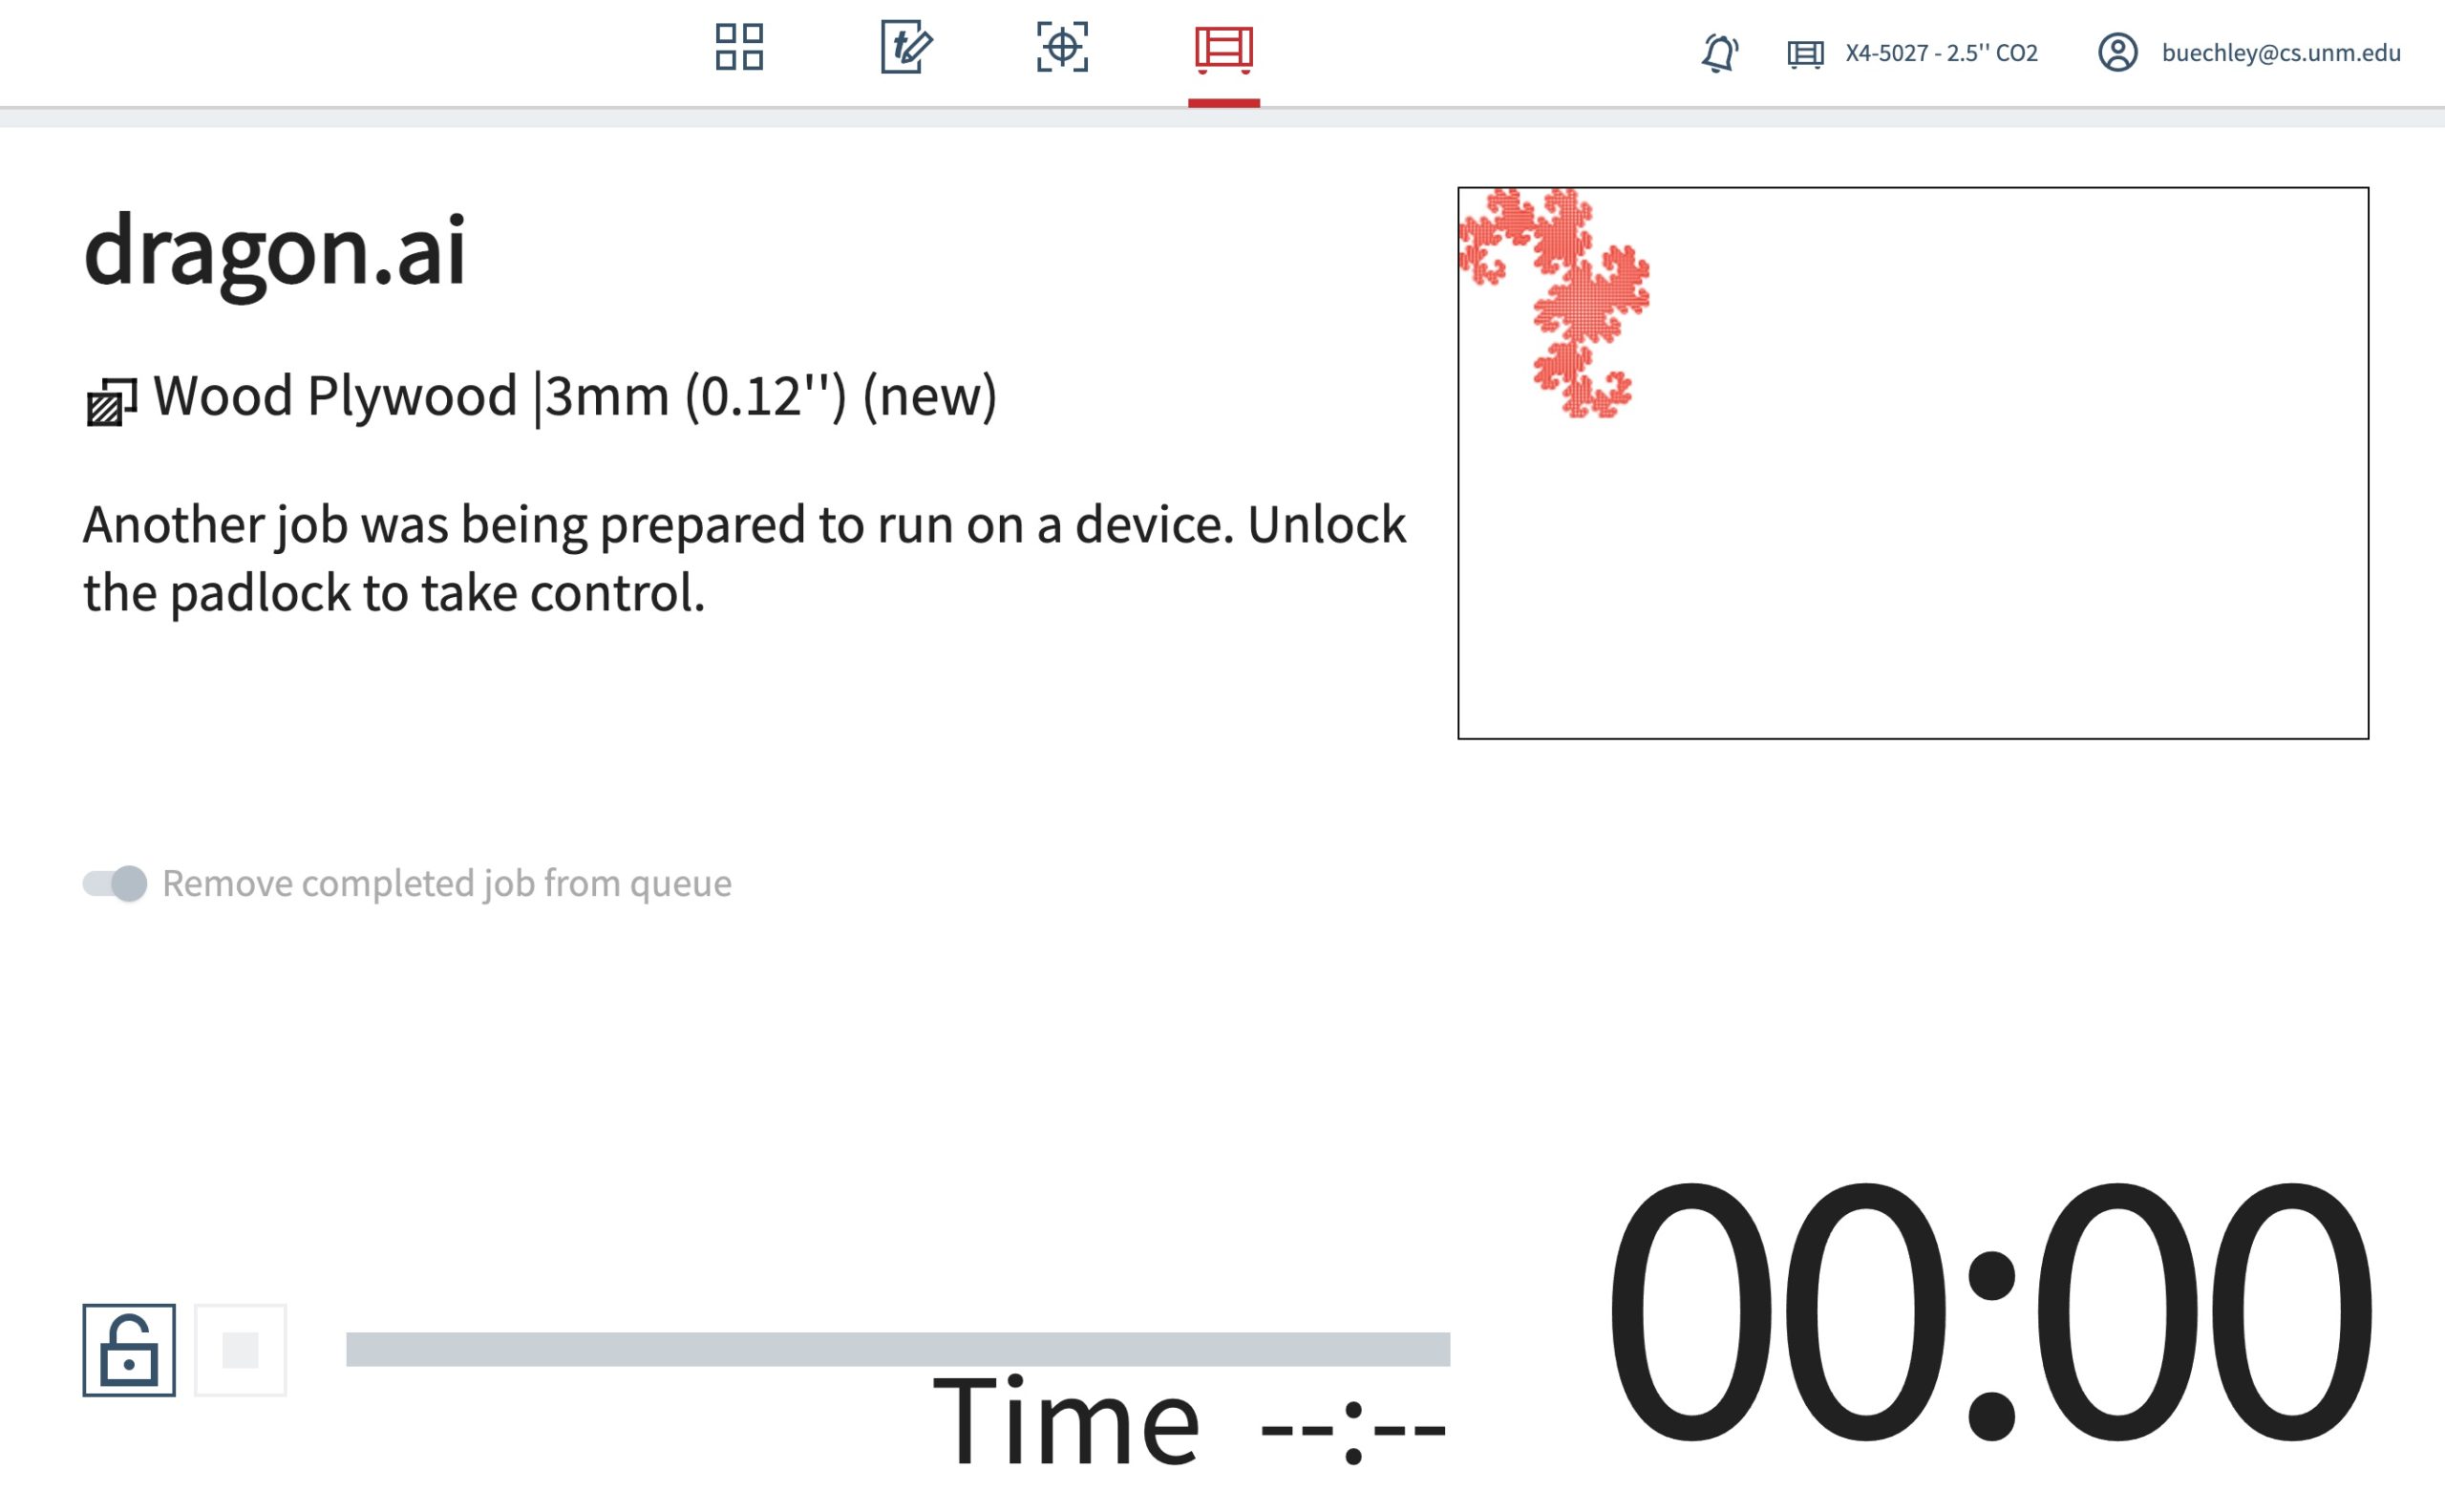
Now it’s time to go to the machine and cut your design.
Cutting Your File
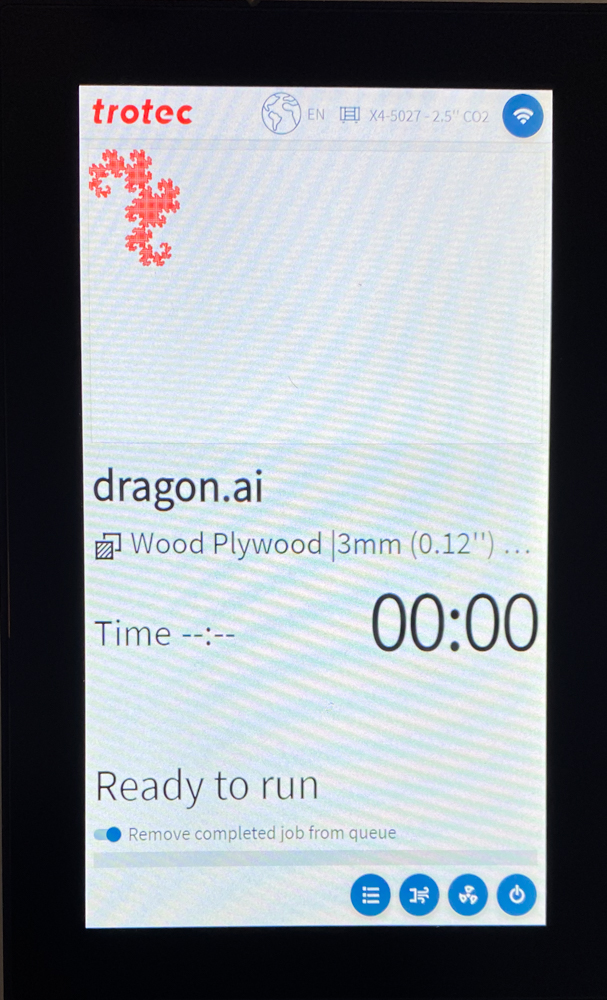
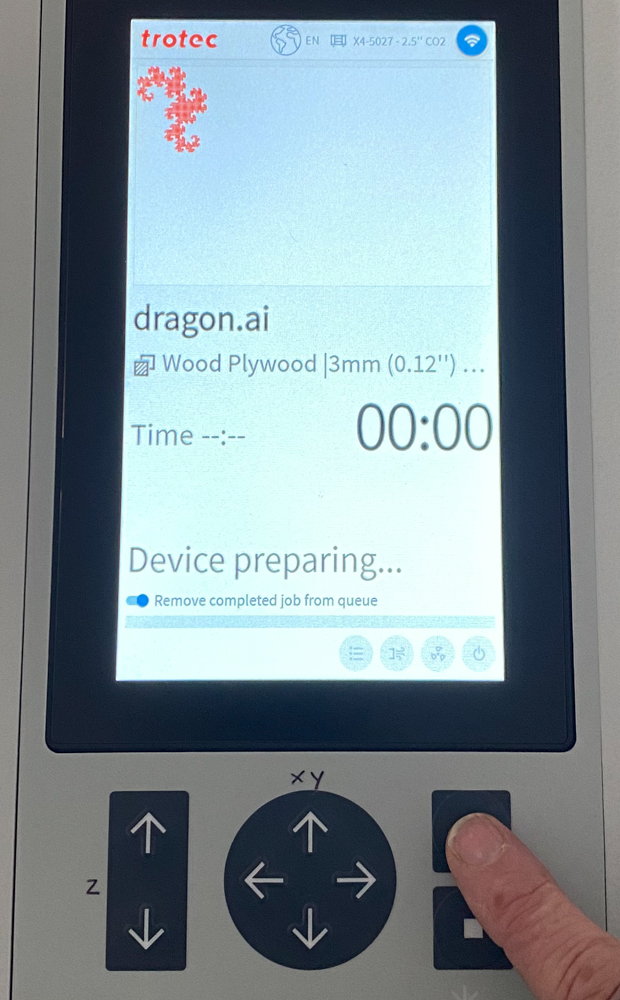
- Go to the machine. You should see your job queued up on the machine
- Turn on the air filter. This is critical. The air filter removes smoke and chemicals that are produced when the laser cutter burns through materials. It is attached to the laser cutter via tubing and is to the left and front of the laser cutter. Push the red power button on the face of the fan.

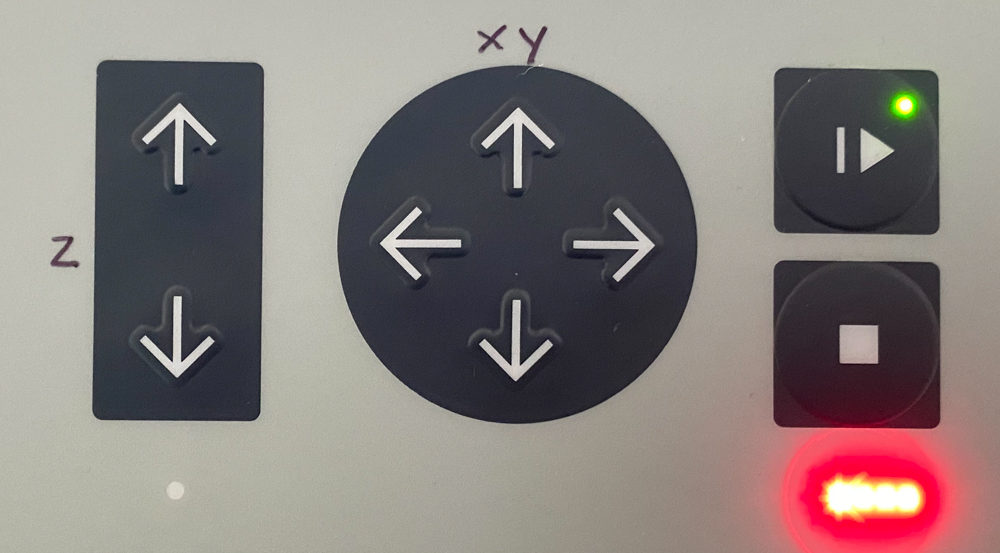
- Raise the bed to cutting height. Use the z-axis buttons to raise the bed of the laser cutter until it is about 6 inches (150mm) below the red laser cutter cone. The buttons are labeled (see below).
- Open the laser cutter and put in your material. Position the material where you want it to be cut. Use tape to keep it flat if necessary.
Use the x-y buttons on the laser cutter to position the laser cutter cone (and red dot) where you want to begin cutting. In the Ruby software, position your job relative to the position of the laser cutter. Resend the job if you moved it. - Focus the laser cutter on your material. This is critical. An out of focus laser cutter can cause fires. If necessary, move the laser cutter head until the red dot is somewhere on your material. Press the two z-axis buttons at the same time. This will auto-focus the laser cutter on the surface of your material.

- Double check everything Read through the checklist taped to the machine. Did you remember to turn on the fan? Do you know the chemical make up of the material you are cutting? Do not cut a material unless you know exactly what it is! You can poison yourself and everyone else in the lab with toxic fumes! Did you focus the laser cutter on your material?
- Start your job. Press the play button to start your job. The machine will begin cutting about 5 seconds after you press this button. Be patient.
- Wait for your job to finish. Never leave a job unattended! Wait at the laser cutter until it is done cutting. Don’t stare directly at the bright light of the laser as it cuts.

- Remove your job and clean up. Remove your finished job and any waste material from the machine. Clean everything up. Throw away any waste and put any useable material back where it goes. Clear and wipe down any surfaces you have gotten dirty.

- Turn off the machine and air filter. Turn off the laser cutter using the key. Turn off the air filter using the power button. If someone is waiting to use the laser cutter you do not need to turn it off.