Company website
Bed size: 12 x 12 inches
Getting Ready to Cut
- Download Silhouette Studio. If this is your first time using the craft cutter, you will need to download the Silhouette Studio software for your device here: https://www.silhouetteamerica.com/software/ss/download.
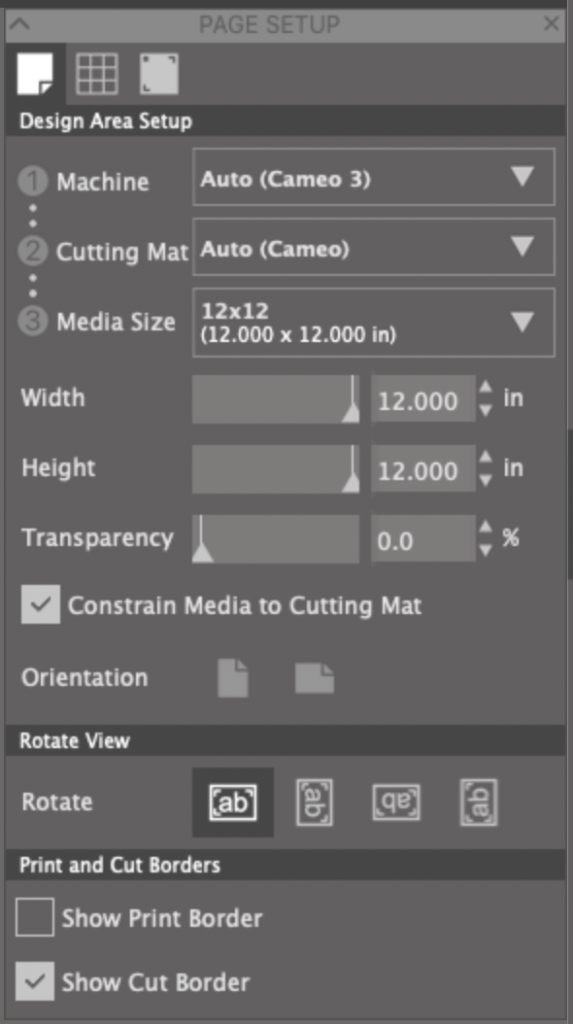
- Open Silhouette Studio on your device. Ensure your settings to the right of your screen are set to Machine: Cameo 3, Cutting Mat: Cameo, Media Size: 12×12. This can be seen here:
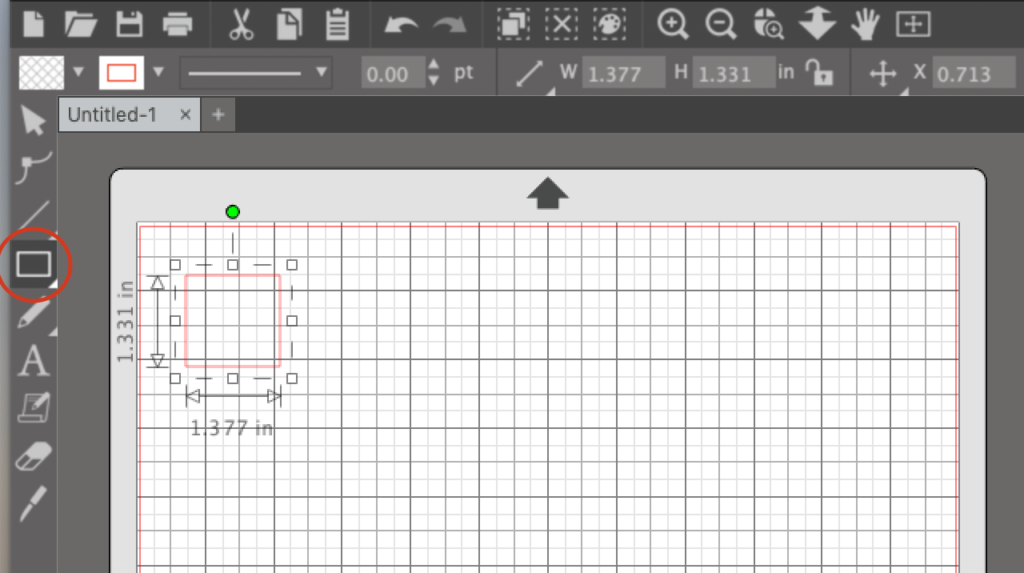
3. Create your design. You can either upload a .studio3, .png, .pdf, or .jpeg file, or create a new design. To create a new design, you can use Illustrator or Inkscape and then save your design to upload to Silhouette Studio. Note that .ai files are not accepted in Silhouette Studio, so save as a .pdf or .png instead. You can also use the included tools in Silhouette Studio to create a design. Here, an example of the rectangle tool in Silhouette Studio is shown: when the rectangle is selected, you can see the dimensions of the rectangle as you draw it. Note that each bolded square in Silhouette studio is 1 square inch, and smaller squares are 1/2 inch and then 1/4 inch as you move down.
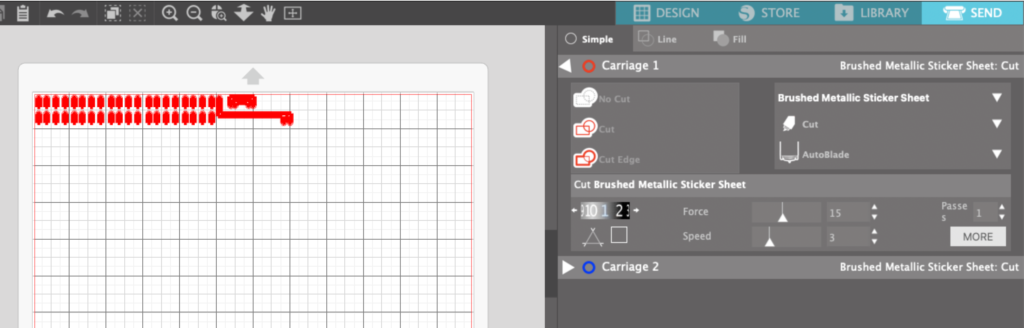
4. Send your design. Once you have finalized your design, click on the SEND page. This should bold your design to indicate that it is selected. The color of your design corresponds to the carriage the machine will use; here, I am using Carriage 1. Next, you will need to select all the correct fields for your design. Select the material you will be using: here, I have selected “Brushed Metallic Sticker Sheet” to indicate that this design was for copper tape. The Force, Speed, and number of Passes over the material should auto-populate, but these can be edited if your design isn’t cutting all the way through your material. You can also select the type of Cut you would like for your design: No Cut, which will ignore and not cut out that part of the design, Cut, which will cut out every line, and Cut Edge, which will cut out only the outline of the design and ignore overlapping lines; this can be seen in the icons for each choice.
Cutting Your File
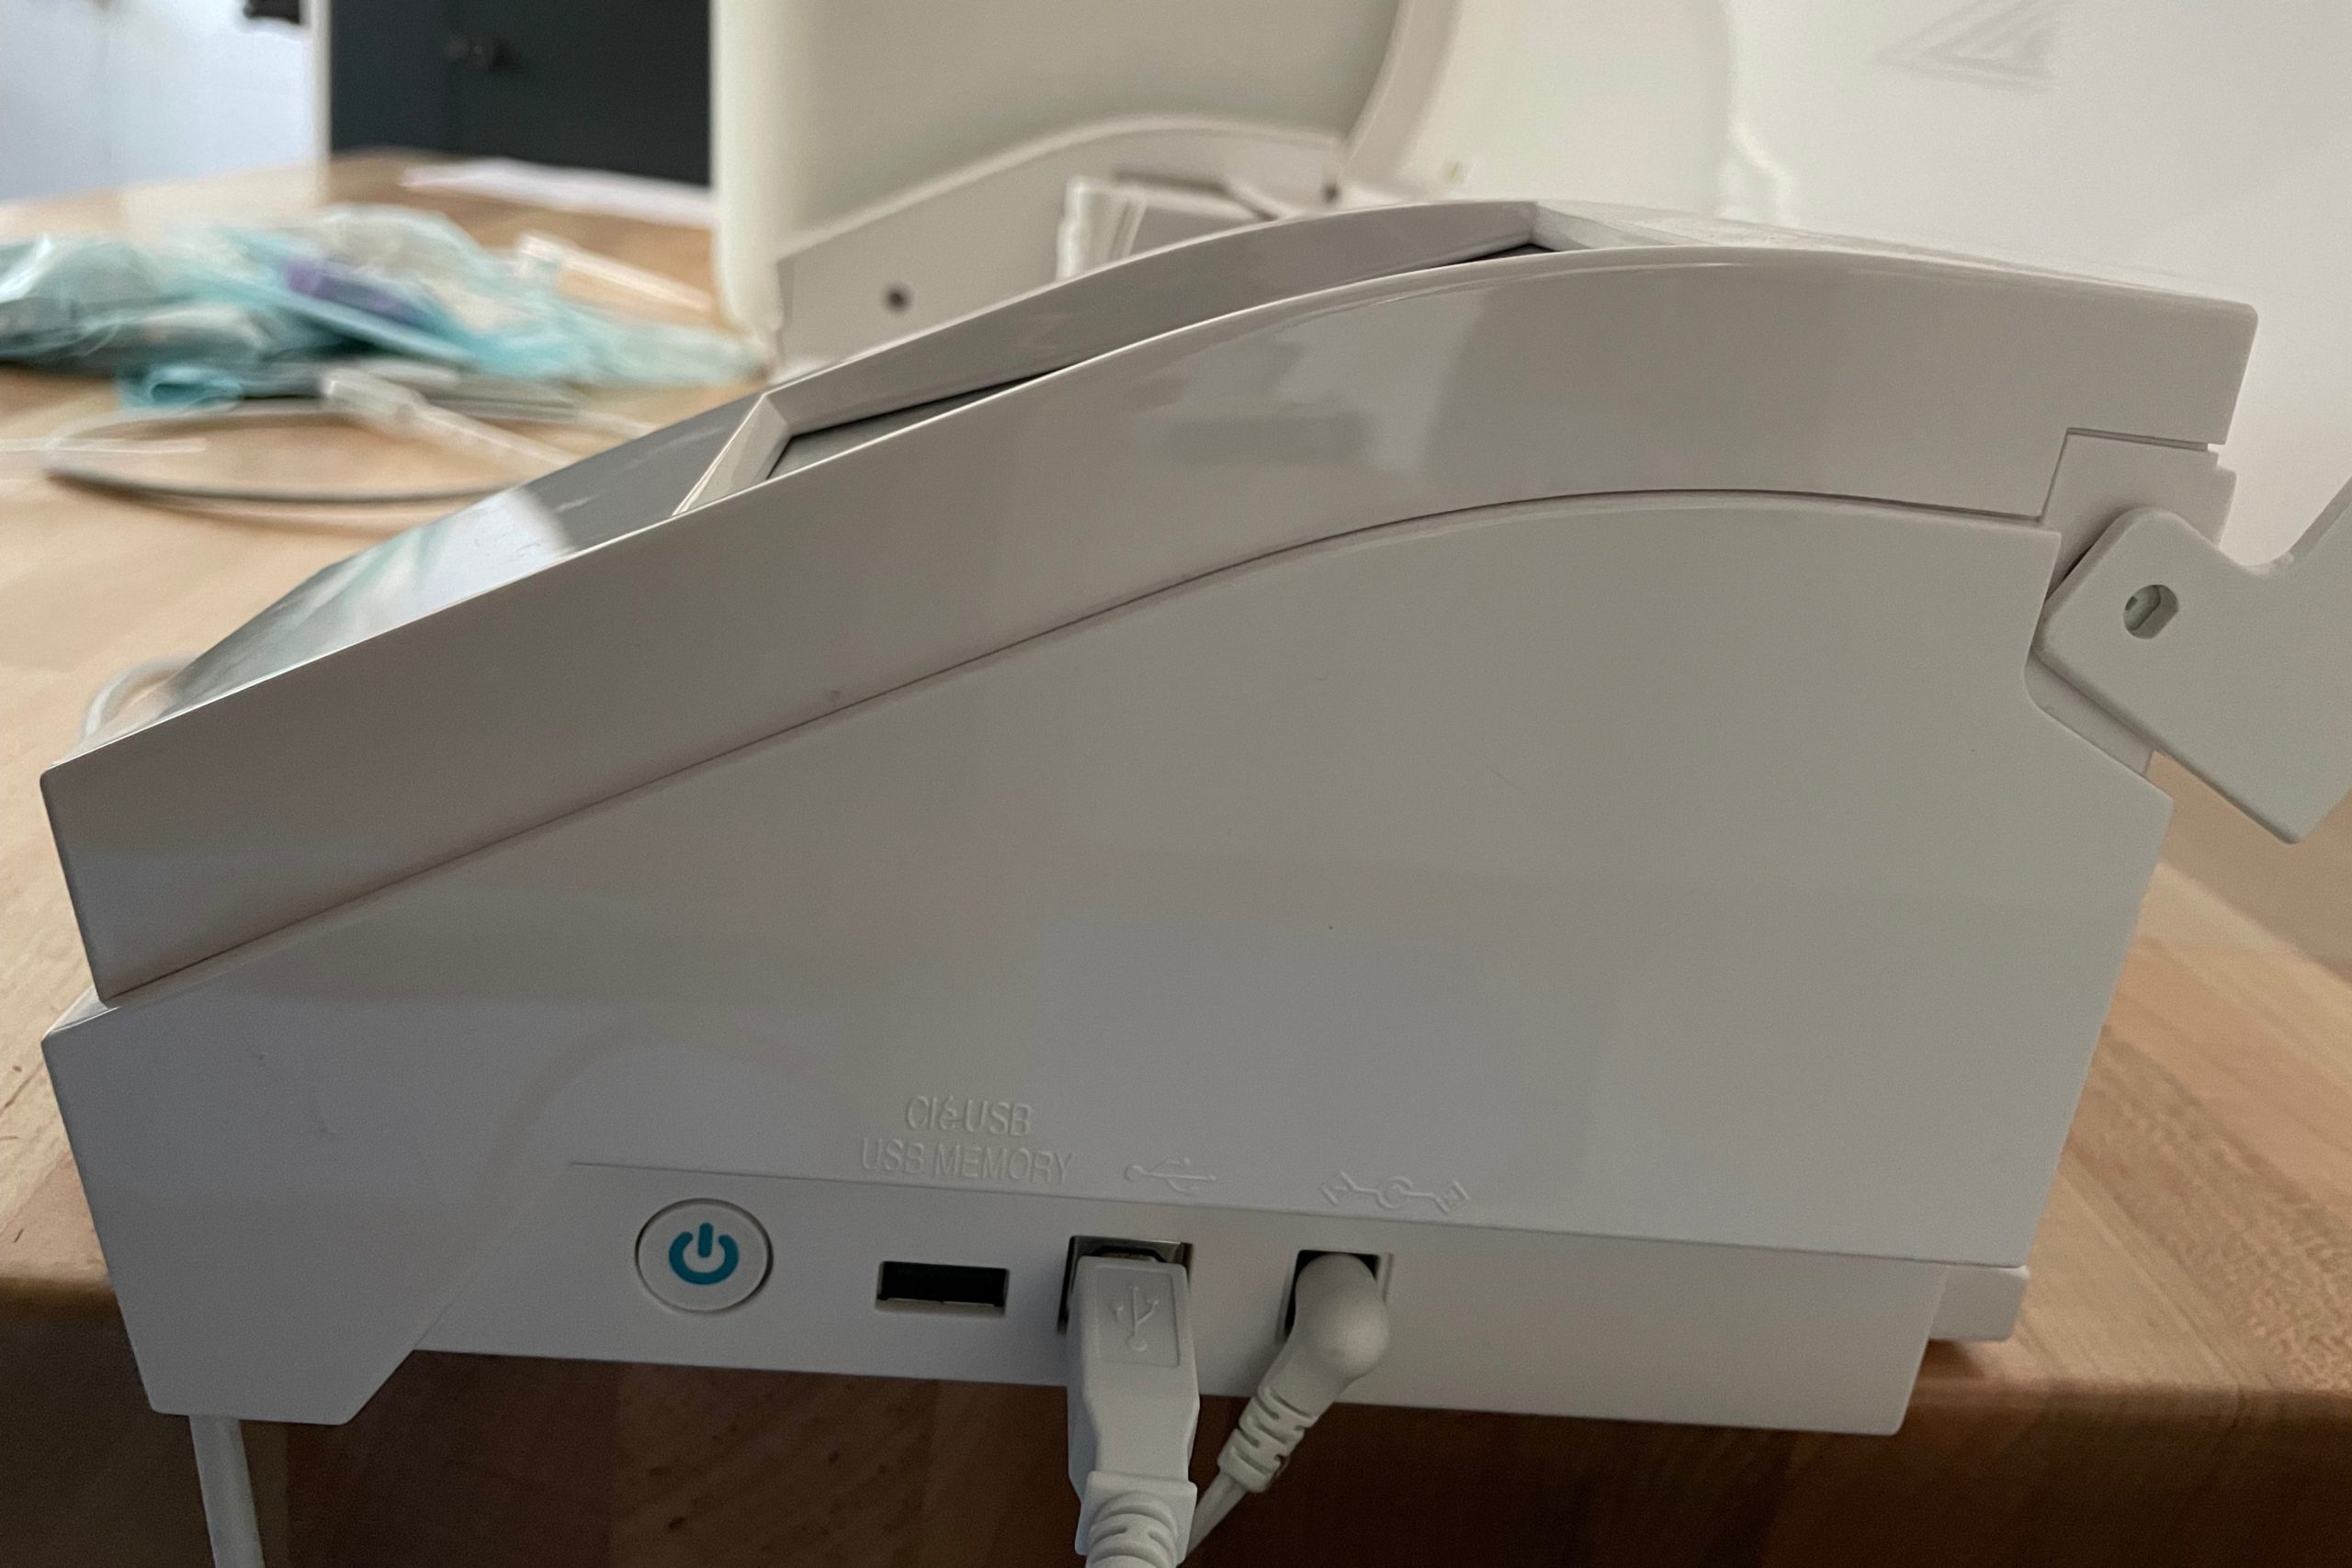
1. Turn on the craft cutter by pressing the power button on the right side of the machine- this will boot up the screen. Open the craft cutter by gently pulling up the lid.
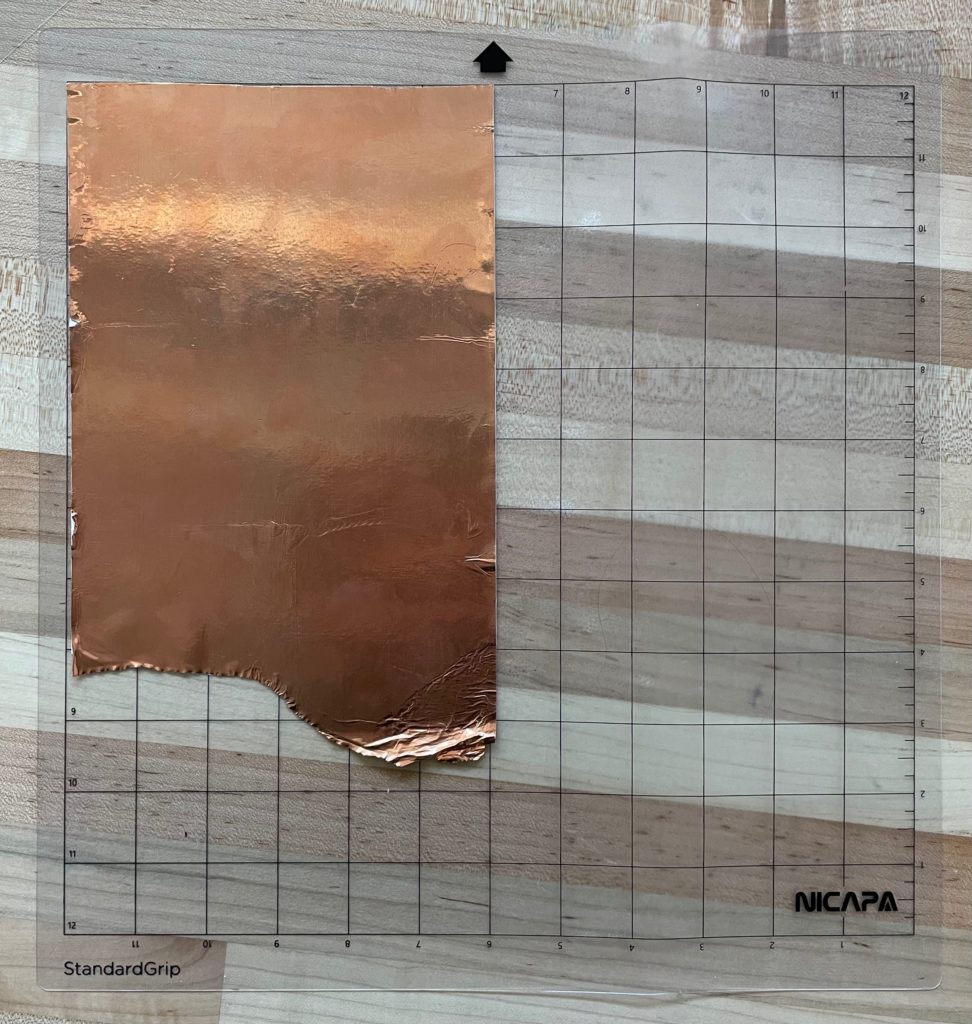
2. Place your material on the craft cutter pad. Line the edges of your material up with the lines on the pad; since the squares on the pad correspond to the squares in your design, this will allow you to drag your design to the exact position you would like it to be on your material. Make sure to smooth out your material to get rid of any bumps or bubbles.
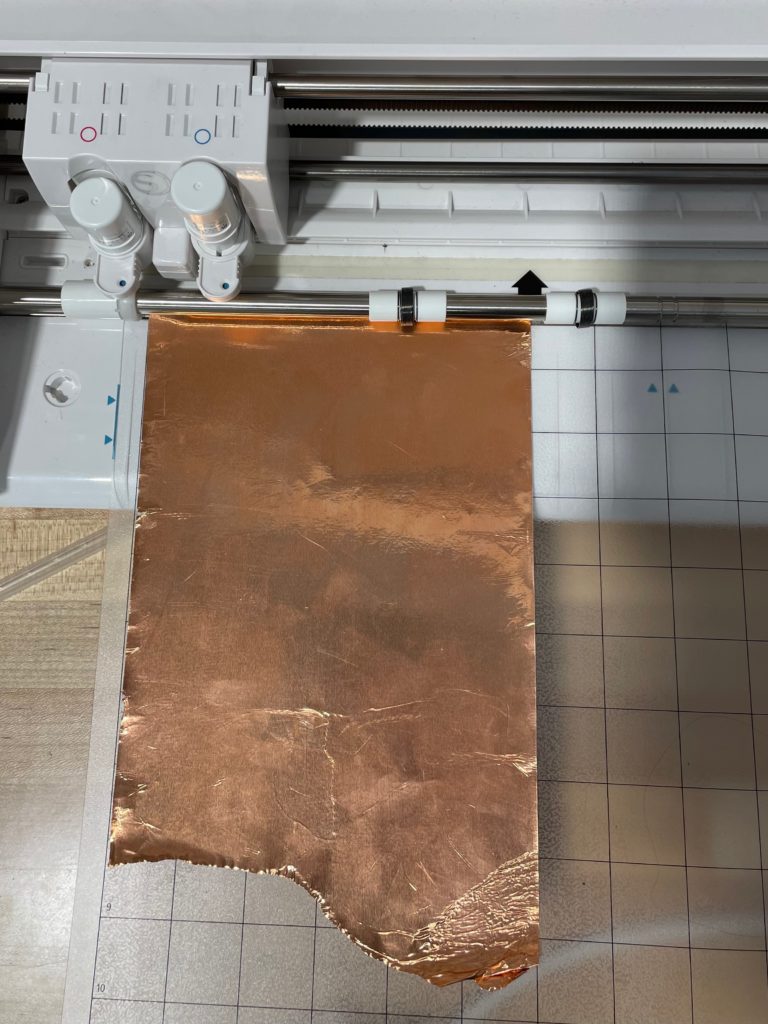
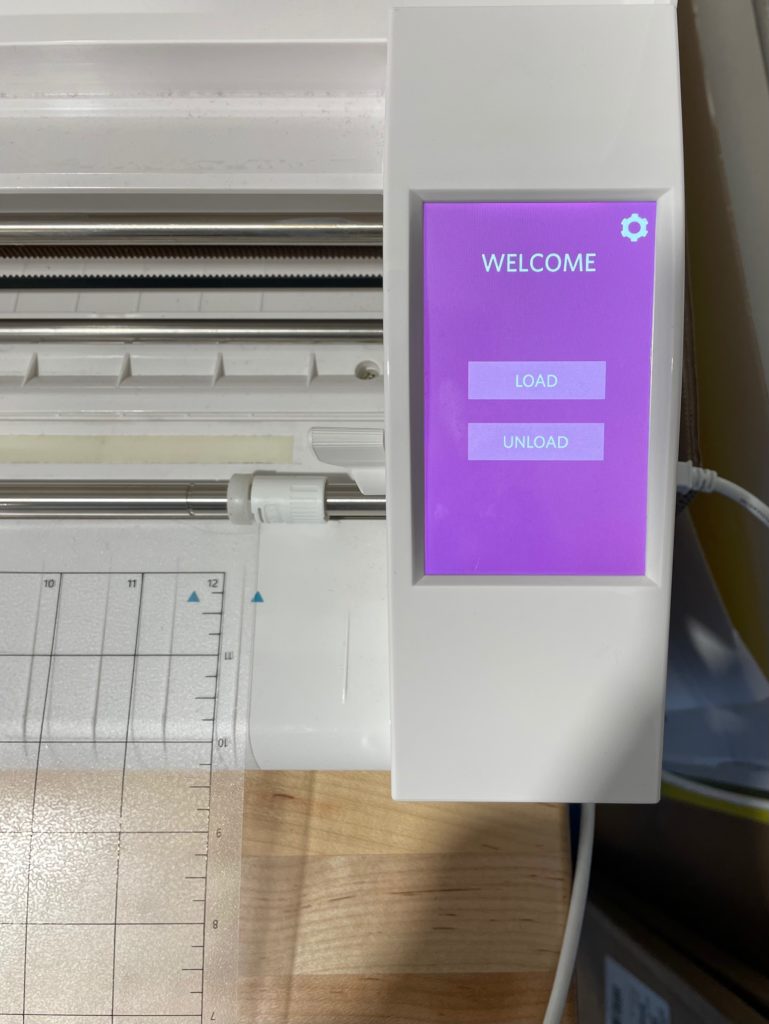
3. Load the pad into the machine. Line up the edge of your pad with the blue line on the machine, and then press the LOAD button to feed it into the machine.

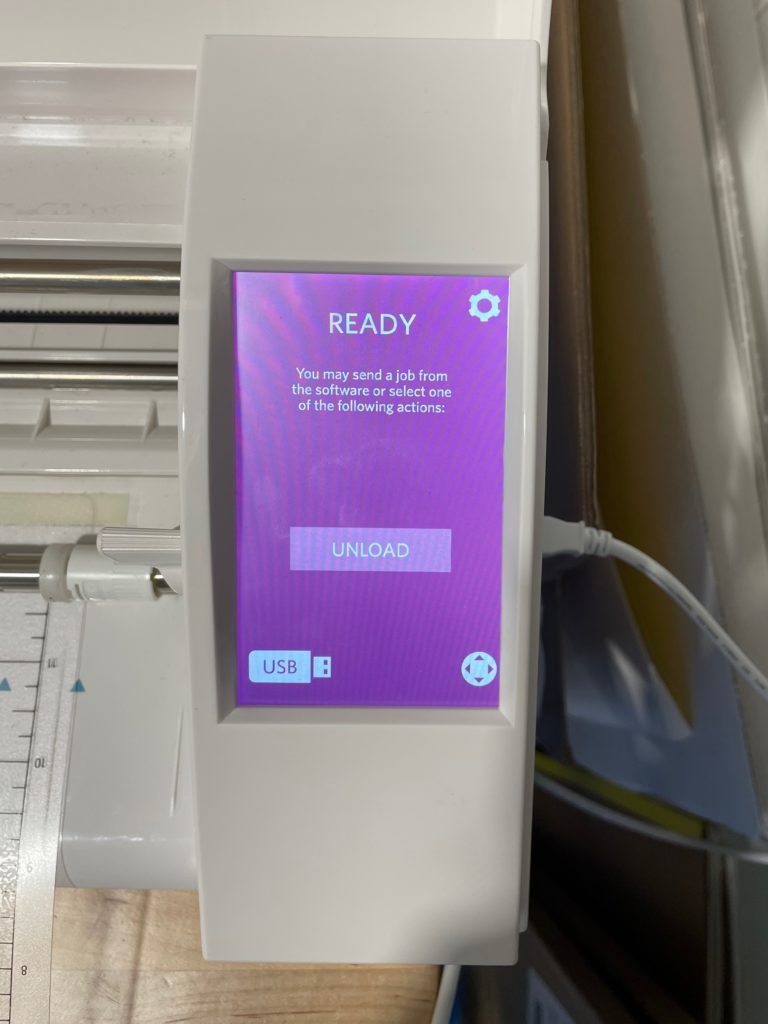
4. Connect your laptop to the machine. Connect the USB cable from the machine into a USB port on your laptop. The SEND button on the bottom of your silhouette studio app should now become available.
5. Send your design. Click that SEND button, and the machine should begin cutting out your design. Do not leave the machine while it is cutting out your design; watch for any snags or issues and hit the cancel button on the machine screen if necessary to stop the machine.
6. Unload your material. Once your design is finished and the machine returns back to the start position, you can click the unload button on the machine and it will feed your material back out of the machine.
7. Turn off the machine. Press the power button again to turn off the machine. Then, close the lid and put back any materials you’ve taken out. You now have your new design!