The PotterBot is a 3D printer for ceramics. We have two PotterBots in our lab, a Super 10 and a Micro 10. The Super 10 has a 3600 ml extruder and a 16 x 16 x 20″ (405 x 405 x 500mm) build volume. The extruder weighs almost 30lbs when fully loaded. The Micro 10 has a 1000 ml extruder and a 10″x10″x12″ (260 x 260 x 300mm) build volume. It is easier to work with than the Super.
Training and Safety
You must got through a potter bot training before using the machine.
Loading and Unloading Clay
This is the hardest part of using the machine. It is a messy, time consuming, physically challenging job. If you want to use the machine, you need to load your own clay. We have come up with the following process for loading clay. It insures that clay is loaded into the tube with very few air bubbles (which will ruin your print). Put on an apron before you start this process.
Jump to Loading.
Unloading Clay
1. Remove the clay tube from the printer.
Lower the print head to the print start location. This will allow you to remove the clay tube much more easily.
Disconnect the velcro and motor plugs that connect the extruder motor on the tube to the rest of the printer. Unclip the clamp holding the tube to the printer. Lift the tube up out of the loosened clip and take the assembly to an empty table where you can finish the job.

2. Retract the plunger to relieve pressure.
Remove the square tube from the top of the extruder motor. Fit it over the square attachment at the top of the threaded rod and retract the plunger until you can feel that the pressure in the tube has been released. It will become easy to turn at this point.

3. Remove the print head.
Unscrew and remove the bolts that connect the print head to the tube.
Now, turn the square tube to push the plunger in again. This will force the print head out of the tube.

Once it is pushed out of the tube, cut the clay and remove the print head.
4. Remove the extruder stepper motor.
Unscrew and remove the bolts that connect the extruder motor to the tube. Remove the motor assembly from the tube.
5. Push out any remaining clay.
Remove the plunger and any remaining clay from the tube. You may find a 2×4 or large dowel useful during this process
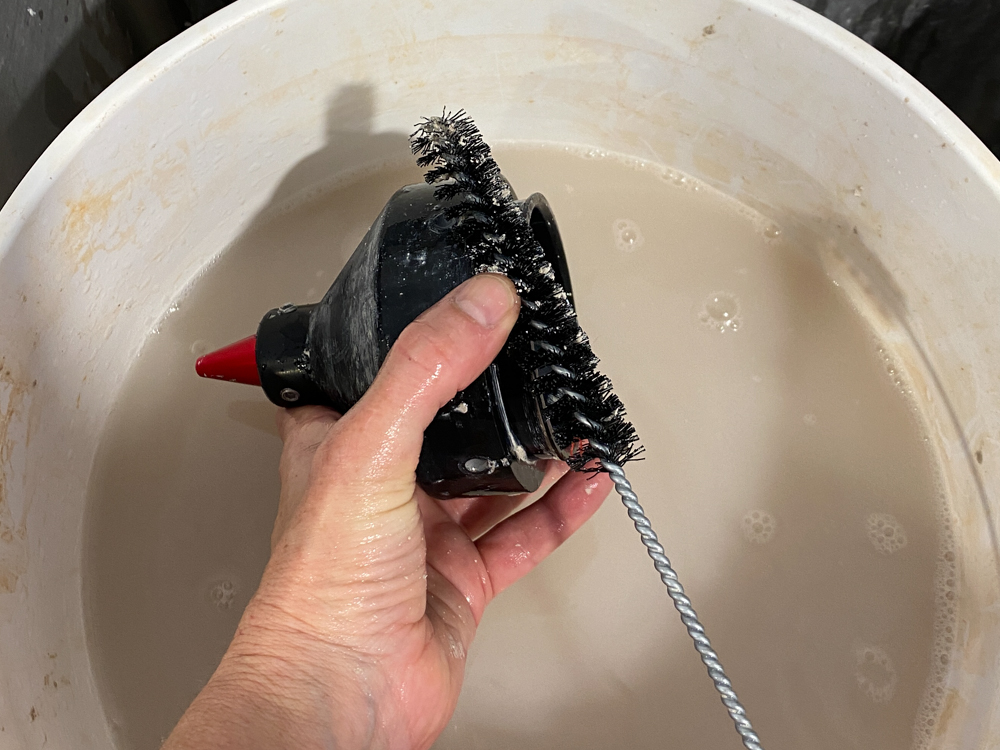
6. Carefully clean the print head, plunger and tube.
IMPORTANT: do not wash clay down the sink. This will clog our drain and require very expensive plumbing repair.
Scrape all remaining clay off of these parts and put it in the trash or a clay recycling bucket. Use one of the cleaning buckets in the lab to wash the remaining clay from these parts. There should be no clay left on the parts when you are done.
Loading Clay
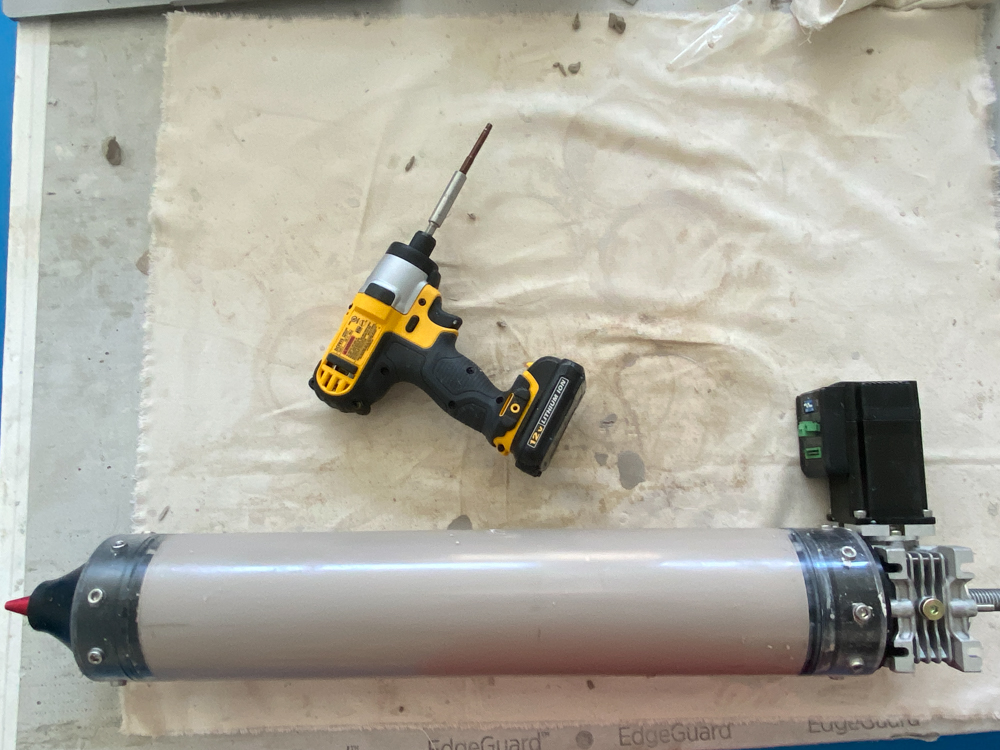
1. Get out supplies and make sure they are clean
Working with equipment that is not fully cleaned can damage the printer and cause serious problems in your print. You will need: printer tube, print head and print head gasket, print head nozzle, print head screws, plunger and plunger gasket, extruder motor assembly, motor assembly screws.
You’ll also need the following tools: drill, a hex driver for screws, the square tube drill attachment, and channel lock pliers.
If you need to unload first, jump to unloading.
2. Load clay into tube
Start with a fresh bag of soft clay. You should prepare the clay a few days in advance by putting 2-3 soaking wet rags into the bag. This will help soften the clay to make sure it is the right consistency to print.
Open your bag of clay and set it on a piece of canvas to work on.

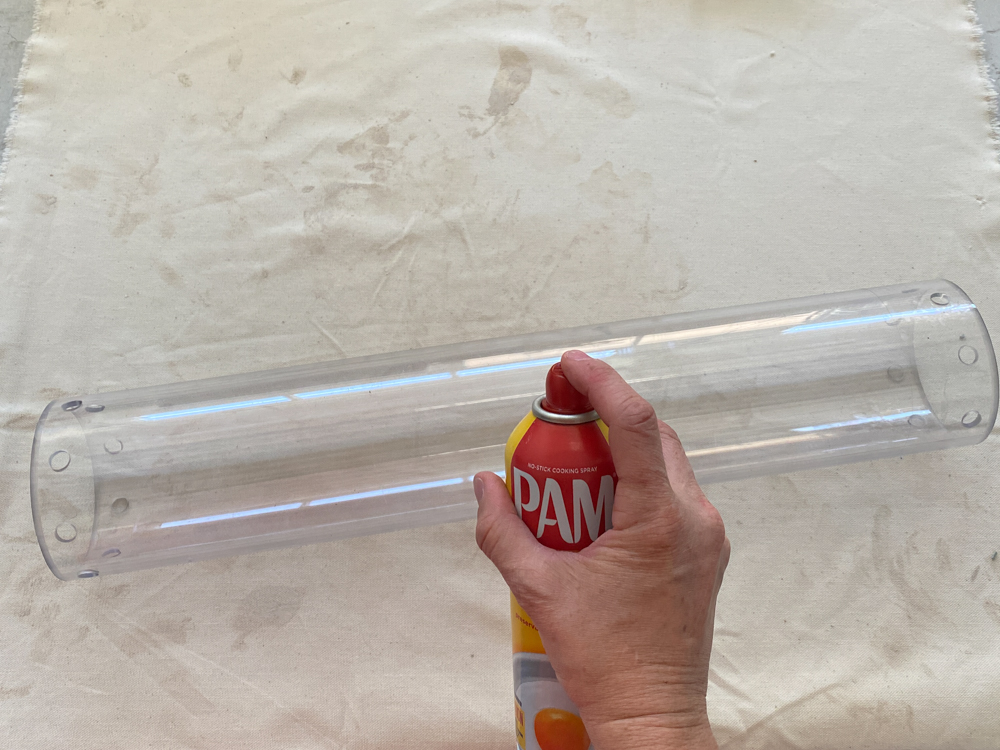
Tape up one set of the holes in the tube with thin packing tape. This will make the loading process easier. Spray the outside (not the inside!) of the tube with cooking oil. This will also make the loading process easier.
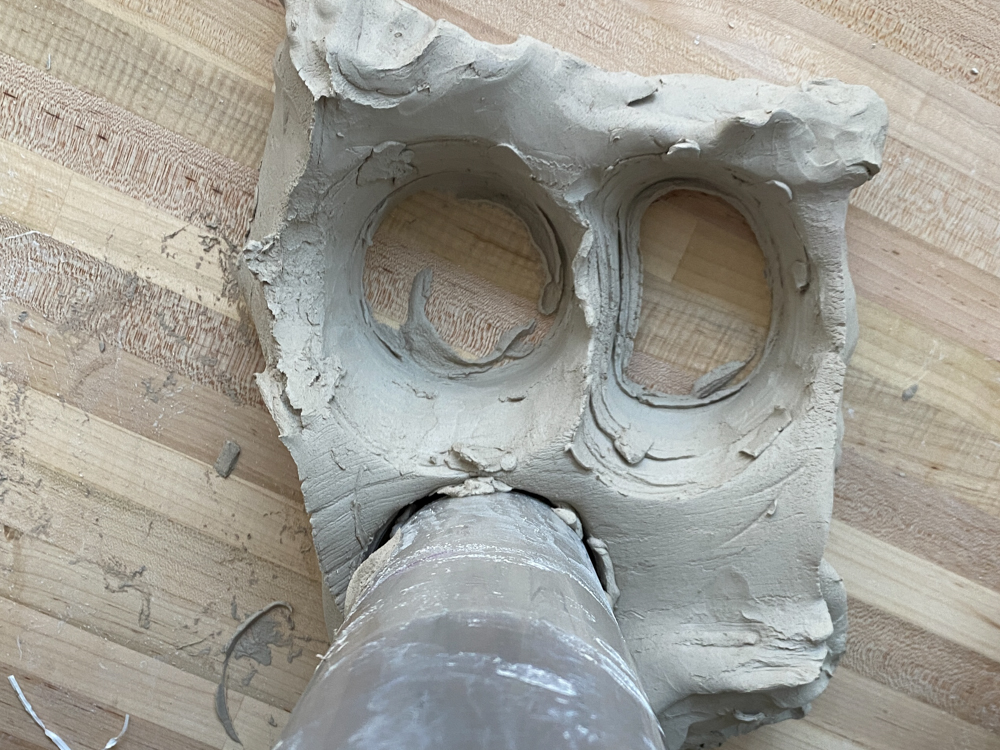
Press the tube into the clay like it’s a giant cookie cutter, with the taped holes at the bottom. This will force a solid piece of clay (with no air bubbles) up into the tube. Even small air bubbles ruin prints.

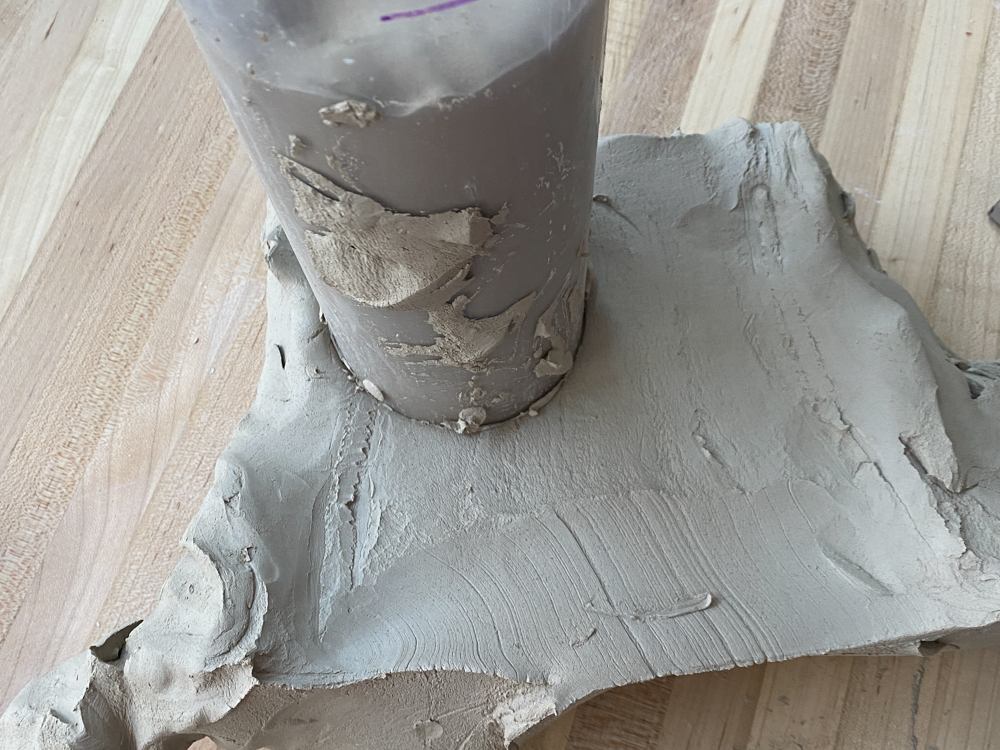
Remove the clay from around the tube.
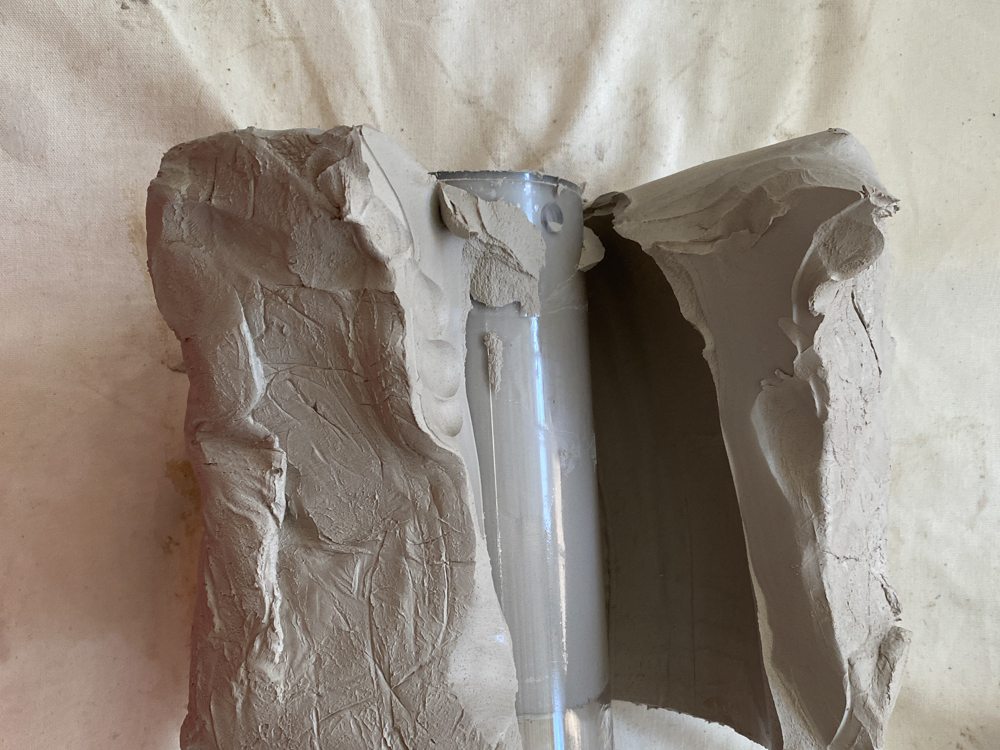
Repeat the process with the rest of the clay from the bag, taking care not to trap any air pockets in the tube.
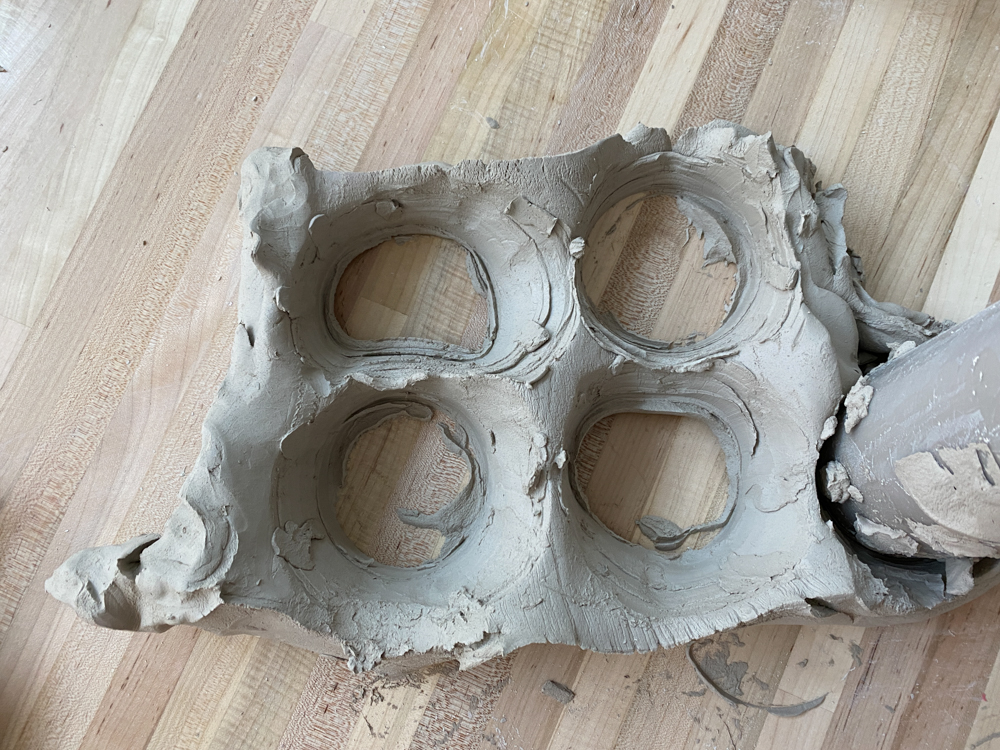
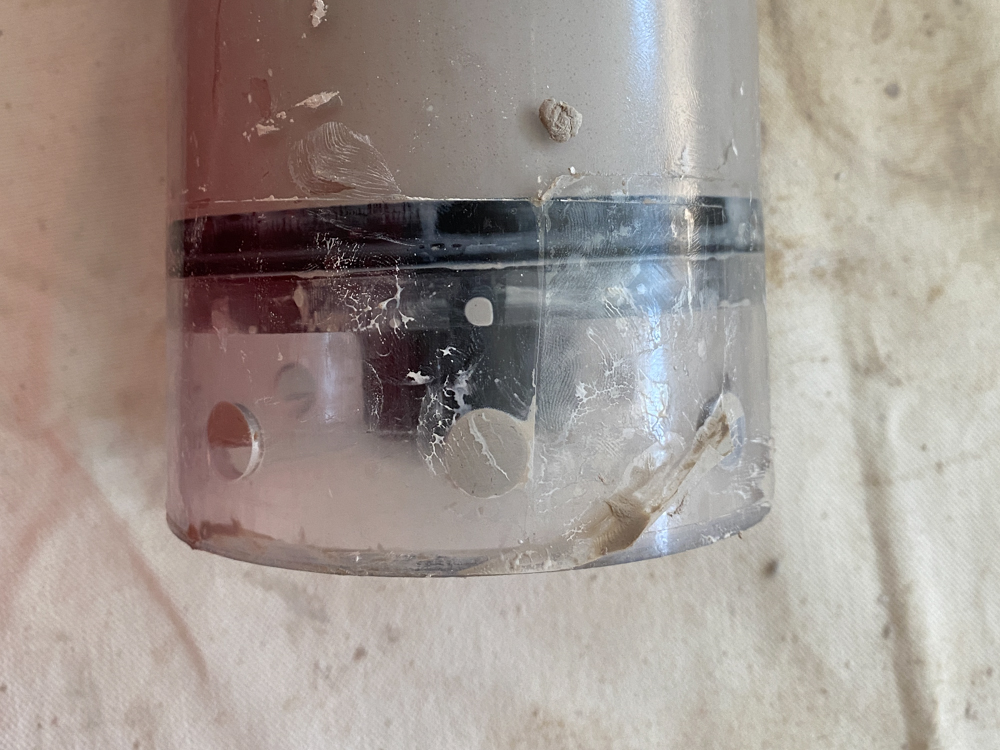
You should now have a tube that is around 3/4 full with no air bubbles:
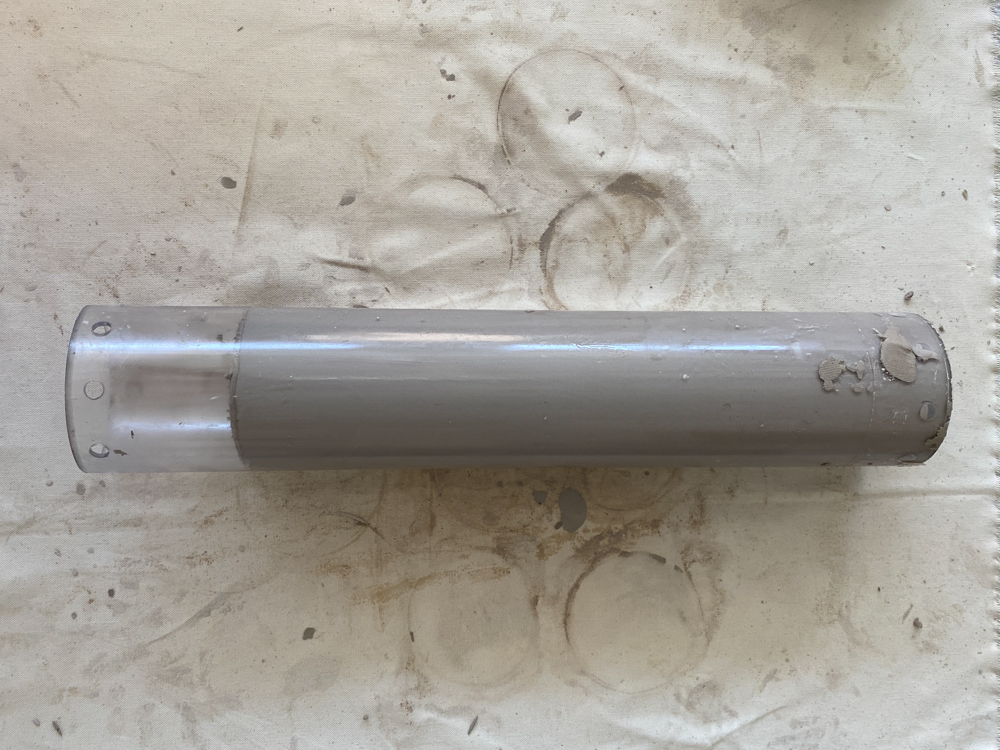
Clean off any excess clay from the outside of the tube. Put the leftover clay back into the bag with a water soaked rag or in the clay recycling bucket.
3. Insert the plunger
Put the plunger gasket on the plunger.
Important: Make sure the open side of the gasket is facing the clay, not the plunger. If you attach the gasket upside down, it will not seal the tube and you will have serious printing problems. Clay can start to come out around the plunger, filling the top half of the tube with clay.
Wet the plunger and gasket. Align the plunger at the top of the clay tube and press it down past the screw holes for the stepper motor. You can press it down by hand, or use the clay extruder for more leverage. This will move the clay down towards the bottom of the tube. Make sure you leave room for the print head at the bottom of the tube.
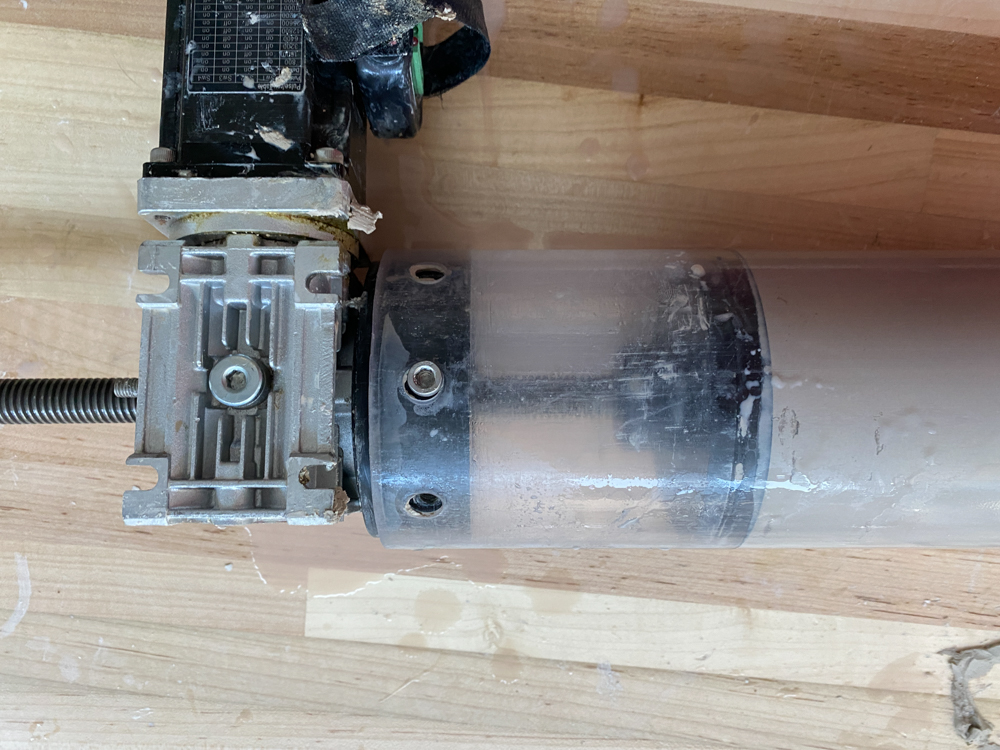
4. Attach the stepper motor assembly
Carefully clean out the tube above the plunger. You do not want any clay in this area. It can rust the threaded rod and potentially get into and damage the motor.
Screw the threaded rod through the motor so that the assembly can fit onto the tube. Align the assembly and screw it on the tube. Take care not to strip out any screws or attach the tube in a lopsided way.

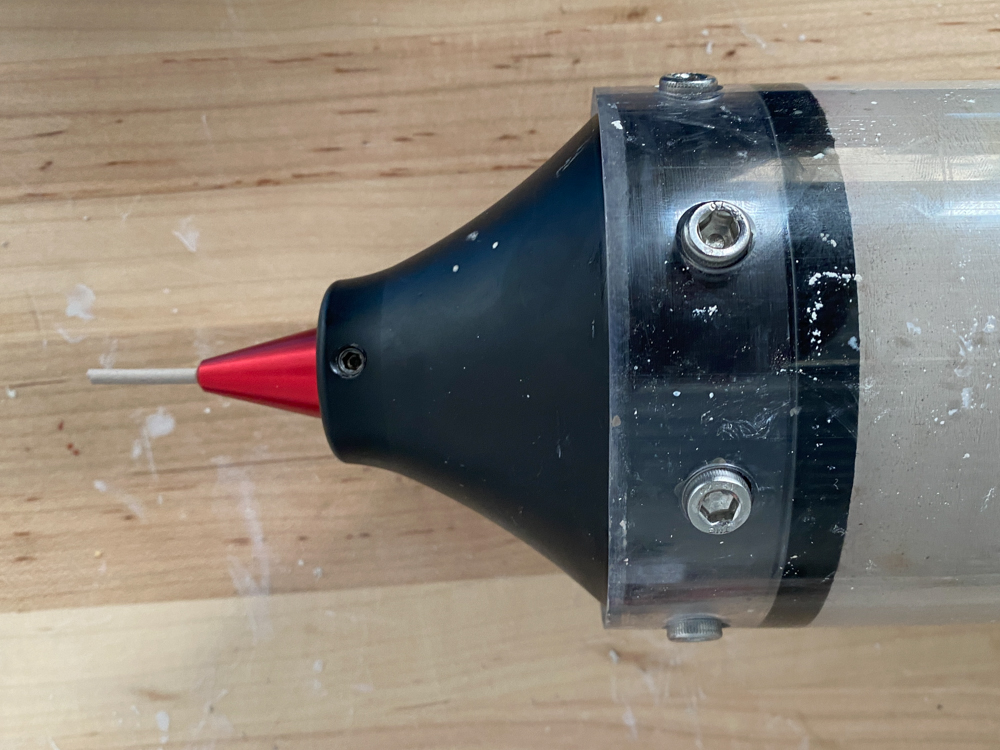
5. Attach the print head
Put the print head gasket on the plunger.
Important: Make sure the open side of the gasket is facing the clay, not the print head. If you attach the gasket upside down, it will not seal the tube and you will have serious printing problems. In this case, clay can start to come out around the print head and screw holes.

Wet the print head and gasket. Fit the print head into place and attach it with screws. Again take care not to strip out any screws or attach the print head in a lopsided way.
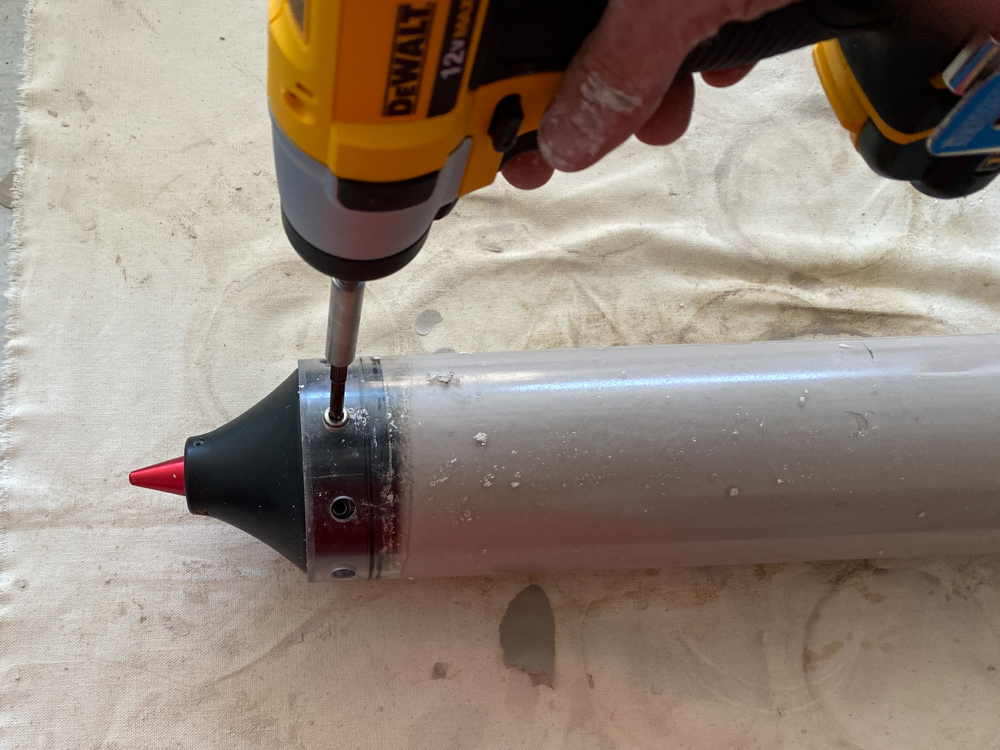
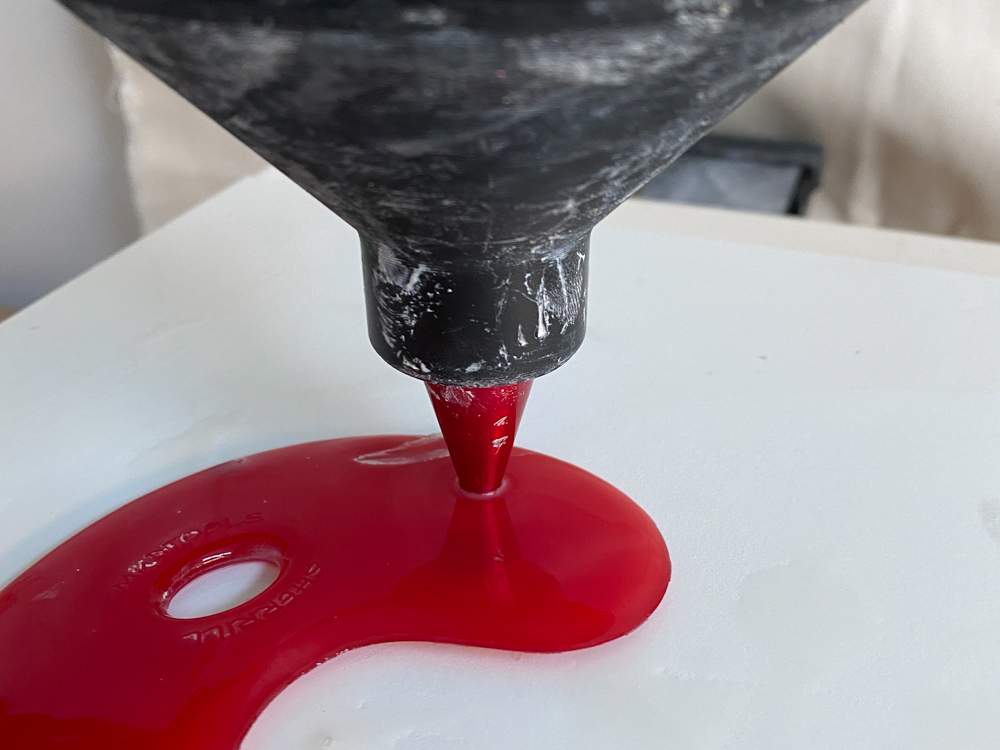
6. Set up clay to extrude
Use the square drill attachment to move the plunger down the tube until clay is extruded out the nozzle of the print head. You may need to turn the threaded rod by hand or with pliers once pressure builds up in the tube.

7. Move the print head to its lowest position
Turn on the printer. On your computer, open up a web browser and go to the web address for the machine you want to use.
The Super 10’s address is: http://10.0.1.9
The Micro 10’s address is: http://10.0.1.8
Home the printer. Select “Dashboard” from the left hand menu and then click the “HOME ALL” button. If you cannot see a menu on the left of your screen, make your browser window larger until it appears.

Move the print head to its starting position. Select “Jobs” from the menu on the left. Choose the “Print Start Location 10.1” job from the main Jobs menu. Click “YES” on the dialogue box that pops up. This will bring the print head to its lowest position and make it easier to load the tube.

8. Attach and level the print head
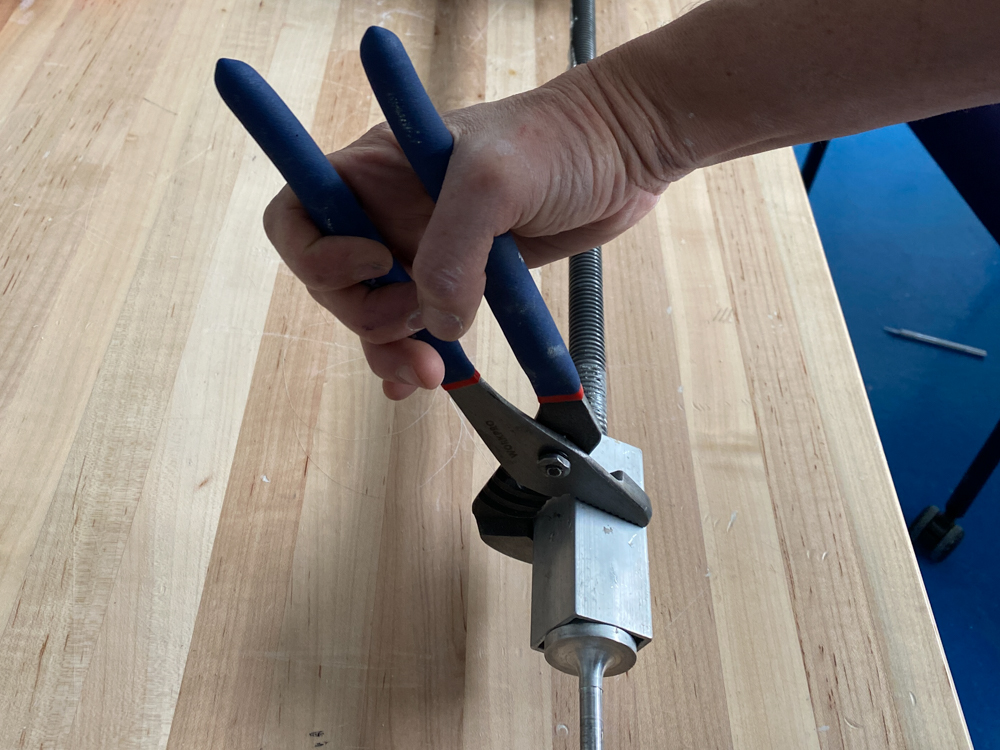
Put the plate you plan to print on on the printer bed. Make sure the printer is at its start position (see previous step). Put the tube in the clamping mechanism. While holding on to the tube, place a red rubber rib tool under the nozzle. This will raise the nozzle slightly off of the printing surface. Clamp the tube in place and remove the rib. The nozzle should be a few millimeters above the printing surface.
9. Attach the extruder motor’s cable to the printer
10. Home the machine.
Select “Dashboard” from the left hand menu and then click the “HOME ALL” button.
You are now ready to print!
Printing a .gcode File
1. Join the handandmachine network
You cannot access the machine from any other network.
2. Turn on the printer you want to use
You cannot access the machine interface unless the printer is turned on.
3. Log in to the machine interface
Open up a web browser and go to the web address for the machine you want to use.
The Super 10’s address is: http://10.0.1.9
The Micro 10’s address is: http://10.0.1.8
4. Upload your gcode file
Select “Jobs” in the left hand menu. Browse to the folder with your jobs. If you don’t yet have your own folder for prints, you should create one.
Click on the “UPLOAD G-CODE FILES” button to upload your file.

5. Print your file
Click on your .gcode file and then click “YES” on the dialogue box that pops up. Your file will start printing.

Additional Documentation
3D Potter FAQ (most useful PotterBot documentation): https://3dpotter.com/faq
PotterBot site: https://3dpotter.com/printers/potterbot-10-super
PotterBot Cura Profiles: https://drive.google.com/drive/u/1/folders/1Z75URXSYHz8LaEkh–1E-EALXg_C-xrJ
Iowa State Computation and Construction Lab‘s excellent PotterBot documentation. Their workflow is different, but very useful to read through: https://ccl.design.iastate.edu/wp-content/uploads/2018/11/Current-Potterbot-Workflow.pdf