Bed size: 20 x 18 inches (455 x 515 mm)
Lasers: 40 Watt CO2 Laser
Tech Specs
Training and Safety
You must got through a laser cutter training with Valery in Arts Lab before using the machine.
Creating an Account
Before using the Glowforge laser cutter, you need a log in. You will be given a login to access the machine.
Getting Ready to Cut
0. Join the local network. You cannot access the machine from any other network.
1. Sign into your the Glowforge account. The Glowforge software is accessed at app.glowforge.com. You will need to have an account in order to use the laser cutter.
2. Turn on the Glowforge. The power switch is located on the back side of the printer on the right.
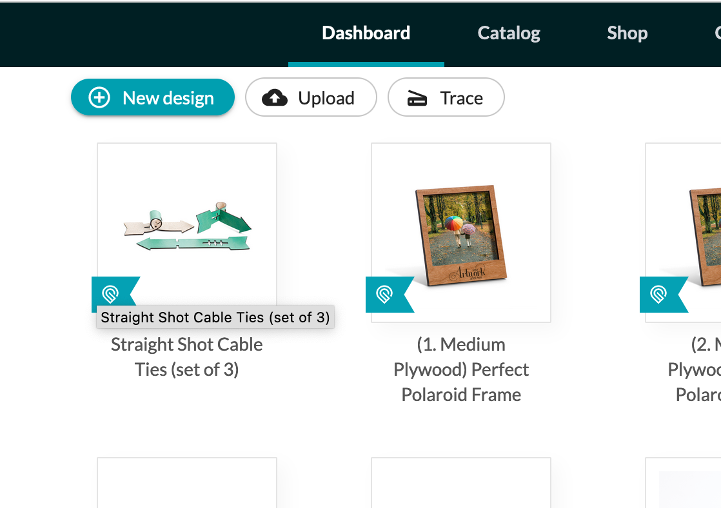
3. Upload design. Design must be in .svg or .pdf format.
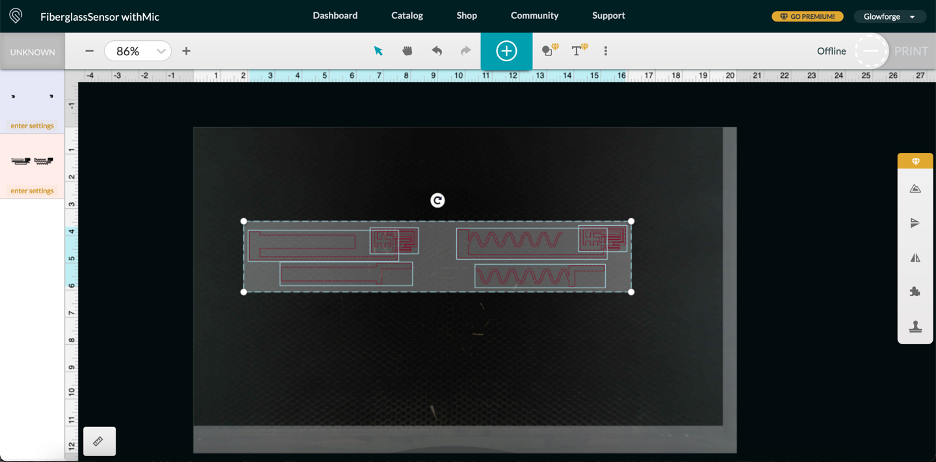
After uploading file, the Glowforge website will open your design in print view. Make sure the printer is online. The Glowforge website print dashboard will display an image of the printer bed.
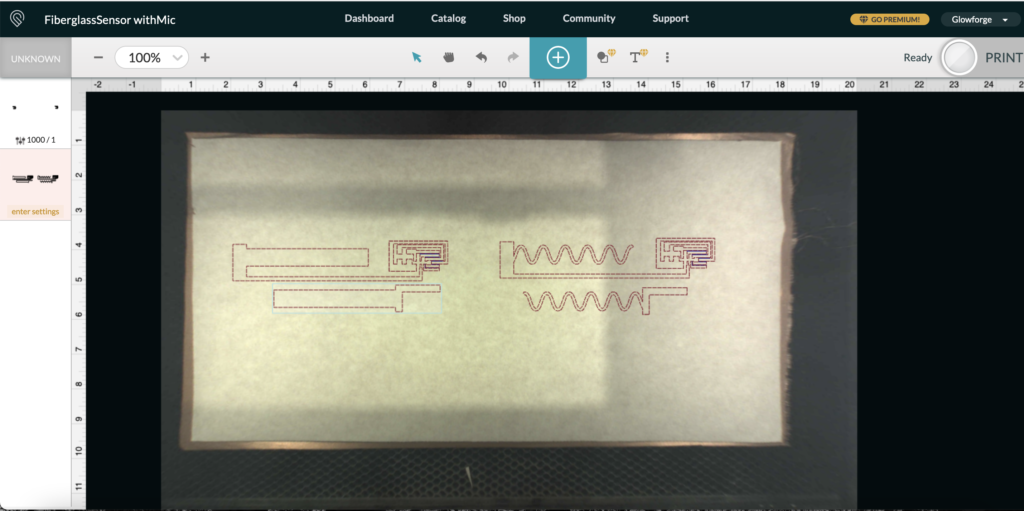
4. Load the Glowforge with your material. If necessary, use magnets or tape to keep material flat.
5. Position your design in the software. Wait for the image displayed in the Glowforge print dashboard to update. Your material in the print bed should be displayed on the dashboard. Position your design where you want it to be cut.
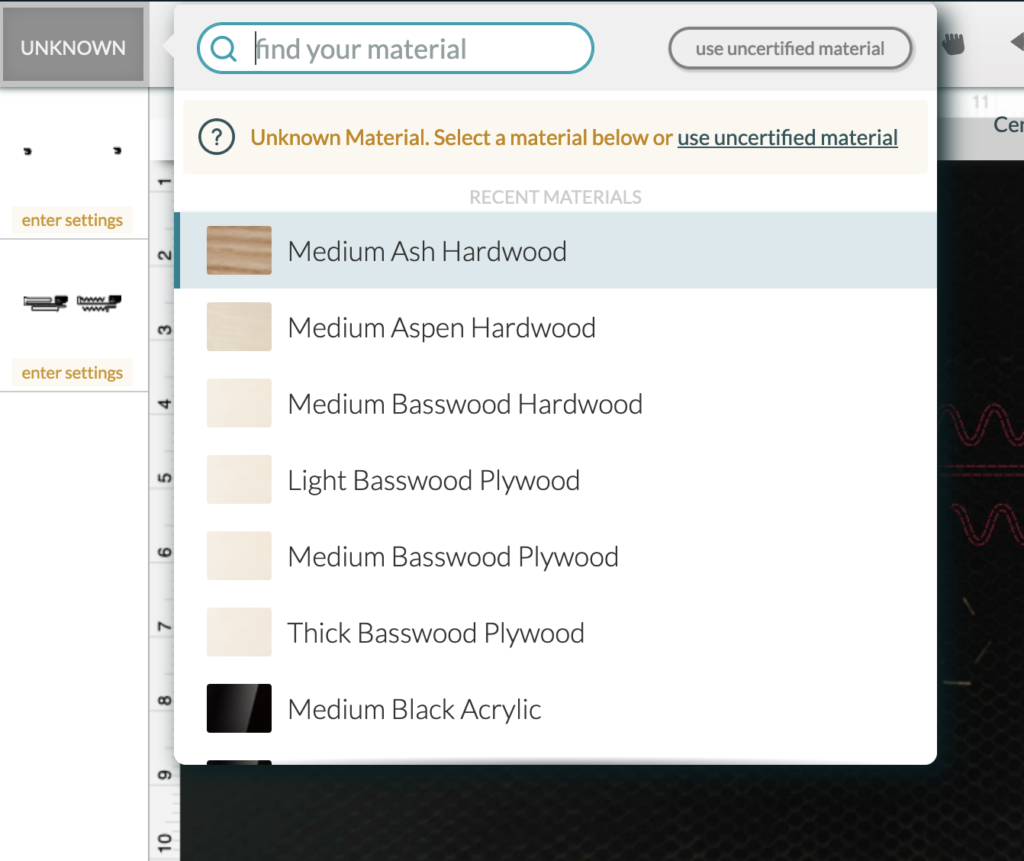
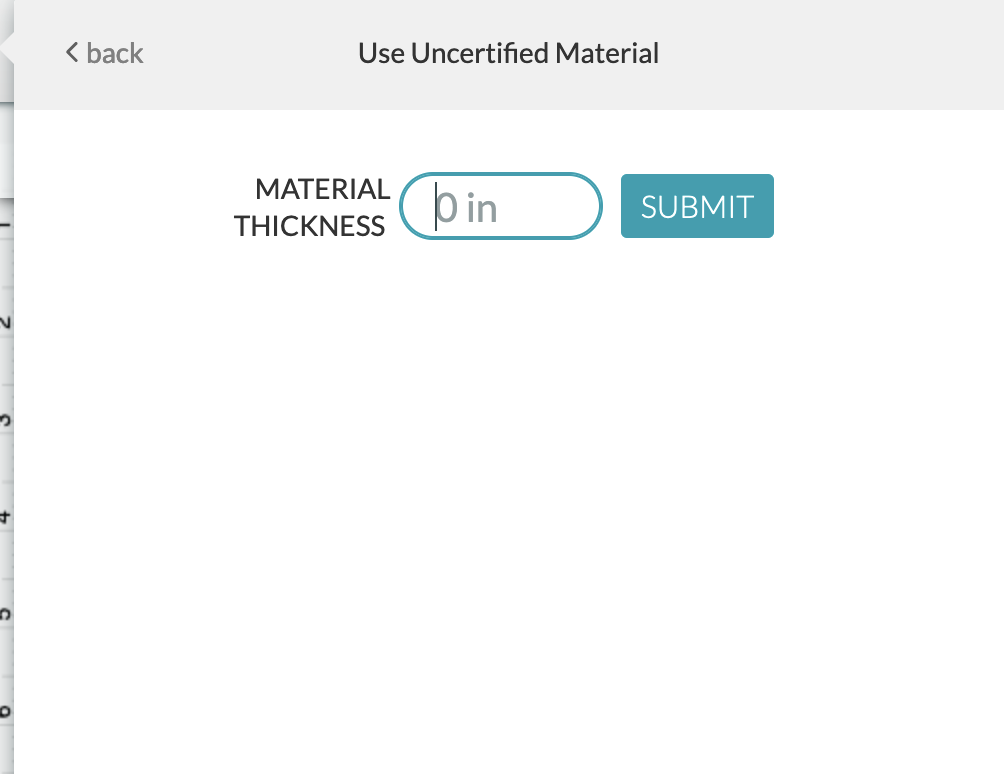
6. Select material type. Click the “unknown” icon to select from a list of certified materials. If your material does not appear in the list of certified materials, you can select “use uncertified material” and input your material thickness.
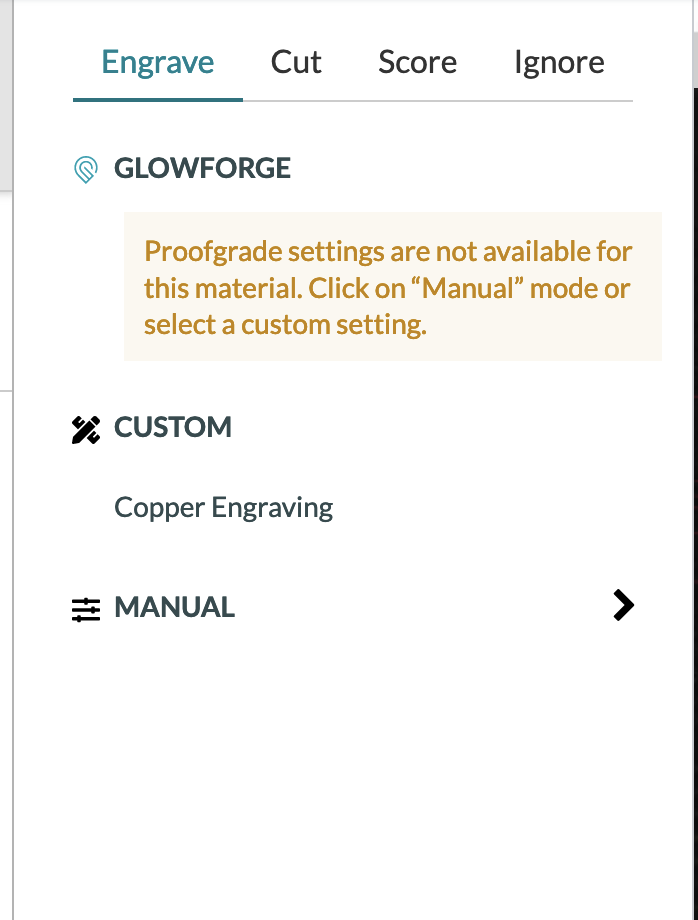
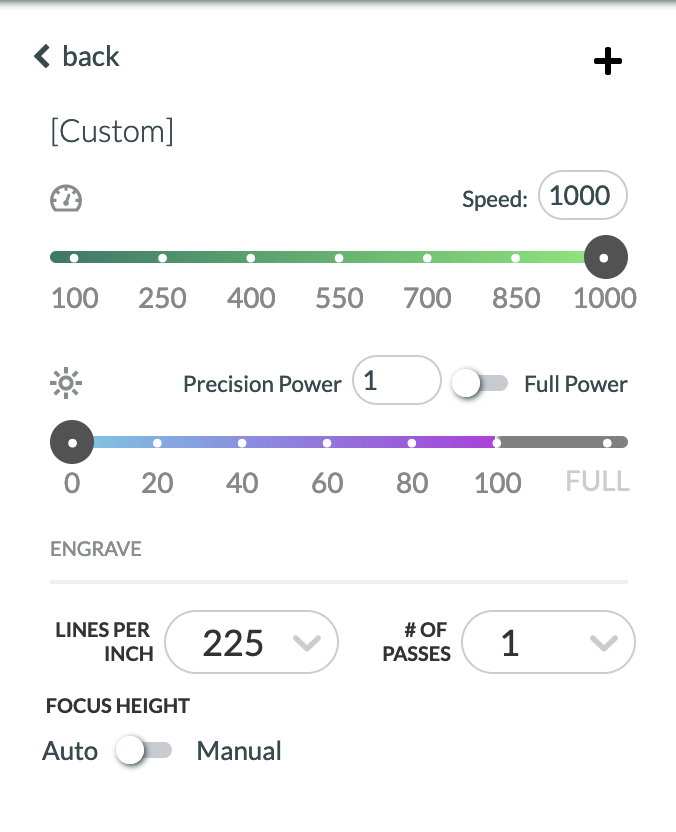
7. Select cut settings. On the left toolbar your design appears. Clicking your design will cause the cut settings to appear. If you are using a certified material, you can select from preset options. If using an uncertified material, you can manually enter your cut settings, and save them as a custom setting for use later.
Cutting Your File
1. Turn on the air filter. The air filter is a white box located below the Glowforge. Turn the knob to the right to turn the filter on. This is important step to prevent smoke from the laser cutter from entering the lab.
2. Select “print” in the Glowforge dashboard. It may take a few seconds for your design to be made ready to print.
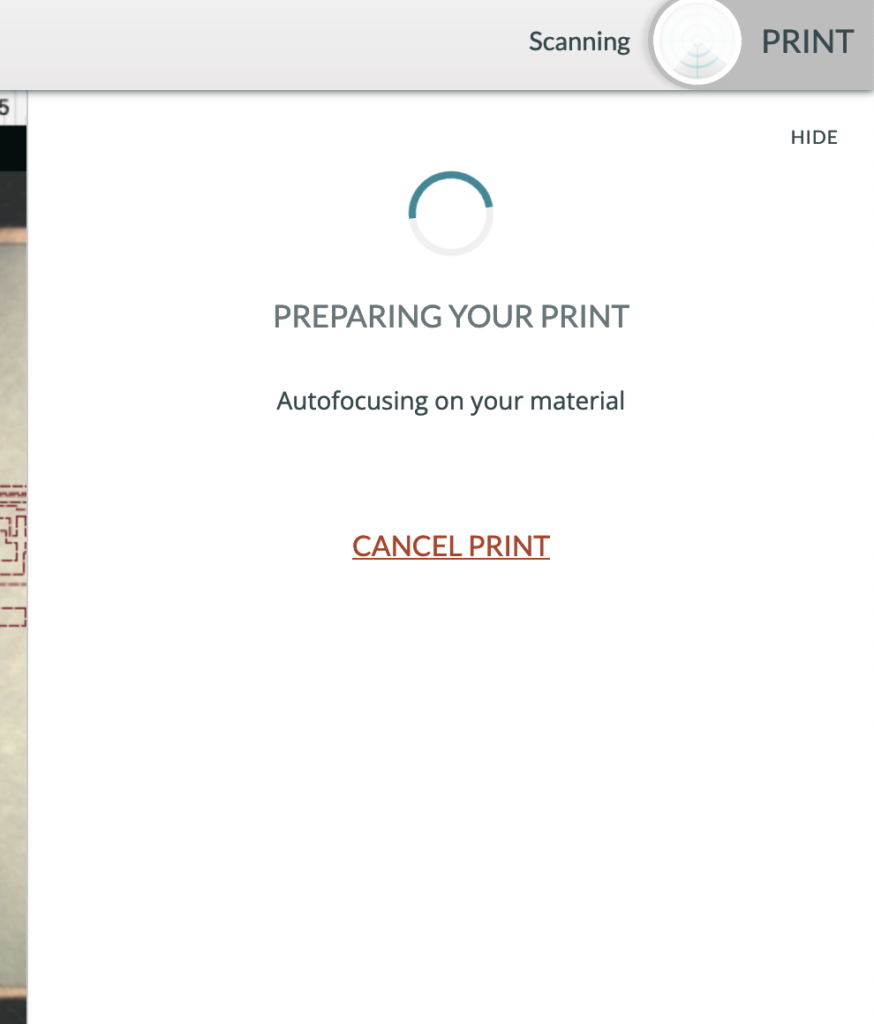
3. Push the print button on the Glowforge. When the design is uploaded and Glowforge is ready to print, the button will glow and blink.
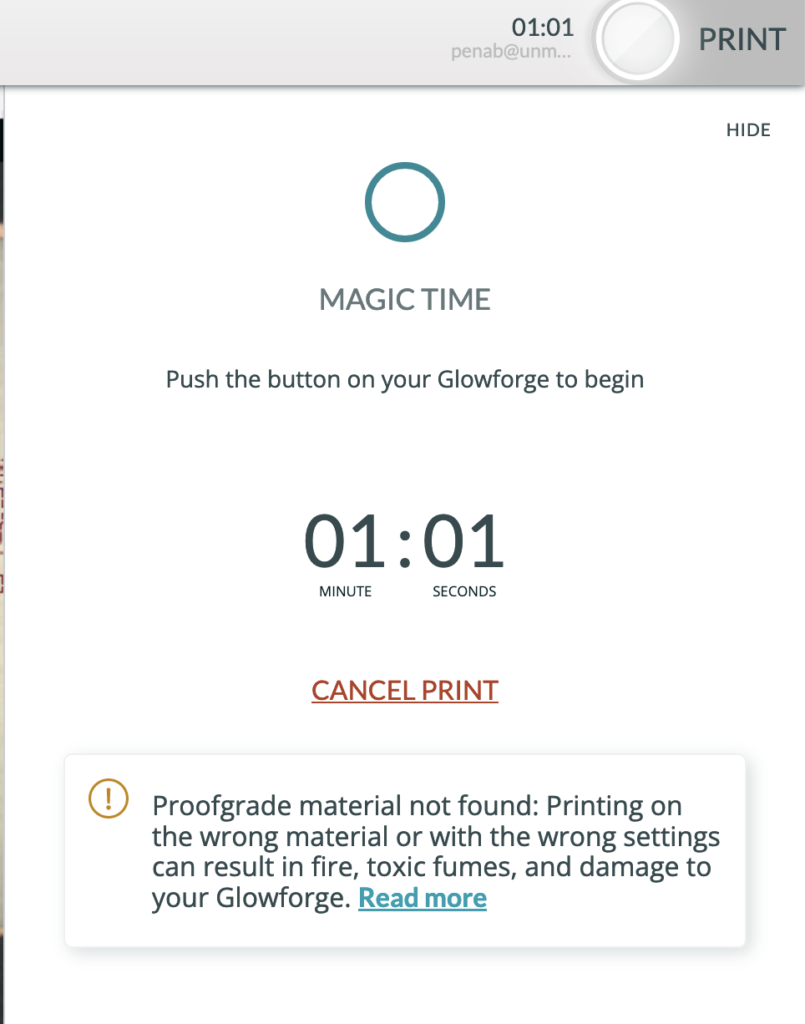
4. Wait for job to finish. The time remaining for your job will be displayed in the Glowforge software in the upper right corner.
5. Remove your job and clean up. Wait for the Glowforge fan to turn off before removing your job. Remove everything from the tray and throw away any excess materials. Remove any magnets.
6. Turn off air filter and turn off Glowforge. Turn off air filter by turning knob to left. If someone is waiting to use the Glowforge, you can leave it on.