Part 1: Curves
Open a new Rhino File and practice the curves commands by completing the following steps. Organize your Rhino file so each step is clear. Use the Text command to label each step and the commands you used.
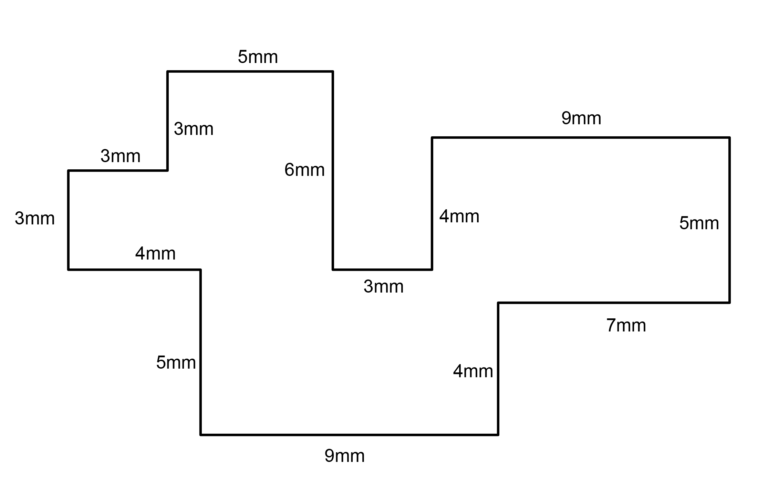
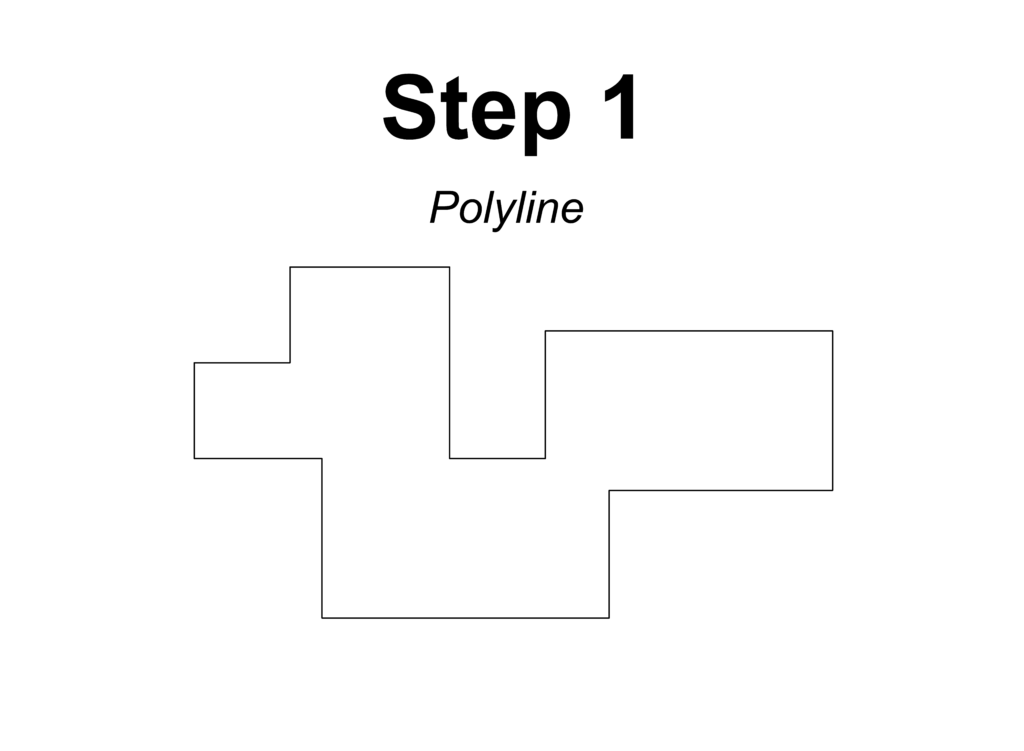
1. Make the specific footprint below.
• Commands: Polyline
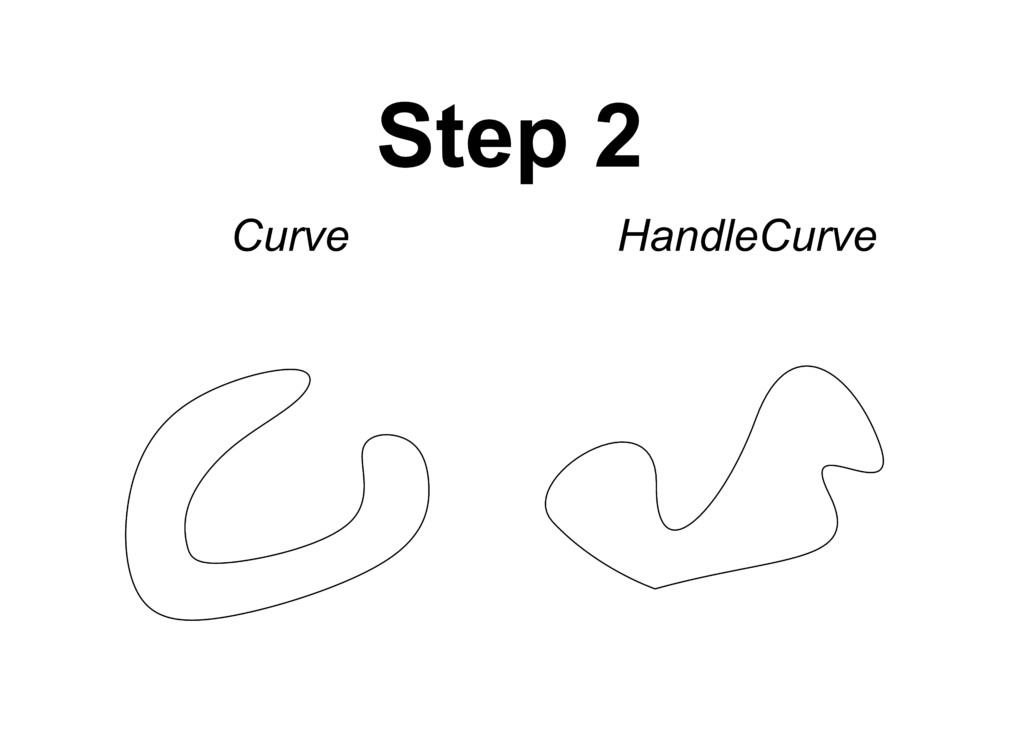
2. Make 2 closed rounded curves using the various curve commands.
• Commands: Curve, InterpCurve, HandleCurve
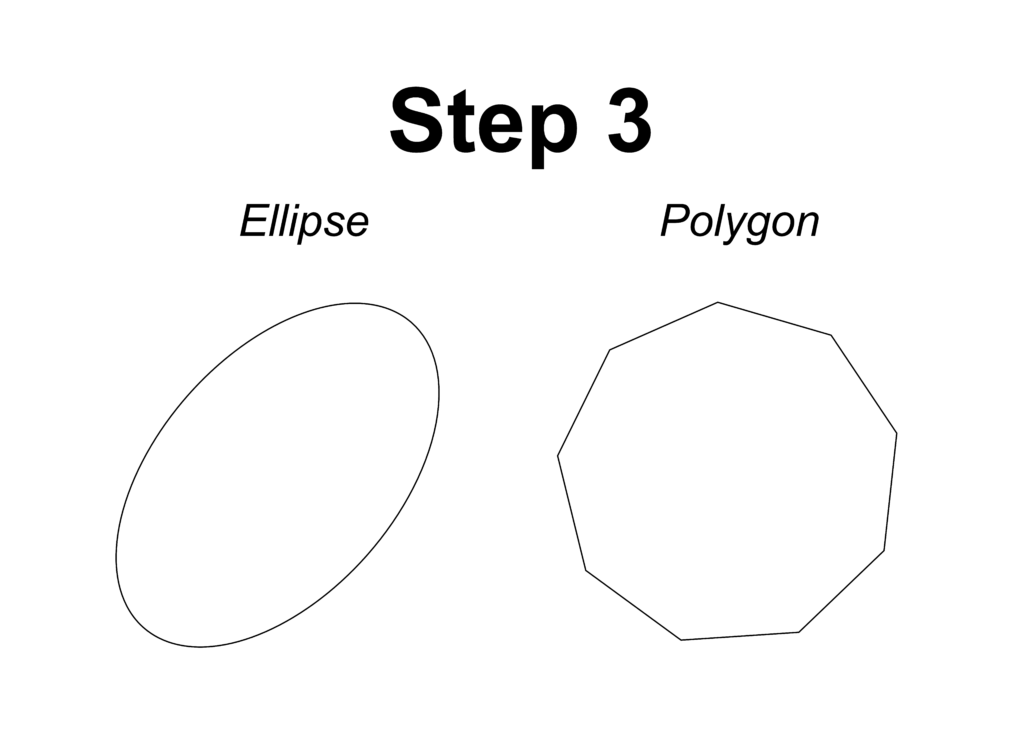
3. Make 2 closed curves using polygon, ellipse, or circle.
• Commands: Circle, Ellipse, Polygon
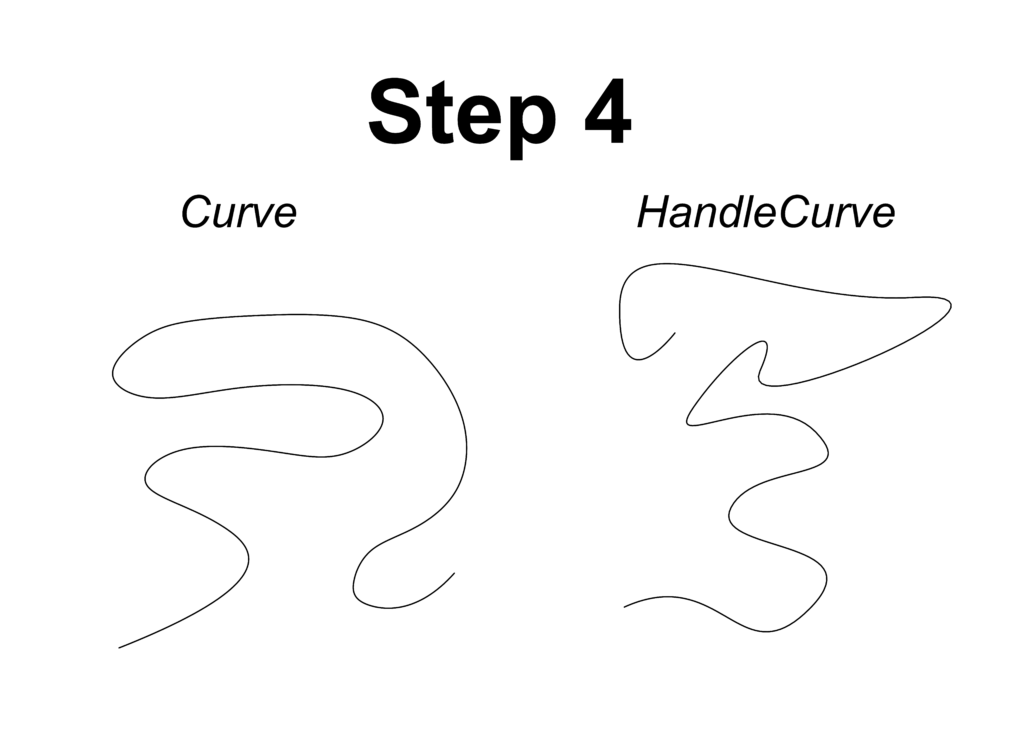
4. Make 2 open curves.
• Commands: Curve, InterpCurve, HandleCurve, Sketch
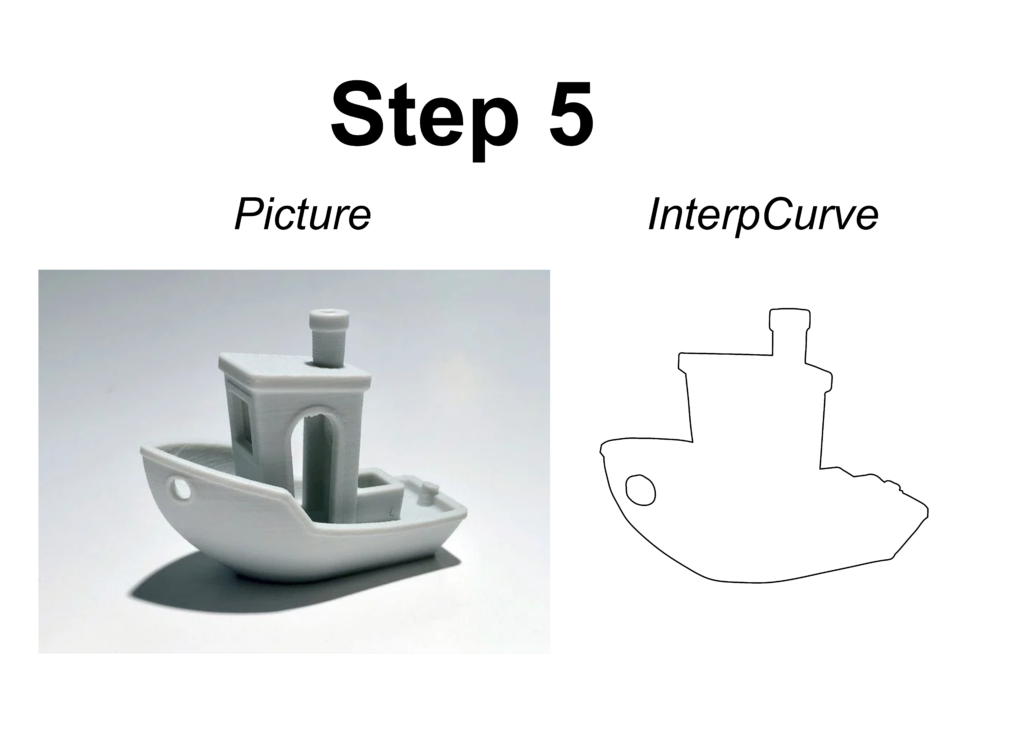
5. Import a picture and trace an image.
• Commands: Picture, InterpCurve
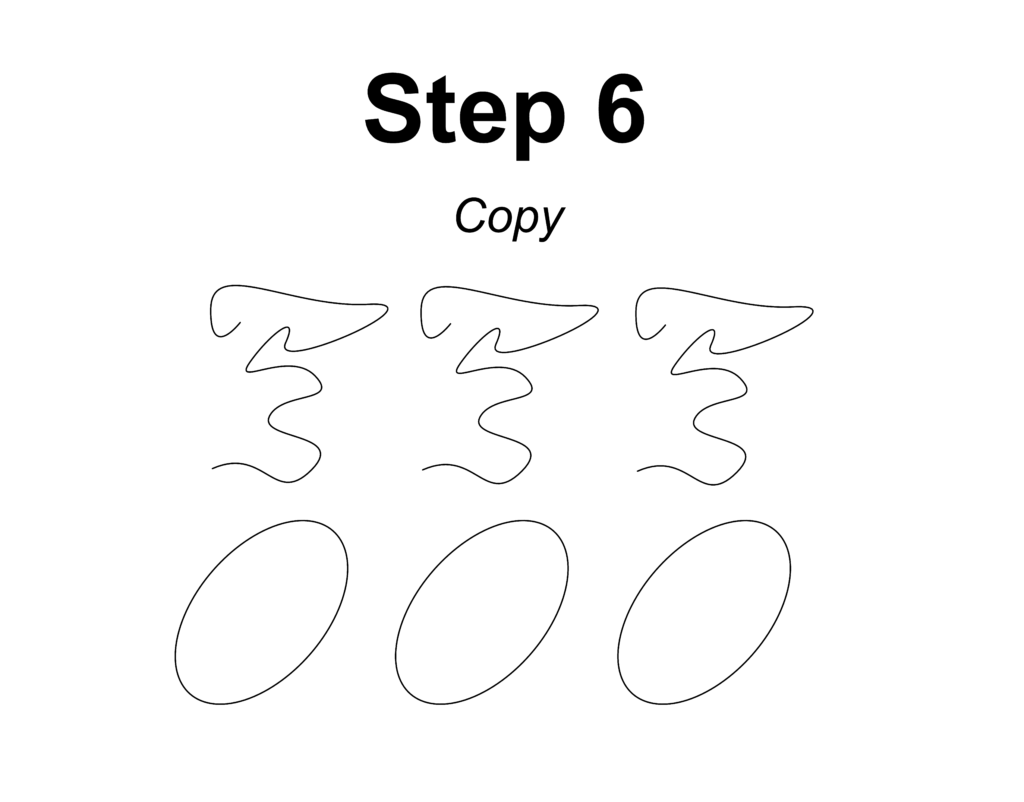
6. Pick one open curve, and one closed rounded curve and make three copies of each.
• Commands: Copy
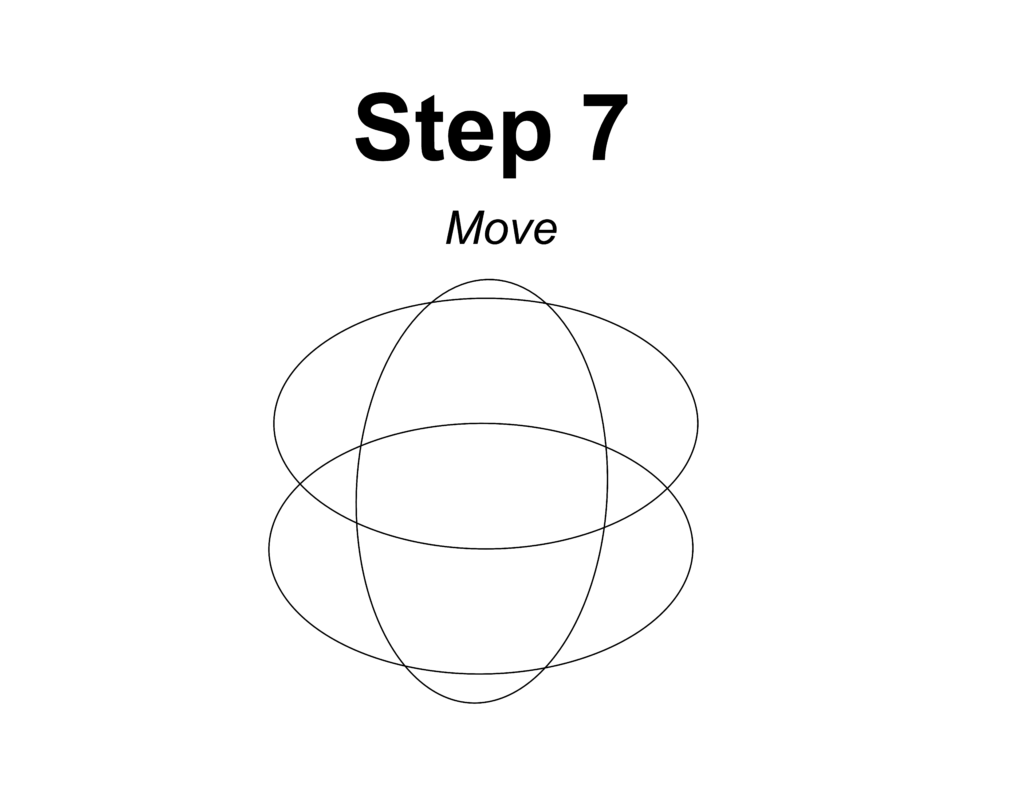
7. Take at least 3 of your closed curves and overlap them to create a new shape.
• Commands: Move
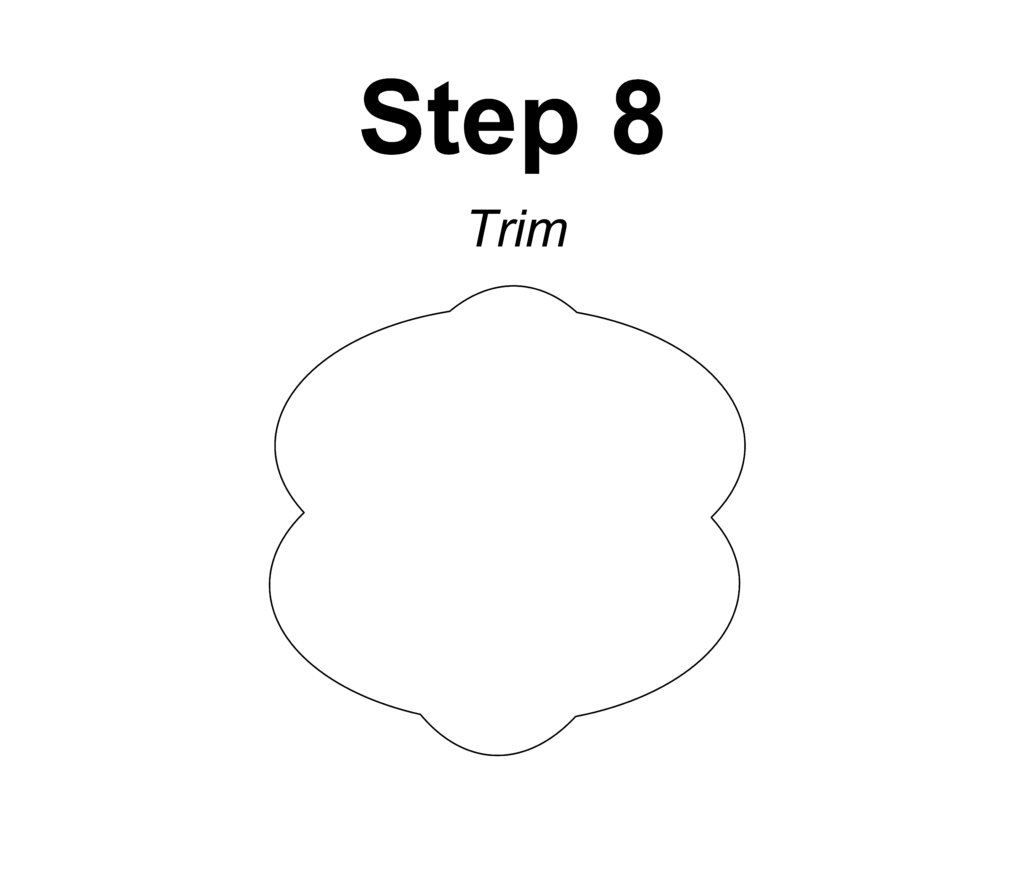
8. Use split, delete, and trim to combine these curves into one open curve.
• Commands: Split, Delete, Trim, Join, Explode
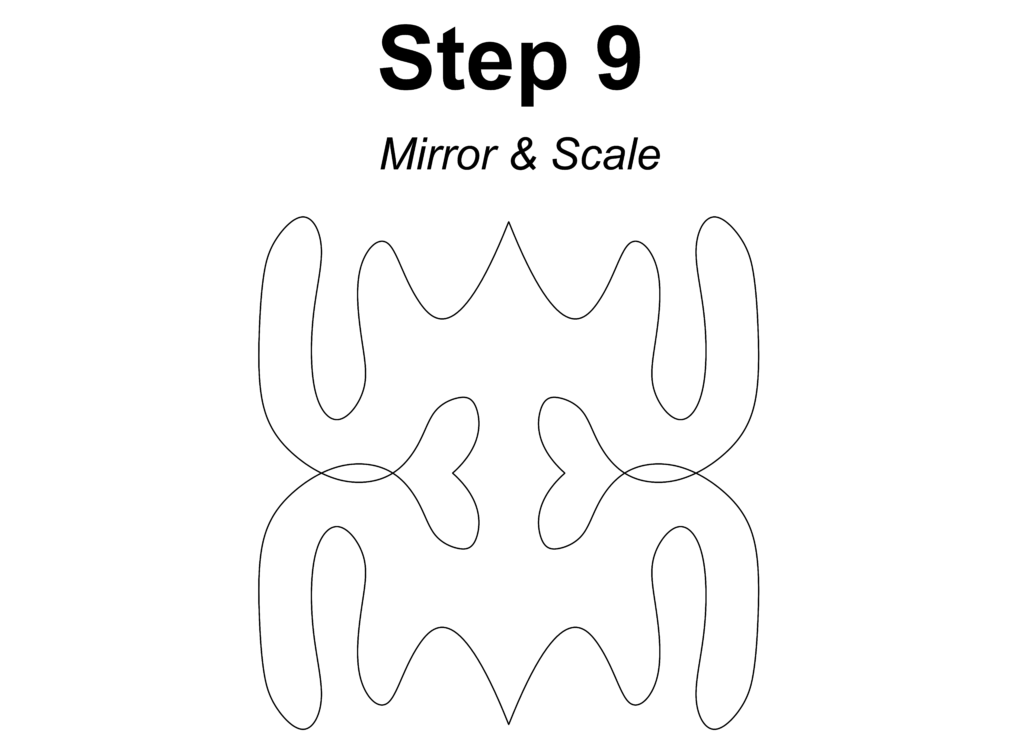
9. Take at least two curves and use various transformations make a pattern or composition.
• Commands: Move, Copy, Rotate, Mirror, Array, Scale, Offset, Fillet, FilletCorners
10. Link to my Part 1: Curves file:
Part 2: Surfaces
Open a new Rhino File and practice the surfaces commands below by making two different surfaces for each command. Organize your Rhino file so each step is clear. You may want to use some of the curves you modeled in Part 1. Use the Text command to label each step and the commands you used.
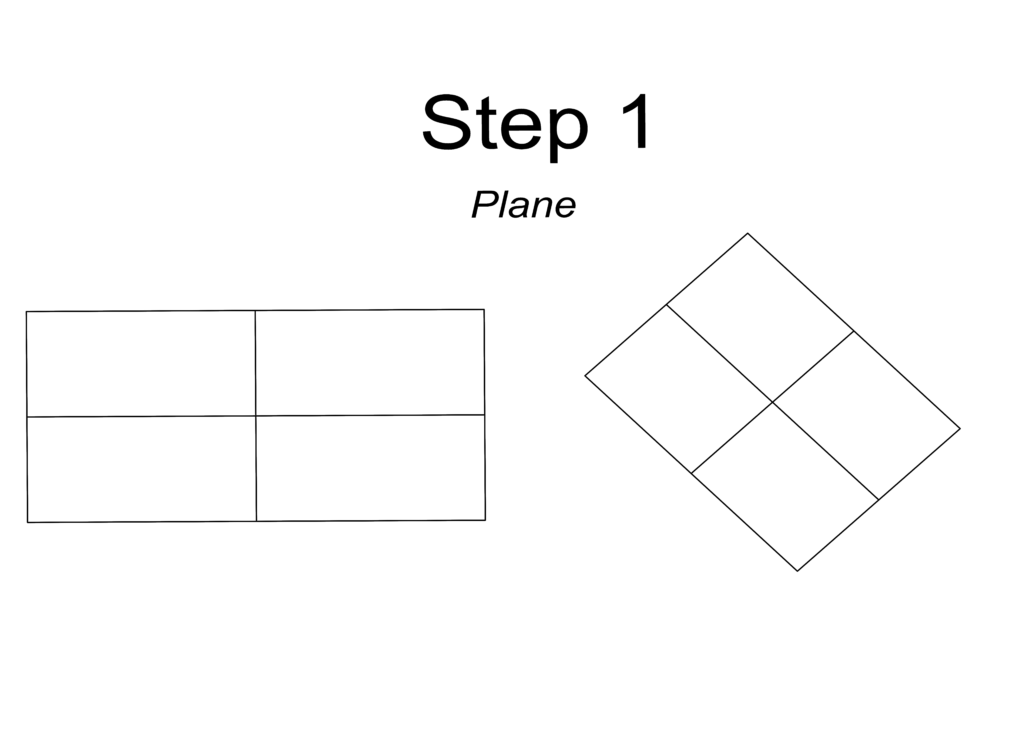
1. Plane
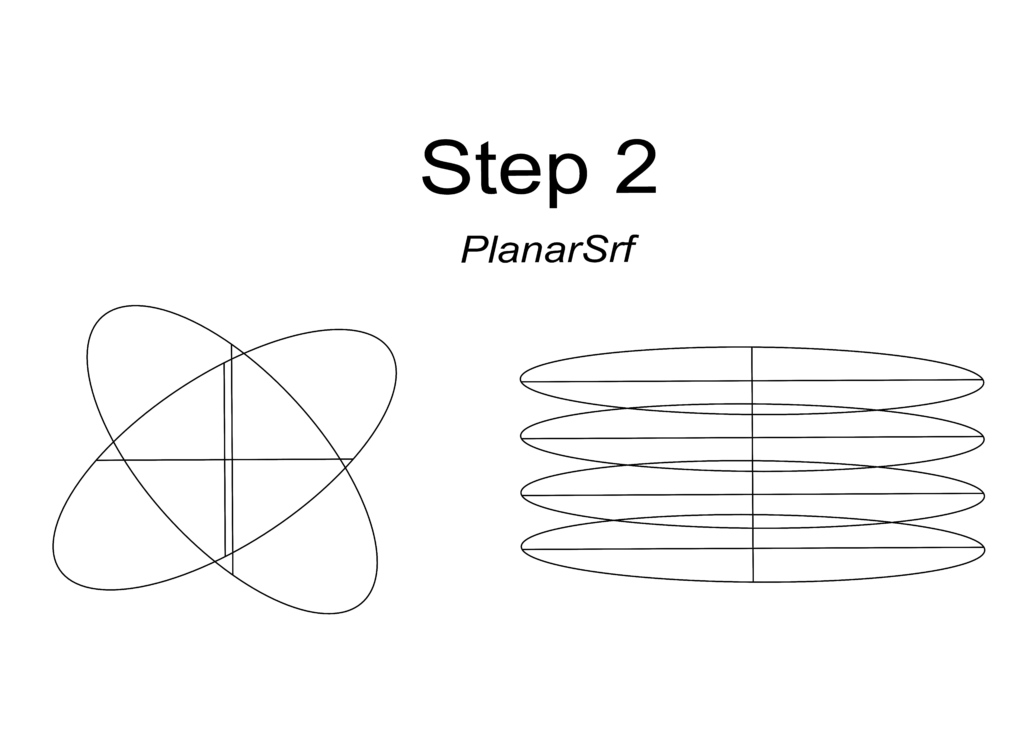
2. PlanarSrf
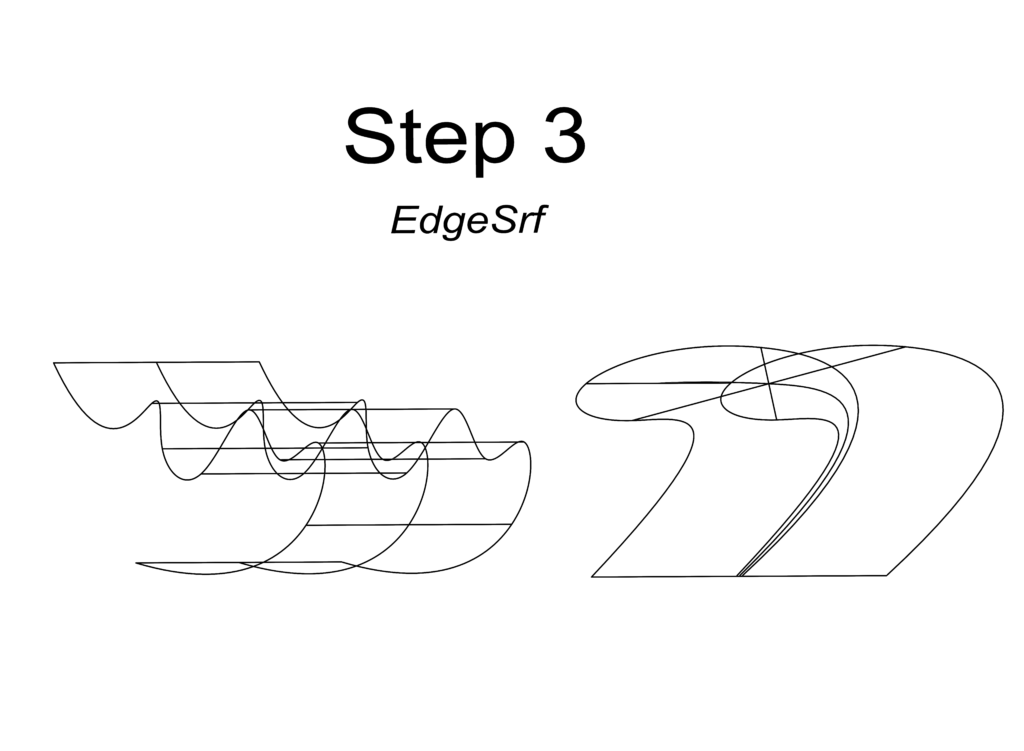
3. EdgeSrf
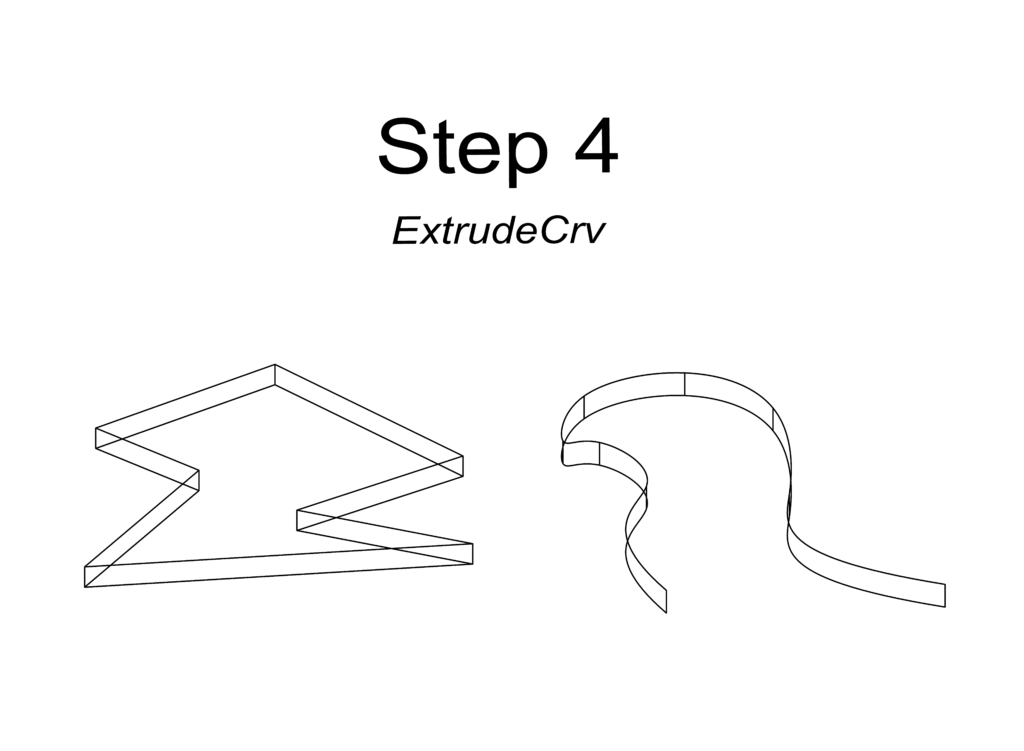
4. ExtrudeCrv
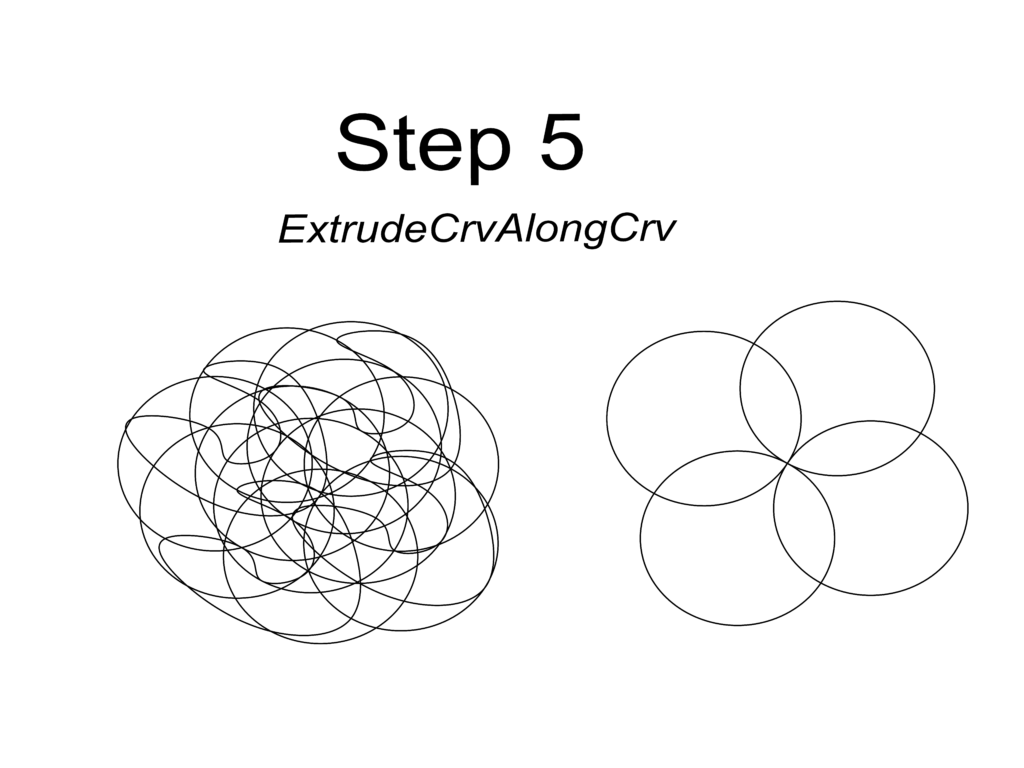
5. ExtrudeCrvAlongCrv
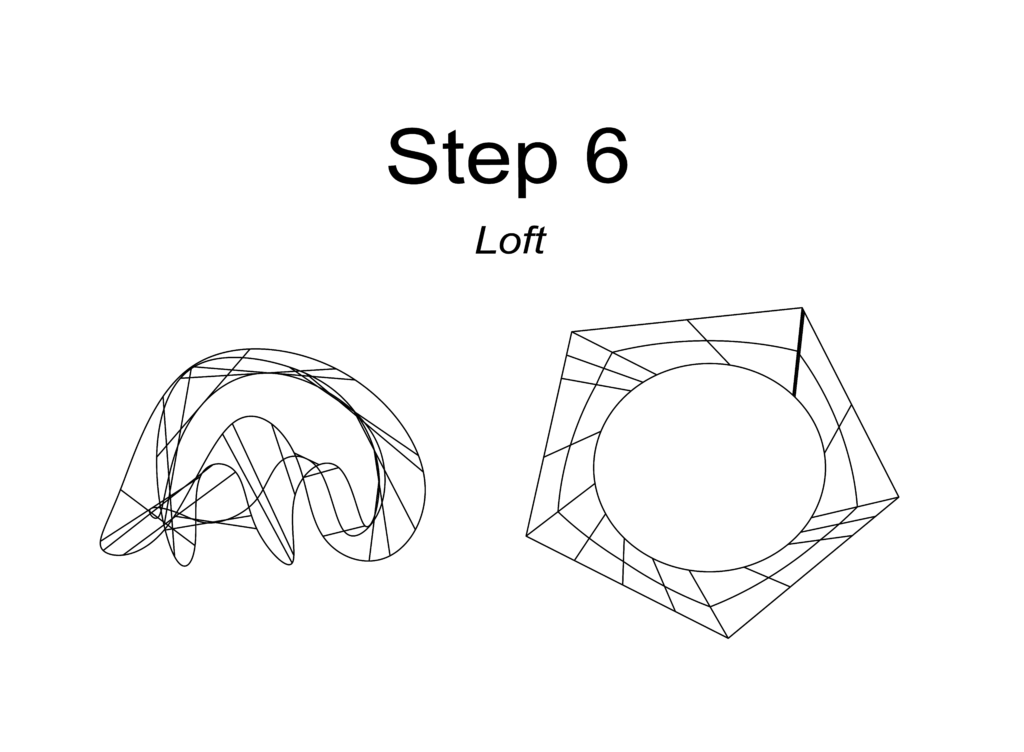
6. Loft
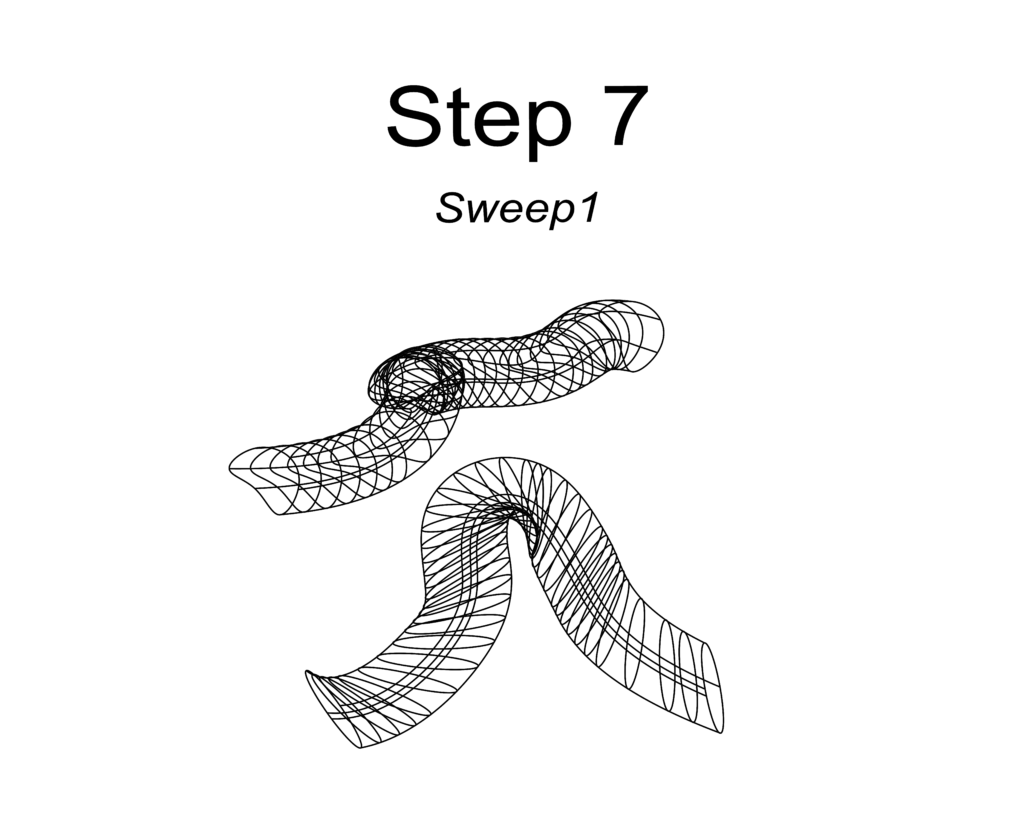
7. Sweep1
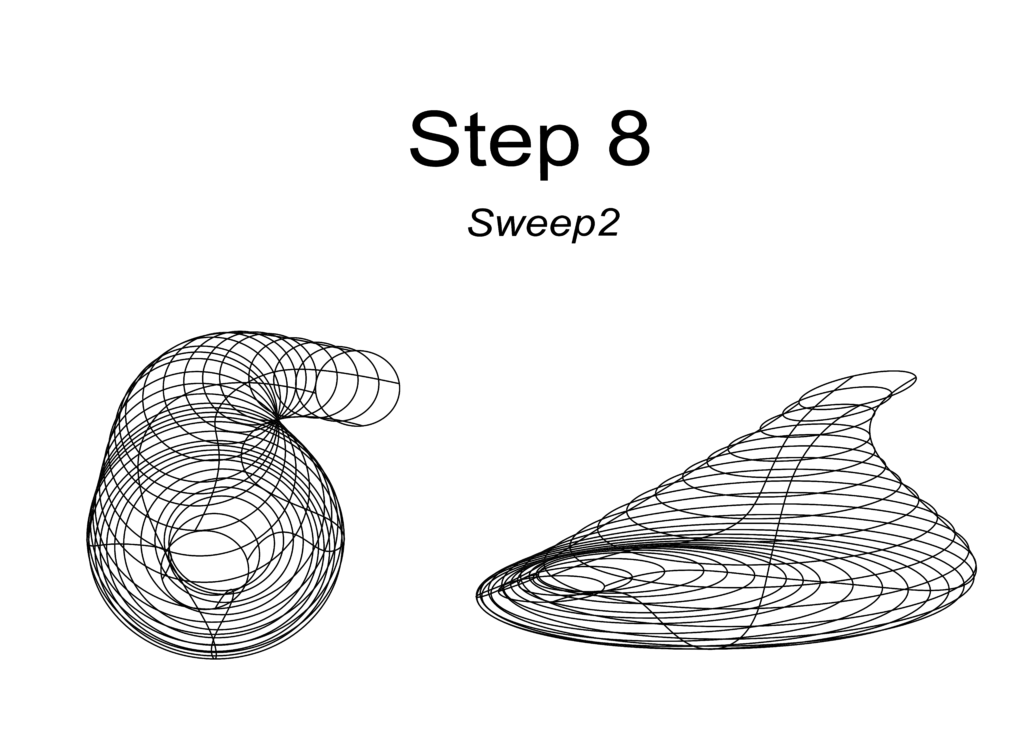
8. Sweep2
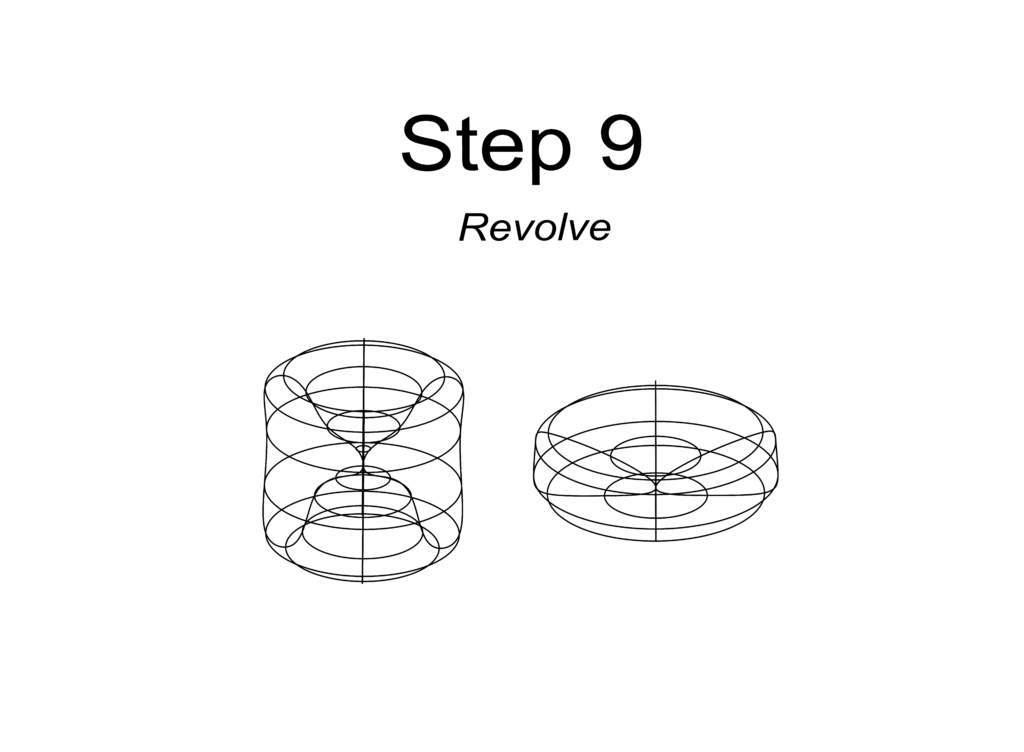
9. Revolve
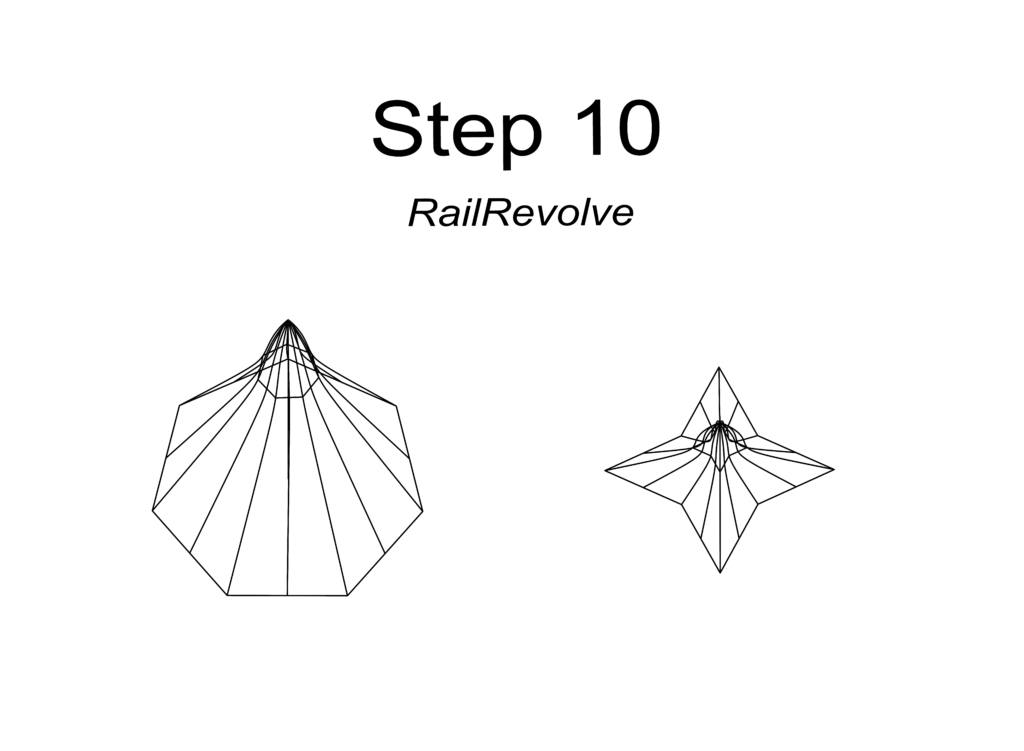
10. RailRevolve
11. Link to my Part 2: Surfaces file:
Part 3: Solids
Open a new Rhino File and practice the solids commands below by making two different solids for each command. You may want to use some of the curves and surfaces you modeled in Parts 1 and 2. Organize your Rhino file so each step is clear. Use the Text command to label each step and the commands you used.
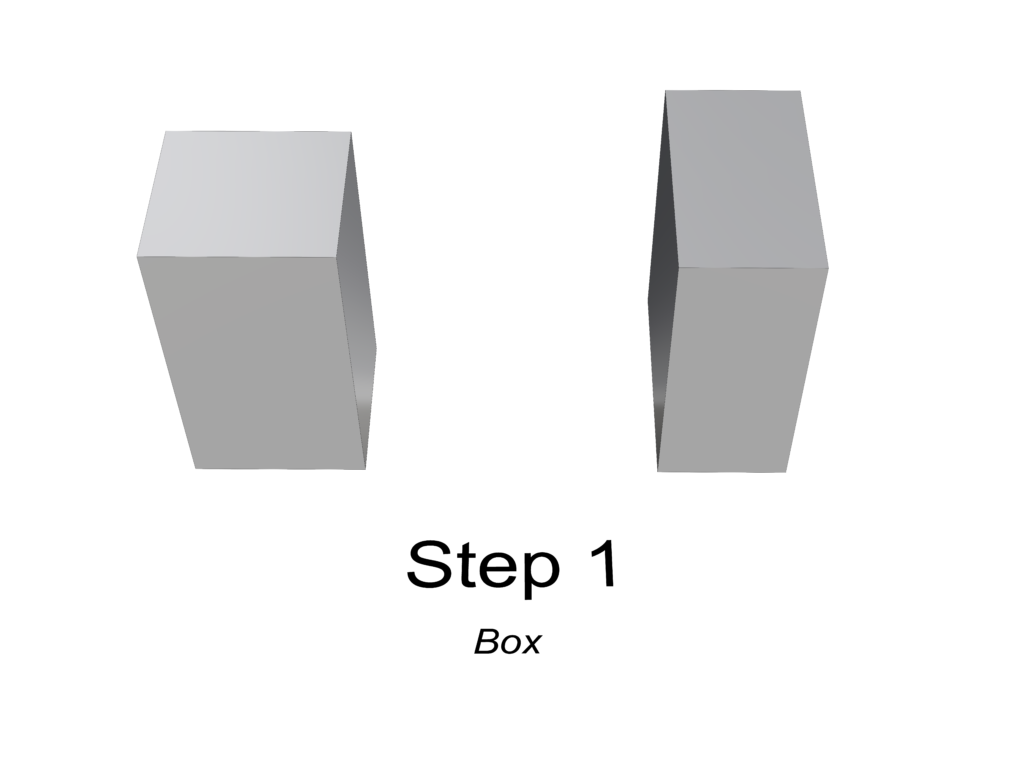
1. Box
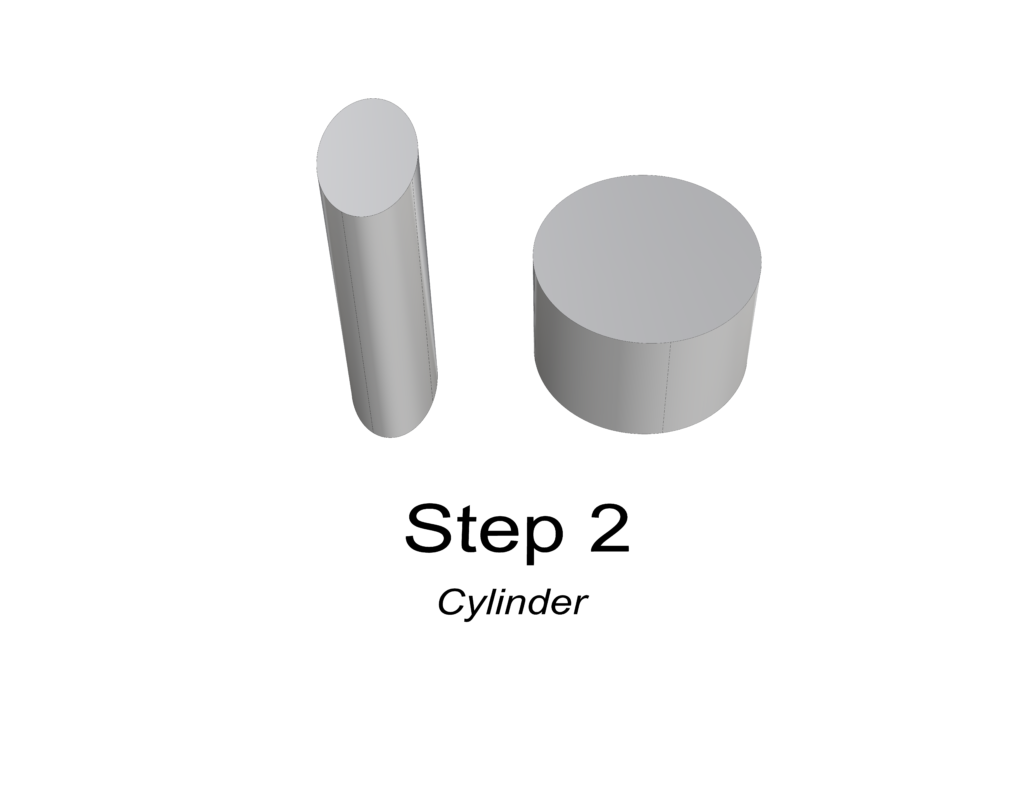
2. Cylinder
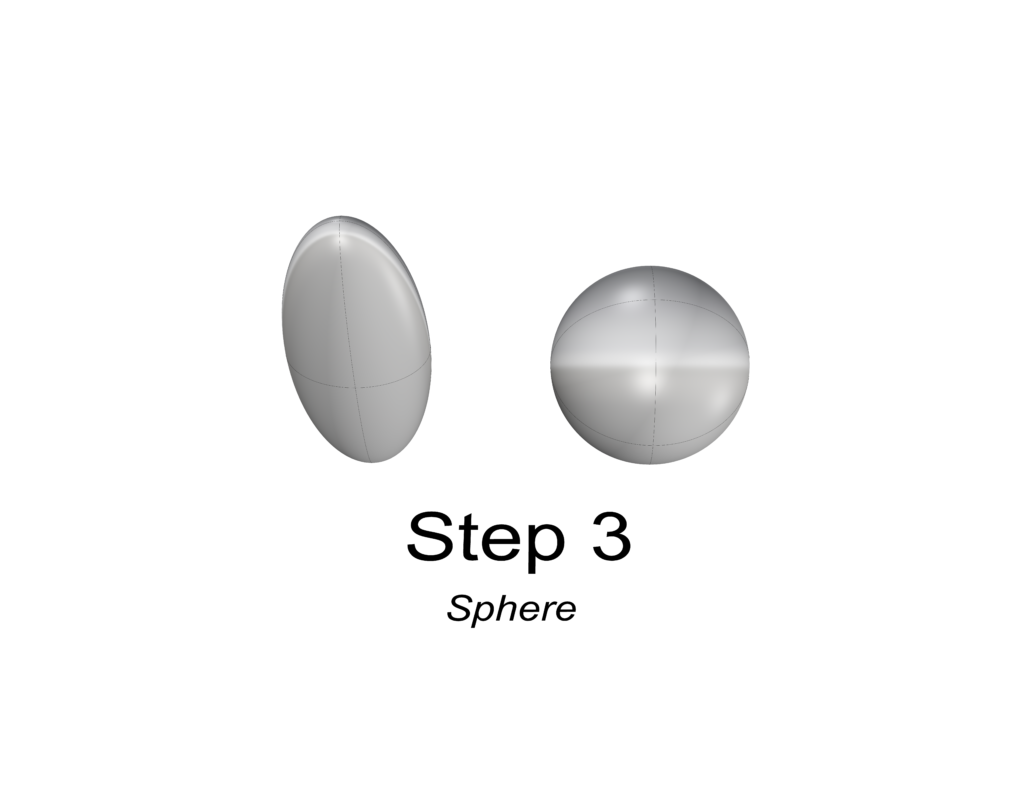
3. Sphere
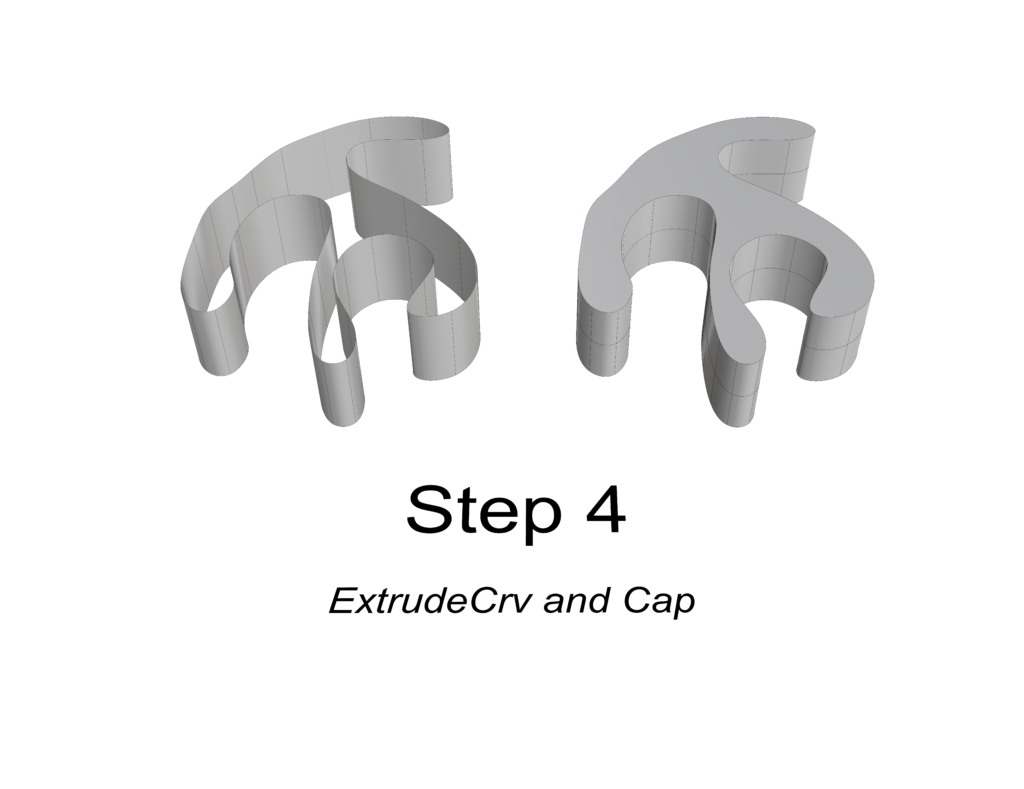
4. ExtrudeCrv and Cap
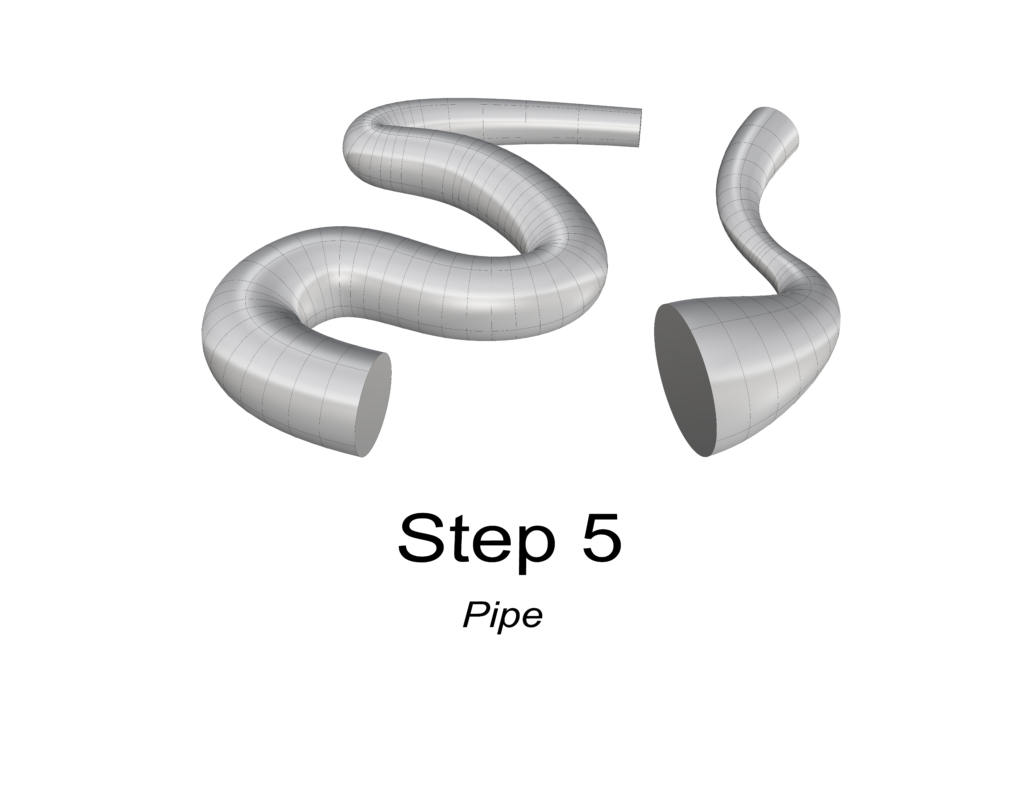
5. Pipe
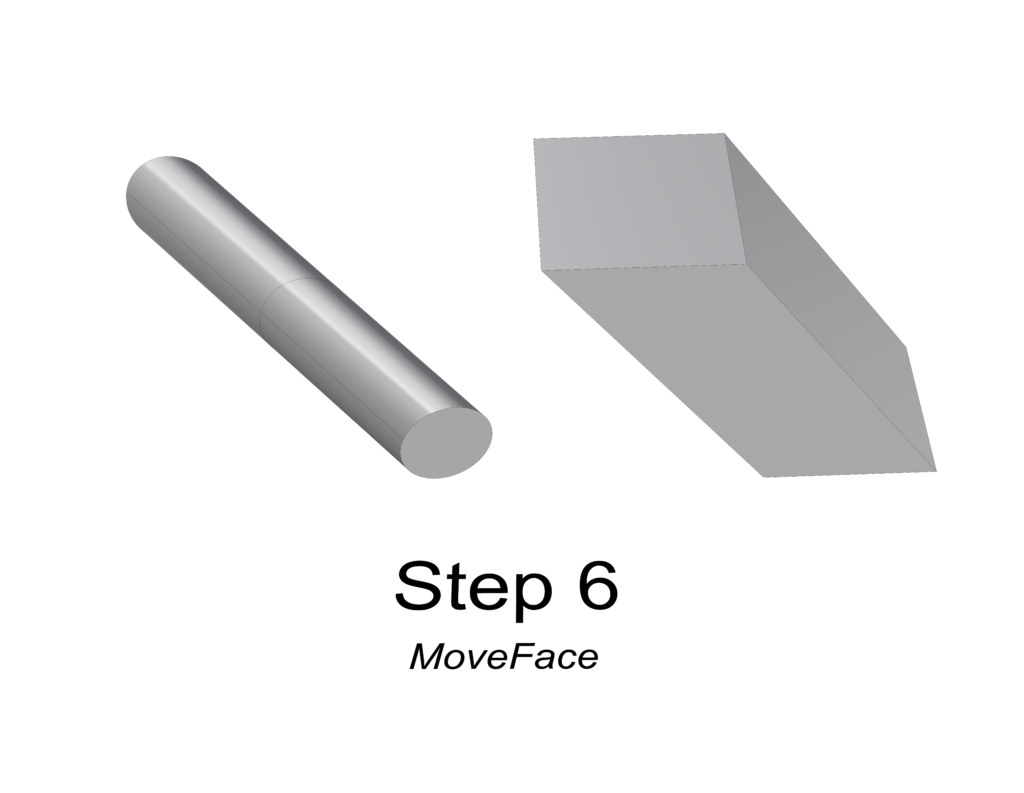
6. MoveFace
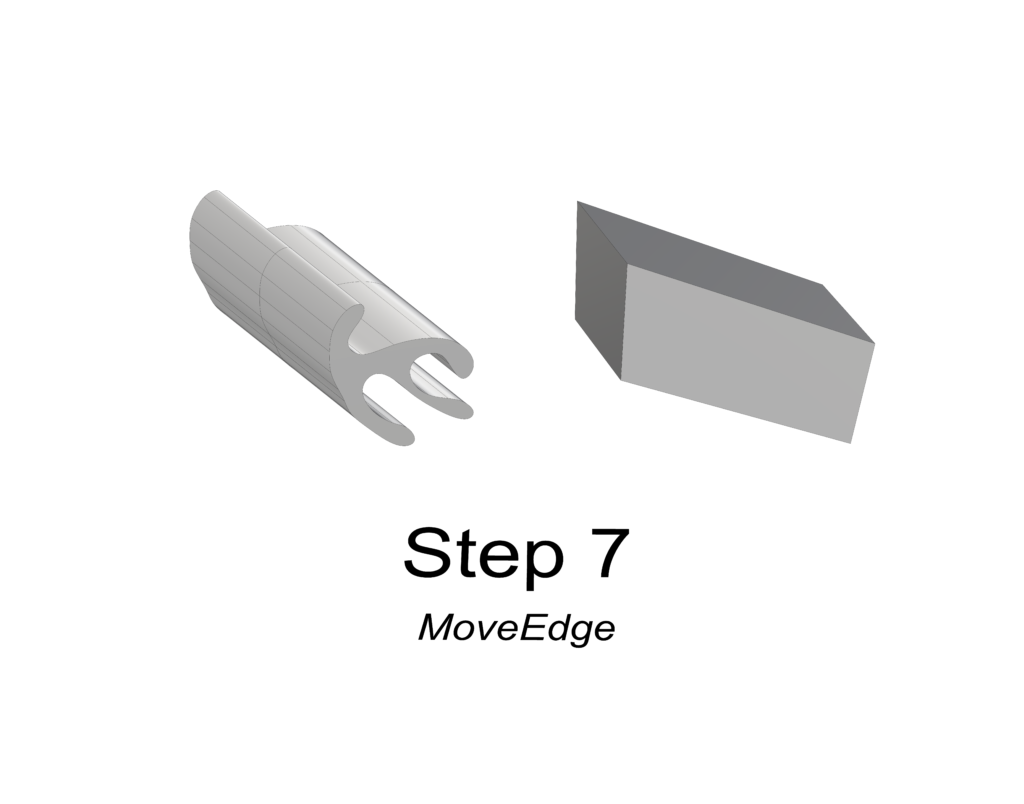
7. MoveEdge
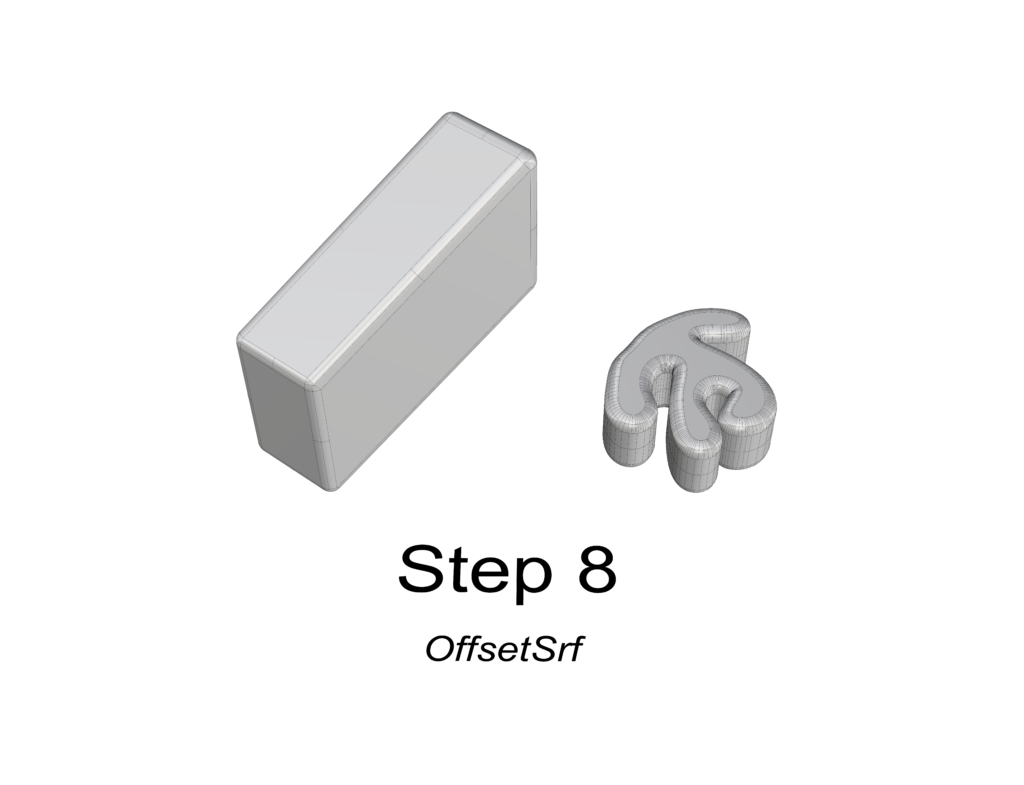
8. OffsetSrf
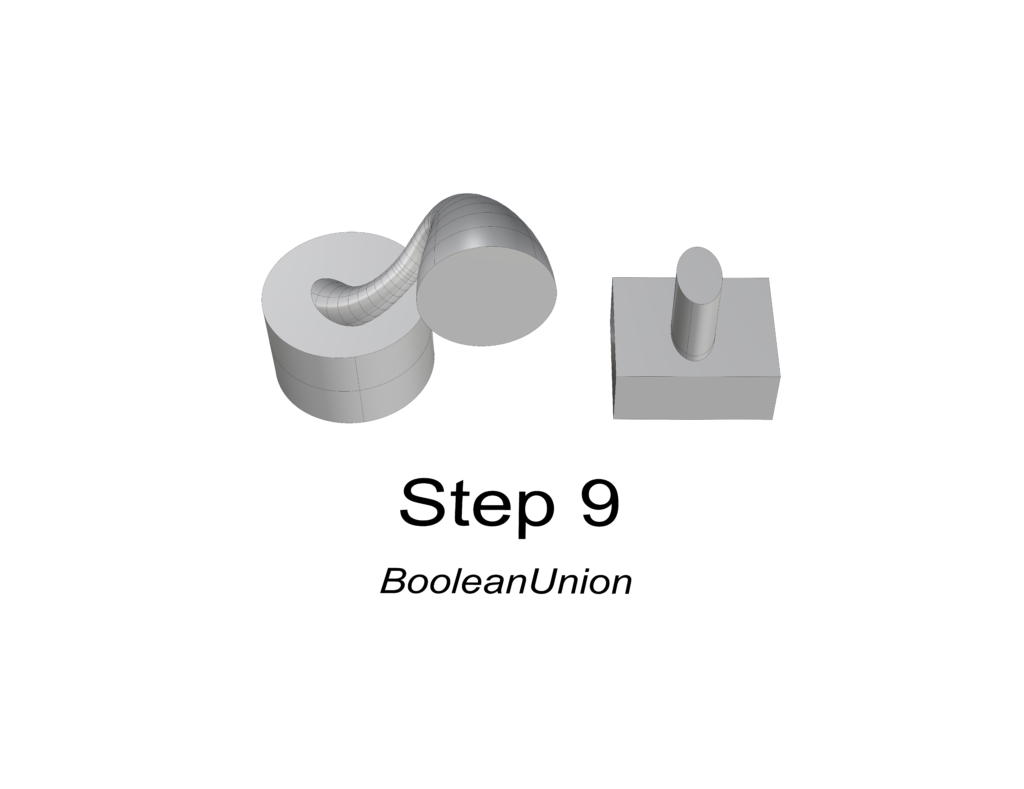
9. BooleanUnion
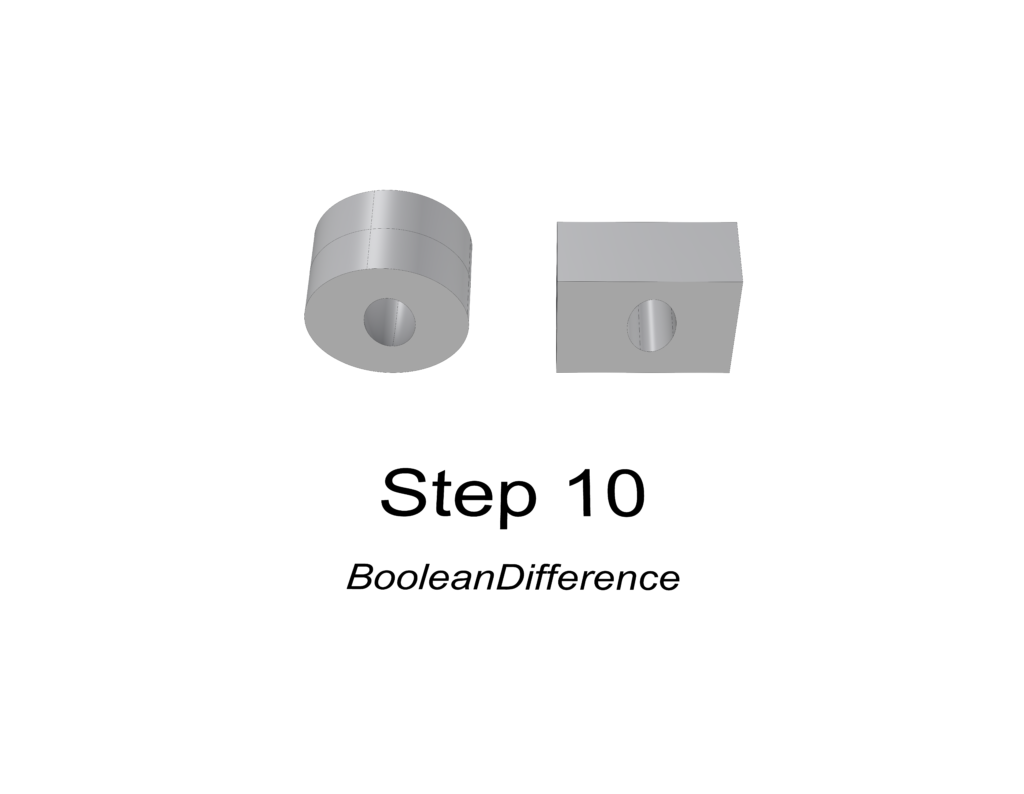
10. BooleanDifference
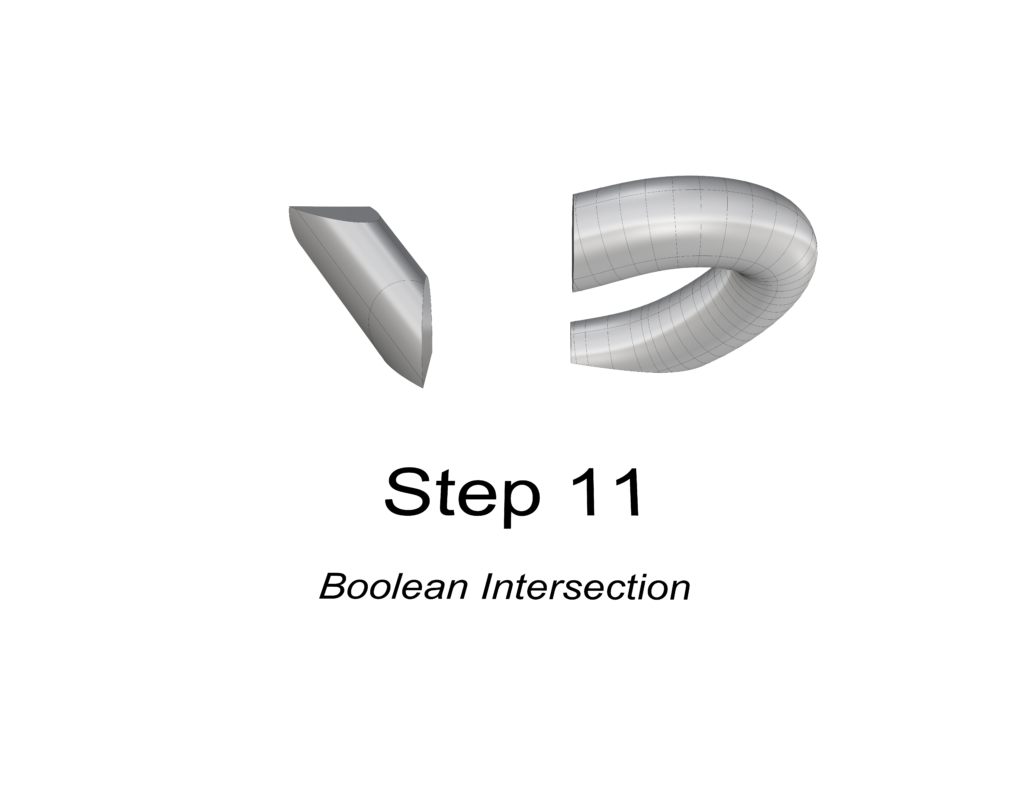
11. Boolean Intersection
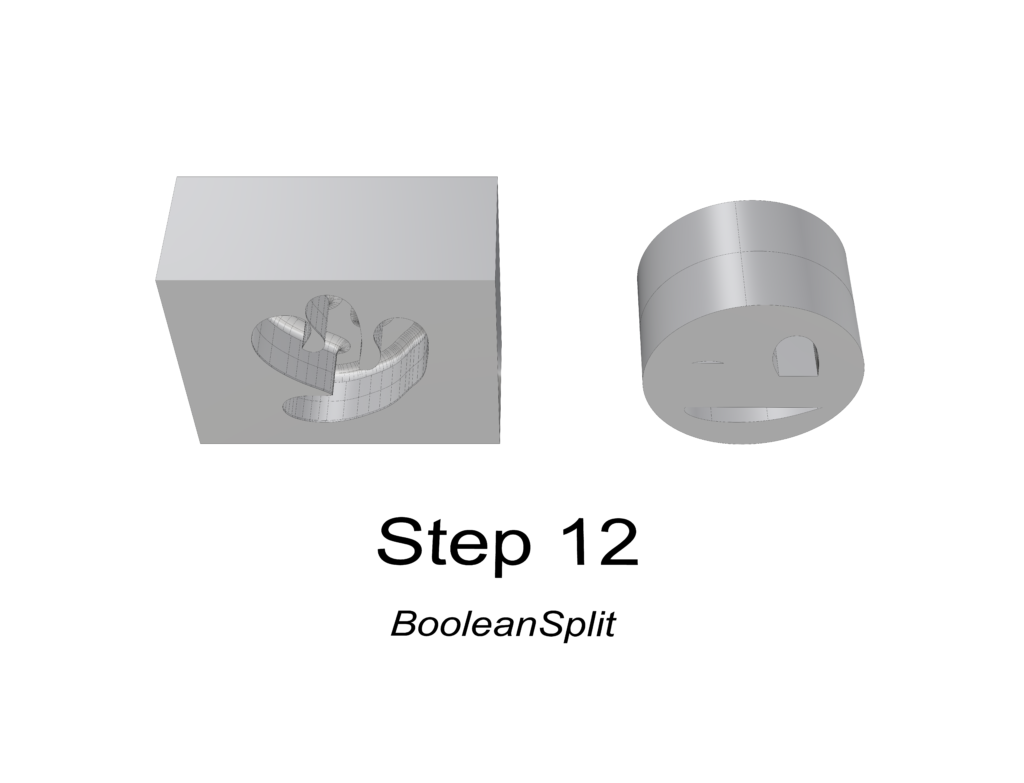
12. BooleanSplit
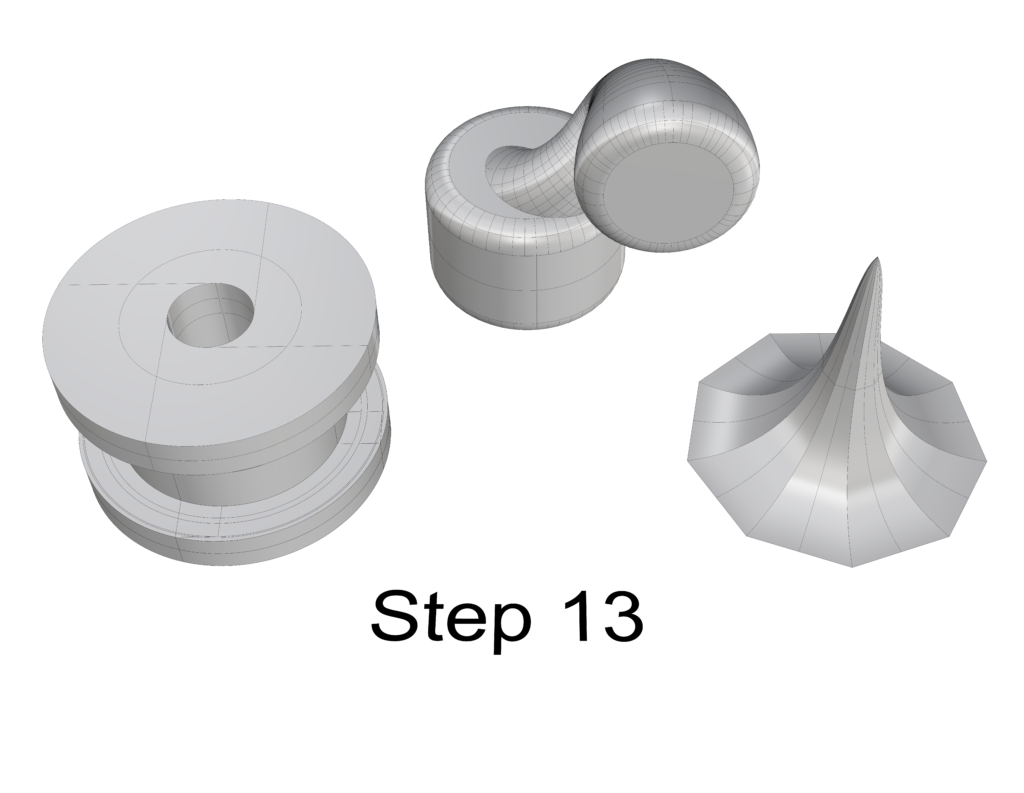
13. Using the surfaces and solids you modeled and the Boolean tools, make three solid shapes you find interesting.
14. Link to my Part 3: Solids file:
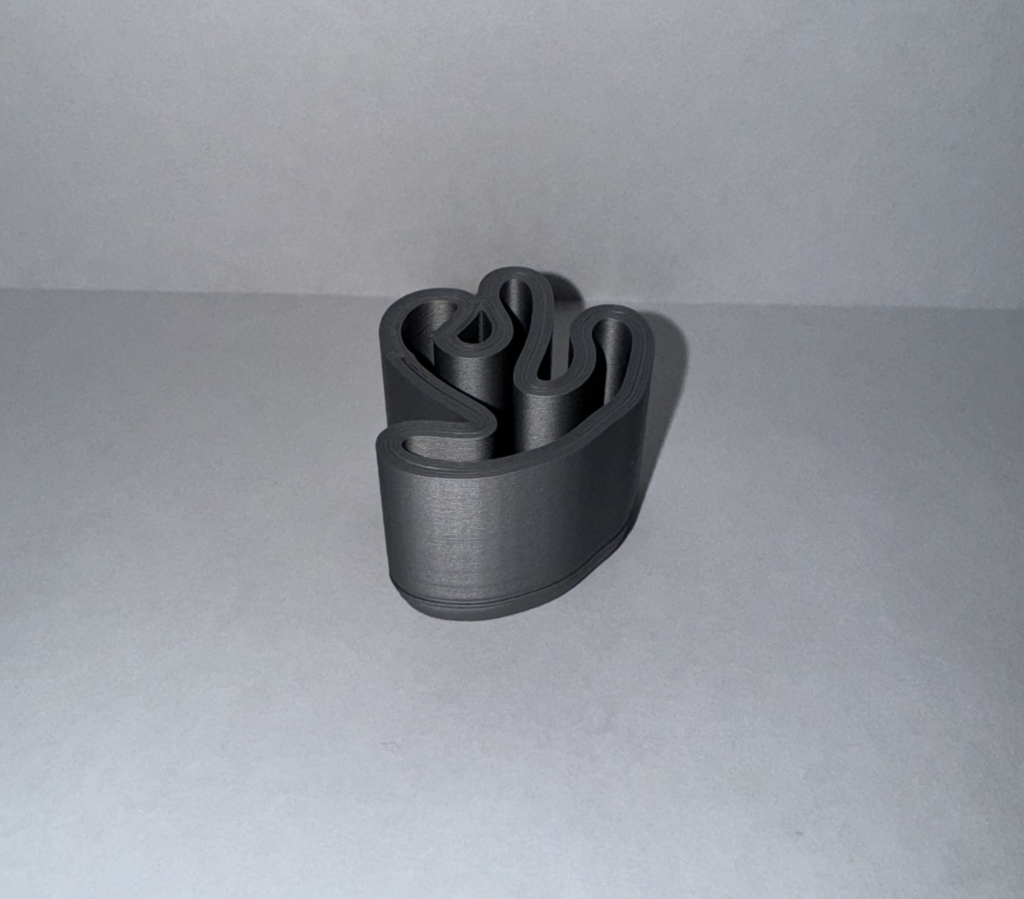
Part 4: 3D Printed Model
I chose to print this model, scaling it up to 34.6 x 39.3 x 32.3 mm. However, Cura automatically added a cap to the top of the object. After troubleshooting in Rhino without finding the cause, I decided to modify the G-Code to pause at a specific layer number. It seems like I may have impacted the quality of the print towards the topmost layer, even though it appeared to be completely flat in the preview.
Hi, Andrei!
I like your 3D object! I had a thought in my head that it is possible to make a mini maze using 3D printer. Great job on your work and your 3 shapes in Solids look unique and amazing!
Hello Andrei, I loved looking through your surfaces section I think that is a perfect representation of computational fabrication! I think your final piece is one of the greatest things to look at. Your piece made me think about printing a maze or even one of those puzzle boxes.
Hey my man Andrei! I really like the your entire post! I think you did a great job on demonstrating how to use the tools we learned in parts 1-3. I’m a big fan of your final print! I think it turned out to be really interesting. Looking forward to seeing more prints in the future!