Part 1: Curves
Open a new Rhino File and practice the curves commands by completing the following steps. Organize your Rhino file so each step is clear. Use the Text command to label each step and the commands you used.
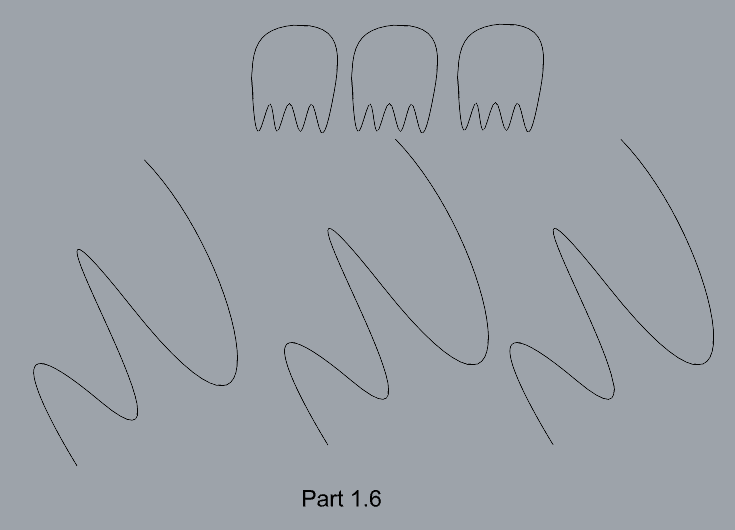
- Make the specific footprint below.
- Commands: Polyline
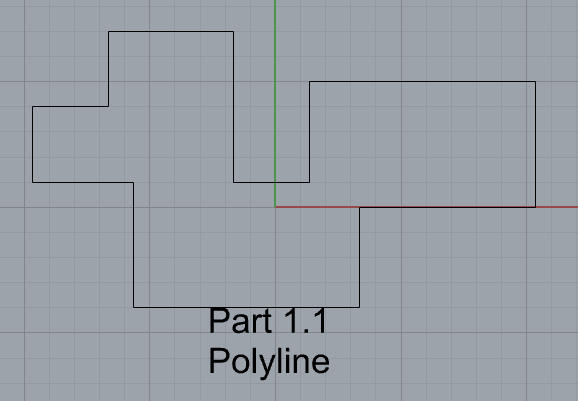
- Commands: Polyline
- Make 2 closed rounded curves using the various curve commands.
- Commands: Curve, InterpCurve, HandleCurve

- Commands: Curve, InterpCurve, HandleCurve
- Make 2 closed curves using polygon, ellipse, or circle
- Commands: Circle, Ellipse, Polygon
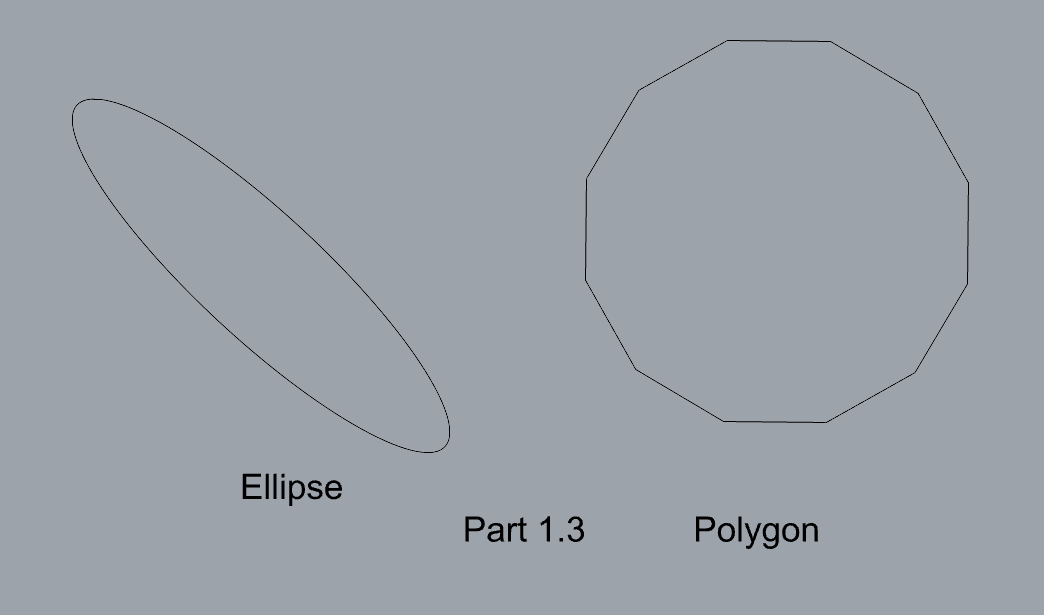
- Commands: Circle, Ellipse, Polygon
- Make 2 open curves
- Commands: Curve, InterpCurve, HandleCurve, Sketch
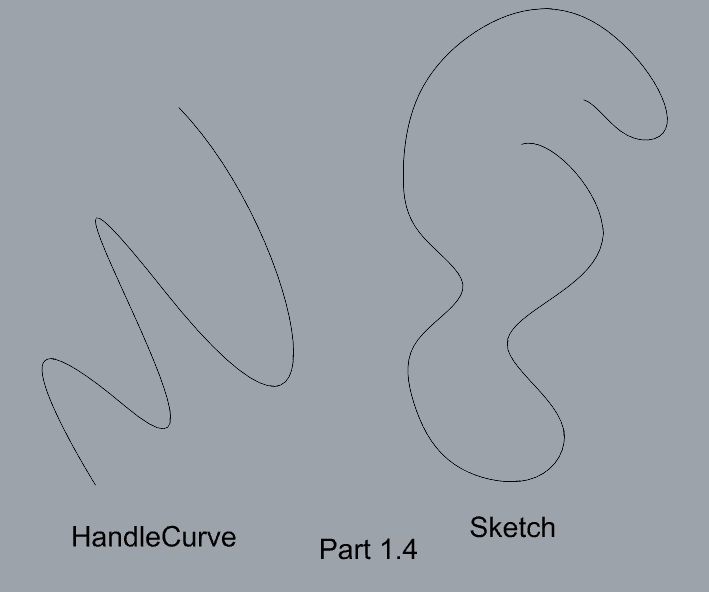
- Commands: Curve, InterpCurve, HandleCurve, Sketch
- Import a picture and trace an image
- Commands: Picture, InterpCurve
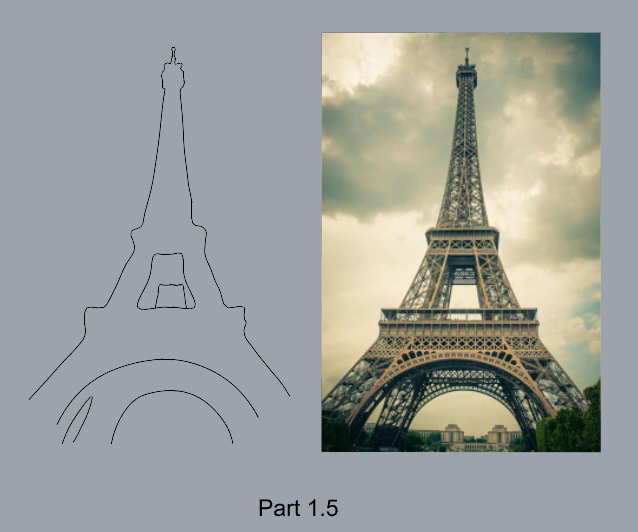
- Commands: Picture, InterpCurve
- Pick one open curve, and one closed rounded curve and make three copies of each.
- Commands: Copy
- Commands: Copy
- Take at least 3 of your closed curves and overlap them to create a new shape
- Commands: Move
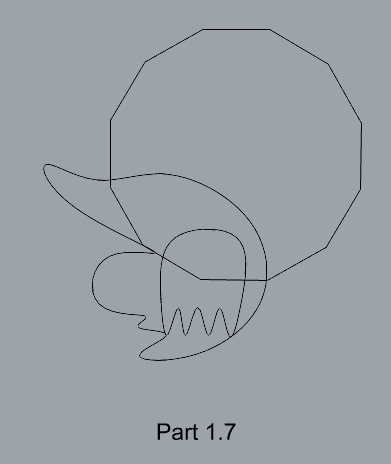
- Commands: Move
- Use split, delete, and trim to combine these curves into one open curve
- Commands: Split, Delete, Trim, Join, Explode
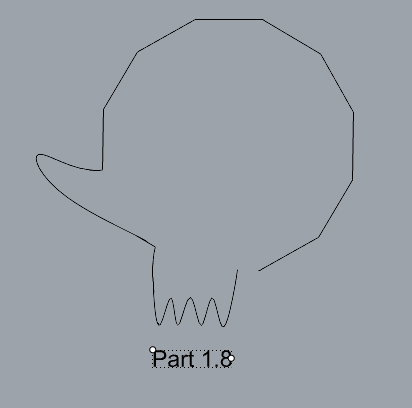
- Commands: Split, Delete, Trim, Join, Explode
- Take at least two curves and use various transformations make a pattern or composition.
- Commands: Move, Copy, Rotate, Mirror, Array, Scale, Offset, Fillet, FilletCorner
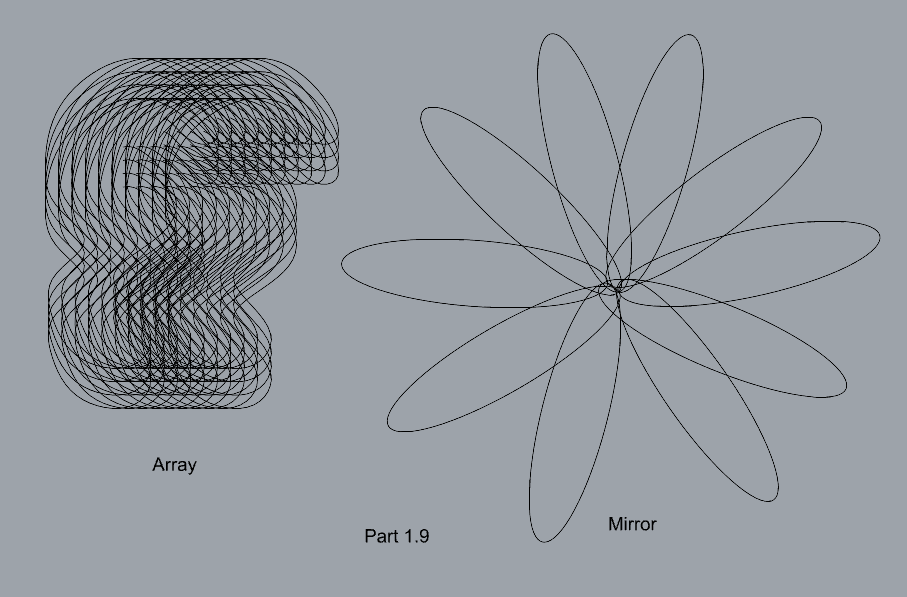
- Commands: Move, Copy, Rotate, Mirror, Array, Scale, Offset, Fillet, FilletCorner
- Organize your Rhino file so each step is clear. Use the Text command to label each step and the commands you used. Add a link to your FirstnameLastname_Curves file at this point in your post.
Part 2: Surfaces
Open a new Rhino File and practice the surfaces commands below by making two different surfaces for each command. Organize your Rhino file so each step is clear. You may want to use some of the curves you modeled in Part 1. Use the Text command to label each step and the commands you used.
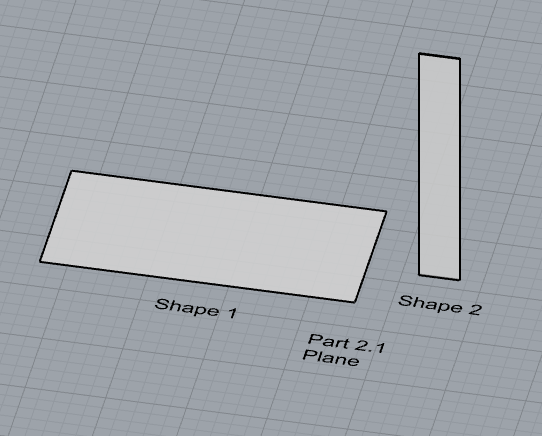
- Plane
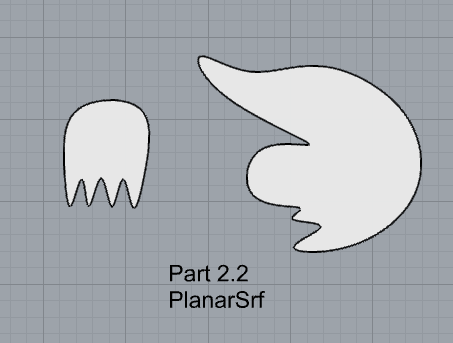
2. PlanarSrf
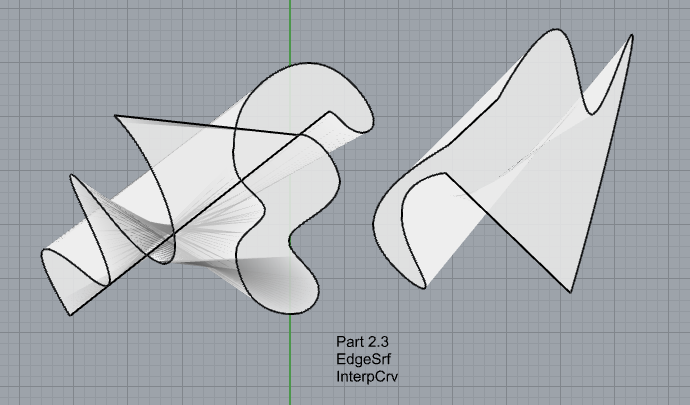
3. EdgeSrf
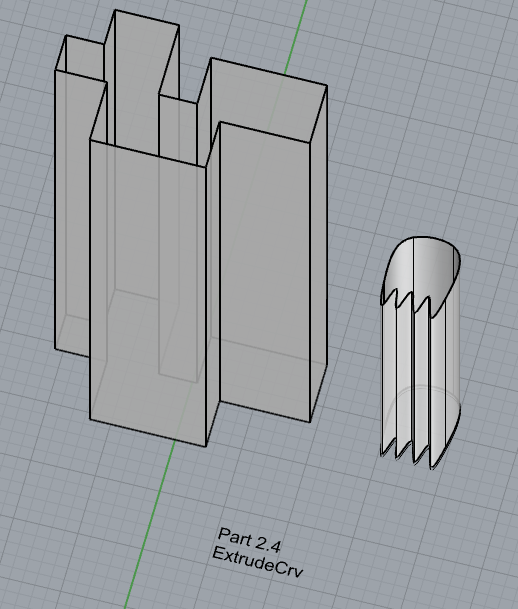
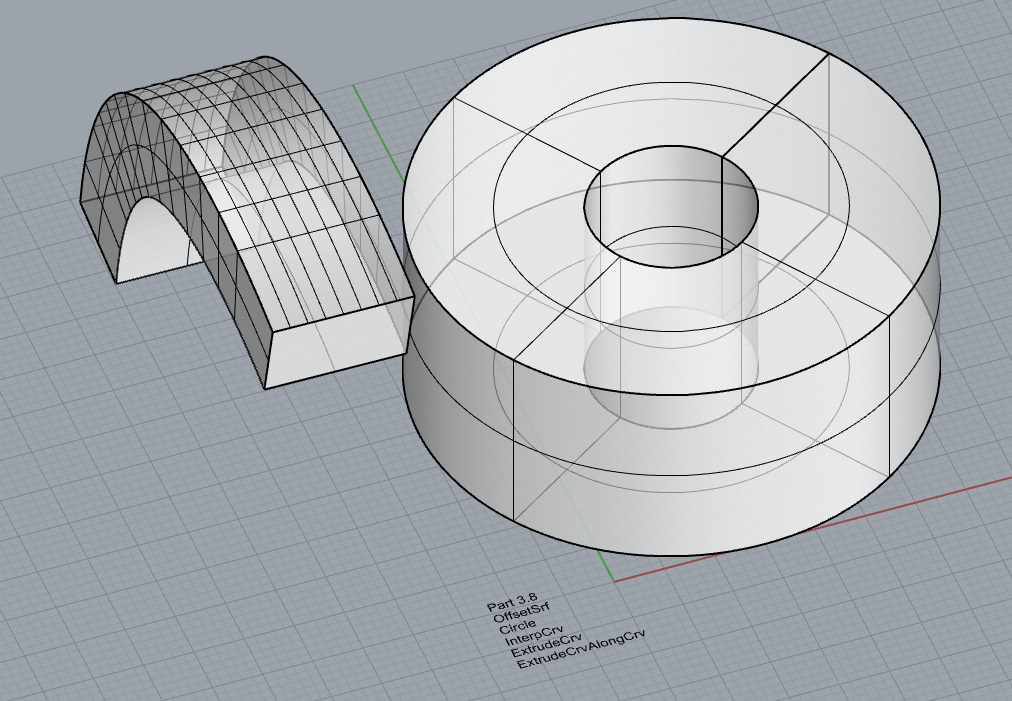
4. ExtrudeCrv
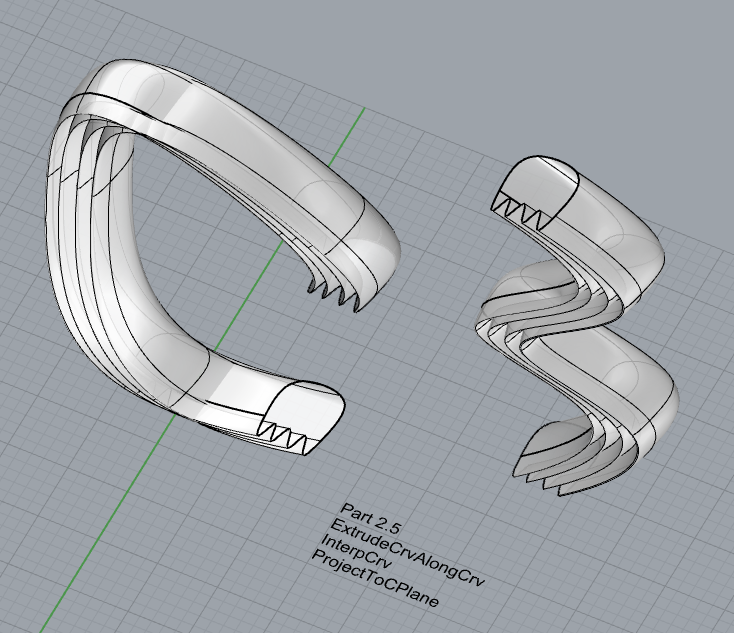
5. ExtrudeCrvAlongCrv
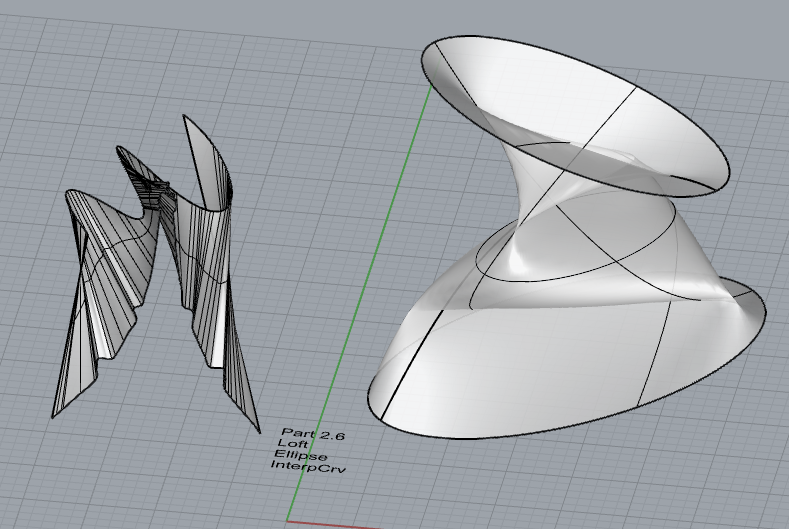
6. Loft
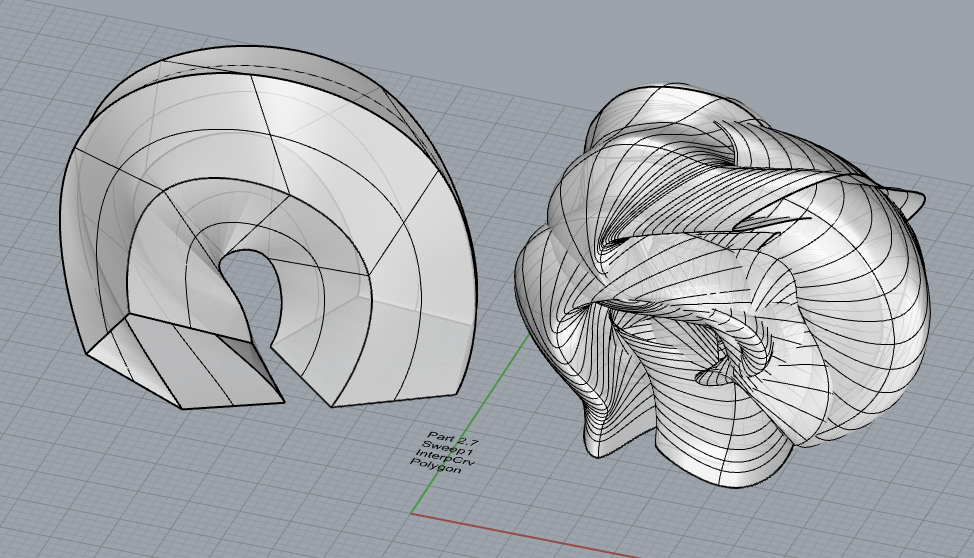
7. Sweep1
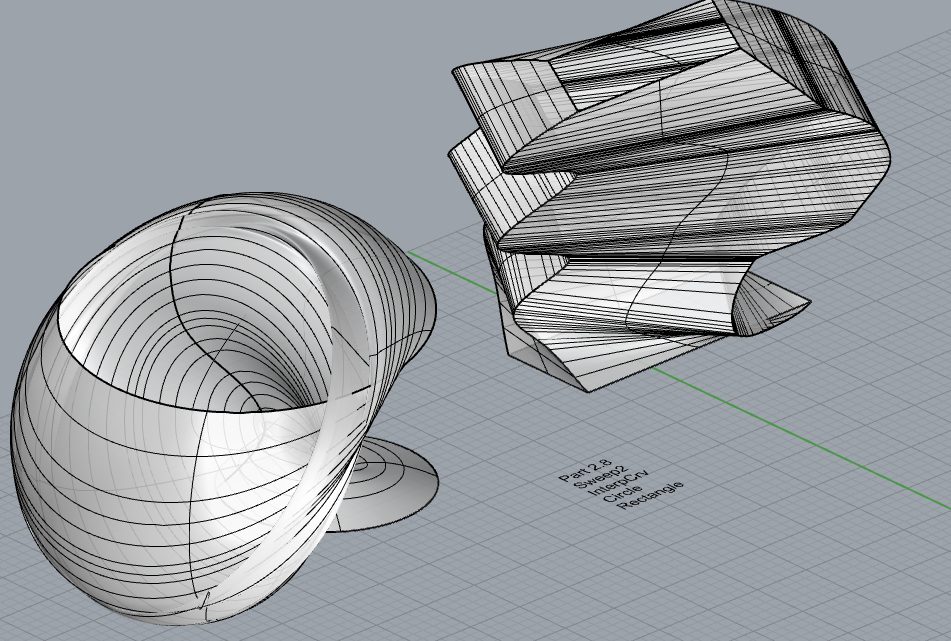
8. Sweep2
9. Revolve
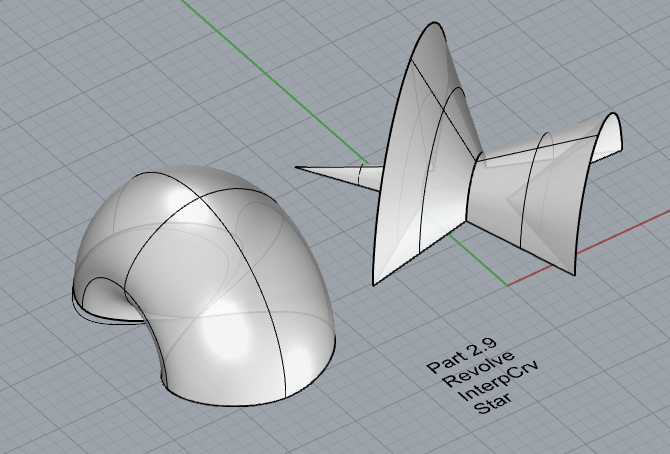
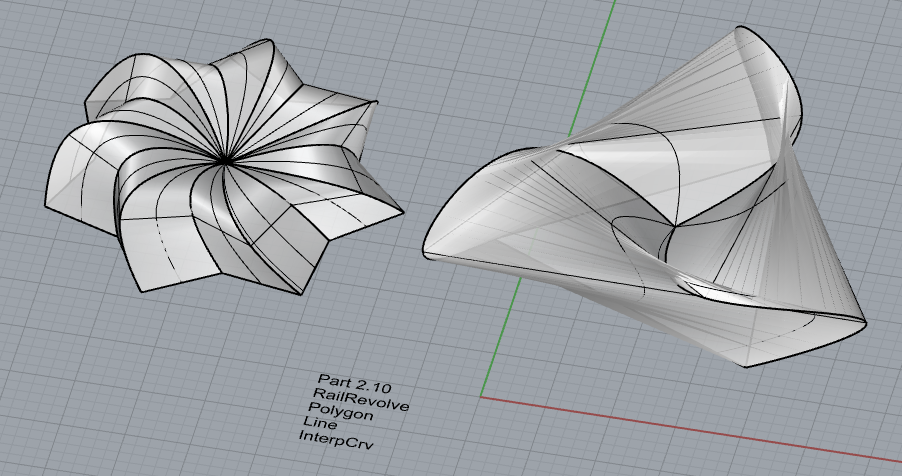
10. RailRevolve
11. Add a link to your FirstnameLastname_Surfaces file at this point in your post.
Part 3: Solids
Open a new Rhino File and practice the solids commands below by making two different solids for each command. You may want to use some of the curves and surfaces you modeled in Parts 1 and 2. Organize your Rhino file so each step is clear. Use the Text command to label each step and the commands you used.
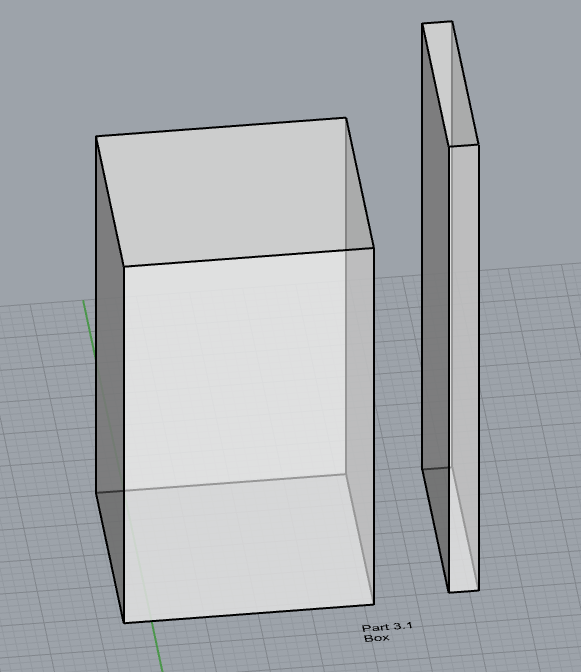
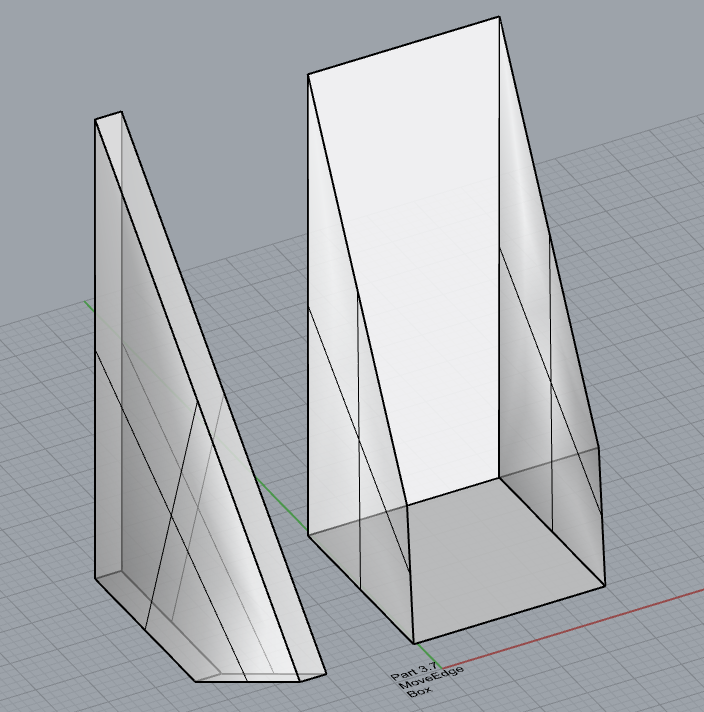
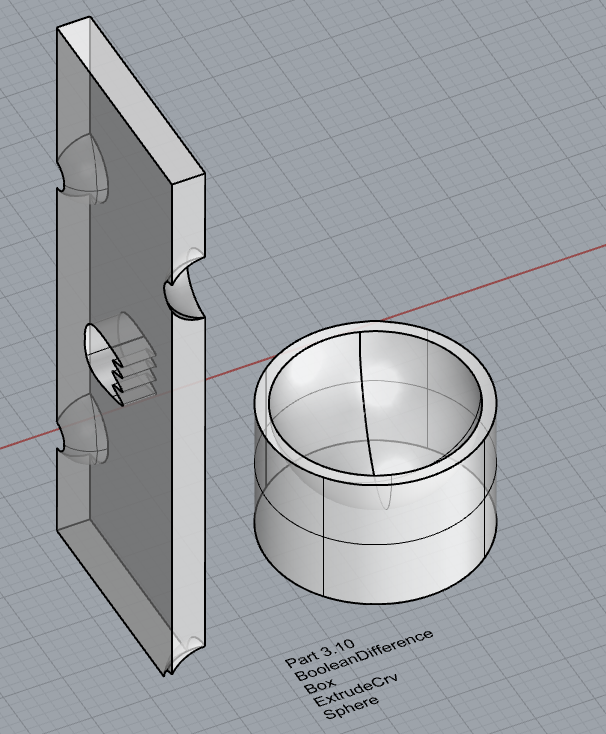
- Box
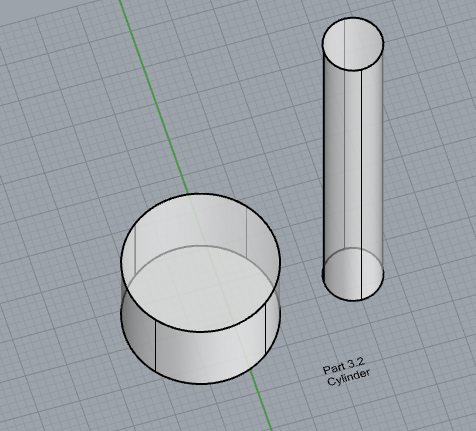
2. Cylinder
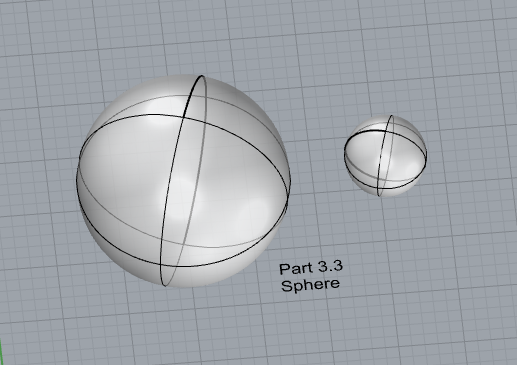
3. Sphere
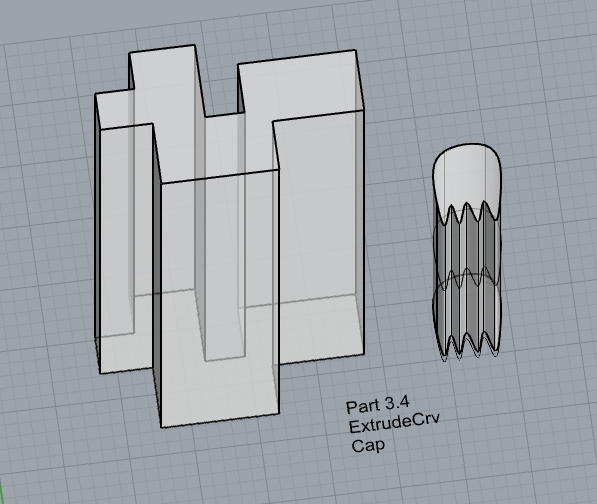
4. ExtrudeCrv and Cap
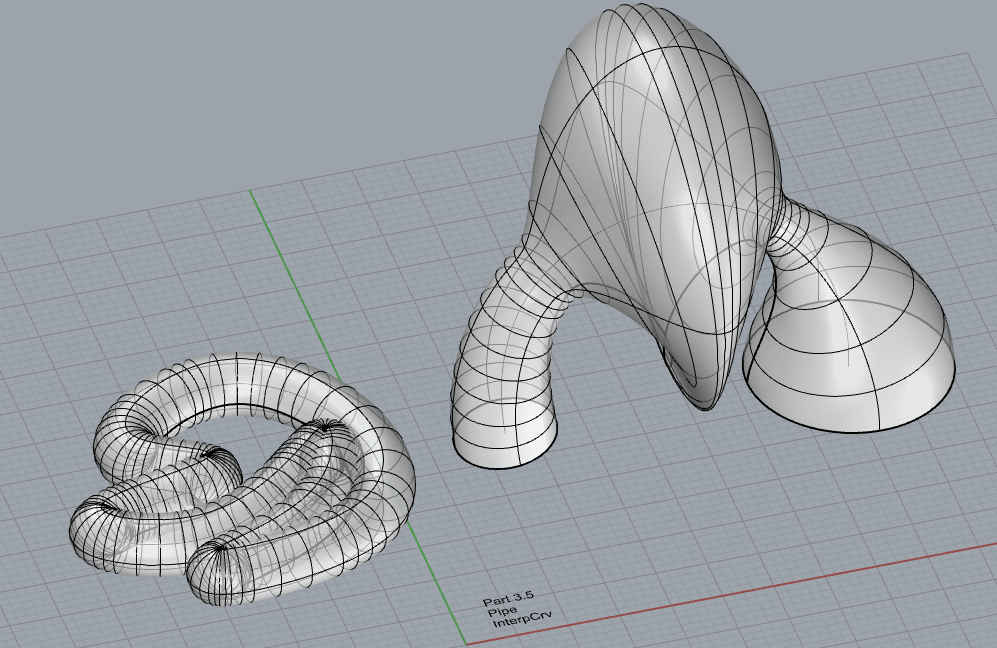
5. Pipe
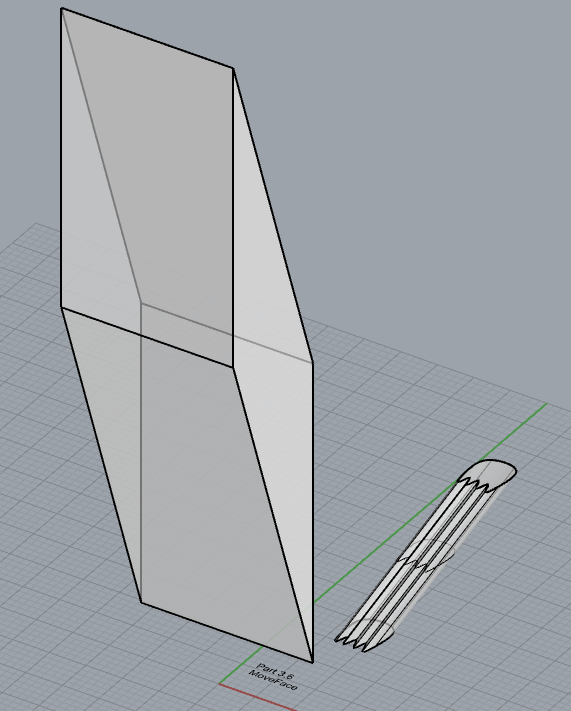
6. MoveFace
7. MoveEdge
8. OffsetSrf
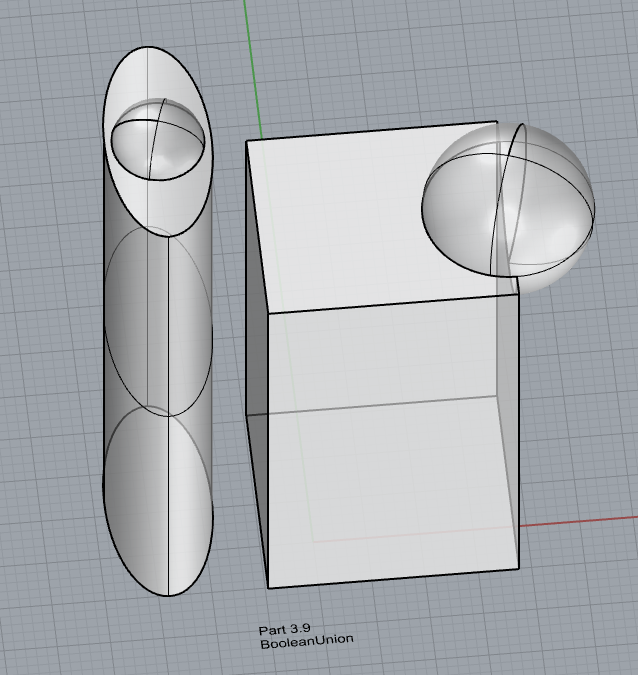
9. BooleanUnion
10. BooleanDifference
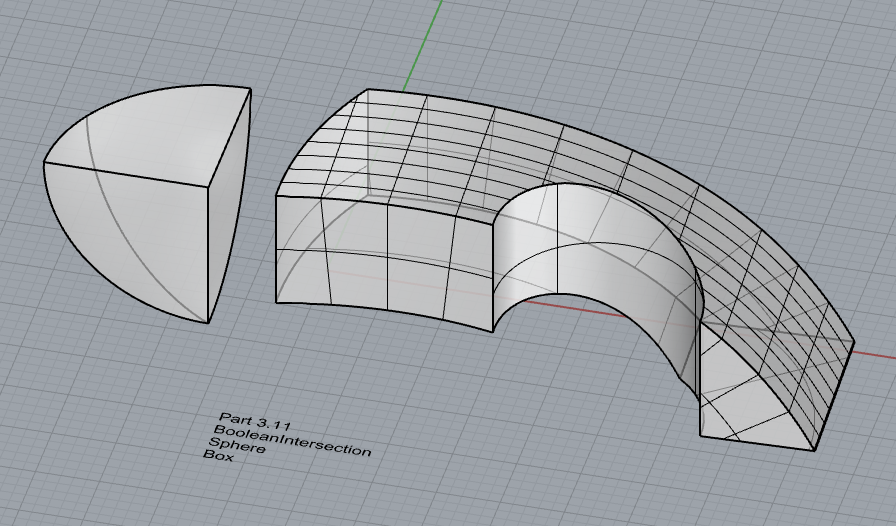
11. BooleanIntersection
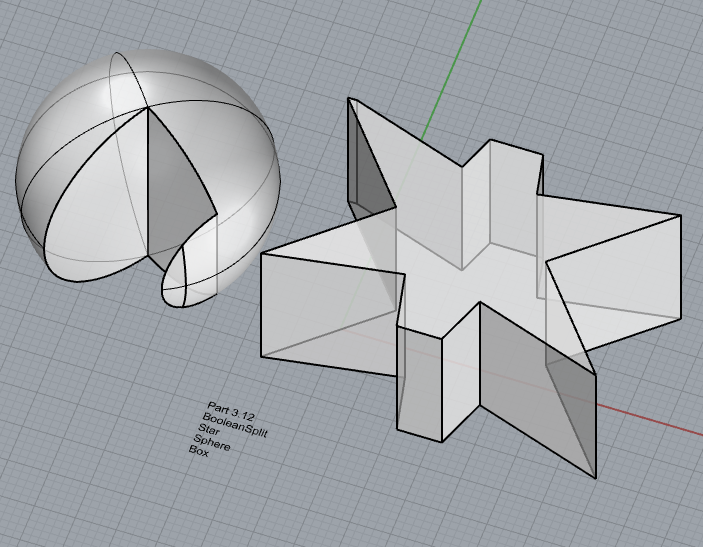
12. BooleanSplit
13. Using the surfaces and solids you modeled and the Boolean tools, make three solid shapes you find interesting.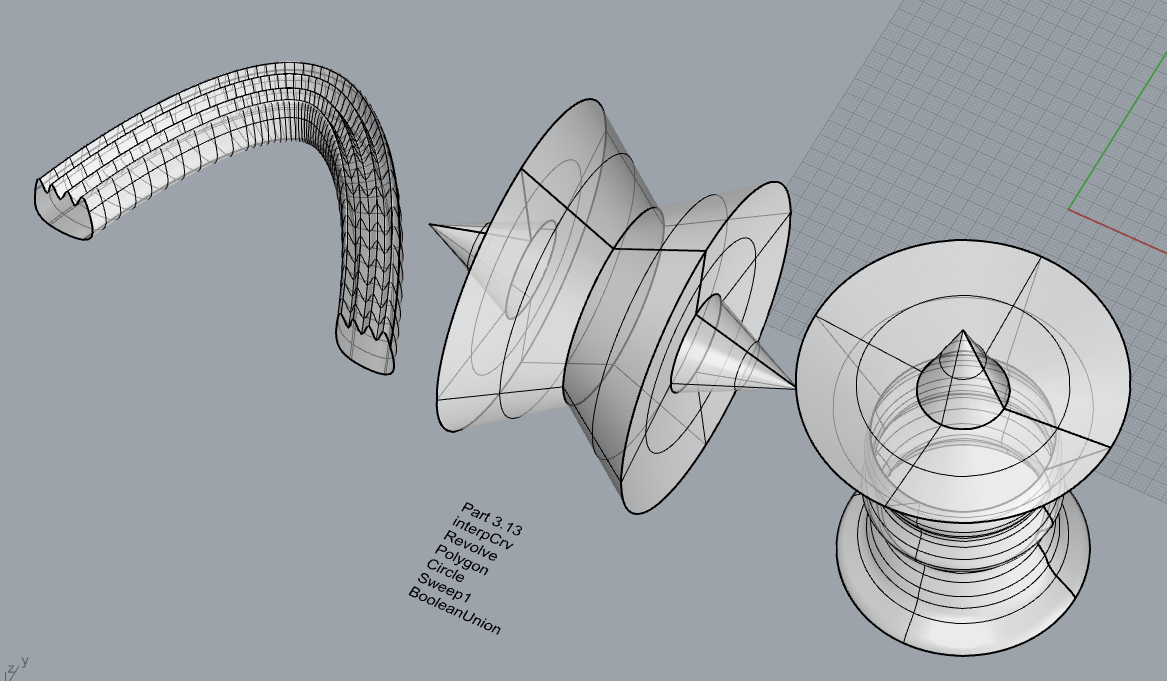
14. Add a link to your FirstnameLastname_Solids file at this point in your post
Part 4: 3D Printing
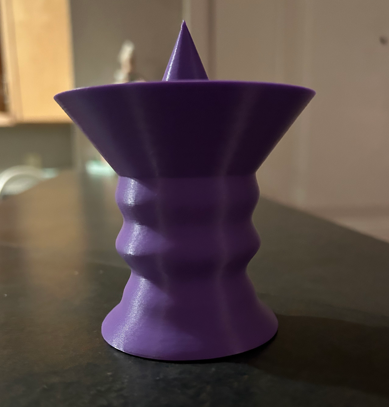
I didn’t have too many issues when printing this piece. One thing I did struggle with was getting the proportions right so that I wouldn’t need supports. The overhang of this object was hard to get right but I ended up sliming the solid and making sure it does flare too far out from the center too quickly to avoid this overhang.
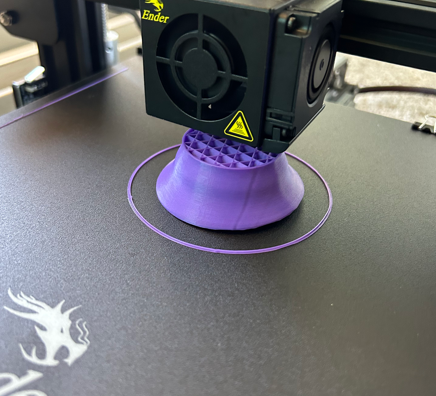
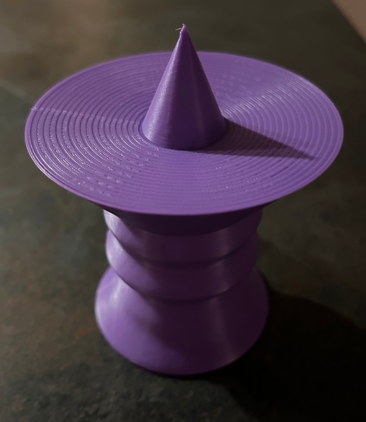
Hi! Your 3d print is really cool! I am impressed you were able to design it to not need supports because the overhang on the top section is quite large. I think it was probably worth it though as supports would have made it difficult to make it nice and smooth on the outside. My print had some supports on the bottom and even after sanding it down it doesn’t look as nice as the areas that didn’t have supports connected. Great project!
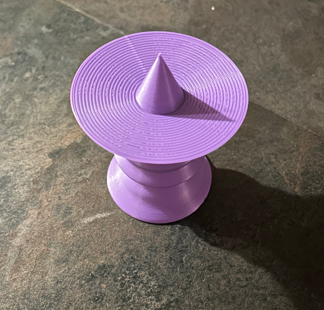
Hello, your 3D print is quite interesting, and it looks very nice in the filament color you picked, it almost looks like a spinning top. I wonder if it would work as one at all, or if something is preventing it from actually spinning like a top. I also think the surface you made for part 10 (RailRevolve) is cool I also enjoyed messing with the star shape, which I assume you used on this, and it’s quite fun.
Hello Patrick! Interesting print! I am impressed that you printed that design without any supports. Did you have to go in and out of cura to see if it needed supports? About how long did it take to print?