Open a new Rhino File and practice the curves commands by completing the following steps. Organize your Rhino file so each step is clear. Use the Text command to label each step and the commands you used.
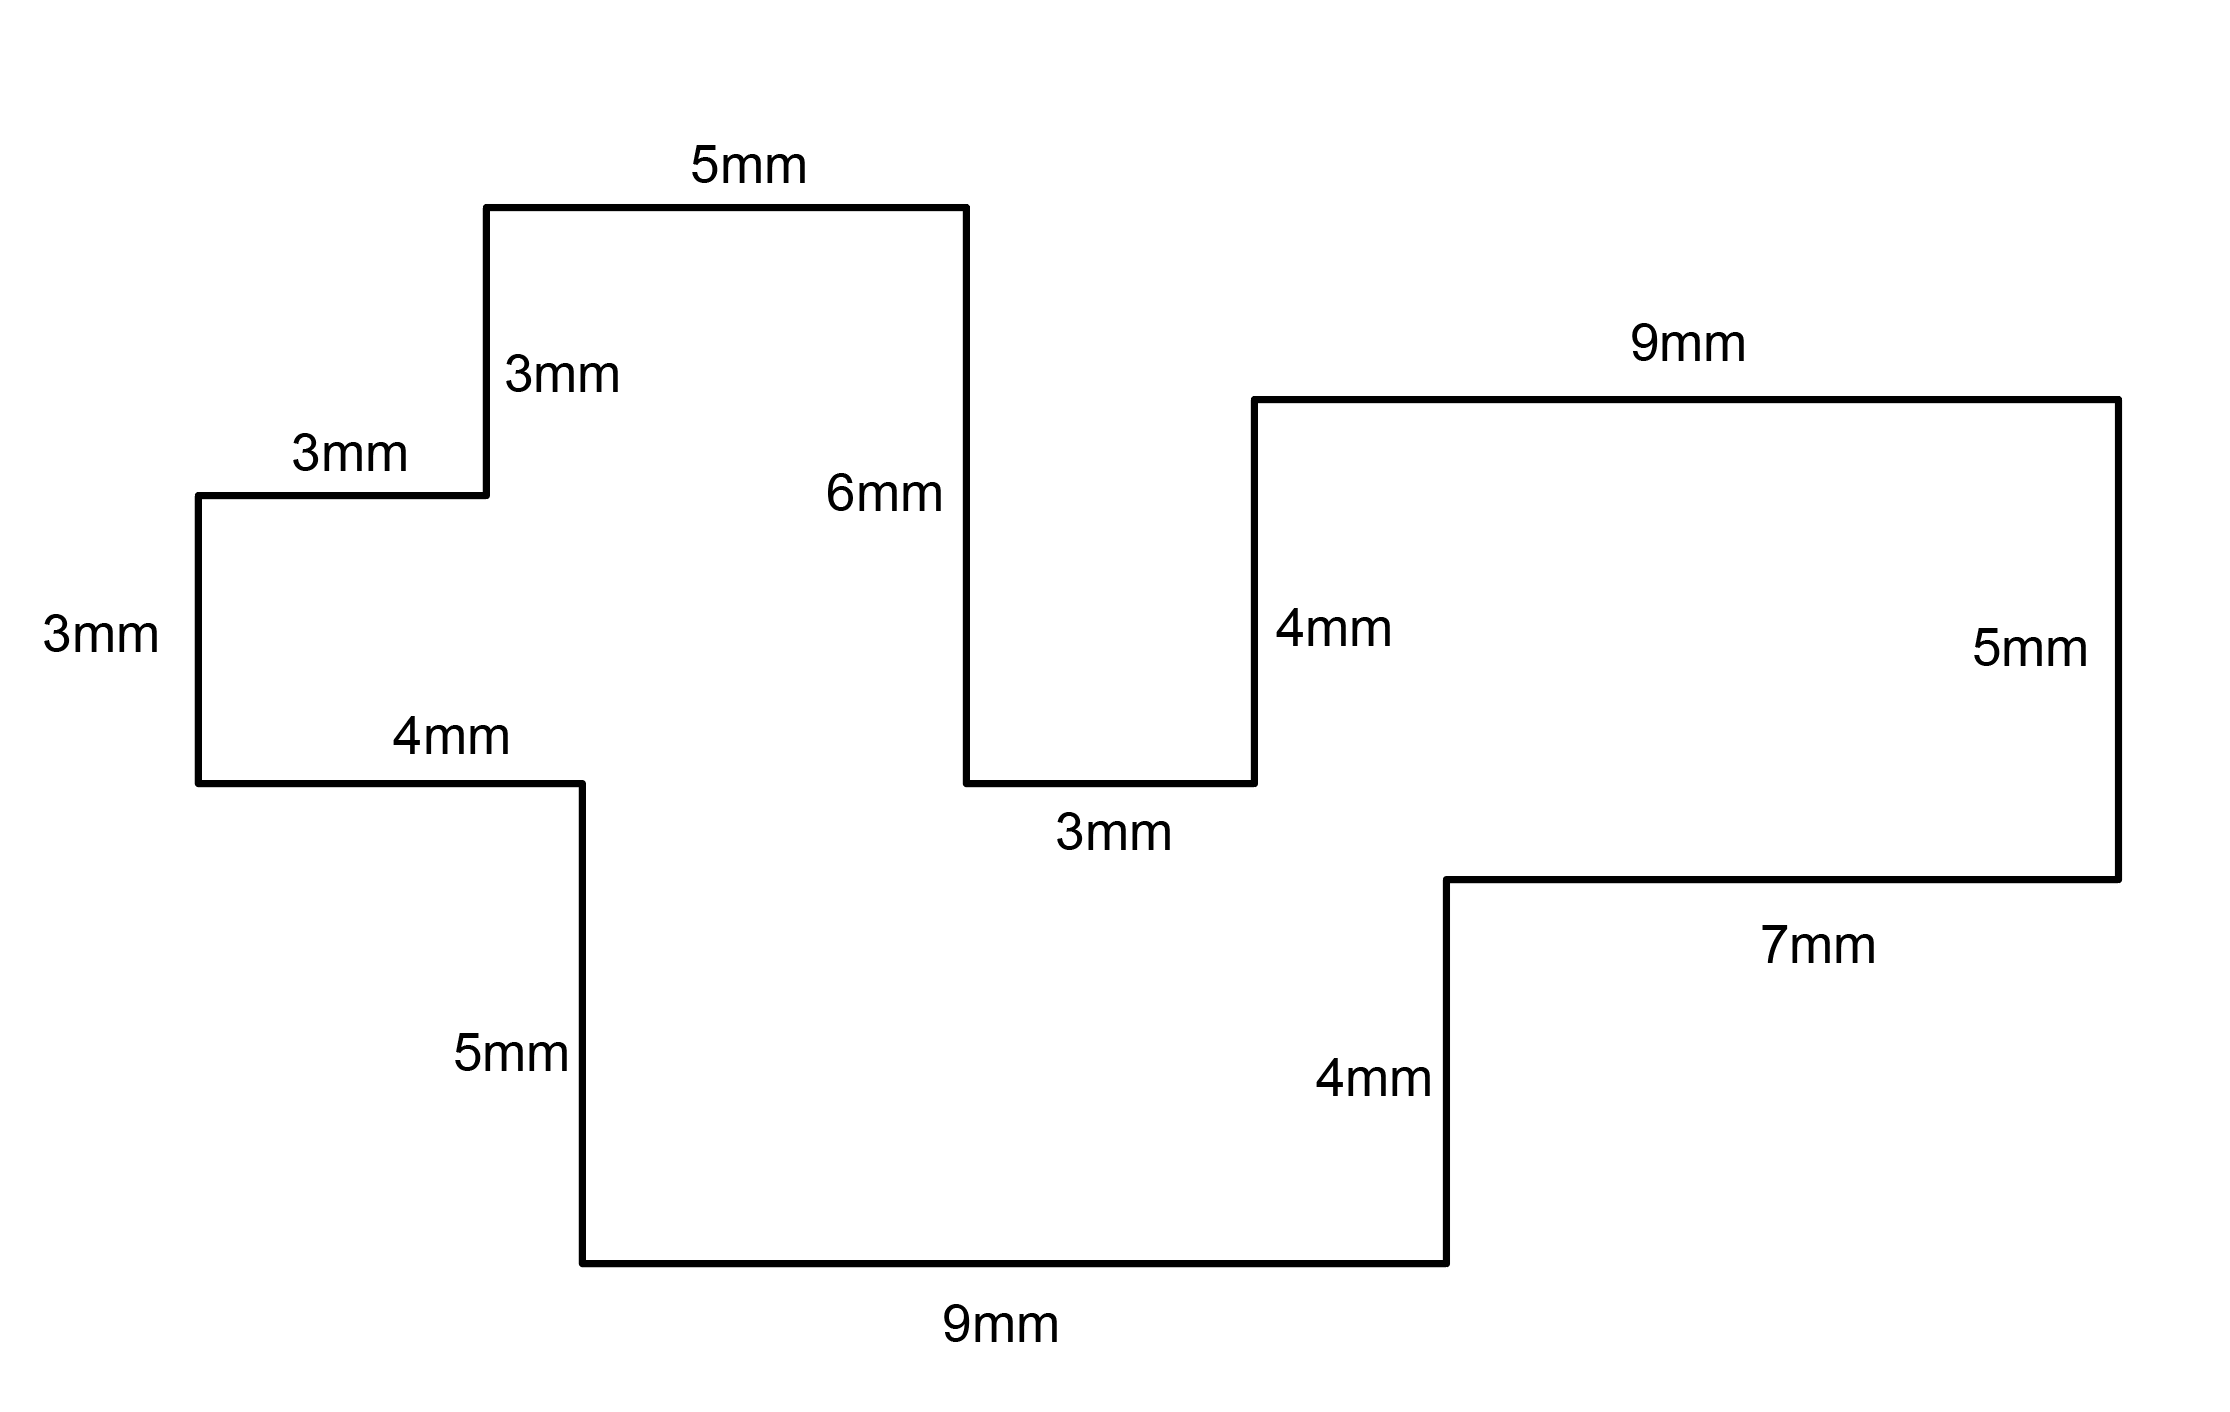
Make the specific footprint below.
Commands: Polyline
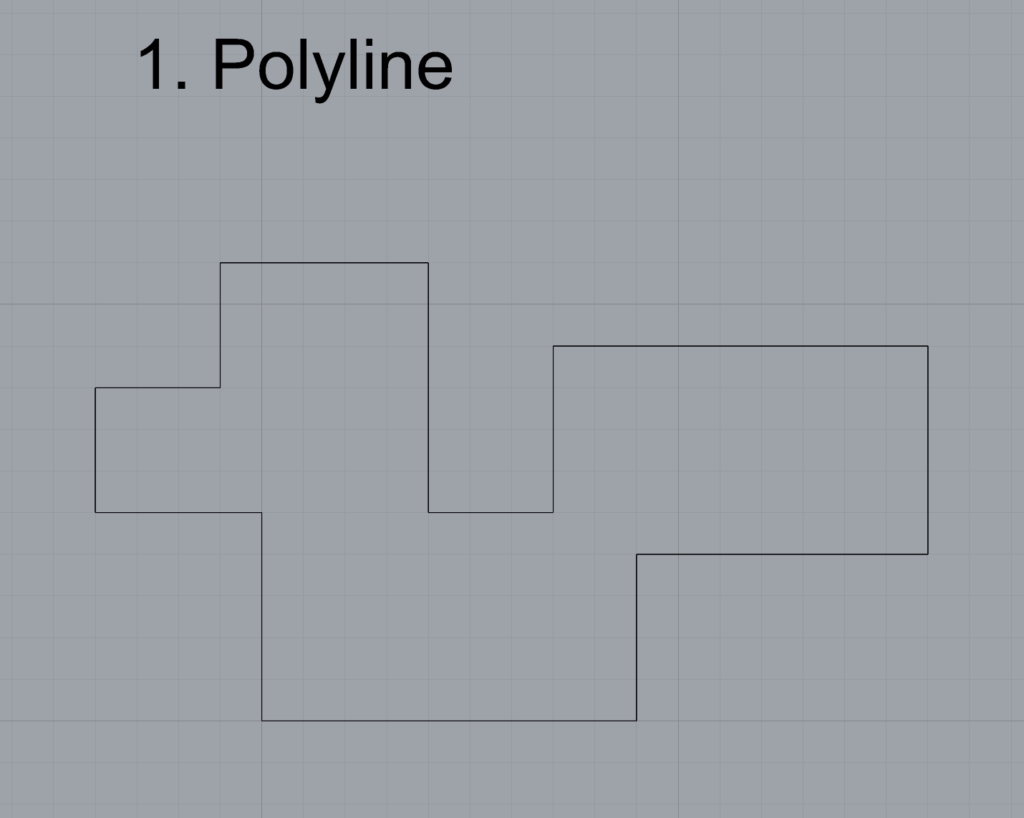
Make 2 closed rounded curves using the various curve commands.
Commands: Curve, InterpCurve, HandleCurve
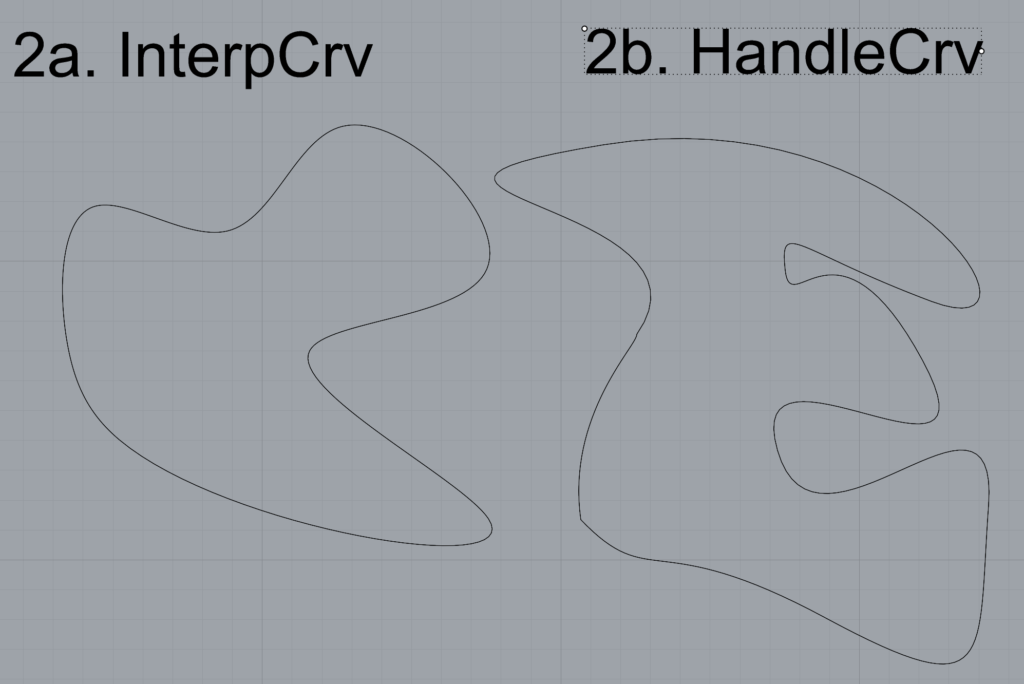
Make 2 closed curves using polygon, ellipse, or circle
Commands: Circle, Ellipse, Polygon
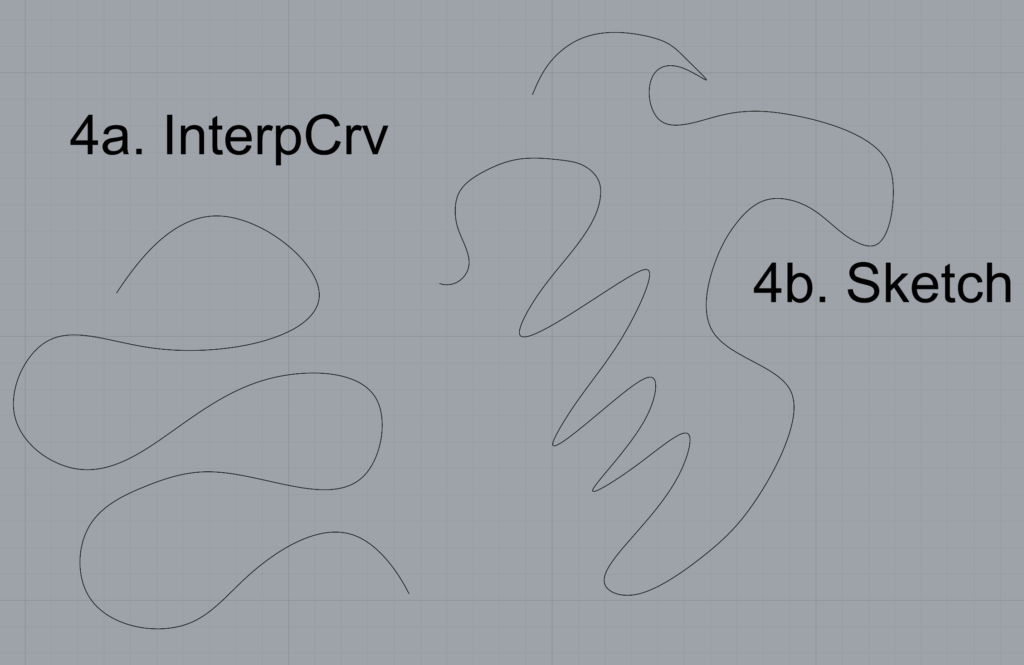
Make 2 open curves
Commands: Curve, InterpCurve, HandleCurve, Sketch
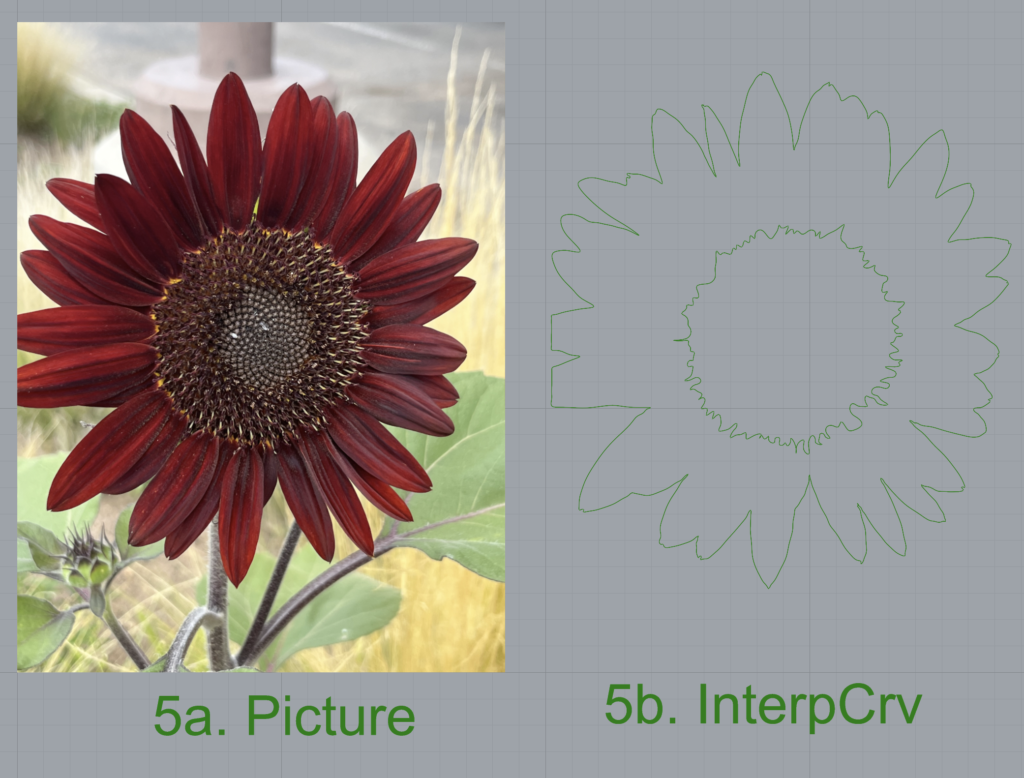
Import a picture and trace an image
Commands: Picture, InterpCurve
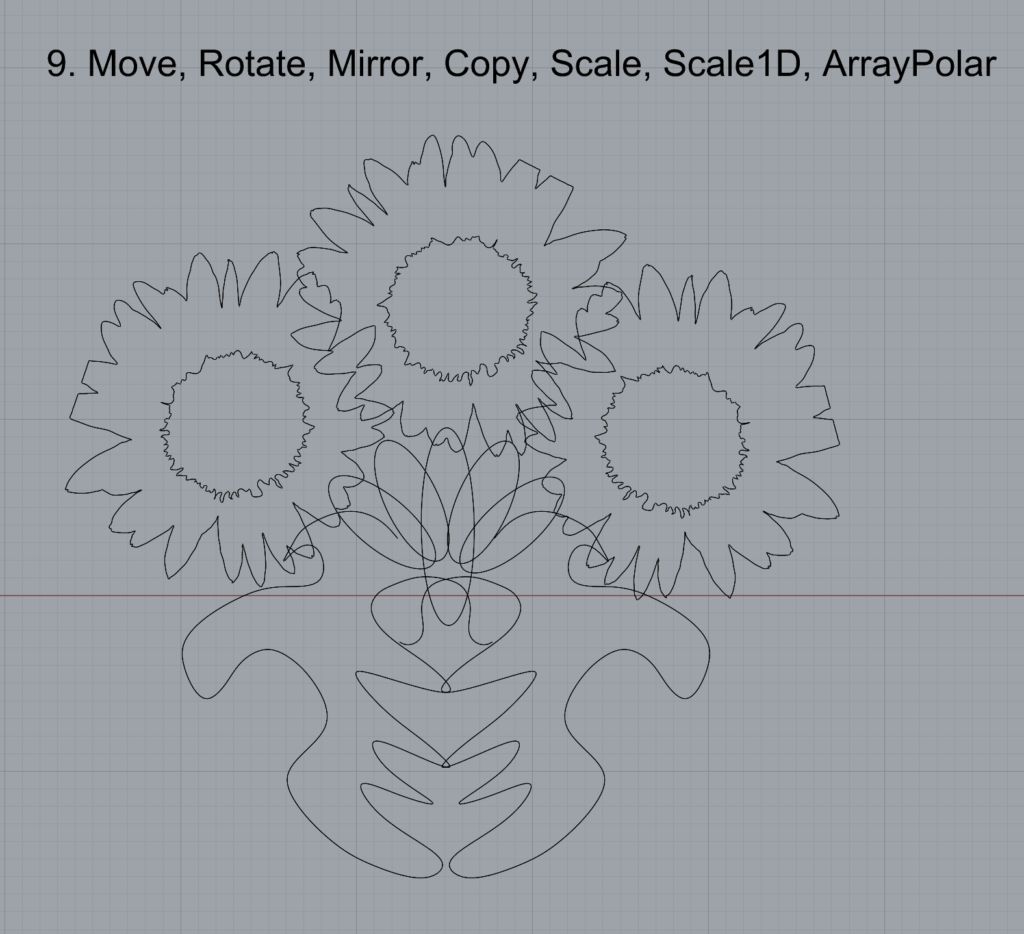
I wanted to include the center of the sunflower as well as the outline, so there’s 2 InterpCurves there. The InterpCurves and text are green due to being in Layer 4.
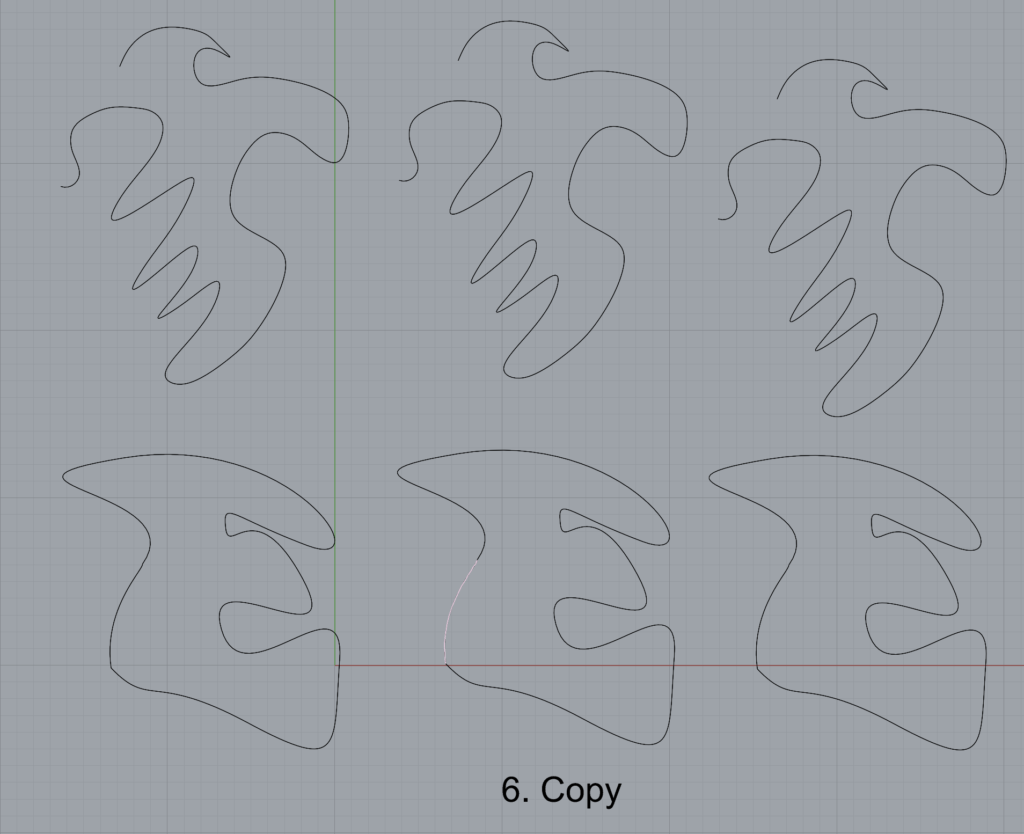
Pick one open curve, and one closed rounded curve and make three copies of each.
Commands: Copy
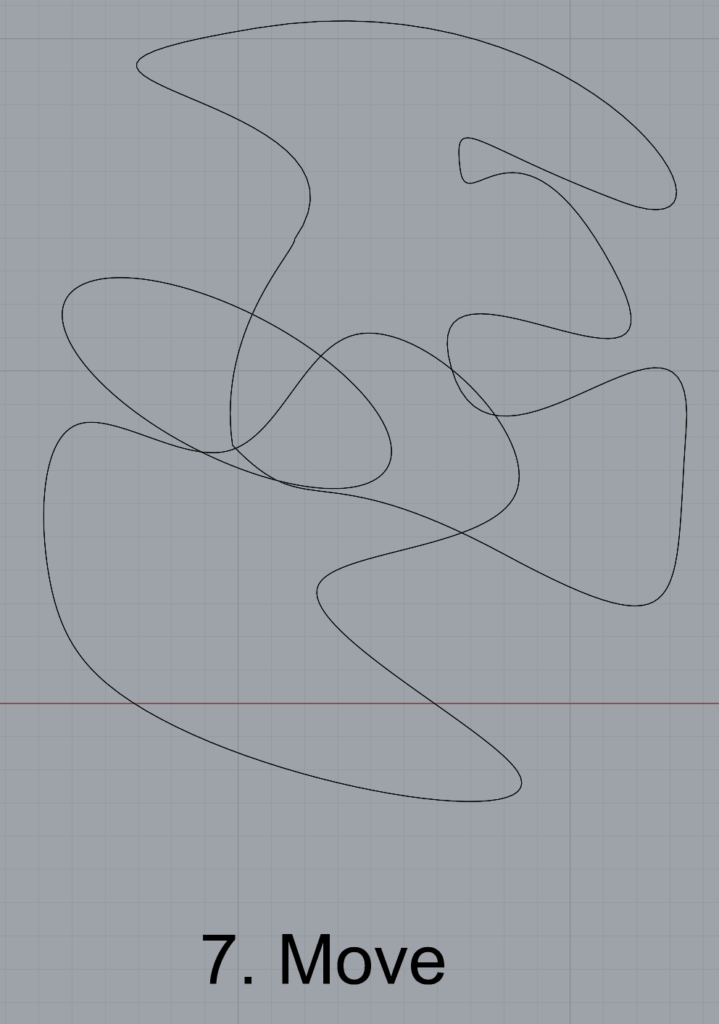
Take at least 3 of your closed curves and overlap them to create a new shape
Commands: Move
I rotated the ellipse slightly here in order to line it up better with the other shapes.
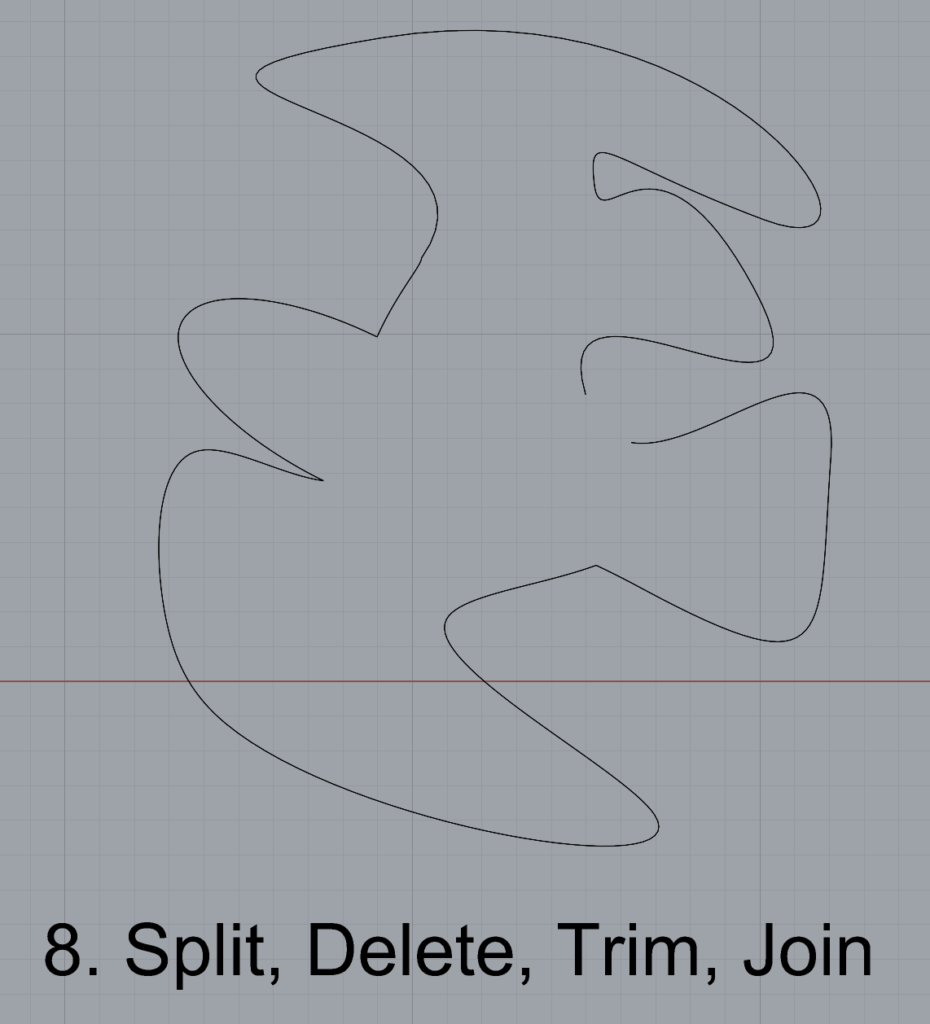
Use split, delete, and trim to combine these curves into one open curve
Commands: Split, Delete, Trim, Join, Explode
Take at least two curves and use various transformations make a pattern or composition.
Organize your Rhino file so each step is clear. Use the Text command to label each step and the commands you used. Add a link to your FirstnameLastname_Curves file at this point in your post.
Open a new Rhino File and practice the surfaces commands below by making two different surfaces for each command. Organize your Rhino file so each step is clear. You may want to use some of the curves you modeled in Part 1. Use the Text command to label each step and the commands you used.
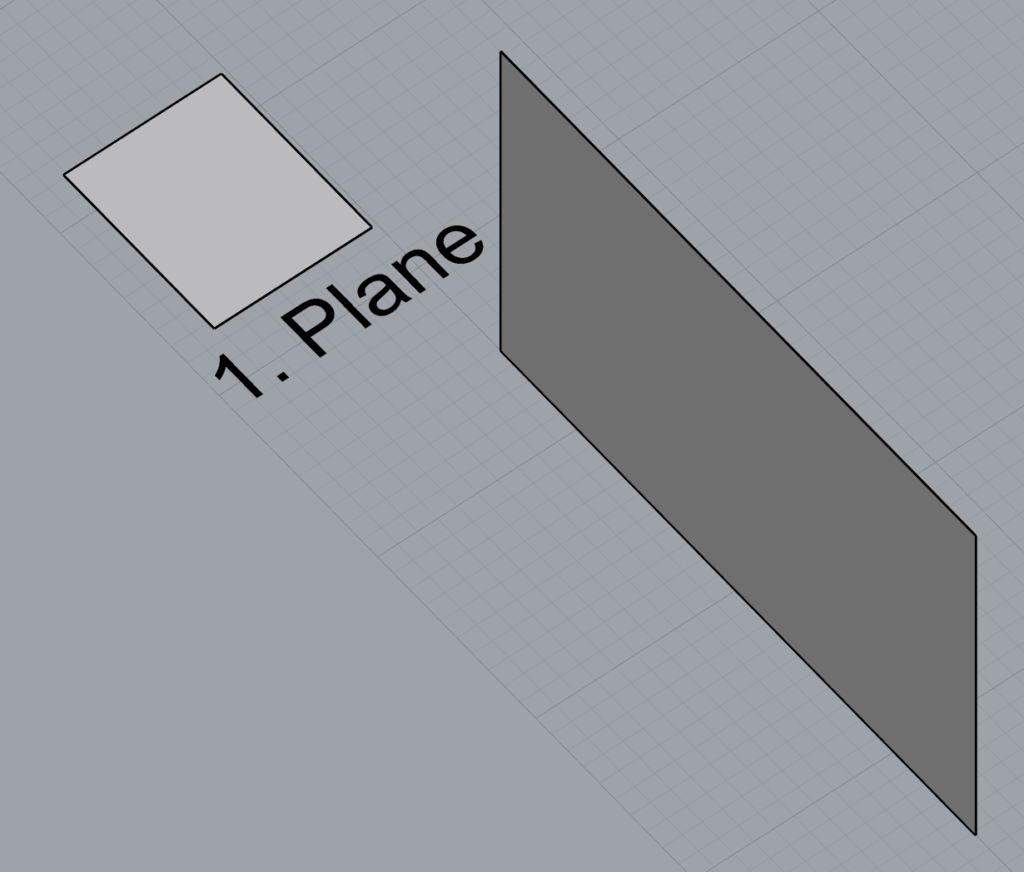
Plane
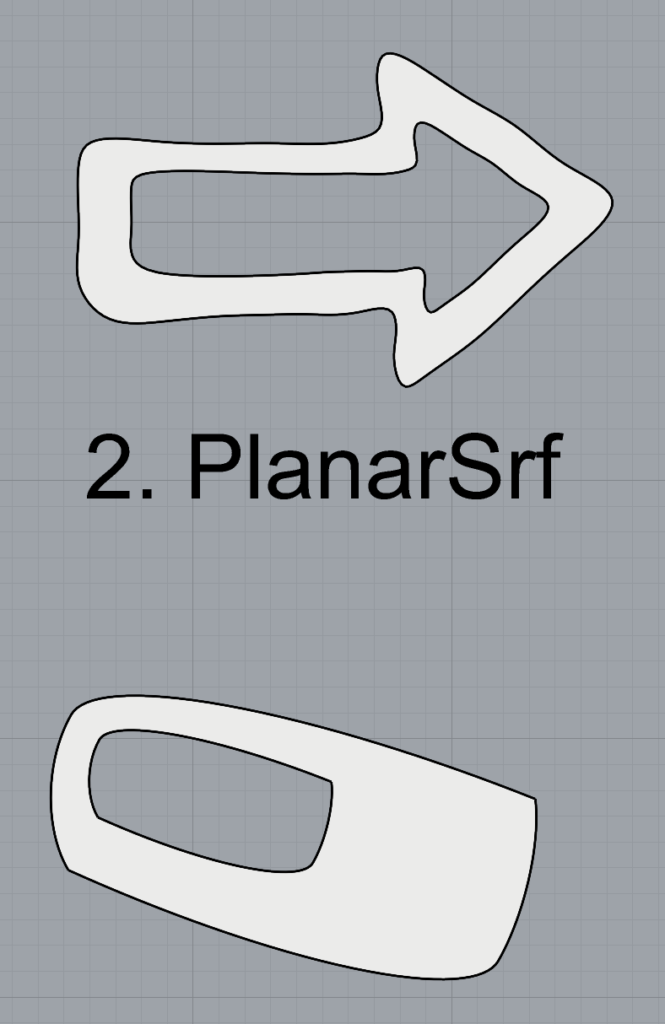
PlanarSrf
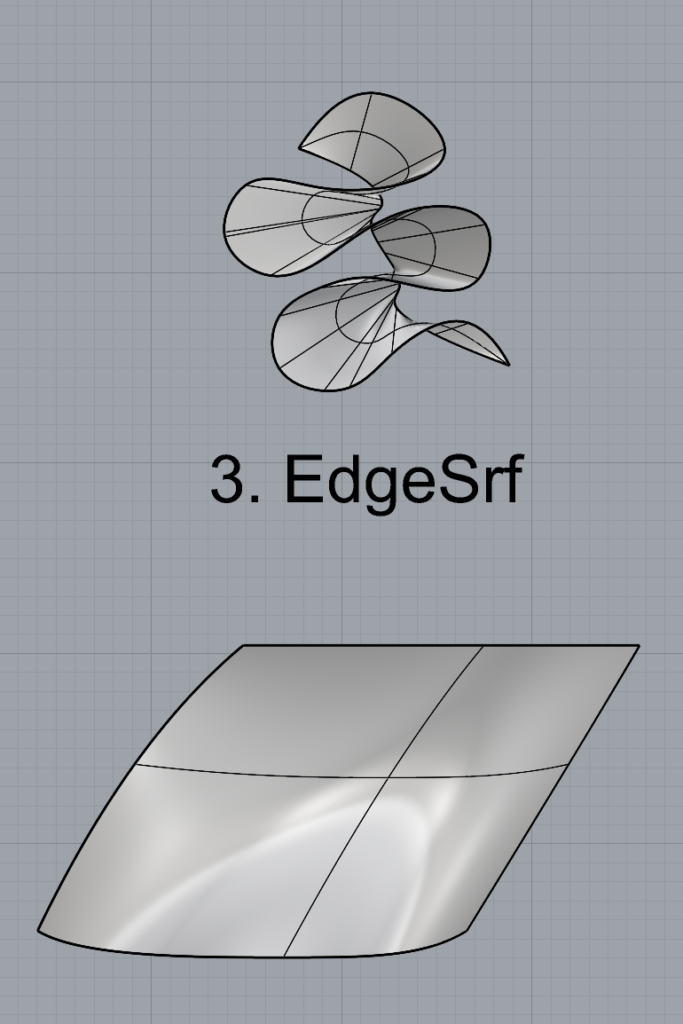
EdgeSrf
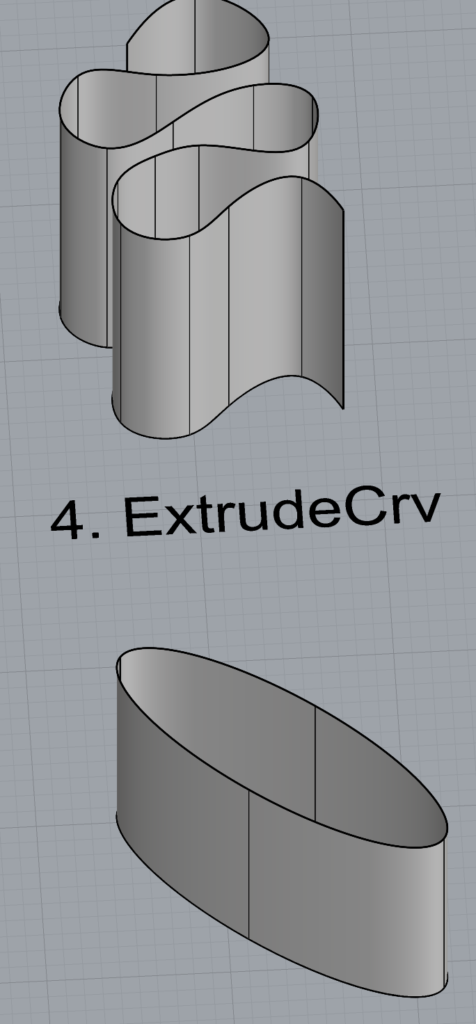
ExtrudeCrv
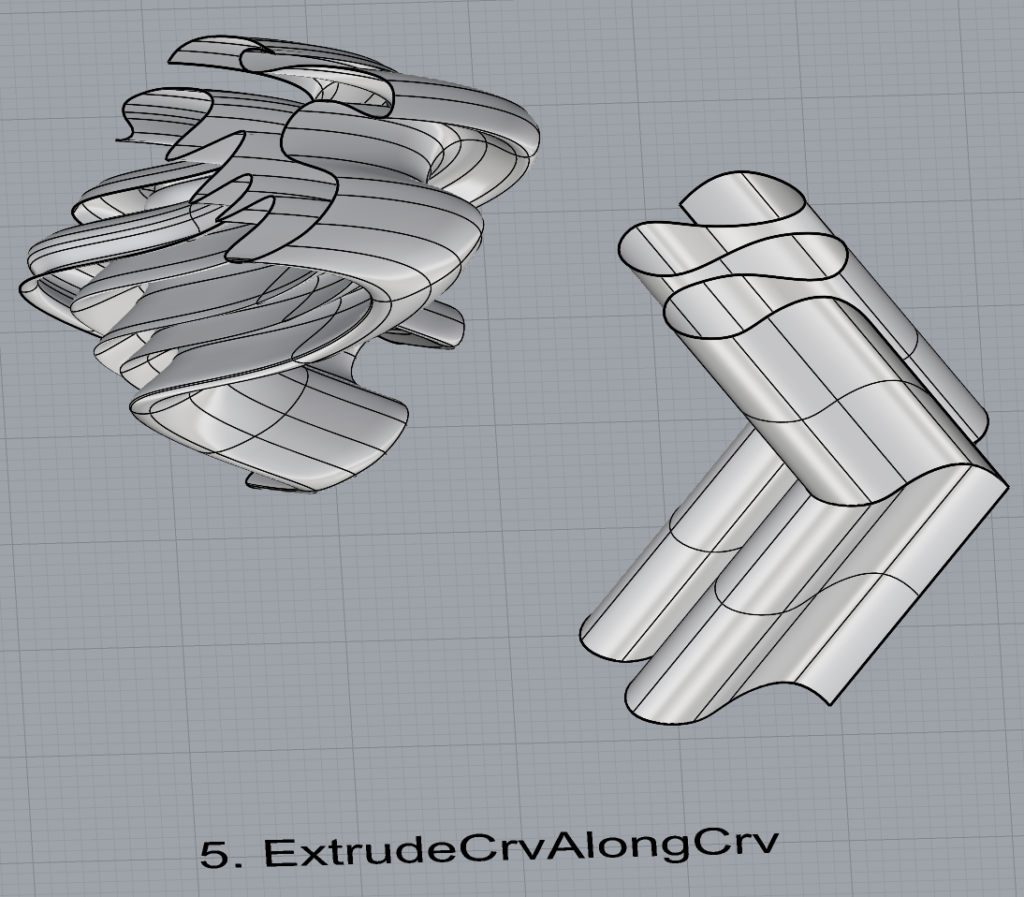
ExtrudeCrvAlongCrv
Loft
Sweep1
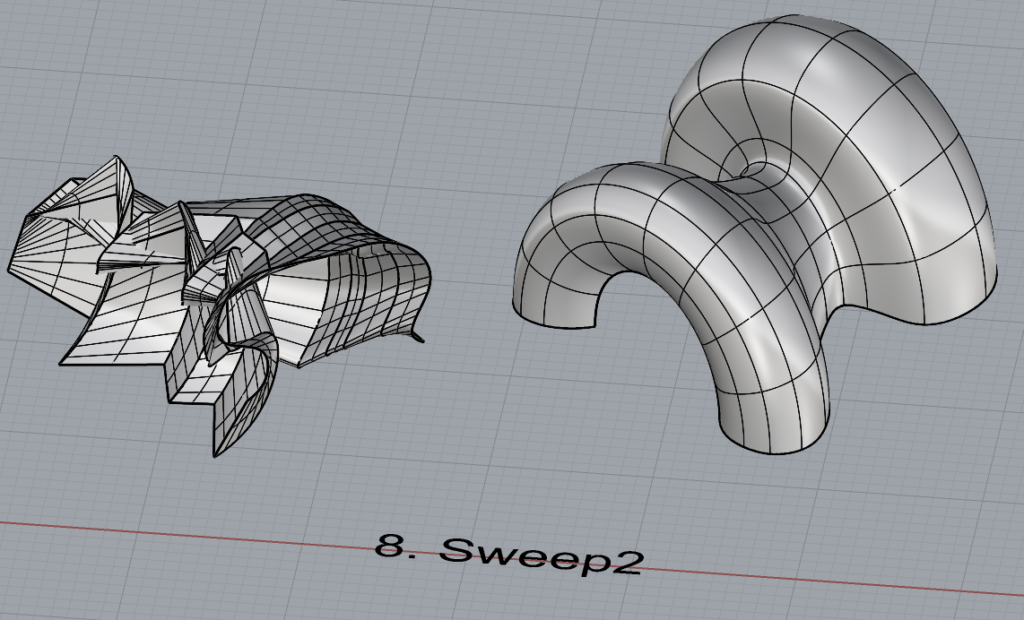
Sweep2
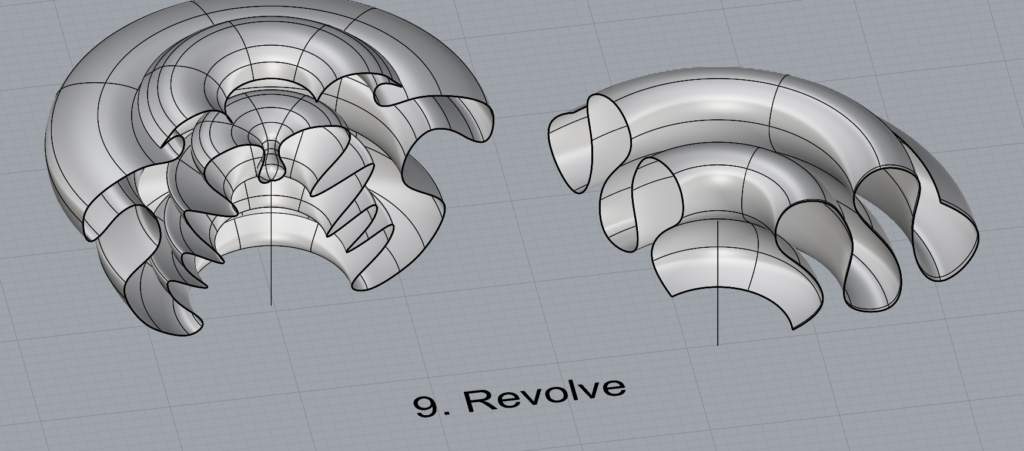
Revolve
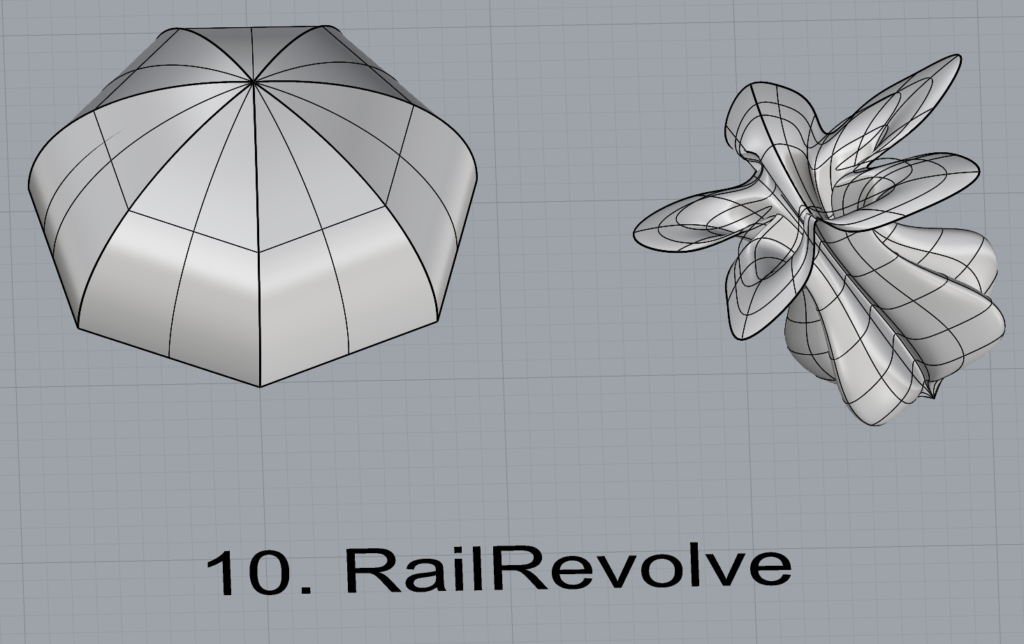
RailRevolve
Add a link to your FirstnameLastname_Surfaces file at this point in your post.
Open a new Rhino File and practice the solids commands below by making two different solids for each command. You may want to use some of the curves and surfaces you modeled in Parts 1 and 2. Organize your Rhino file so each step is clear. Use the Text command to label each step and the commands you used.
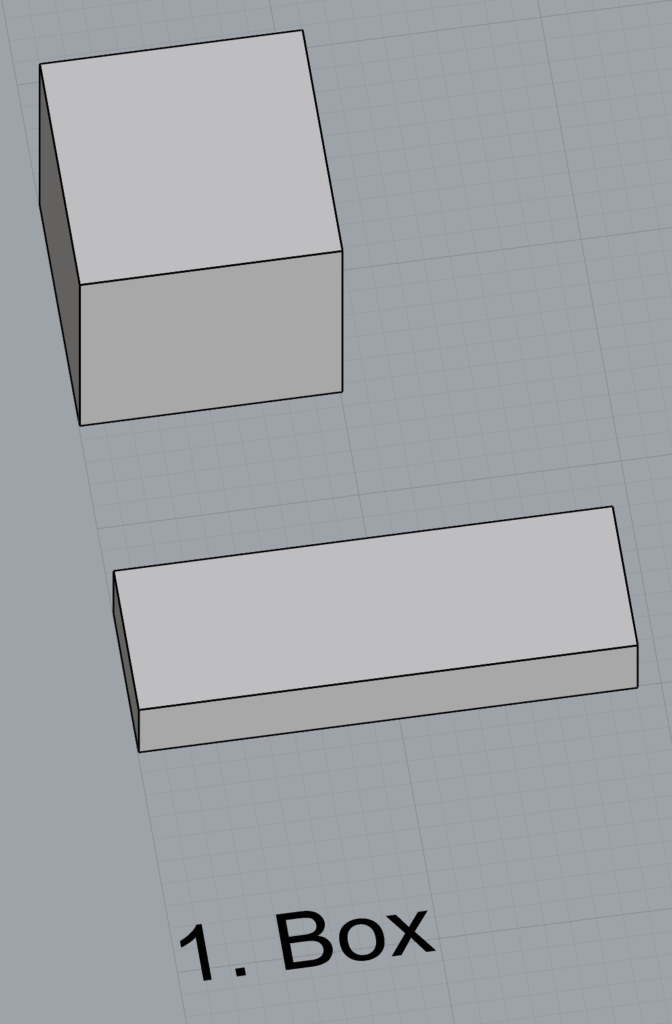
Box
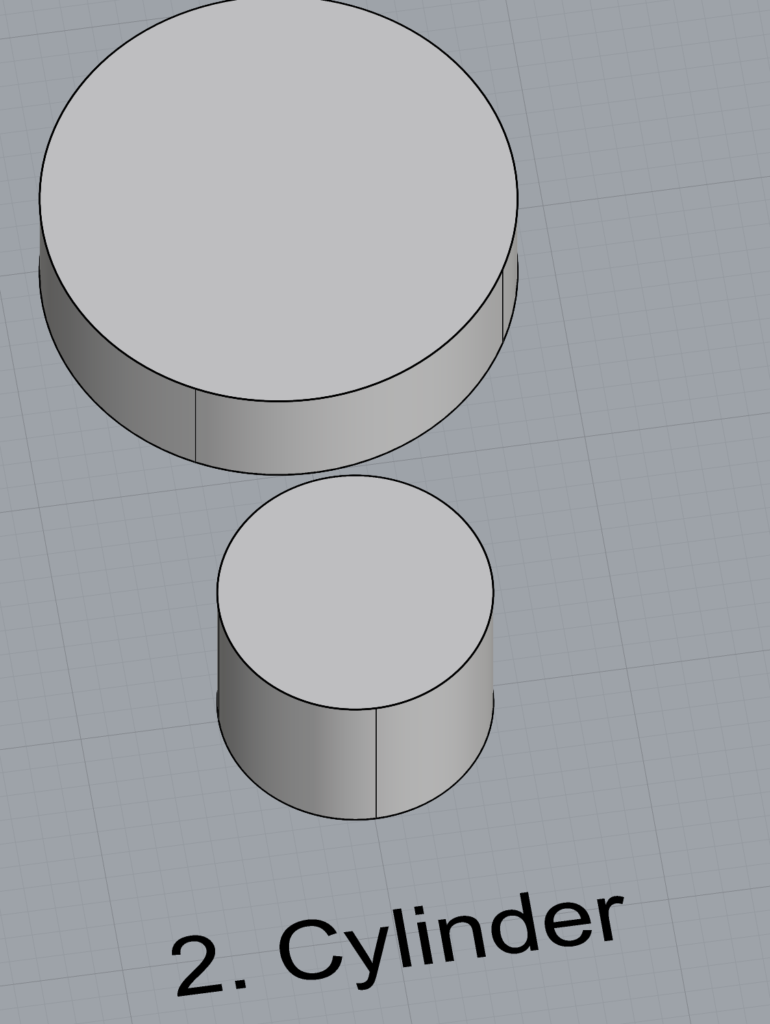
Cylinder
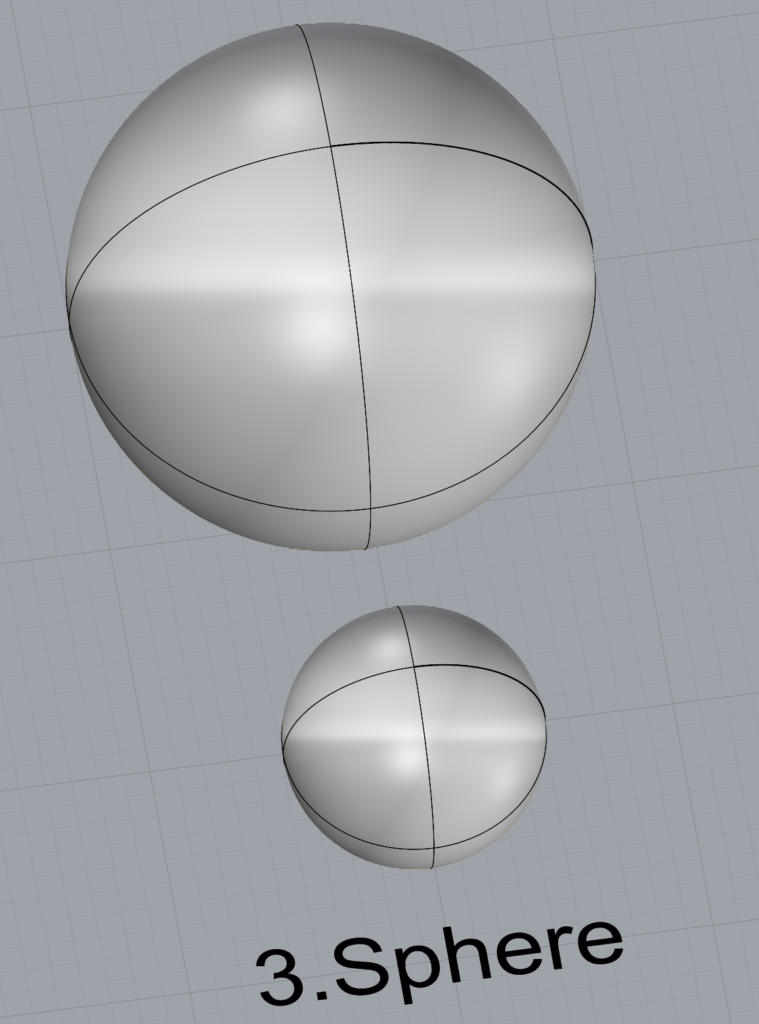
Sphere
ExtrudeCrv and Cap
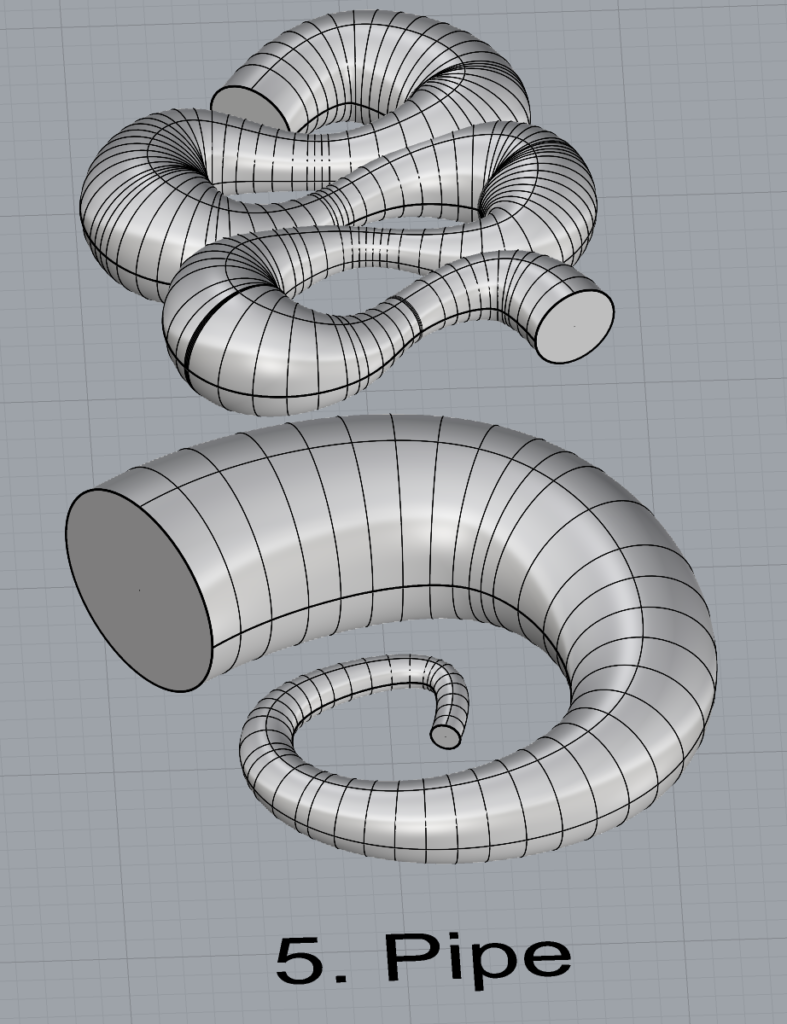
Pipe
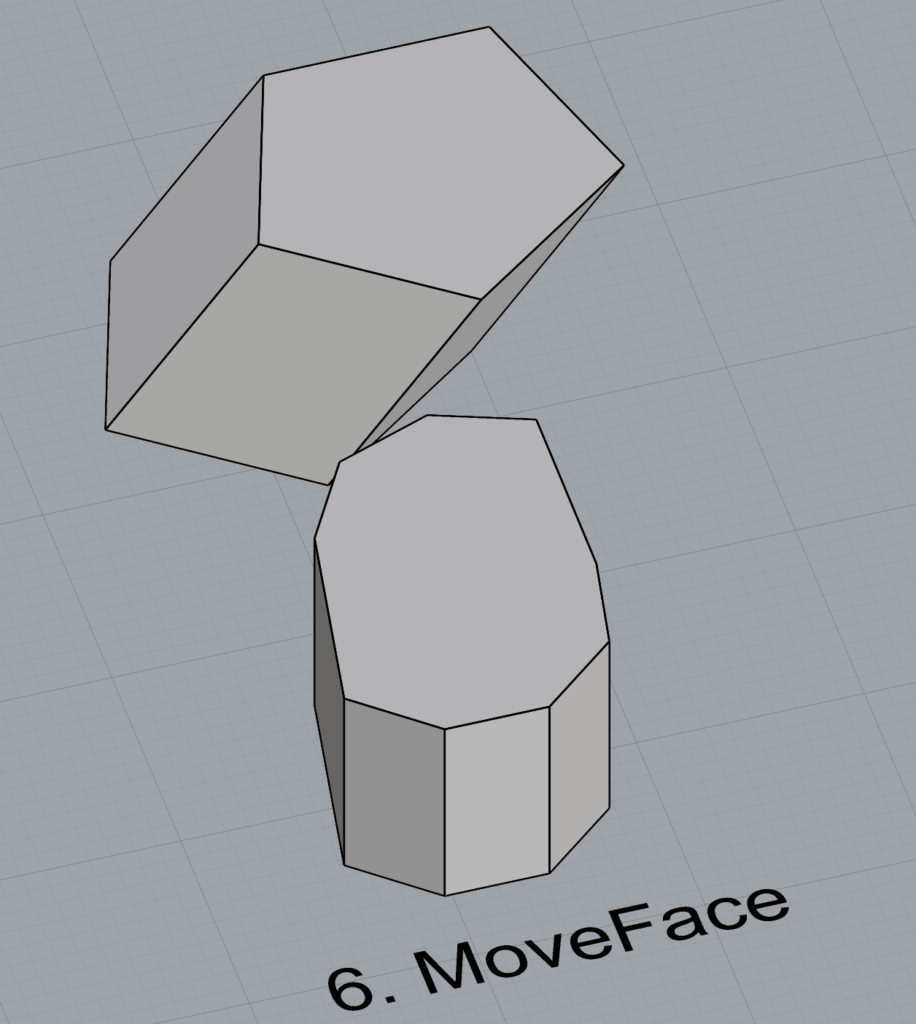
MoveFace
MoveEdge
OffsetSrf
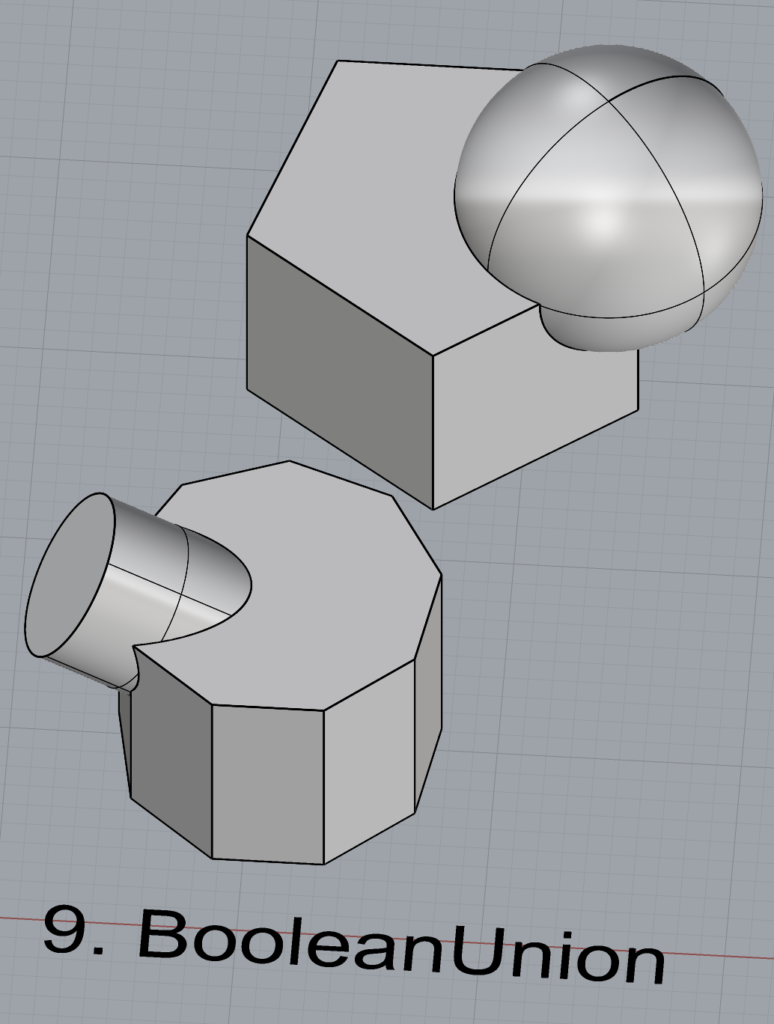
BooleanUnion
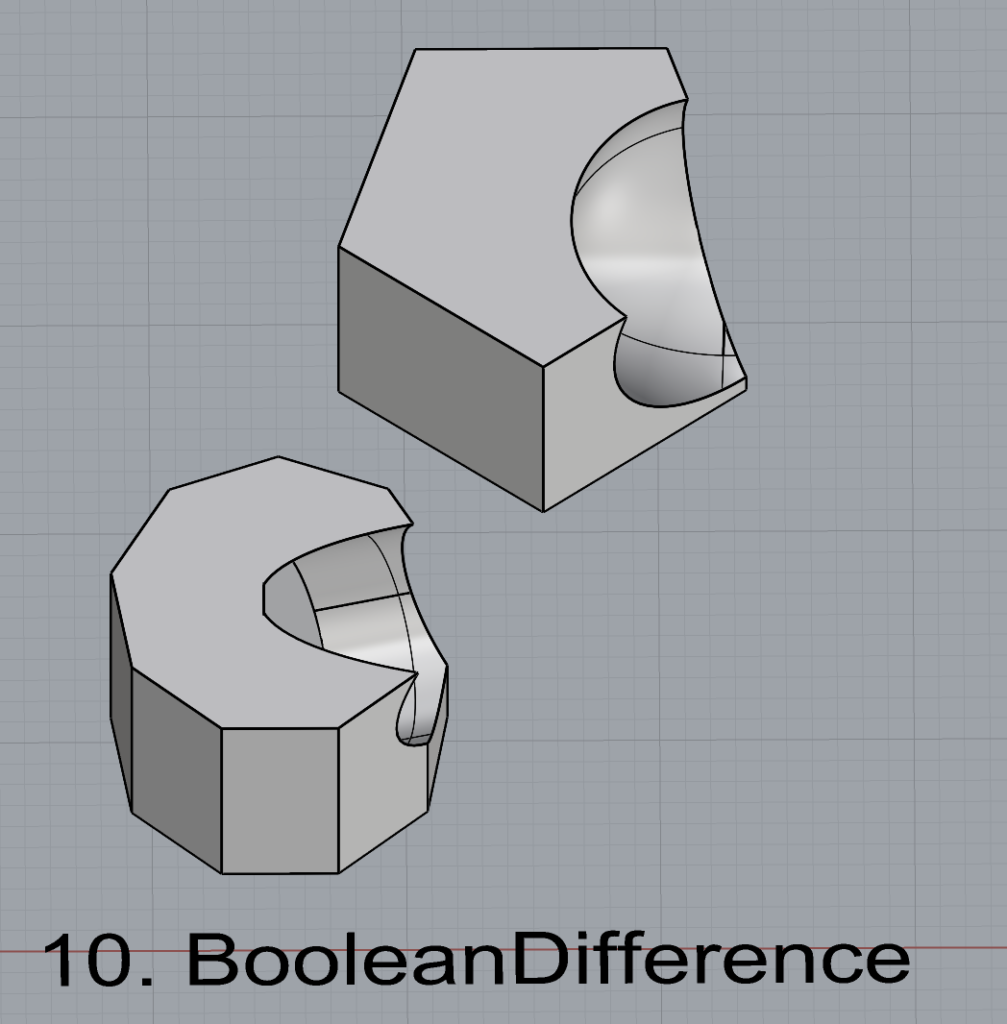
BooleanDifference
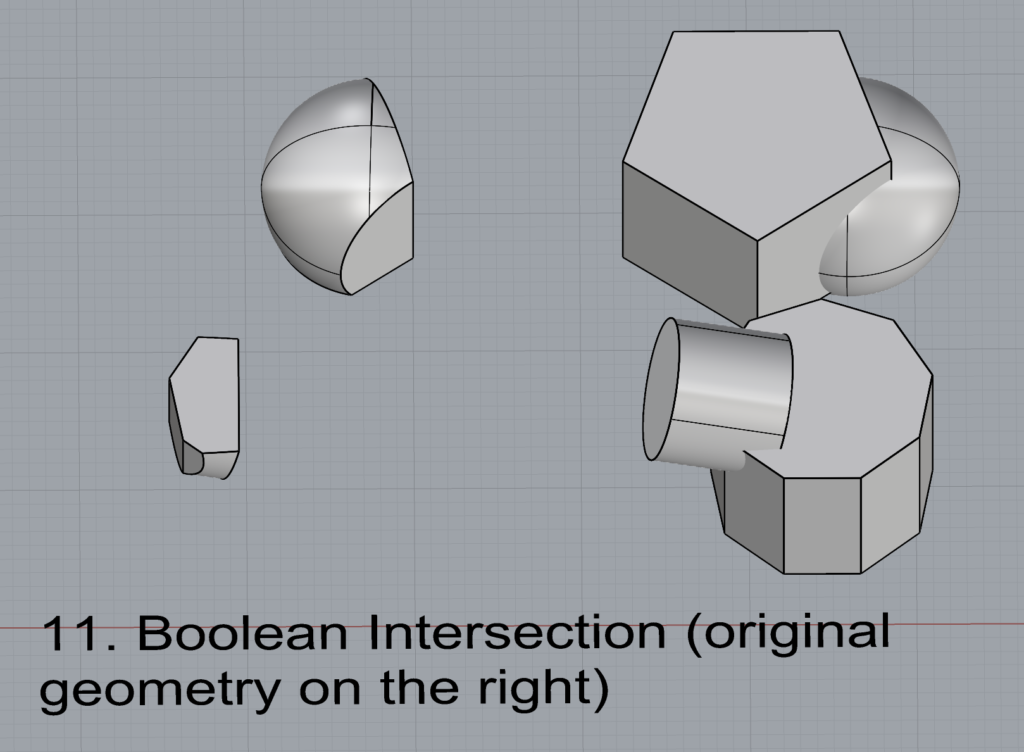
Boolean Intersection
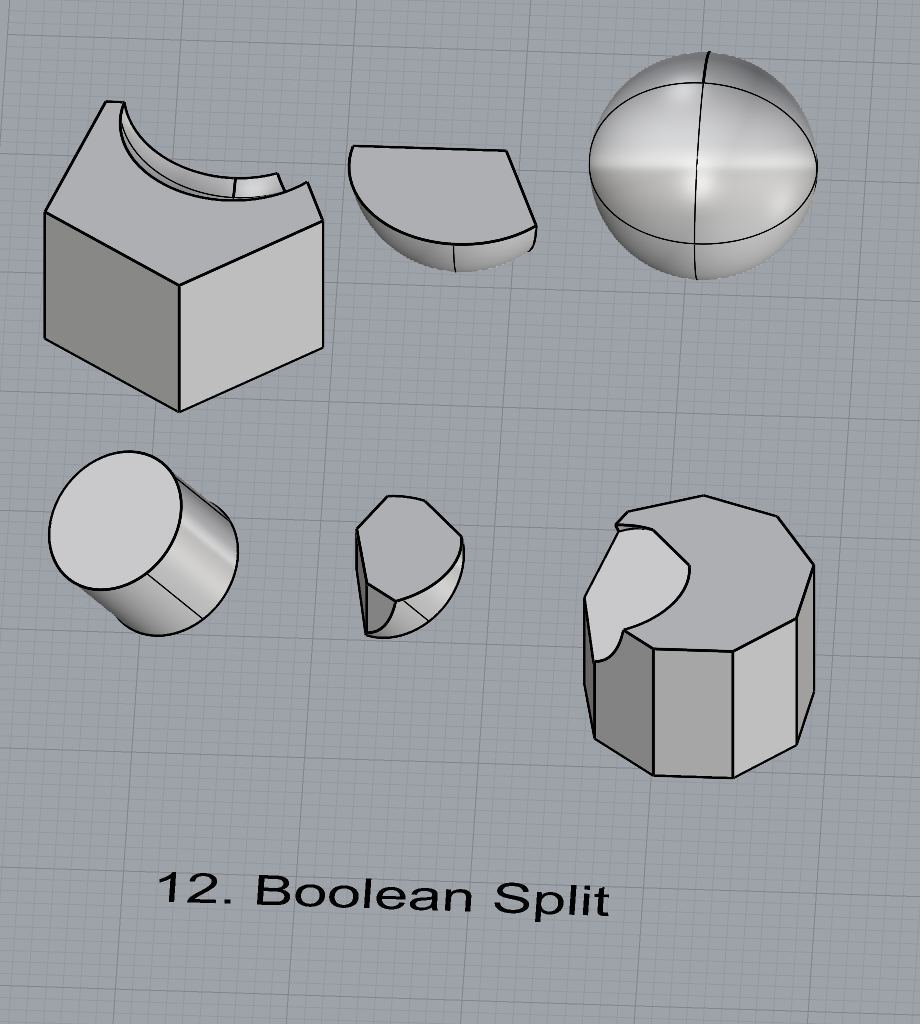
BooleanSplit
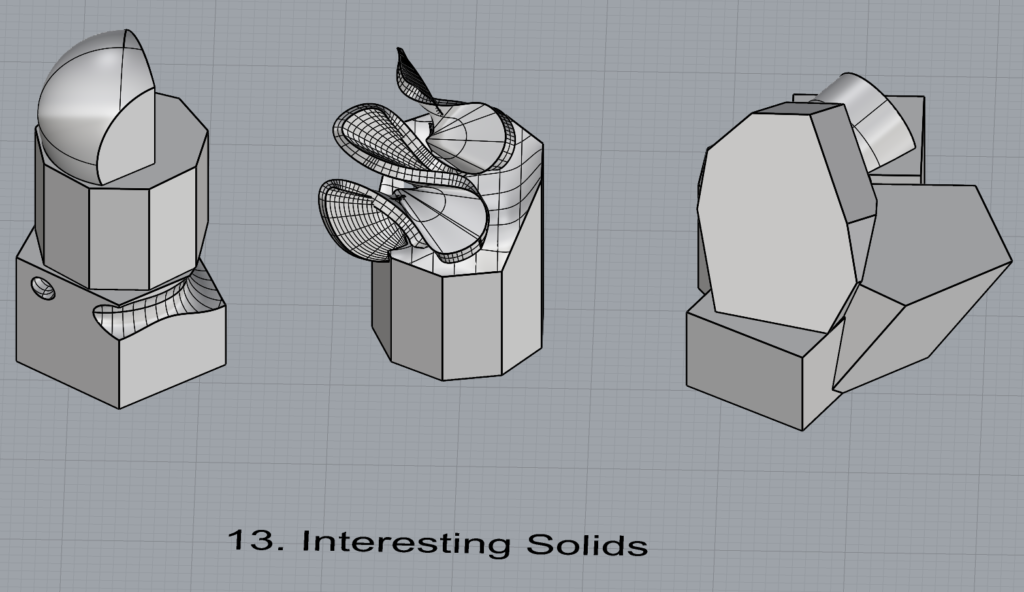
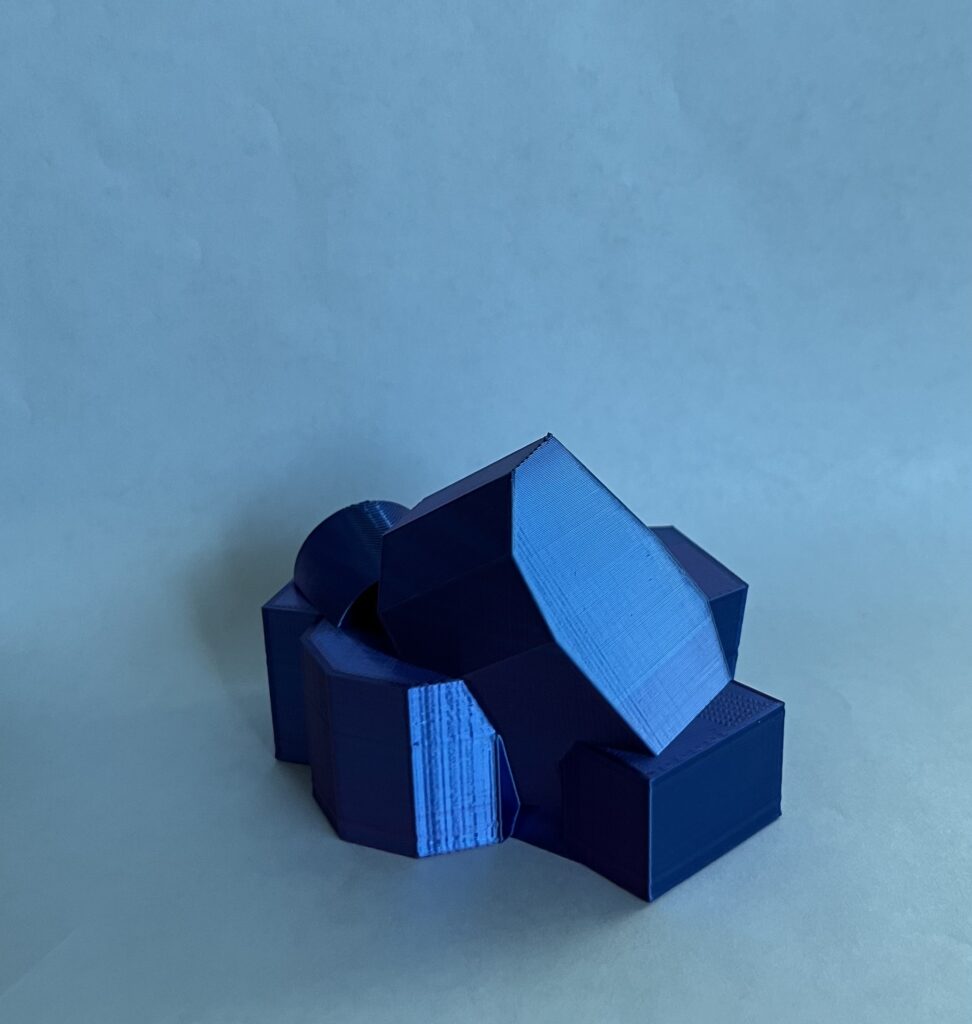
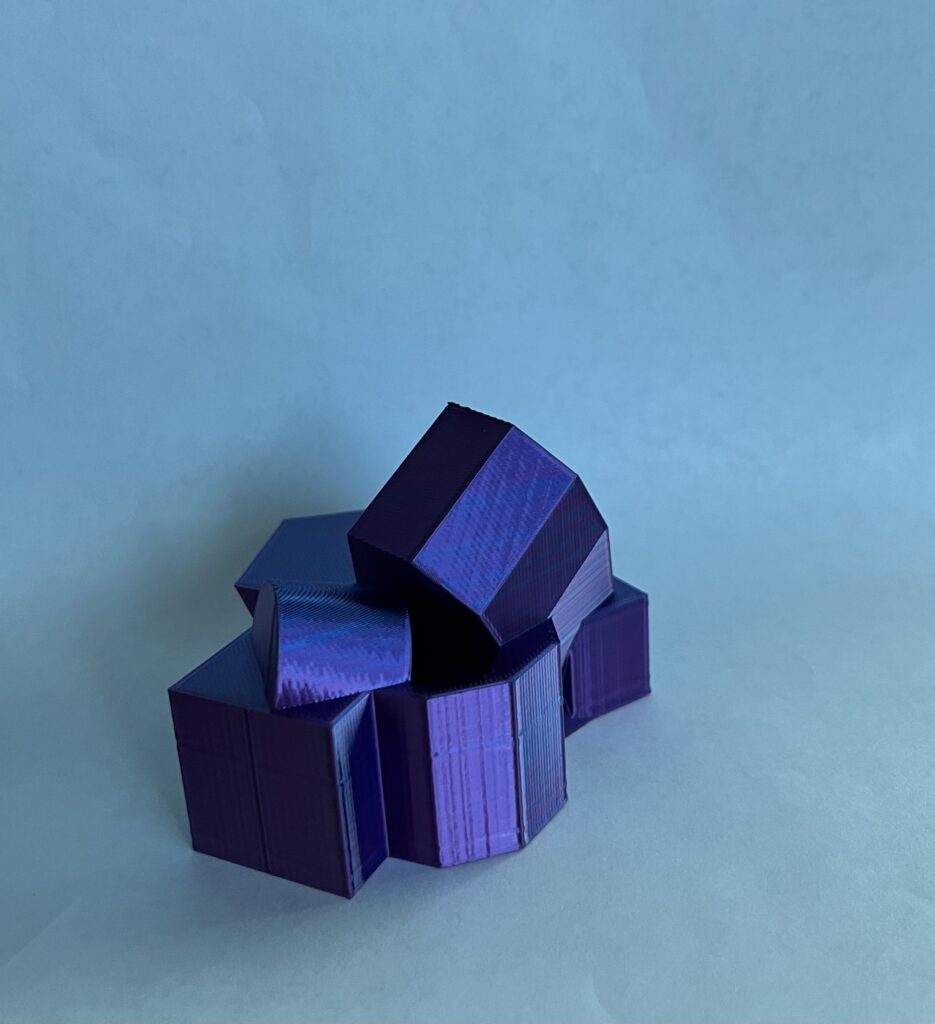
Using the surfaces and solids you modeled and the Boolean tools, make three solid shapes you find interesting.
All 3 solids were created using preexisting geometry, except for some boxes I added to the 3rd one to make it printable. The 1st one was created with BooleanUnion and BooleanDifference. The other 2 used only BooleanUnion.
Add a link to your FirstnameLastname_Solids file at this point in your post.
Initially I ran into some problems, though not with the design of my print. I assumed my bed would still be leveled after I leveled it for the first print. It was not, so I’m going to have to buy a new surface plate. Once I successfully re-leveled, I ran into no other issues.
6 thoughts on “Large Assignment 1 – Liz DiGioia”
Liz,
I love some of the designs you created, especially in your part 2: surfaces section. I think your first loft model would have also been a really interesting object to print. I also ran into the same initial bed-leveling problem that you had. I discovered my bed caved in the center, but I found that leveling the corners slightly higher than normal fixed the issue for me.
Hi Desiree,
Thanks for the leveling tip! I agree, the loft object would definitely be an interesting print.
Hi Liz, you have a great variety of interesting shapes, but I especially liked your lofts. What surface plate are you planning to get? I would love for my leveling to stay more consistent between prints.
Very neat print! It looks crystalline to me, especially in that shiny color of blue. I agree with Sachi about your lofts – the one with the ruffles is quite good
Thanks! That’s exactly what I was going for. Lol that loft seems to be quite popular!


Liz,
I love some of the designs you created, especially in your part 2: surfaces section. I think your first loft model would have also been a really interesting object to print. I also ran into the same initial bed-leveling problem that you had. I discovered my bed caved in the center, but I found that leveling the corners slightly higher than normal fixed the issue for me.
Hi Desiree,
Thanks for the leveling tip! I agree, the loft object would definitely be an interesting print.
Hi Liz, you have a great variety of interesting shapes, but I especially liked your lofts. What surface plate are you planning to get? I would love for my leveling to stay more consistent between prints.
Hi Sachi,
I may just try printing on the other side of my bed plate (I managed to severely scratch the normally-up side of it), but if it turns out I do have to buy a new plate I’ll likely get this one: https://www.amazon.com/Creality-Ender-Glass-Upgraded-235x235x4mm/dp/B07RD6D2ZQ/ref=sr_1_2_sspa?crid=2AQLGCFJ6T564&dib=eyJ2IjoiMSJ9.qd7fJAlAu5IYwkIpoNtOoiL–0XHg9fZyS2i48txXf-PZaxT-GYsnOopyHGVHvMjKI7o77qaY6cycVJMa_qKcKUVAlI7ORt-OGsJs0MfftQvge45z7S35b29IWHwwazbJrInYVexB4G9WTLLhF8XM8-uBnRLV4DfAEYps58RGFQUgCqVywa_xJvI3Jdb51VZDQyqd-Q2i87I1xw0YuVWgTrd8O3L0pfsVo8YlS_kOgU.rbQNBksXWAM91rB49ZBuEQuJeqoplgrVDCdzVn5sGsA&dib_tag=se&keywords=creality+ender+3+v2+bed+plate&qid=1726089886&sprefix=creality+ender+3+v2+bed+plate%2Caps%2C107&sr=8-2-spons&sp_csd=d2lkZ2V0TmFtZT1zcF9hdGY&psc=1
Very neat print! It looks crystalline to me, especially in that shiny color of blue. I agree with Sachi about your lofts – the one with the ruffles is quite good
Thanks! That’s exactly what I was going for. Lol that loft seems to be quite popular!