I was inspired by doilies. I wanted to use the material white stone clay-dough form the hand and machine lab. This dough is a mix of a wheat-corn dough mixed with clay. This combination produces clay-dough’s defining characteristic, dramatic shrinkage. The shrinkage is proportional to the amount of dough used. I chose to use the mixture 25% clay and 75% dough. This shrinkage facilities an object with more delicate features than could be achieved printing with a different clay material at the desired end size. The material and the assignment seemed the ideal combination for lacey clay doilies.

The Classic Doily
I over thought this project. I spent the brunt of my time on this project attempting to program a dynamic doily. I then iterated quickly in the printing process.
I started by drawing what I was hoping to draw. I wanted a doily that would add as many border circles as would fit the on circumference drawn from the input radius. When I asked for a second pair of eyes to look at my math thus far it was pointed out that this was not a basic algebraic problem. I then I looked up the problem online. One solution said that a pentagon could estimate the center of all the border circles. Equipped with a solution I set about calculating the correct angels for the turtle. I was successful in drawing my circles but I later decided that a simpler less elegant solution would work for the extra circles I added later.
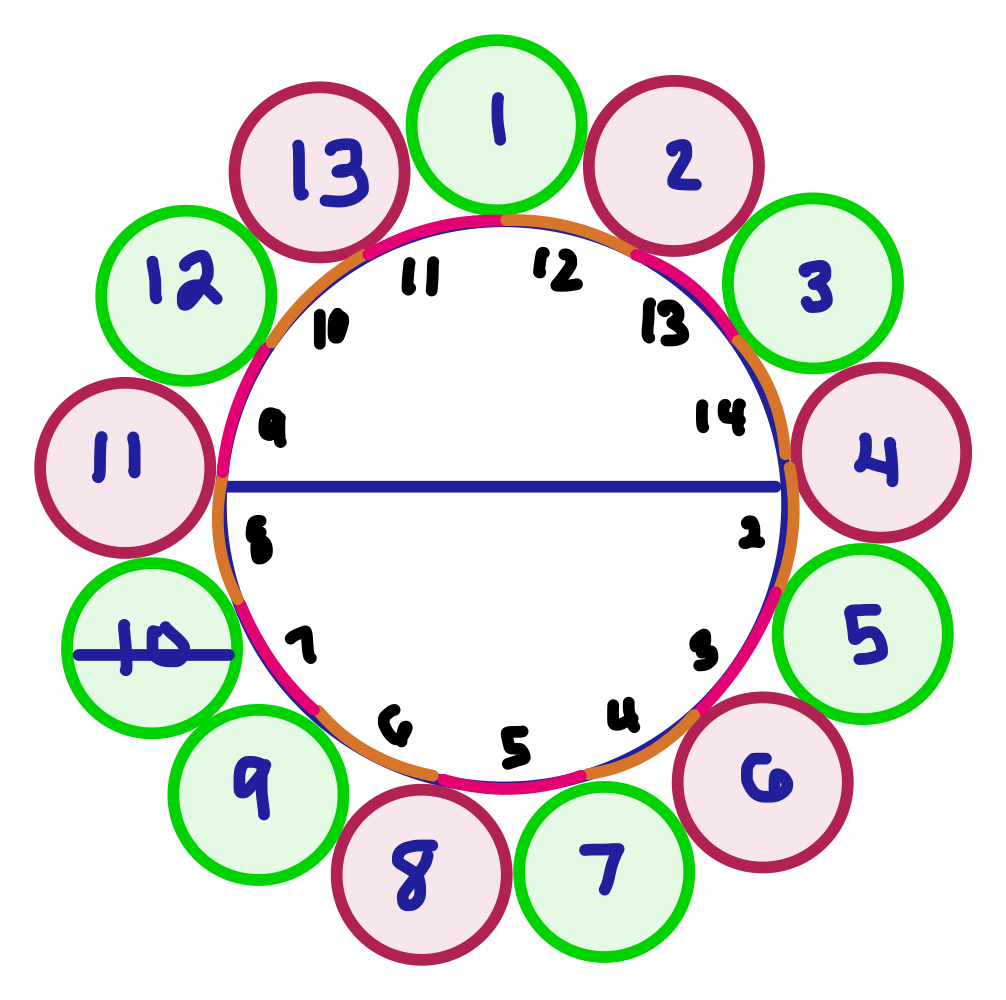

My doily code tells the turtle to draw pentagons and circles. The shape takes form when I instruct the turtle to pick up its pen for all the pentagons and every other layer of the bordering circles.

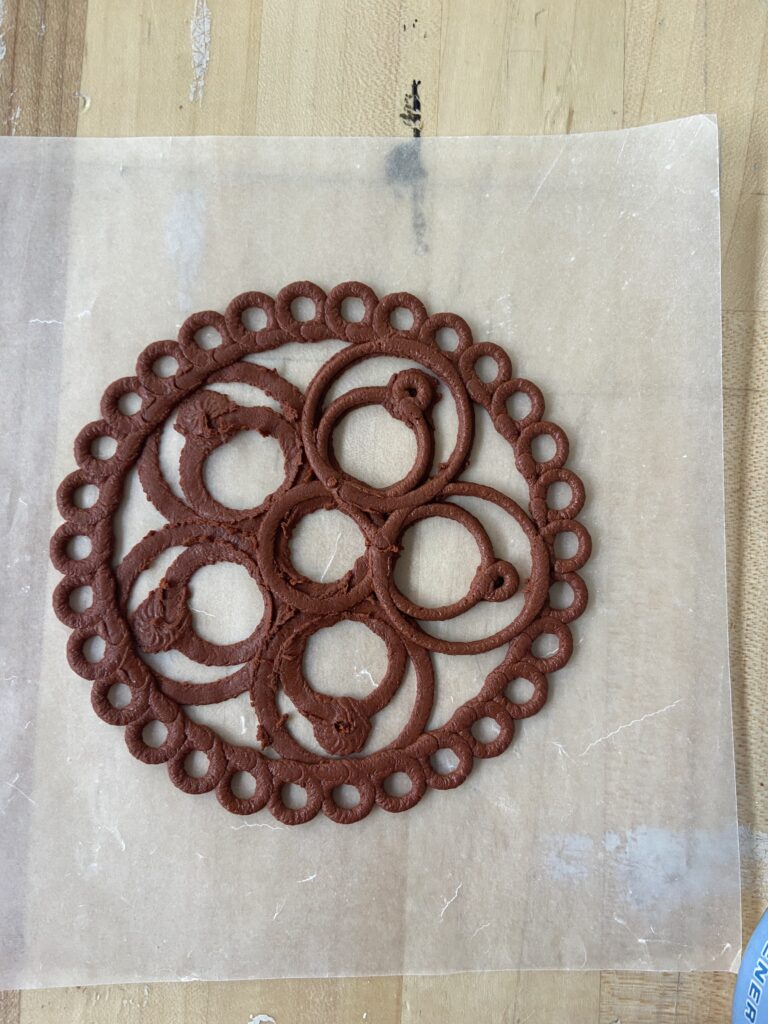
This doily could not be generated by a traditional slicer due the ‘invisible’ layers that lets the outer border hang and ruffel. The free standing filament is the primary characteristic that makes this doily not slicer friendly.
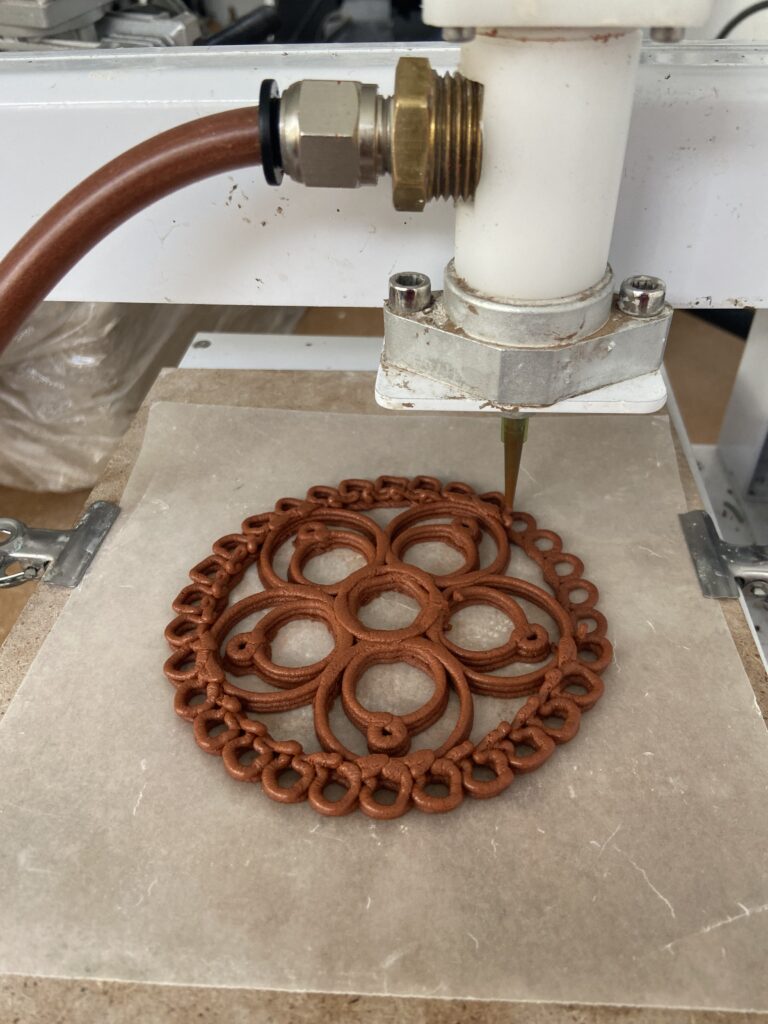
Printing went very well. For this print I had to major problems: a low z value and the right printing surface. I adjusted my z value by adjusting my calls to lift. Claydough, in particular the 25 % ratio presents several printing challenges. One of which is the piece cannot dry on the mesh or wax paper it is printed on. The material shrinks freely at the top of the object and cracks at the bottom. I used the wax paper and then let the piece sit in a dehydrator for 10 minuets before removing the wax paper from underneath.
The Star Doily
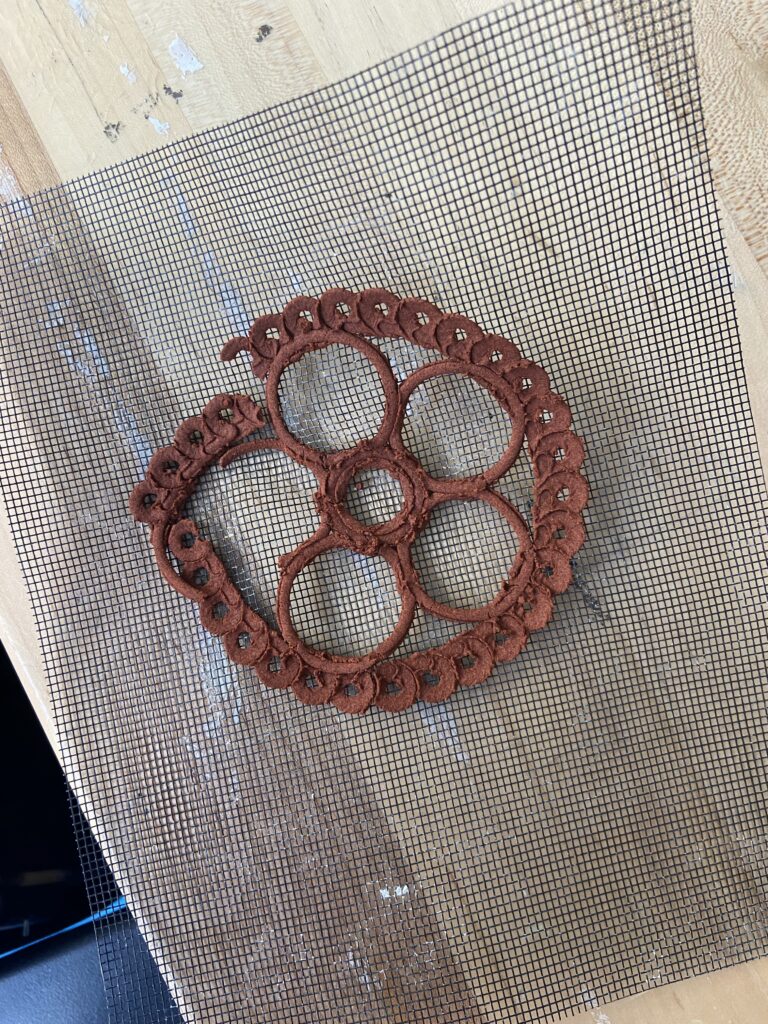
For this doily the code went smoothly but I needed to iterate more when printing. I was so frustrated by the previous math of the classic doily that I wanted to use shapes that leveraged many of the angles I learned from the last doily. Star shapes are freaquently used in doilies and the angle 144 creates a star. That angle is 1/2 the outer angle of a pentagon. When five stars are printed in a circle a pentagon is drawn. This shape is not quite the doily like shape I envisioned but the end result I think is interesting.

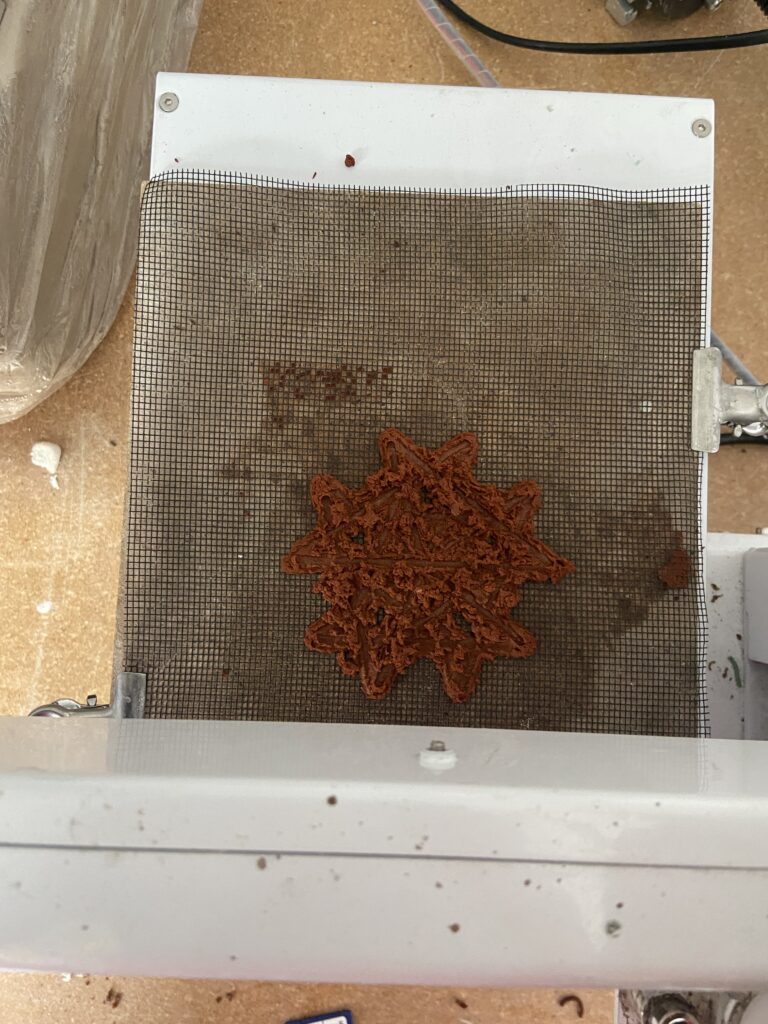
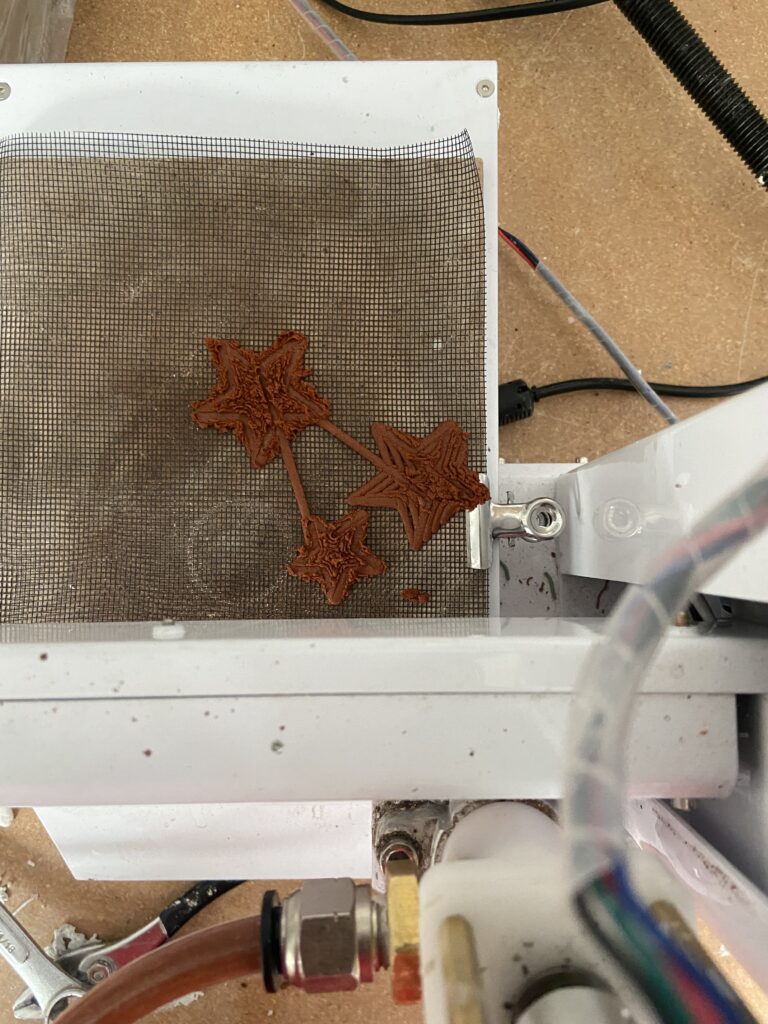
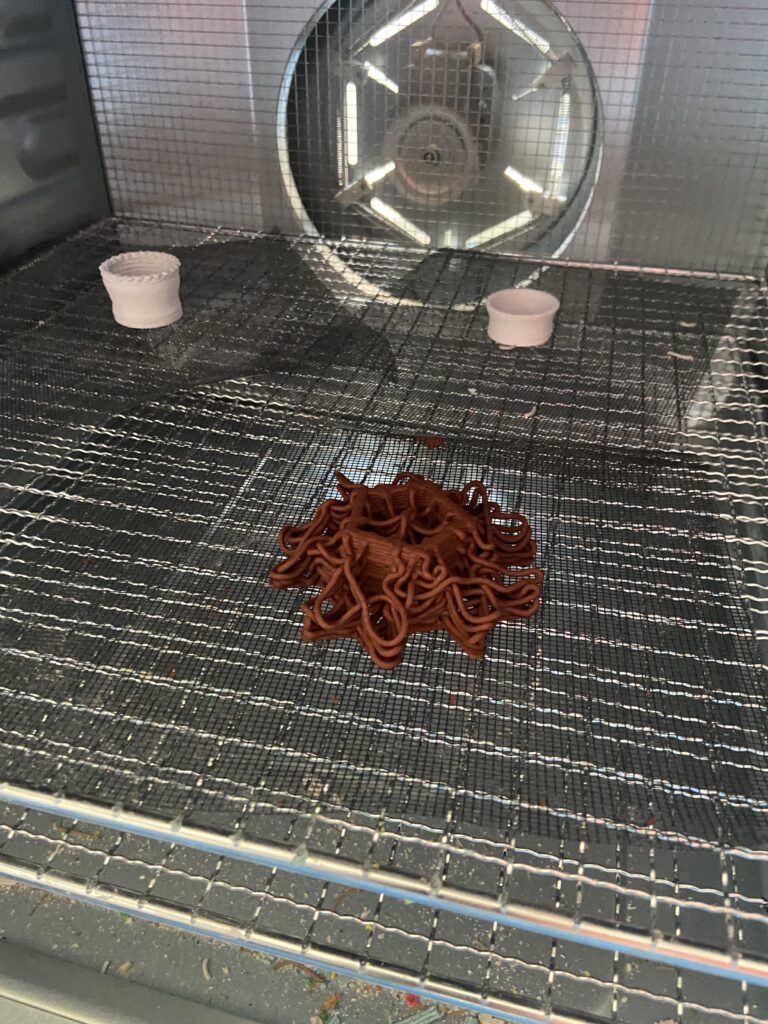
This star dolly also skips layers and moves up in z more than would allow the filament to stack as shown in the model.
Here I started with a more complicated design that I thought would hang interestingly. It ended up not working for the filament width and bed size. I wanted more negative space to allow lines to drop and furl. My next iteration had the free fall wavy lines I wanted but lost all essence of a doily when the center pentagons stacked too far in Z.
The Braided Doily
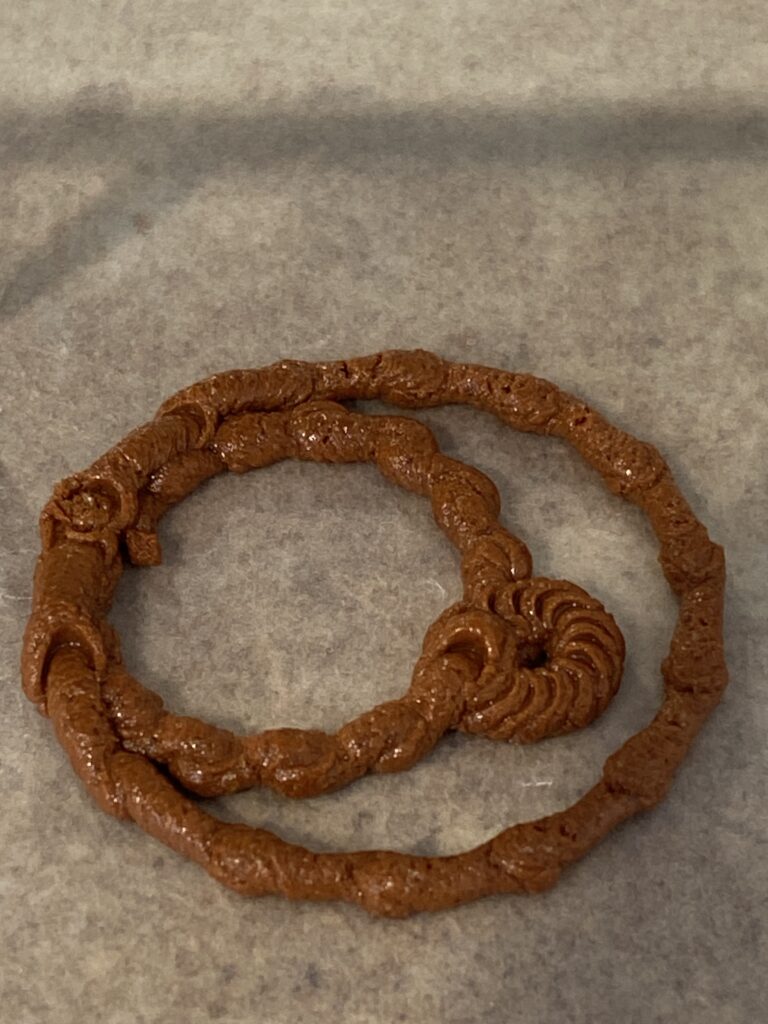
I really liked the first design and wanted to keep working no different turtle steps that would add a different texture or character to the doily. I reworked some of my original code and added toggles to add the different turtle perturbations. I then when printing had to tweak my z height, my first layer, and how I was printing.
For this section of code I wrote a lot of if else statements and then a method for each the turtle step options. Specifically the g code generated for the braided doily the turtle moves up and down in z as they travel along the doily path. For every 25 steps the turtle takes in x or y the turtle lifts in z before then returning to the level value for that layer.

This doily could never be sliced because of the stair steps that move up and down in Z. The zig zag pattern would be complex and appear to be an incompatible geometry. The new step in z drastically changed the time it took to print this doily.
As I worked through printing this doily I needed to change the height in Z and change the first layer to have no movement in z. I also had some material issues that I am still trying to work through on this design. The 25% clay shrinks rapidly and if there is anything pulling the material as it dries the clay dough cracks. My prior doilies were thicker and I was able to remove them from that wax paper after 15 minuets in the dehydrator. This doily broke each time I attempted to remove it.

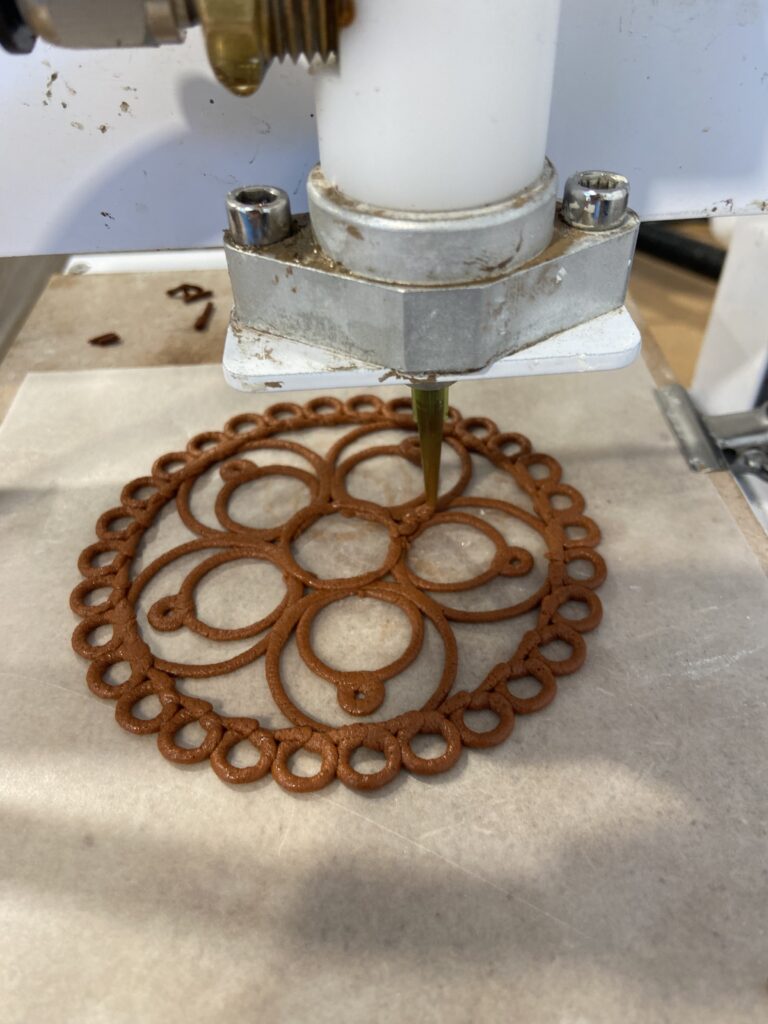
Final Doilies


Hi Erin, this is the first time I’ve heard of the word doilies but I’ve seen them a lot. The funny thing is, I didn’t know they could get complicated in design. Seeing your Math exchange solution graph was really cool and interesting. I love the way your final doilies came out, Great job!
Thanks! I thought the same thing about the geometry of this project. To be fair I over thought it a lot. I also was surprised at how efficient and elegant the crochet patterns are for doilies. It looks a lot more like code than I thought it would.
This got me thinking about crochet and knitting patterns and how they’re written out–it could be a lot of fun to translate those out into g-code. I love your inspiration for this!
I want to do this too! I feel like it would be a really fun project :). I have started to map it out in my head too. If you try it lemme know I would love to see your take on this project!
Hi Erin, these are beautiful. It was nice to see more materials in your project as the range of 3d printable mediums has expanded so much that I don’t even know what is available anymore. Are you able to glaze clay-dough at all after it has dried?
I can! I plan on it too. After I fire them they will shrink more and loose all color from the food-color dyed dough.