Processing and Tile Generation
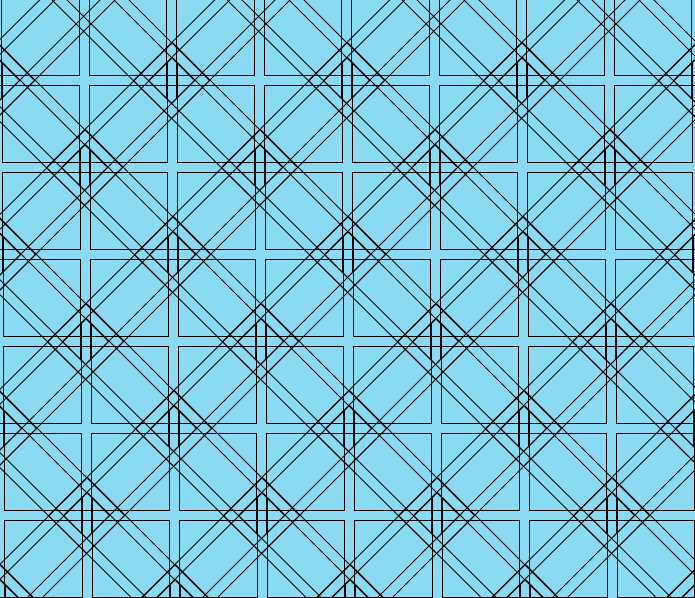
For my tiling, I primarily planned to use the Turtle library to create a tile. I was primarily interested in diamond shapes with an inset pattern and that is my main motivation. This gave me a lot more creativity to come up with a unique design in the center.

I tried going about this tiling phase in a few different ways. I first tried using turtle to create a randomized tiling application but that didn’t seem to work out to well as the geometry and keeping track of all the angles was much more difficult than I imagined. I think that maybe forgoing the turtle implementation may have saved me some time and allowed me to experiment with much more color within processing.

Mistakenly, at some point I managed to “combine” the lines of the tile onto other tiles which led to very interesting results. It was something that I looked into much further with the 3d printing phase!
3D Tiling Across a Surface
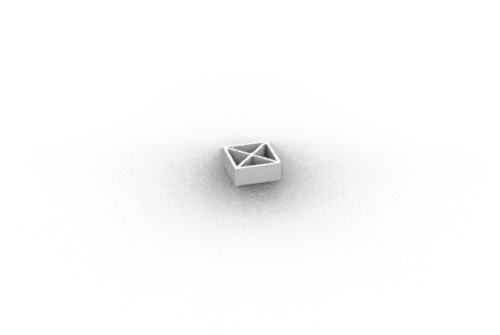
There were quite a few modifications done to ensure that I was able to use the tile from the previous step which included raising the lines of the tile and creating a surface. I eventually had to treat the interior and exterior of the tile differently and then union the shapes.
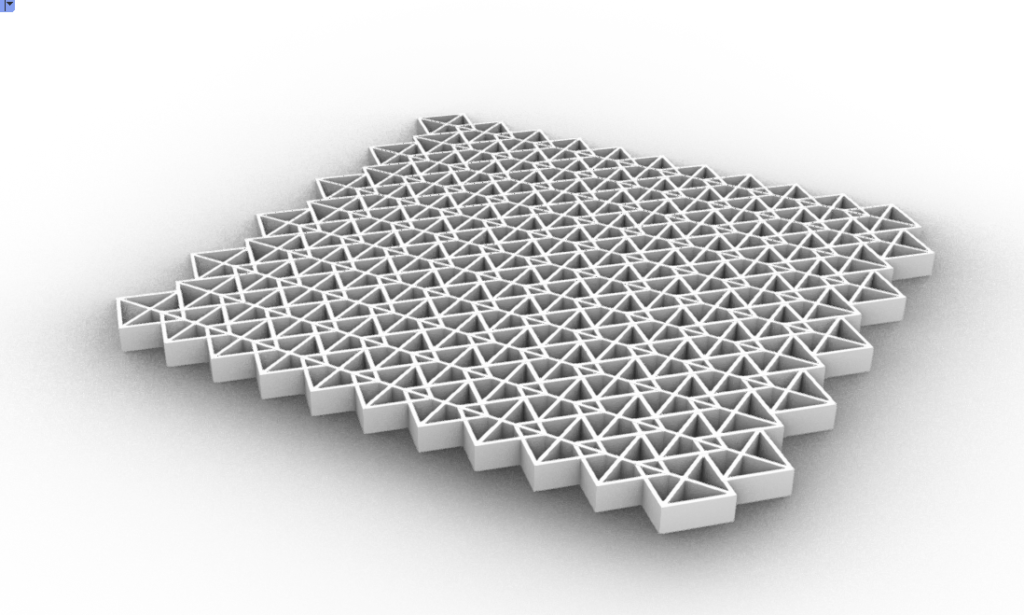
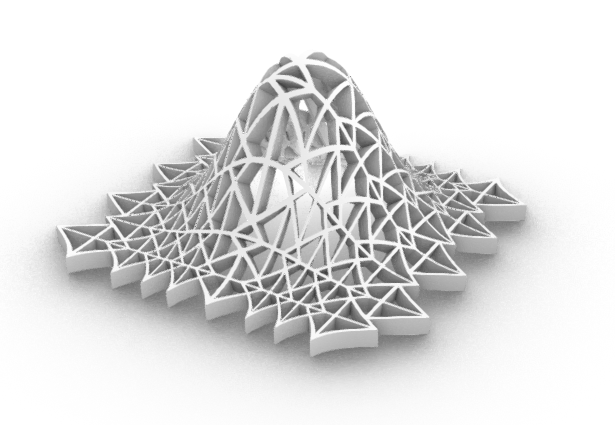
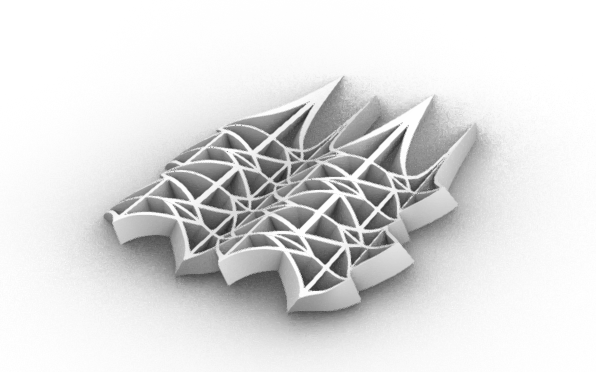
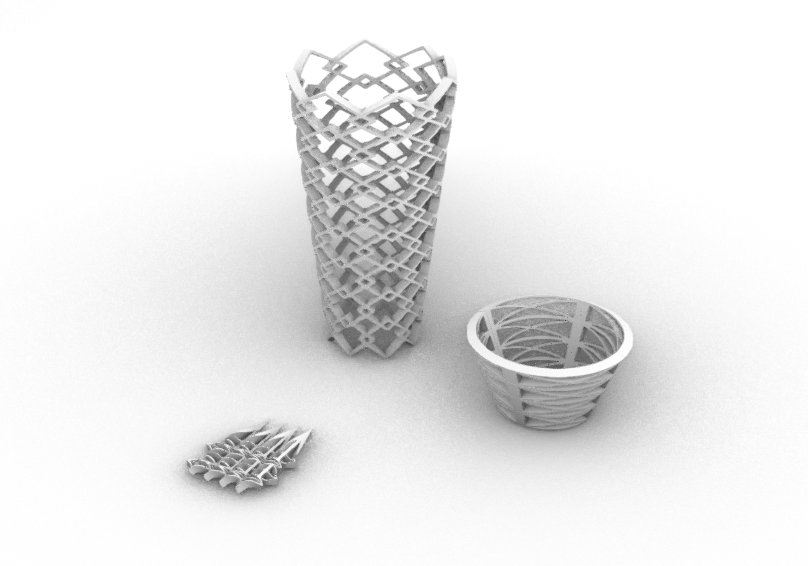
I created two simple planar tiles with height offsets according to different functions. My functions were the e(-5x^2y^2) and cos(pi * x) + sin(pi * x) which helped produce two nice rendered models.
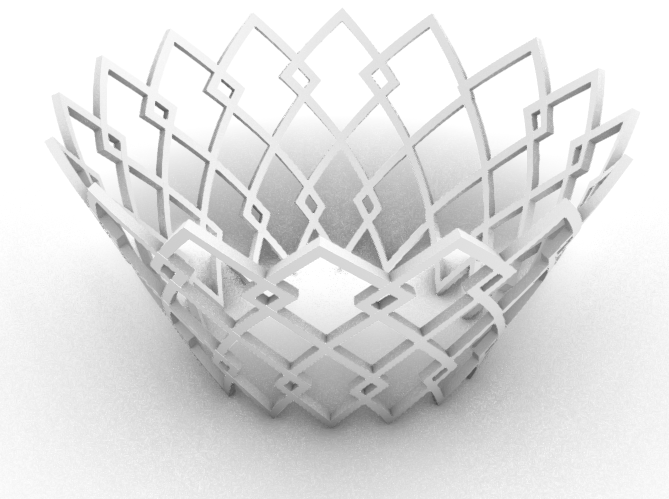
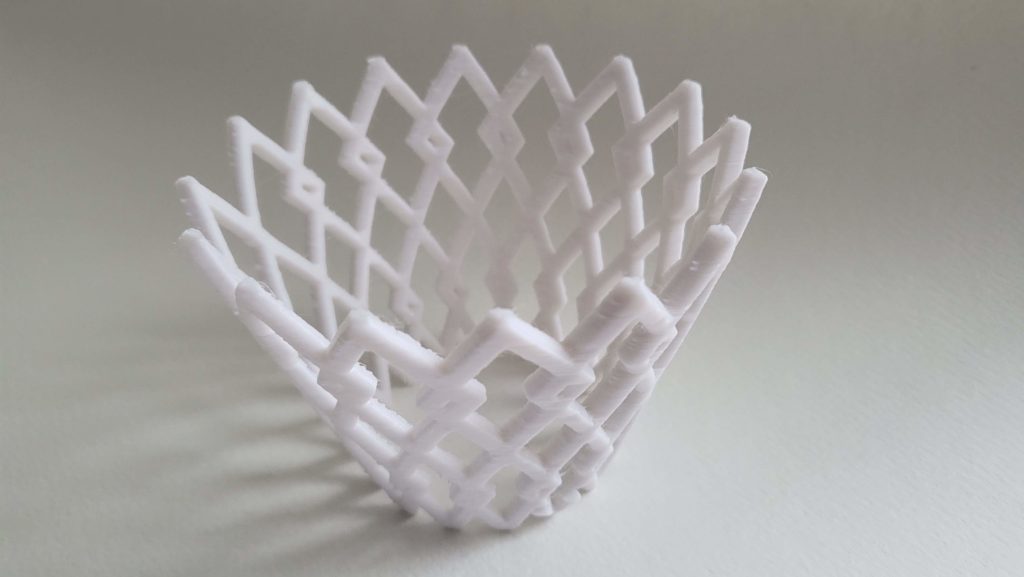
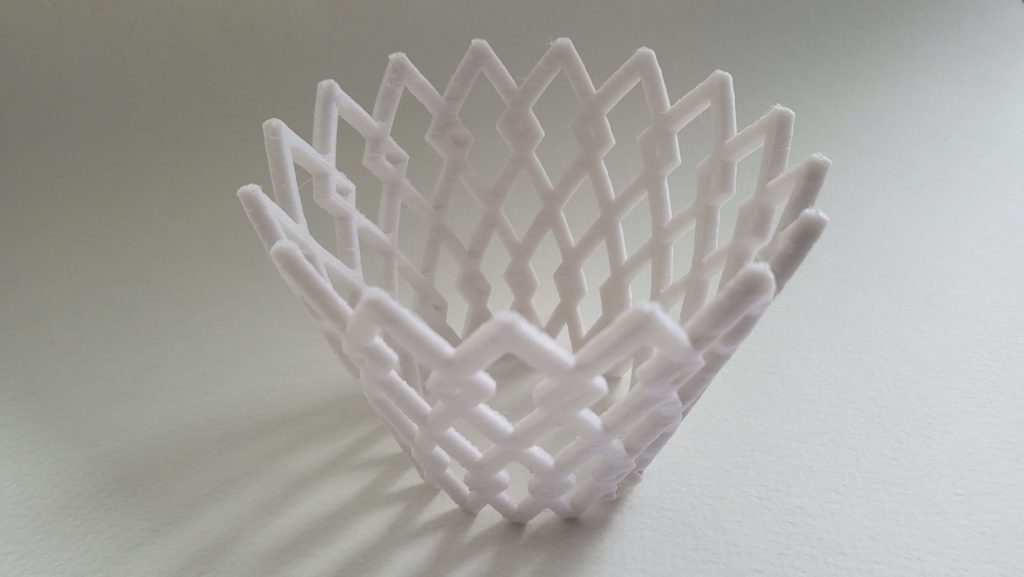
I feel that I spent so much more time with the cylindrical 3d model and really committed myself to have a model that had a lot of holes but was still able to print without supports. I eventually ditched the interior of the tile as my design included lines that were both horizontal and vertical so no matter how I rotated / oriented the tile, it would become a very tricky to print. By keeping most of my angles > 50 degrees, I was able to get something that worked out pretty well. My domain that I wrapped around was just a simple cylinder with an expanding radius as z grew.
Most of my challenges were with the cylindrical model creation and brute force testing that a model would print well without supports. I also had some problems with the belt of my machine becoming very loose and some minor problems arose due to that. Here are some additional models that I looked at and played around with:
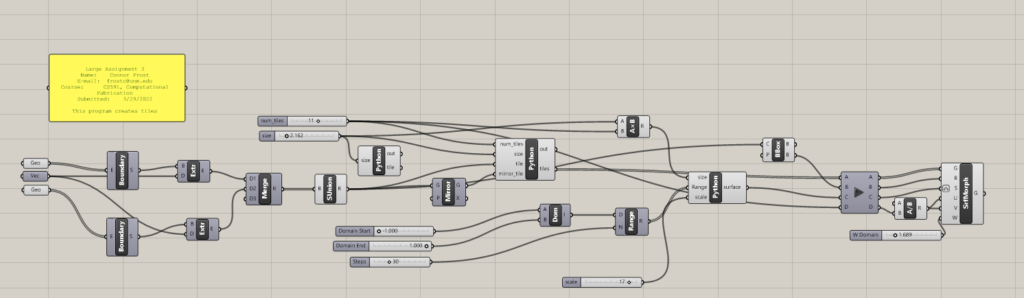
Code
Link to Code: https://handandmachine.org/classes/computational_fabrication/wp-content/uploads/2022/03/ConnorFrostLA3.zip
Hello Connor,
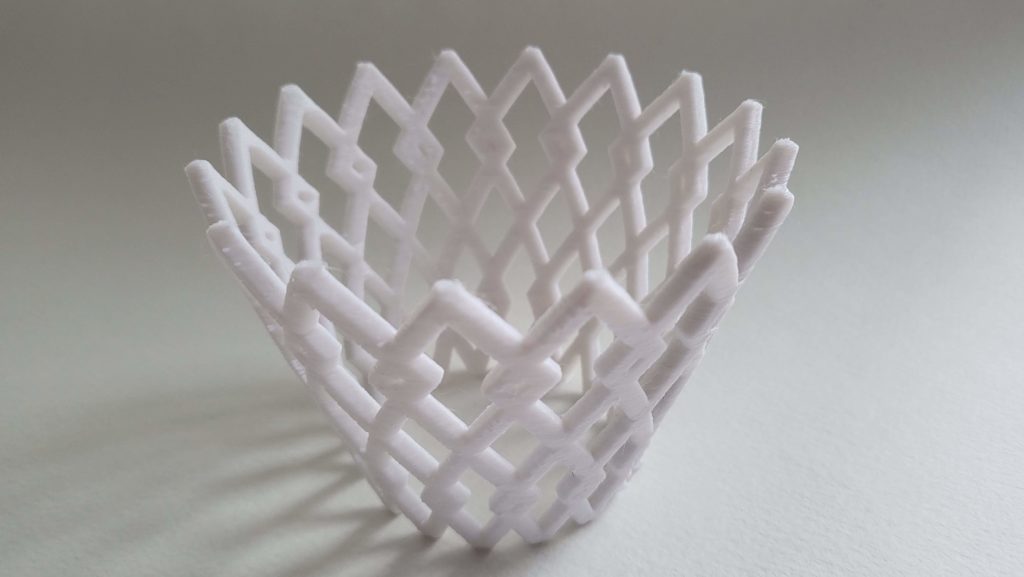
Your pattern with the overlapping corners really turned out well. It really came out looking like a crown with your 3D print. It is nice that you sort of discovered a design as you were working with the original. Amazing how such a simple overlap can add so much to a design, nicely done!
Hey the final print came out really well! Awesome that the print was able to work with the points on the bottom half. The planar piece looks like it has spears on the end.
Yeah. I was surprised by how well it came out in the end. I had some problems with the small points on the bottom and ended up translating the model down by a couple millimeter to make the points larger. The planar piece was a little interesting because of the formula completely diverging to infinity and caused an interesting morph to the surface.
Hi Connor,
Good job on your work! Both the generated forms and the 3D printed form look very nice. The generated cylindrical shape looks very delicate but the printed form look surprisingly stable. I really love your final 3D printed object. It looks very nice, clean, and elegant.
Hello! I was surprised by how sturdy it was when it finished printing. I think it may have been due to some settings within the Cura slicer that I used to make sure it fit the requirements for the project. Unfortunately, I had to print on low quality mode to speed it up and can only imagine how great it could have been if I printed on the high quality mode.