Intro
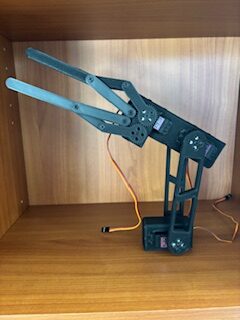
For my final project, I choose to delve into my area of interest: robotics. I wanted to design a robotic arm using the techniques I have learned in this class. I designed the arm from scratch using a few online sources for design inspiration. My goal was to create a fully functional arm that was able to be controlled using a raspberry pi. Due to some unexpected complications with my 3d printer breaking, I ended up fabricating the arm, but was unable to get all the electronics hooked up and working. I felt like I accomplished the primary aspect of the project as this class is more focused on design and fabrication rather than doing electronics work. My process for the creation of the arm was:
- Part identification
- Dimension design
- Computational design
- Fabrication
- Assembly
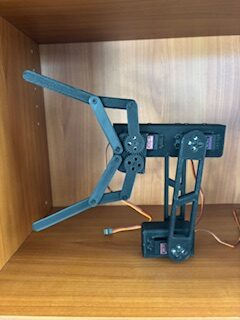
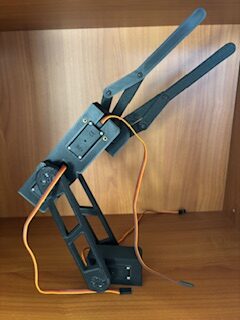
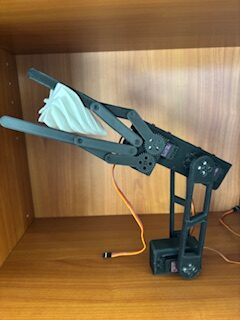
Part identification involved figure out what parts I would need, including 3d printed parts, electronics, and hardware. Dimension design involved using CAD software to design parts and figure out how everything would fit together and work. Computational design involved using rhino and grasshopper to develop python programs that built the parts based on the CAD designs I had created. Fabrication was 3d printing all of these parts and refining their designs as needed. Assembly involved connecting 3d printed parts with hardware. Hardware I used were the servo motors, heatset screw inserts, and m4 screws and nuts. The final result turned out very well:
Background Research
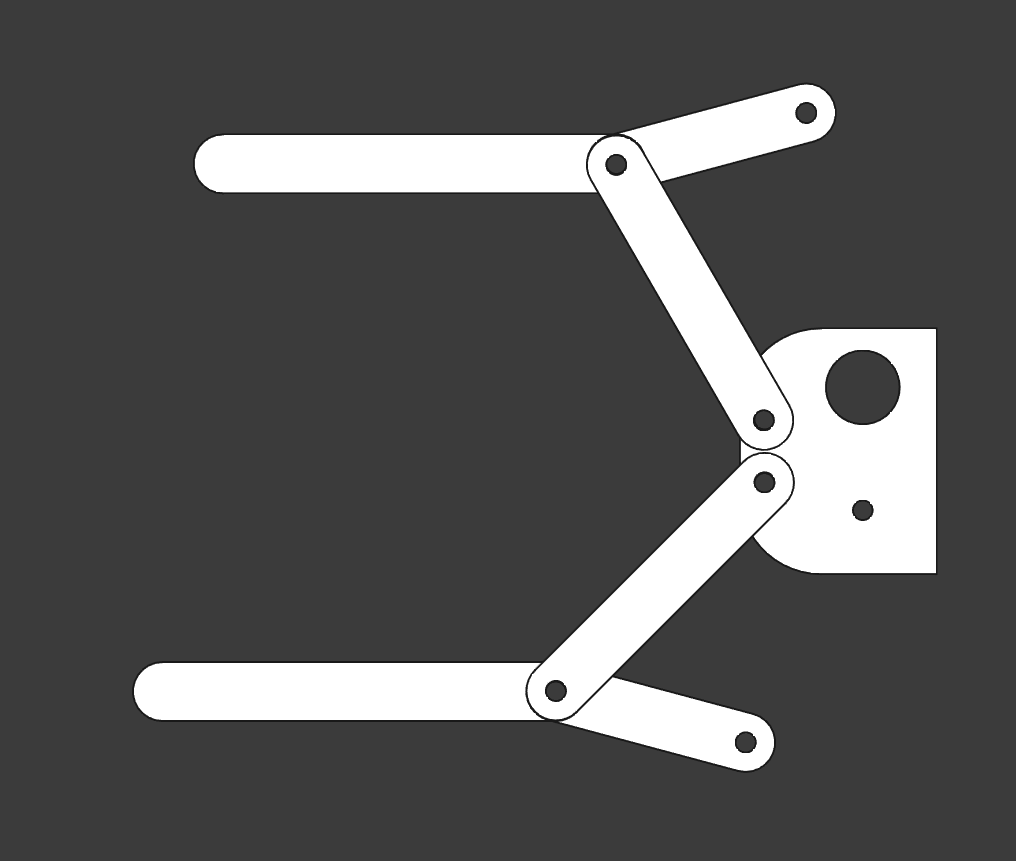
I based my arm off a couple of research papers and youtube videos. I used the papers for inspiration for movement design and what parts I would need. Had I been able to get the controls done, I also would have used them to figure out the math and code needed for that aspect of the project. I also used the linked youtube videos for part design inspiration. One was for how I built the gripper and its movement. The other is not actually for a robot arm, but was someone who built a robot using the same motors as I did. I based my designs for the servo mounts and arm joints off the ones they used for their build.
Links and files:
Process
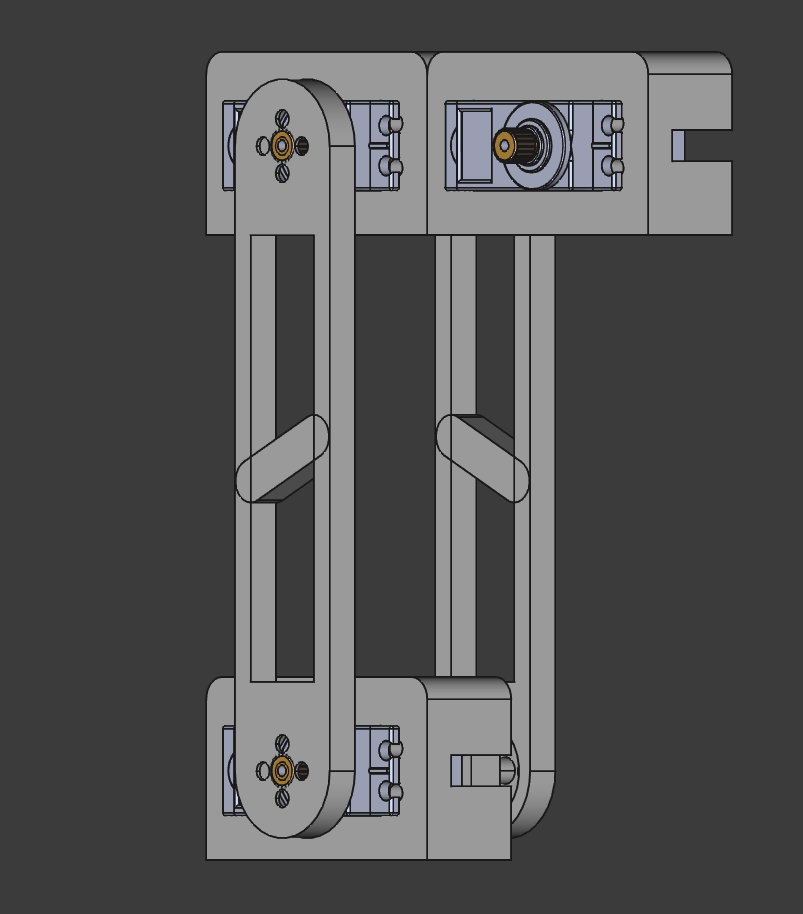
My original plan was to use rhino to do all design, modeling, and computation work, but I quickly found out that it would be very difficult to do initial designs in rhino. It was hard to manipulate parts in a way that I would be able to easily figure out how to get part dimensions that allowed them to work together. To make this part of the design process easier, I chose to do initial designs in CAD software that made it easy to figure out dimensions in reference to all the parts. I skipped a couple parts that I was unable to figure out how to design in the software and generated those parts only in rhino. Below are images of my CAD designs.
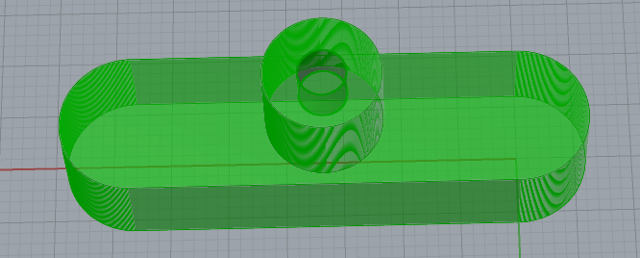
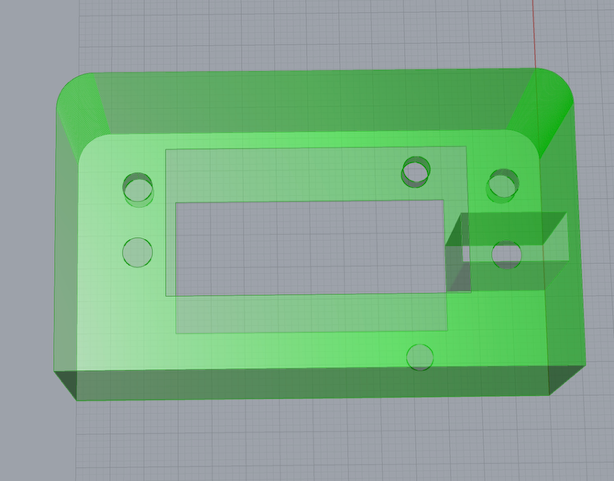
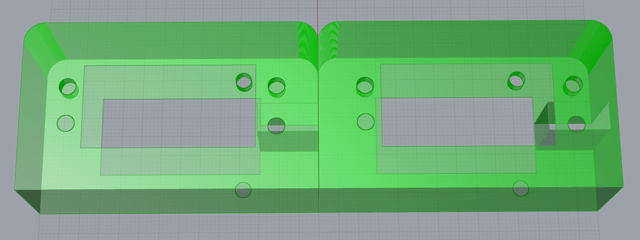
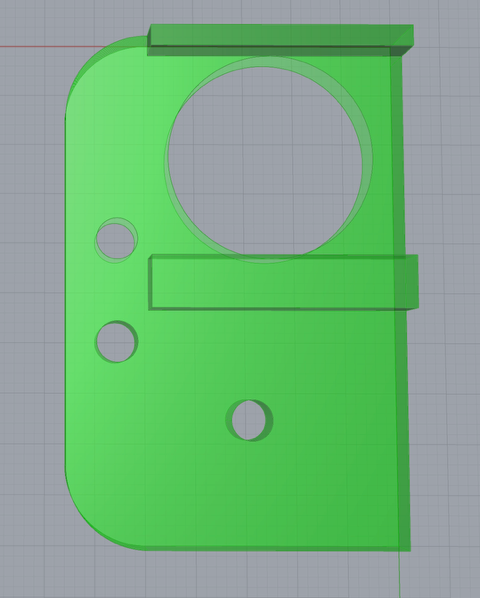
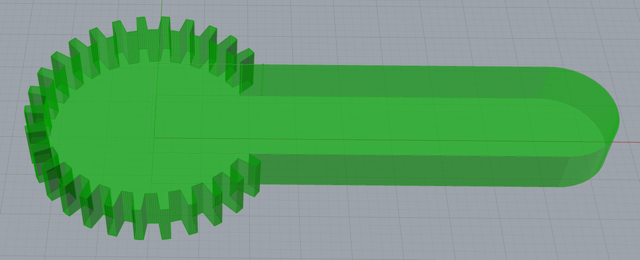
After using CAD to figure out dimensions I designed and refined my parts using grasshopper in rhino. Below are images of the parts generated in rhino (for some reason there are a few screw holes that didn’t want to render in rhino when I was taking screenshots. Not sure why).


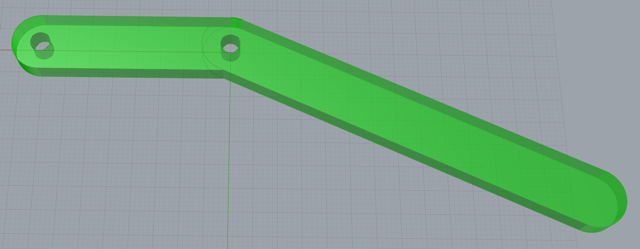
Grasshopper file:
Outcome
Photos of the final product:
Future Work
If I had a little more time and hadn’t experienced some of the 3d printing issues I had, I would have hooked up the electronics to control the arm movement. This is something I will still do in my free time after this class. The process will involve connecting the motors to some servo drivers which in turn will be hooked up to a raspberry pi. I will write some code to control the motors using an xbox controller. I would also like to connect the arm to a heavy, stable base that is able to swivel to get full 360 degree motion.
Reflection
The biggest thing that I learned in this project is that it is very difficult to design parts where dimensions need to be very exact. Particularly, getting dimensions like this using rhino and python is hard, especially when multiple models need to work together and fit tightly. The second thing I learned with this project is to regularly check on my printer extruder to ensure there is no buildup of melted filament causing blockages:
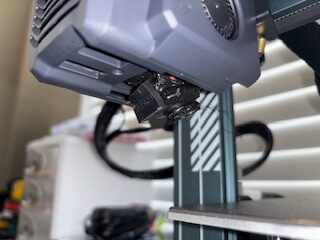
I left my printer unattended, the filament got blocked up, it expanded, and blew out the extruder. This set me back several days while I waited on a new extruder part to come in. Unfortunately, this happened during the critical design,print,redesign,print, etc. part of the fabrication process. However, I was able to get the part in and finish up the primary part of the project on time.
Presentation: