I feel like I have made decent progress. As a reminder, my final project is to 3D print a bag that emmulates the properties of fabric. Below are the methods I have explored so far.
Infill
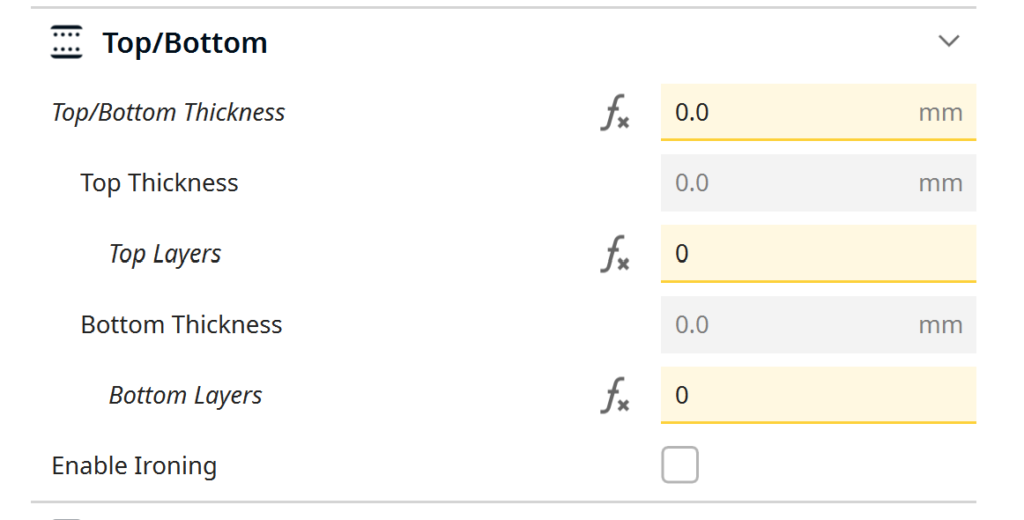
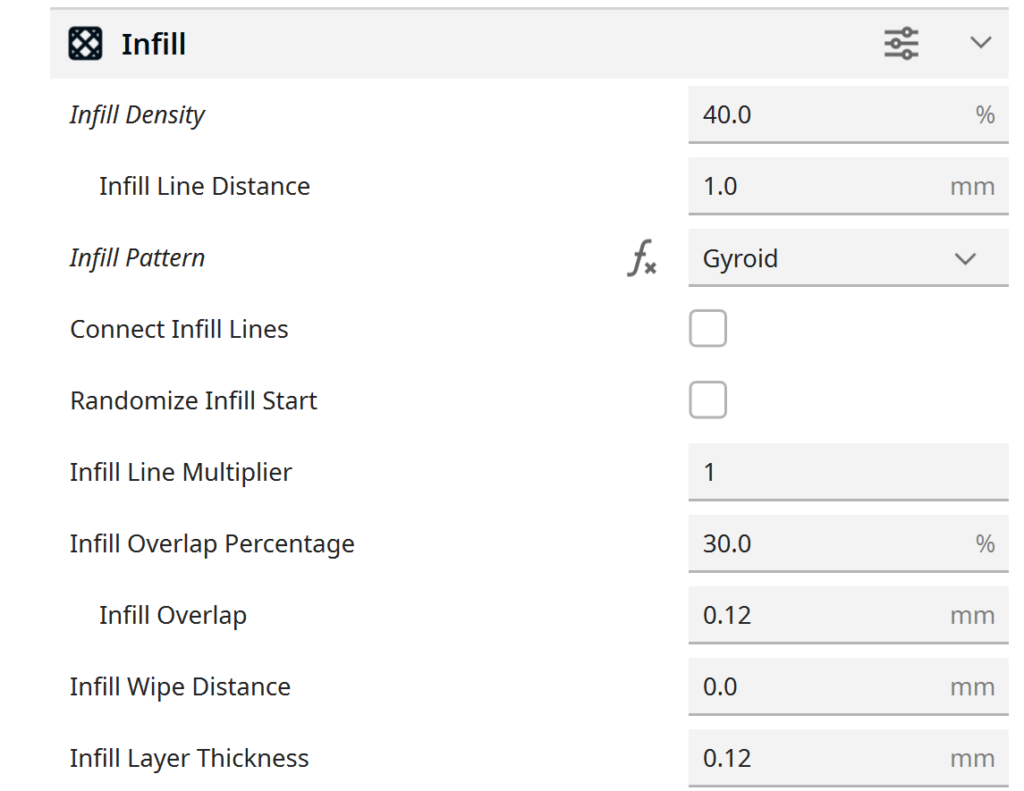
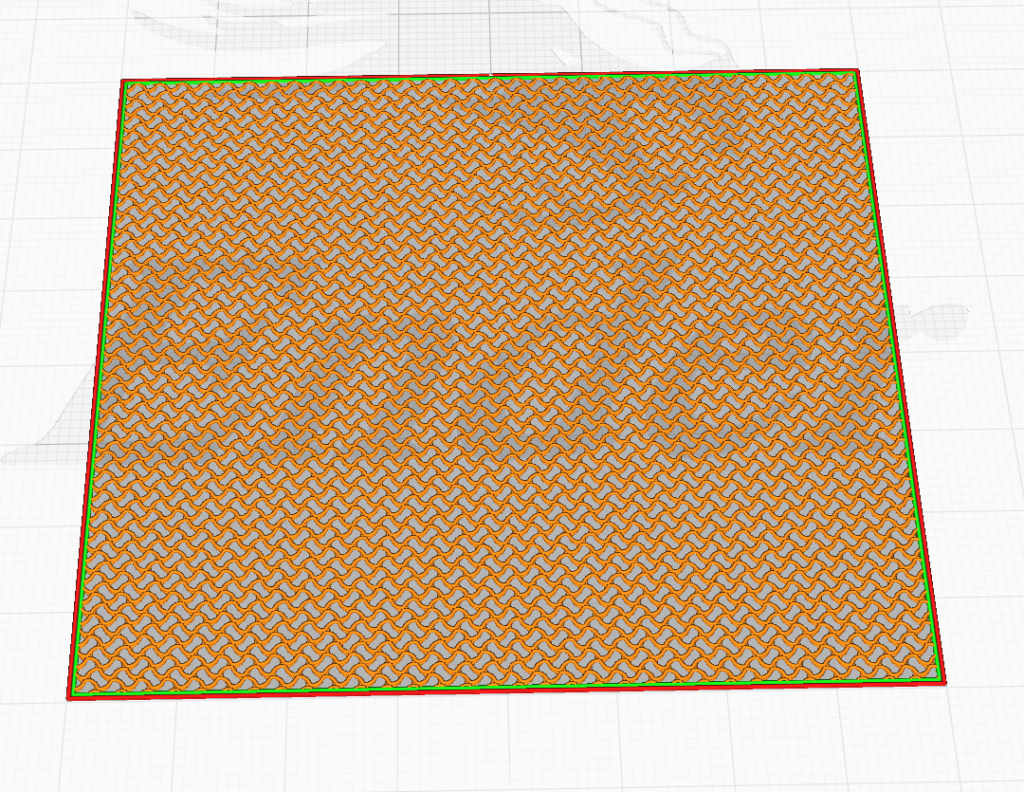
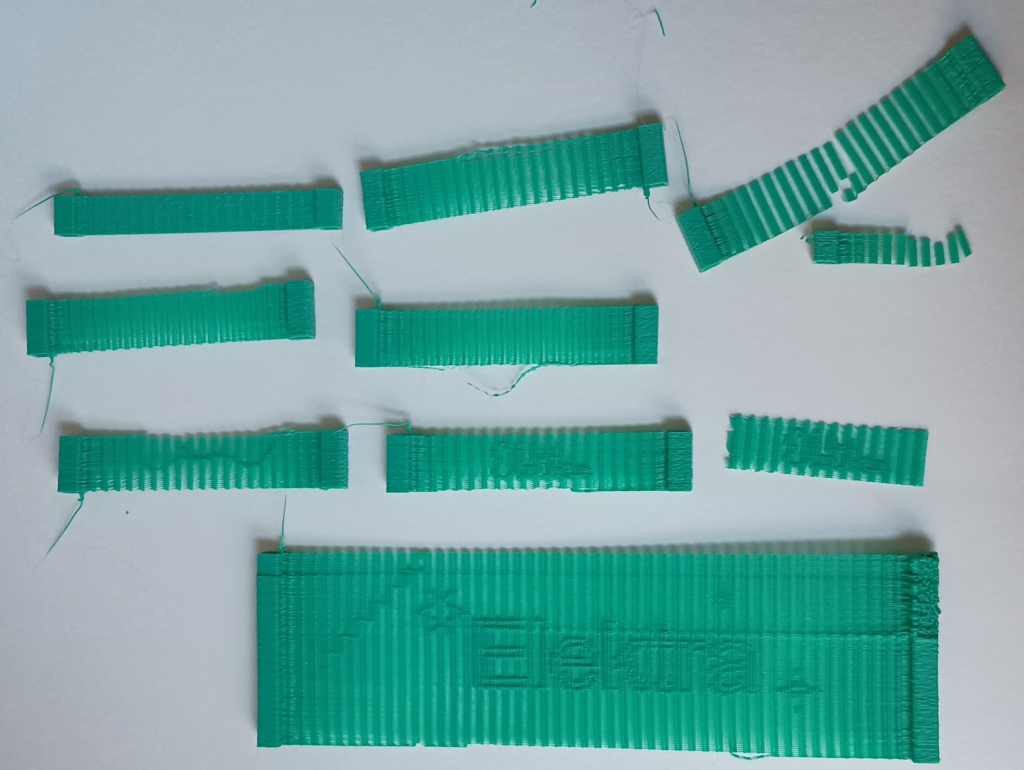
For this method I created a simple rectangle in Rhino and extruded it by 0.3 mm. Then I used the Cura settings to print only the infill. I decided to go with the Gyroid Infill Pattern. I started with 90% Infill Density then found that 40% worked best. These are the pictures from Cura.
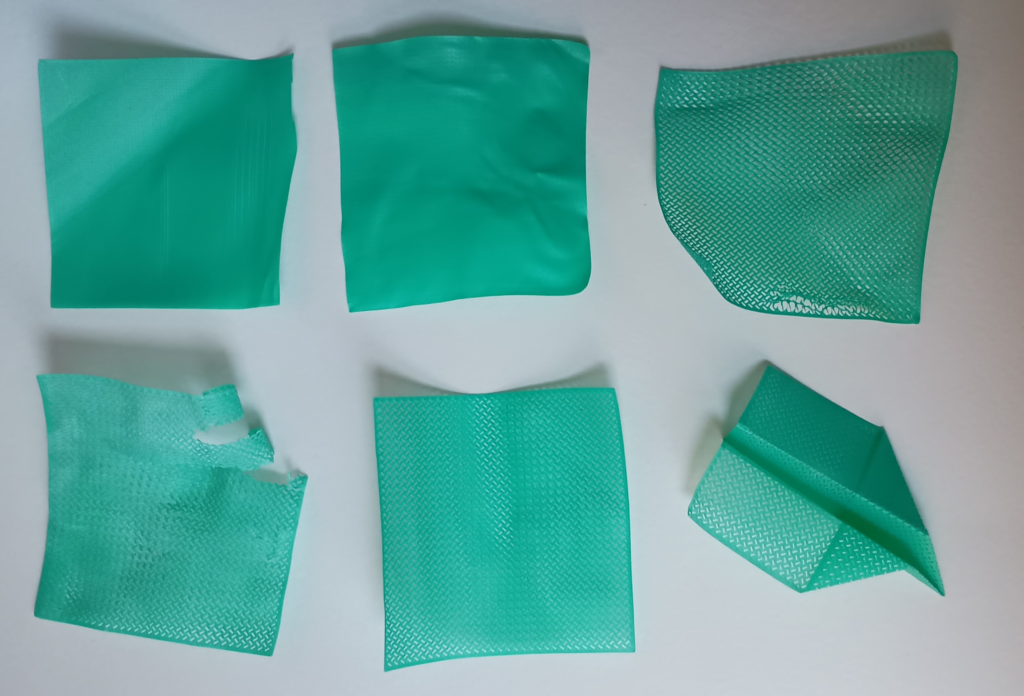
The prints in order go from top left to bottom right. I had two issues during this process; I was not patient after the print finished and tried to immediately take it off the bed which caused some warping, and one was printed with the bed slightly too high and got stuck to the bed and tore when I tried to remove it. The final design has an almost paper like texture (hence the paper or ‘plastic’ airplane). A single swatch of size 80mm by 80mm by 0.3mm took about 12 minutes to print.
Chainmail
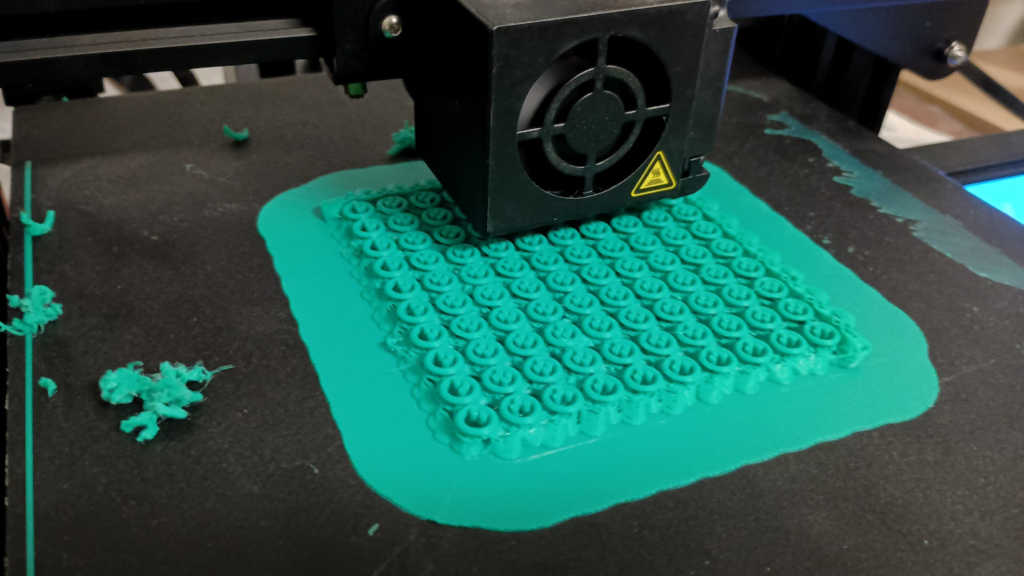
For this method I created links then arranged them to be interlocking. I needed to print them with supports. At first I tried the tree supports but on another attempt I tried normal supports which seemed to work better. The main issue I had was with removing the links from the supports, as I would try and remove them they would break. I also had issues printing a big patch as some of the links would start falling apart as it was printing. I increased the link sizes and was able to successfully print a single chain. I tried again to print a patch but had the same issues again. In the image below you can see some parts of the links that fell off during printing.
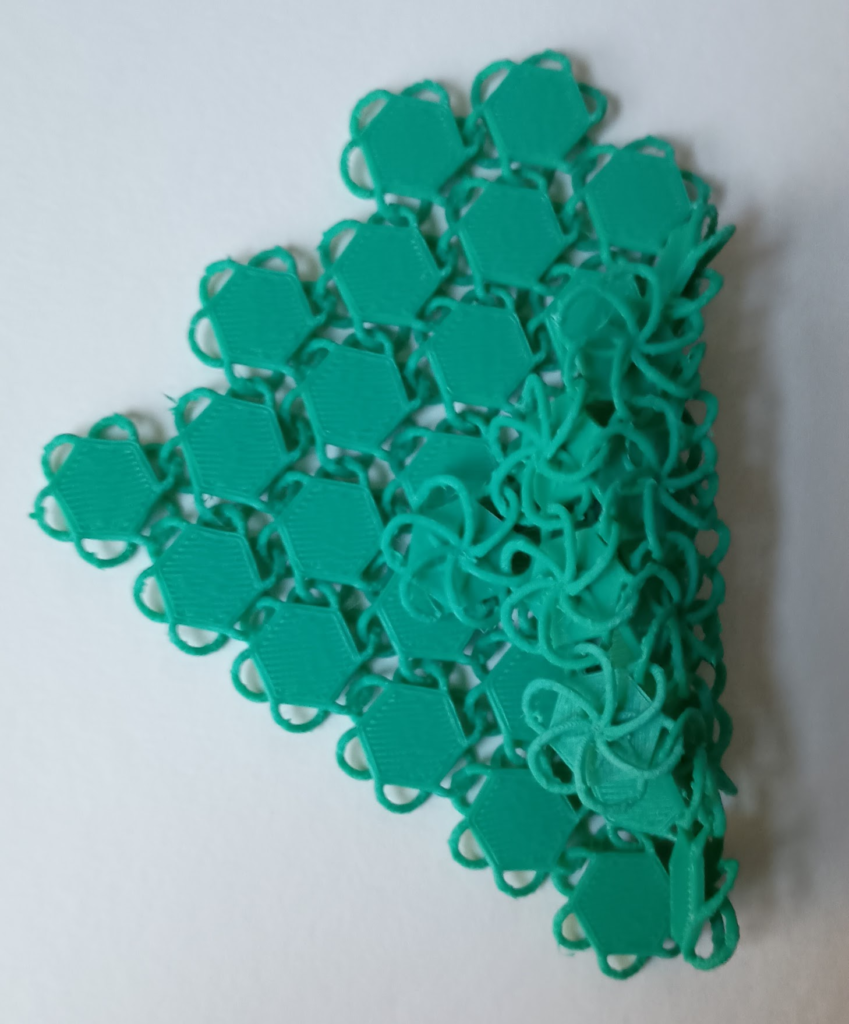
I decided to design a different type of link, this time as a hexagon shape. This printed well both as a small patch and as a larger patch.
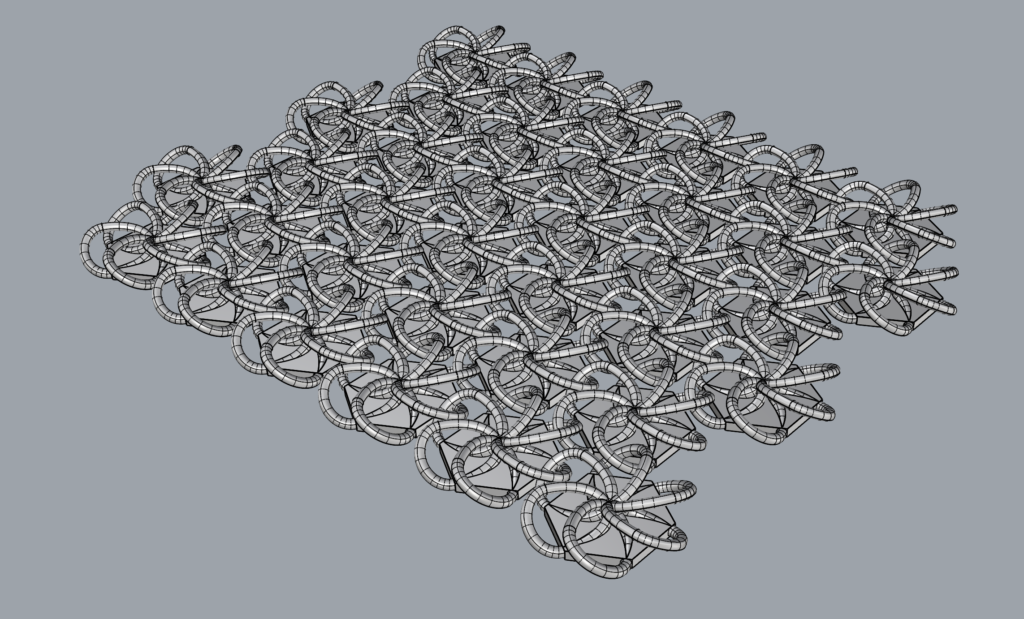
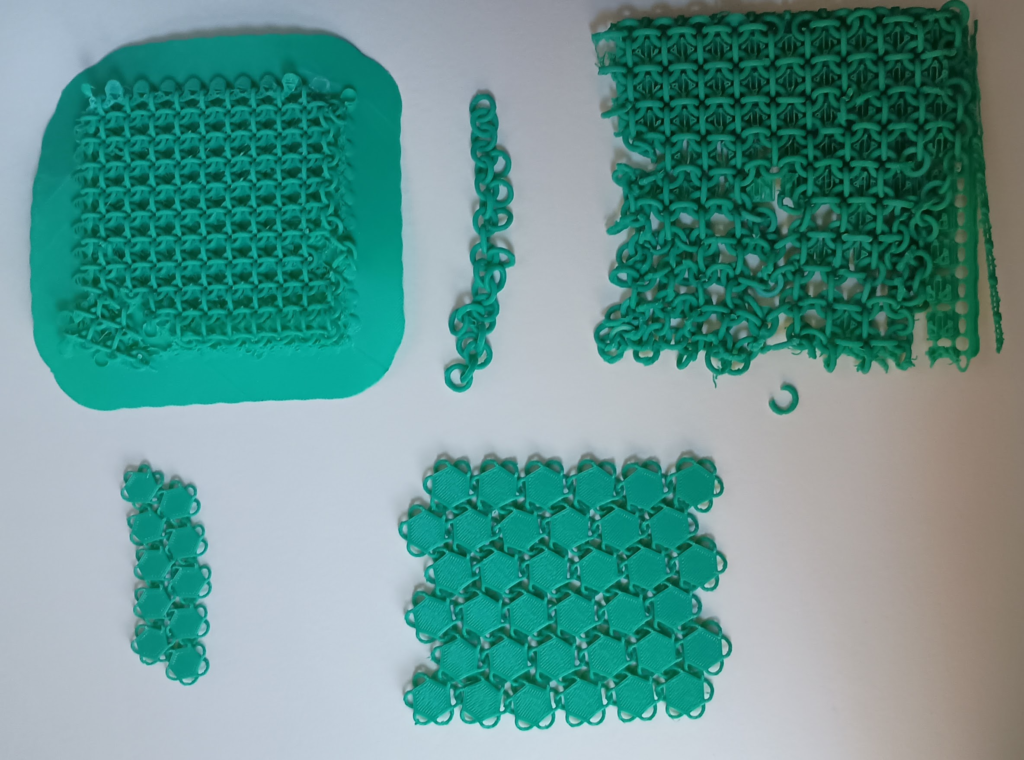
From top left to bottom right is the order of prints. The top left took 9 hours and 12 minutes to print, the bottom right took 8 hours and 28 minutes to print. As you can see the circle links broke so much that I couldn’t remove them from the supports effectively. The hexagonal chainmail worked well and had a flexibility I am quite happy with.
GCODE
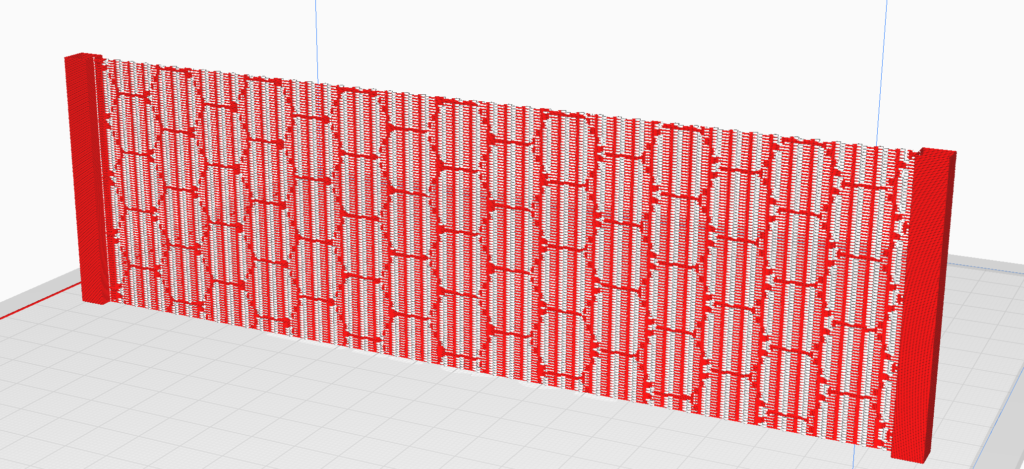
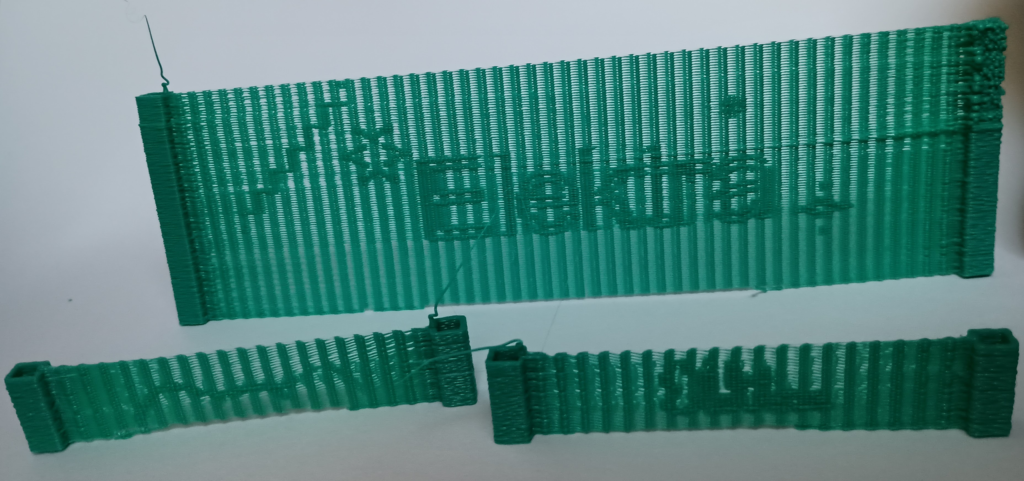
I used the methods we learned in class to write a GCODE file. I created the print with posts on either side and messed with the extrusion when going between them. I had to experiment with the extrusion pattern to get one that I liked and would be stable enough.
I also wrote a program that would take in curves that I drew in rhino and add them to the printed swatch, where areas with the curve would be printed with higher extrusion. I cannot see the different extrusions in Rhino, but can see them in Cura. Below is a picture from Cura. The larger I made the print the more issues I had. One of the supporting towers would become unstuck from the bed and then shake as it was being printed. This didn’t mess up the swatch significantly, but did cause some ‘striations’ and would cause the supporting tower to be lumpy and oddly formed.
Printing on Fabric
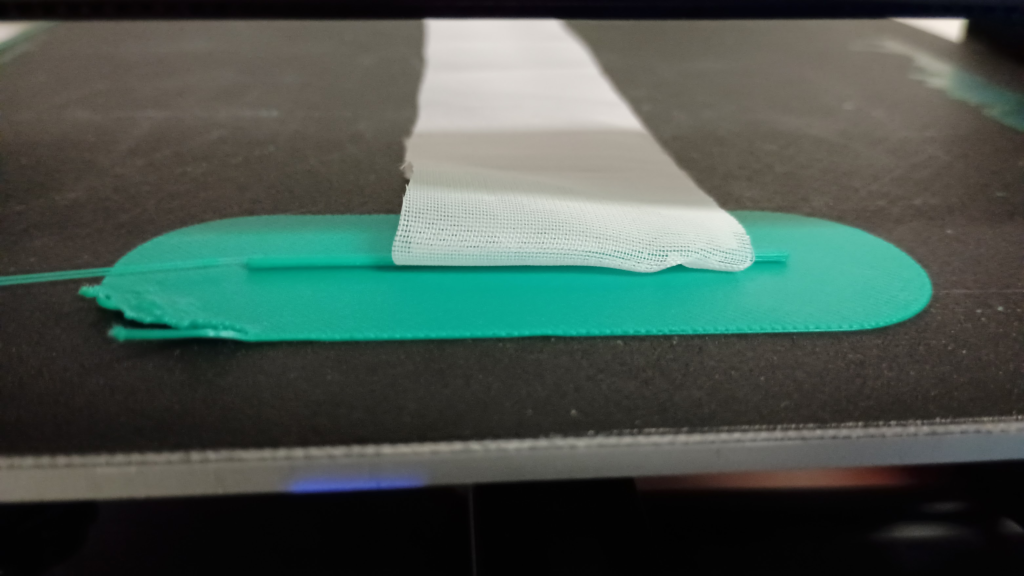
I also tried printing on fabric. I tried two different types of fabric; black with mesh and white with tighter mesh. I would let the printer print the first layer, then pause the print and lay the fabric over the top, then resumer printing. The fabric would then be sandwhiched between the layers of the print.
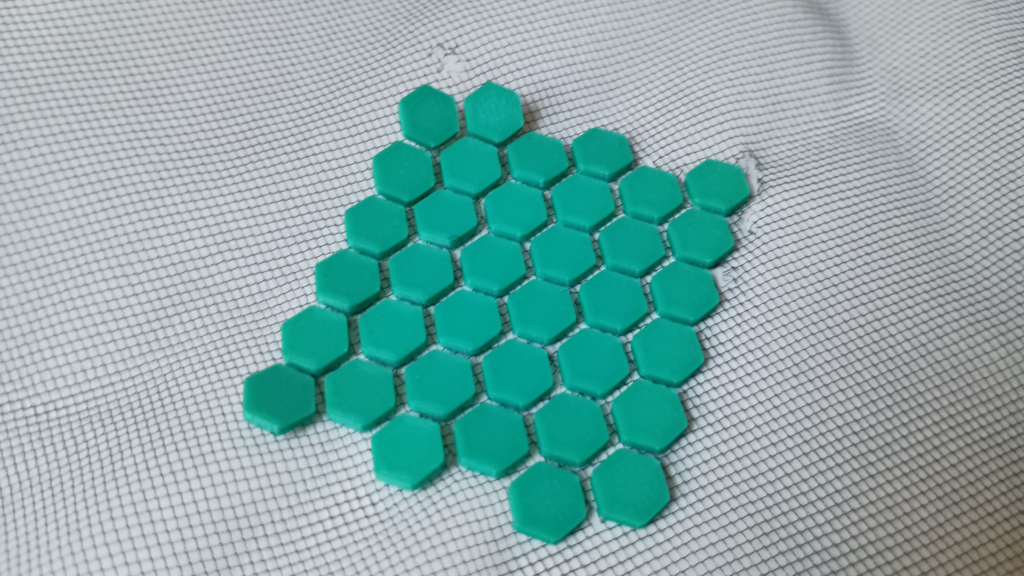
I had issues removing it from the raft. I managed to tear the fabric in a few different places.
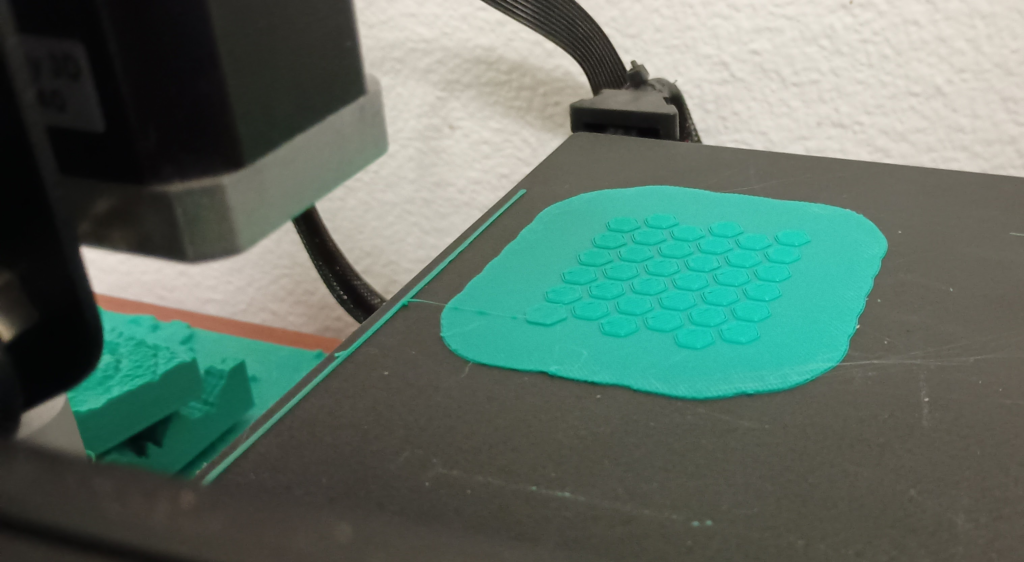
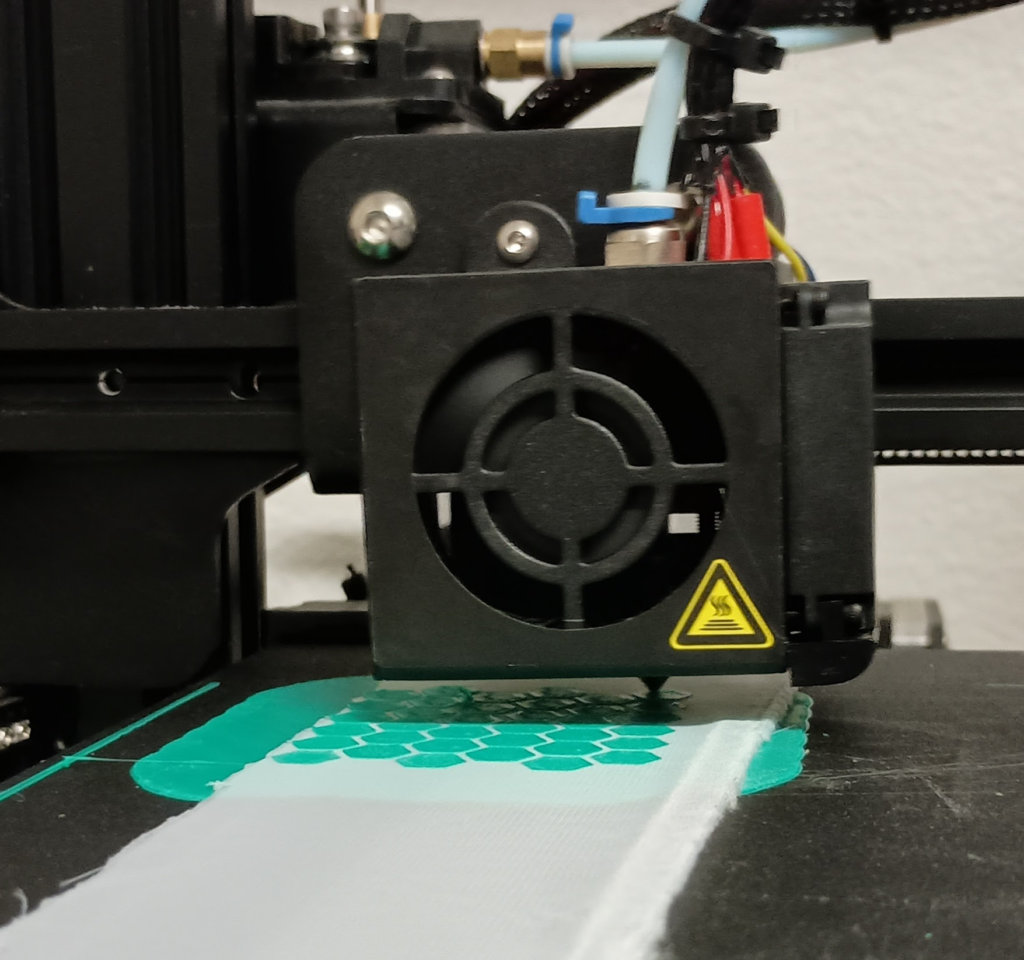
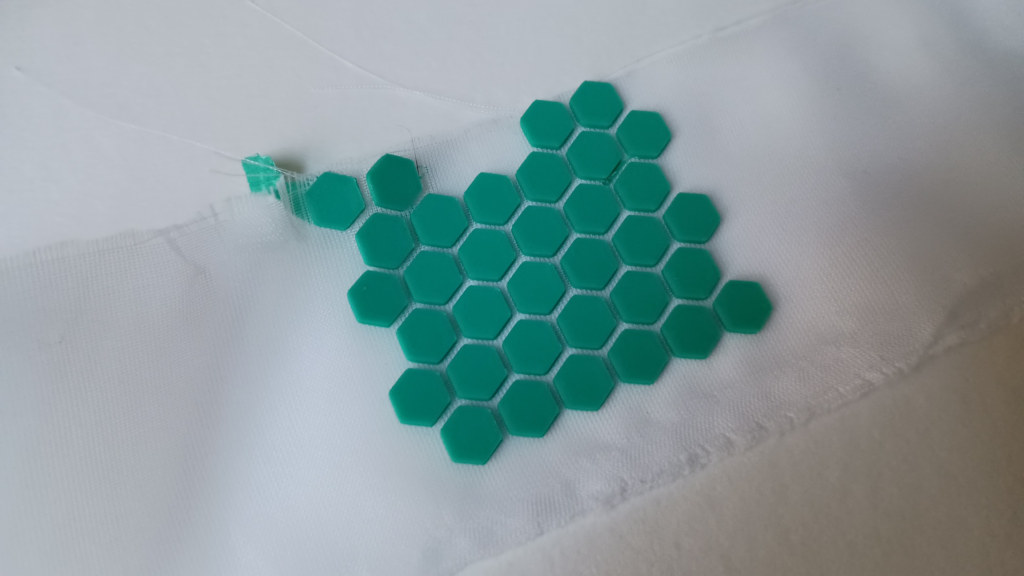
With the white mesh, I had some issues of the nozzle catching the fabric causing a couple of the hexagons not to adhere properly and thus fall off. But the majority printed perfectly and remained stuck.
Another method I tried was to have the fabric acordian fold between layers of the print.
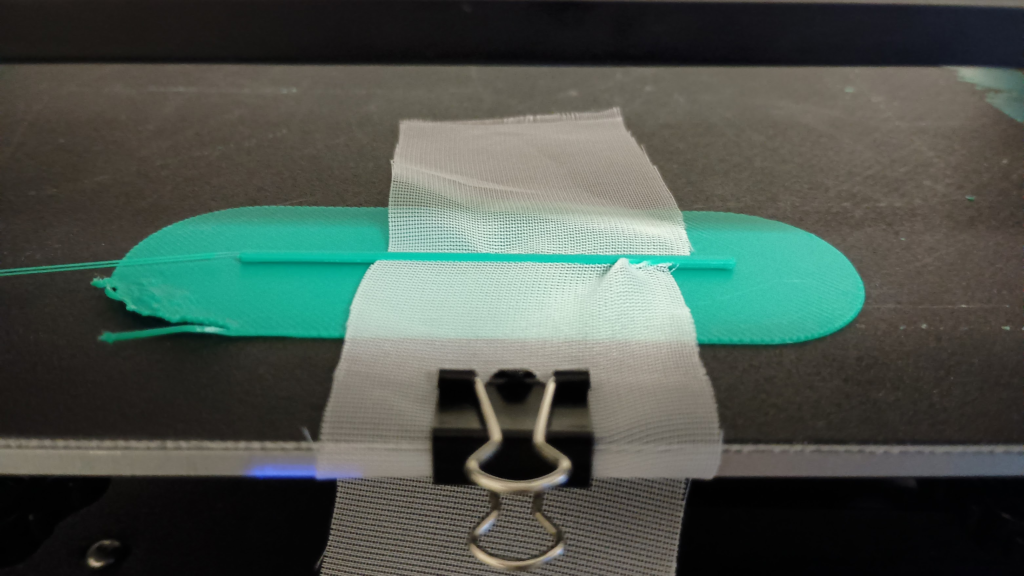
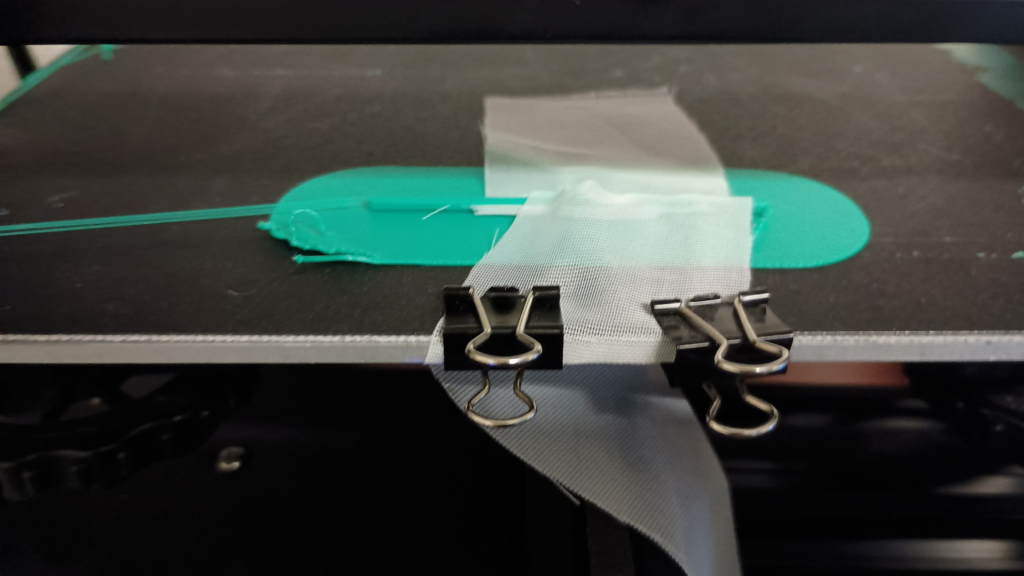
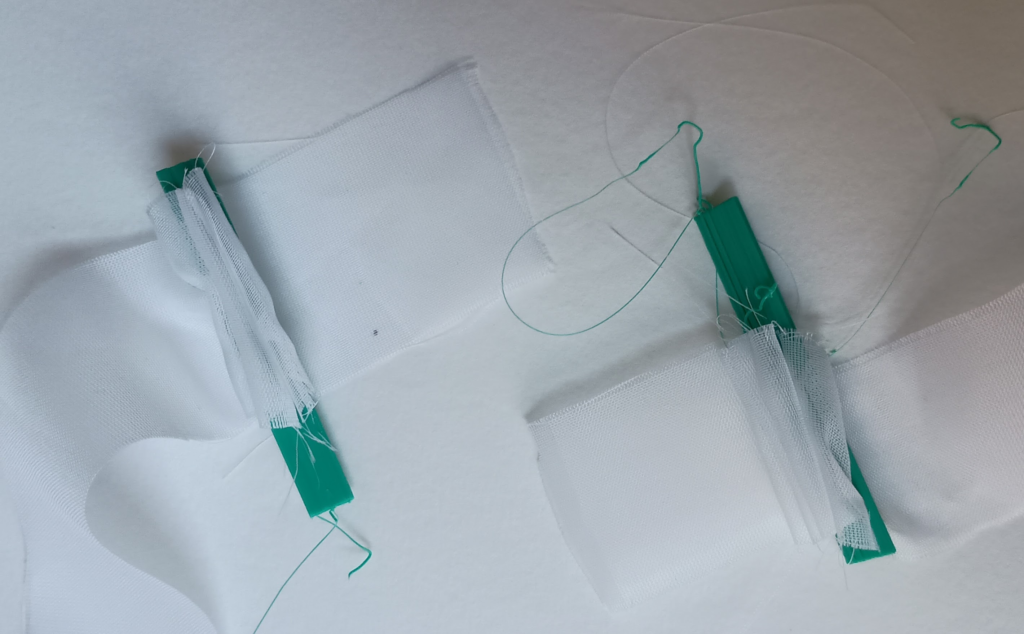
This method was not very successful. I had a lot of issues with the nozzle catching the fabric. It also required a lot of intervension and interaction from me. The results were also wuite messy. I probably will not use this method in my final design.
Connecting the Swatches
Now I have some different methods to create fabric-like swatches, but how do I connect them? I have not spent much time on this yet but have started on some ideas. I have tried using the printer to print a vertical line and use that to sandwhich swatches together. For the chainmail I tried pausing the print midway through and interlocking the links. Both worked well but required a lot of involvement on my part. I did have a bit of a mishap with the GCODE swatch which resulted in a hole.
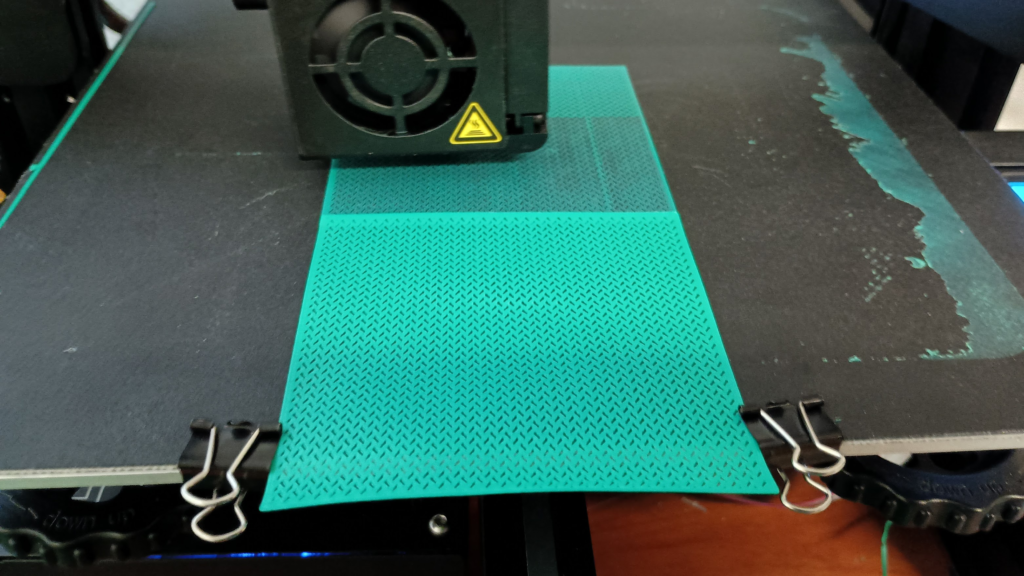

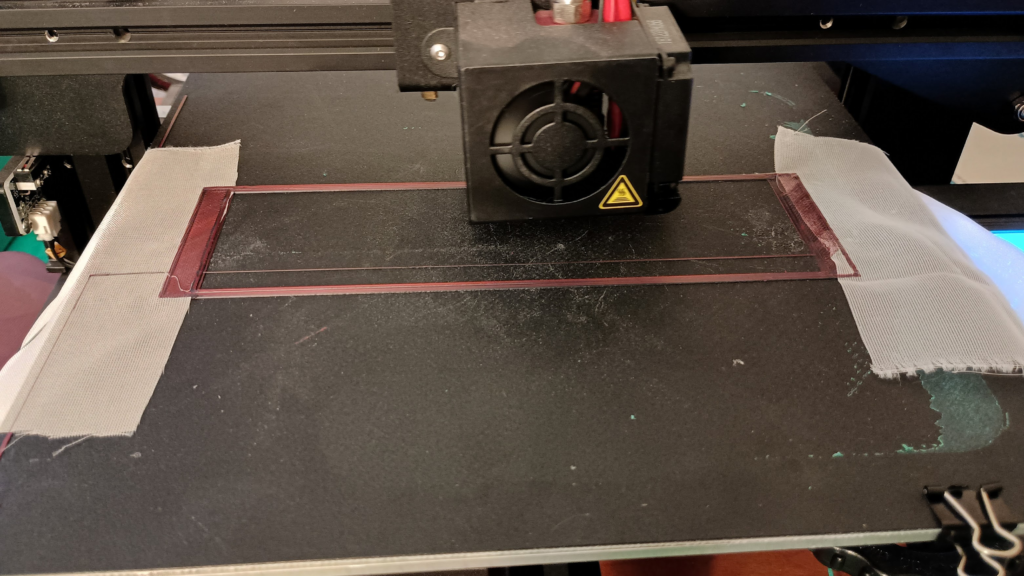
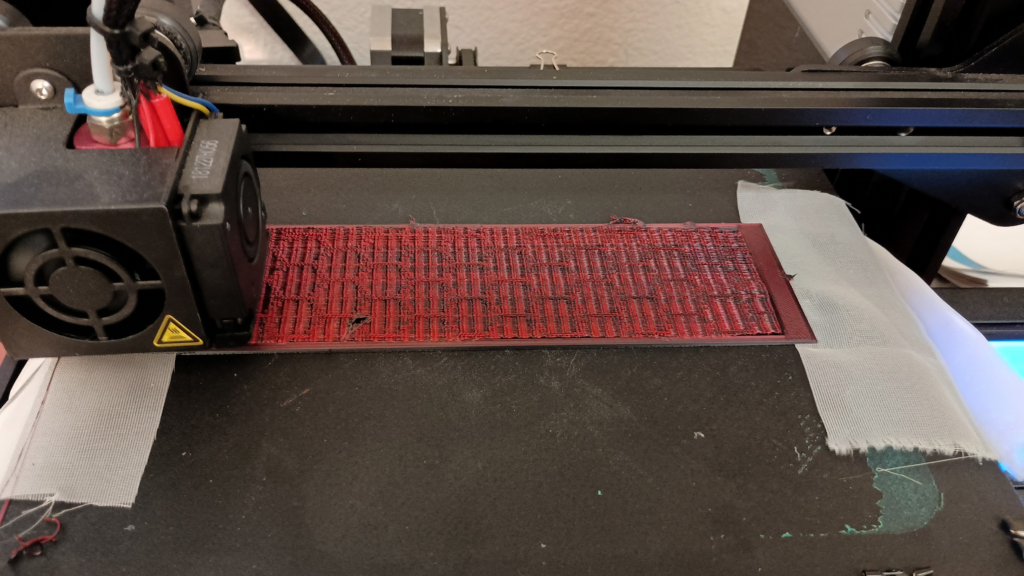
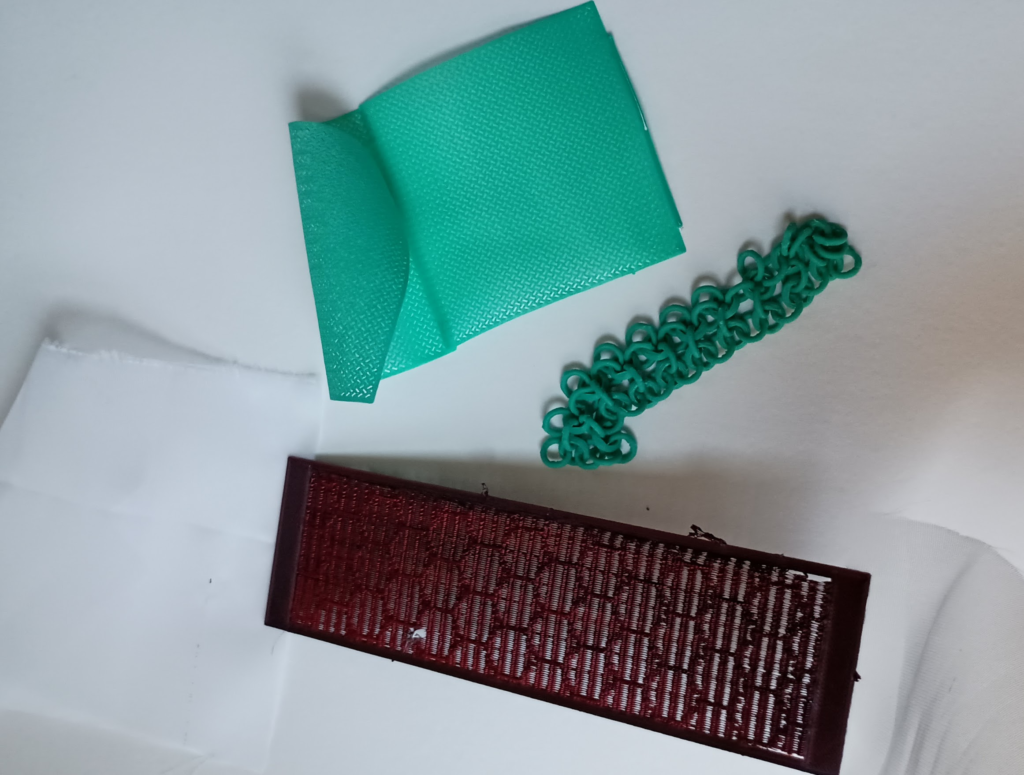
I am still trying to come up with new/better ways to connect the swatches. (Also I bought some dual red/black silk PLA for fun)
Timeline and Next Steps
I also ordered a TPU filament but it has yet to arrive. I am hoping to have some time to experiment a bit with that material as well. I feel I am still on track with my original timeline, listed below:
Nov 13-15: Pick a selection of different textile techniques that pique my interest and design swatches as an example of each.
Nov 18-22: Print swatches and adjust design as needed. Start considering bag design and what extra components may be needed to enhance the final deliverable.
Nov 25-29: Choose a selection of textile techniques to use when making the bag and finish designing the bag.
Dec 2-6: Print the components of the bag and assemble into the final product.
Deliverables
A 3D printed bag that demonstrates the desired flexibility and textile qualities. I also hope to demonstrate the bag bearing some reasonable amount of weight.
Swatches of the different fabric-like techniques.