Part 1: 2D Tiles
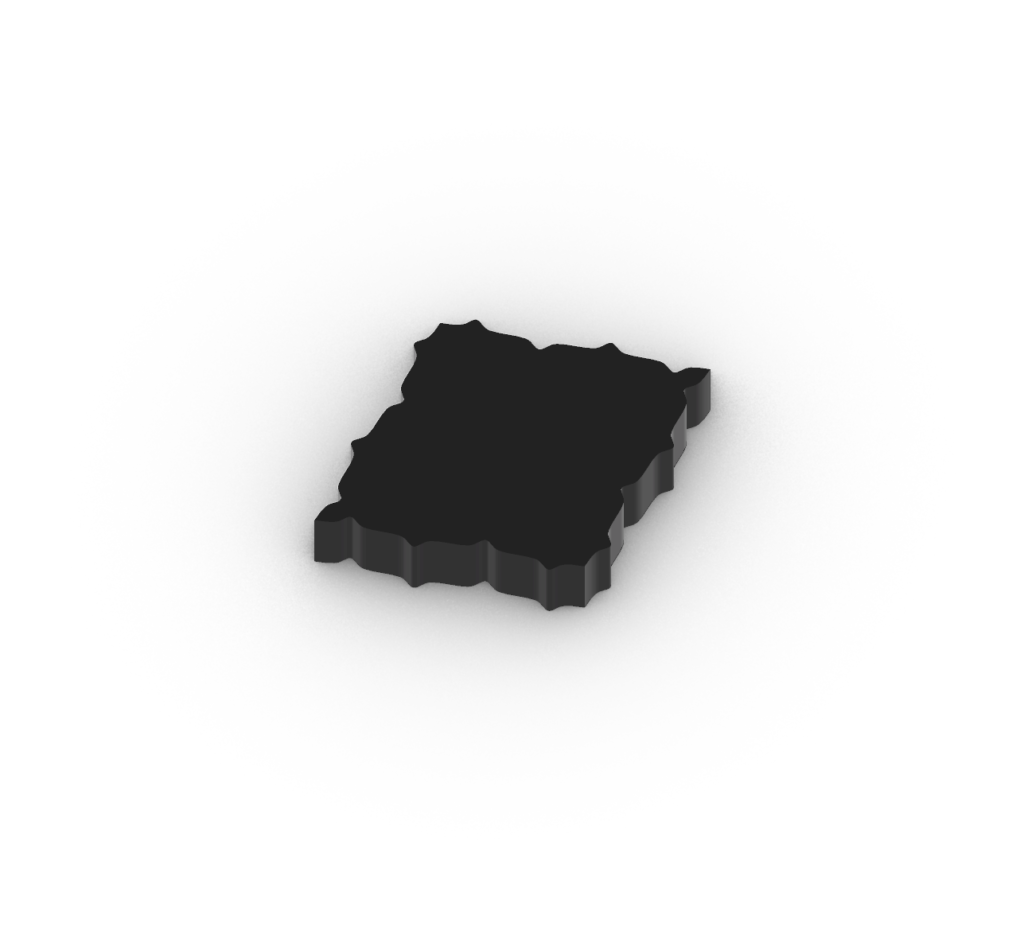
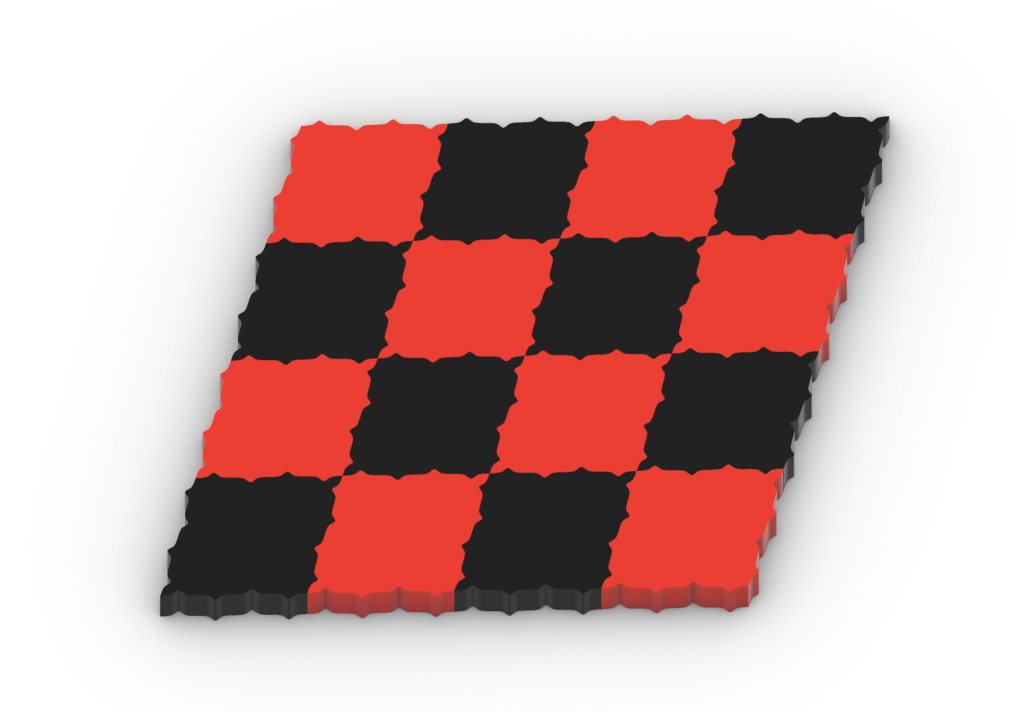
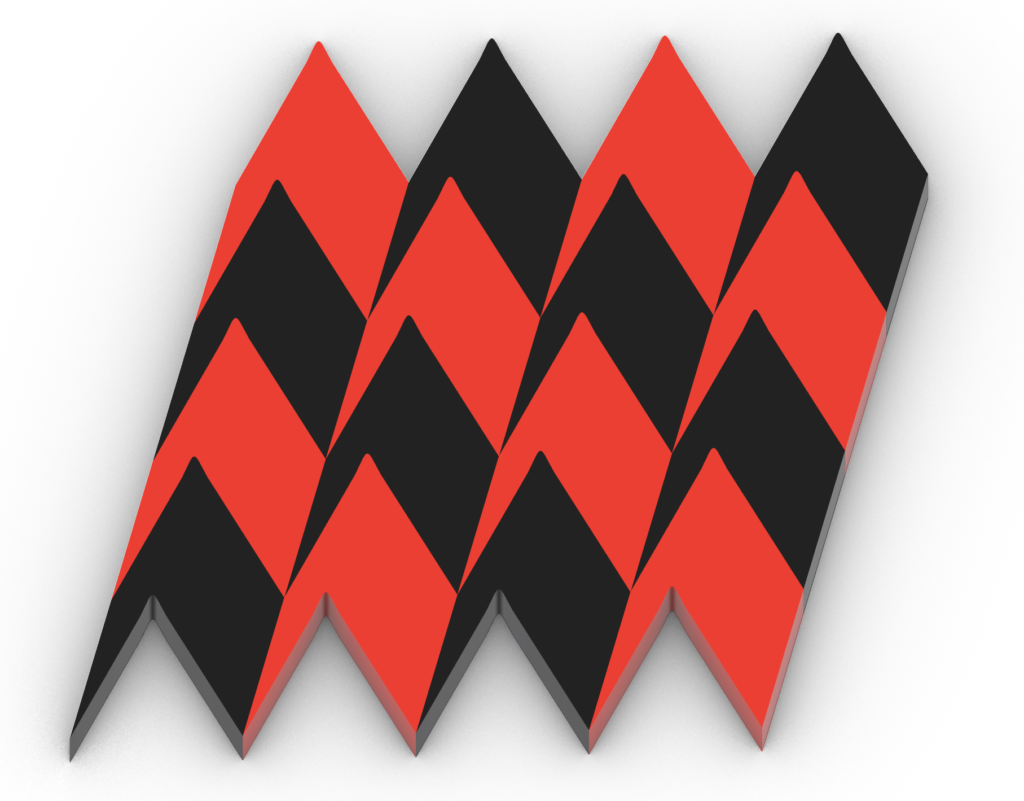
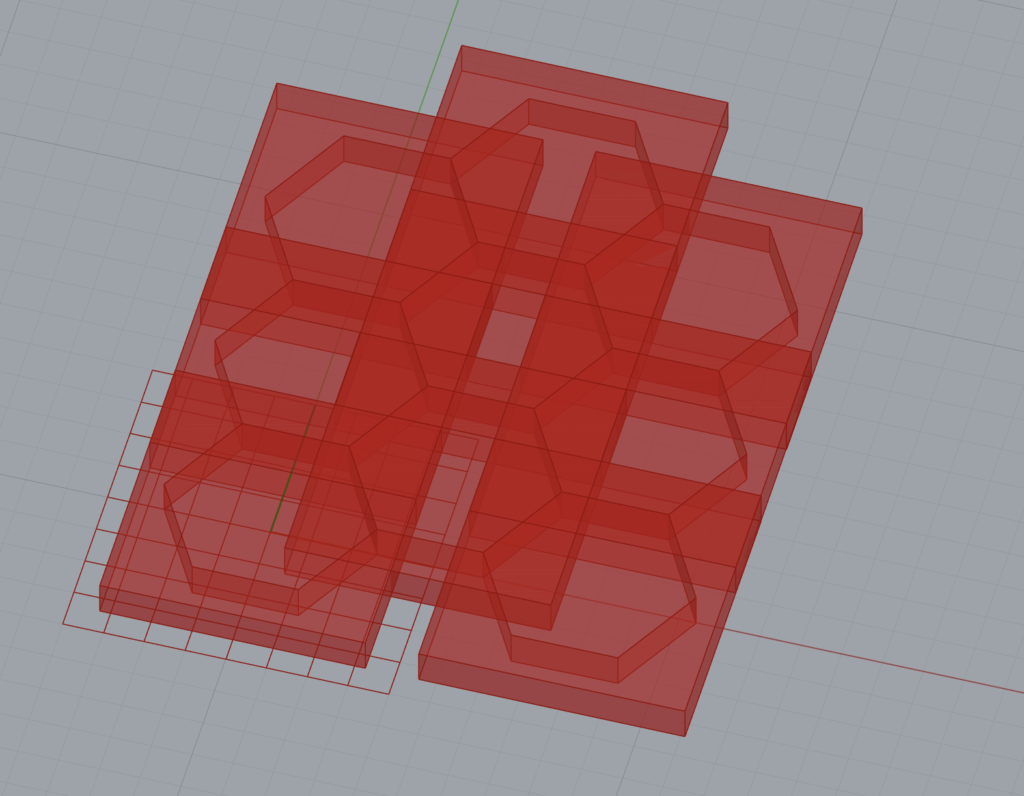
I wanted to design a tile pattern that was simple but still had a unique look with a uniform, curvy shape. I started with an idea for puzzle-piece tiles, but after testing it out, I realized it didn’t match the style I was aiming for. So, I switched to a smoother, more consistent shape, which ended up creating a clean, continuous pattern. I liked how it turned out—it felt balanced and visually interesting without being overly complex. I didn’t run into many issues in this section.

Part 2: Printed 3D Tiles
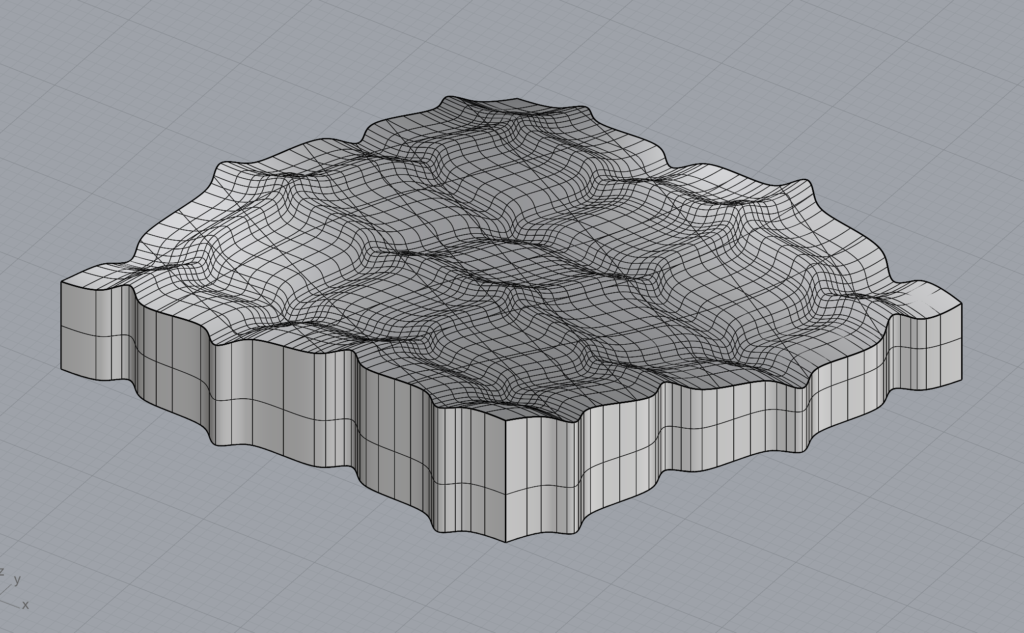
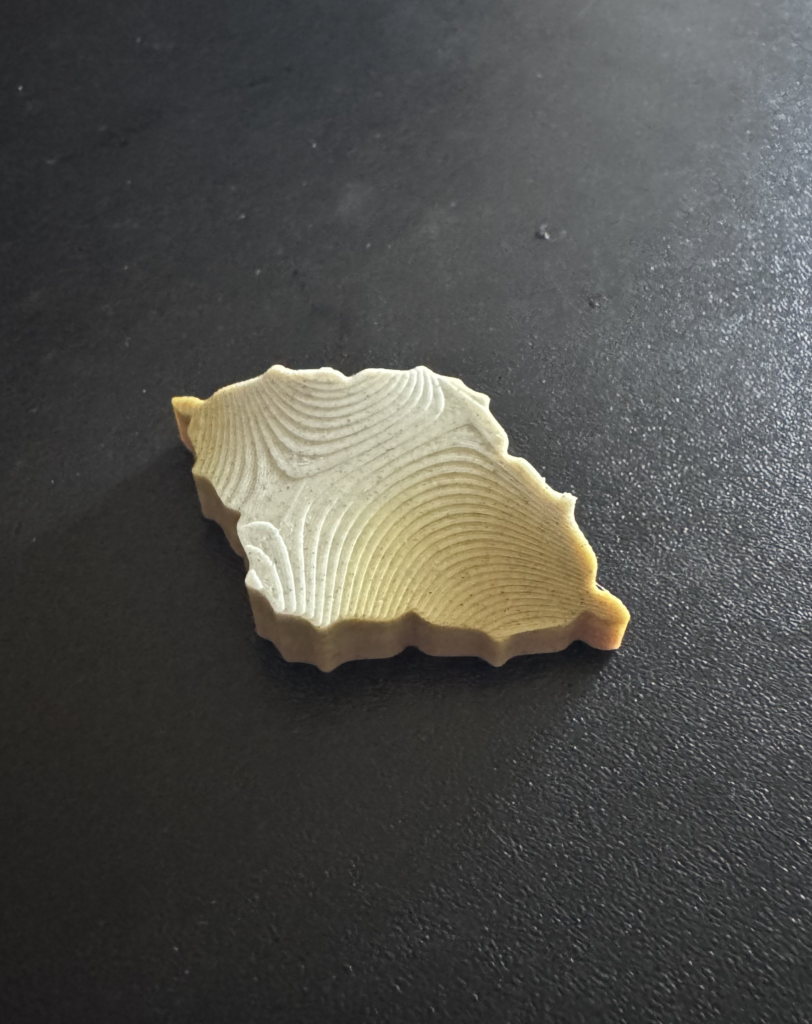
In Part 2, I took the tile shape I created in Part 1, baked it into Rhino, and focused on adding a 3D effect. My main challenge was capping the object. Using the usual Cap command didn’t work, so I had to get creative and use the Edge Curves command as a workaround to close the shape. I also encountered some difficulty adjusting the design on the z-axis to introduce a ripple effect, but Cage Edit helped me achieve the look I was going for. I’m really happy with how it turned out and think the tiles would look especially striking when arranged together in a larger pattern.
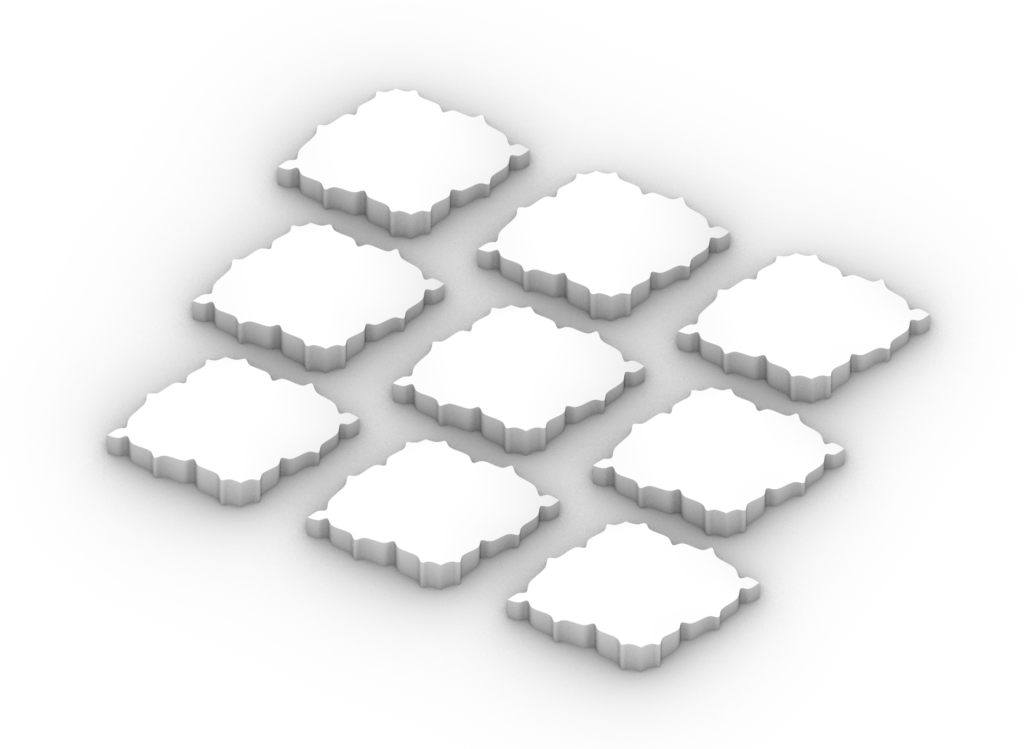
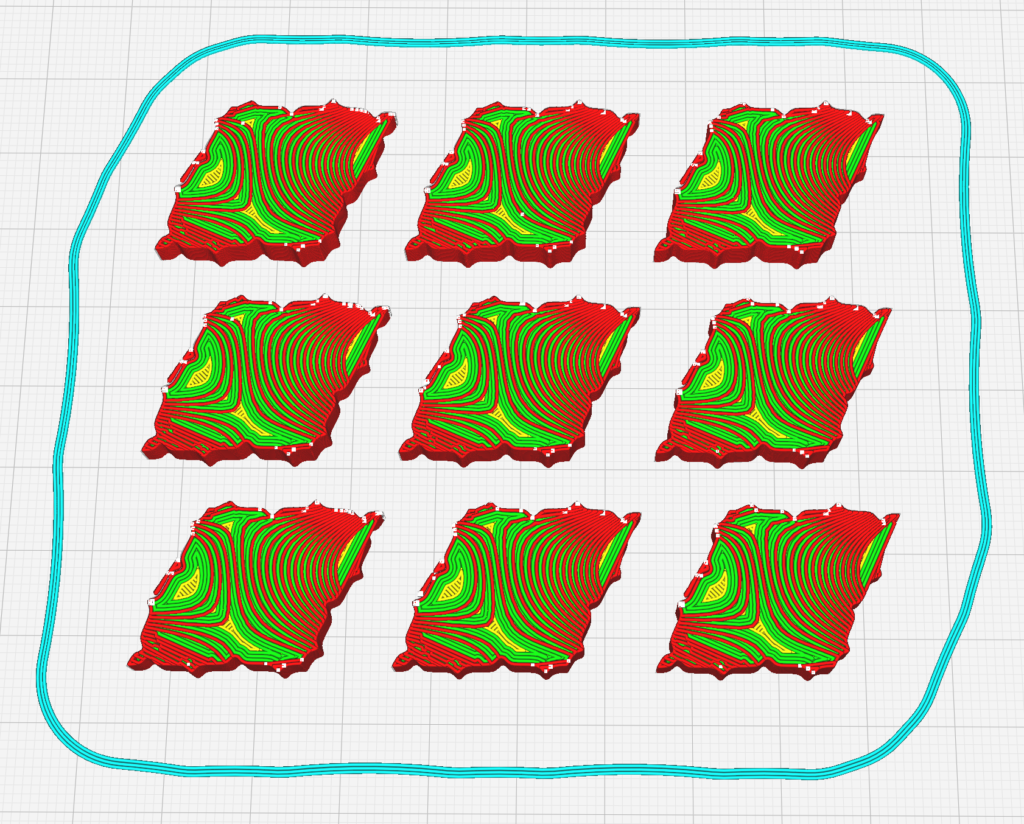

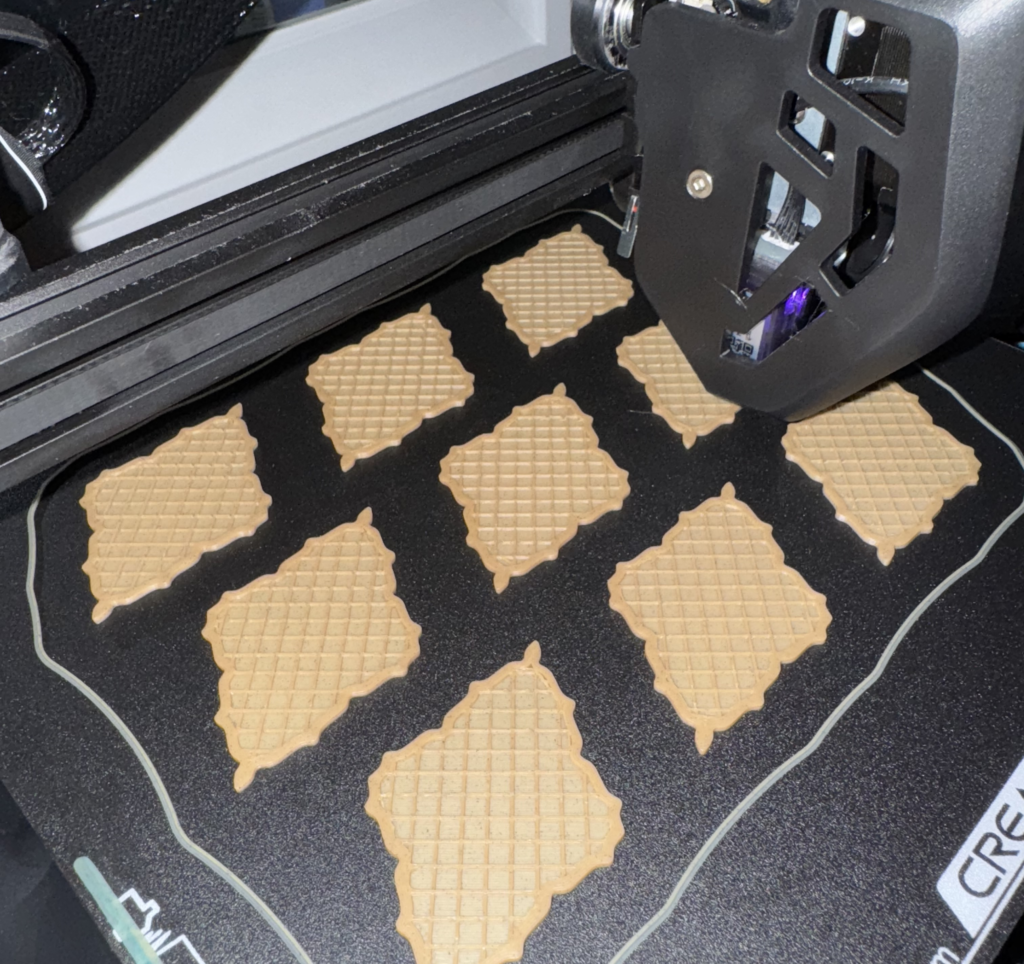
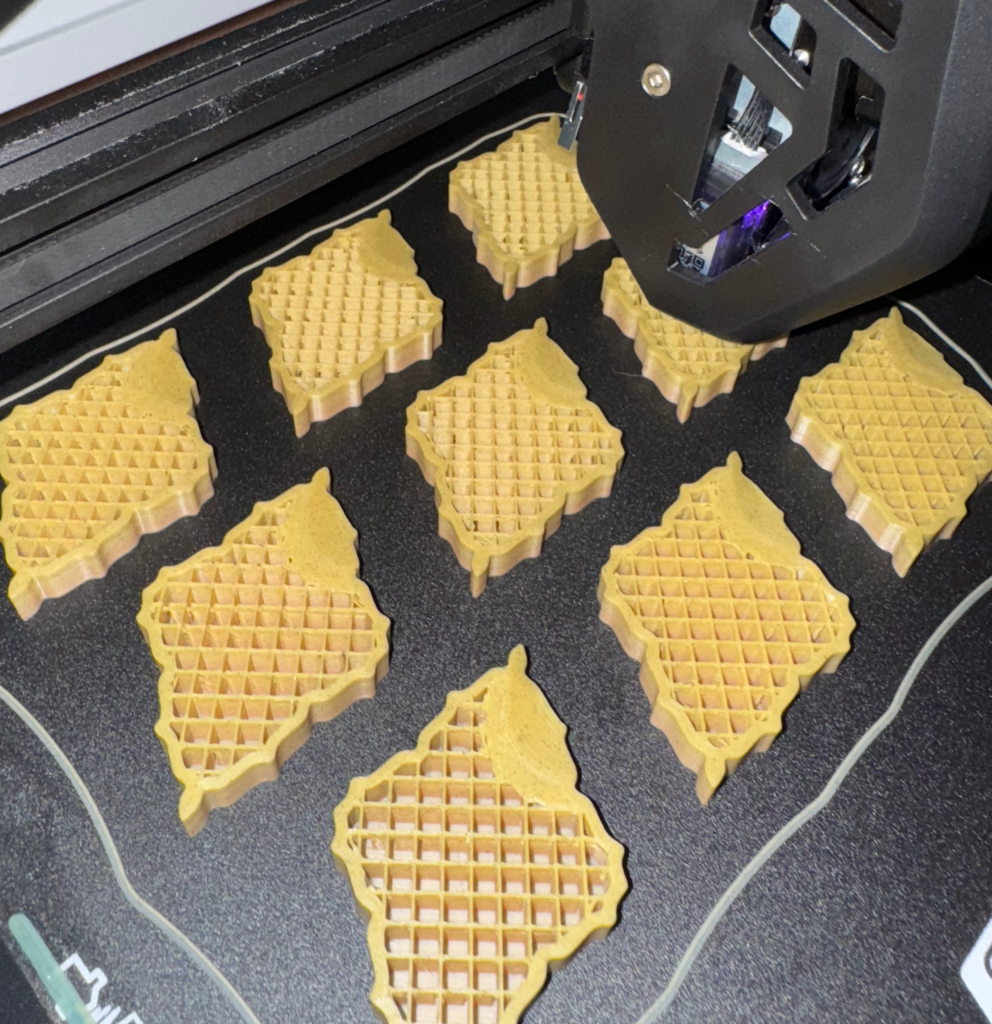
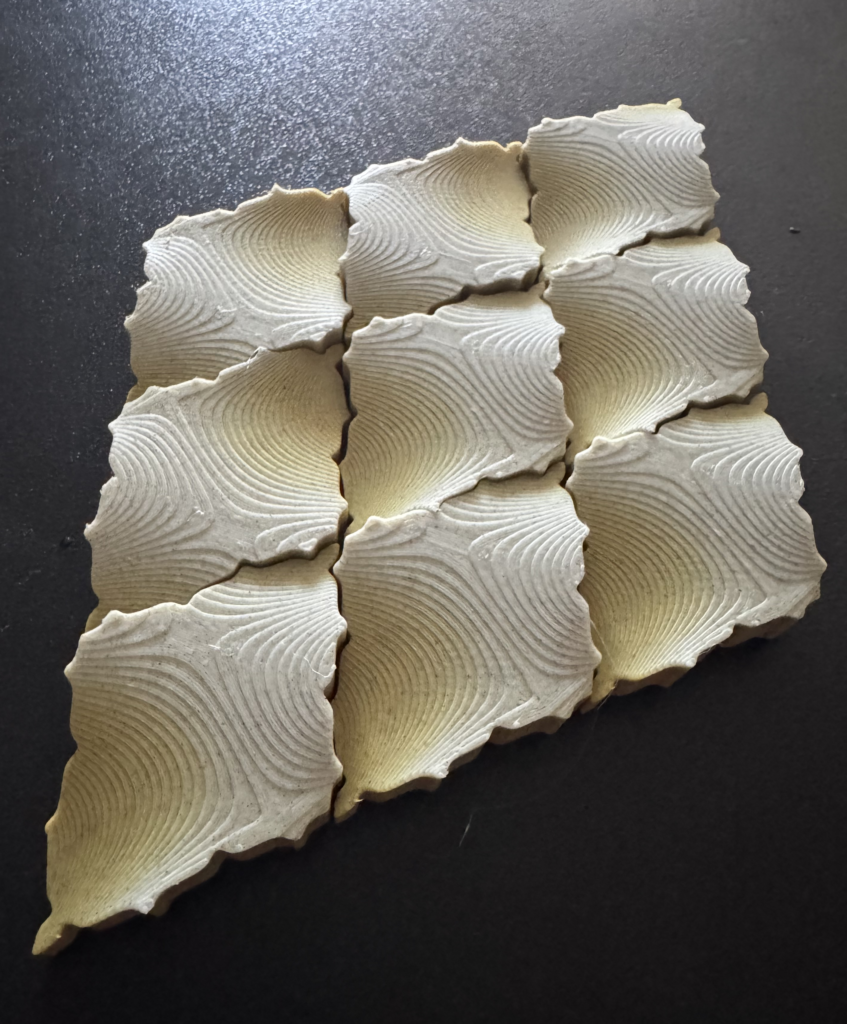
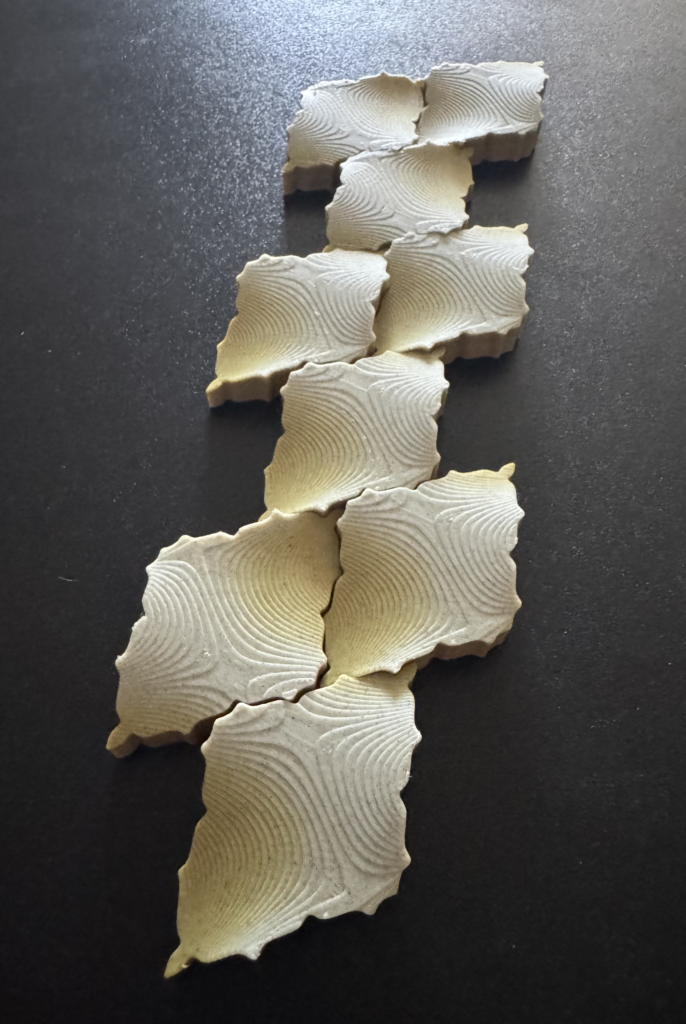
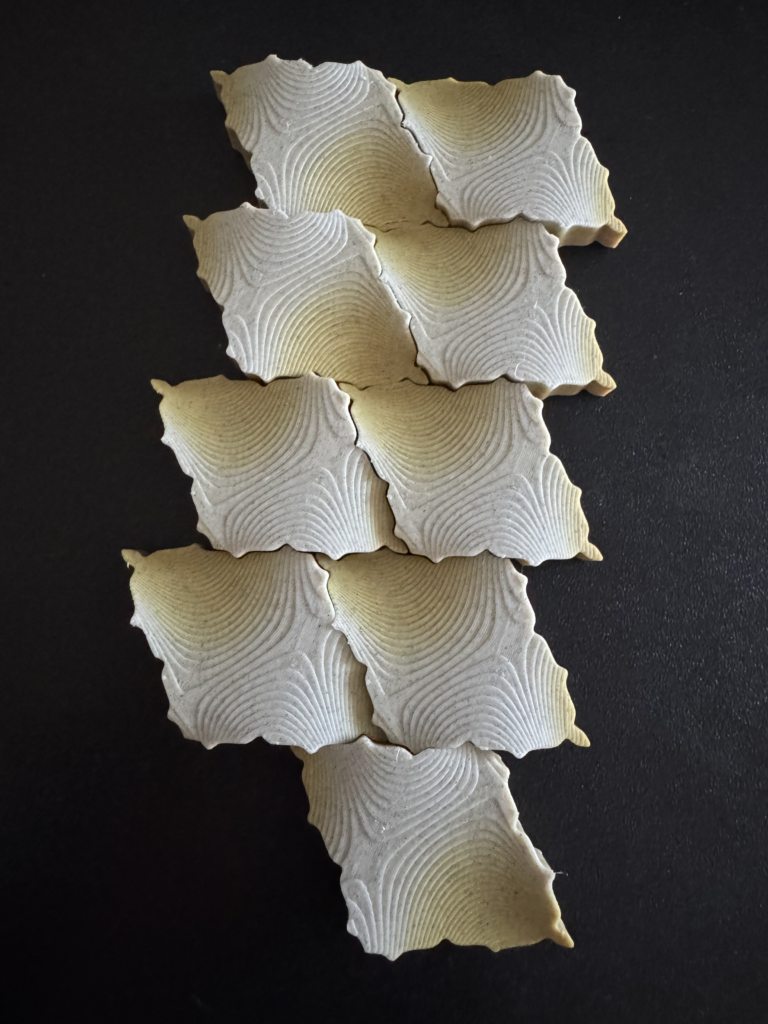
Printing brought its own set of challenges. I had to restart the print twice due to adhesion issues. Since this was my first time printing with this filament, I made some adjustments, increasing the nozzle and changing the print quality from Super to Standard. These tweaks helped, and I eventually got a clean print with the desired effect. I decided to print nine of the tiles rather than four. The print took about five hours to complete.
Part 3: Surface Morph
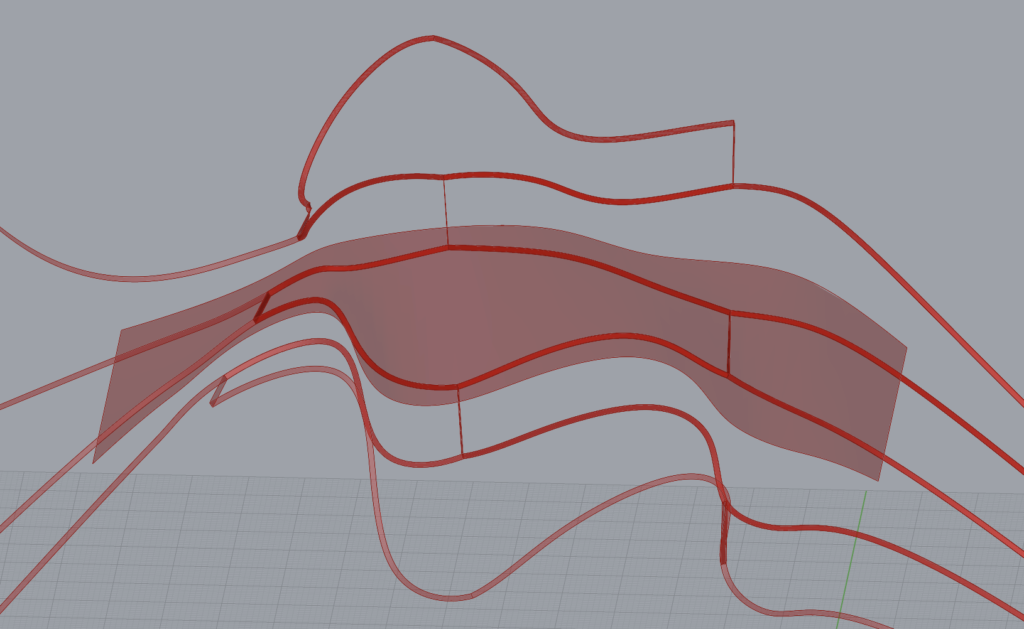
For Part 3, I wasn’t able to fully complete the surface morph. I ran into some challenges with getting my pattern to map correctly onto the target surface. I suspect the issues may have been related to scaling or possibly the way I constructed the target surface (using two lofted curves). If I’d had more time, I would have continued troubleshooting, but with the time I had left, I decided to wrap up this part of the project where it was.
Hi Andrei, at least on my end, I’m having trouble seeing your images. I’m interested in seeing your final result with the 3D printed tiles, so I hope to see them soon!
Hey! Thanks for pointing that out.
That’s odd. The images appear fine on my end, even when I view it logged out. It might’ve been a glitch. Let me know if they’re showing up for you now!
I finally saw the issue on my end when I checked this morning. I re-uploaded the images, so hopefully you can see them now!
Hey Andrei! I’m having trouble seeing the images too. Sometimes this site can be weird with that. You could try uploading from the media library. Other than that, I think you did a good job explaining how you made your shapes. I think you blended a lot of design techniques, so I am very excited to see the final result!
Hey Wayne! I went ahead and re-uploaded all of my images. Let me know what you think!
Hey Andrei,
I really liked your tile design and the cage edit addition / feature you utilized I think looks especially cool and organic. I really thought that this wave print resembled a finger print which is extremely cool and unique looking.
Great Work!
Ian
Hey Ian!
Thanks for the comment. I really liked how the Cage Edit command gave the shape that organic look. It was somewhat by accident, but I was very pleased when I saw my final prints.