Part 1: 2D Tiles
a)
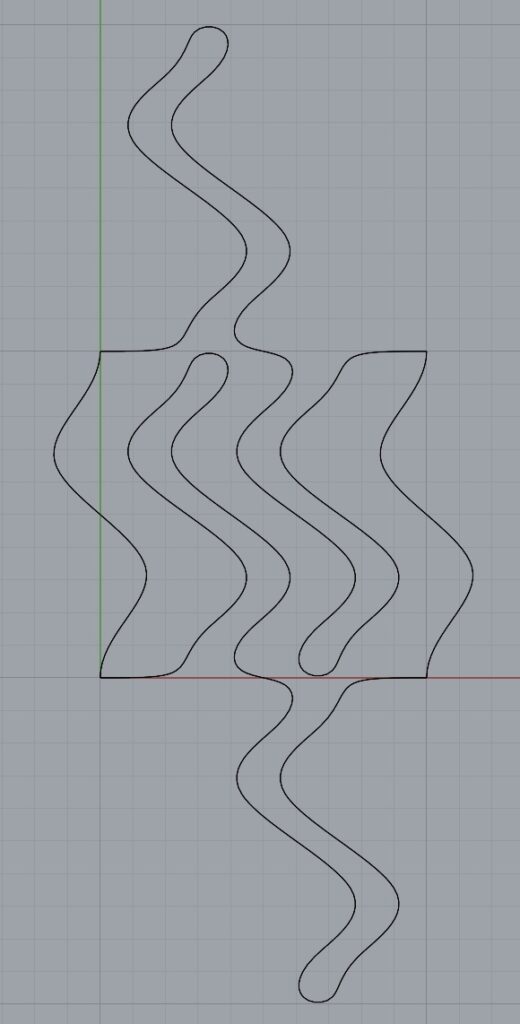
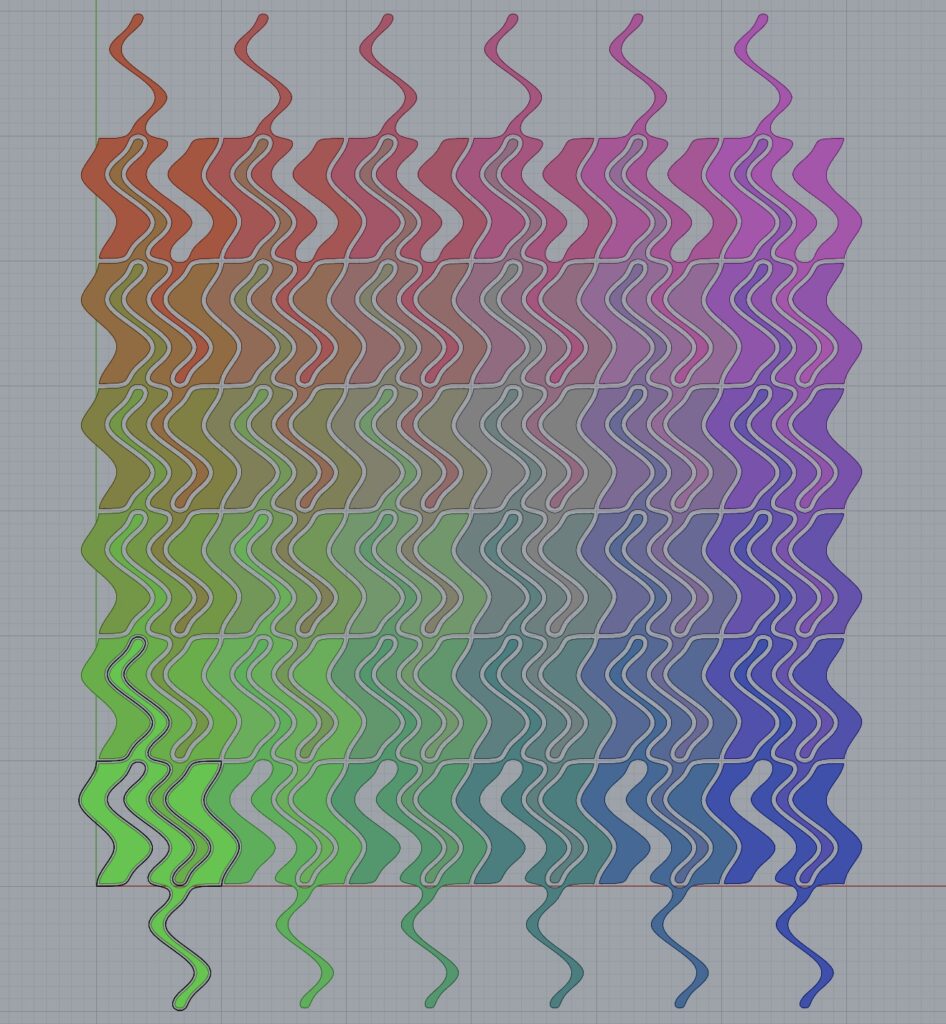
For this part of the assignment, I simply modified the code we worked on in class. I didn’t have a specific image I was trying to create with the Escher tiling, but I did want to push the limits of how different the tiling could be from the original shape. This turned out to be really fun, and I especially enjoyed experimenting with the colors, because I was able to program in some gradients, like the one below.
b)
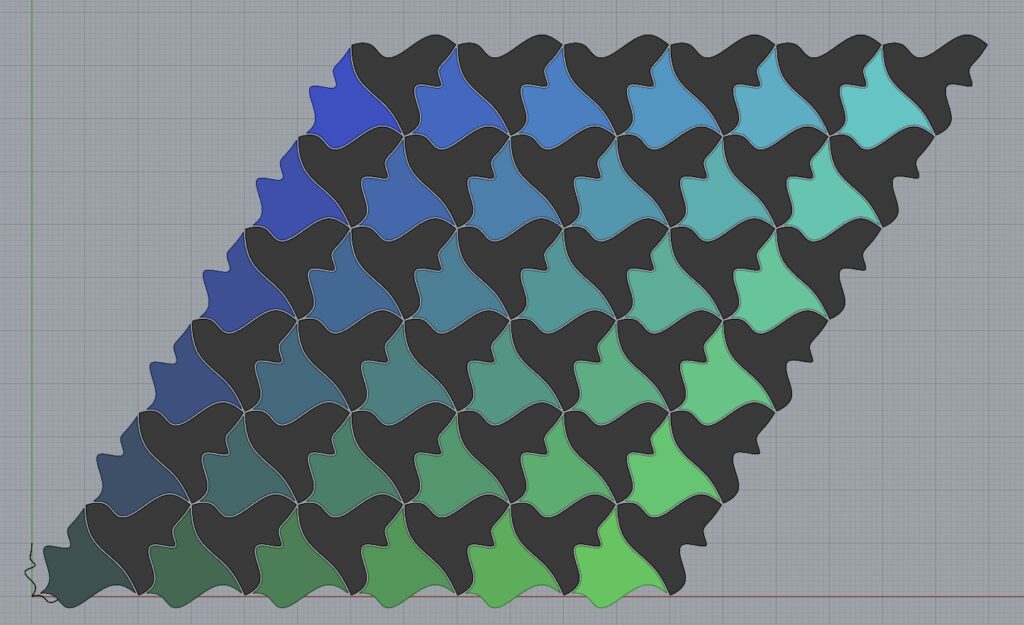
To create a triangular tiling, I just adjusted the rectangular/parallelogram tiling so each quadrilateral was cut in half! I experimented a little, and found a tile shape that looks like a bird flying upwards from one angle, and a bird flying downwards from another angle. Again, I especially enjoyed experimenting with the colors.
Part 2: 3D Printed 3D Tiles
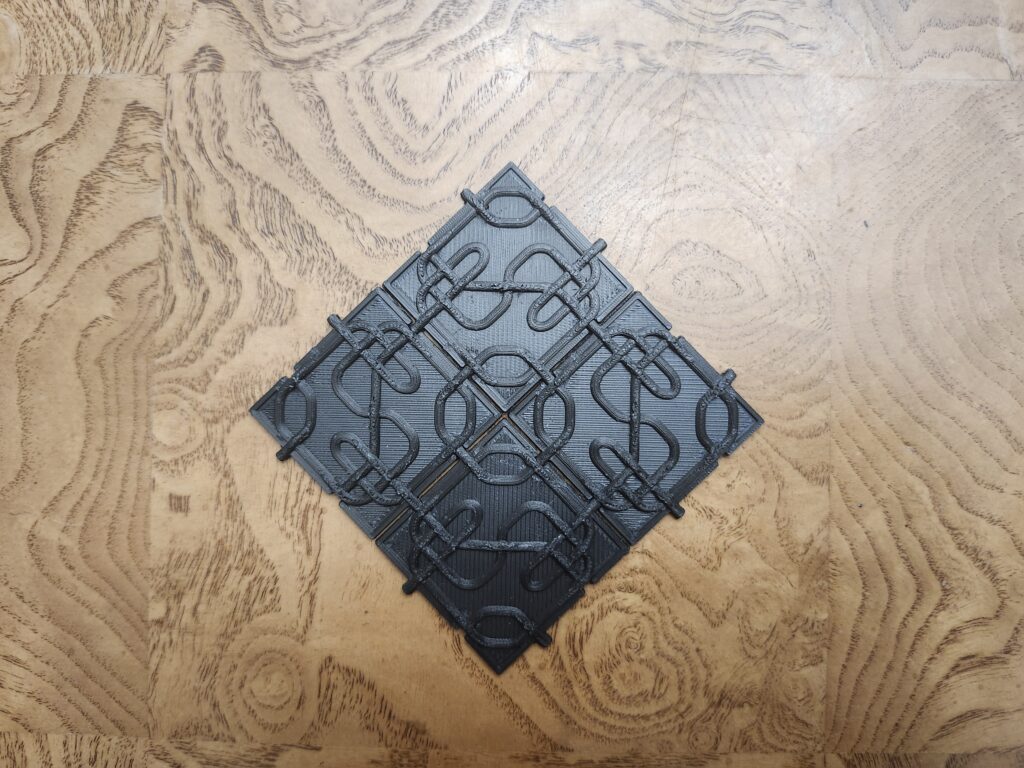
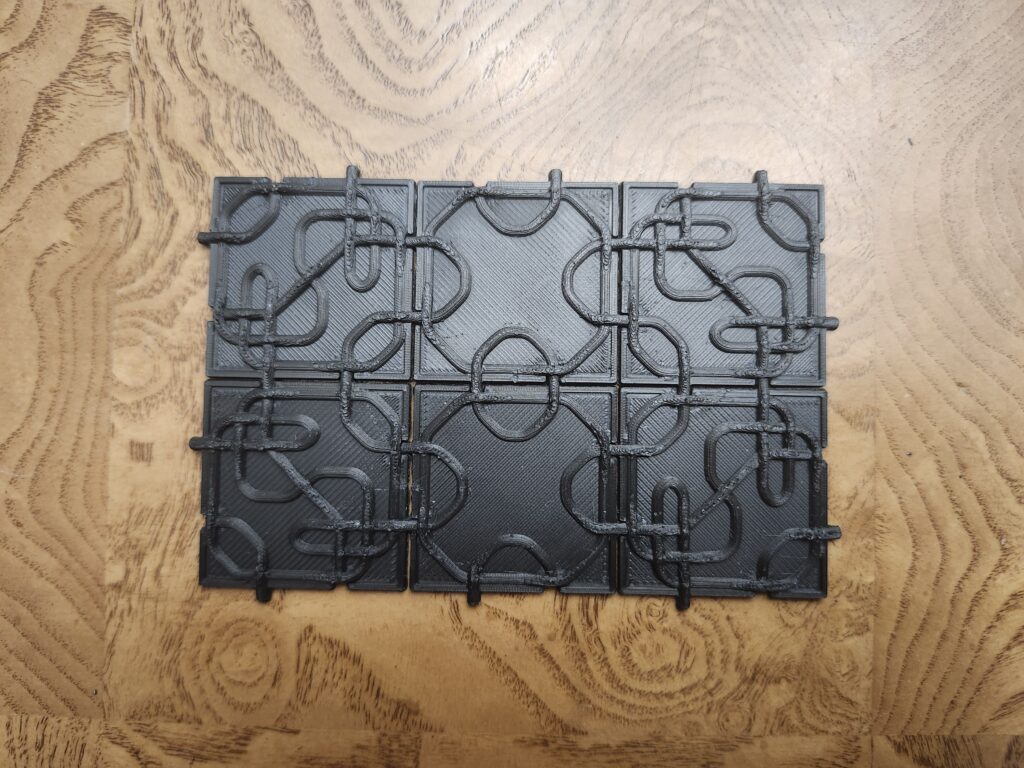
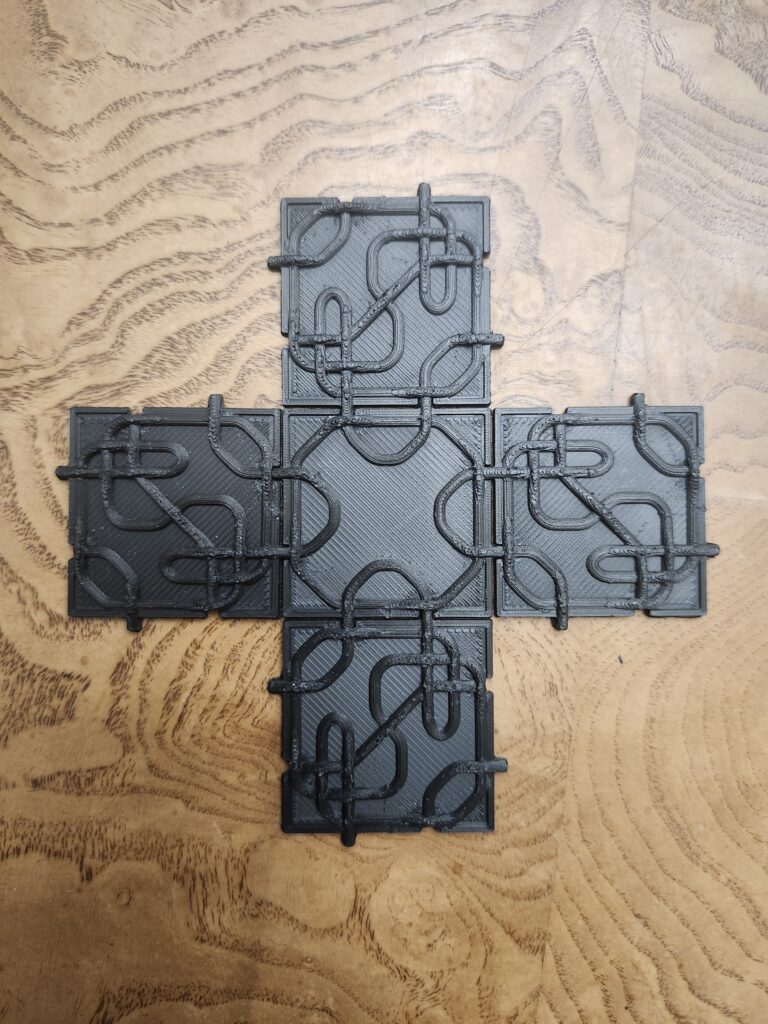
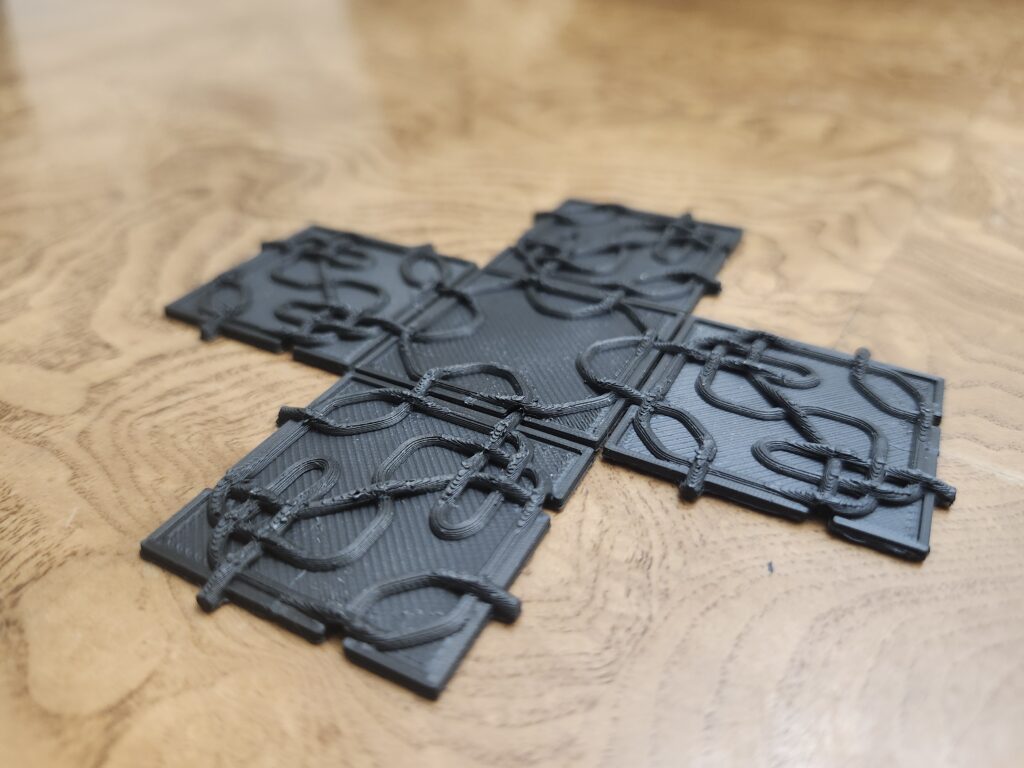
For this part of the assignment, I had an idea: I wanted to make a tiling that used knotting patterns, and fit together in a way that created the illusion of unbroken cords. I realized after I finished that I should have put more of the 3D design into the code, but it was too late by then. I only created the base for each tile in the code. The rest I did manually in Rhino. If I would have done it in Grasshopper instead, I would have had to do much less copying and pasting!
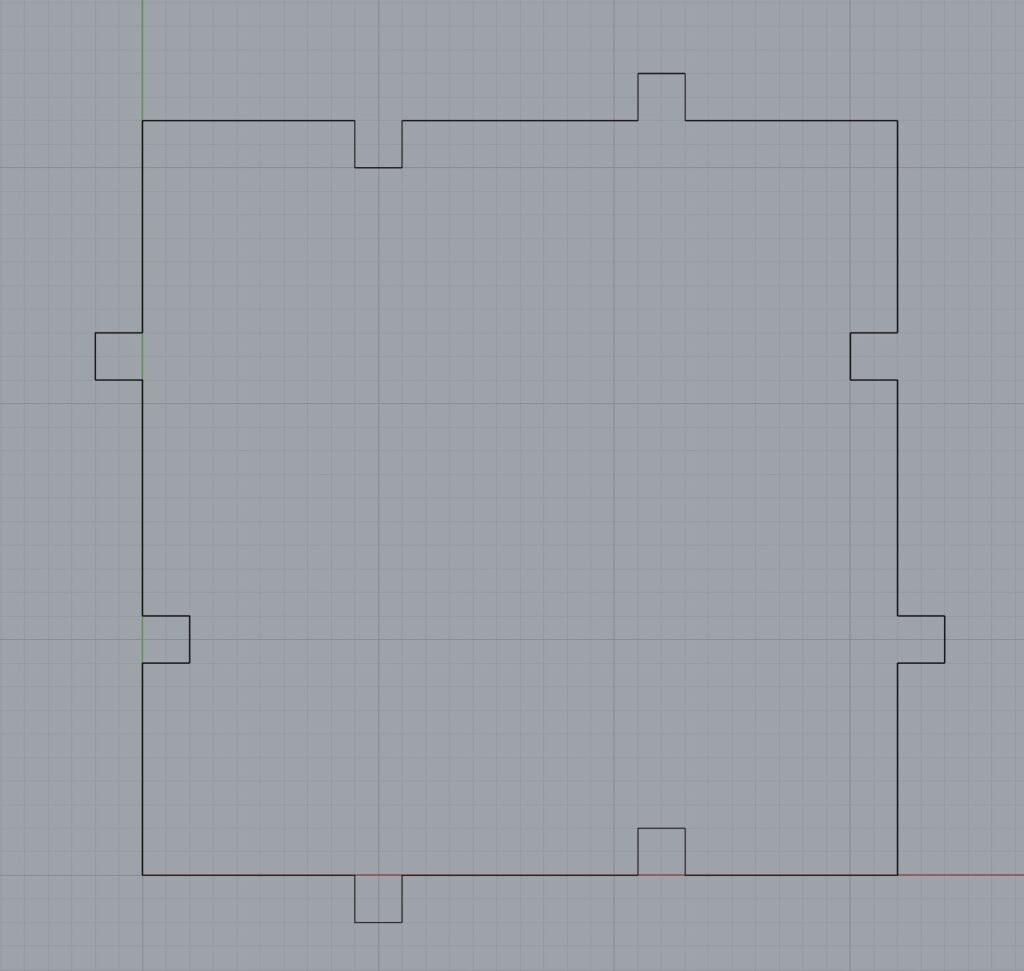
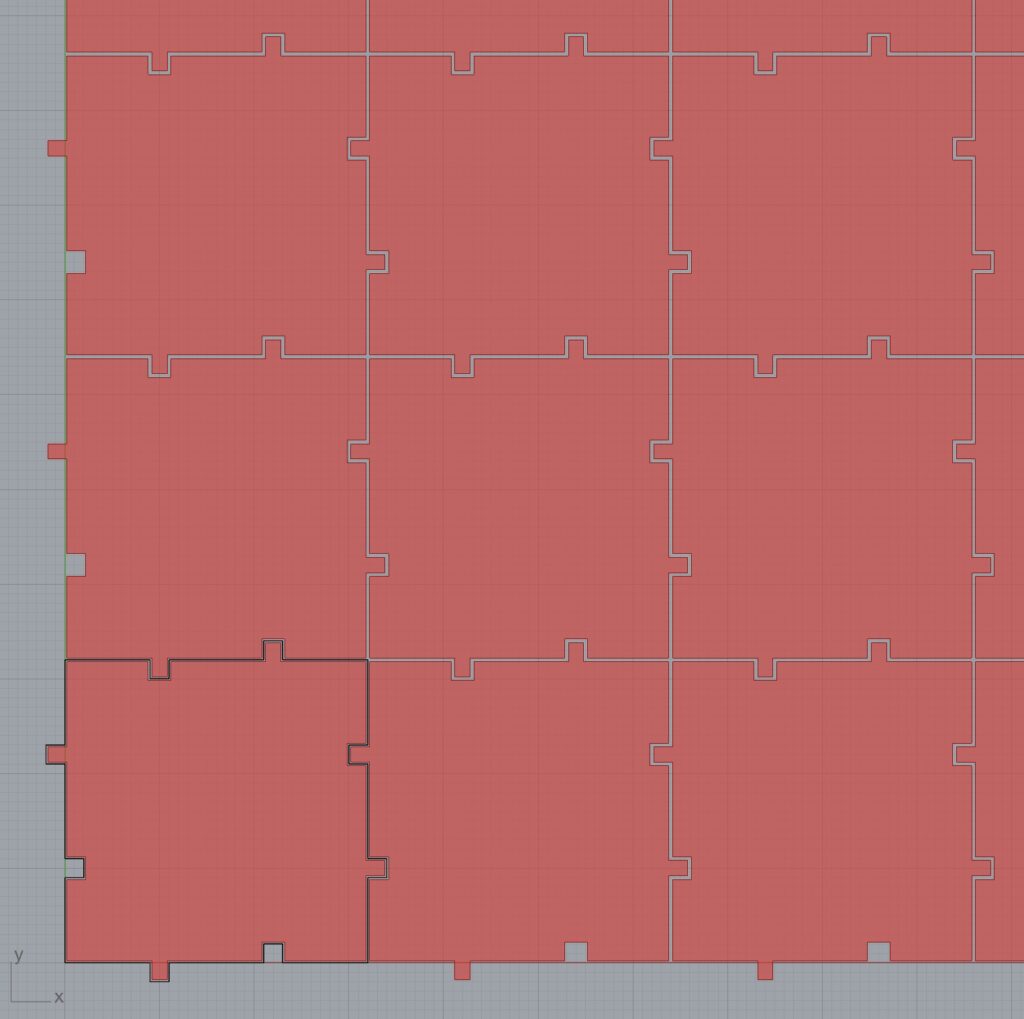
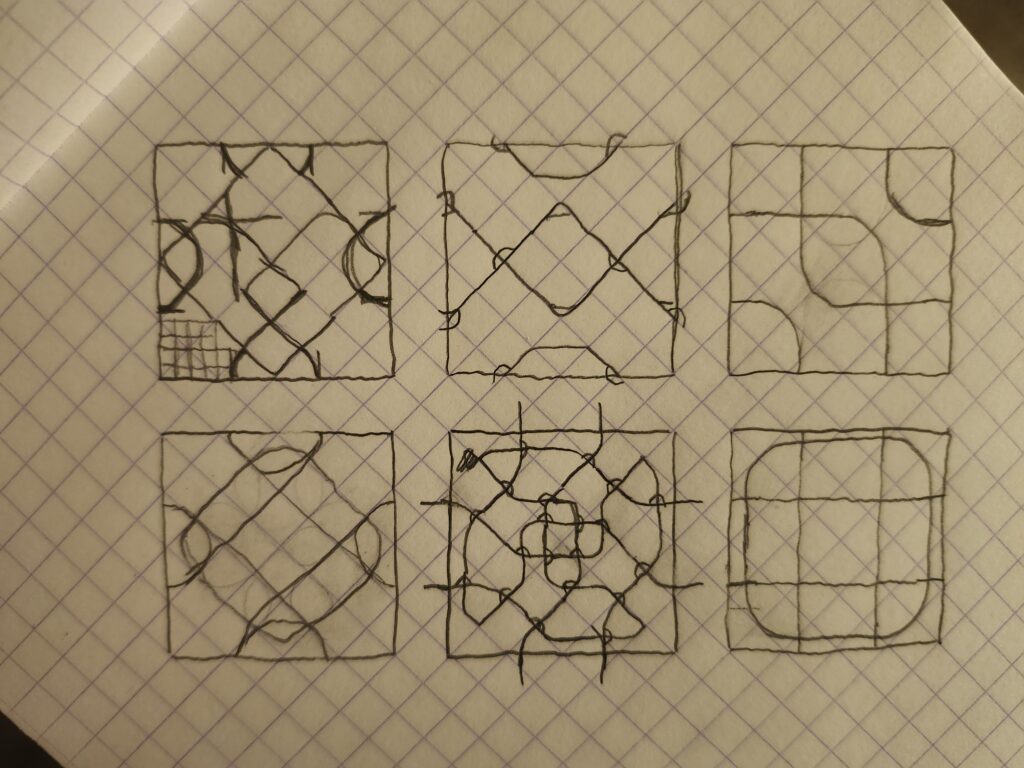
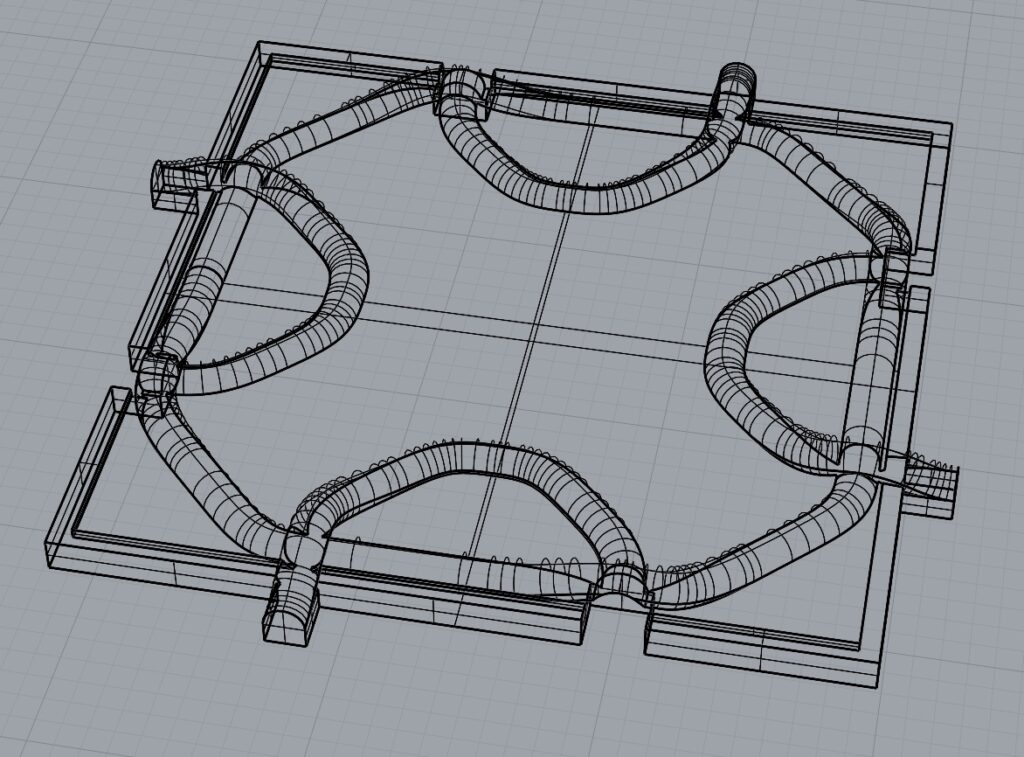
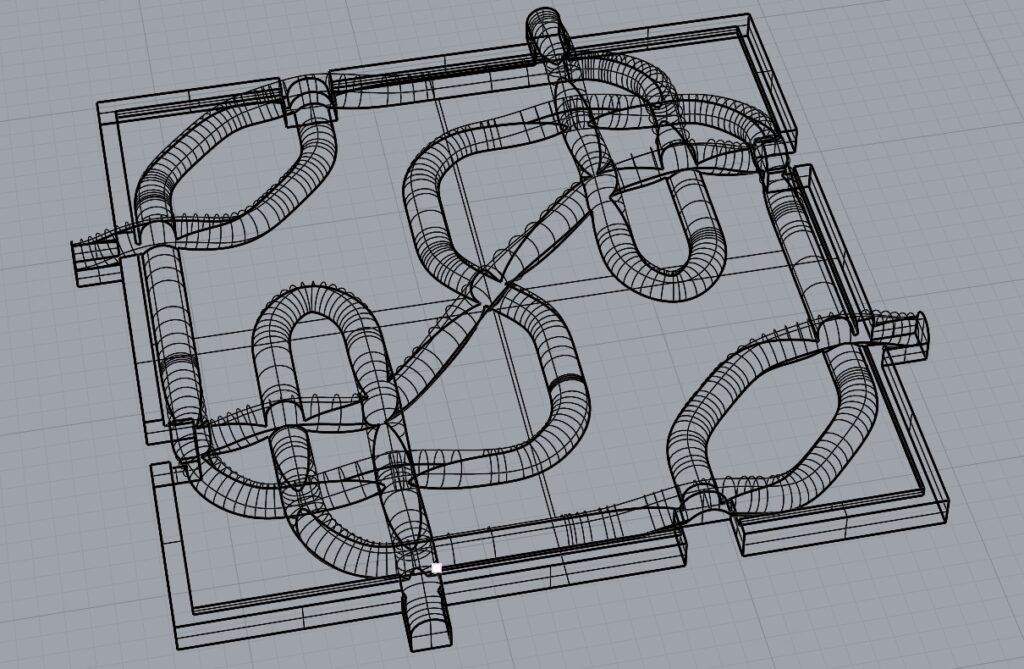
Unfortunately, since I printed them pretty small (32×32 mm), the details on the prints were a little messy, but I cleaned them up as much as I could with tweezers.
Part 3: Surface Morph
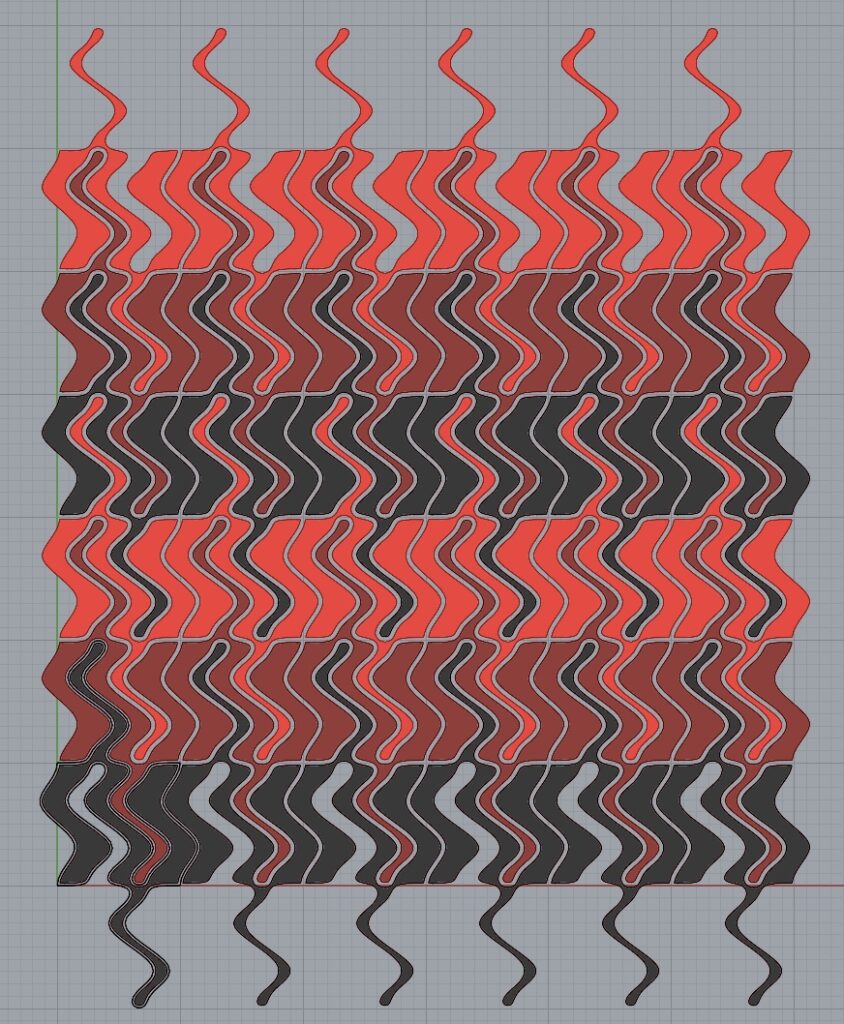
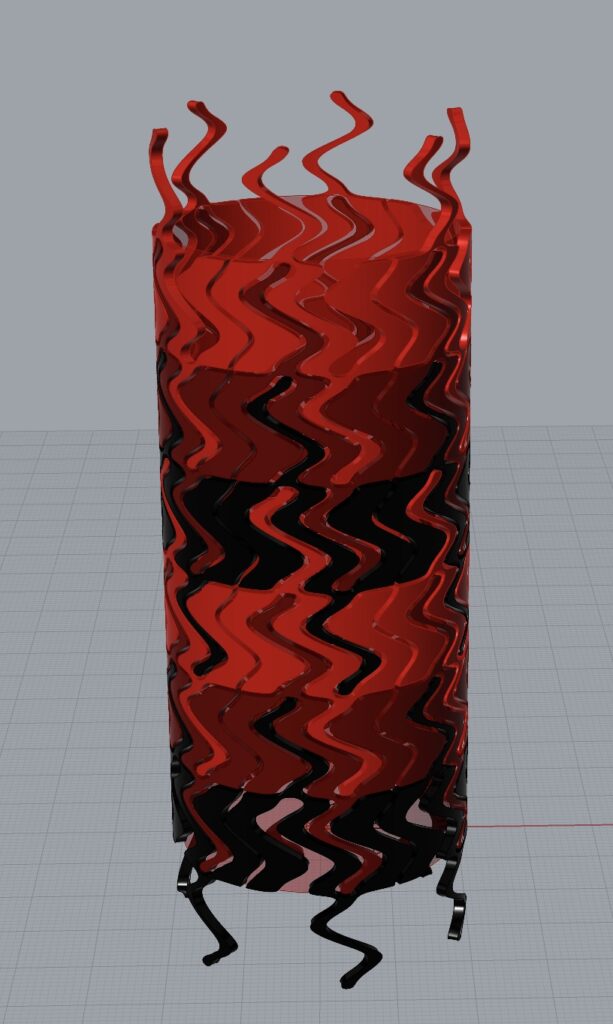
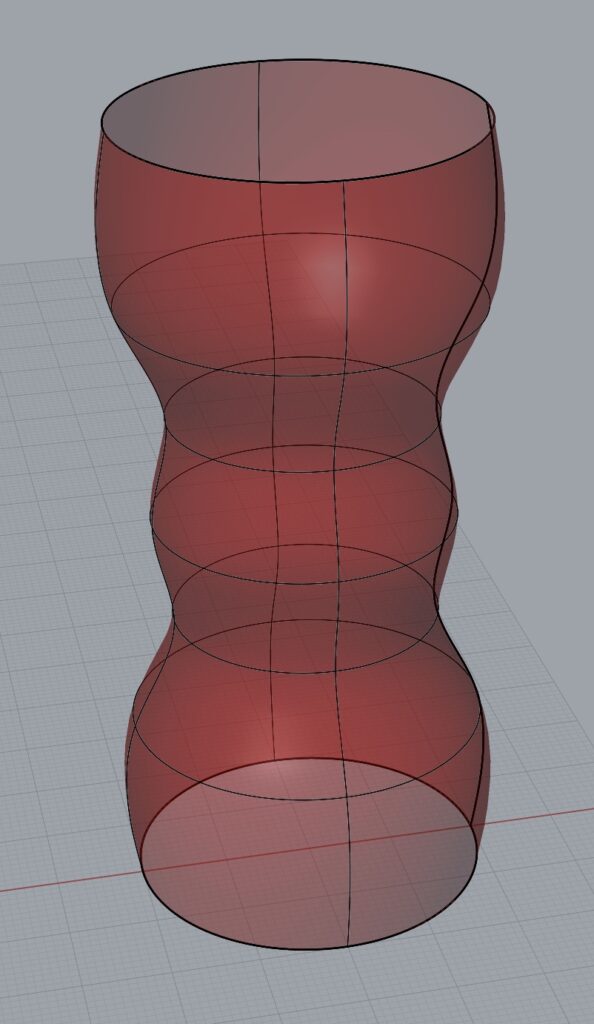
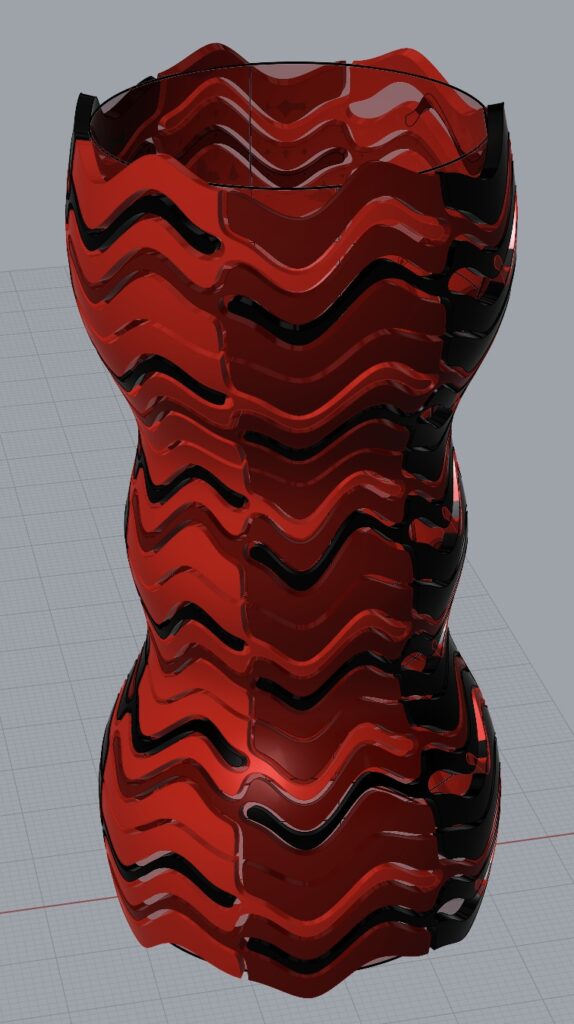
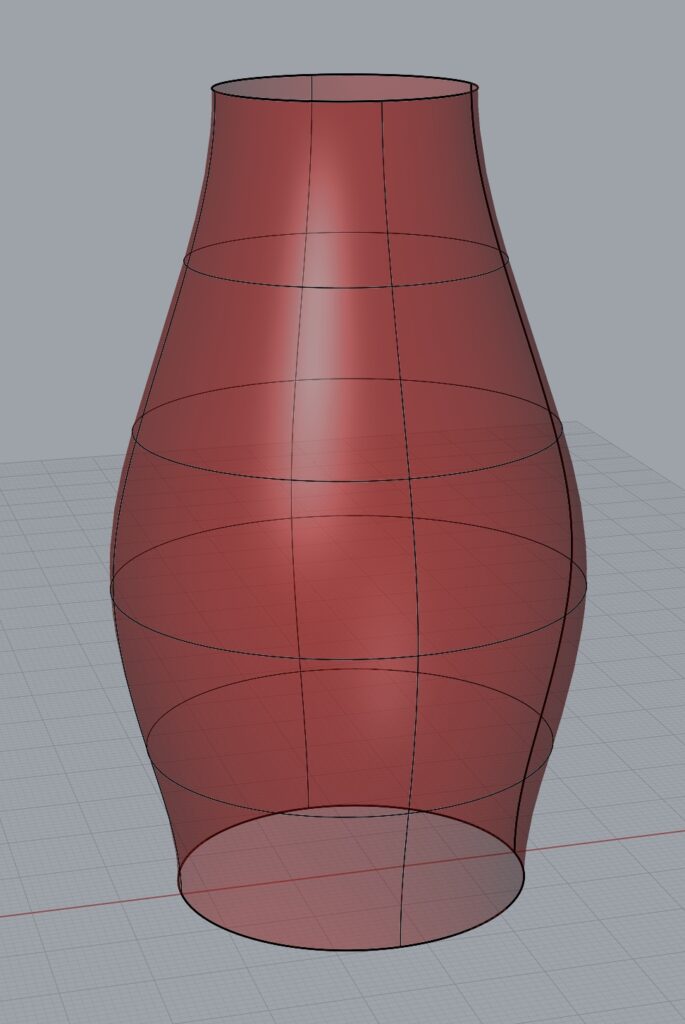
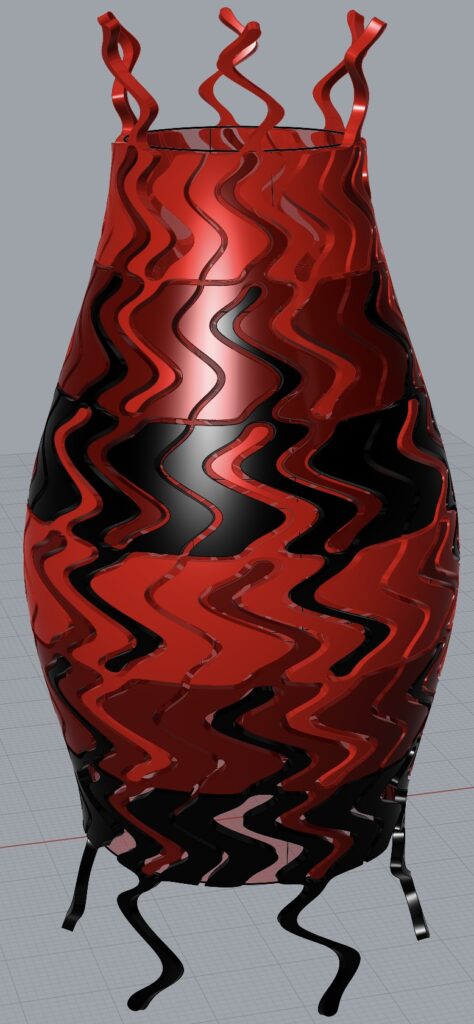
Creating the surface morph was again, fairly simple since we went through an example of it in class. The one hiccup I has was that when I created the surface to morph the tiling onto, it morphed very differently than I intended! Up and down were left and right! I’m not sure exactly why, but I found I had to create the surface by revolving a curve around an axis (rather than lofting cross sections of the surface) to get the orientation I desired.
Here’s the tiling and the original cylinder we used in class:
Here’s when I lofted a surface (which gave me an undesired orientation):
Here’s with a revolved surface:
Hey Nathaniel, I think your 3D-printed tiles look really cool, especially because they remind me of floor tiles, at least in the pattern. I like how you managed to integrate the 3D requirement and make interesting tiles when the base shape is pretty simple all things considered.
Thanks! I had such a specific idea of the 3D design I wanted on my tile that I only needed to think of a simple 2D tiling that would work with my idea! That made the whole design process pretty straightforward. The hardest part was designing the knotting so that the cords always intersected at the same places along the edge of each tile, but that was the only way to make it look like the cord continued between tiles.
Hi Nathaniel,
I really enjoyed reading your post and your pictures of your 3D tiles were amazing looking and reminded me of sci-fi movies that have ancient artifacts and tiling that solves a puzzle for the main character. The design your did for your triangle requirement was very intricate and I can see the little bird design you had integrated in it. I like that you were able to alter the code and cut it in half to make the triangles which are made from the squares similar to how we saw shapes being made up of other shapes in our lecture and slideshow.
I’m glad you liked it! I agree that the designs are somewhat fantasical/sci-fi. And yeah, I was glad I found a way to make the triangle lattice by just adding a bisecting curve, because it made updating the code fairly easy!
Hey Nathaniel, I loved your peieces in person. I thoght knotting patterns was so cool. I am shocked that you did that in rhino and not in grass hopper. I do wish you printed a few more because the pattern is so cool. How did you get the tubes to follow the pattern?
For each cord I created points along the surface (changing the height of the point where cords intersect), made a curve, and then piped the curve!