Part 1: 2D Tiles
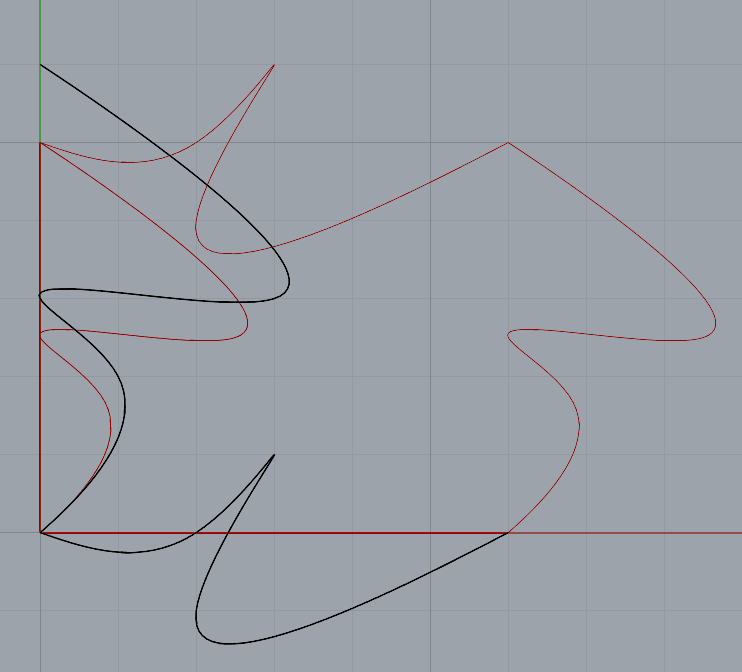
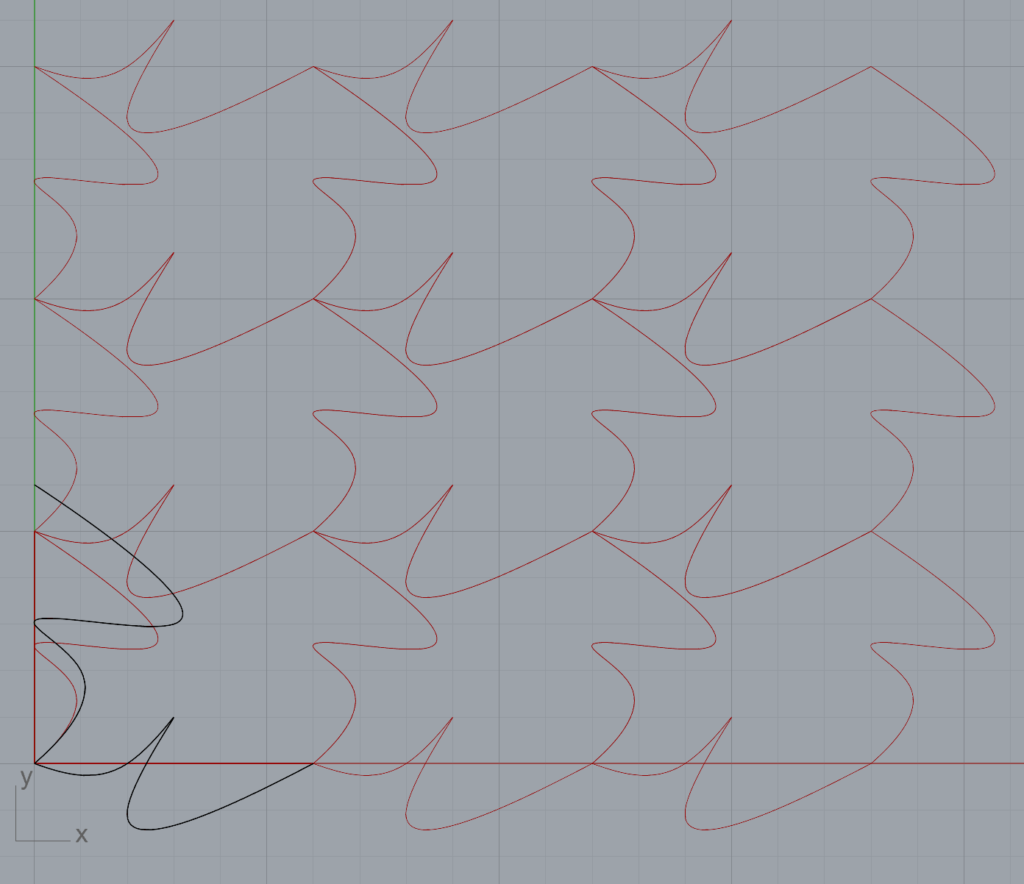
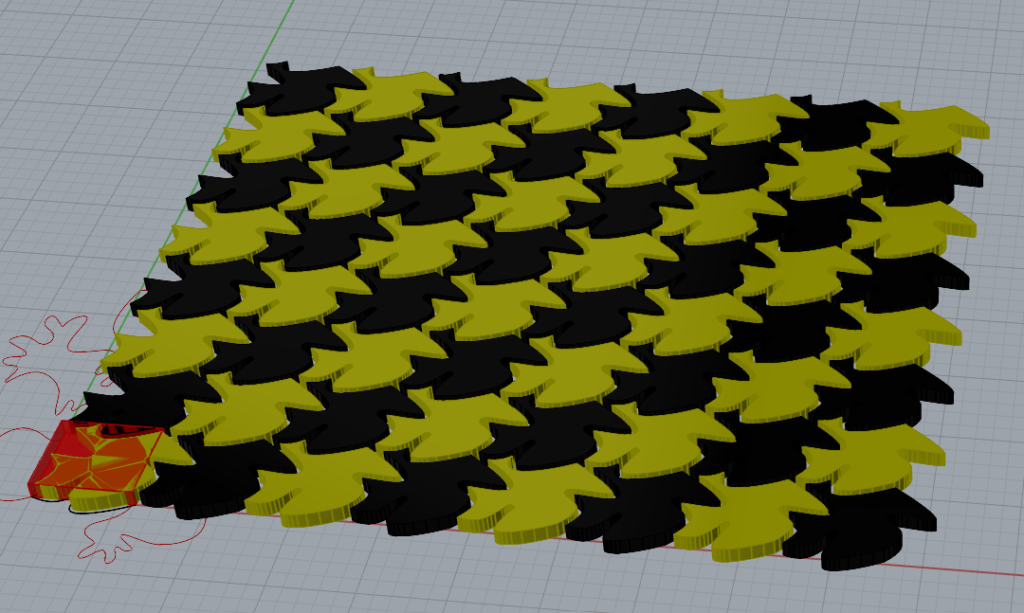
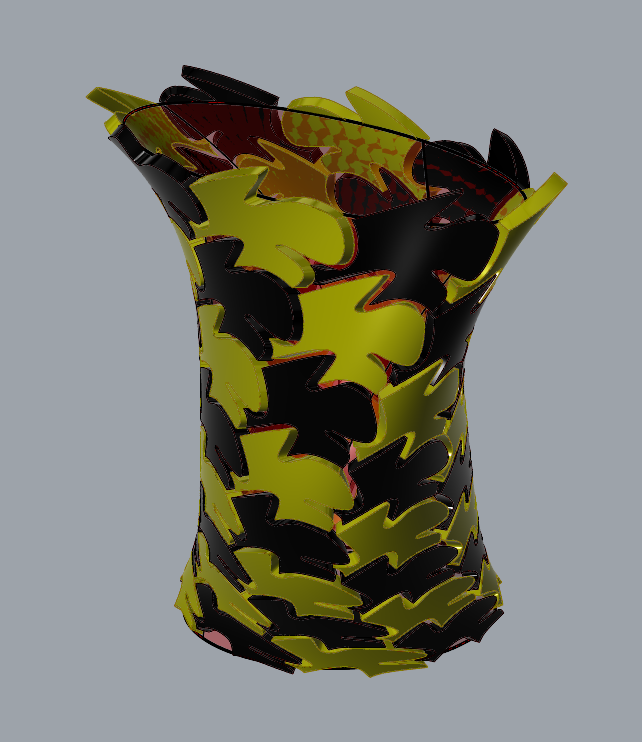
For the polygon lattice tiling I just used some curves that I thought were interesting. I didn’t have any major issues with this process. I also used this pattern for the surface morph in part 3.
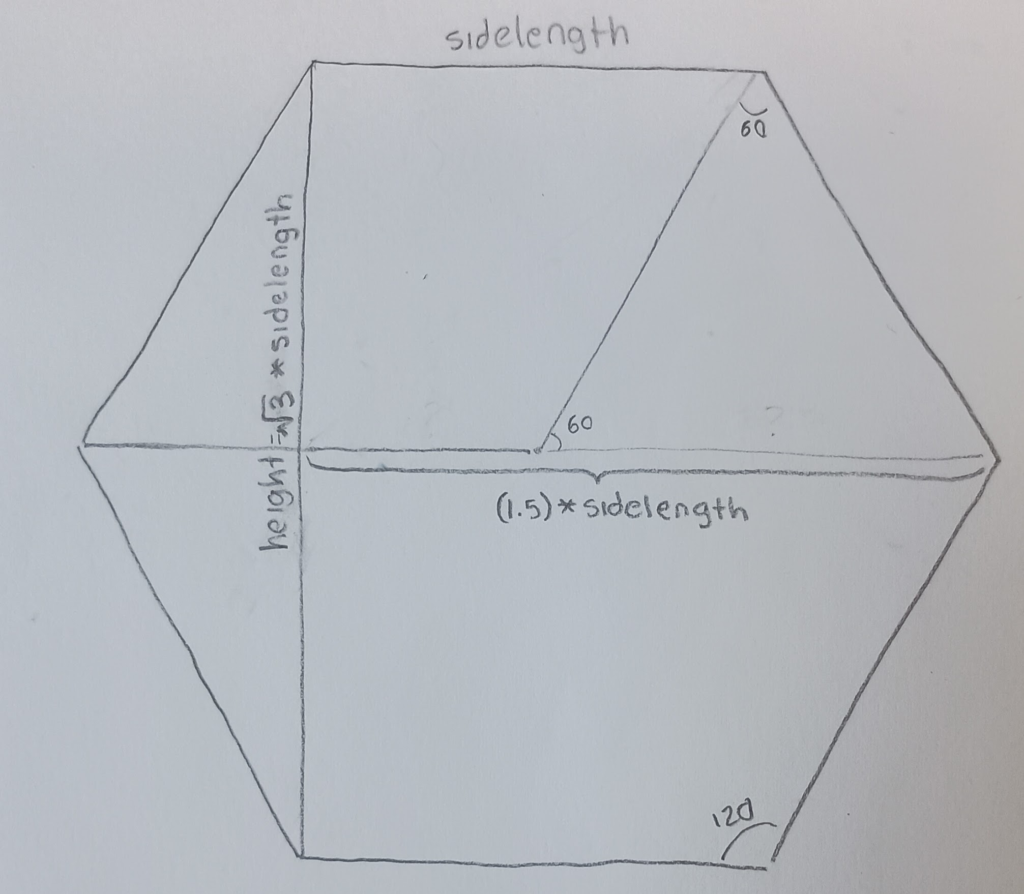
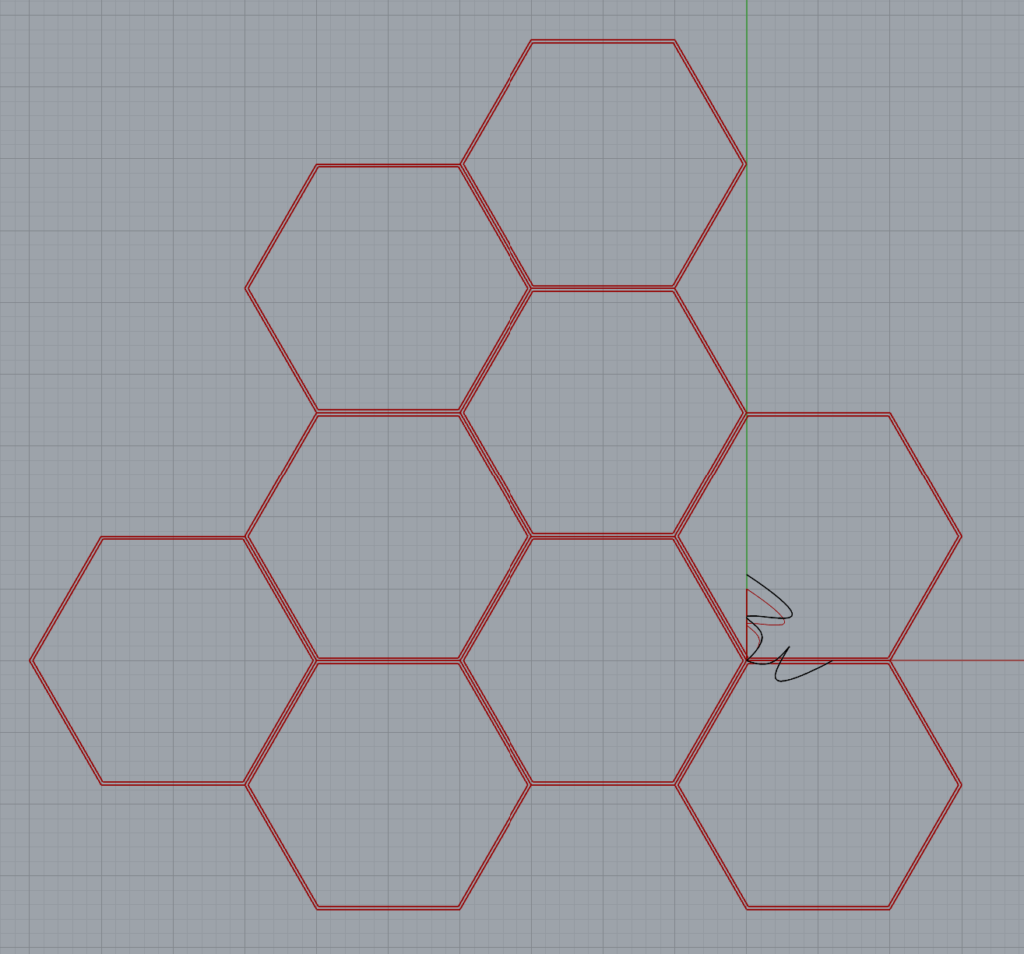
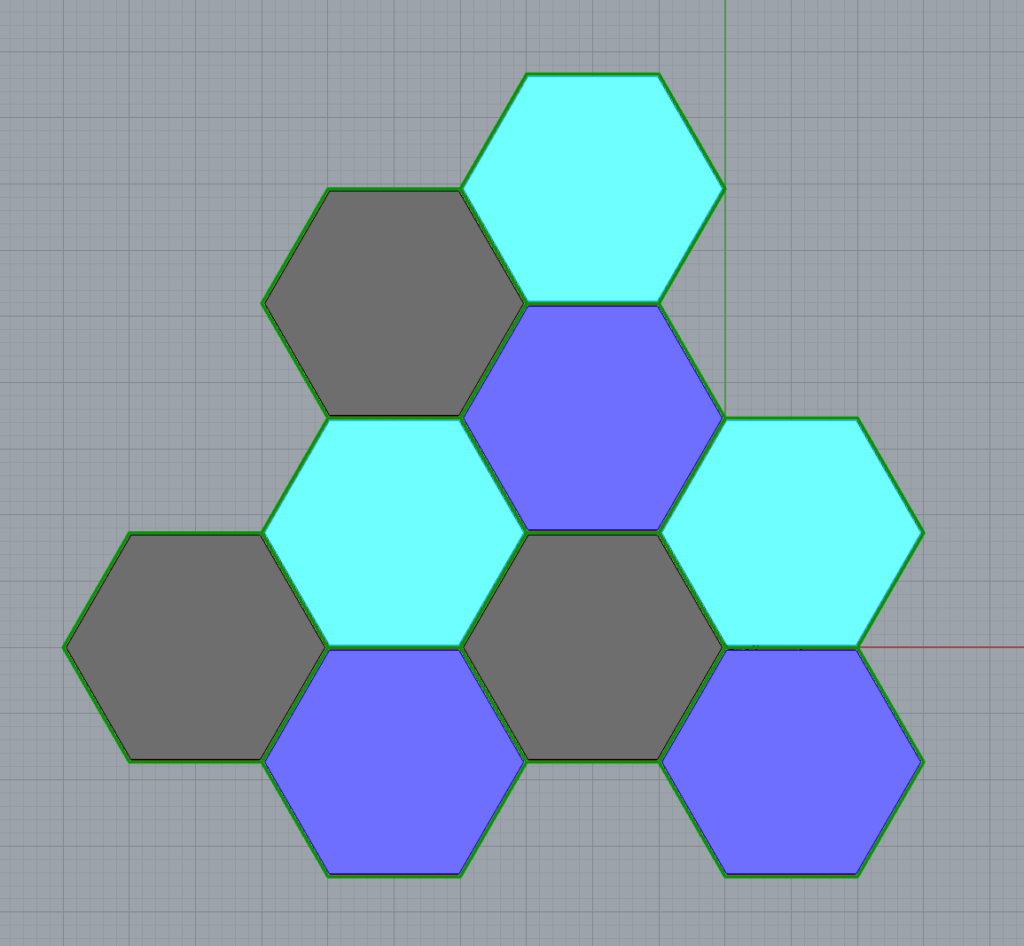
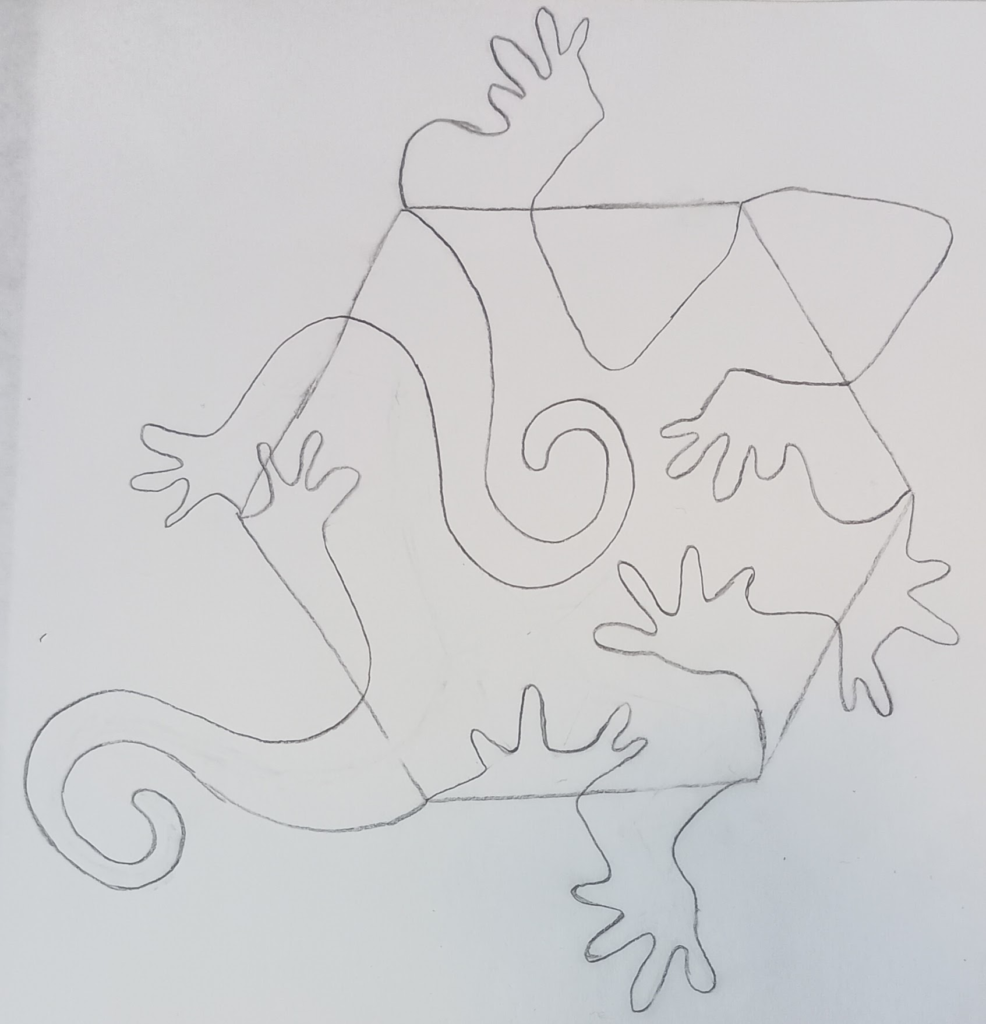
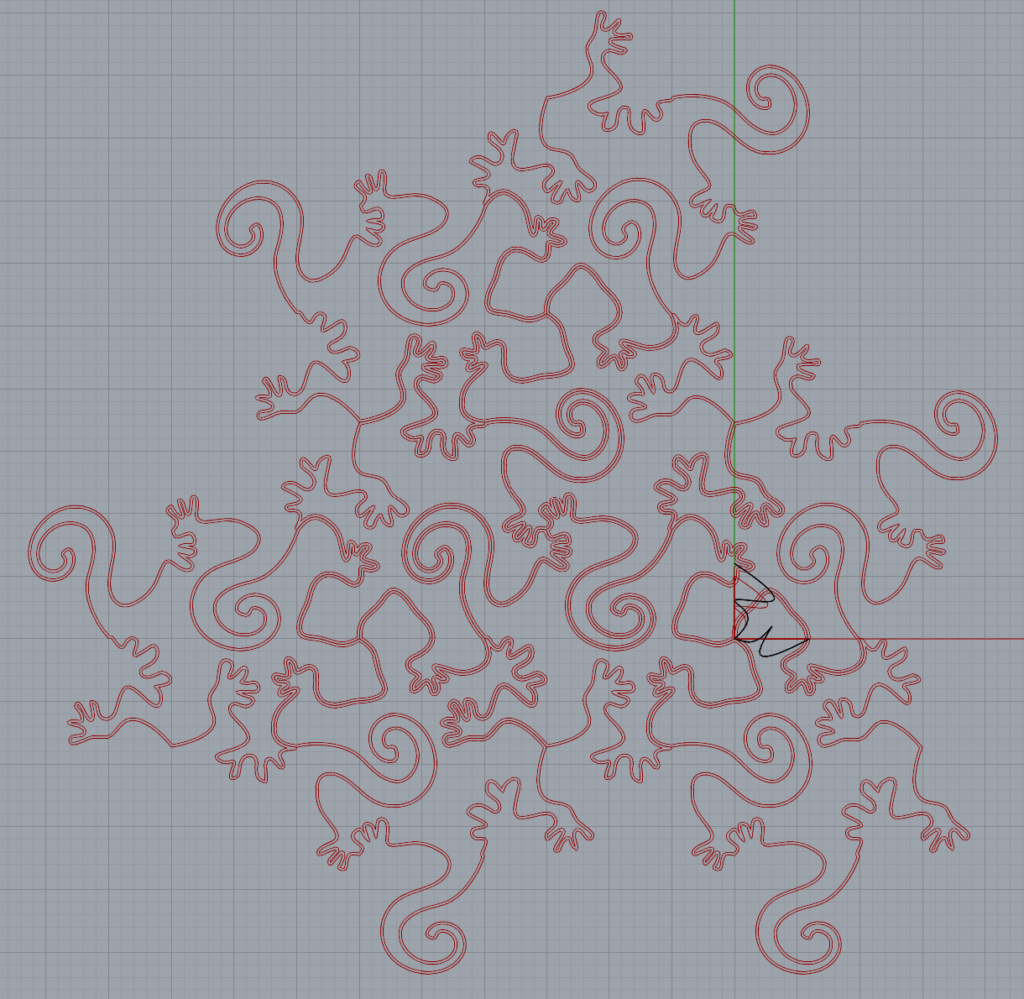
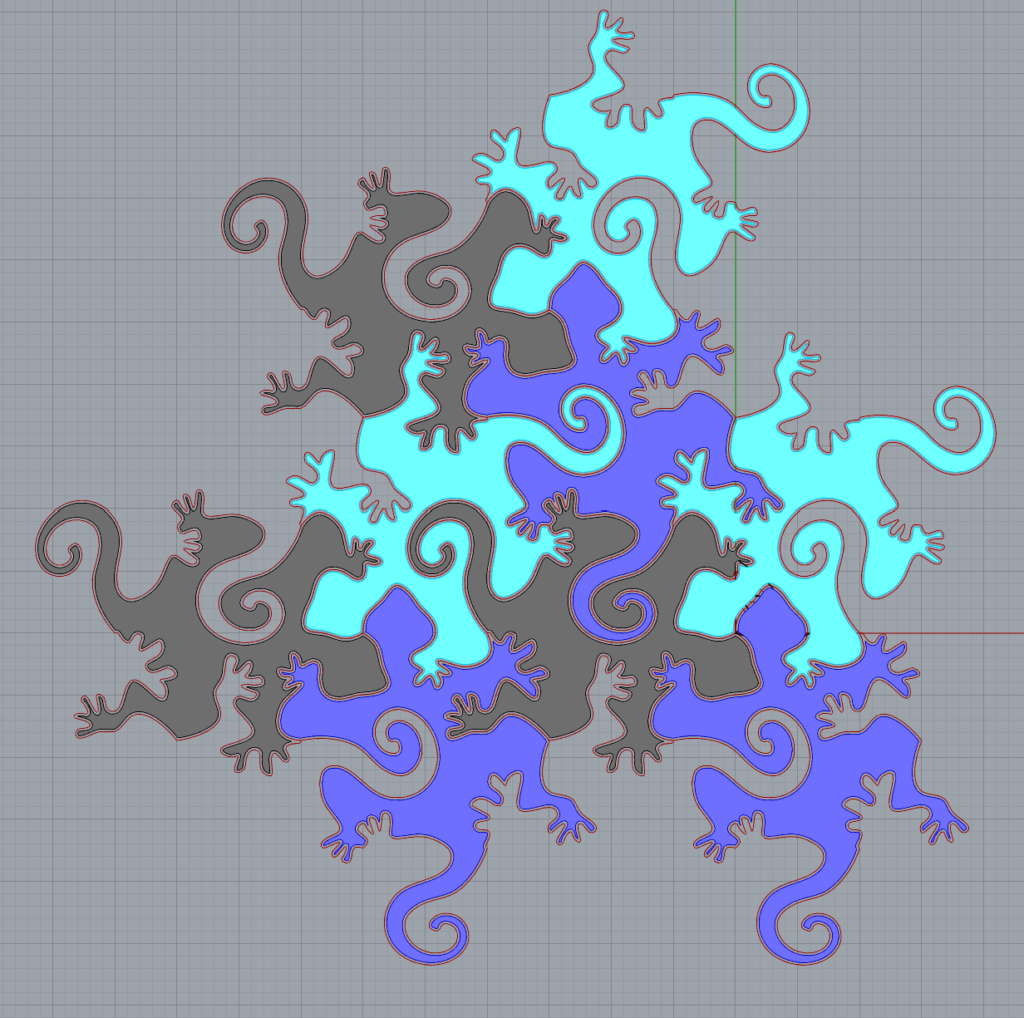
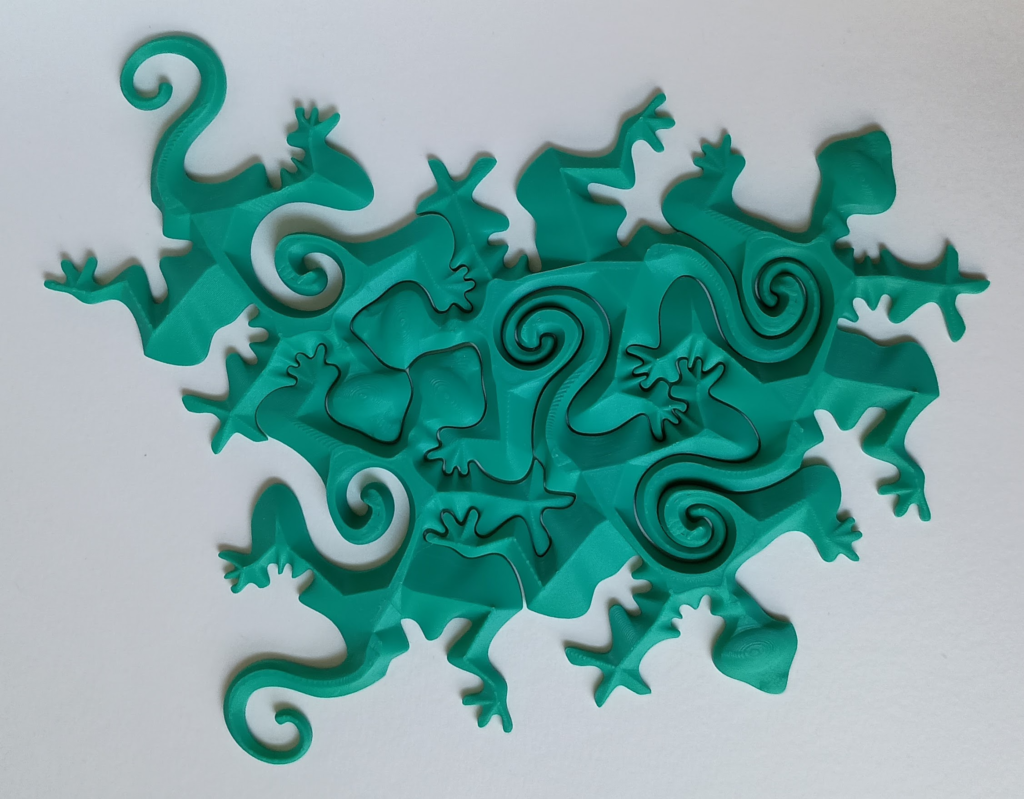
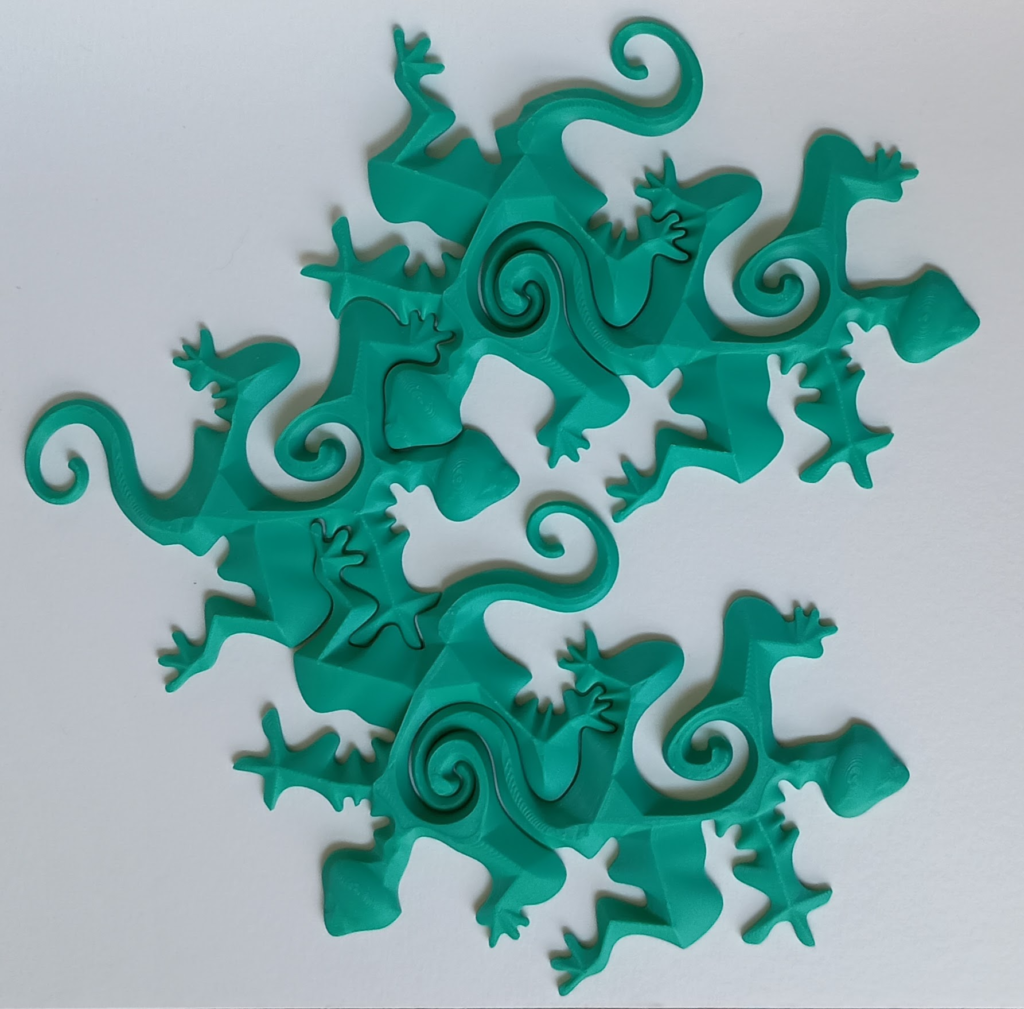
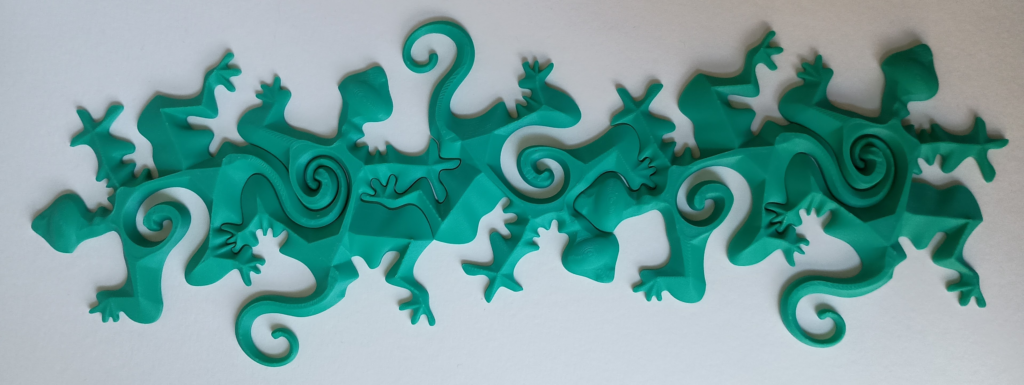
I decided to generate a hexagonal tiling. I had some trouble using the lattice from class so ended up building the lattice structure a little differently. I used the top left corner of the hexagon to rotate three hexagons around, then moved that centeral point away for the next area of rotation. As for the construction of the hexagon itself I used three curves, each set of duplicate curves are on neighboring segments of the hexagon (there is a better visualization of this with my lizard tile).
Part 2: 3D Printed 3D tiles
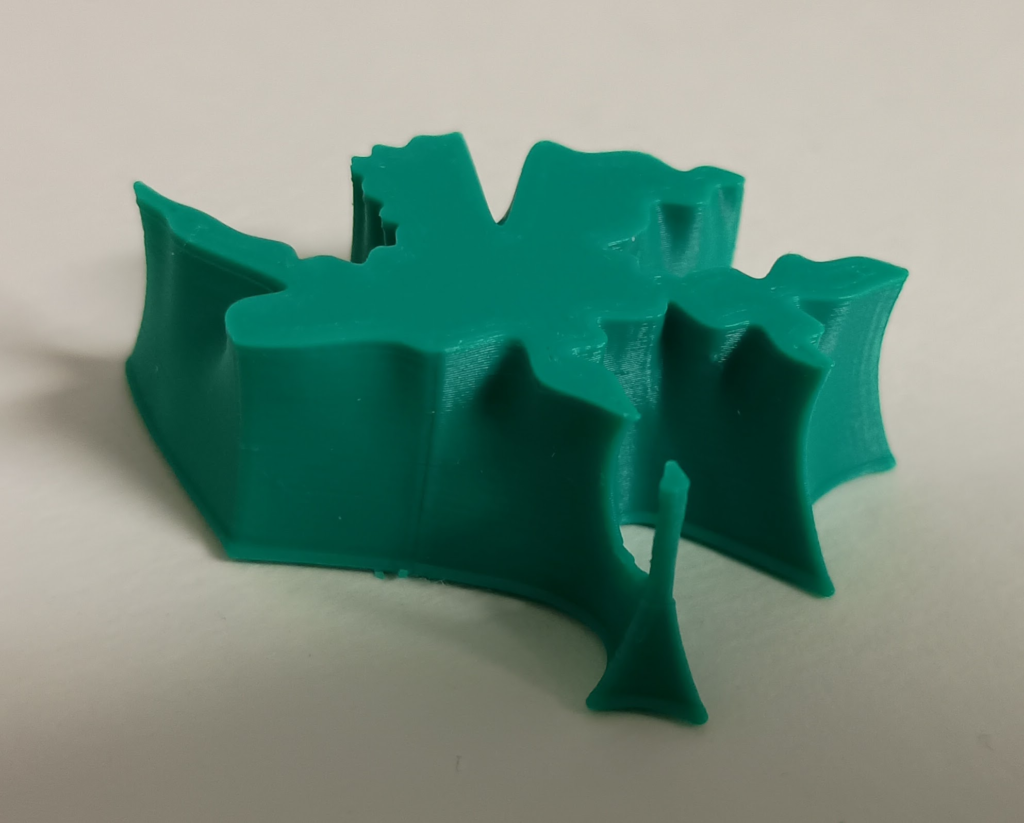
I designed a 3D tile from the first 2D tile designed in part 1. I designed it by lofting the curve with another offset curve and a manually designed curve. The tile and its tiling can also be seen under part 1 and 3. Each one took about an hour to print.
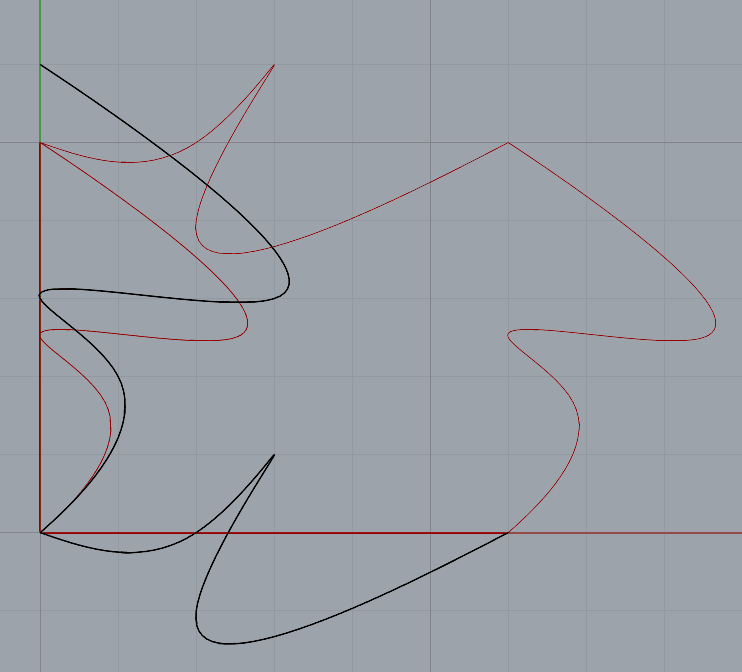

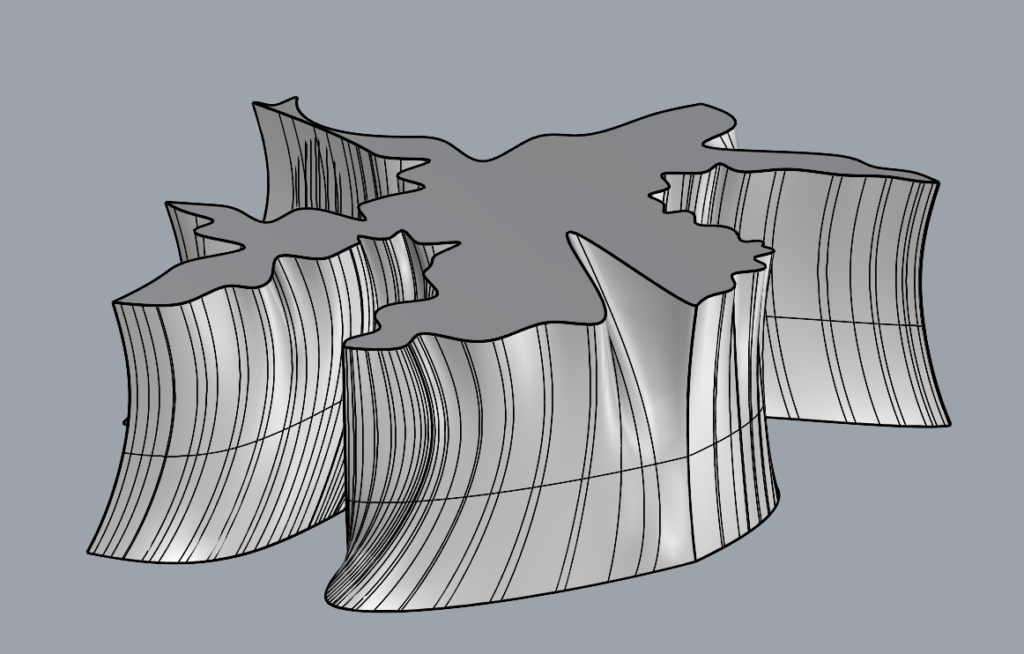
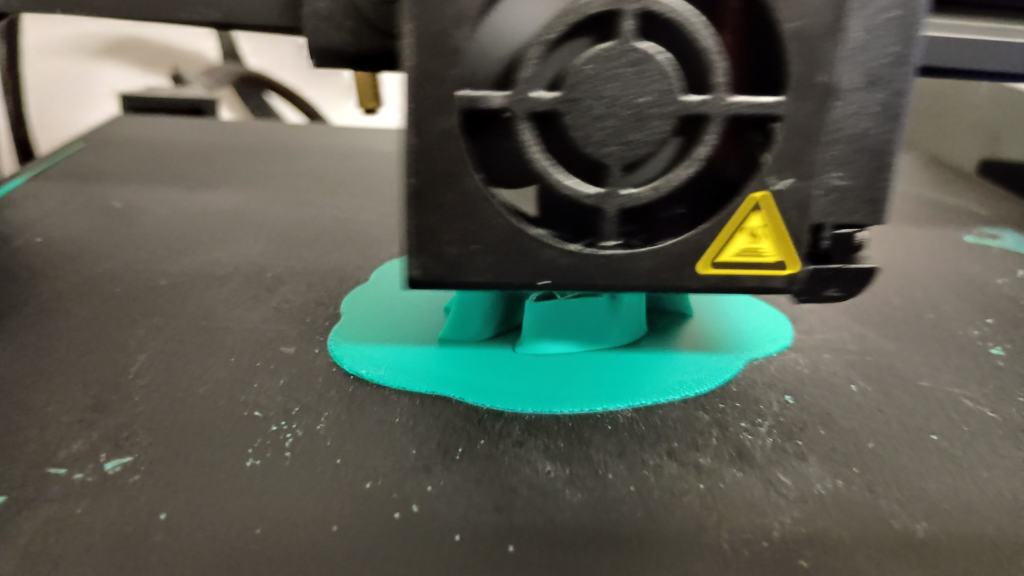
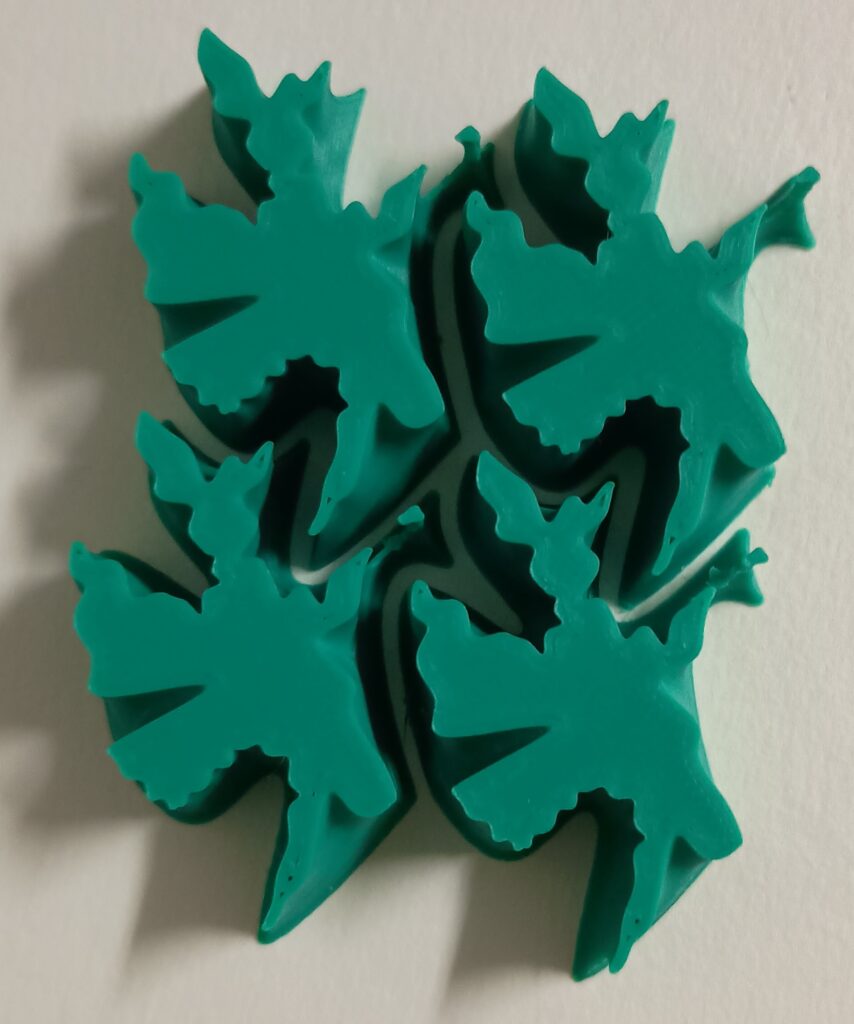
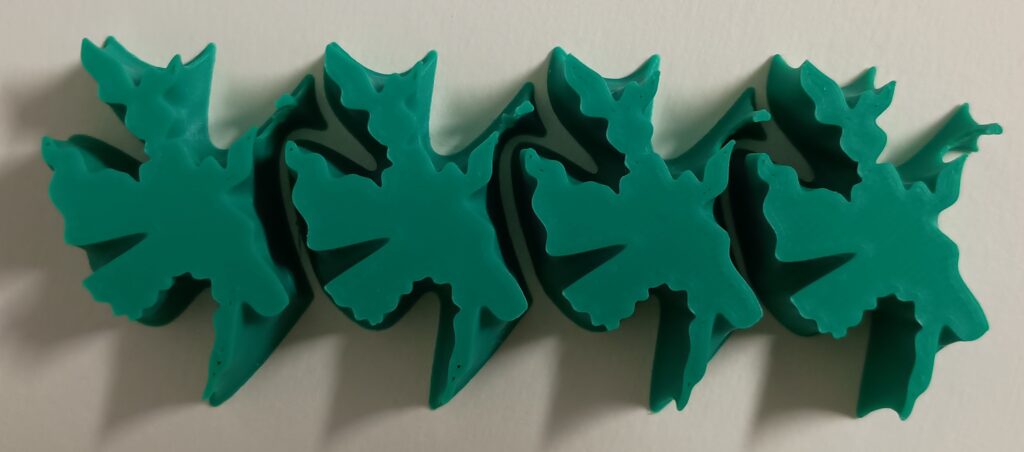
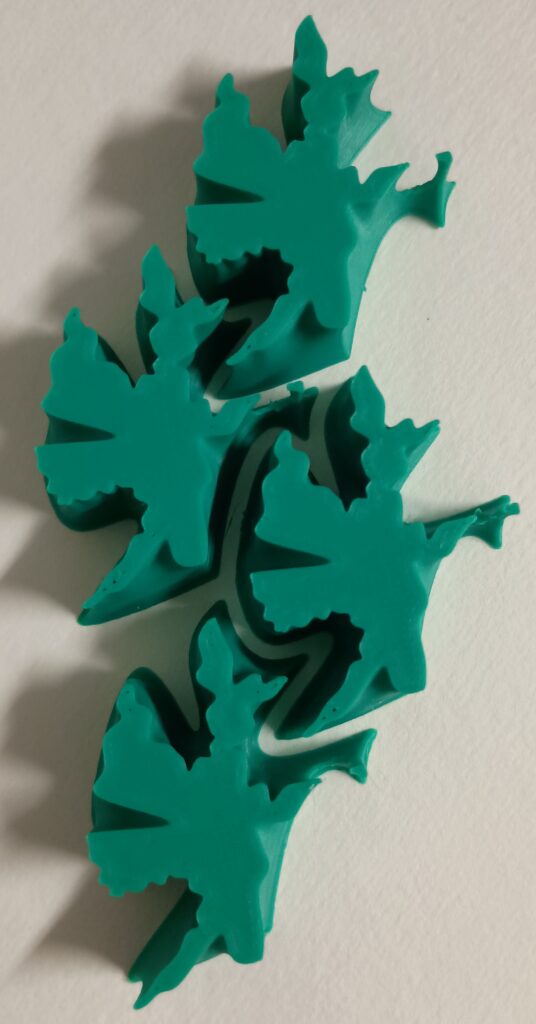
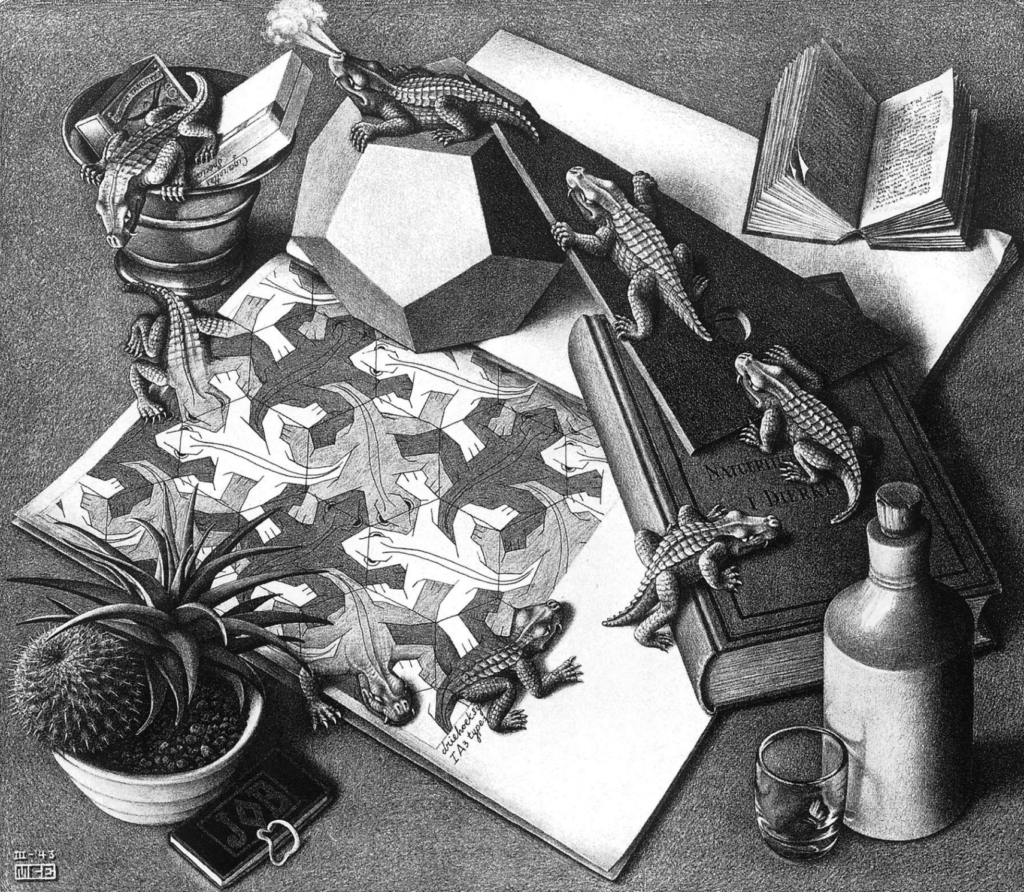
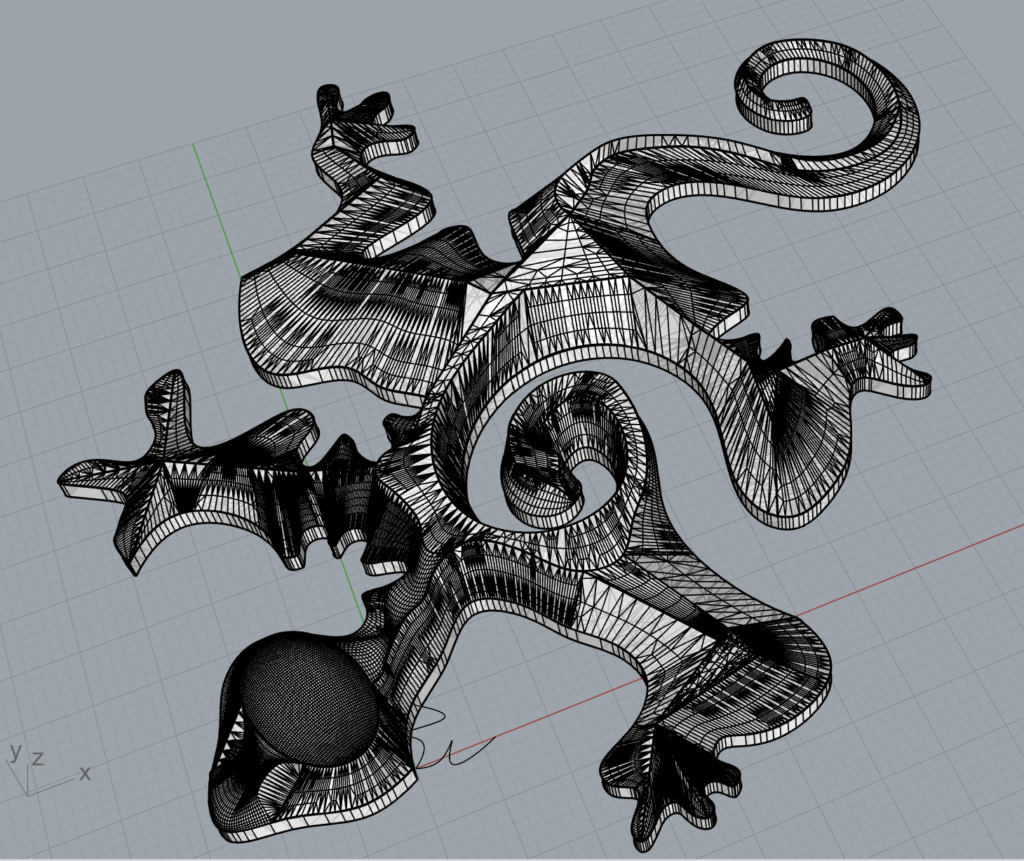
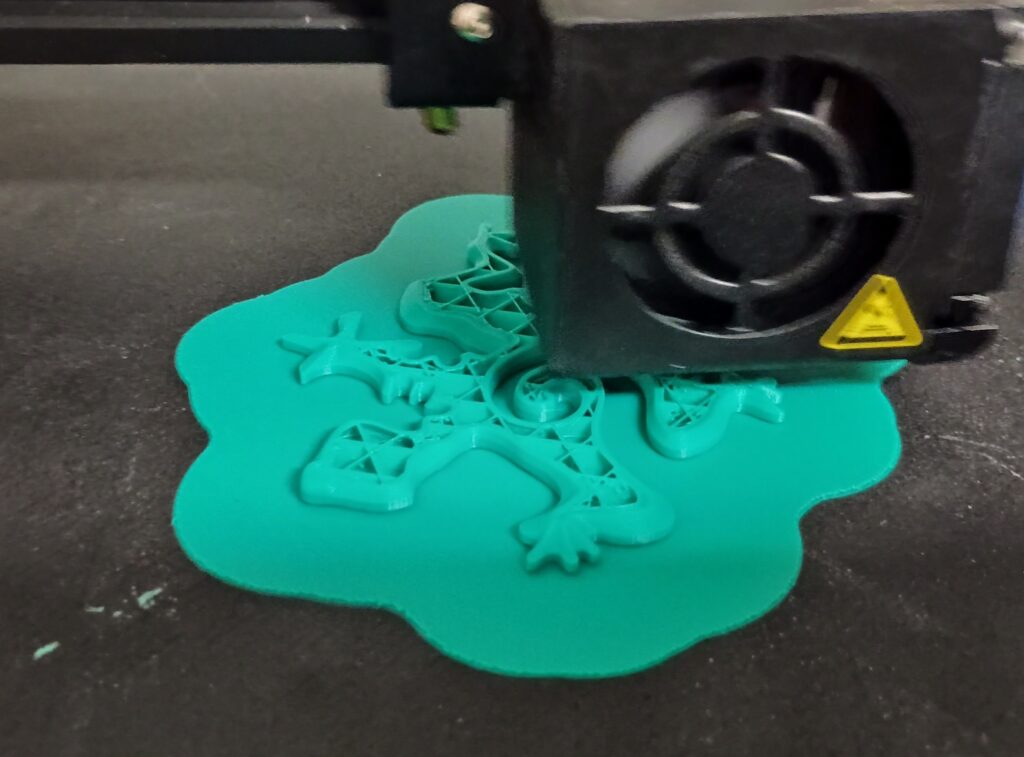
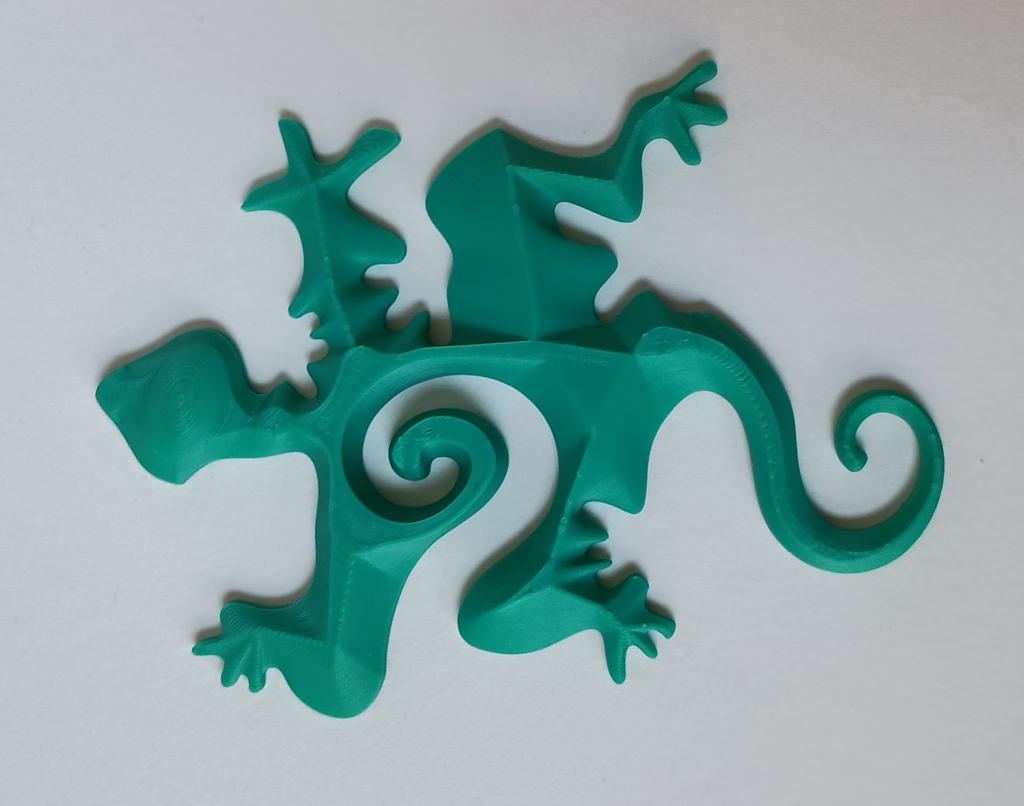
I was also inspired by Escher’s Reptiles (pictured below). I wanted to do my own rendition of a lizard tile. I used the hexagonal tiling I made in Part 1 as the base for the lizard and adjusted the curves. It took some trial an error to get a decent design. For the 3D aspect I did a series of manual lofts between segments of the curve in rhino. I tried several other techniques but had issues due to the complexity of the curve. Each print took about 2 hours and 15 minutes.
Part 3: Surface Morph
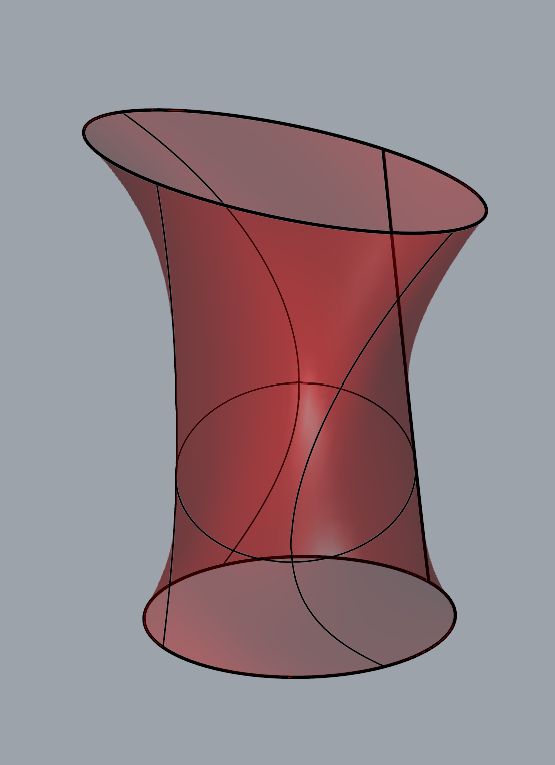
I used the tiling I created from Part 1 to morph a surface that I created in Large Assignment 1. I followed the steps we went through in class and didn’t have any significant issues.
I just have to comment and say that those lizard tiles turned out incredibly! I actually think the “simplicity” (only in quotes because that term is definitely relative here) of the 3D aspect was perfect in this case—just enough shaping on the z axis to accent the 2D shape but not distract from it.
Thank you! It took a while of trials and errors but I am happy with the result.
Hi Elektra, I like your lizard tiles and I think they came out really well. I actually have some metal lizards that remind me of these in my yard, so I find them pretty charming just as a design. I think the 3D aspects you gave to both your 3D tiles are cool and add just enough additional detail to make them interesting to look at.
Thank you! I was also inspired by those metal lizard decorations that people put on walls or fences and things.
Elektra,
The 3D printed lizards turned out really nice! I especially like how you used the hexagonal tiling from the first part as the base for the lizard. Did you have any issues trying to get the exact shape of the curves in Rhino? I found that to be somewhat difficult to do on my end for my Escher-esque design.
Thank you. I did have a lot of trials and errors designing the curves. I designed it first on paper by hand then drew the curves in Rhino. After the curves were drawn and used for the hexagon edges I was able to adjust them more until I got to a point that I liked.
Hi Elektra,
Your work really amazing!It’s a good idea to have a draft before starting to create it. The work looks very complicated, with many curves and textures. I can’t imagine how much time you spent, and the final result looks great!
Thank you! Yes, sketching out the design beforehand made it much easier to make. It definitely took a lot longer than I wanted but I am happy with the design so I guess the work was worth it haha.