Part 1: 2D Tiles
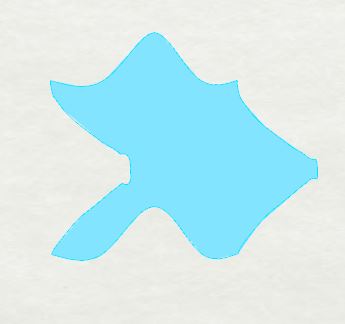
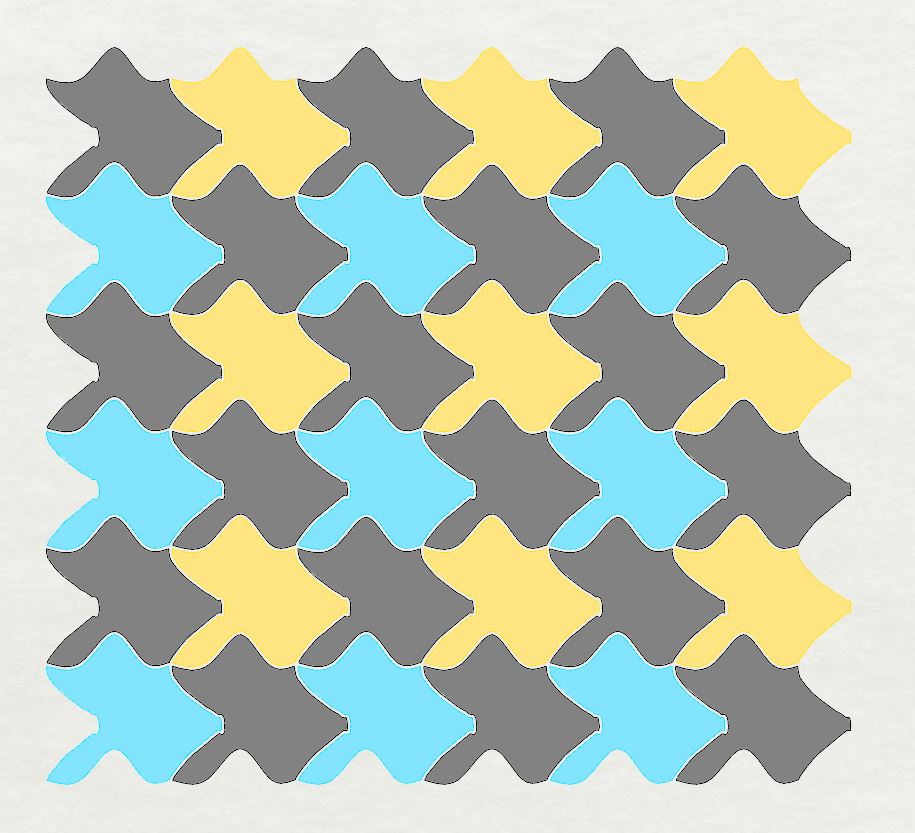
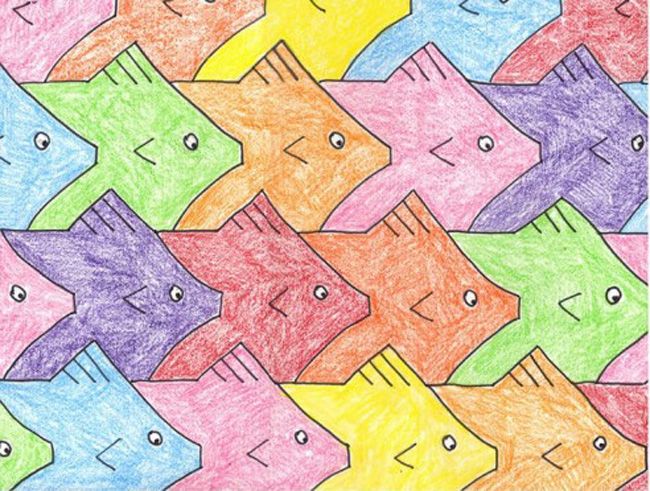
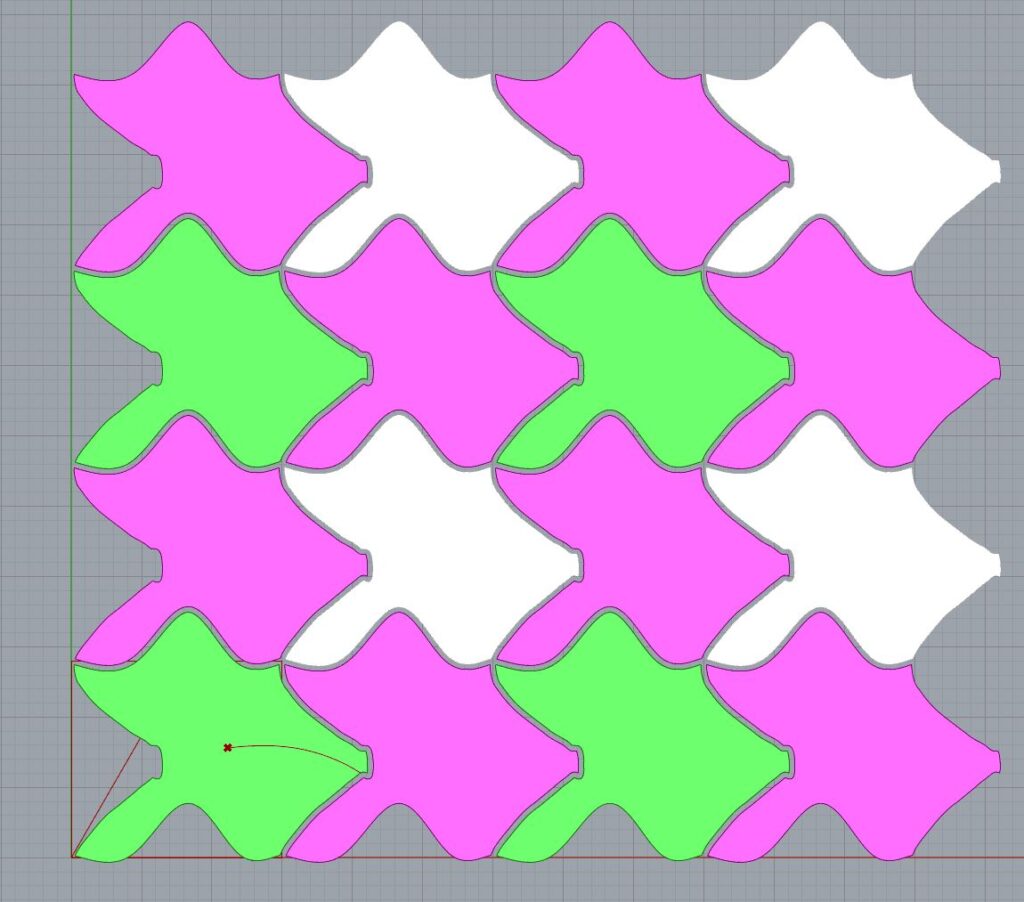
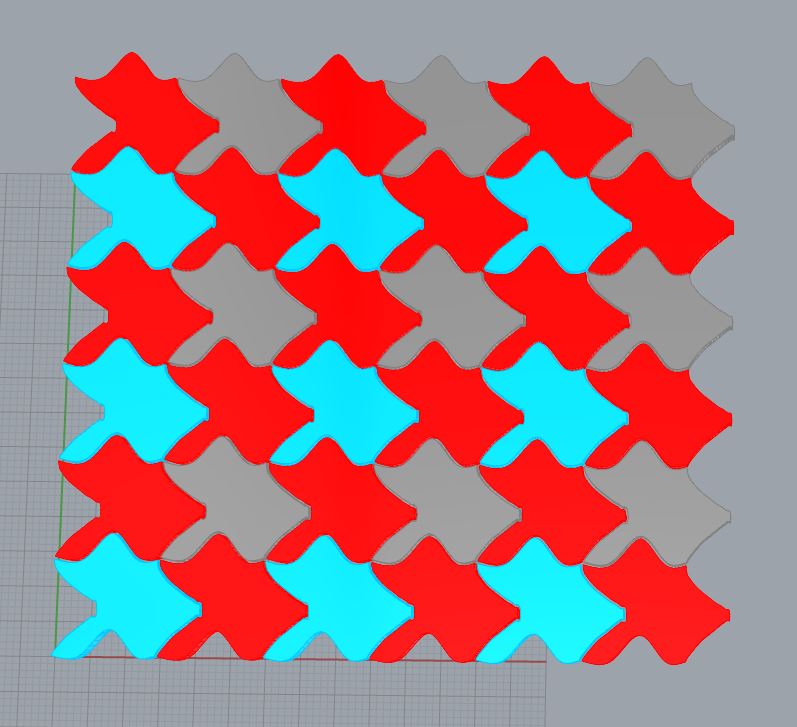
I took inspiration from an image I found while researching for my final project and came across an Escher tile of fishes. So I imported the image of the Escher tile and traced it with polyline. This is where issues began since I kept getting an error message “Parameter must be a Guid or String representing a Guid”. I didn’t know what this meant so I tried different avenues and retracing my steps. First I made sure the curves were connected at the origin, but noticed this will only affect the creation of the tiles not the Offset. Next I figured Polyline is not a curve so I converted them into curves via a function in Rhino. This modified the polylines to have curvature which ultimately changed how my figured came out. Once I was able to get the basic tiling and used the sliders found in my grasshopper code to further modify my shape. It came out better than I expected and the added curves gave the final form a more fish like appearance.
Part B:
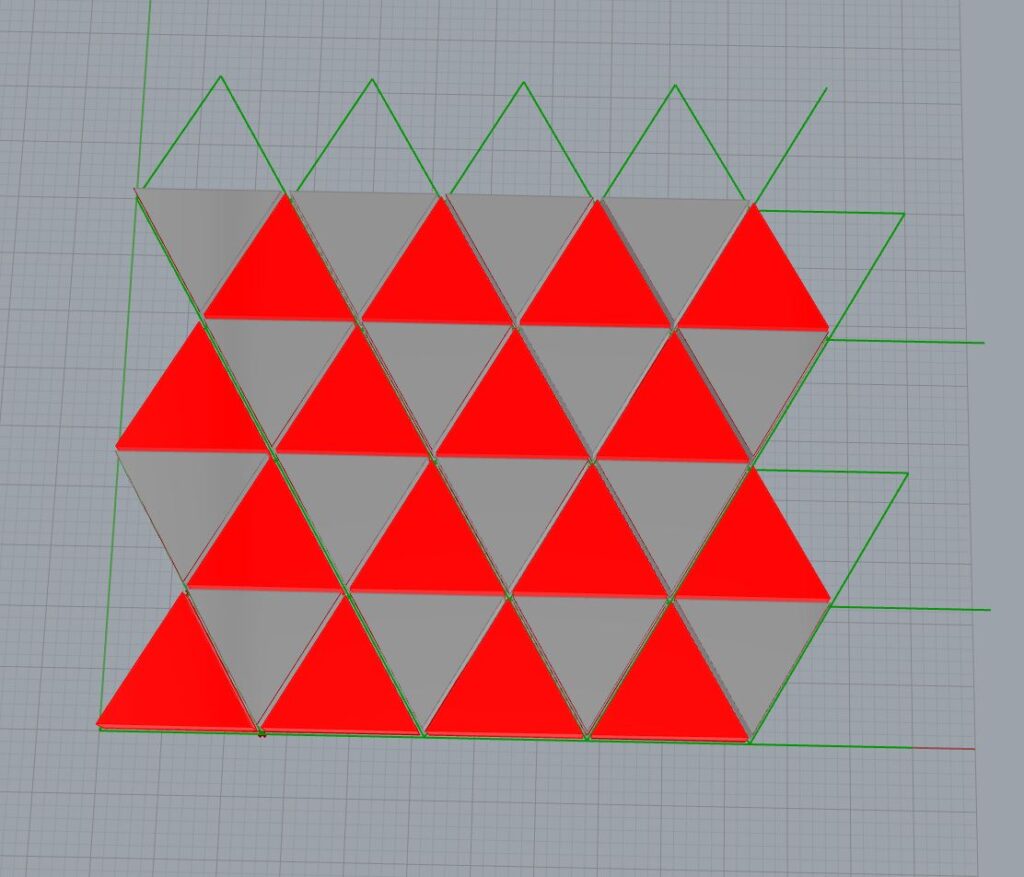
I wanted to create a triangular 2D tiling since I had an idea on how to create the lattice. I figured since we are creating our lattice with an A and B vector we could do the same with triangles just with a different angle. The vectors will be 60 degrees and will need two different orientations to create our triangle. As you build the row of triangles you will alternate between the two different orientations. Following this process will create triangle without tops, but this won’t be an issue because as we build it in 2D the second row will create the tops for us. The following row will have to begin the opposite pattern from the previous row in order to get the proper pattern. In the end I was able to get the proper triangle pattern from the slides but some adjustment was needed in the move object so it gets positioned correctly.

Part 2: 3D Printed 3D Tiles
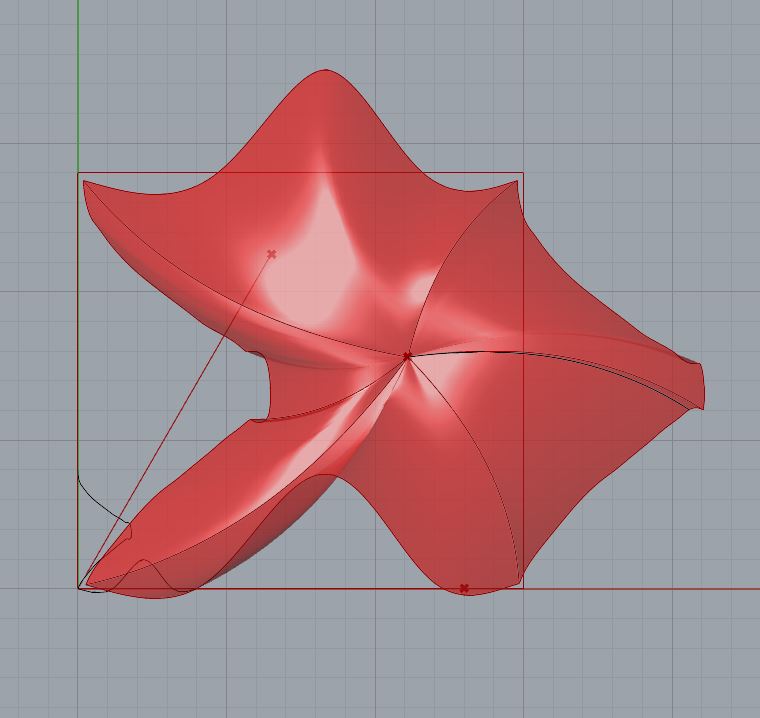
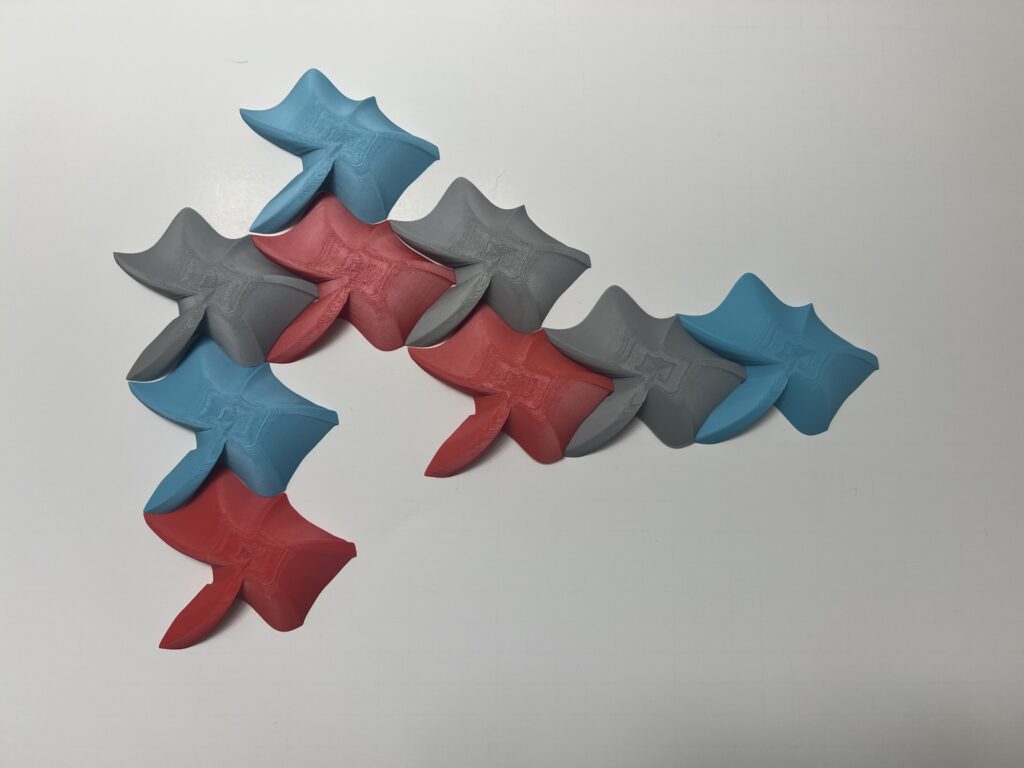
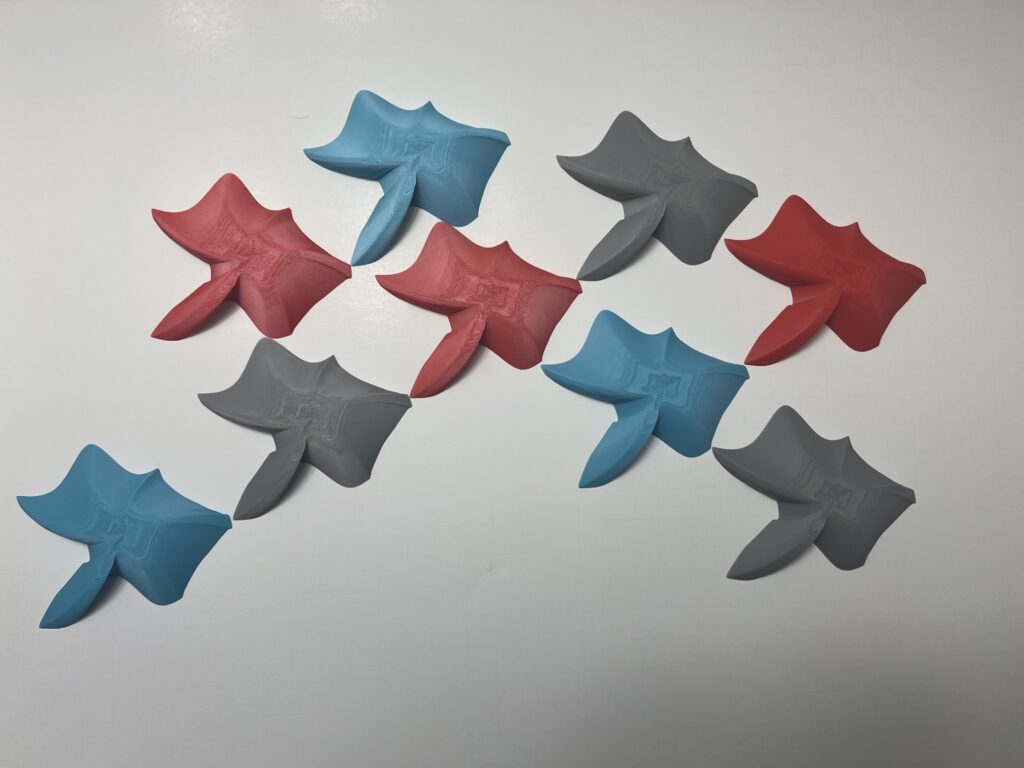
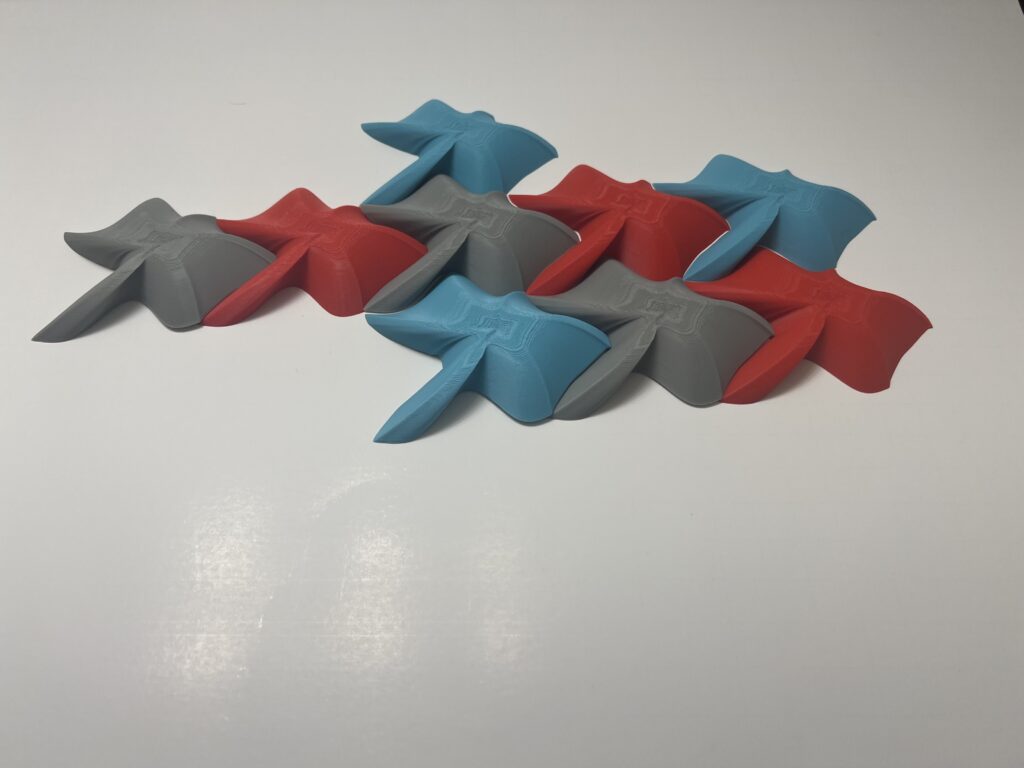
I was really excited to begin creating a 3D tile since I knew what would be perfect for this assignment. When learning how to use rhino in the first large assignment we used rail revolve and figured this would be perfect for this assignment since, my first iterations didn’t turn out so good. I needed to establish a center point in my tile that will begin at the base and end at some height level. This line will have to be in the Z axis so I add height to the tile. Then I needed to create a profile curve as this will act as the base curve for the revolve. The hardest part was creating the profile curve since interpolating along the Z axis can create weird points. The revolve came out perfect which gave it the curvature I needed for a fish body and added sharp lines which made it appear like a sea shell. It even retained the ability for pieces to fit together in either direction. To add a little more flare I even printed them in UNM colors and added some blue to aid in the contrast of the different tiles pieces.
Part 3: Surface Morph
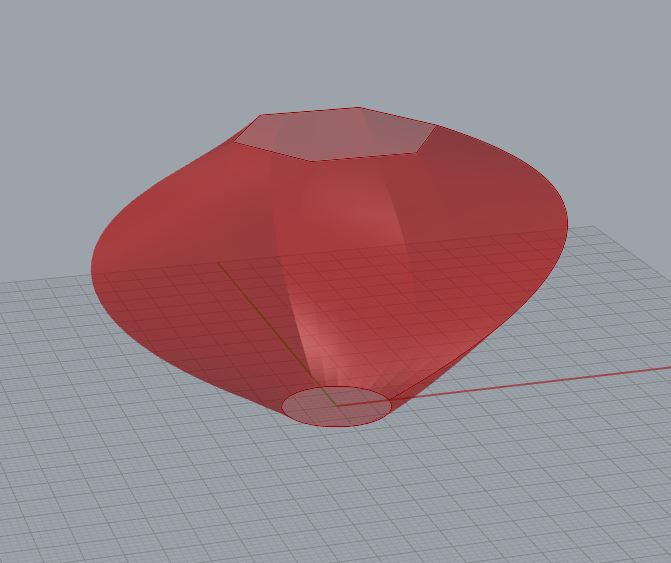
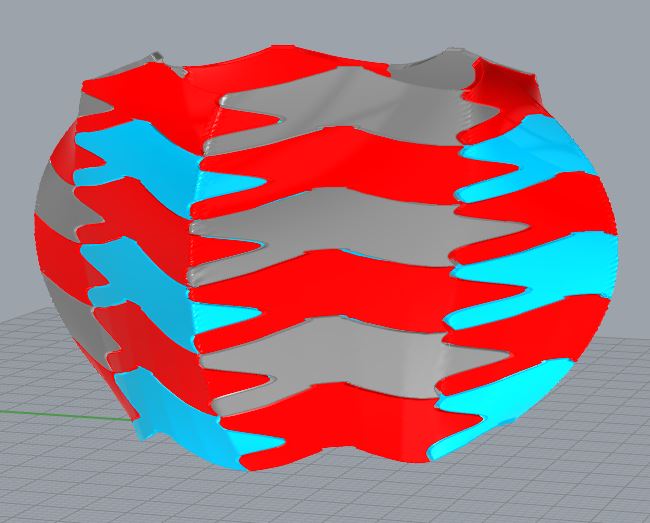
I recreated one of my surfaces from my Parametric Vessels and removed the twist from it to get a clean surface. Then I used the code we developed in class to surface morph the tiles I created in part 1. I only problem I had was the surface morph was failing since I didn’t realize I was passing in a brep so I had to recreate the code as mentioned before to produce the proper surface.
Hi Ricardo,
Great job on this project, I really enjoyed how big your prints where in in class. I also liked that your printed a little box to put them in. For some reason when I look at your prints I see a bunny like shape.
I thought it was really interesting to see how we all built the triangle a little bit differently. Did you attempt to wrap the triangle shape around a surface, I had a lot of trouble with that and had to resort to my shape made from a regular parallelogram.
Hi Andrea,
Thank you for the comments! Yea the box came in handy since I printed so many I wanted an easier time to carry them around. Thanks to the power of the internet I was able to find something that worked perfectly. I can see what you mean by the bunny and it becomes more apparent in the surface morph. The triangles were challenging and happy to hear how other people were able to do it. I didn’t try a surface morph with the triangles since I was so frustrated on getting the triangles to work that once it worked I saved it and called it a night.
Hey Ricardo,
After reading your post although I’m not glad you had issues with your triangular tiling I am glad that I was not alone with those said issues lol. Yours turned out great though and it’s good you were able to complete it. As for your 3D printed tiles, they look absolutely beautiful when looking at the shape itself but also the z movement. I wish I was able to go to class today as this was one of the projects I looked forward to seeing. After reading about your brep issue from your surface morph, I looked back at my code and found I had the same issue! I was able to fix it afterward so, thank you for that. I guess staying up till 5 am completely fried my brain (obviously) as it was such a simple fix and took like 2 seconds.
Hi Ryan,
Yes the triangles really were a pain. After hearing what people did in class I realized I made it too complicated could have went with a simpler design. During the surface morph it kept on failing and didn’t know why so I started adding panels to the code to see the output. This project definitely helped me better understand grasshopper and appreciate the blocks. I’m happy I was able to find a solution to your problem. I feel your pain on staying up late since I been staying up late studying for exams. Hopefully we can recover over this weekend!
Hi Ricardo,
Your final 3D prints look great! The color scheme really makes the organic shape of the prints pop. I also like how you crossed over with your final project and parametric vessels project for this assignment. It’s really interesting how many of our assignments build on each other this late in the semester. Good luck for your final project!
P.S. I couldn’t edit my initial comment, so I’m replying to it here
Hi Jyrus,
Thank you! The color scheme came out better than expected and the contrast was perfect for pictures. The cross over was a pleasant surprise since I didn’t have an idea on what I wanted to do. Reusing code from previous projects was great since it adds to the different designs we can make with our shapes. Seeing everyone’s project is great to see as it gives us a different perspective and ideas for future projects.
Ricardo,
Great prints! I really enjoyed your presentation and seeing how you created the 3D surface of them. It was a really interesting use of rail revolve. I would not have thought to use that at all. When you were using rail revolve, did you have to do it in sections or did you just rail revolve the whole shape? I might start using rail revolve more frequently due to your result. Again, great post and awesome prints. I am looking forward to what you will print next.
Justin
Hi Justin,
The rail revolve was perfect! When learning Rhino I saw a video on how it worked and thought it was awesome, so it was great to see that I was able to use it again. Rail revolve does it on the whole shape. Since you have to select a profile and the surface rail, the profile just follows the edge of the surface. If you want to create even more interesting shapes modify the profile so there is crazy angles that way your z can have more sharp edges. Thank you for the comment and loved your GCODE models!