First 3D Print
For my first print I wanted to do a non-planar z movement that involved using a function to create an oscillating circumference around a circle. At first I was going to do a sine wave but toward the end I decided to go with a decaying sine wave function. Therefore, I generated code to make a circle with multiple layers to it. However, when calculating the z I used the decaying sine wave function to create the non-planar movement.
My shape cannot be generated by a traditional slicer due to the non-planar movement of the z axis which has a high risk of colliding into the print or the print bed.
This print was probably the easiest to do out of the three but I think this was just due to luck. My function wasn’t too drastic so it didn’t have an issue connecting to the print bed and printed out nicely. I did have one failed print but all I did was increase the radius of the circle and it seemed to fix it just fine for some reason. This has me thinking I had just gotten unlucky with the 1st print but I’m unsure.
Here are some images:
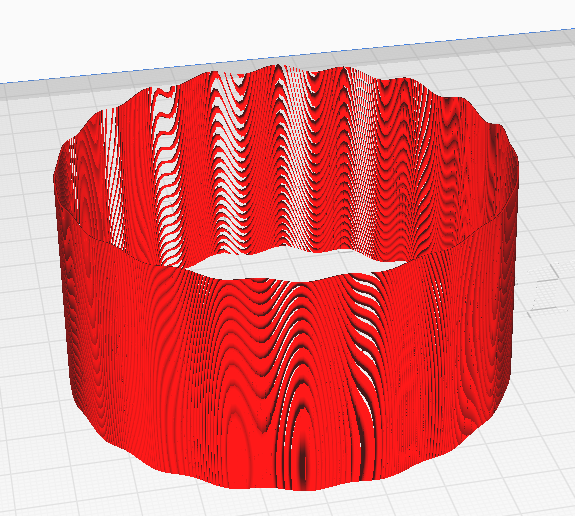
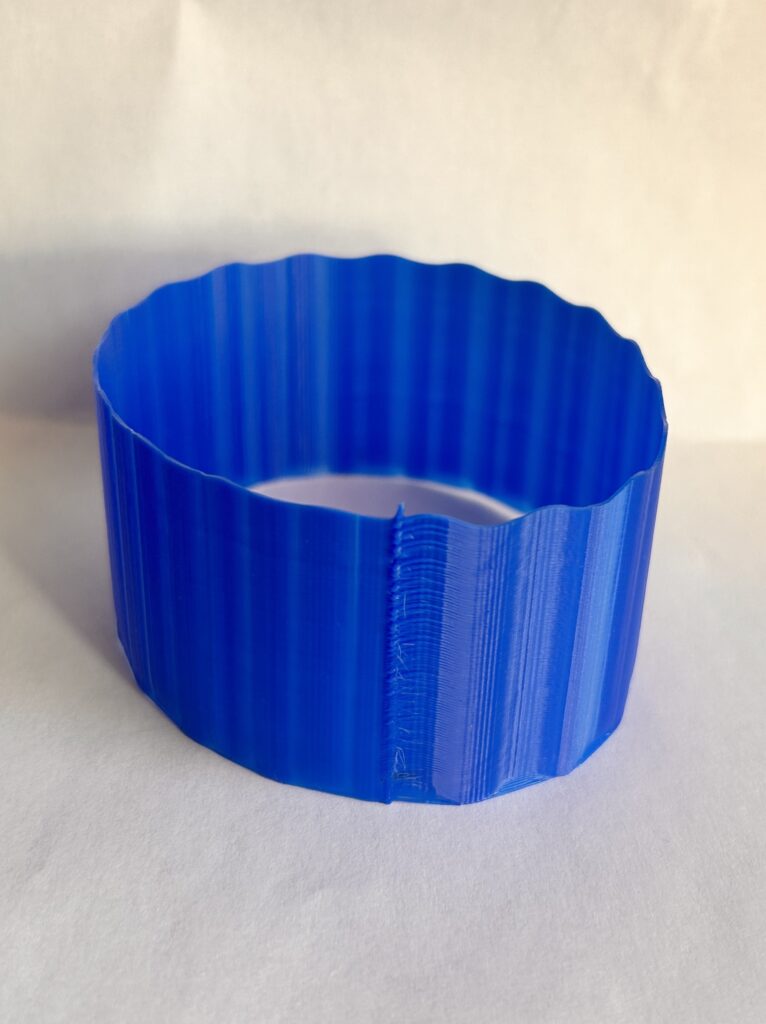
Second 3D Print
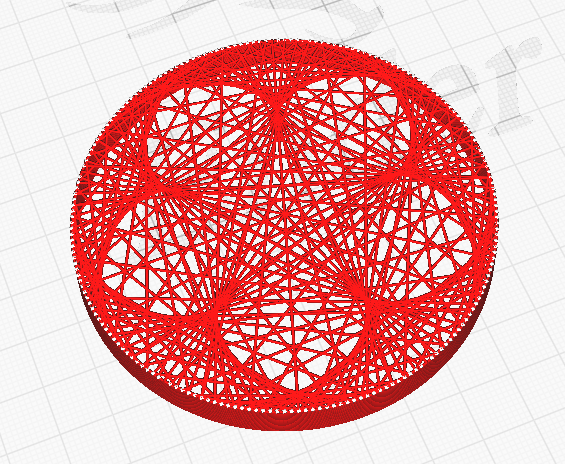
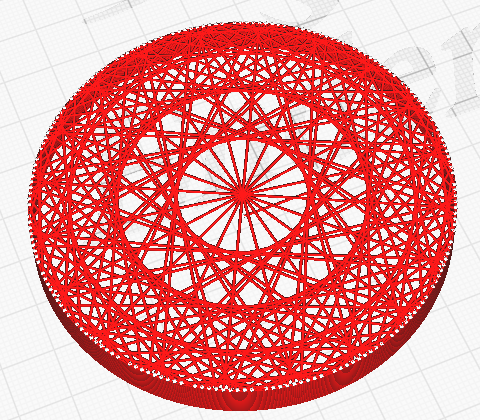
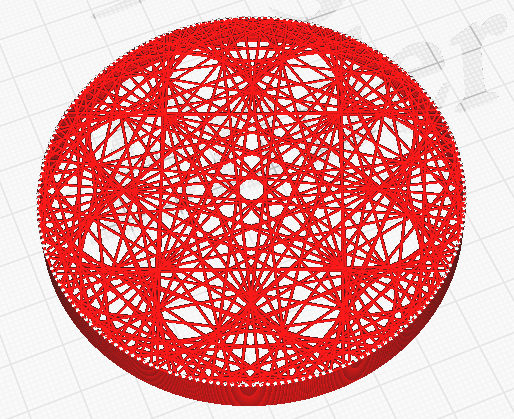
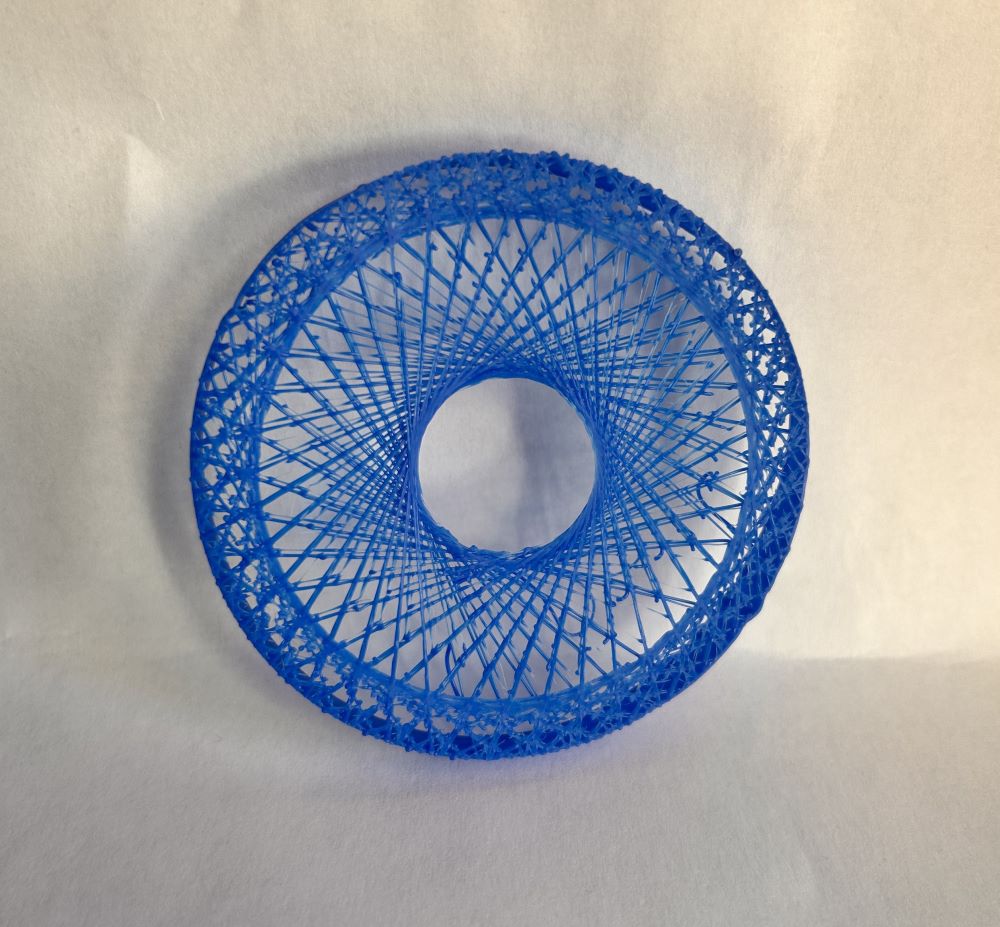
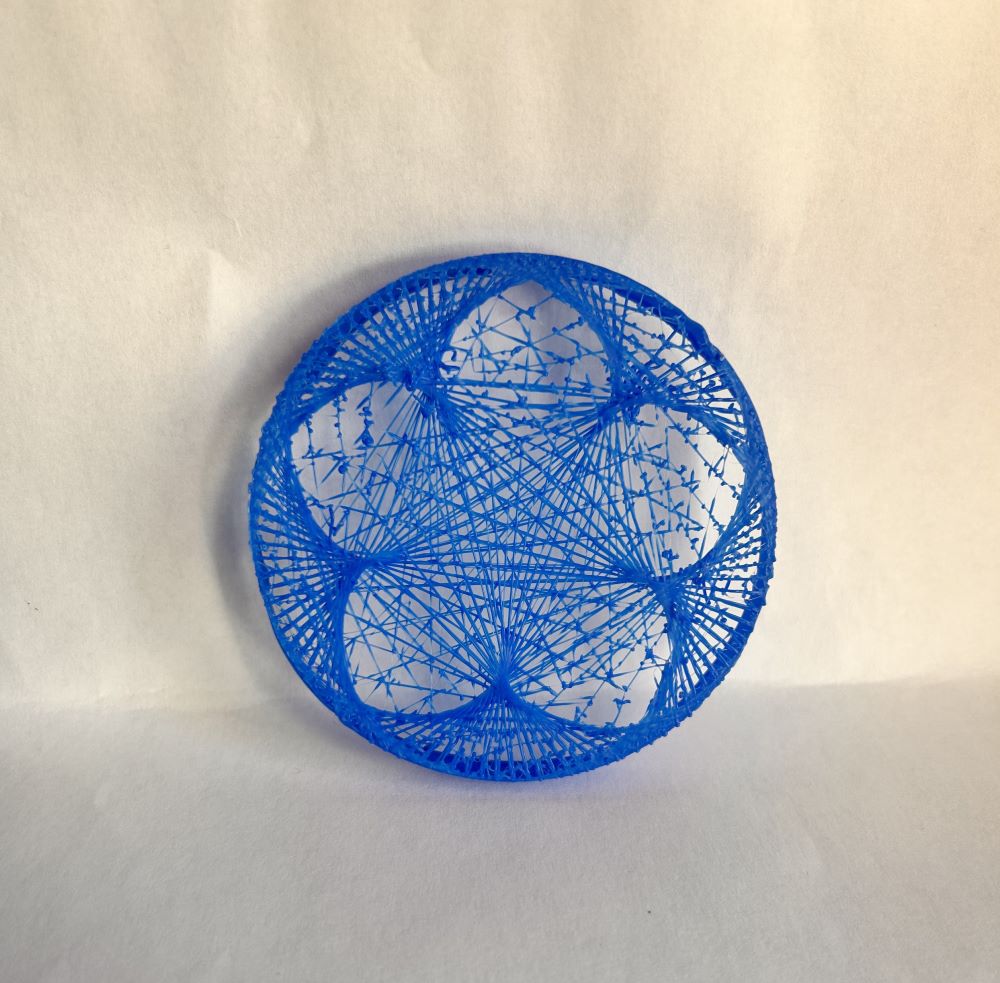
For this print I wanted to create freestanding lines of filament. Therefore, I used a modular times table to create the designs using the freestanding lines of filament. What the modular times table does is place a user provided amount of points evenly along a circle with each point given a corresponding number from 0 to (maxPoints – 1). Then it multiplies the corresponding number by a user provided multiplier and draws a line from the point multiplied to the result (using mod to keep the results in the amount of point range). Using this process and the basic circle shape I was able to create some beautiful designs.
My shapes cannot be produced by a traditional slicer due to the freestanding filament which causes the slicer to want to put supports everywhere in the print which causes way to many issues and unnecessary use of filament.
For this print I had a couple of failed prints due to the radius of the circle being too large causing the filament to fall. I tested multiple radii in my trial prints and found one that was able to print the design in a noticeable way (although not perfect).
Here are some images:
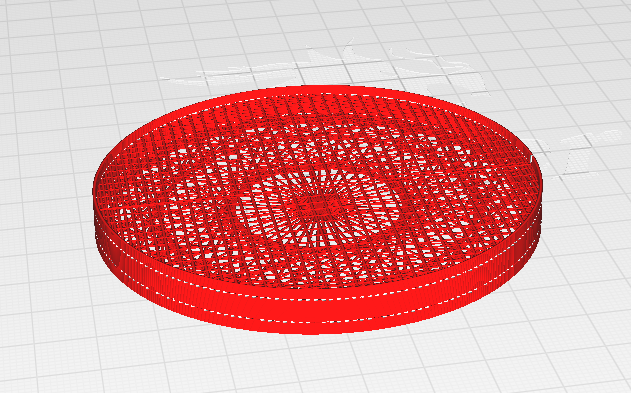
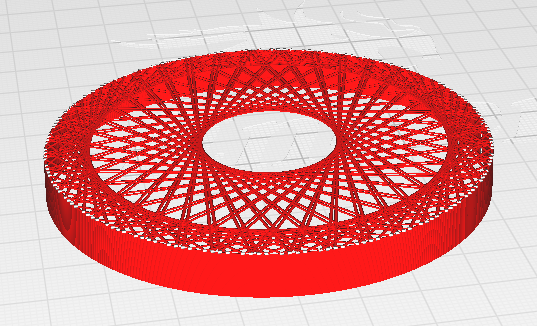
Third 3D Print
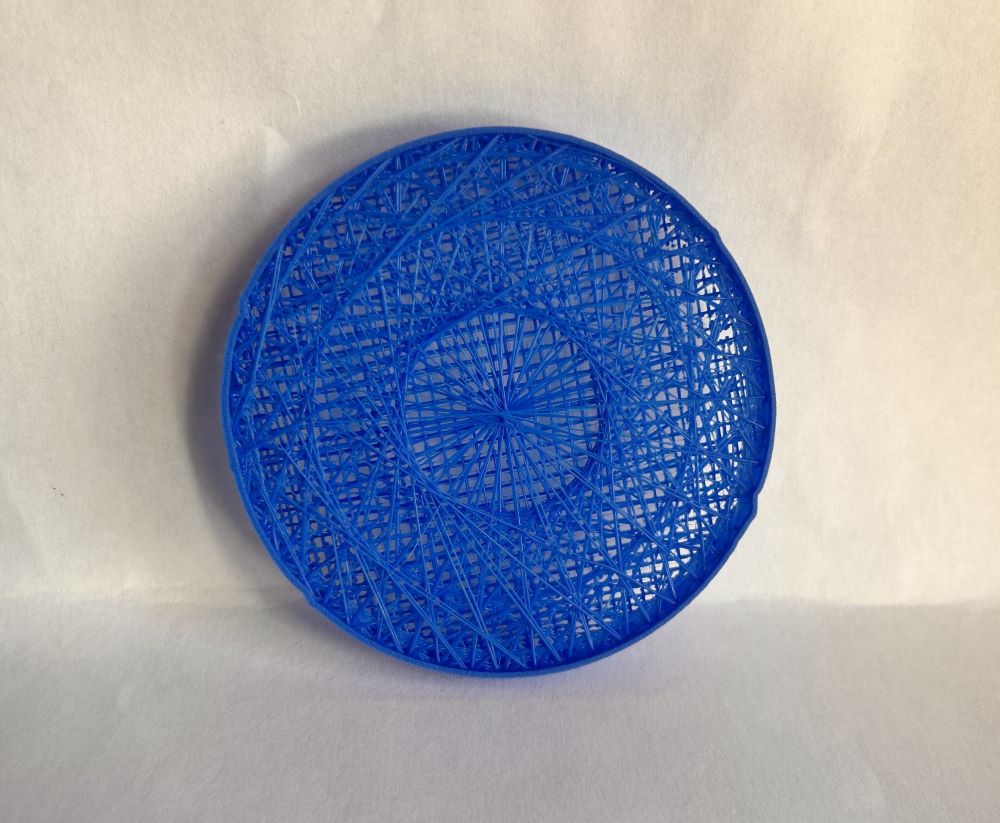
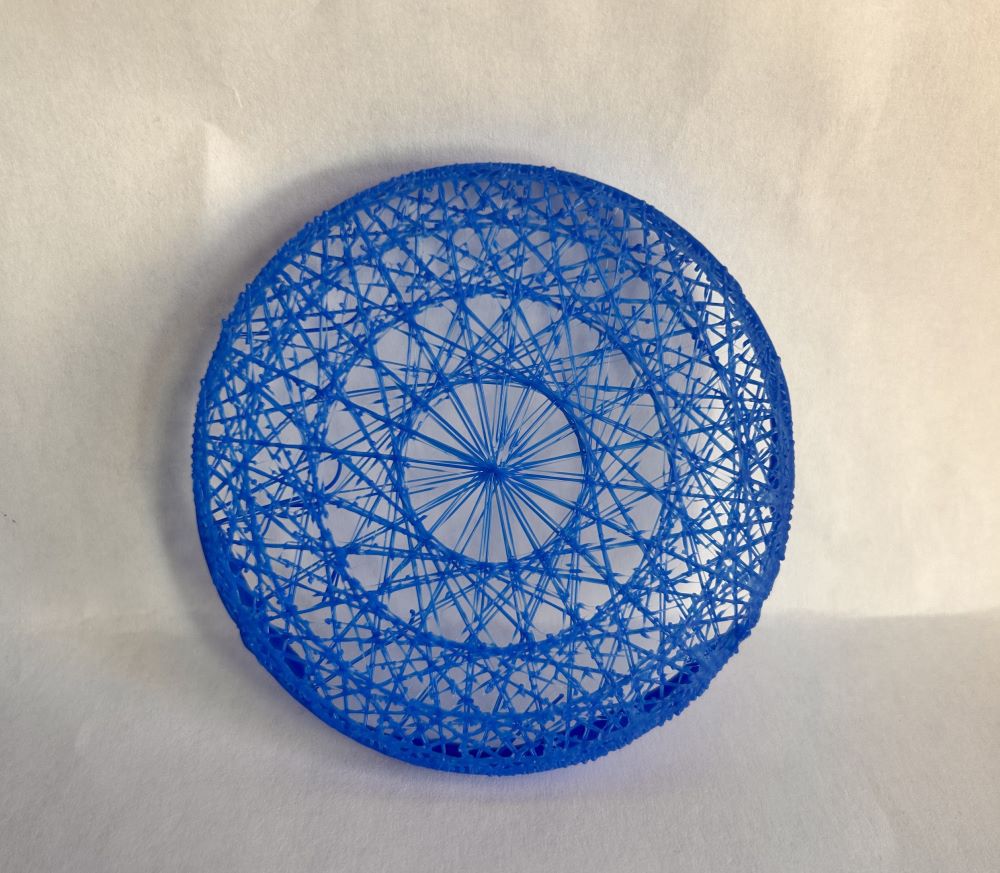
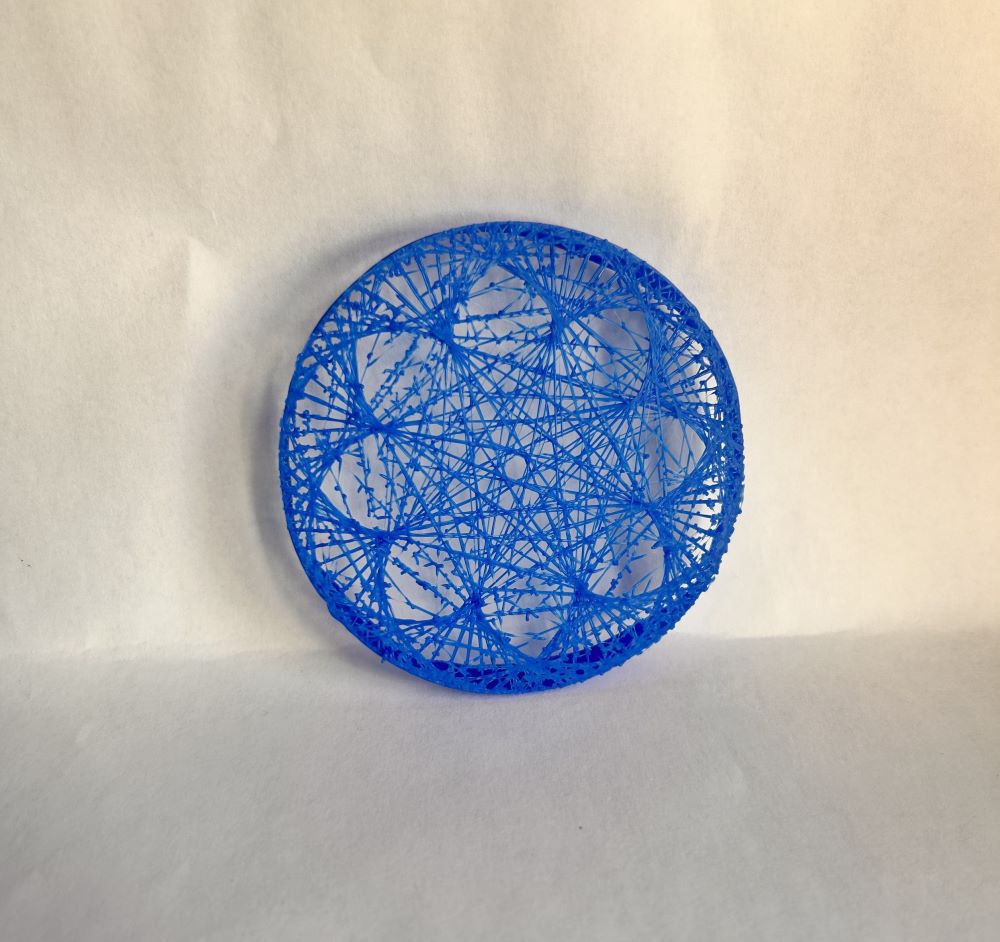
For this print I wanted to play more with the freestanding filament in different ways. Therefore, I started messing with overhangs and playing with the extrusion width and rate. My code uses the same design process for the second print with the modular times table but increases it’s radius by a lot to cause the filament to look crazy. I also use smaller freestanding filament in the normal parts of the circle.
My shapes cannot be made by a traditional slicer due to all the freestanding filament causing issues with supports.
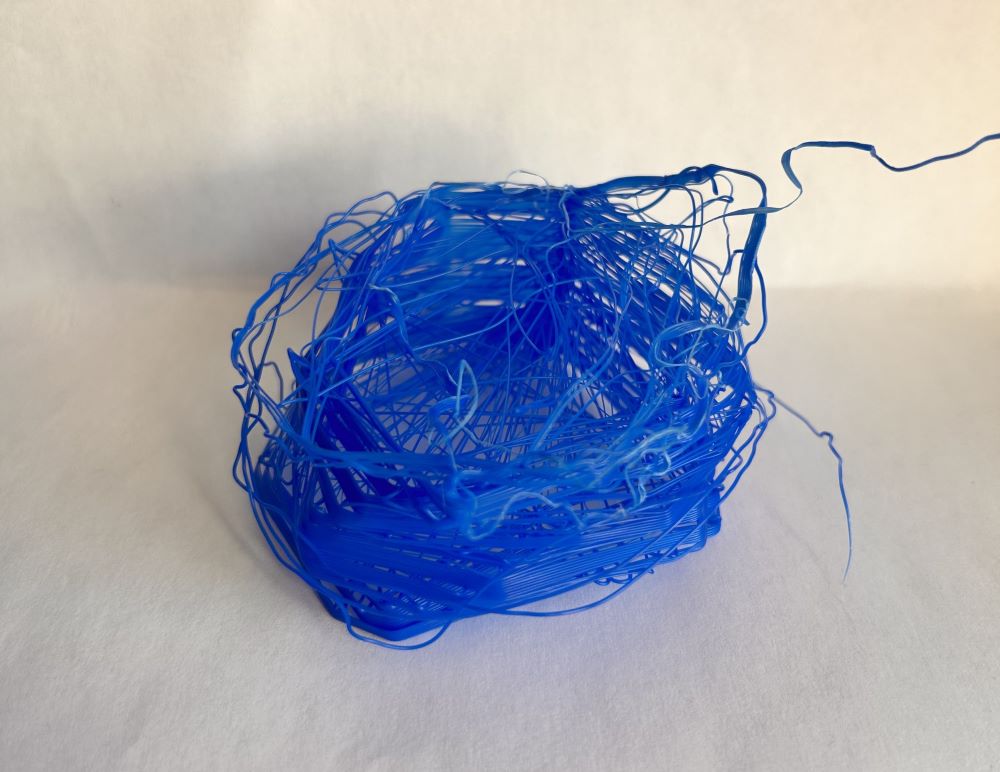
This print was probably the worst print I’ve ever done in terms of frustration level. I had so many problems with so many different things. For example I wanted the modular design to be made layer by layer however it would cause bumps in the circumference which caused the other layers to lose their circular path. I tried messing with the extrusion rate, width, and speed but none of these worked. I tried to account for the bump by lifting the z axis a bit but this didn’t help either. I wasn’t sure how to fix it and I had gone through 10+ prints and just felt like I was wasting a lot of my time. Therefore, I decided to move to something a bit simpler. I just created a massive overhang with the modular design at the top of the structure.
Here are some images:
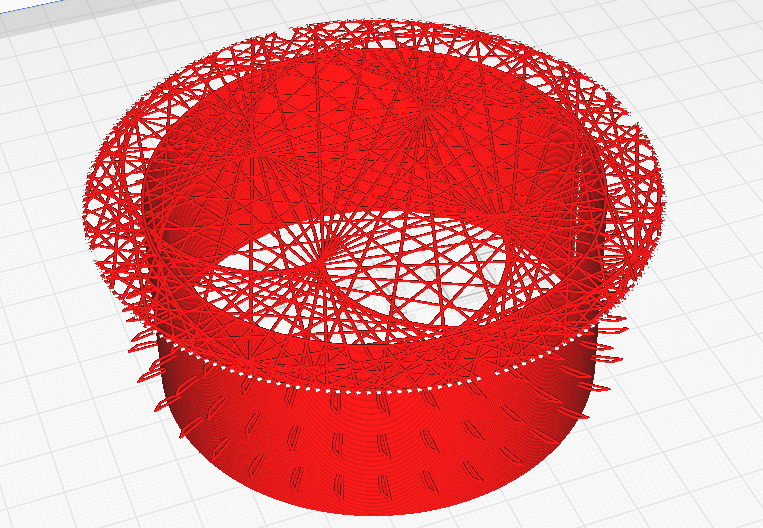
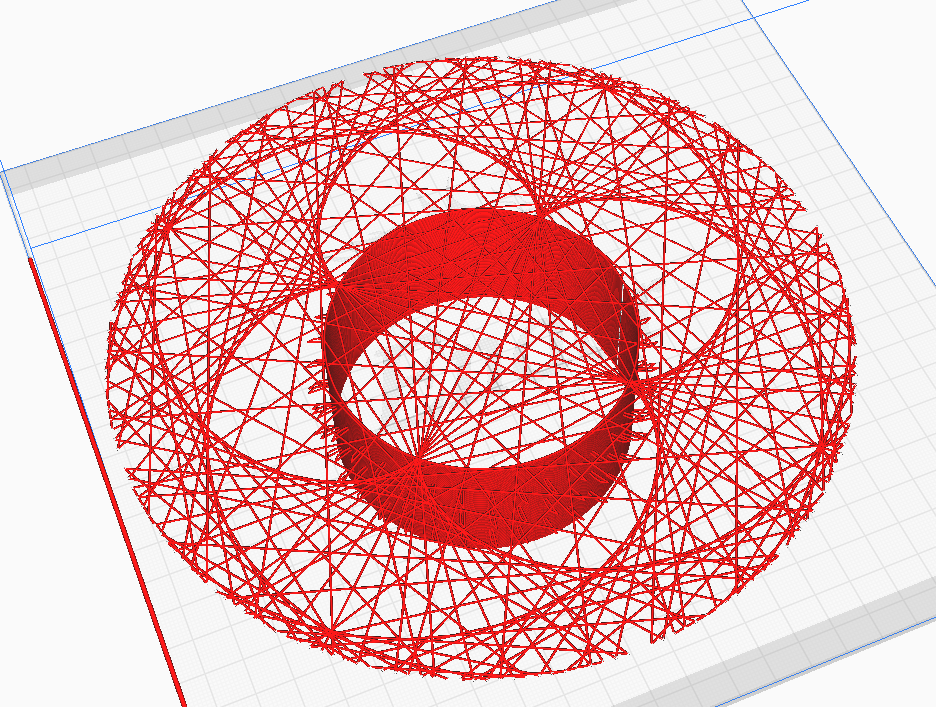
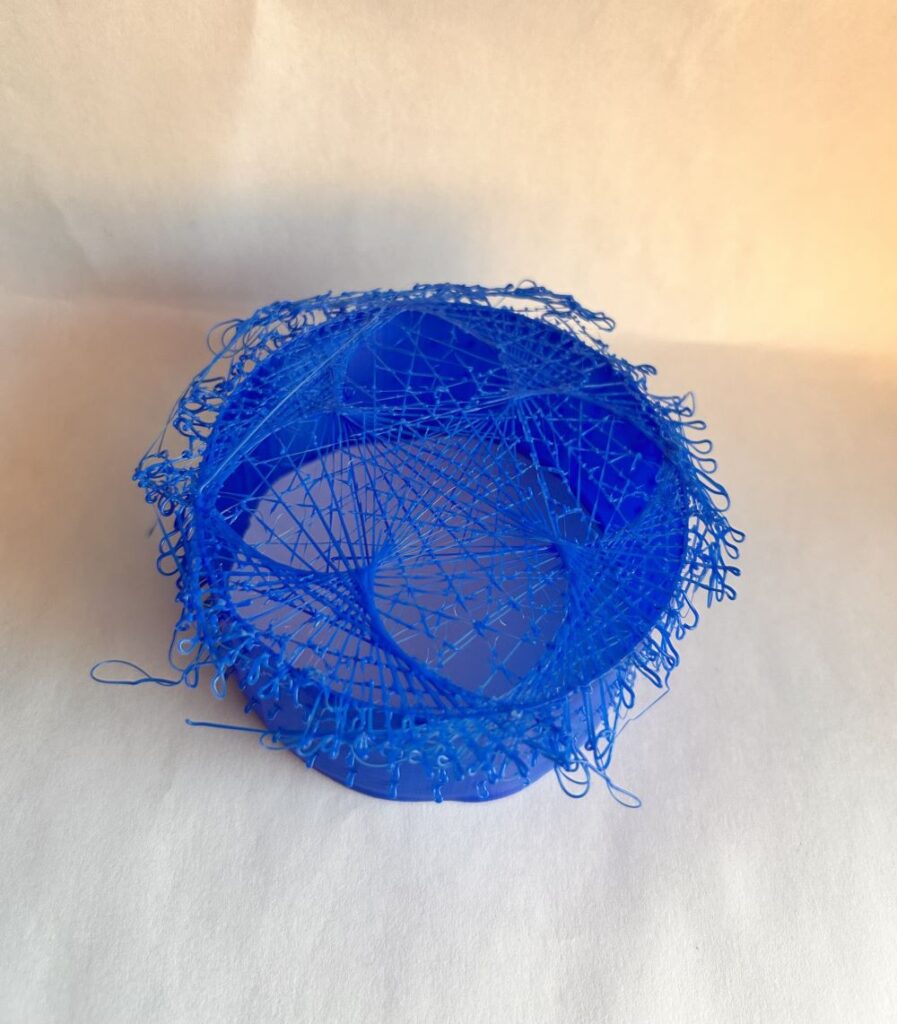
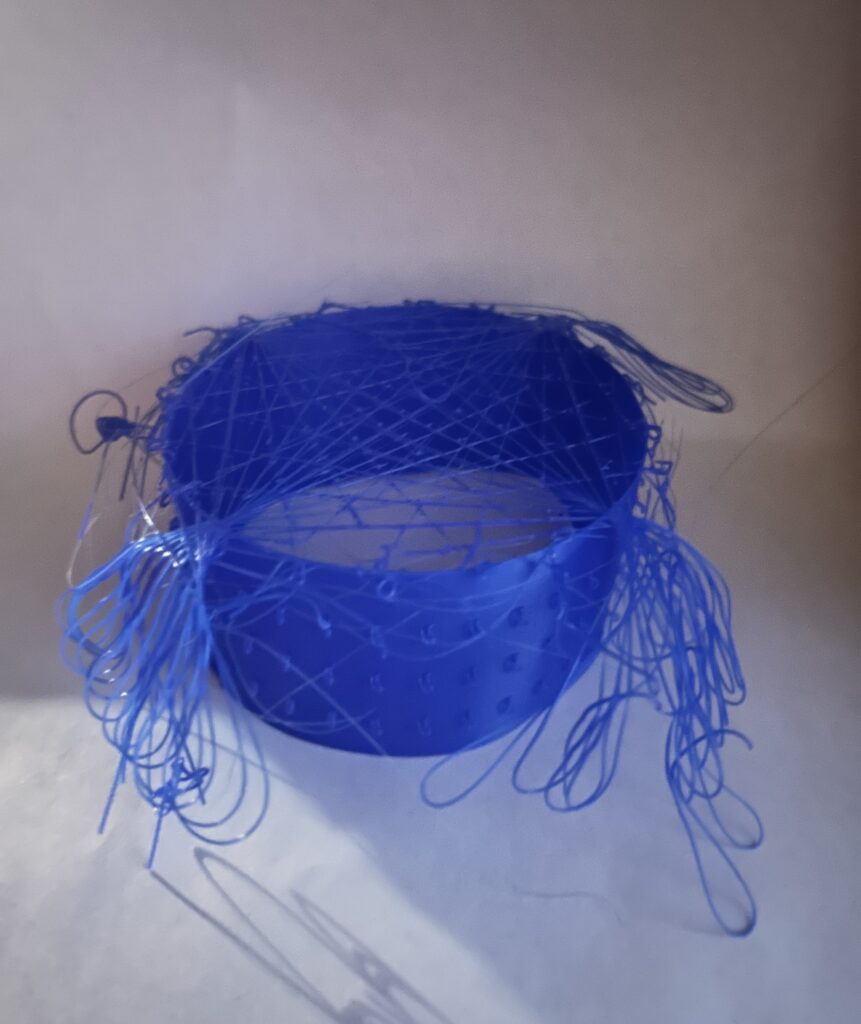
One of my more horrible failed prints:
Summary
Despite the excessive amount of issues with the third print I enjoyed this assignment a lot. The freedom to do whatever you want was so fun to play with and create a lot of interesting shapes that I wouldn’t think of doing with any other method. I wish I could’ve made some shapes I had initially pictured but although those ideas ultimately failed I still had a great time.
Hey Ryan,
Your prints turned out nicely, especially the second one! I noticed you and I had similar processes for this assignment. I had a successful first print and iterated on multiple designs for my next two prints as well. We even had similar sine wave shapes too. Again, great prints!
Thanks! Yeah for the other two prints it was quite frustrating dealing with all the shortcomings of what a printer could do but it was also interesting testing its limits. Love your prints as well!
Hi rycruz,
I particularly like the object you printed the second time. The patterns reminded me of the embroidery in my hometown, where craftsmen would use needles and thread to embroider the same patterns on scarves or cloth. The object you printed the second time looks very complicated. How long did it take you to complete this print?
I know it’s a bit late to discuss these projects, but since I forgot earlier I thought I’d come back and leave some comments!
Wow, your second prints turned out amazing! I especially like the one that looks like a flower. Did you just use trial and error for the parameters to get those different patterns? Or did you have some pre-knowledge about what patterns you would get with different parameters?