Welcome to my (second in a row) late submission! Rather than focus on creating complex shapes, I decided to focus more on things that can be done differently when the gcode file is created directly. Many of the more time-consuming ideas tested for this project are not included in the post below, whether due to them not having tangible results or having the work overwritten in favor of less complicated designs. Regardless, I hope that the forms presented here portray an entertaining exploration of what can be done outside of a traditional slicer.
Design Process – Straw Basket
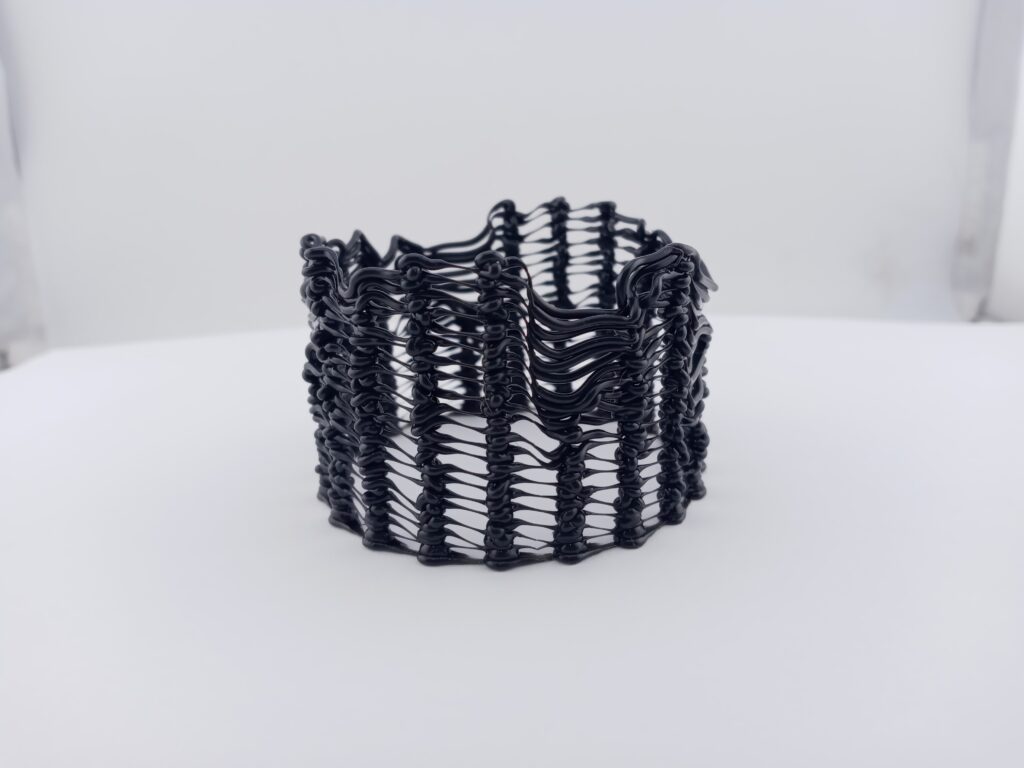
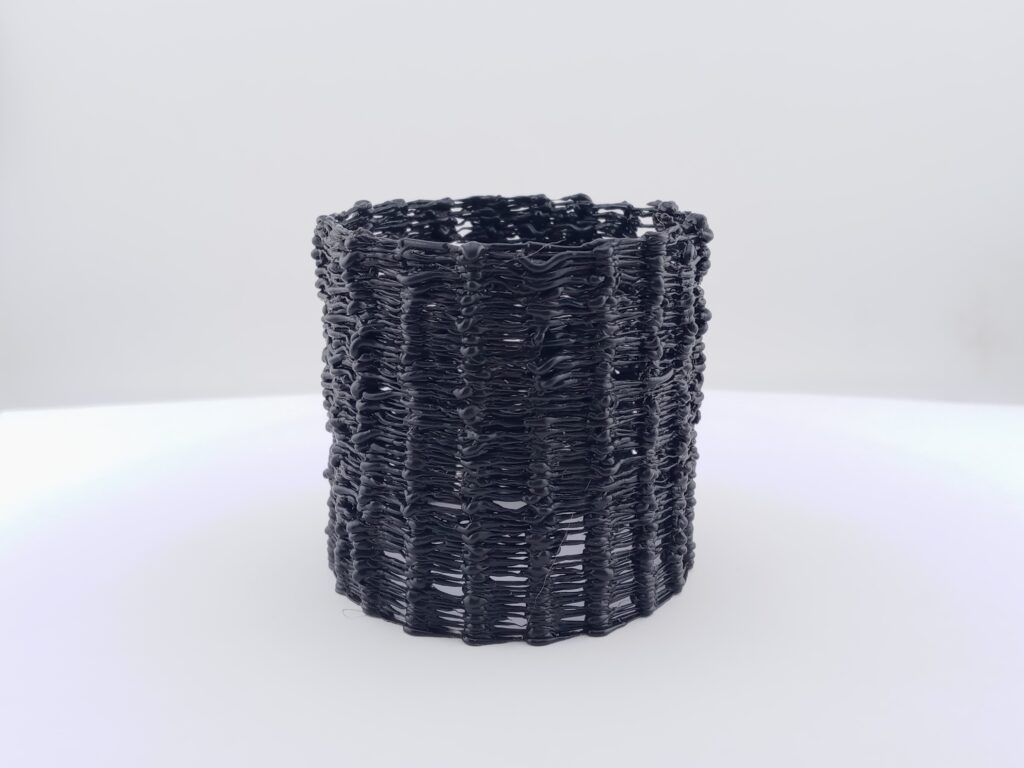
I enjoyed the LIA filament sculpture showcase, so I designed my free-standing filament object using the string and blob construction method shown in that presentation.
When thinking strings and blobs, I immediately recognize (thanks to our awesome pattern-matching brains) a woven basket as a possible candidate for this.
Using the ExtruderTurtle library (and only one turtle, with a constant extrusion rate/speed), I created an XY instruction set where, at each layer, the turtle traveled to 360 points in a circular pattern. The nozzle then extruded 3mm of material every time the iterating variable j modulus 18 equaled zero. During the trials, the changing variable was the layer height (i.e. for each trial, the change in the z-height between each layer would be different). This created different qualities from gaps in the strings and a greater change in the layer height would lead to collapsed points as the height of the model increased.
What makes the traditional slicer unable to replicate this?
Simply, slicing in a program like Cura cannot change the extrusion amount at certain points. The preview in Cura does not even recognize the blobs of material created by t.extrude().
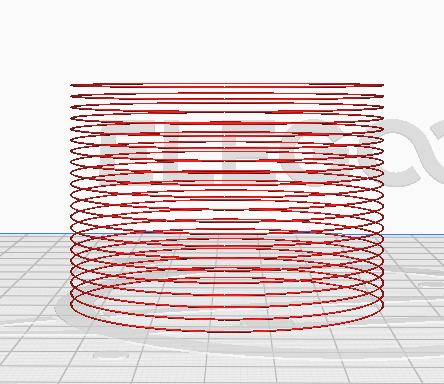
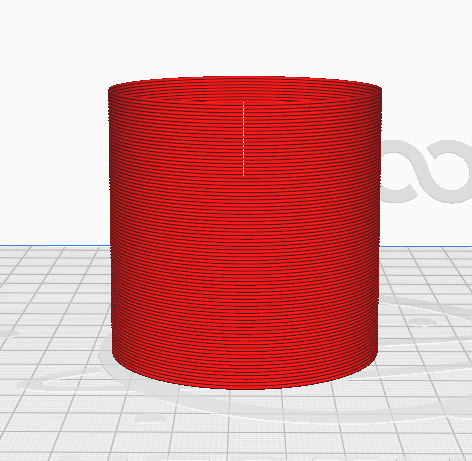
I had two trials for this design. The first trial lifted each layer by 2mm, which ended up having some cool gaps, but it had some failure points and was not what I ultimately envisioned for the final form. This resulted in changing the layer height to 0.7mm instead. The print speed was also tripled in the hope that the strings between each blob would be thinner.
Design Process – Triangles
This idea was frankly dumb, but I was stubborn to make this work (to no avail). Each final form presented here is technically a failure if the original idea is considered, but all still represent how objects can differ from traditional slicing.
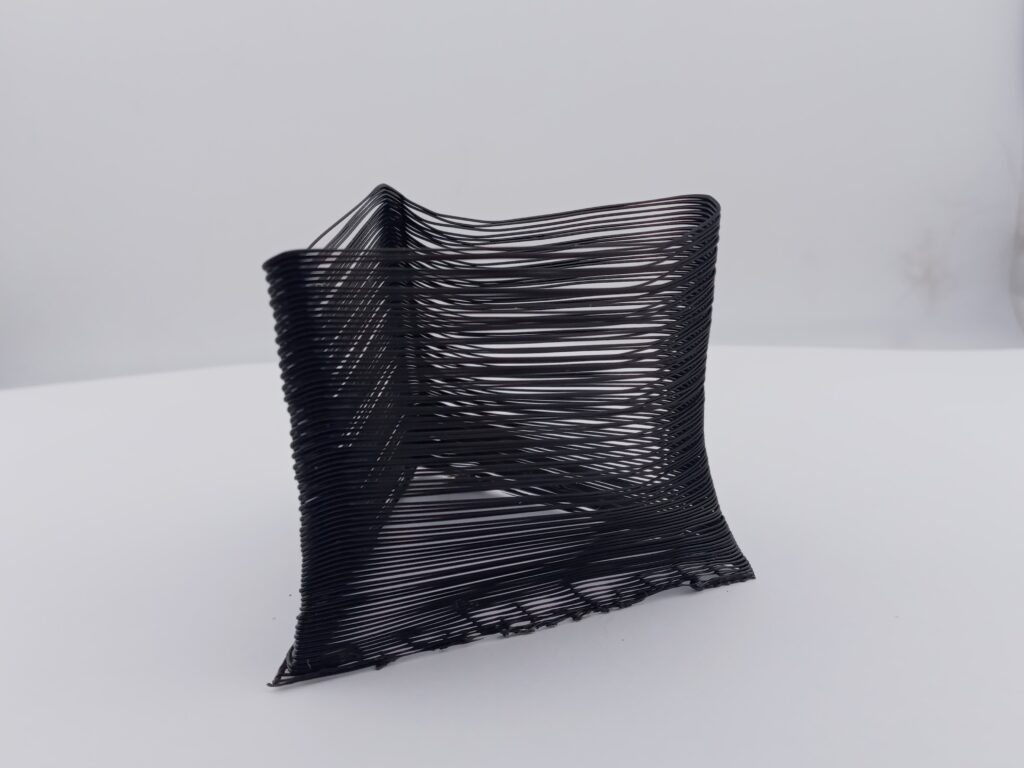
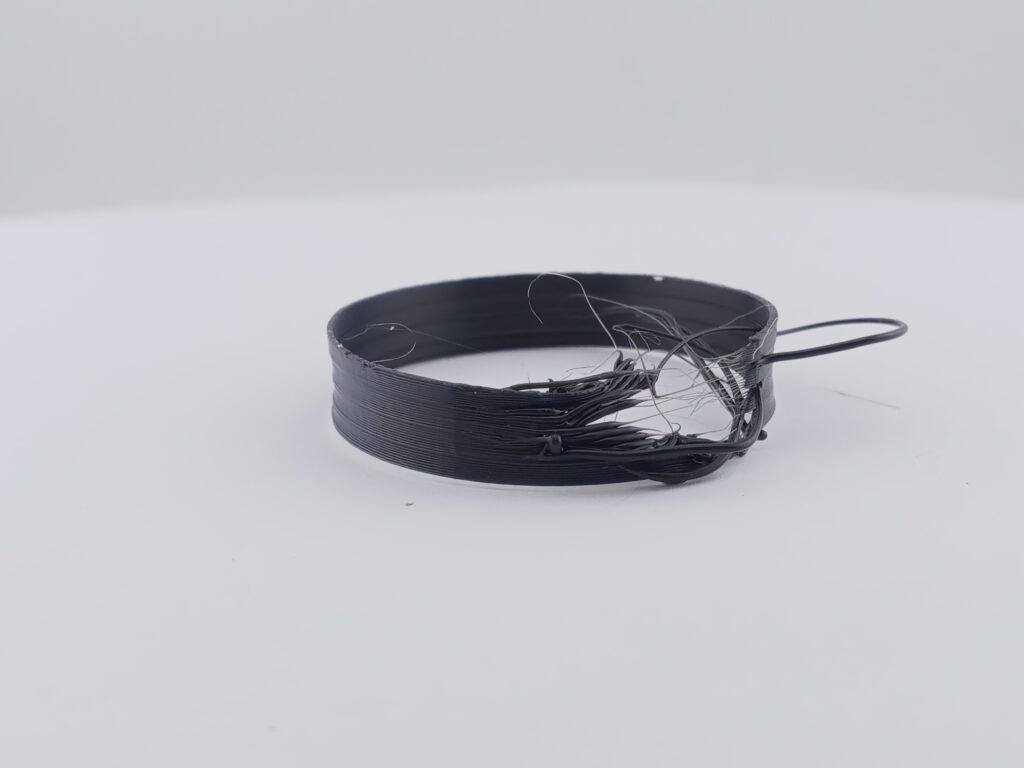
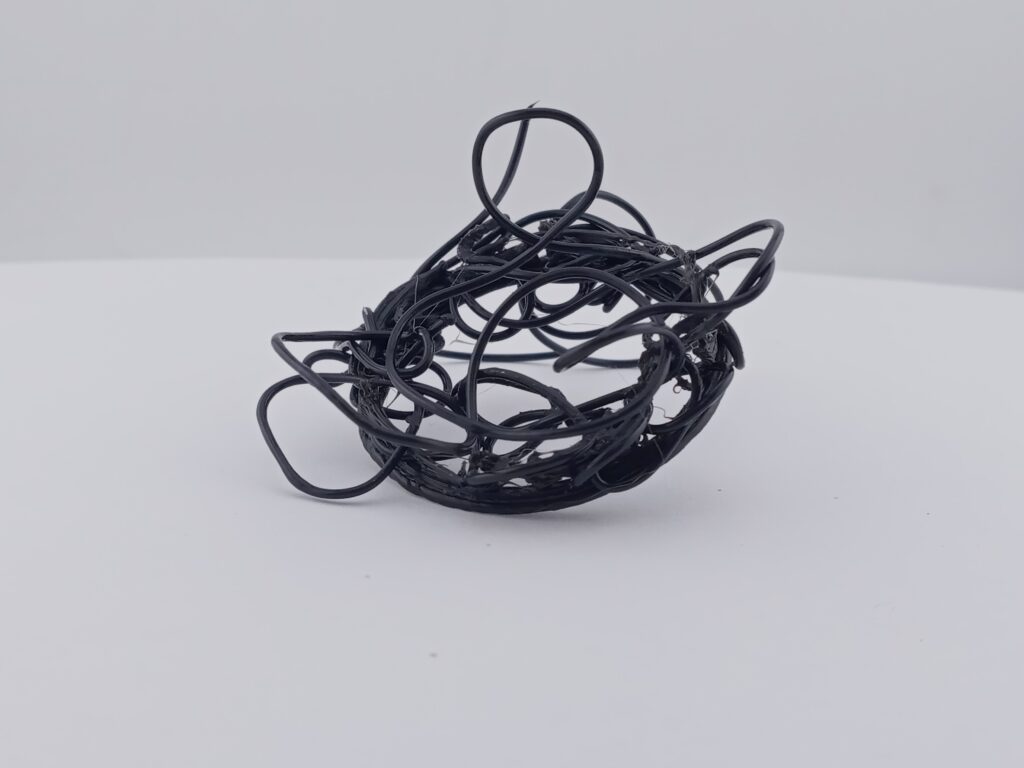
Some initial preamble: The goal of this design was to manipulate the z-movements per layer, where each layer is a set of triangles. It thus felt fitting to make the overall design a triangle. Each layer would move in a zig-zag-like pattern, and each layer would build upon the other. Many different values for variables were tested, with different results. Below is the Cura rendering for the final set of parameters, which paints a picture of the idea behind each of the final prints.
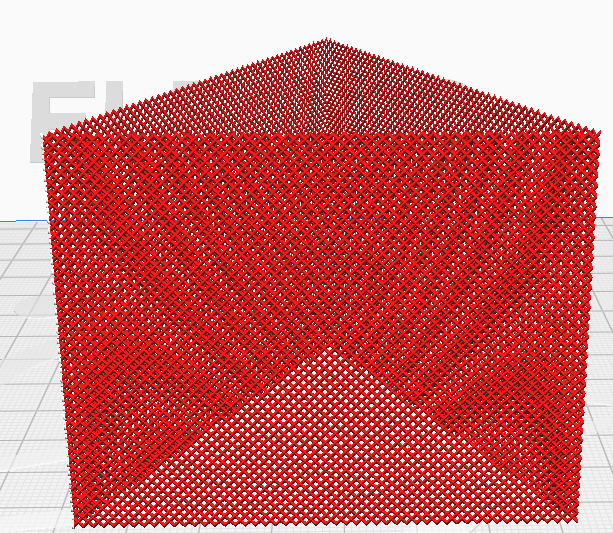
A large problem with this was each layer retaining its peak. Different avenues were explored to fix this issue, such as reinforcing layers by drawing each triangle as a set of circles with a layer height of 0.2, with one triangle in a layer having a height between 1 – 3mm (I do not have any prints from this idea. It was a pretty catastrophic failure that took 4+ hours to give up on).
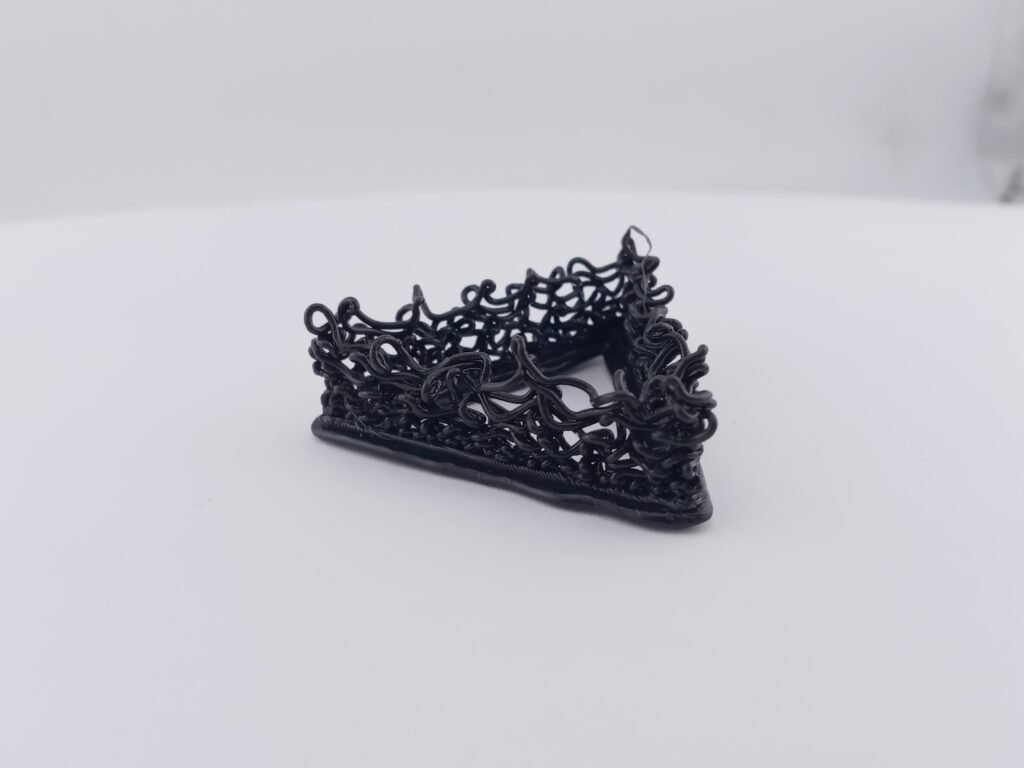
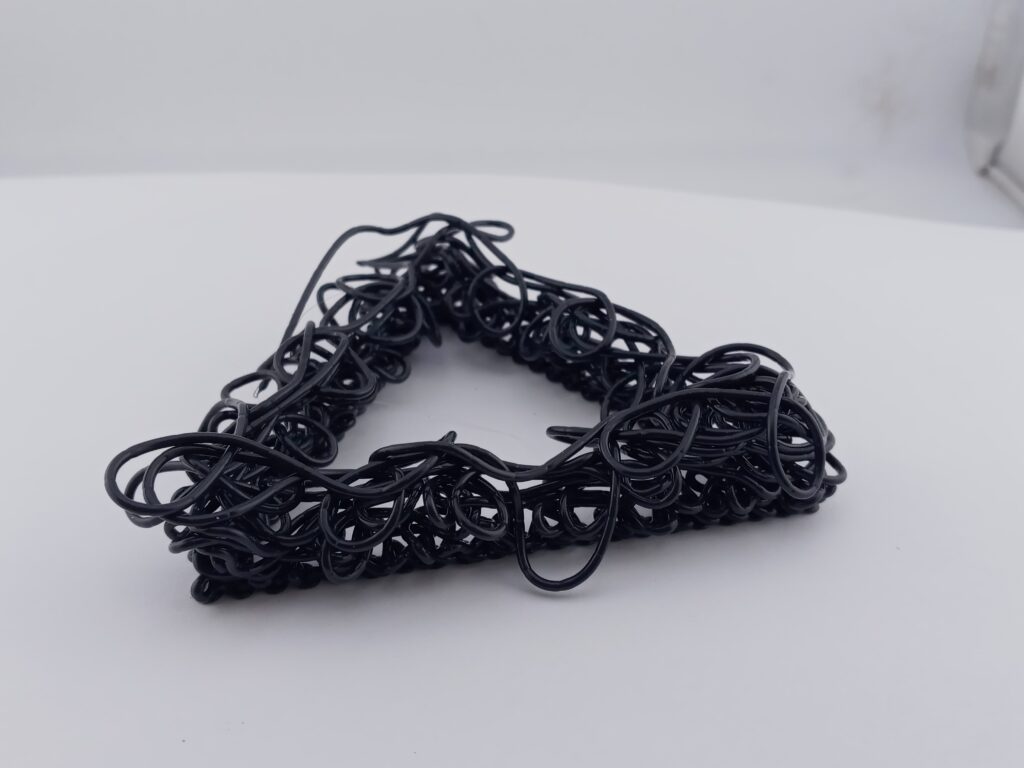
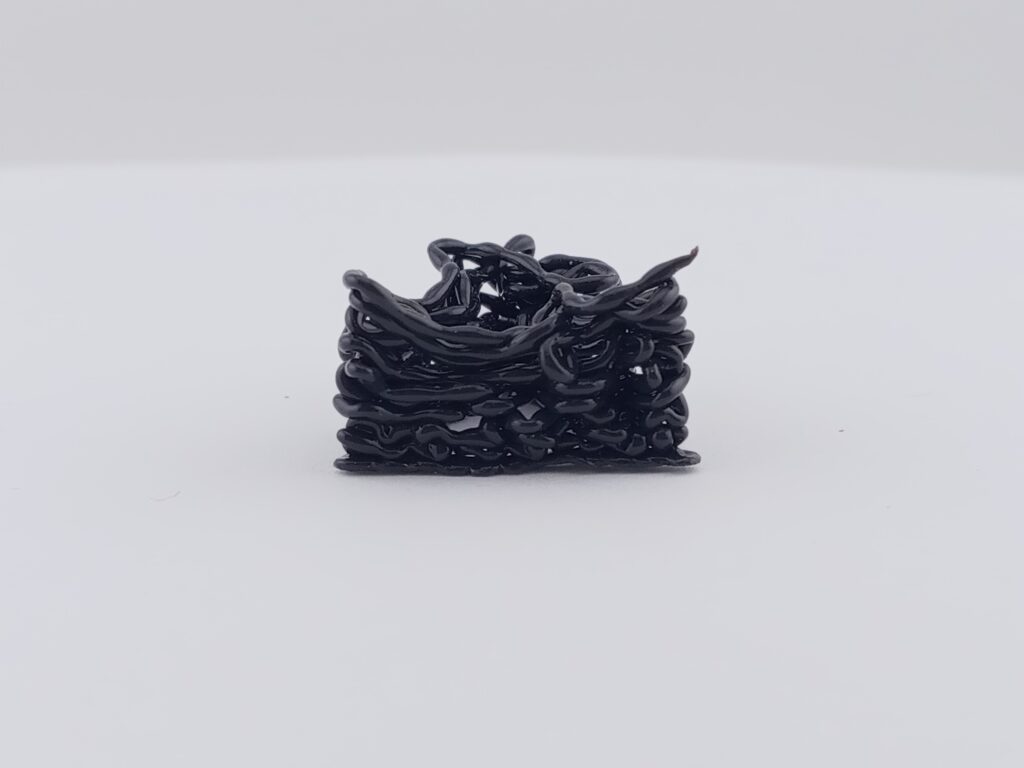
This failure point resulted in the behavior of each of the printed forms. Each form essentially extruded the material for a layer significantly further from the previous layer, resulting in increasingly free-flowing filament as the height increased, depending on whether previous layers had collapsed. Three of the forms presented this behavior, while the final form rather maintained a constant height and continuous extrusion for each layer, resulting in a more flexible shape due to layers being thin and (mostly) evenly spaced. The angles from a triangle shape allowed for this, as it relaxed the strand of filament as the direction changed which caused it to rest of the previous layer. These final forms thus represent the different qualities that can be achieved at different layer heights and illustrate the breakdown that can occur as the nozzle height extends too far from the current layer.
Design Process – CAKE (DO NOT EAT!!!)
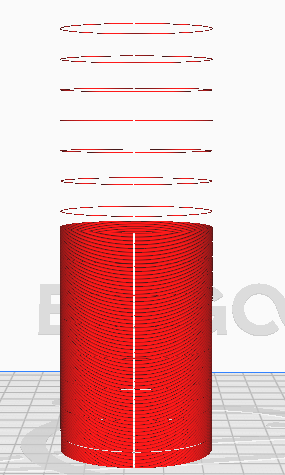
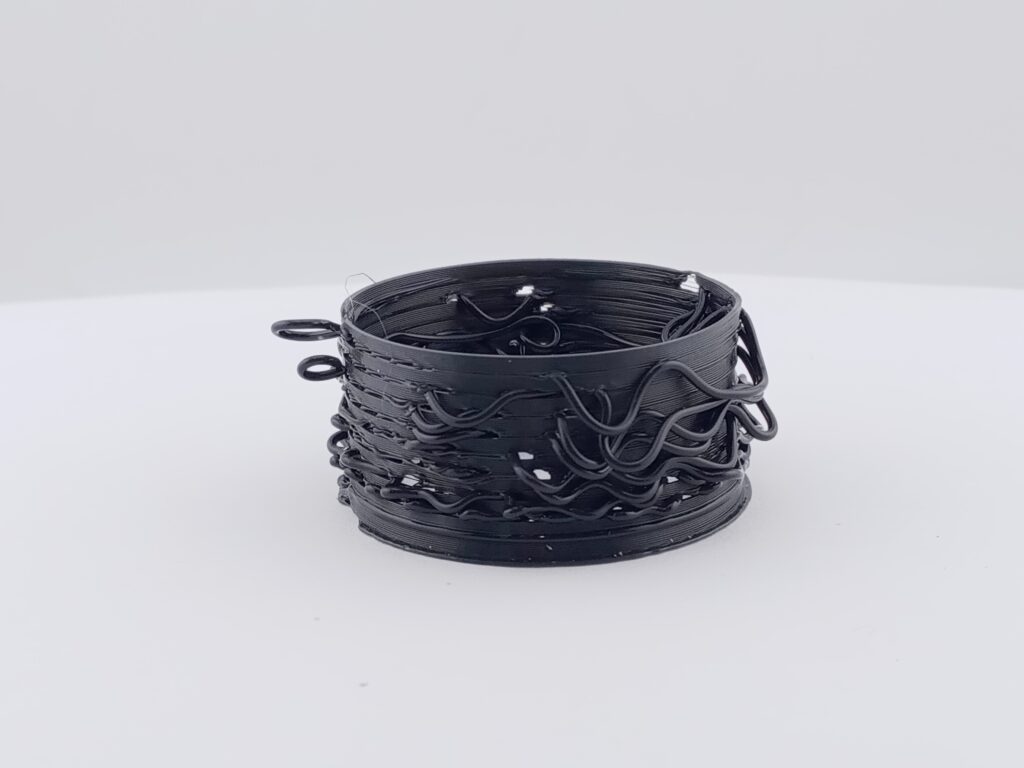
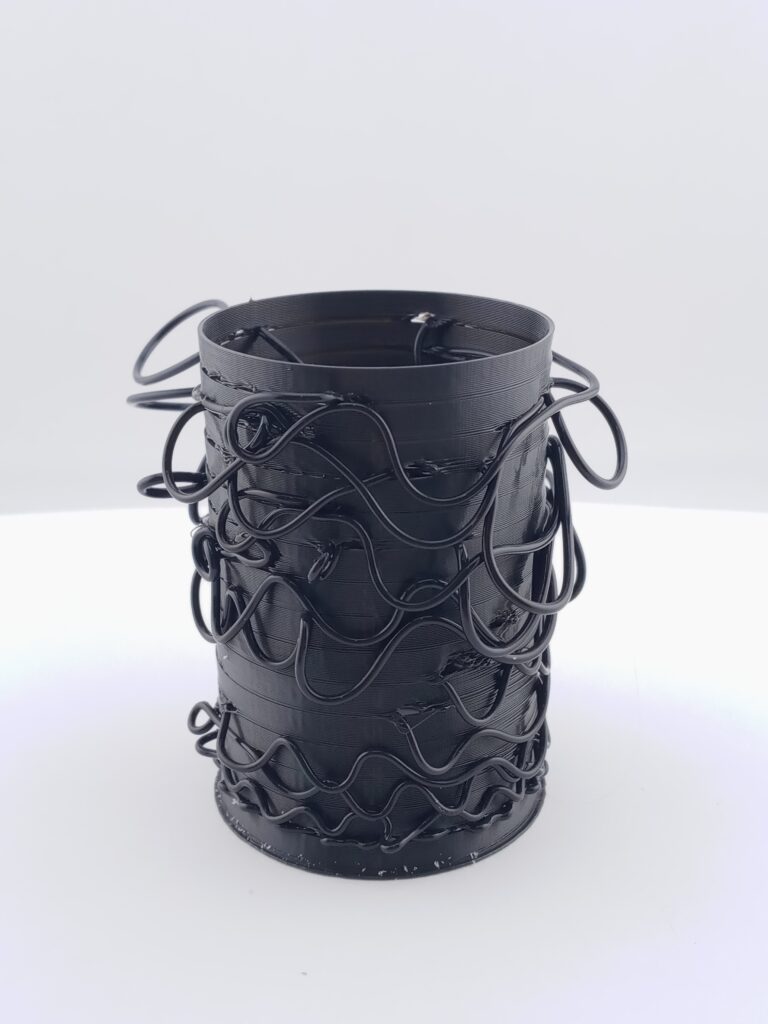
The final design was, unlike the second set of forms, a deliberate exploration of the mix of free-flowing layers with tightly constrained layers. Another cylinder is created (because circles are awesome) with the following ruleset: if the layer x is a multiple of some constant whole number c, lift the nozzle x * layer height mm before drawing that layer. Otherwise, lift the nozzle by the layer height. This results in the traditional drawing of the cylinder being interrupted by a loosely interpreted circle every few layers (we’ll call these layers frosting, you’ll see why) before returning to the traditional slicer flow.
The first iterations of this design failed. After the first failure, an adjustment was made to reduce the print speed and increase the extrusion rate for frosting layers by 2mm. The second failure revealed that a 2mm extrusion rate is A LOT, so the next iteration received an extrusion rate of 0.5mm for frosting layers. This was pretty perfect, so the final form received a height increase. It was noticed during the third iteration that the 0.5mm extrusion rate began to be too slow as it reached the end of its print cycle, so the fourth form received a new condition to increase the extrusion rate to 1mm after layer 150.
As can be seen from the third and fourth iterations, it result loosely resembles a layered cake, hence receiving the name CAKE.
How all iterations appear in CURA
Successful Iterations
Failed Iterations
Hi, I thought it was funny that I printed the same cylindrical object as you. I’m curious how structurally sound yours came out as mine was very solid at the bottom, but got more and more brittle as it reached the top. Overall, I like the models you designed and think they came out very well. Great project!
Thanks, Samuel! Your cylinder is actually more closely related in construction to the accidental models in my second design process. And yes, I did find a negative correlation between structural integrity and layer height. My assumptions are that 1) There are fewer connecting points between layers with a significant distance between and 2) With a large difference in layer height, the layer below is given more time to cool, making adhesive bonds between the two layers not as strong. Do you have different ideas for why this is?
Hey Nathan, your prints came out well. I really like the last one in particular because of the changes you made to the extrusion and how it affected the outcome of the print. You can’t even really tell exactly how it will behave just by seeing the path in Cura and I think that makes them, even the unsuccessful ones, all that more interesting to see how they turned out in the end.
Thanks, Luka! I did find it kind of an interesting point that CURA does not pick up on certain things, like predicting the behavior of a floating filament or even more interesting, not rendering sections made with t.extrude(). It really helps emphasize how the created forms are not really able to be interpreted by a traditional slider.
Hi Nathan,
I like the way you approached this project, focusing on aspects related to the capabilities (or lack thereof) of slicing software. It never occurred to me that it would be possible to make anchoring structures by stopping the print head in place and extruding material. The presentations in class were eye opening to me to possibilities I hadn’t considered, like your basket-like object with its clever columns. I also like the triangular objects a lot. The over extrusion and thickness of the filament is very attractive, and to me it looks very deliberate.