Model 1
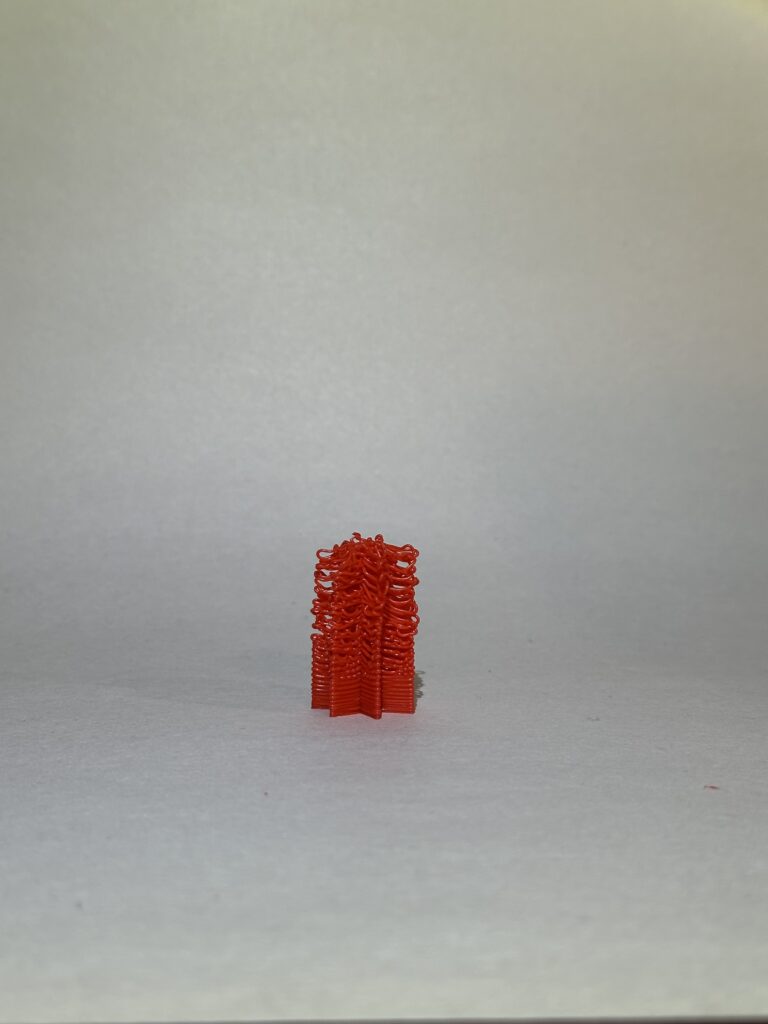
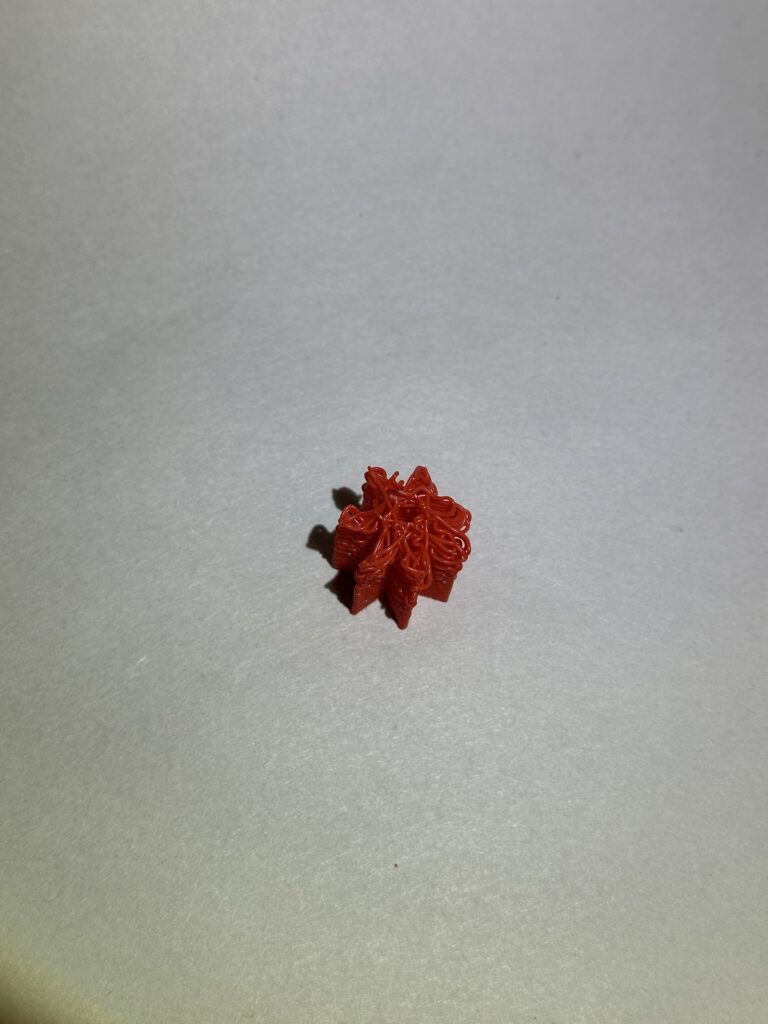
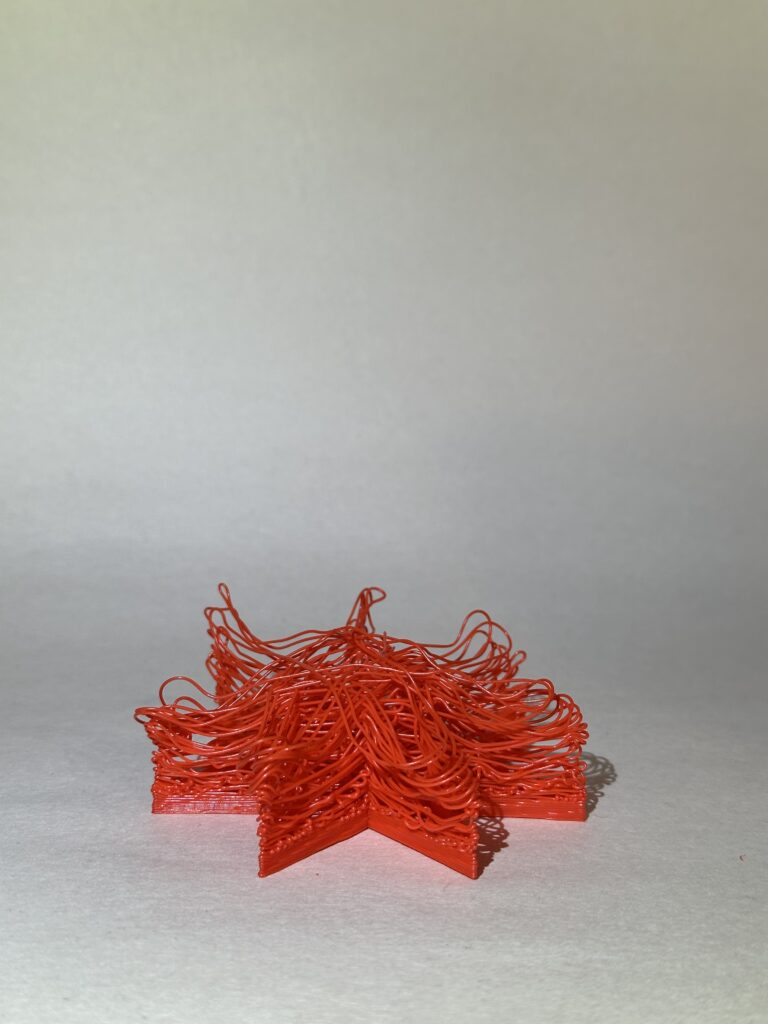

For my first model, I was hesitant to print this type of model where each layer had a great distance between each other. But I finally convinced myself to really trust the process. My first try was this small star and I liked how it came out I decided to increase the size and it didn’t quite come out the same as I wanted it to. The small star is my favorite since it looks distorted in a nice way.
Model 2
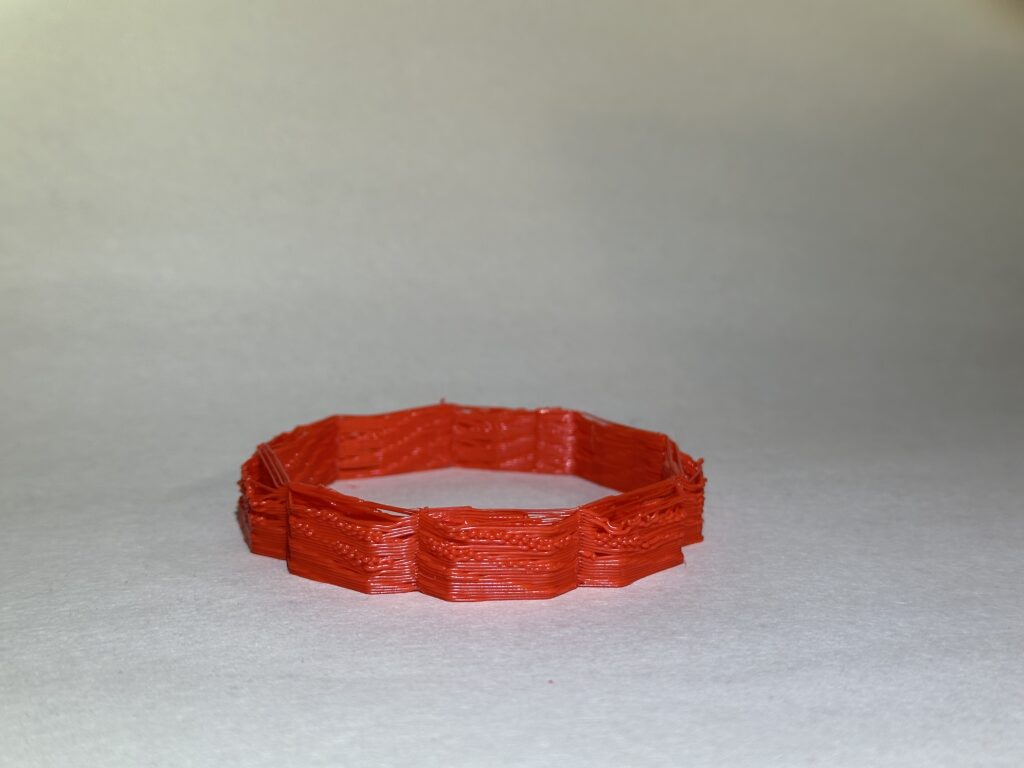
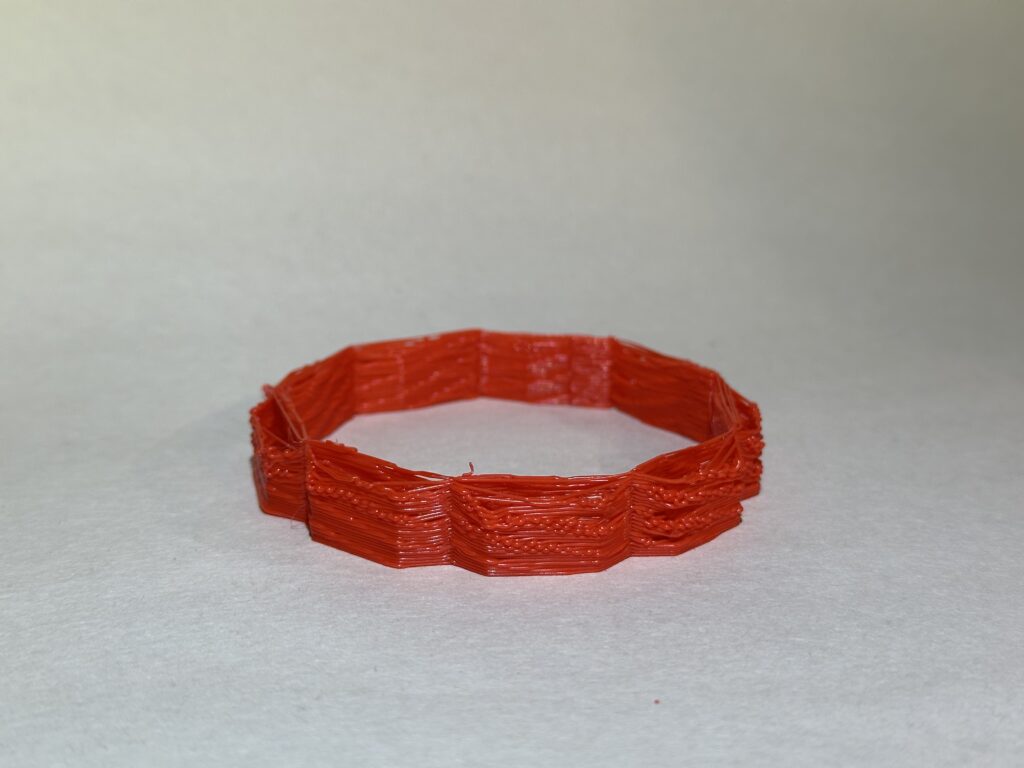
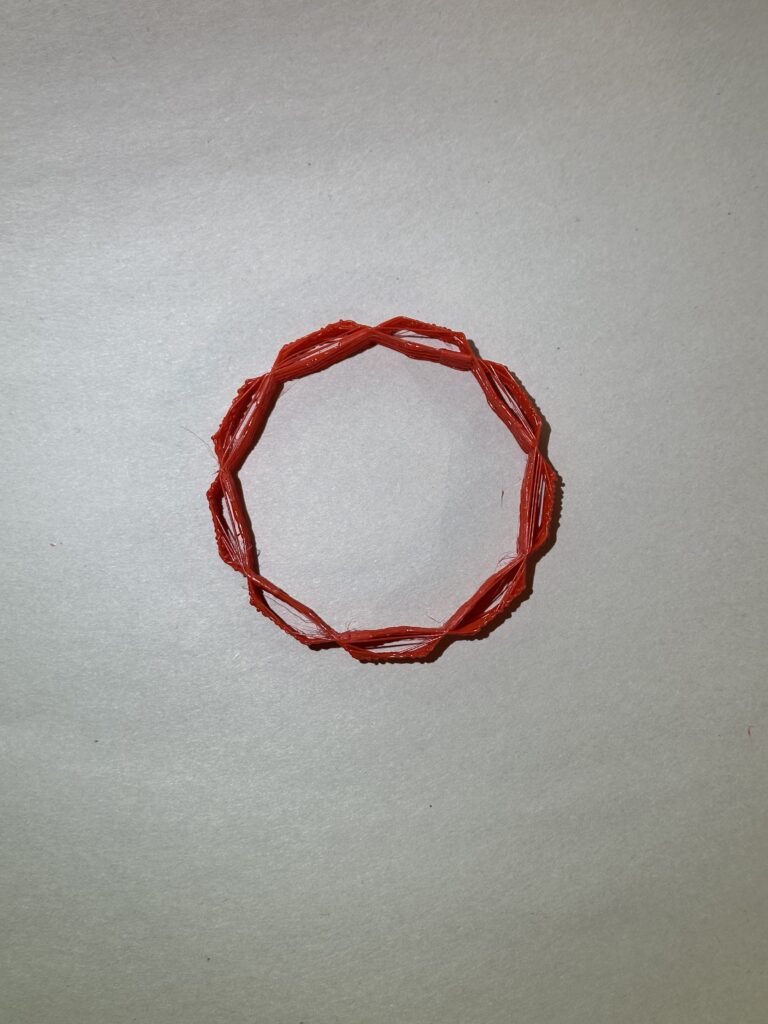
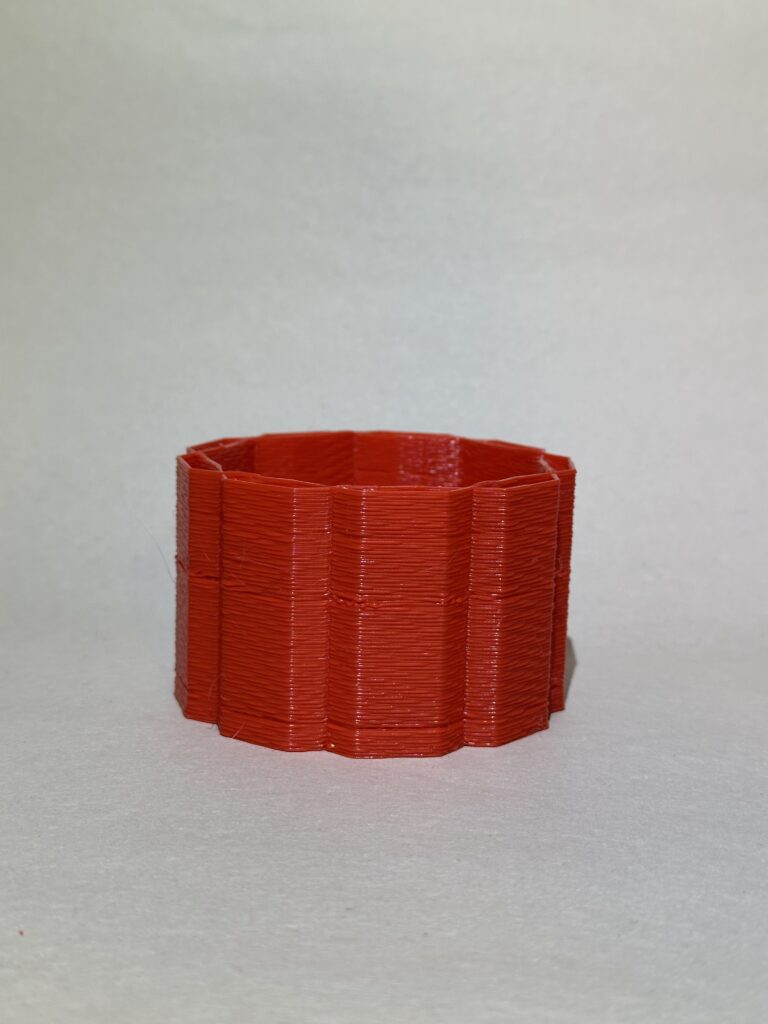
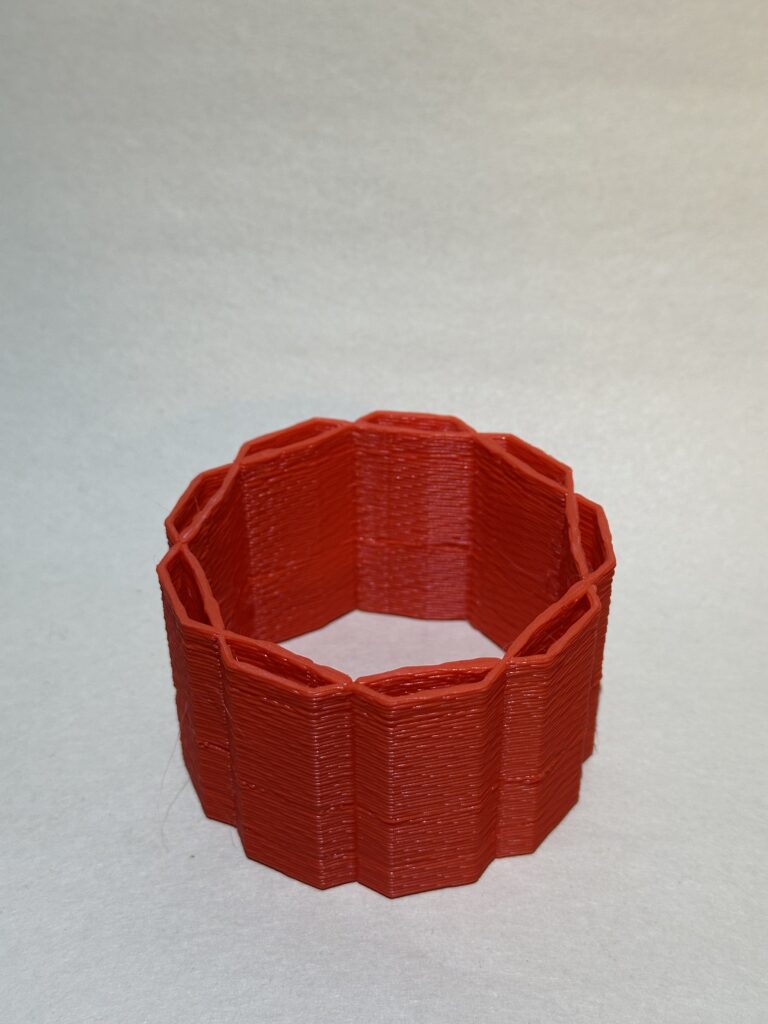
For my second model I struggled on what I wanted to print, I decided to just play with the turtle function and see what comes out. I have been also wanting to mess around with the extrusion rate and in this model I think it shows how I was able to achieve that. There are some parts where extrusion is thin and other where extrusion is thicker. Where the small bumps are is where the thicker extrusion happens and I really like how the bumps twist around (My printer started to not work and I was not able to fix it)
Process
At first, I struggled to understand how the shapes were being created using the turtle functions. I needed to sit down and visualize how these shapes were being drawn out. I mainly used the 3D function, and I wish I had used more of the Euclidean function, as I think it would have helped me understand faster. However, the 3D function allowed me to create complex models easily. The first model can’t be generated by a traditional slicer because I was able to set specific nozzle speeds at certain paths and, in a way, disconnect the shape and let gravity do its work. For the second model, a traditional slicer typically sets a single extrusion rate for the entire model, but in my second model, I was able to set two types of extrusion rates at specific intervals.
Hey Alan,
I found it really interesting that you experimented with different print speeds at various stages of your first print. That’s something I hadn’t considered trying myself, but I’ll definitely give it a shot in the future. It’s reassuring to hear I wasn’t the only one who had trouble visualizing what was actually happening. That was definitely my biggest challenge when generating my designs. But I’m glad we had the chance to explore how G-Code can be generated—it’s been a valuable learning experience. Overall, great job! We made it through, and I’m excited to see what you come up with for your final project.
Hi,
Thank you, I still need to experiment more with the speed and extrusion. I was definitely close to understanding how changing those variables influenced my models. Im glad I wasn’t the only one either having trouble visualizing the model it made me think differently.
Hi Alan, I also found the Extruder Turtle library to be tricky to visualize at first. I like that you decided to trust the process and embrace the distortions that come with changing printer settings. Very creative process!
Hi Alan,
It seems like we had similar ideas/shapes when creating our forms. I was also hesitant to play with the layer distance, but I’m glad I did. I had a lot of fails along the way though… I didn’t think to change the extrusion rate in the same print, so it’s cool to see that visualized in your second print.
Hi Astreed,
The layer distance caught me off guard when looking at it at Cura. But now I know that it does not show the true result of my G-Code. Thank you.
Hey Alan,
Great job on all your prints, I think they came out awesome. I definitely agree it was difficult for me to trust the process as well on this assignment because these prints take a lot of time, so it is always frustrating when I would check back up on a print and it would be a mess haha. I really like your second model as well and I think it came out very crisp. One question I had is, how did you find changing the extrusion rate to be either helpful or not? I am interested in changing that value in my implementations to see what happens.
Great work!
Ian