Design process
For this project, I wanted to explore many of the sample materials provided to us. I started by printing out some of the basic shapes generated by the demo Extruder Turtle examples. This proved to be a learning experience as I had several failed prints. As I was experimenting, I discovered how to set up my printer so that it doesn’t attempt to move past the print bed, adjusting extrusion speed, and adjusting movement speed. The first thing to do was set up my printer as it is different from the options in the python file. I set it up as shown in the following figure:

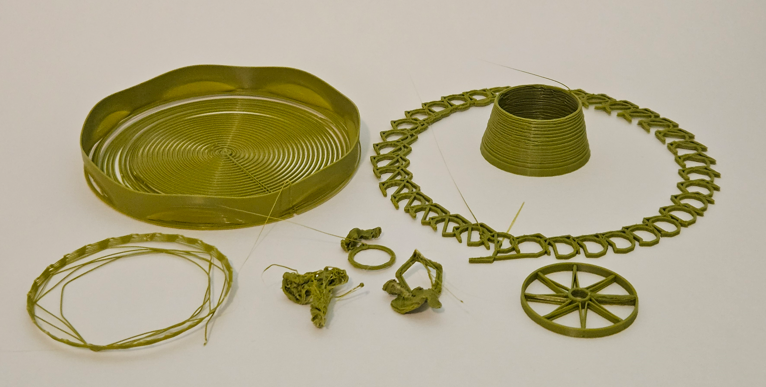
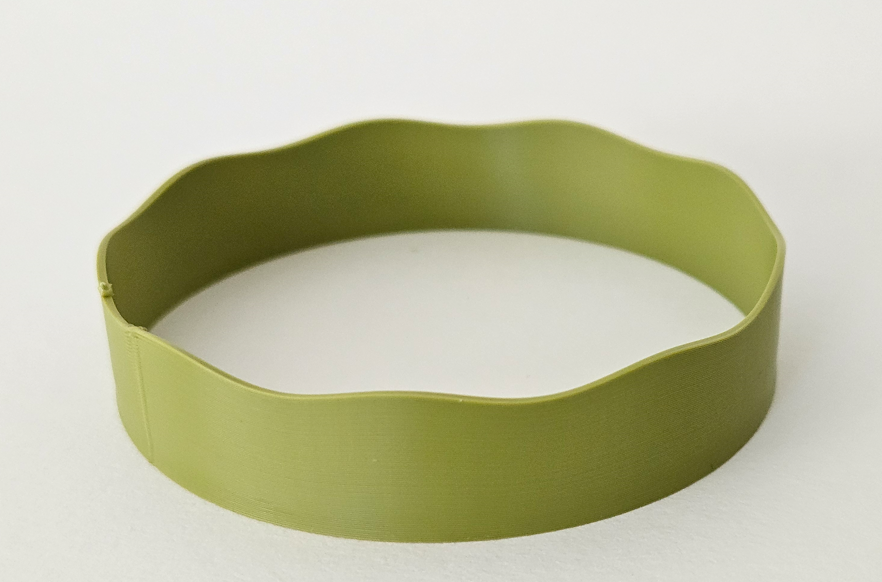
After preparing my printer with some usable settings, I started printing cylinders. I wanted to see how the layers stuck together to make sure my layer heights were correct. I then made a cylindrical object with walls that move in a sinusoidal pattern on the z-axis. With some preliminary setup, I attempted to print the object and encountered multiple failures. I tried adding a bottom to the shape using only extruder turtle functions, but that didn’t work very well as the layers were not sticking properly. Ultimately I made a plain cylinder with wavy walls.
This object proved to be very difficult to print. The walls that move up and down in the z-axis would be difficult for a normal slicing software such as Cura to generate due to the print head moving along the sinusoidal pattern around the cylinder. In some of my tests, I had set the amplitude too high so the nozzle collided with the print bed. I had to offset the z-axis to the height of the wave peaks. Another problem I experienced was that the printed filament would collapse, so subsequent layers were printed in mid air. I will make more attempts to print a decent object to bring to class, the ones I have now are hideous.
Update
In the end, I dropped the idea of making the first object wavy on the bottom as well as the top parts. I made the cylinder wavy only on the top and this allowed me to print the object. I didn’t have problems with adhesion to the print bed, or de-lamination between layers.
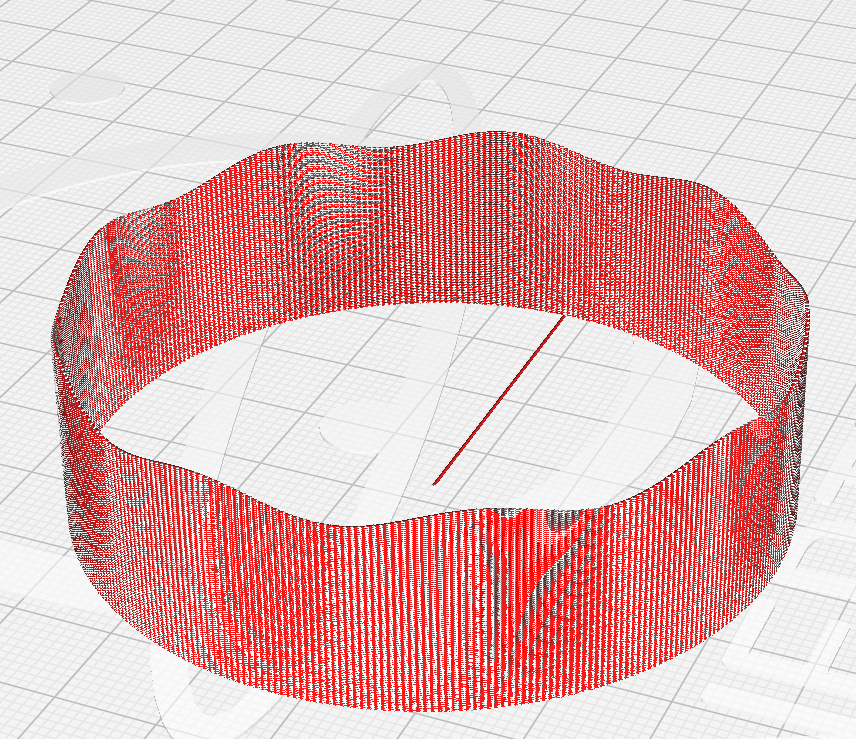
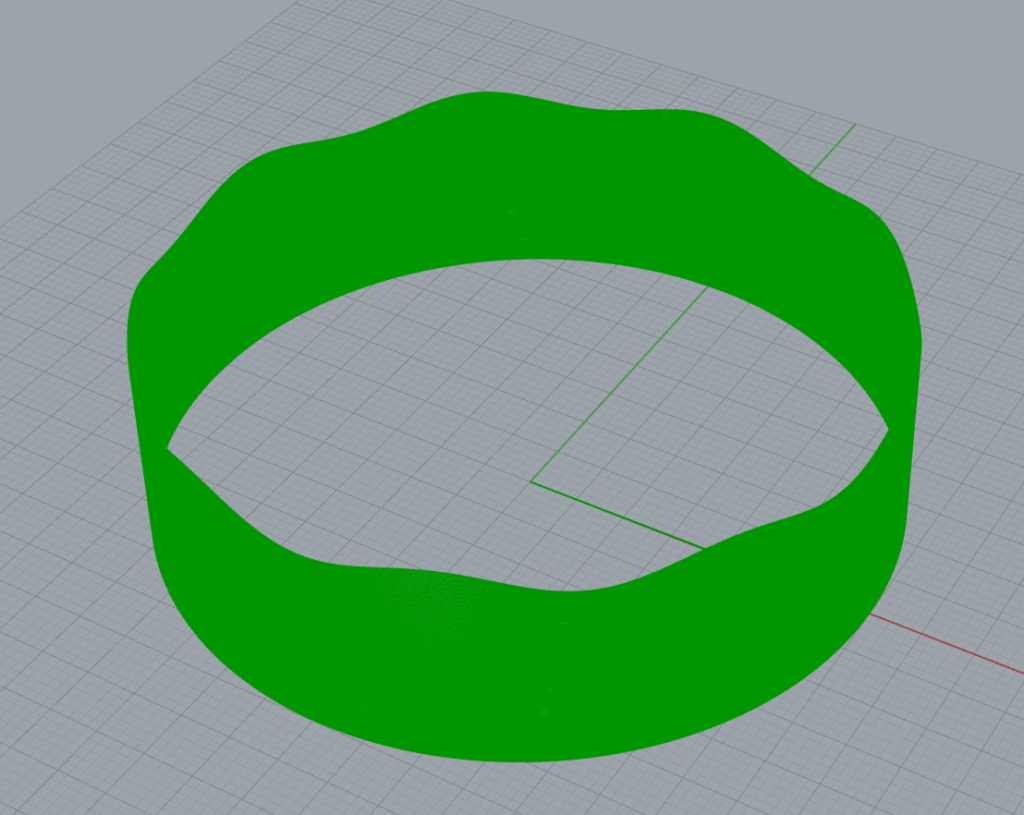
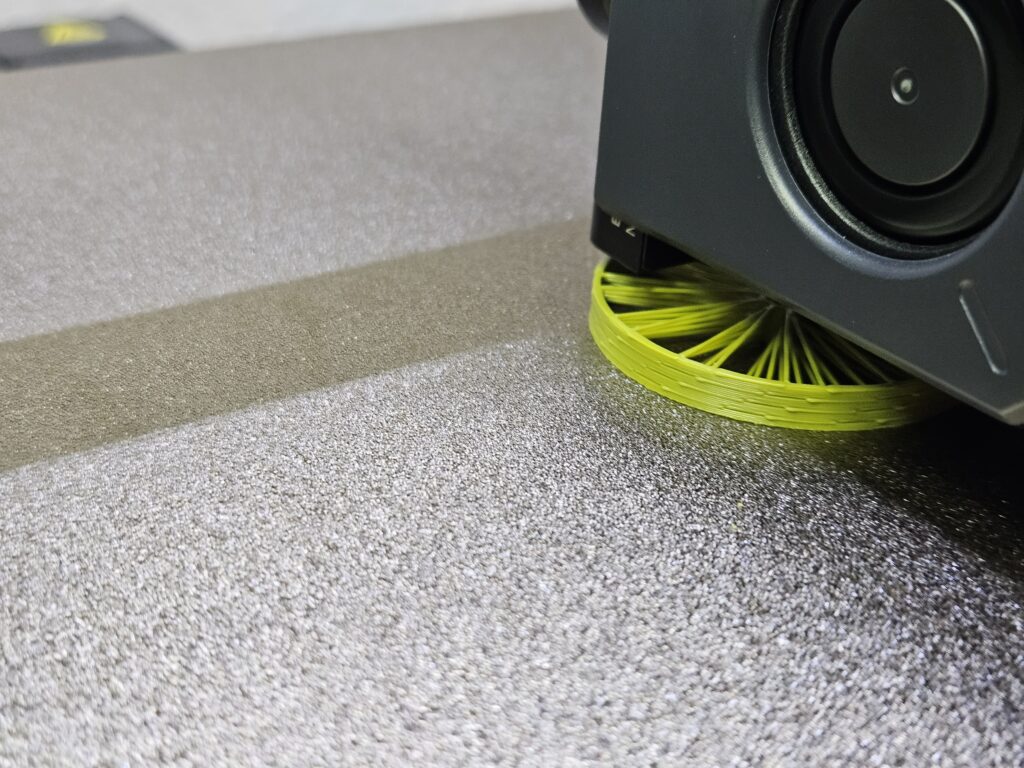
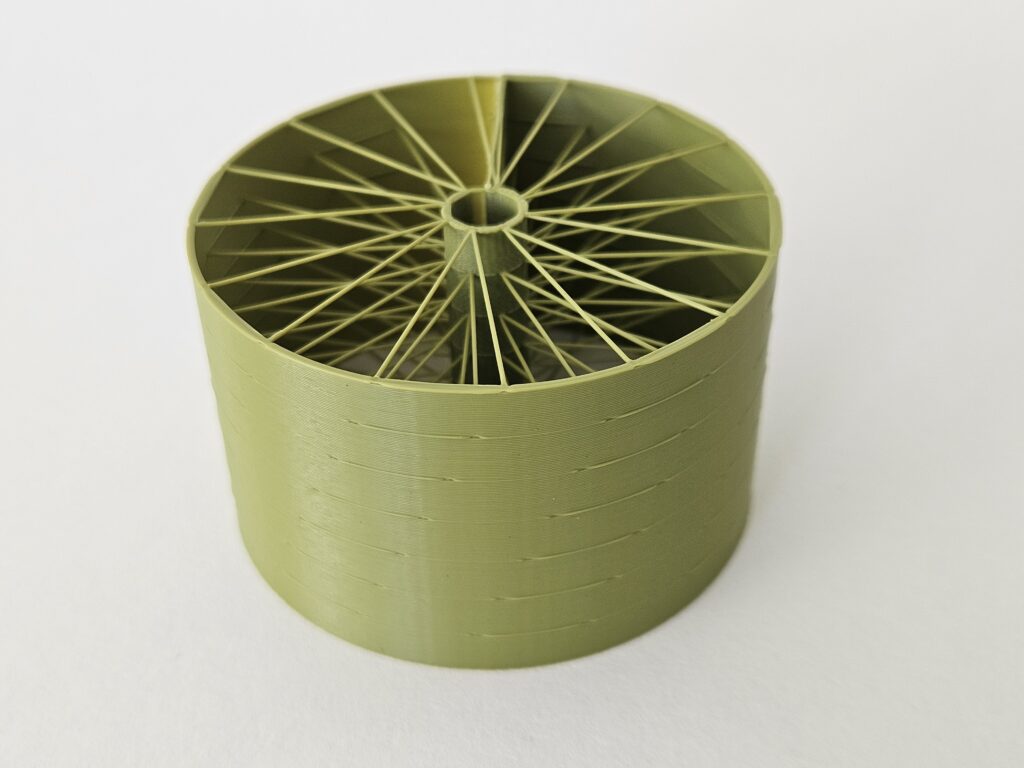
The next shape I experimented with I found inspiration in the link to 3dprint.com: https://3dprint.com/32480/3d-print-paintbrush-bridging/. I was looking at the wheel and dream catcher objects and wanted to try printing something like that. This object didn’t give me as much trouble as the previous one since it didn’t have movements on the z-axis. I had assumed that trying to print the spokes in mid air would be difficult but it was surprisingly straight forward.
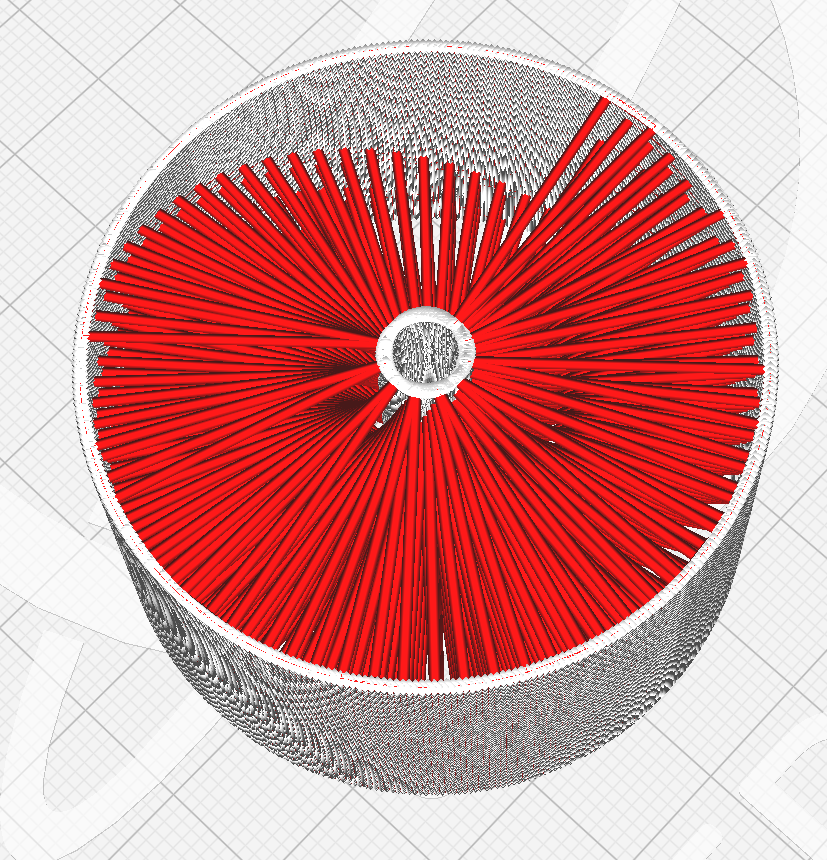
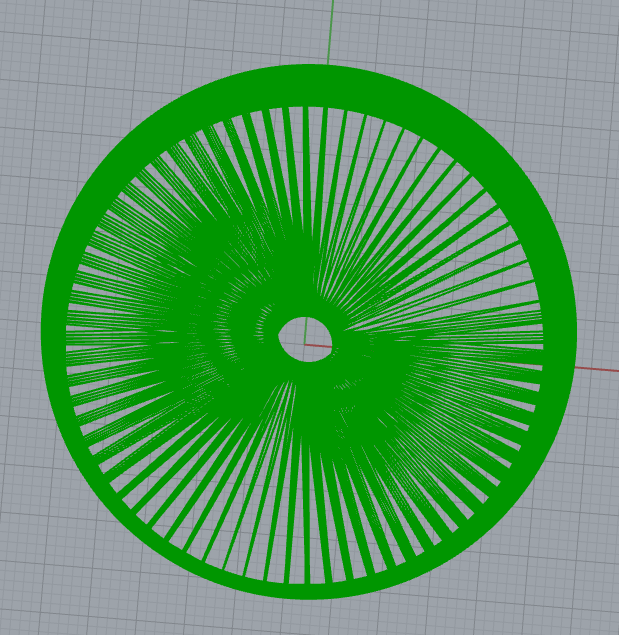
This object would be difficult for slicer software to handle due to the spokes that are printed without support. Once I found a way to turn on the extruder fans, the results were much better. Shout-out to Logan and Nathaniel who gave me some suggestions on G-CODE commands. I added the commands M106 S225 to start the fans at max speed, and M107 at the end of the file to turn them off.
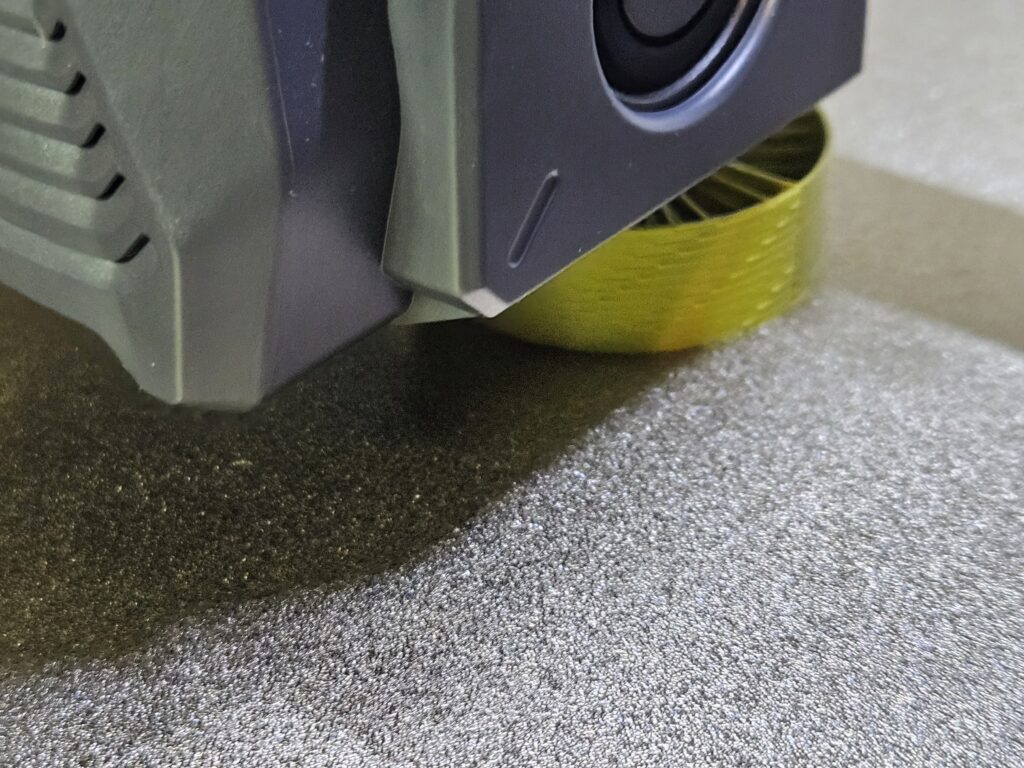
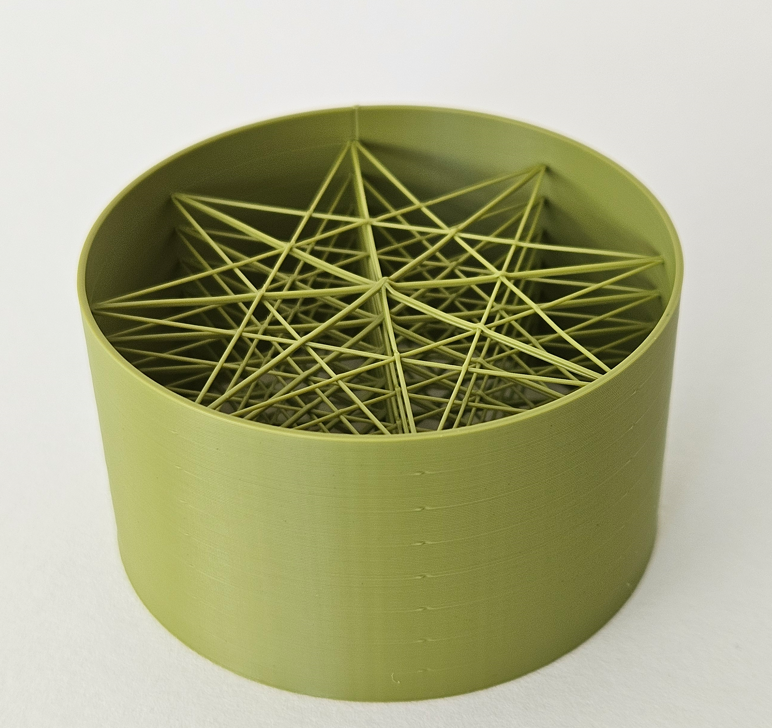
The next object was similar to the previous wheel like object. It is a cylinder with spokes, but without the central axle. I thought this would be tougher to print but it was rather easy.
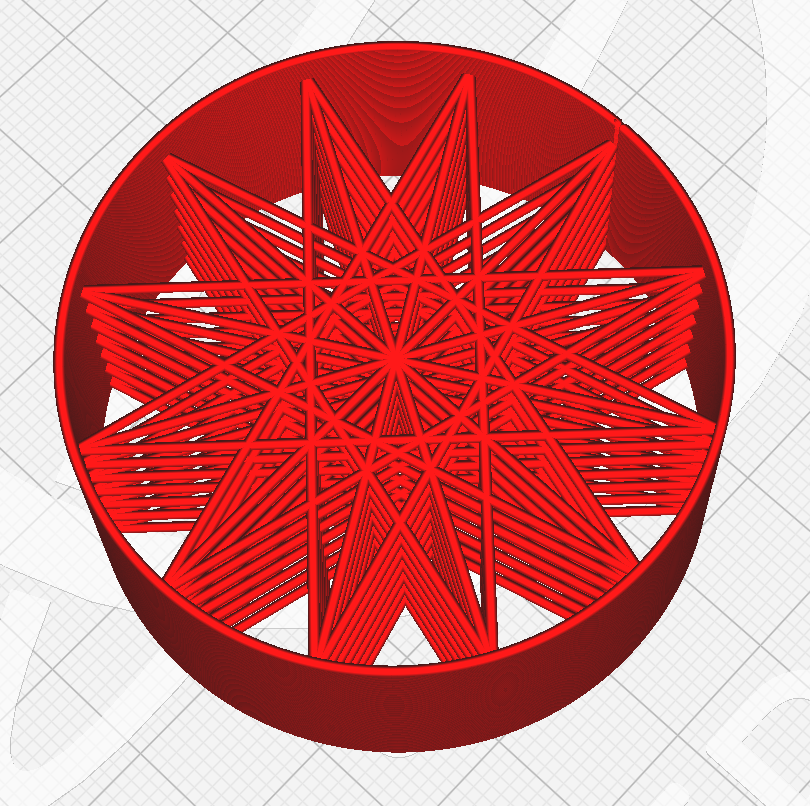
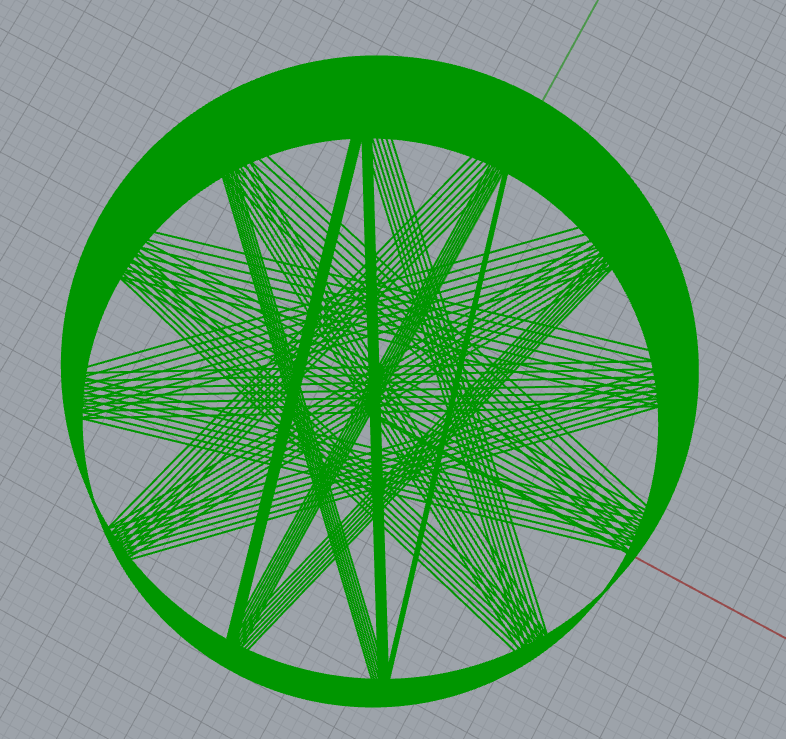
Similarly to the previous object, this would be hard to slice in normal slicing software because of the hanging spokes that lack support underneath them.
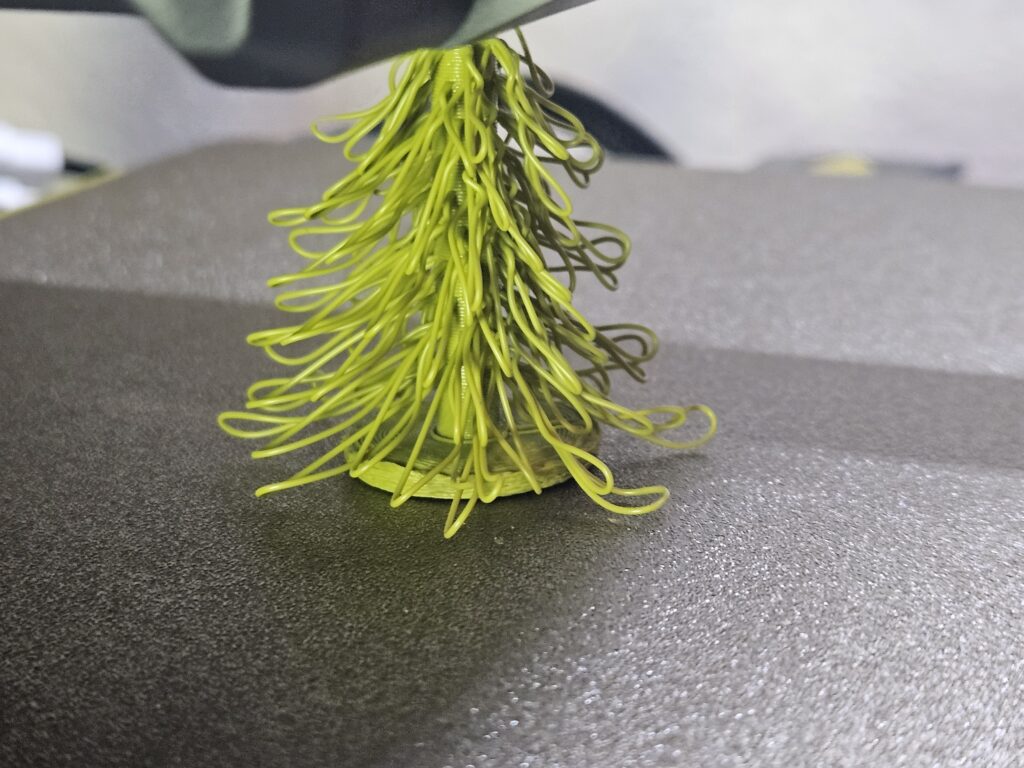
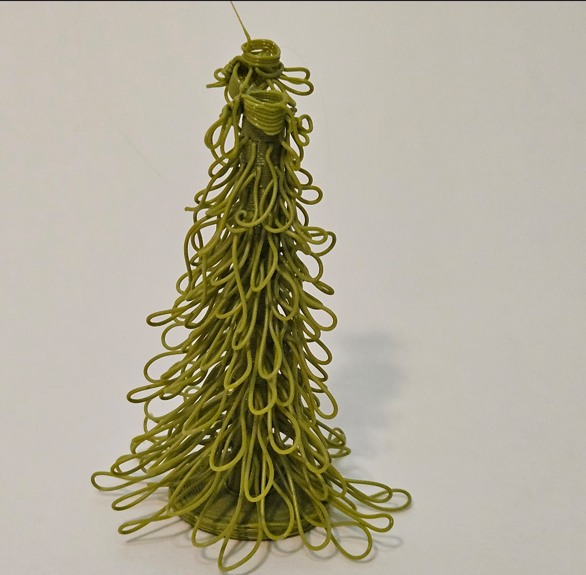
The last shape I wanted to attempt was a tree. I know we were supposed to try to make objects different from the samples but I really wanted to try. This Object was the most trial and error intensive. I had several failed prints at the beginning due to the lack of some base structure. I was attempting to print it by starting with the tree trunk (a central cylinder) but as the height increased, the object got knocked over by the nozzle. In the end, I managed to make a decent print by adding a base that consists of tight spiral layers stacked.
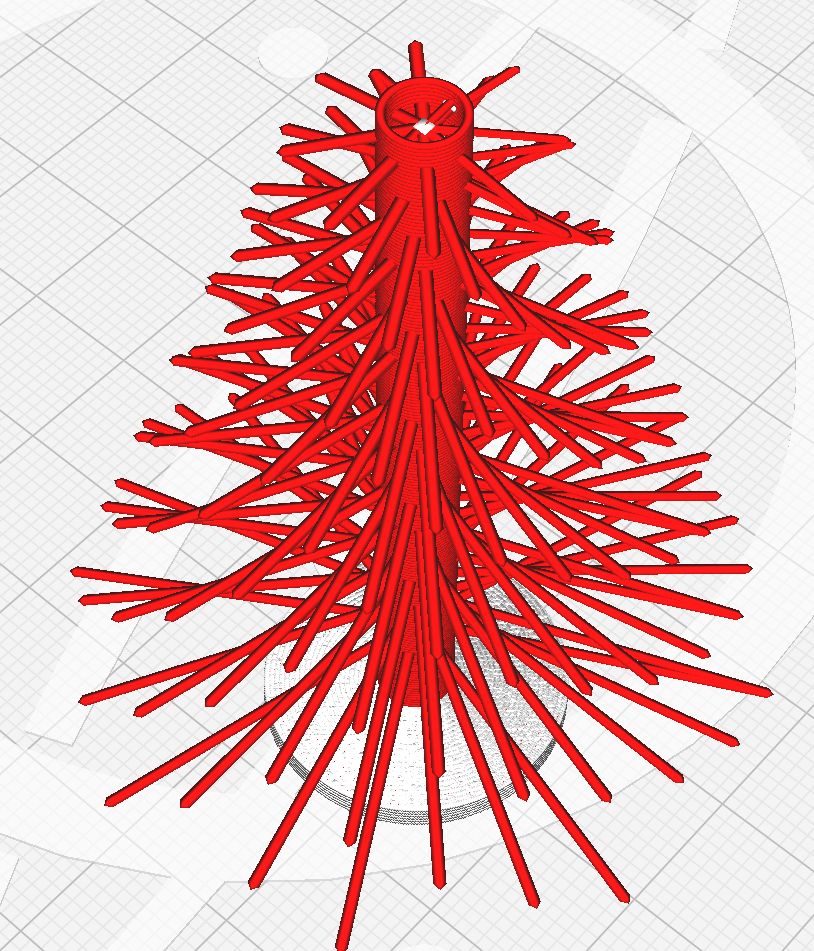
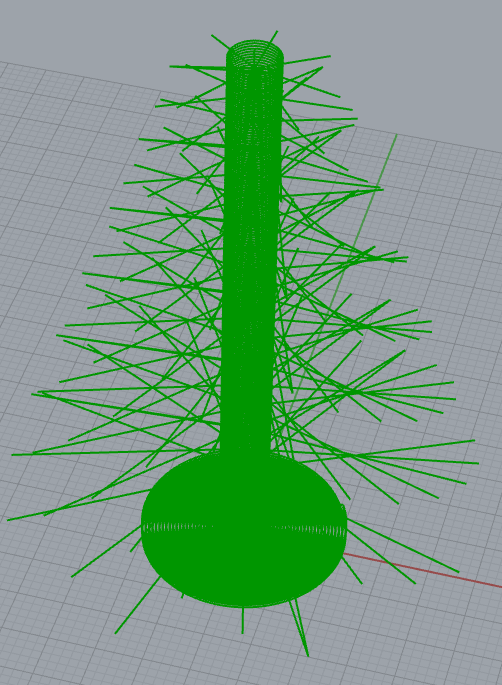
This object would be pretty hard on normal slicer software. It has several features that are challenging; first, the protruding extrusions lack support, so that would be one thing. Second, I set the extrusion rate to be higher on the branches so that they would droop more by the increased mass. Third, I set the tool path for the branches to move downwards in the z-axis to increase the drooping effect more, this would not be something easy to achieve with normal slicers.
Printing Process
Trials
Final Models
Hi German,
Beautiful models! They remind me of Christmas ornaments. Maybe adding hooks at the end of them so you can hang them for the coming holidays. I too had issues with adhesion I recommend looking at the temperatures your printer bed and head and use those values. I found that would really help with adhesion and also increasing extrude width so the filament has more surface area to touch. Yea printing with no supports in the bottom can be frustrating since you won’t know if they will stay. I found during the design process try to overlap sections and build from there. Even if some areas aren’t supported the nearby areas will keep it up. I hope that helps and awesome prints!
Thank you, Ricardo. You’ve given me an idea to make ornaments with my printer, I might try it out with some clear PLA and LED’s. I appreciate your recommendations and will consider them for my next attempt.
Hi German,
I love your prints and your filament! I appreciate that you included pictures of your trial/failed prints, it really shows the created process and all the trial and errors that came with this project. Your christmas tree is so fun! For adhesion I would recommend cleaning the print bed well with an alcohol pad and then add a very small layer of glue. Other than that like Ricardo said checking the temperature also will help!
Hi Andrea, thank you for your kind comments. Believe me, there were way more failed trials than shown in the picture. I think I used up a good 1/4 roll of filament just setting up my printer. I really appreciate your recommendations and will consider them in the future.
German,
You’re prints are very beautiful, and it is super cool to see all of your process images. I’ve bee really enjoying looking over people’s projects and seeing their design processes. I think Elektra had a similar print where there was a shape inside of a cylinder shape, and they are very cool looking! I’m curious about the hanging spokes, how much weight do you think they could support? When I first saw them I thought of their use as coasters.
Thank you Astrid, I appreciate your comments. I think I had some ideas in common with some of our classmates. I think it may be in part because I was trying to keep things safe, as I heard it was possible to damage the 3D printer with bad G-code. I think the spokes should be able to hold some weight, and they could be made stronger by stacking several spoke layers. For coasters though, if the radius was increased then their structural integrity would decrease a lot.