Process
I had a strong image in my head of what I wanted to do early on.
One of my first moments of pride during this class was our first large assignment in which we were testing out rhino functionality.

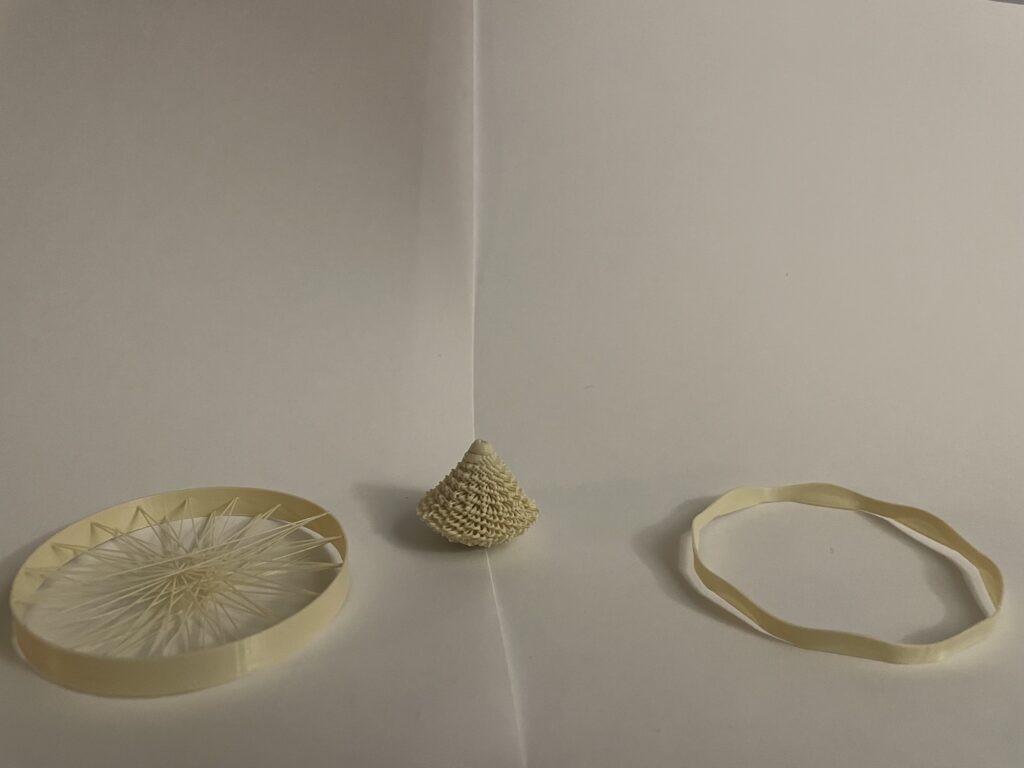
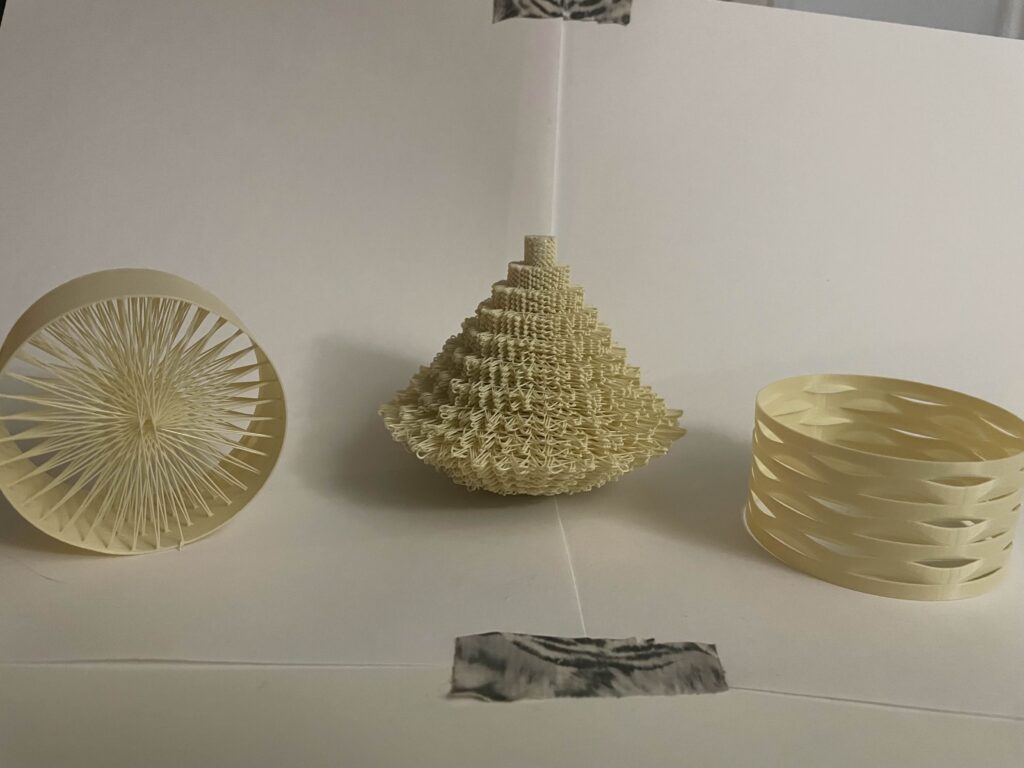
It created this really pleasant surreal shape by using a massive array of overlapping lines and so I wanted to do something similar creating a little cradle with small angular variations on the lines until it created a compelling shape. The final form I did draws lines 185 degrees away from its starting position. I couldn’t do anything as asymmetrical as my previous design but I still think it came out exciting.
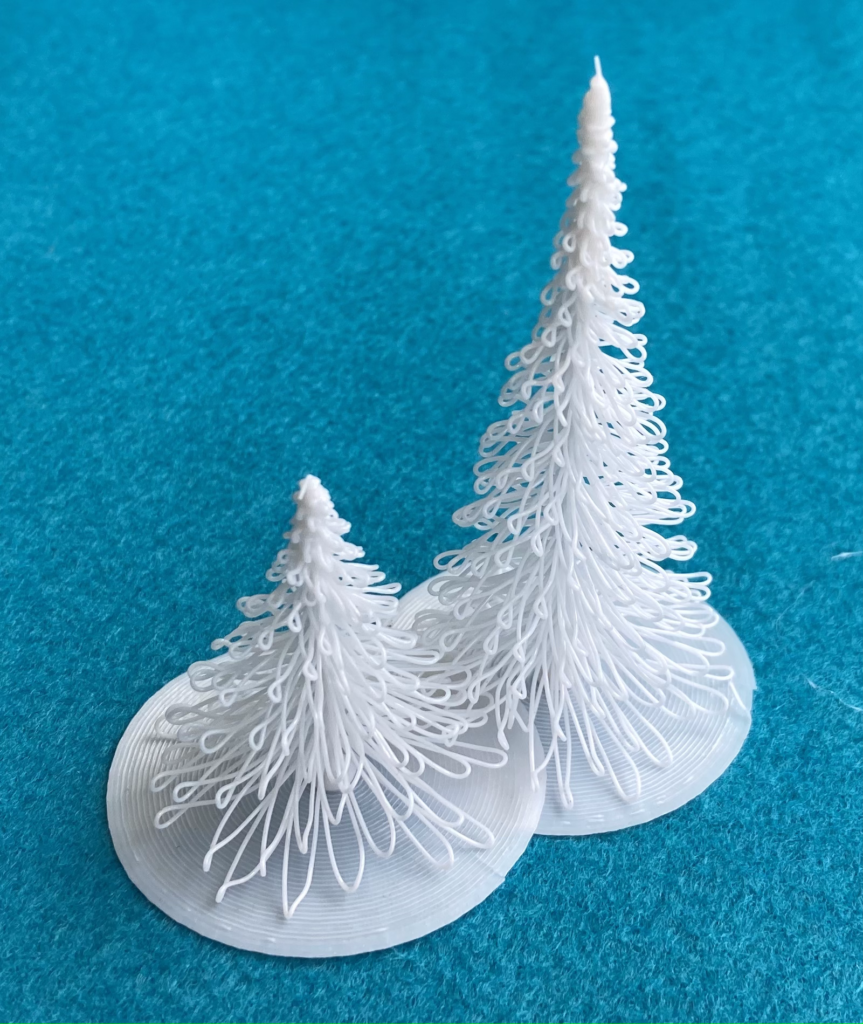
For my second form I really liked the miniature trees given as an example.

And so thinking of similar forms I decided to do a pinecone… at least as the inspiration. It has the sort of repeating hanging pattern that felt compatible to the example. However free hanging plastic doesn’t retain shape well and so I had to get creative to generate something that wasn’t just a jumbled mess. The “spikes” are significantly denser than any pinecone and this print ended up taking way longer than any other.
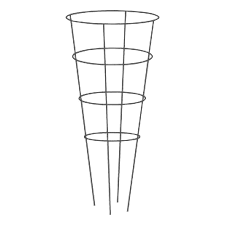
For my final one I was hoping to create something really light and wiry kind of like a plant support.

Unfortunately I found that vertical curves in 3-D printing are iterative and sort of have to be done over generations, because plastic doesn’t hold it’s shape in the air magically the way I wished it did. I also was fortunate enough to hear stories of people breaking their prints with steep curves before doing it myself so I chose a nice shallow curve that could be printed comfortably.
Uniqueness
All of the shapes defy conventional slicing in some way. The pinecone and the line craddle are comprised mostly of free hanging lines that don’t conform to any closed geometry that would normally be interpreted by a slicer. In the case of the pinecone, the distortions in its texture are explicit created by how it was effected by the force of gravity and not by the precise measurements of the print. And the curvy frame utilizes vertical motion to create the arches that are a fundamental part of its structure which a standard slicer wouldn’t try to make (for good reason)
Iteration
Fortunately I didn’t have too much iteration, I did test runs of simpler forms to prove the concept before going for the larger prints.

In the case of the line cradle, I had literally no issues. The only changes I made was realizing I could get even denser with the line count which made a much prettier pattern. In the case of the pinecone, I discovered that the upper most layer had been so tightly packed that the nozzle rubbing against it repeatedly eventually melted the entire tier into a homogeneous goo. My final version is significantly wider to compensate for this problem. The curvy frame as previously mentioned required much thicker layers to accentuate the curve so it was properly visible. But other than those small hiccups the prints came out as well as I could hope.
Code

They said it was impossible, they said it couldn’t be done. My entire program is contained within a single python block of code, it looks readable and compact. I am very proud of myself. The only component is a slider to choose which shape you want to write gcode for.
The Forms
I’m happy with how everything came out.


The Prints

Beau,
Glad to see that you cut your program down to one python block for this project haha! The pinecone idea is definitely my favorite, I really like how you added more detail to it compared to the tree inspiration idea that you used. I’m sure you benefited more by doing the small trial runs prior to printing your final product, it likely saved you a ton of time. I know you said you didn’t have many issues with your prints, did you modify the nozzle speed or temperature for your third print to improve the quality of the non-planar movements you used? Again, very cool prints!
Thank you, I’m not sure why but the pinecone has been a big fan favorite, anyone whose commented on my prints tends to comment on the pinecone. I’m happy to say I didn’t have to modify the speed or temperature for my third print, I sort of just embraced the way lower layers of filament distorted because by the highest layer the curve holds and it gives a fun texture to the overall shape.
Hey Beau,
First off, your prints are fantastic! I was really impressed by your tree-like design. It’s very creative, and I can see the inspiration from the sample tree image. I ended up playing it a bit safer after running into some issues with my first design. I think the best part of your project is how compact and clean your implementation is. I definitely struggled with the scripting, as I’m not the most comfortable in Python. My favorite design of yours is the one that resembles a bicycle wheel with the circular shape and spokes. I couldn’t get clean, solid lines for the “freestanding filament” requirement no matter what I tried, but you absolutely nailed it!
Great work!
Thank you very much, in terms of scripting I tried to keep to simple iterative forms, most of my shapes are based on do 1 thing repeatedly and watch how it mutates. The free standing filament as far as I can tell just needs a lot of structure, I only did one line per level, it goes end to end, and they always rested on the previous line so there was some support helping them keep in the air.
Hi Beau,
That is an impressively minimal GH program! Having just a single slider is whimsical in a good way.
While reading your post, my eye was immediately drawn to your larger pinecone print! With the many nested tiers, it’s reminiscent to me of a fantasy city. I’m impressed with how clean your looped hanging-lines turned out; my attempts at doing something similar turned into a big pile of plastic goo haha.