First Print
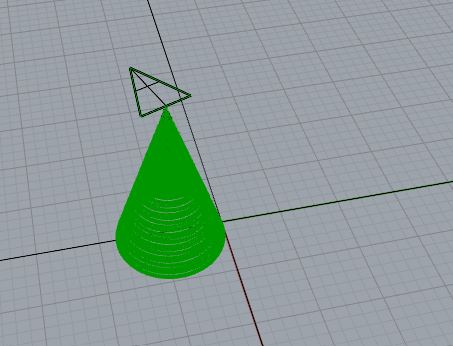
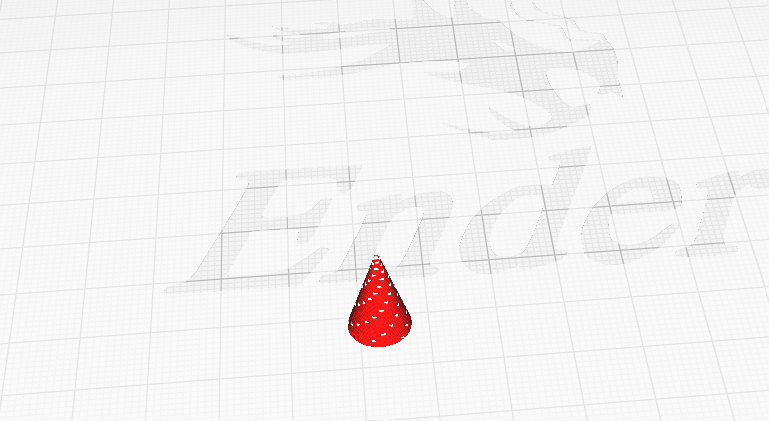
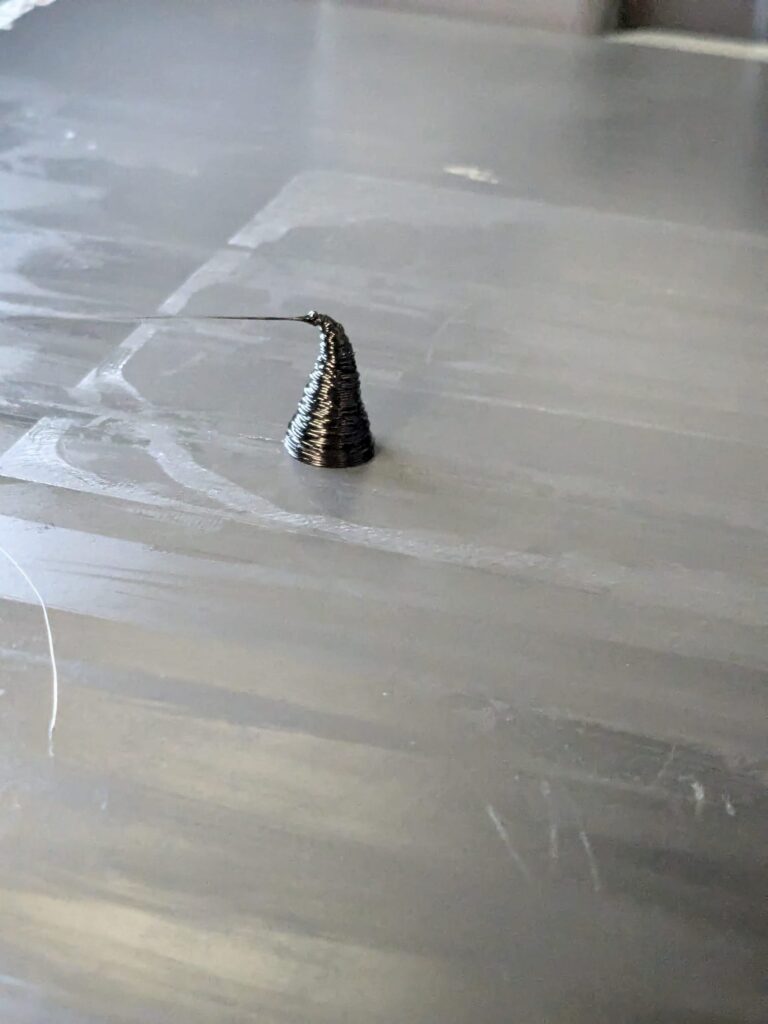
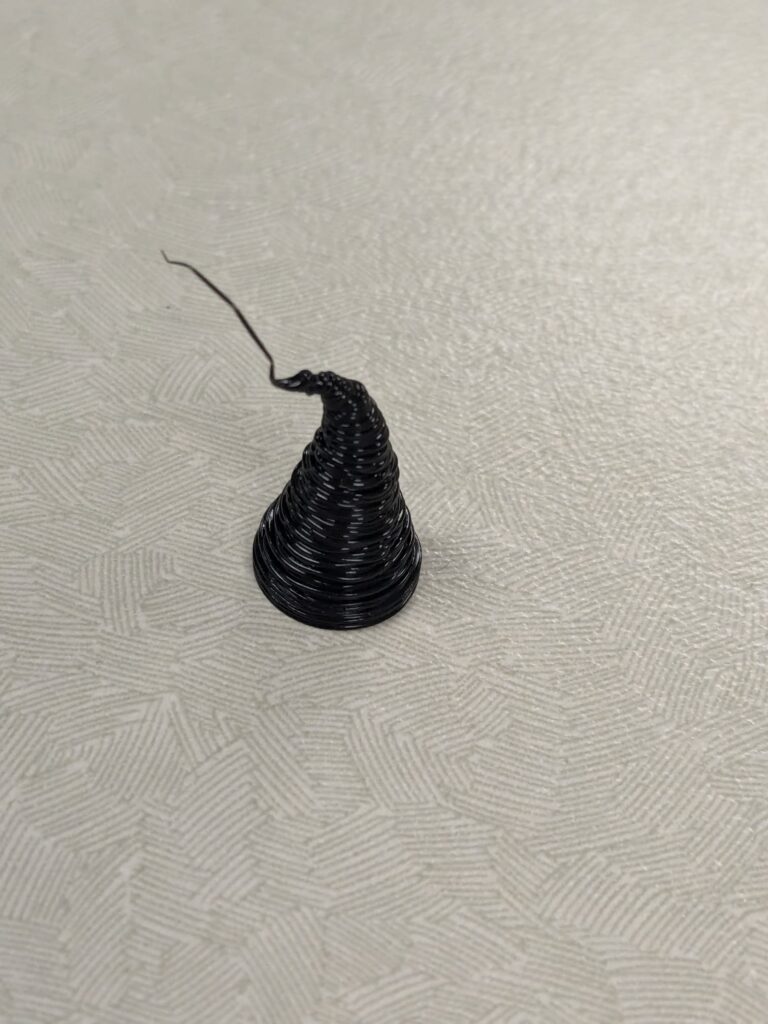
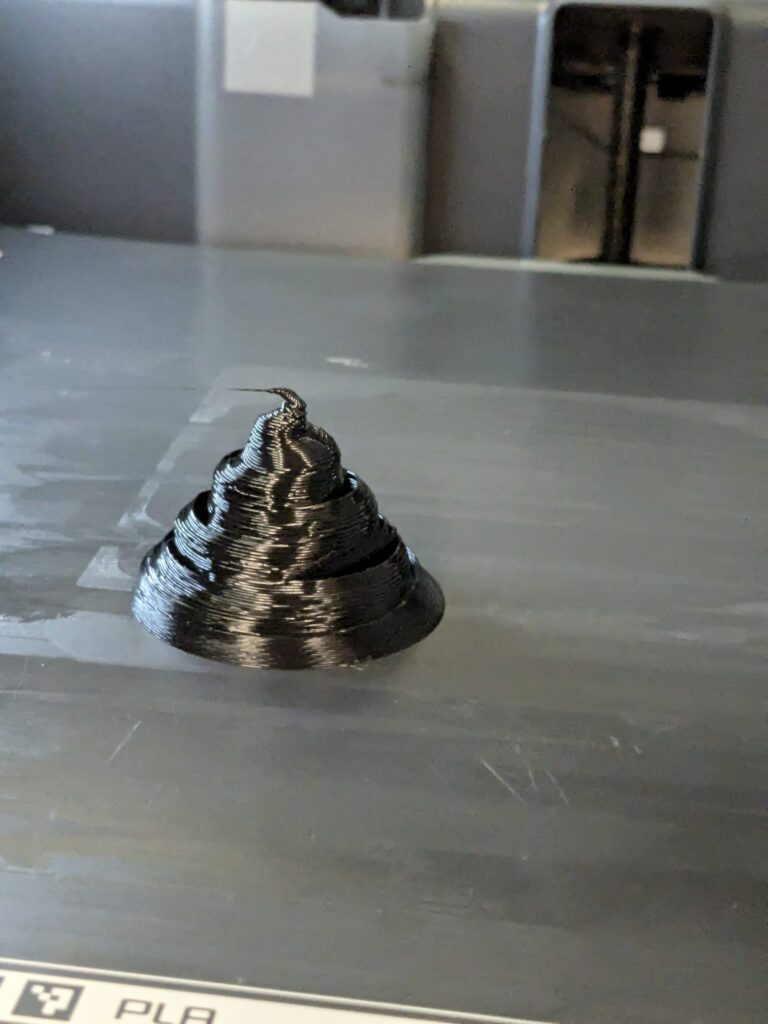
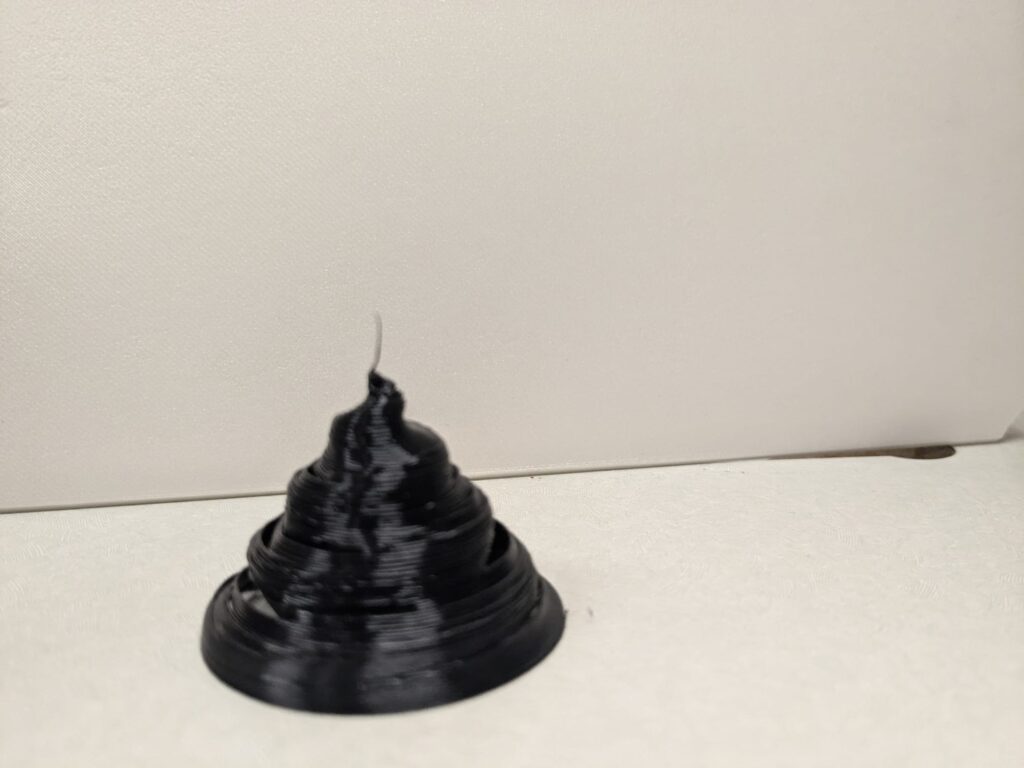
For my very first print test, just to stay on the safe side, I created a simple cone shape which is essentially built the same way as the square 3d prism example , except it is just layered circles on top of each other, and for each layered circle, the radius of the circle is slightly decreased to give a cone shape. My first print came out way too small , so here is my next version, for this version, I added significantly more layers to increase the overall volume of the shape and changed the frequency in which the turtle extruder makes turns to give it a more swirly shape.


Here is my Gcode imported into the bambu slicer to test, according to the github , I don’t think bambu printers are technically supported yet by the turtle library , but I went ahead and gave the gcode a try and thankfully it worked for me at least.
As far as why it can’t work on a slicer; this particular shape cannot be generated by a slicer since there is not really any surfaces, instead in this case it is essentially just a singular line that continually swirls and decreases the radius of the stacking circles, these thin lines are then stacked on top of each other with small gaps in between , so never in this process is there ever really any surfaces generated , which I think the slicer needs.
Second Print
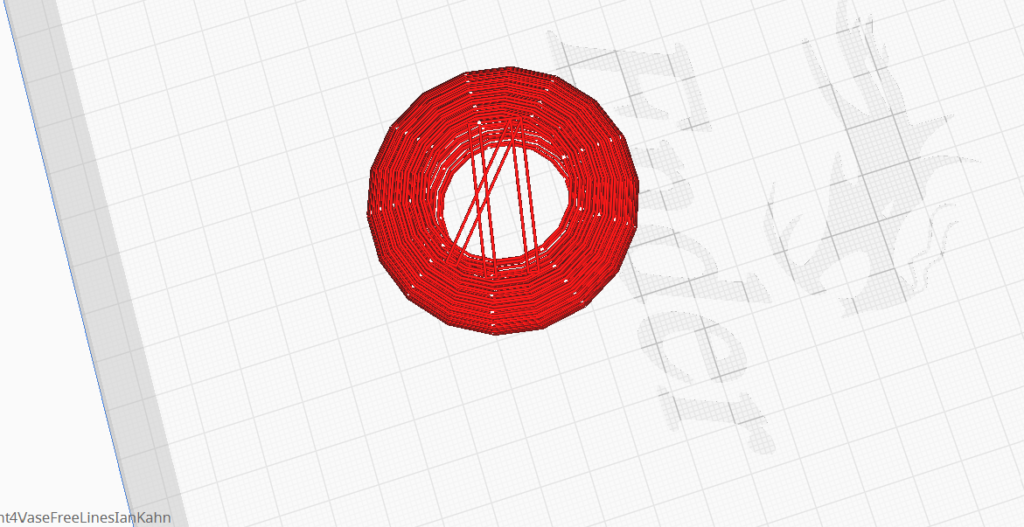
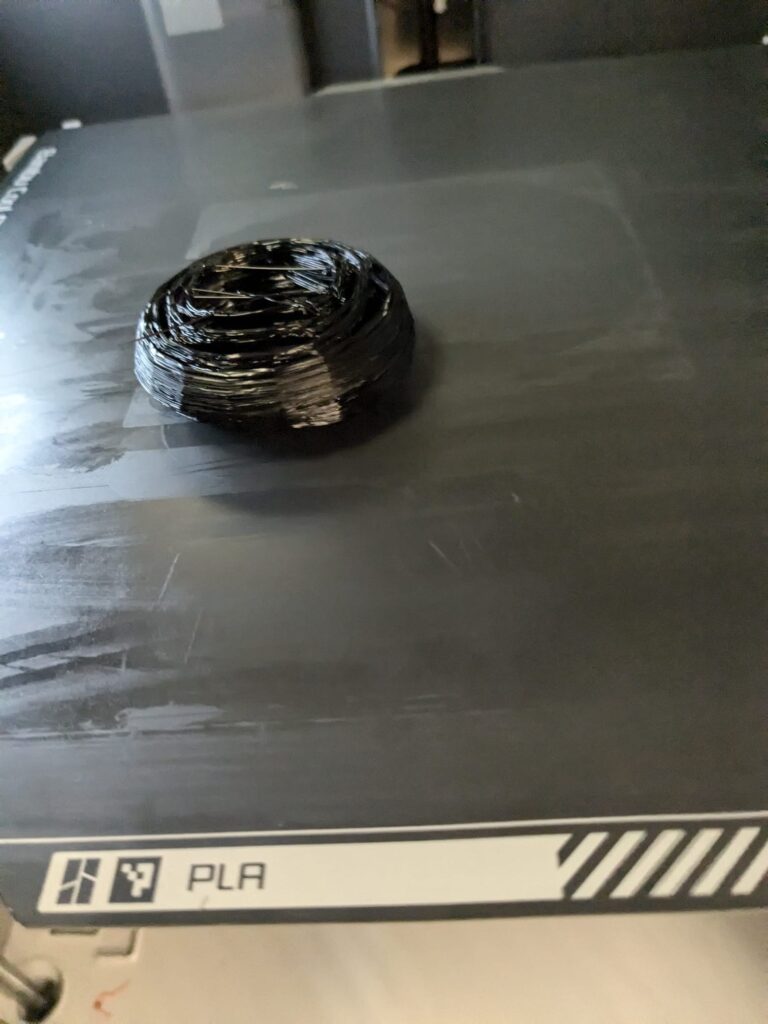
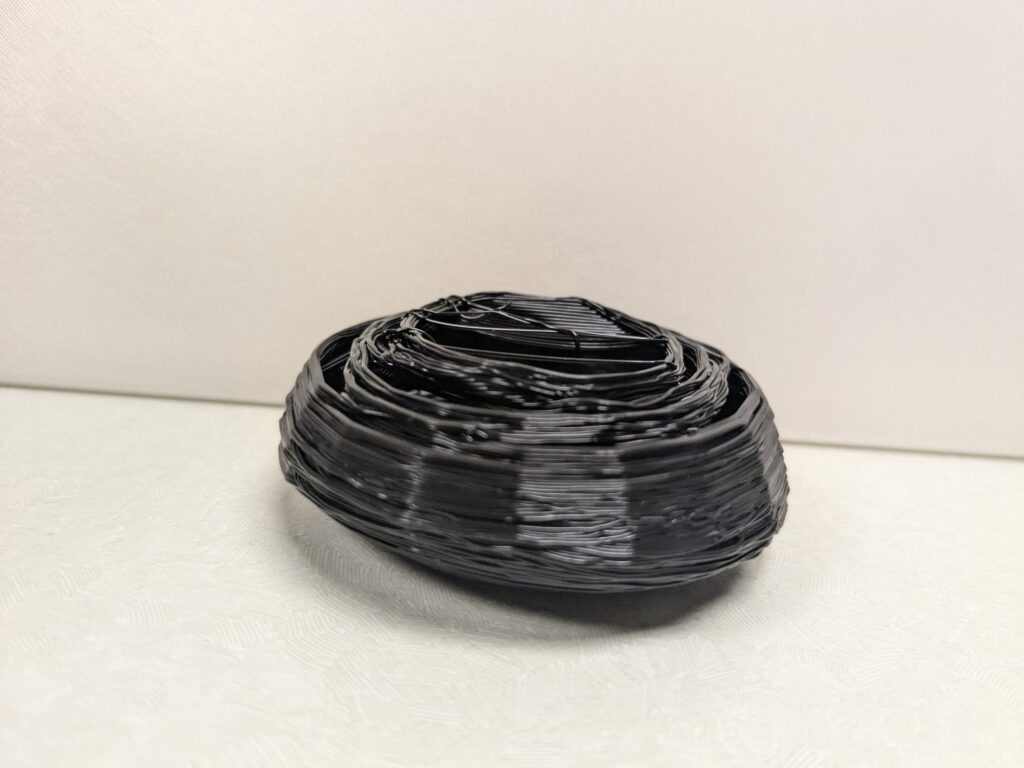
For my next print , I wanted to make a vase / bowl like structure. I utilized a similar process as before except this time I did not have it follow a cone like shape. I also utilized the sin function to help determine the radius of each circular layer in order to start smaller (at the base level) increase towards the middle (the peak of the curve) and then decrease again). Then, after I completed this bowl like shape, I wanted to satisfy the assignment requirement of free standing filament, so using some basic turtle commands or rotating 90 and 45 degrees and the going forward , I added some lines on the top which partially closed the hole on top.


Third Print

For this print , I tried to create a simple barrel figure using a sin function and layering different sized circles on top of each other and then I added some free floating lines, that I was hoping would drip over the barrel and give it a cool organic look. To make these lines I used some simple turtle x, y, and z movement commands to create the 4 by 4 square matrix. In order to be able to have as many layers of this matrix as I wanted , I put all of these movement commands within a for loop, so the amount of layers could be specified. During a later print , I decided to make it larger. (see below)

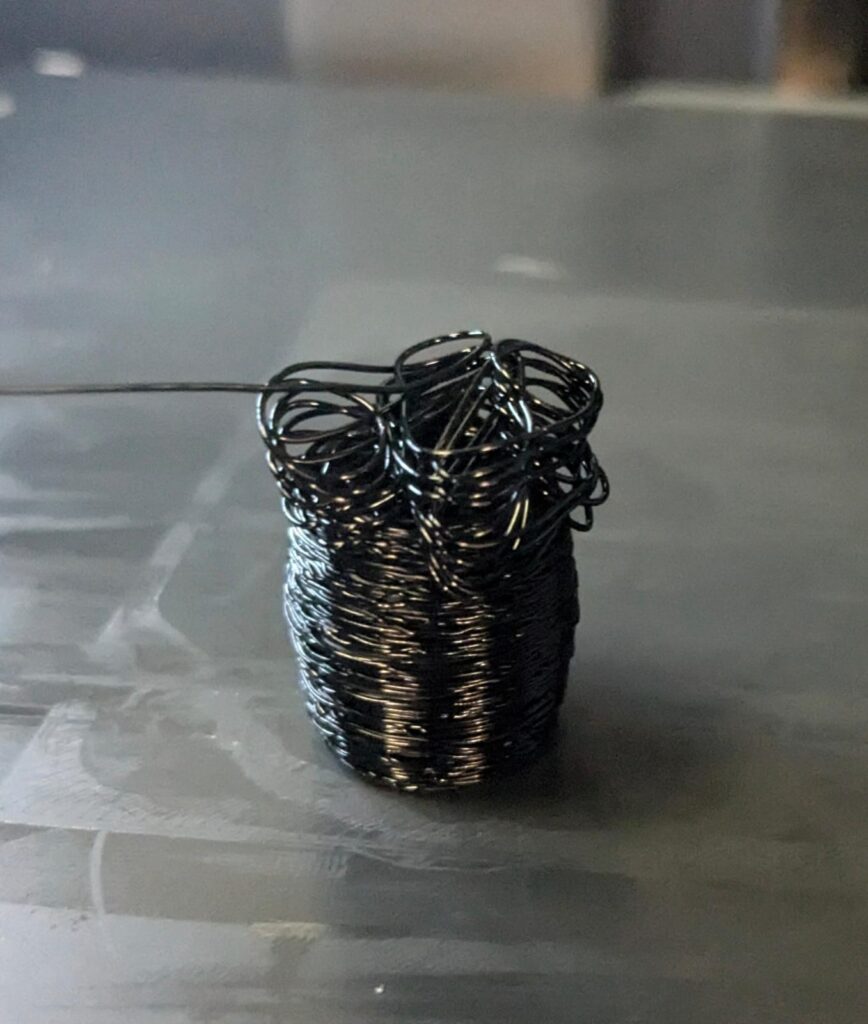
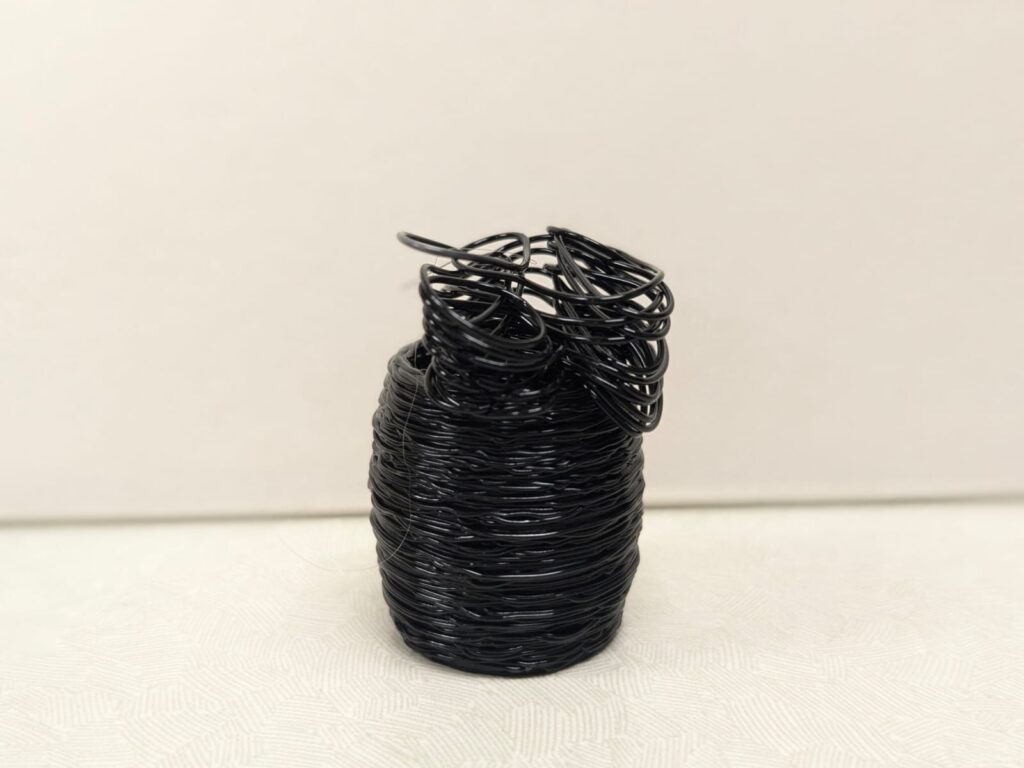
This shape or anything that replicates this shape (especially the top messier portion) certainly can not be generated by a traditional slicer ( unless it is a printing accident of some sort haha). During my G code generative process, I intentionally spaced out the layers of line matrix that I made in the z direction (as the assignment directions indicate) , in order for layers to pile on in an organic looking way.
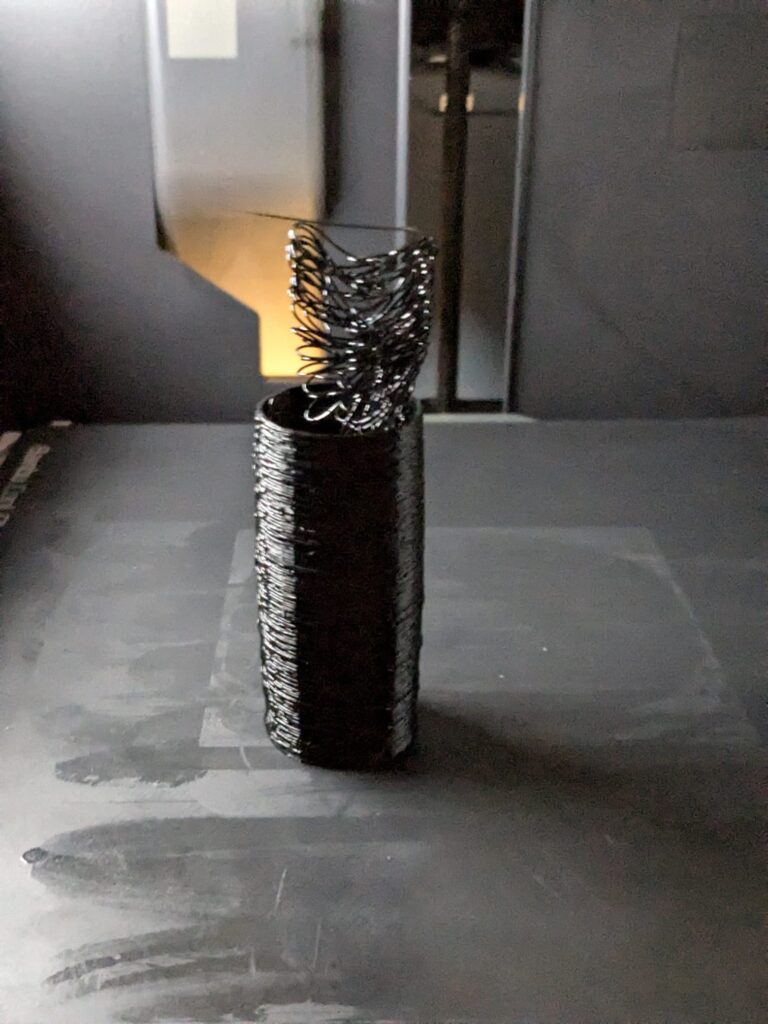
2nd Print of this model (with larger cylinder specs ):
Fourth Print
I decided to go ahead and make another print variation just in case my others didn’t work. For this one , I decided to utilize the same process with my square matrix and cone concept only in this case I decreased the size of the square to create a cone as layers were added on the top portion.
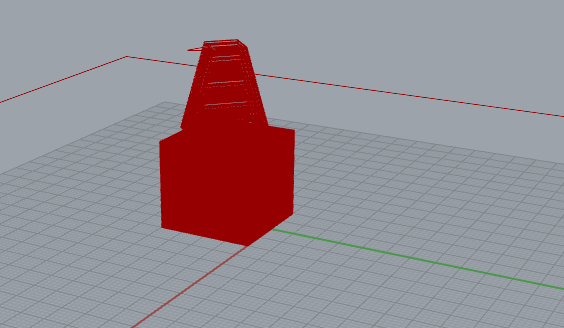

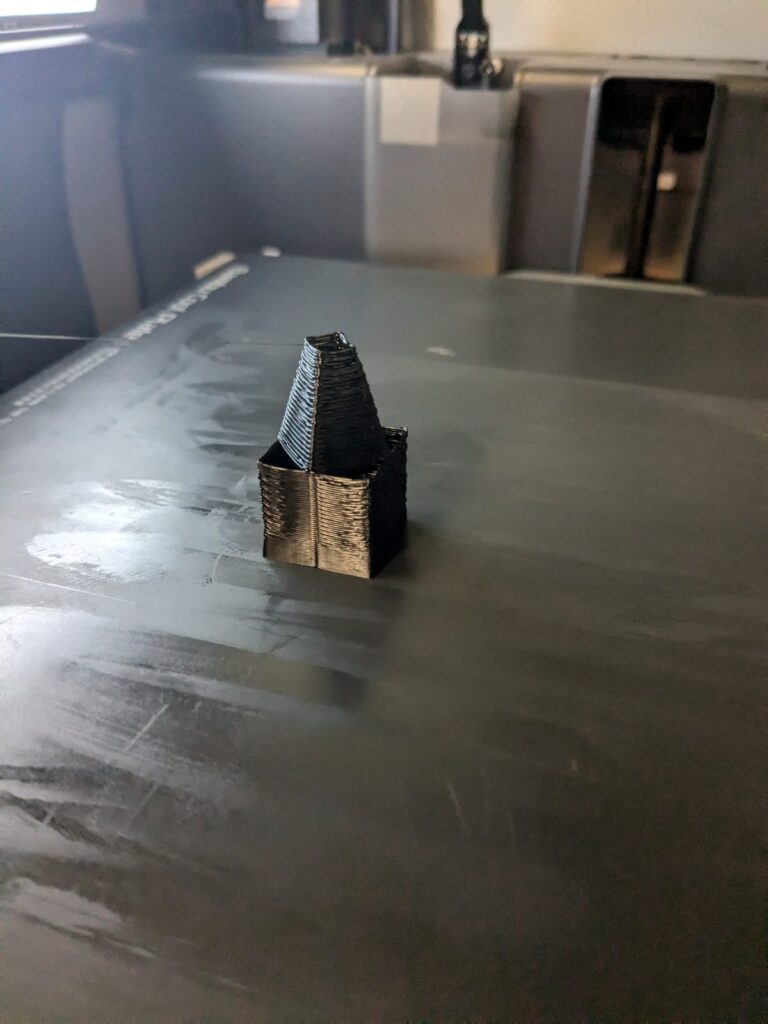
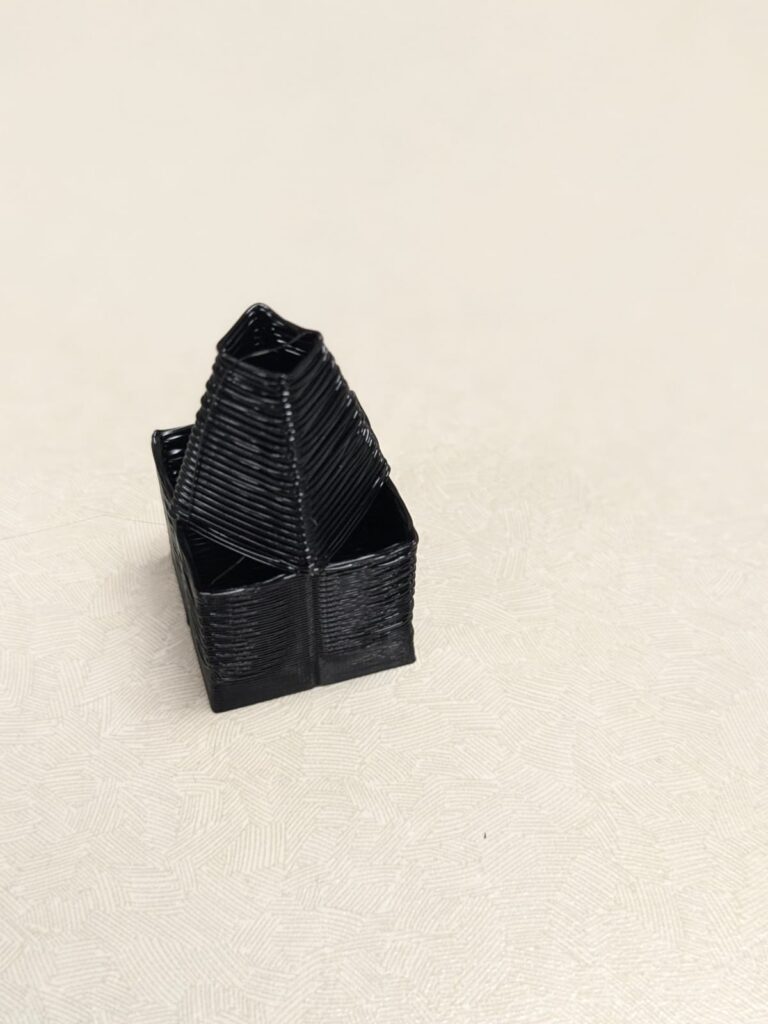
Iterative Process Discussion
Well , first off to be honest , before even starting the GCODE project for assignment 4, I was intimidated about accidentally damaging the printer or messing up prints extremely bad because I knew how even before diving into GCODE (just with normal prints , I was running into lots and lots of issues). However, once I finally got the extruder turtle library up and running and took a look at some of the example work from the slides and from the turtle extruder GitHub repository, it definitely seemed a lot less daunting. The first thing I did was try to take the basic example code we learned in class and provided by Dr. Benchley in the GitHub to generate the square prism , and then modify it with a different base shape, however I essentially kept the integrity of the original for loop, only in my case I utilized a circular base and gradually decreased the radius of each circle added , each time a new layer / line was added on and the height was slightly increased. Doing this process allowed the shape to form a cone like appearance as opposed to just a cylinder. When I finally went to the printing process, my first print came out very small and brittle looking (very first print) so I decided to make a slider for the layers parameter (layers amount) to add more complexity to the print due to greater amount of lines which enabled me to add more complexity to the figure. In particular , I played around with the degree / angle in which the line made the right turn for the circle, I added sliders for these parameters and got the ice cream swirl like shape that ended up working successfully for print 1. For my next prints , I followed a similar process, only in those cases I ended up implementing basic turtle x , y, and z movements in order to add free standing filament on the top of my generated shapes. It ended up giving interesting melty looks on the tops of my shapes and I am interested how this can continually be utilized for more creative purposes.
Failed Print Attempts
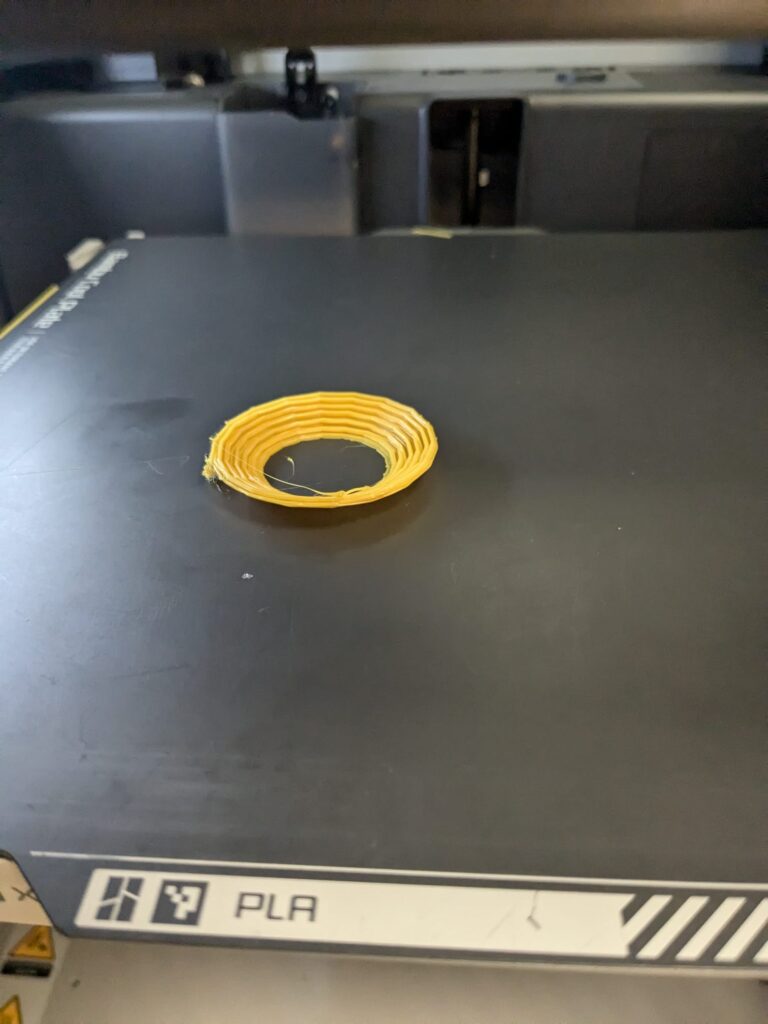
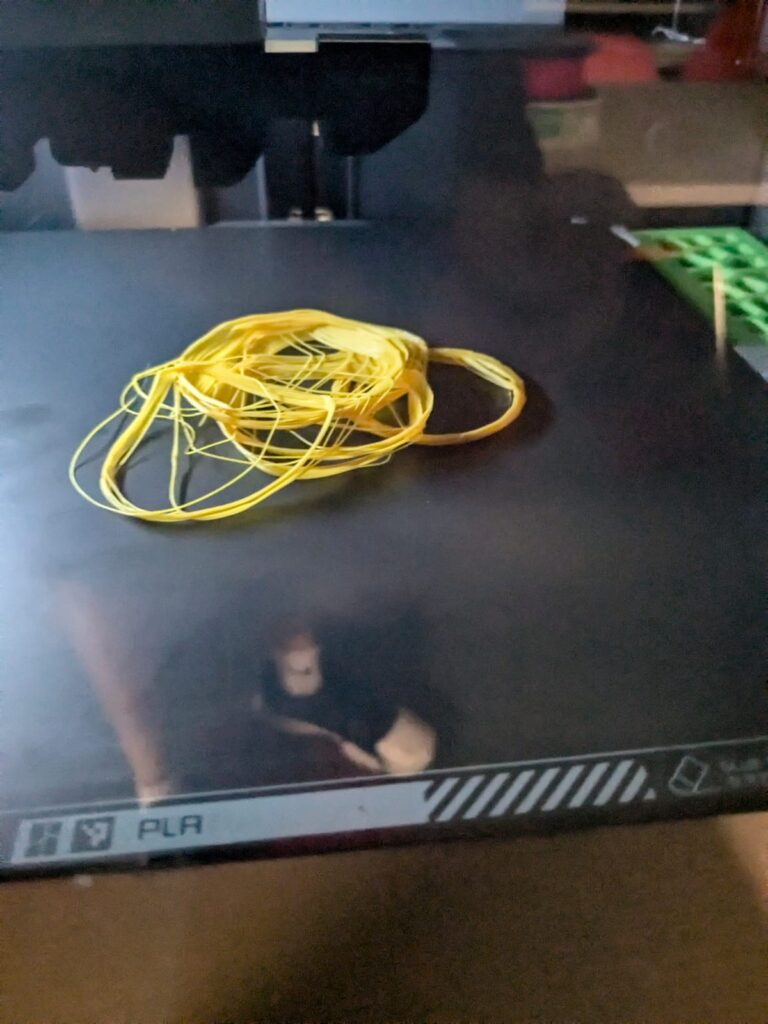
Due to the nature of manually creating the GCODE in this assignment, a big part of the process for me was a lot of trial and error. Below are some of my unfortunate print mishaps.
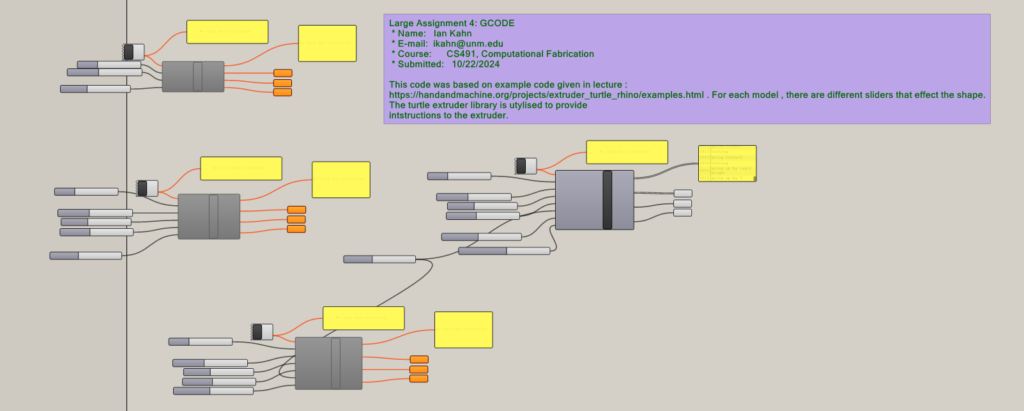
CODE:
Hey Ian,
I can definitely relate to how you felt when starting this assignment—it was pretty daunting for me too. The potential for things to go wrong definitely made me anxious. I also played it safe with my designs because I’ve had issues in the past when I tried pushing the limits. It’s really frustrating when the prints don’t come out as expected, even after spending a lot of time tweaking the code and adjusting the settings in Rhino or Cura, despite the previews looking great. But in the end, we pulled through! Great job!
Hey Andre,
Thanks for the comment , yeah I definitely agree it was very daunting to use GCODE only where a lot of the pre existing safety requirements of a slicer are removed. I think you prints came out awesome tho as well man!
Ian
Hey Ian,
I love your prints the freestanding filament came out really nice. Was there anything specific that you did to the printer specs to allow it so print midair so cleanly? I also noticed you ran into a similar issue as I did with the extruder printer that little extra bit of filament on top of the object when the print was finished. I even tested writing t.penup() at the end of the program and it still didn’t help. It feels like an issue with the extruder turtle. I really enjoyed looking at your prints, really good work!
Hello Patrick,
Thanks for the comment! I believe in that print with the freestanding filament, I am pretty sure I just used the default settings, but I might have slightly increased the speed. Yeah honestly that was a weird issue I ran into as well. Thanks again for the comment!
Ian