Process for Code Generating Shapes –
I used the Extruder Turtle library to create all of my objects. I also created 4 objects for this project so I could have more variety.
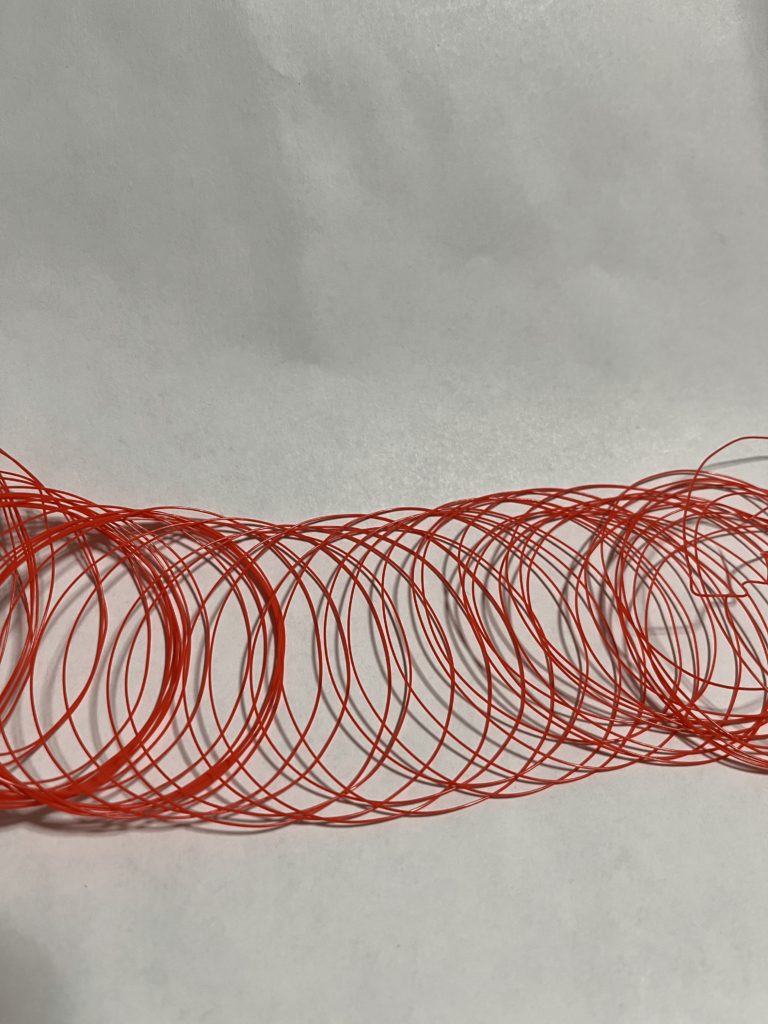
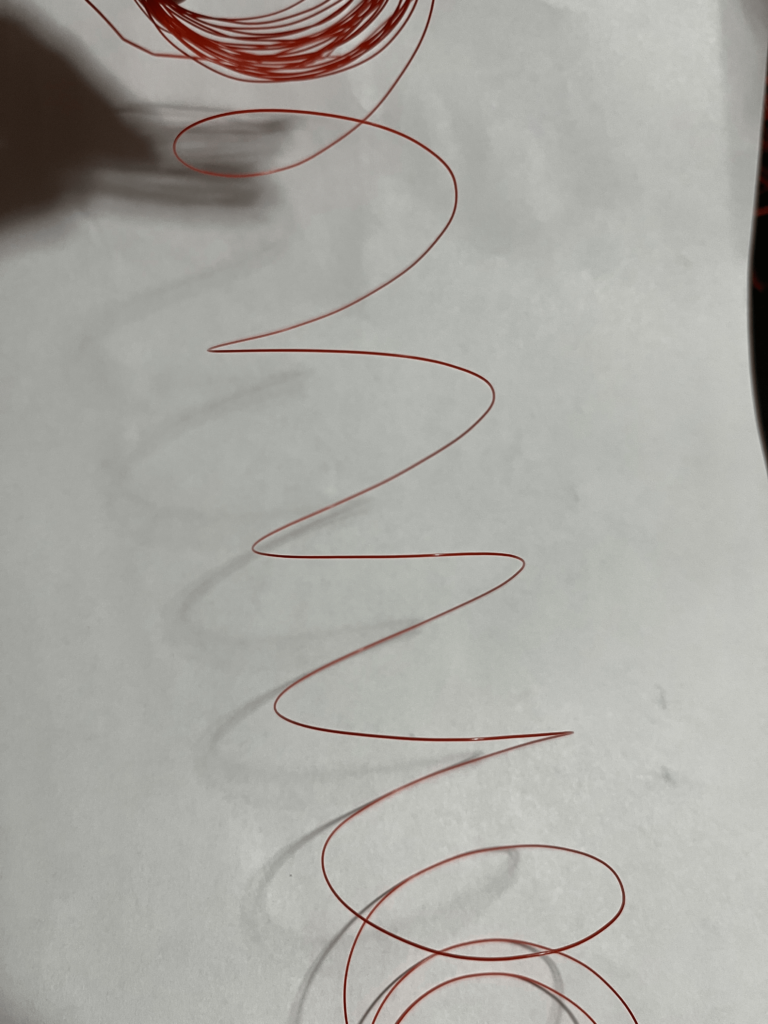
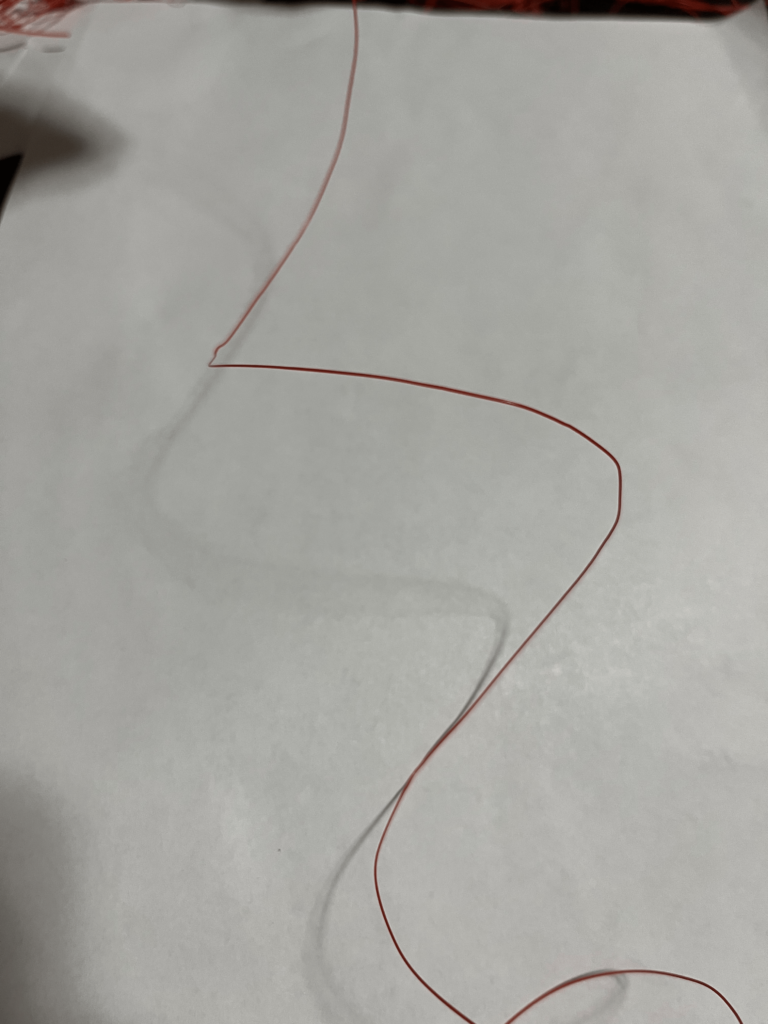
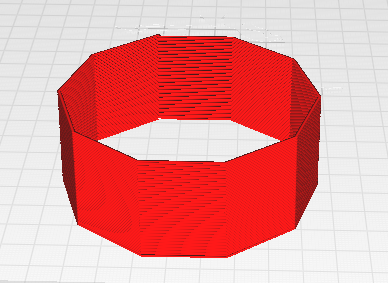
My first shape is generated by G-code, which moves in a clockwise direction while pitching up after traveling a set distance. The code makes approximately 30 right-hand turns and pitches up about 1° as it progresses, creating a spiral path.
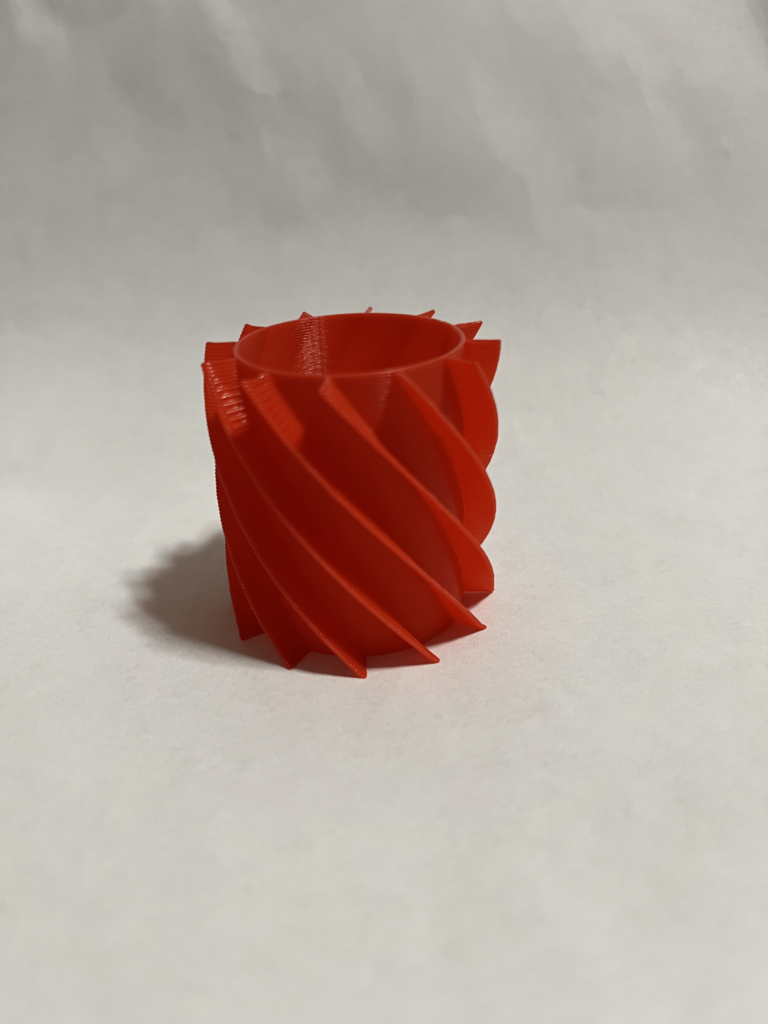
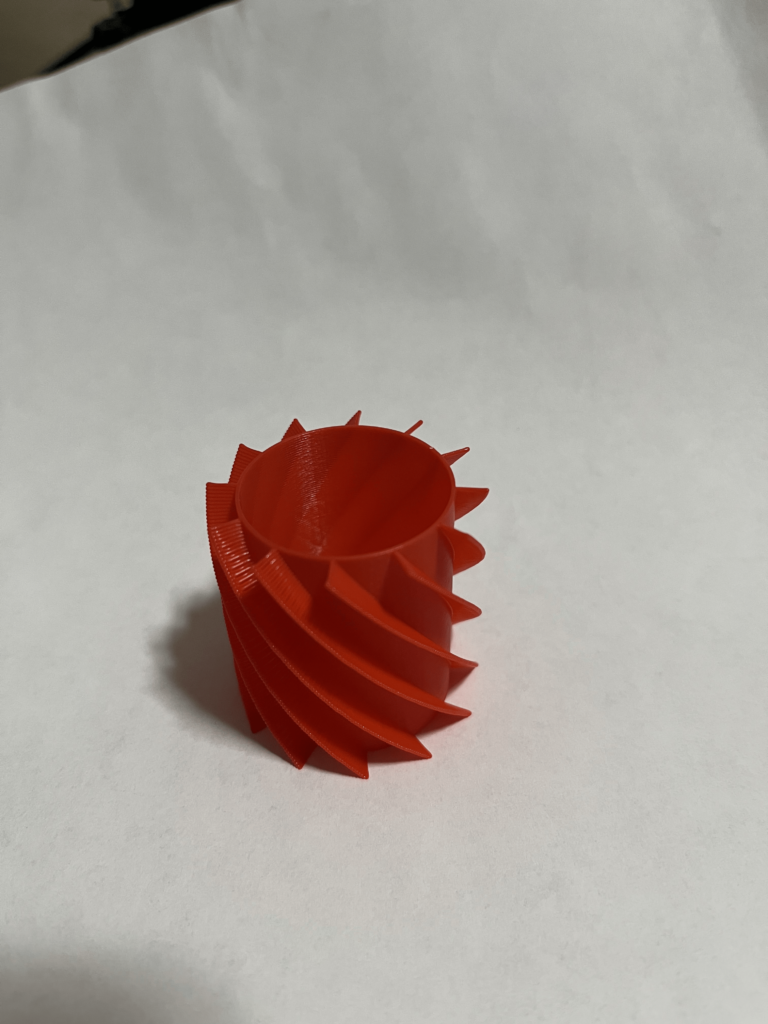
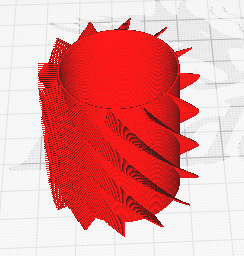
For my second shape, I generated a cylinder with no top or bottom hole. On the outside of the cylinder, I placed a line every 30° around its circumference, and with each layer, I offset this angle by 1°. This creates a spiral effect as the lines on the outer surface gradually shift by 1°. The final result is a cylinder with stacked, spiraling lines.
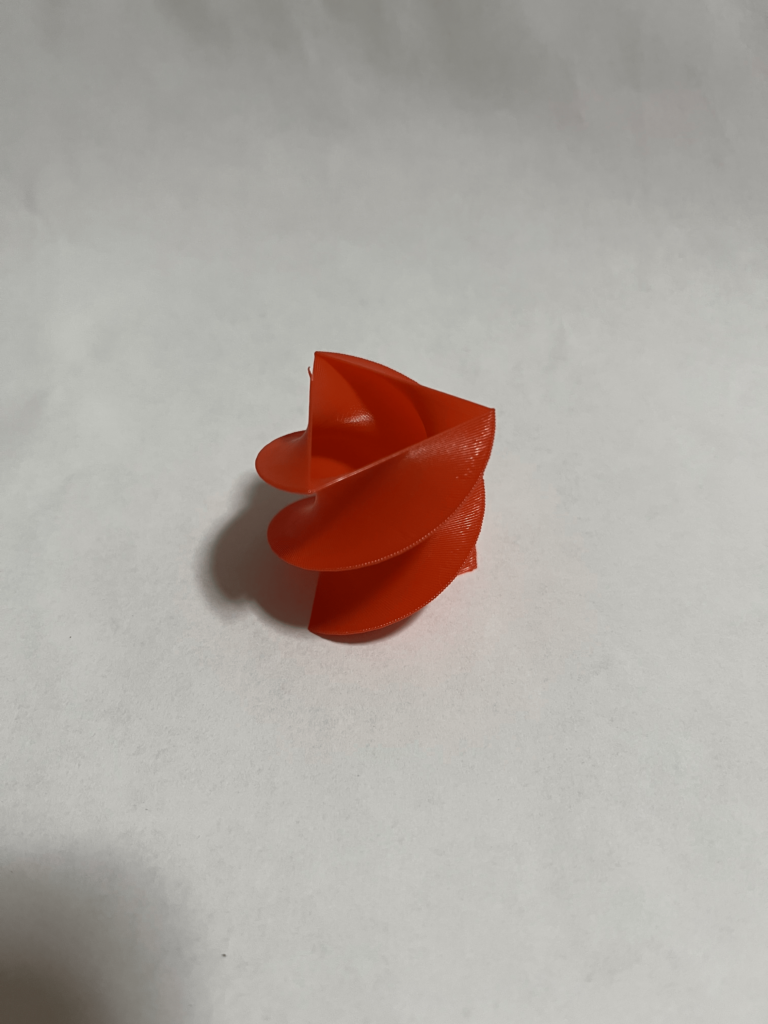
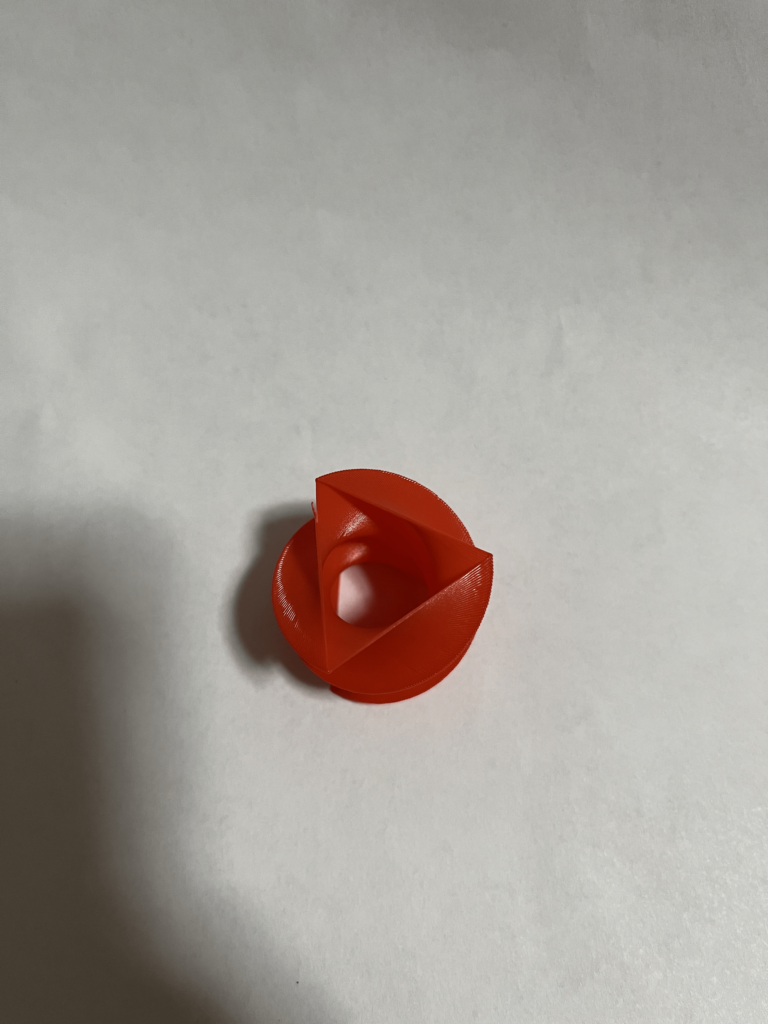
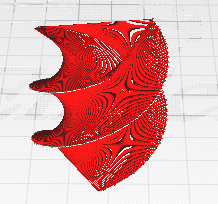
For the third object, I started with a triangle, lifted it, and rotated it 1° clockwise with each lift. This process of lifting and rotating creates an interesting pattern where the triangle spins around a central point.
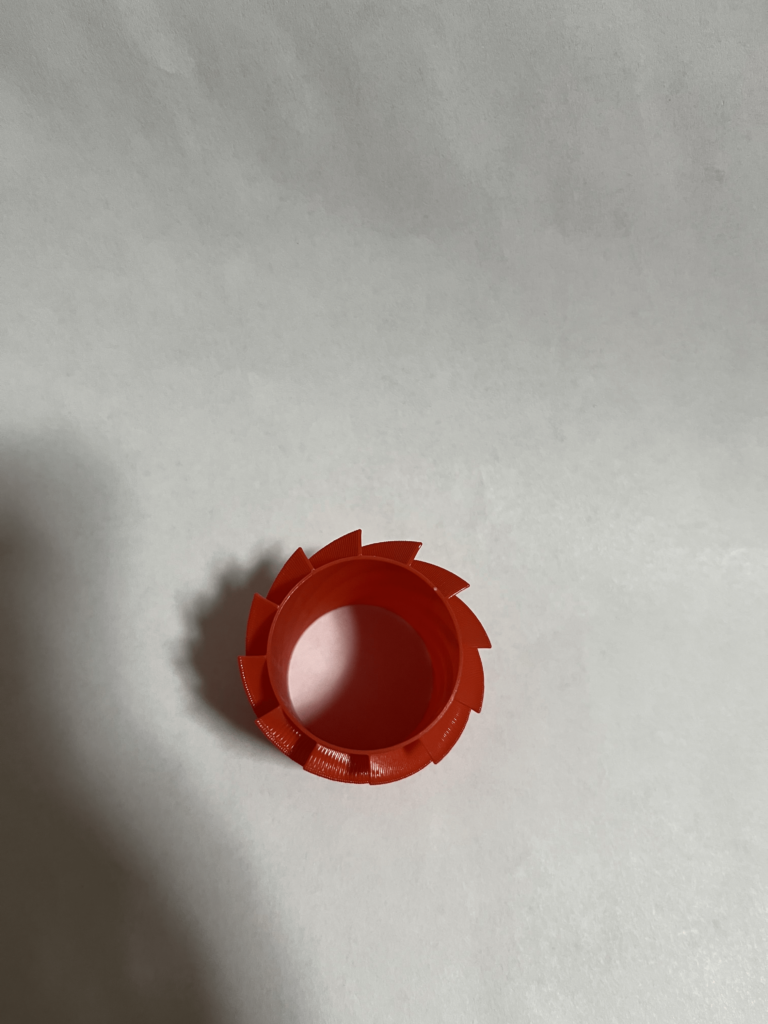
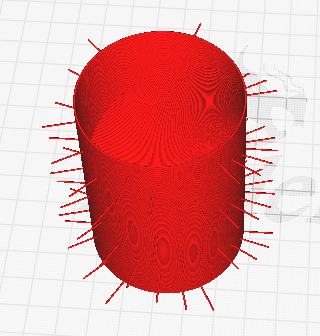
For my fourth object, I also created a cylinder, but this time I made the lines on the outside more sparse and much longer. The weight of the filament caused these extended lines to droop downward, which was intentional. Additionally, I made a radial slice through the center of the cylinder, with lines pointing to each degree around the radius as the object was printed layer by layer. This resulted in a unique horizontal slice effect through the middle of the object.
Why a Traditional Slicer Doesn’t Work –
My first shape couldn’t be created using a traditional slicer because the layers don’t connect with one another. As the shape travels upward in the Z direction, there are no overlapping layers to bind them together. This results in a “slinky”-like object that can stretch and compress like a spring. The form incorporates non-planar nozzle movements in the Z-axis, which is something a typical slicer wouldn’t handle.
My second shape features overhangs on the outside of a cylinder—an element that wouldn’t be achievable with a traditional slicer. These overhangs consist of freestanding lines of filament that wouldn’t be supported in standard slicing methods.
The third shape uses axis rotation to generate the form. By offsetting the triangle by 1° with each layer, the shape develops through path tracing, something that would be nearly impossible to design or replicate in a traditional slicer. The sharpness and precision of this design are far beyond what a typical slicer can achieve.
My fourth shape also incorporates overhangs on the outside of a cylinder, similar to the second shape. However, these overhangs are much more pronounced and droop down the side of the cylinder. These freestanding lines intentionally fall and bend as they are extruded, which would be impossible to create using a traditional slicer, as such designs would typically aim to avoid drooping.
Iterative Design Process –
I went through a lengthy process of iterative design for these objects. The object I spent the most time refining was the first one. My goal was to create a shape resembling a helix that would function like a spring or slinky. I thought it would be fun to print custom-sized slinkies, possibly even in custom colors. I experimented with changing the radius and length of the slinky, but encountered several challenges. Since the printing process didn’t involve any overlapping layers, the slinky would shift and stretch as it was printed and cooled, resulting in unintended distortions.
To address these issues, I slowed down the printer and lowered the filament’s extrusion temperature to preserve the shape. If the filament was too warm, the new layer would melt into the previous one, losing its form and spring-like properties. I printed four different versions of this object in various sizes, each with its own strengths and weaknesses.
My other objects were more straightforward but had similar issues related to filament temperature and print speed. I found that slowing down the printing speed and lowering the temperatures of both the bed and nozzle helped prevent drooping, which was a significant problem for these thin-walled designs. For objects two and four, I increased the overhang distance on the outer edges of the cylinders to exaggerate the effect. The print speed and temperature had a huge impact on how these overhangs turned out.
Overall, I’m very pleased with how my objects turned out. I feel they were great experiments in pushing the boundaries of what’s possible when you move beyond the constraints of traditional slicers.
Images of Printed Artifacts-
Object 1 –
Object 2-
Object 3-
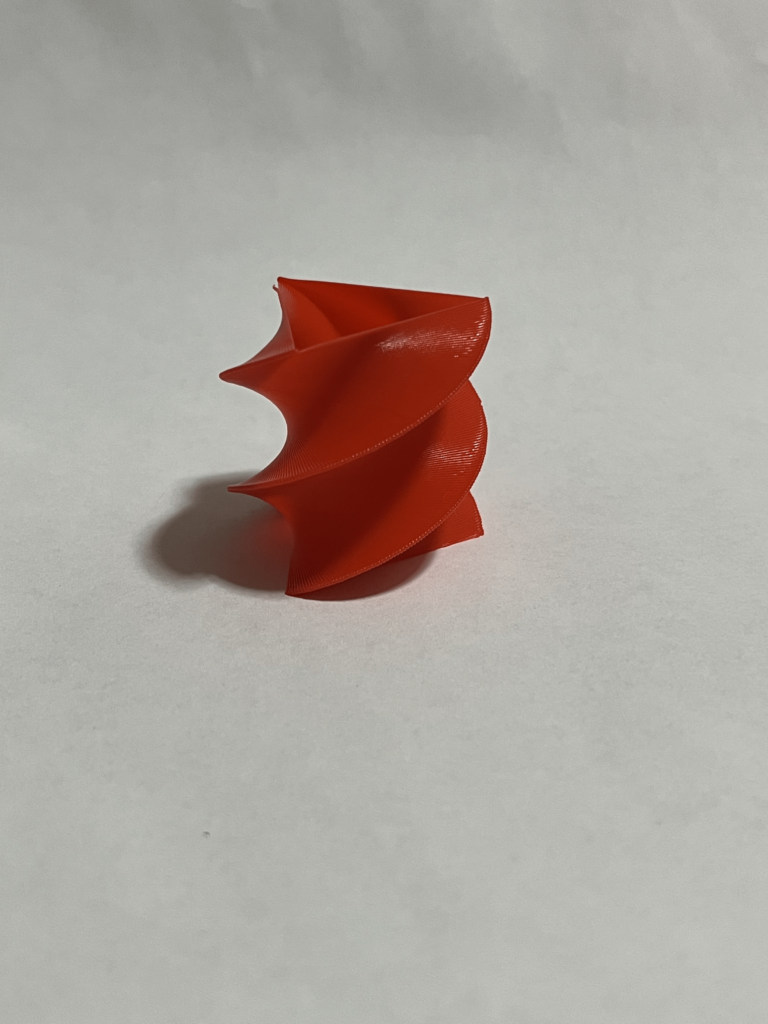
Object 4-
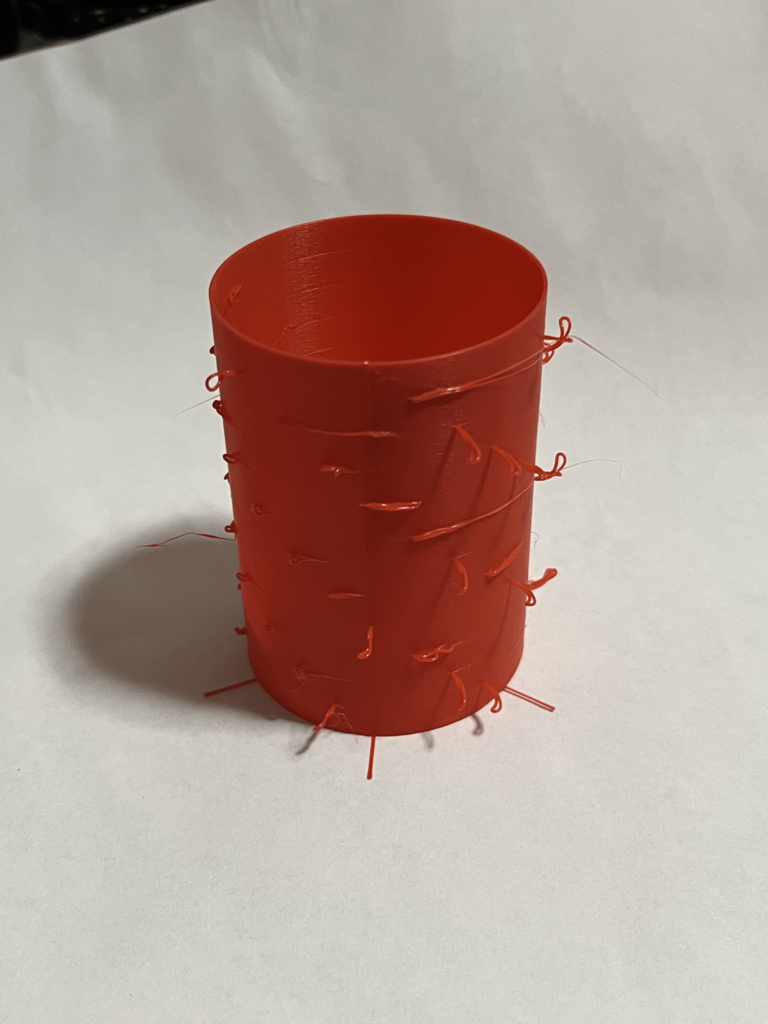
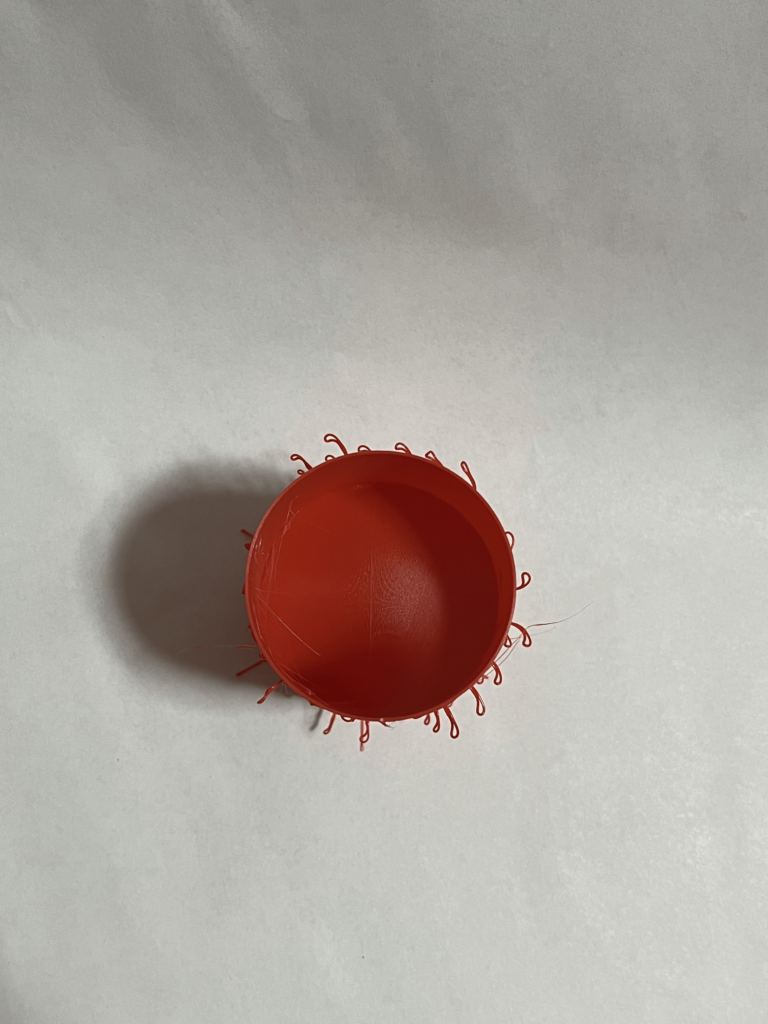
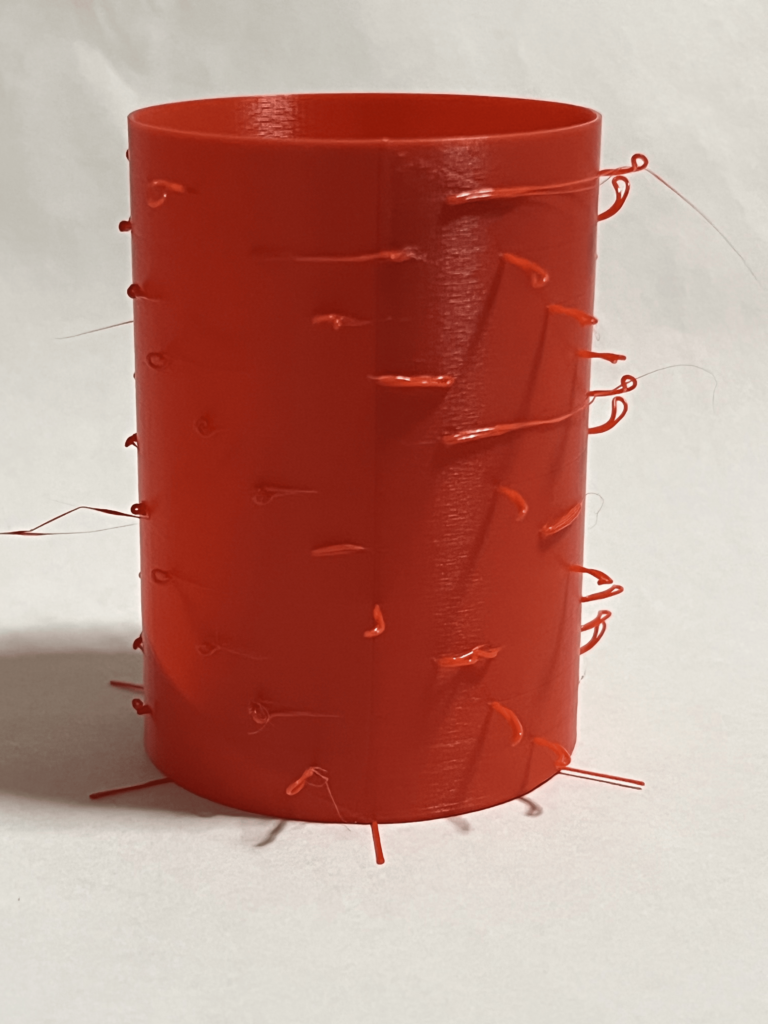
Cura Images –
Hi, Wayne!
All your prints look amazing! I really like your third object which is the triangle which you rotated 1 degree clockwise with each lift and I find it very interesting. How did you come up with that object? Did you already have something like that in mind or did you play with some variables and finalized your object? Overall, great job!
Thank you for taking the time to review my work! For the triangle object, I wanted to test out manipulating a 3d space by moving a 2d object through it. I messed around with different angles and was happy with that one as it generates a nice spiral as it moves upward in the z axis.
Hi Wayne,
It sounds like you did several cool experiments over the course of this project, especially with the bed and nozzle temperatures! I didn’t really think to go down that route, so I appreciate learning about your process. The slinky is such a cool idea! I love the dramatic overhangs in your second and third prints. The way some of your loops continue around your third print looks really nifty. It’s difficult to tell from the Cura image, but was that an intentional effect or a happy accident?
Hey Liz! Thank you for taking the time to review my work! I think that modifying the nozzle temperatures as well as the print speed can be a big help depending on what you’re printing. In my case, it was important that the filament would cool quickly and harden. This was critical when making the slinky. I am glad you liked how it turned out! The loops on the third print were intentionally made long so that they would droop over the side of the cylinder. So in a way it was intentional, but I wasn’t sure exactly how they would look so it was also a happy accident 🙂
Hi Wayne,
Your two spiral designs are super cool and remind me of a design that I saw where a guy made a container that had an inner shell that would spiral into an outer shell and lock the container. Your designs look like they would be very cool renditions of it and all you would need to make is the outer shell to match it similar to I believe you presented for your Data Physicalization Assignment. I like how your first design was essentially a slinky and that would have been very cool take on it if you were able to present it in class and play with it like a traditional one!!!
Link to Spiral Container that your designs reminded me of: https://www.tinkercad.com/things/2Xcvk2e4mO8-spiral-container-tall-s
Hey Andrew! I really appreciate you taking the time to review my work and give great feedback! The spiral container that you linked looks awesome! I think that you have given me inspiration to modify my current object to have a compatible outer shell and then I can use the inner compartment to store objects. You are exactly right that my objects lined up perfectly with one another in the data physicalization assignment as I intentionally designed one of them to be the inverse of each other. I’m honestly really impressed that you remembered that, so thank you! The slinky is really fun to play with and it stretches surprisingly well. I can get it to be pretty much completely flat where it looks like a single string. I was never able to do that with a metal slinky. It is cool that it can be either 2 inches long when coiled and probably close to 20 feet uncoiled. Thanks again Andrew!