Description
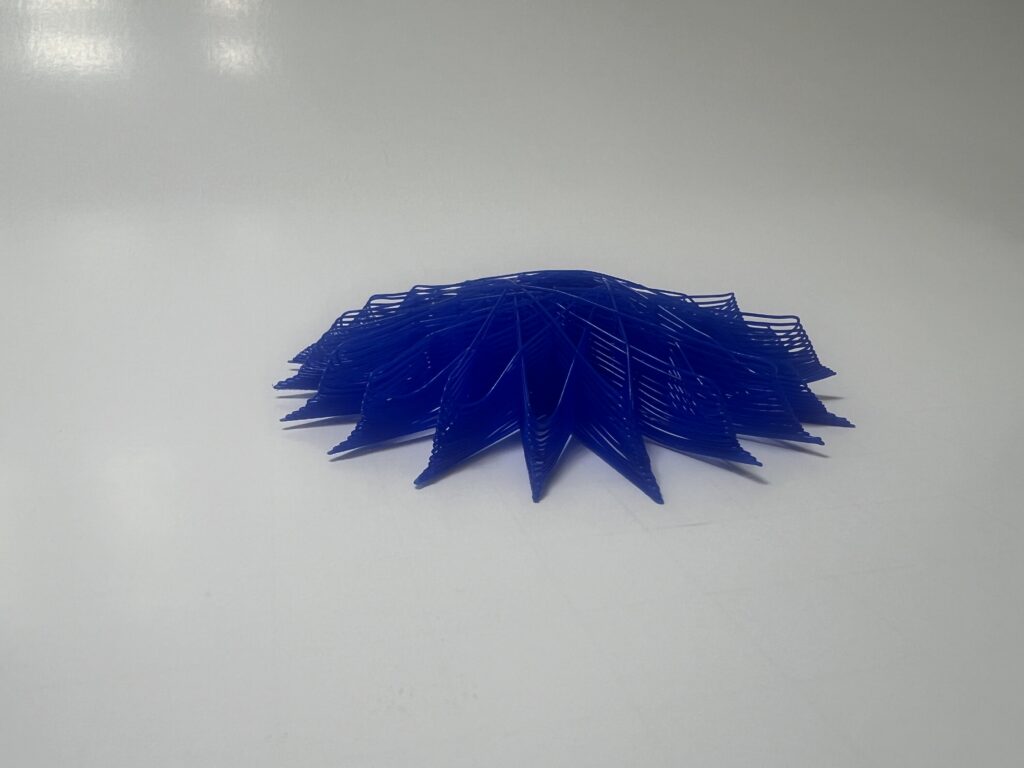
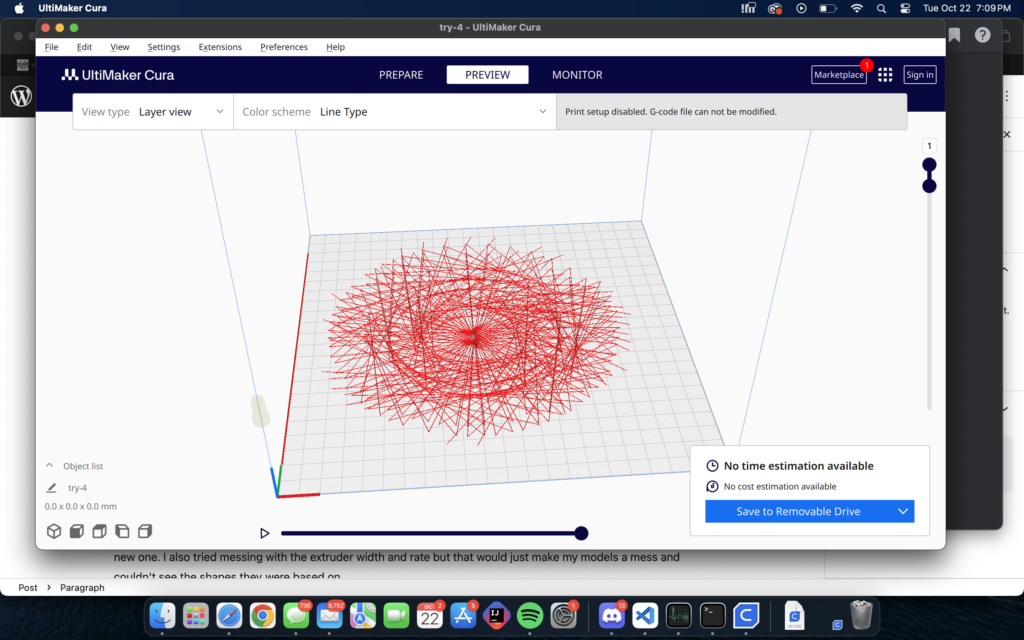
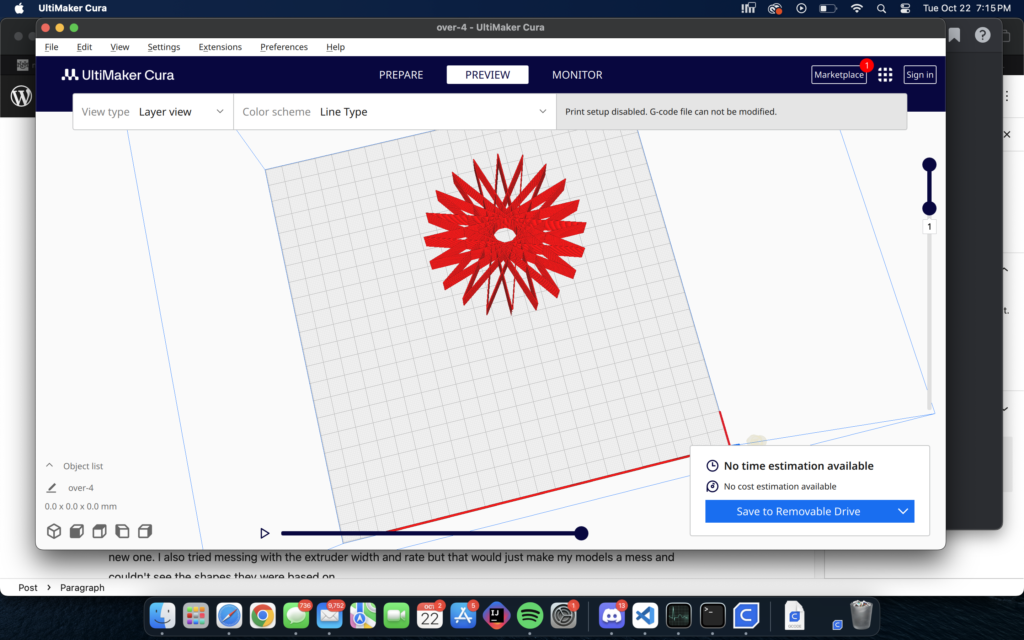
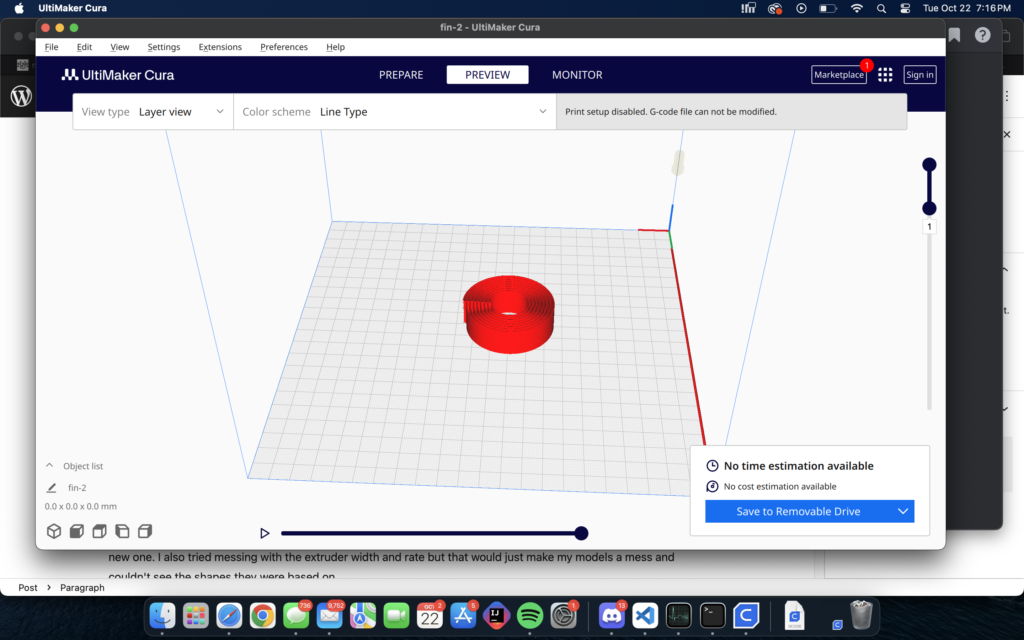
In order to create my three shapes I first started to think about what shapes that would cause my printer head to move the most. I also wanted a way to compare how the gcode shapes would come out versus using a traditional slicer. So a star and a spiral I felt like would create the most movement and the result would be random until I start the print. Meaning even though Rhino would render how the model would come out I figured unexpected things will happen during the printing process where adjustments will be needed. My first model uses the requirements where once a star is printed during the next iteration it offsets the starting position at a new layer height. Also during printing of the star the print head increases in the z which affects how the filament is laid. During the entire process the print head is not near the print bed. The second image takes the same concepts of the first print but lets try to stack the star versus offsetting the position each iteration. The third print was for comparison to see if just by using gcode could I create a spiral and build it up layer by layer without it collapsing.
Explanation
The first two models could be not be printed a traditional slicer due to the fact on how the print head moves in the z axis and is constantly being moved up and down. Also there is a lot of overhang in the models since there are no supports the filament will not lay as expected. Also there is spacing in between each layer which also makes me feel like a slicer will try to fill in those gaps. The filament is also laid on top of other parts so traditional slicers will run over those lines. The third model could be printed by a traditional slicer, but I have some doubts due to the spacing within the spiral.
Design Process
First I started creating the basic shapes and then added pitch, yaw, or roll to see how it affected the shape. Once I got the shape I liked, I started to print it to see if it was doable. At first I was having issues with adhesion so I had to go back and see what temperatures my printer was using for normals prints. After the adhesion problems were fixed I noticed with my models height started to become an issue so I had to limit the height of the models or else the filament wouldn’t lay as expected. If minor tweaks didn’t fix the issue then I would just scrap the model and try a new one. I also tried messing with the extruder width and rate but that would just make my models a mess and couldn’t see the shapes they were based on.


Hi Ricardo!
I really like how you focused on creating shapes that push the limits of your printer’s movement and lead to unexpected results. The star and spiral designs are great choices for this experiment, and they’re my favorites from your work. It’s interesting how you handled the Z-axis movement and overhangs without using supports, which traditional slicers would have trouble with. I also tried using Z-axis variation, and I found it challenging to keep everything stable without supports.
Your approach of tweaking the print head’s behavior, particularly with the star’s offset and stacking, is very intriguing. I can relate to your struggles with adhesion, as I had my share of failed prints too, which made me rethink my design choices. I also like the pictures you took of your prints, they are really high quality!
Yea adhesion was an interesting problem since I never had them with the previous projects. I was hoping when the print was finished for the star spiral I could pull it apart almost like a slinky. Sadly, since there are so many overlaps some of the kind of fused together. These overlaps helped with the overhangs so it was needed or else I don’t think the print would have worked. After hearing the approaches in class I figured having an external fan will help. The Z-axis variations definitely made some unique prints as you can see some of the points of the star are pointy or curved. I wonder if increasing the speed will help pull the filament to a fine point. Thank you so much for the kind words.
Hello Ricardo! I really enjoyed reading about the design process behind your shapes. After reading some other posts from fellow students, I can tell that you had a very unique approach to designing your objects. I liked how you mentioned the randomness in the printed result compared to the object generated in Rhino. I felt the same with some of my objects, as they looked quite different once printed compared to how they appeared in Rhino. Keeping this in mind when designing can be a valuable tool, as it allows you to create objects that remain interesting and visually appealing despite the randomness in printing. I think your first object is my favorite; it has a lot of empty space but still looks structurally sound. Objects like this seem difficult for me to print, so you must have mastered the technique to make something like this feasible. Great work on the project overall! I’m excited to see your future work!
The randomness helps with creating unique, but I also do it so I can have different options during prints. For some reason when trying different shapes some of them have a better time printing. I agree that how the shapes come out versus how they see in Rhino come out better or unique. The first print was my favorite as well since I was able to create a new shape by consistently using the same shape over and over again. I wouldn’t say I mastered this technique, more like I tried something and it worked. Thank you so much for the kind words, fan of your work as well.
Hi Ricardo,
I like how your first idea was to create a spiral with straight and triangular points since one of the main things when it comes to points on free-floating designs is that they curve and have a softer print than the one Cura/GCode design previews. It seems to give it a more organic look when you allow the printer to just let the filament flow and it doesn’t produce the sharp edges. I like the contrast with your second print because it seems it was able to overcome that curve and your points came out pronounced due to the offset and the filament sticking to each previous layer before it. Finally your third print was definitely cool to look at it reminds me of the round container of bubble gum that you can tear off into strips, super clean and simple design!
One thing I noticed for my second print is that the layers are interweaved with each other. I didn’t notice this until after the print was produced. I feel like this added more texture to it and since the nozzle had to cross the center more often than the edges, it gave it a convex curvature. I was amazed with the third print on how smooth the spiral came to be. It reminds me of a foot roll up. Those bubble gum round containers I remember getting those happen as a kid. Thank you so much for the kind words. I hope to continue to use this new found method to create more interesting shapes