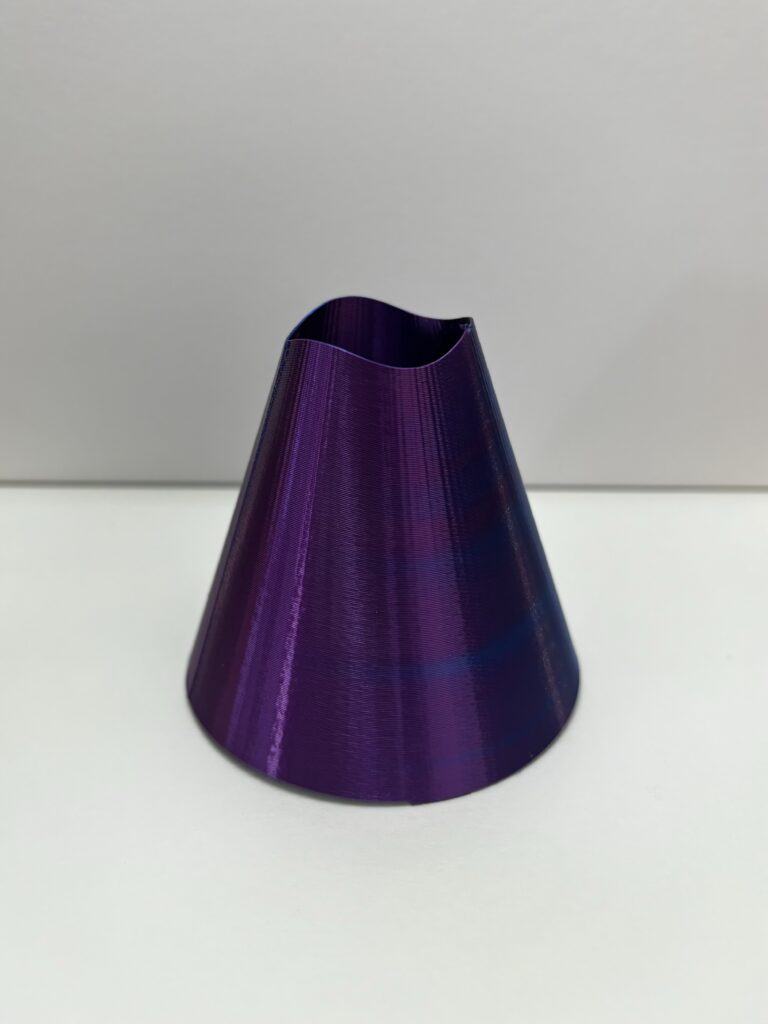
There wasn’t exactly any inspiration behind my models, I worked with what generated and printed well. Though the Extruder Turtle library was generally simple, it took a while for me to figure out how to correctly implement movements that worked with the nozzle and didn’t ruin my prints.
The Process:
As far as process goes, I stuck to a simple circular base, “cylinder-like” shape for all three prints to really focus on the different nozzle movements rather than spending too much time trying to create a complicated object. I did find ways to make each one unique in their own way.
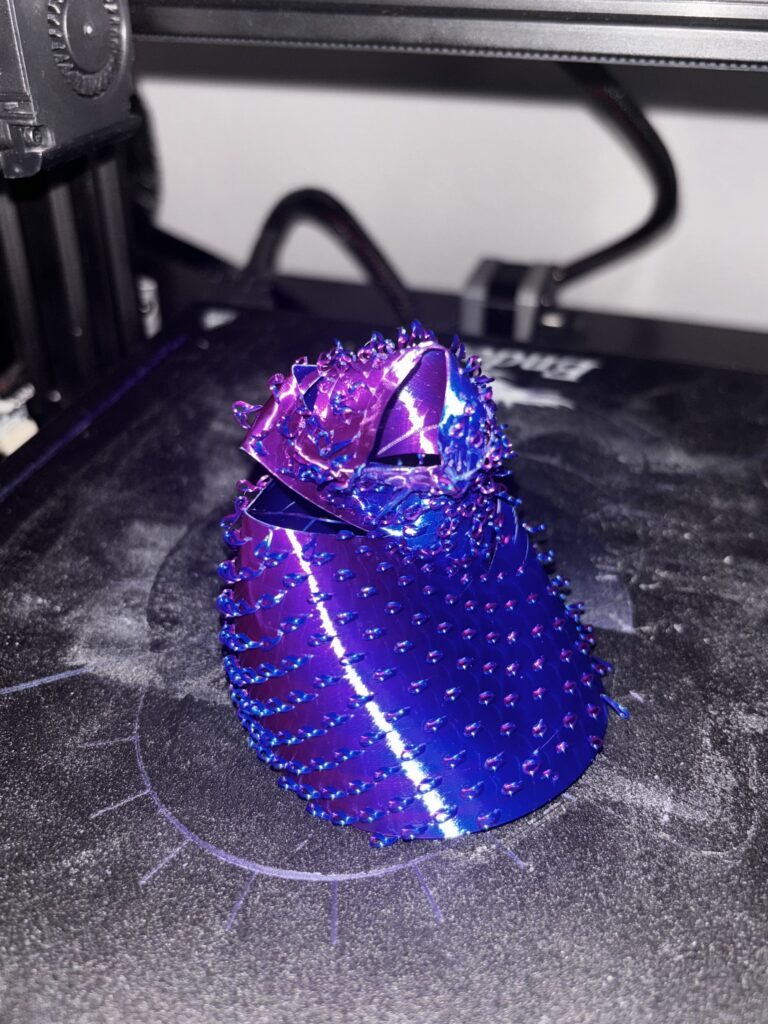
For the first print, I attempted to re-create the hanging loop idea example that was shown in class to fulfill the free-standing filament requirement for this project. However, I did struggle to find any research or projects that implemented this concept. Instead, in an accidental way, the file formed an extended string rather than a loop. I decided to keep it the string pattern instead as it uniquified the object a bit in comparison to going through with my original idea, but still produced a loop-like appearance anyway during the printing process. I basically chopped up each layer into step sizes to control the frequency in which each of the hanging strings were formed for each of the stacked layers (using the left, forward, backwards, and right Extruder Turtle calls). I also fixed the frequency of which layer has the hanging strings and which ones don’t (adjusted the frequency to be every 10 layers). My initial attempt printed each layer too far apart from each other (didn’t have enough layers in-between for the height I chose). Since this particular object worked with a twist as well, my second failed attempt was caused by the large angle that formed a steep surface and left “holes” in the object as it was printing. I decreased the angle which fixed the issue, and finally, the third attempt printing successfully.
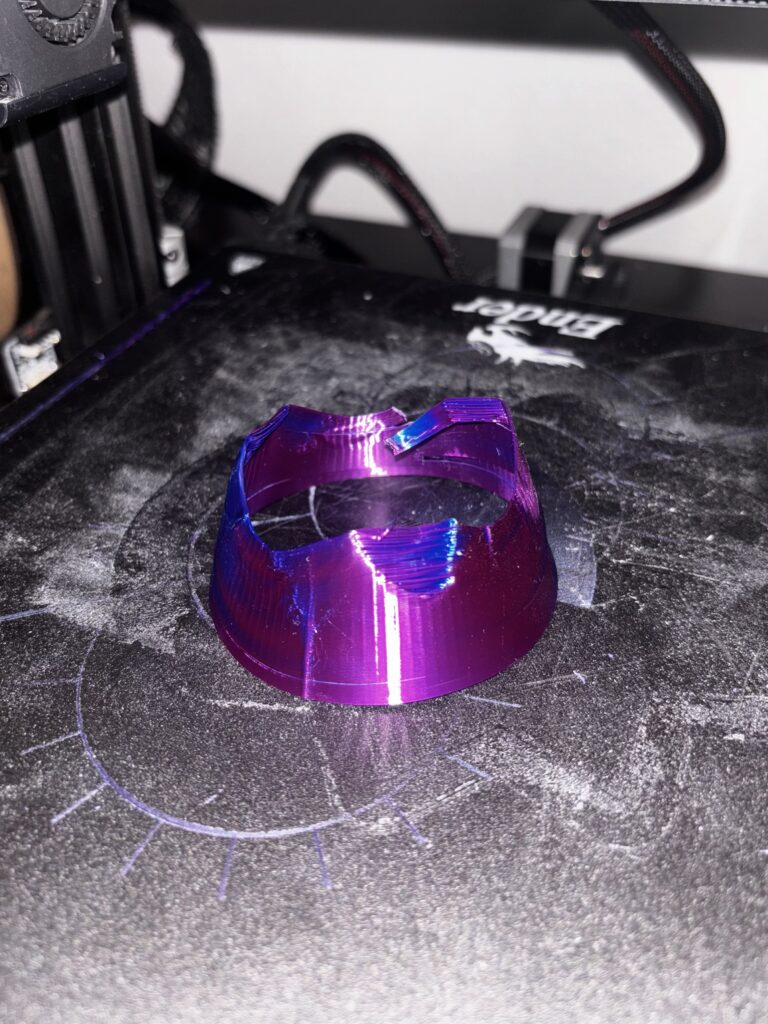
The second print was the print I had the most trouble creating. I found it fairly difficult to implement non-planar movements along the z-axis, especially using an oscillating pattern that didn’t fall apart. After really spending some time looking at the reference article, I noticed that the wavy pattern following up and down the z-axis was very gradual, almost as if the amplitude slightly increased as the nozzle moved up each level. Once I incorporated that concept into the program, the layers stuck much better, however, creating too large of an amplitude for the oscillation caused the extruder nozzle to crash into the object during the print and ruined the model. After making the minor adjustment of decreasing the amplitude, the nozzle never collided with the model.
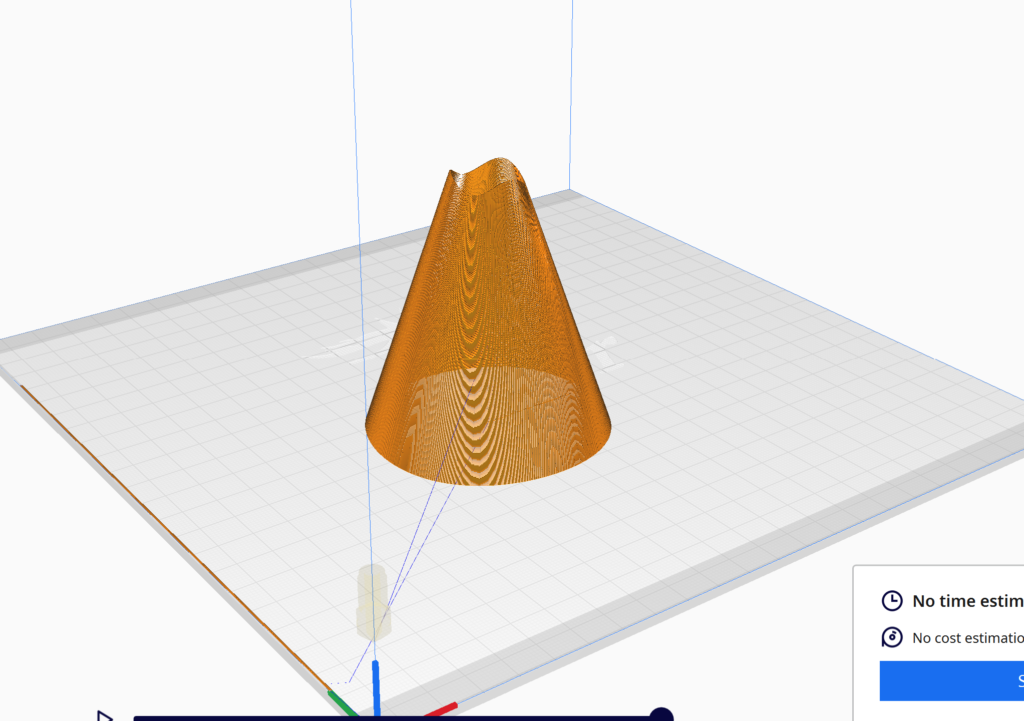
Since I had a slightly difficult time trying to create two functional models, I figured I would make the final print simple by combining the two differentiating elements into one model (essentially an object with both the stringy and oscillating patterns). Combining the two was fairly easy and fortunately had no issues with the final outcome of the print. However, this print was also able to form a loop pattern despite its Cura or Rhino appearance. This, however, was likely a result of the combined sine function for the oscillating pattern. This vessel printed successfully on the first try given the several failed attempts that came with my first two prints.


Some Failed Prints:


GCODE Cura Images:


Reflection:
Overall, I found this large assignment consisted of much more trial and error runs than some of the others. I had many failed prints and about a quarter of those wouldn’t extrude any filament during the printing process either (likely caused by missing Extruder Turtle commands). The unconventional movements required to generate these shapes are what prevents a traditional slicer from being able to slice the model into commands that the printer can read. Though it was really interesting seeing what flexibility comes with working in this environment, it would have been nice to experiment with infill since the prints were quite fragile.
Grasshopper file:
Desiree,
Great work, your prints came out really cool. The filament definitely adds another layer of coolness. I also had a lot of trouble with the non-planar movements. I felt like if I solved one thing, four more things came up that needed to be adjusted. Did you have the issue of weird filament overheating? When printing the waves, whenever my nozzle was moving up, it would overheat all the layers beneath. Took awhile to get the temp settings right to make it look nicer, but I thought it was really strange.
Anyways, great prints and fantastic post. I look forward to seeing your next prints.
Justin
I’m surprised, I actually had no issues as far as temperature and overheating goes. I did notice strange sounds as the nozzle followed up and down the wave path but didn’t think much of it. I read some other posts and it seems like a few students did have to adjust the temperature settings for their prints. There must have been differences in your wave pattern caused by the shape of your object that required for adjustment? I think the non-planar movement was the most difficult for everyone to get. Thanks, Justin!
I like the iterative nature of your forms. I like how the forms exist in sequence getting progressively more complex. It’s unfortunate that 3-D printers aren’t really made for vertical movement considering how easy it is for the printer to just crash into the print mid-construction. I’m glad we were able to discuss printing before I did my vertical prints so I was able to avoid the same problems you ran into.
Beau,
I’m glad you were able to avoid the issue that I ran into. I think both of us were also fortunate enough to be aware of our model location on the print bed controlled by the GCODES we generated so that we didn’t break our printers. It would be nice to experiment with different nozzle sizes to see what movements we are able to do up and down the z-axis that we aren’t able to do with the built in one.
Thanks again!