Vessel 1:
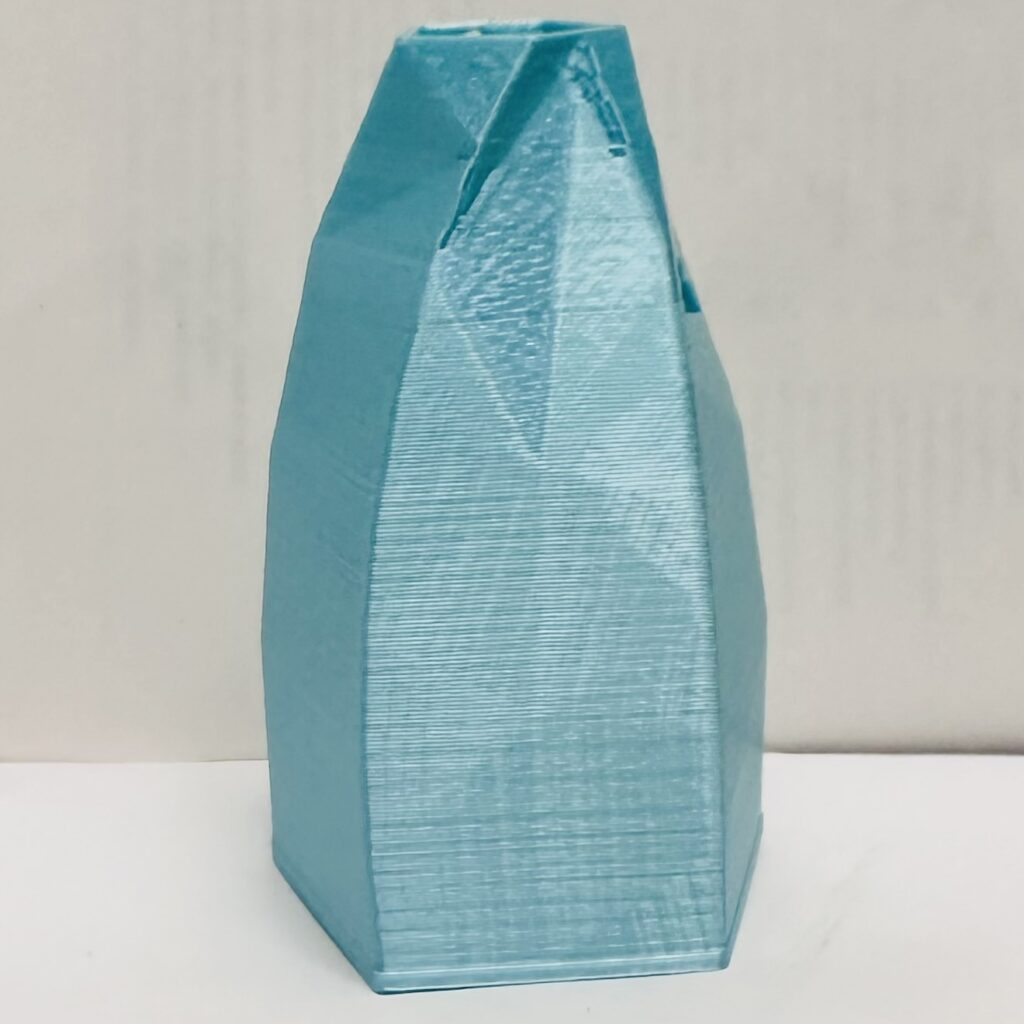
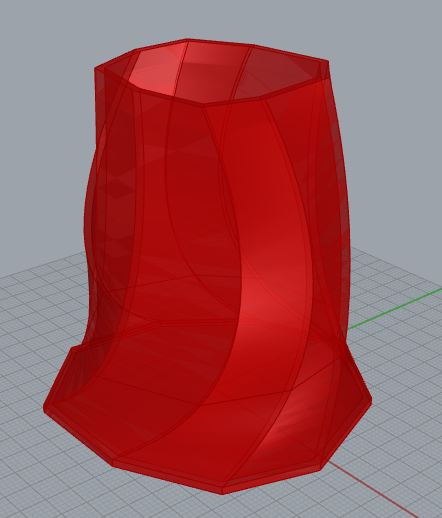
When it came to creating this vessel I had a lot more ideas when it came to playing around with the basic modeling code that we made in class. I tried to create a vessel that was made up of two squares with a triangle topping it and being lofted upwards. However, my printer and Cura had other plans and instead created one of the worst models in Cura that I had ever seen.
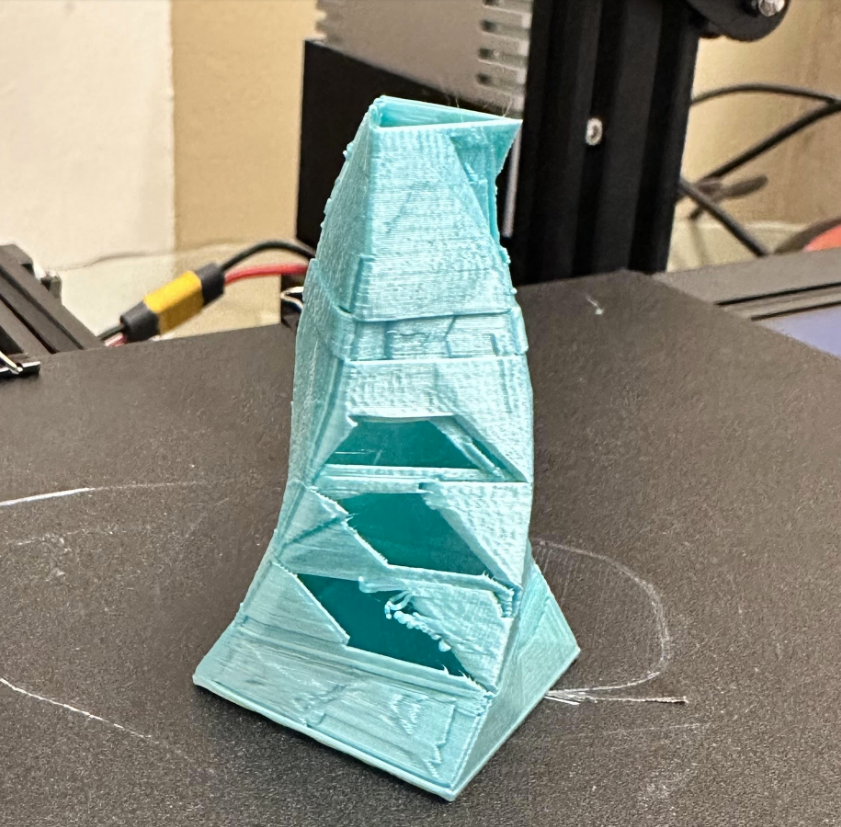
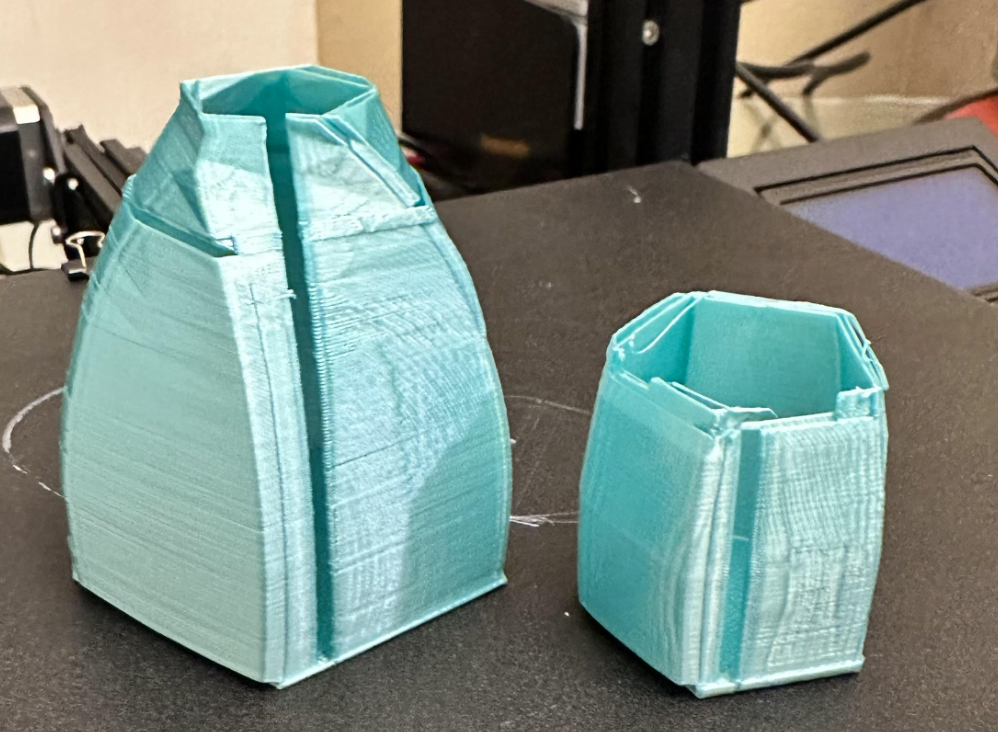
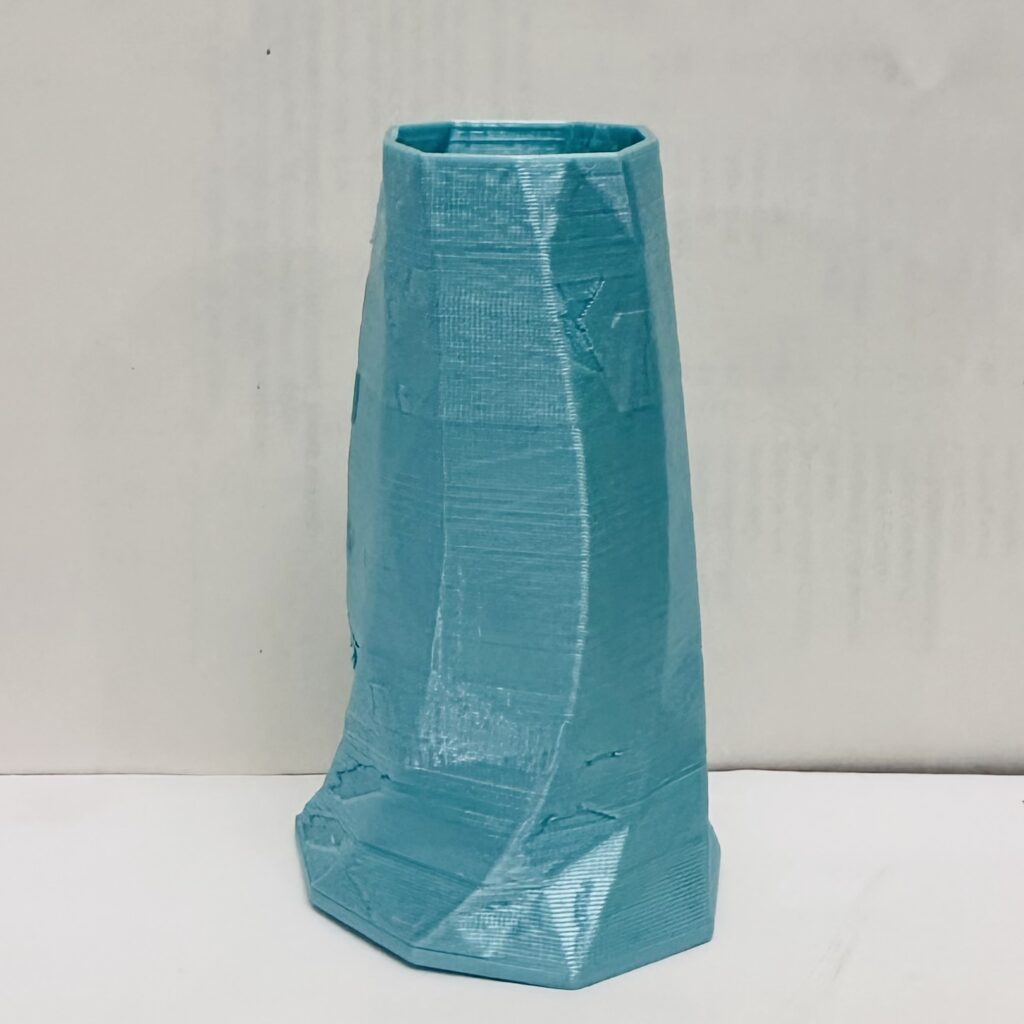
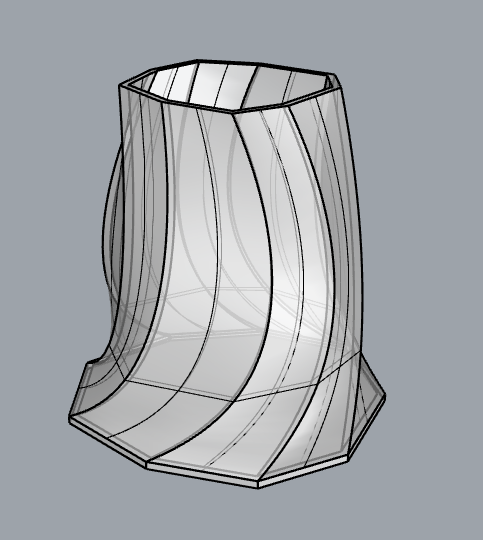
So I believed that I needed to dumb down the design and make it simple by just lofting three different hexagons forming the model that I have above. Despite making the model more simple I ran into some printing issues with the printer snapping off a piece of the print then making the infamous spaghetti. With the other failure 3/4 of the way through it decided that it wanted to shift the entire print ruining a good print. Getting my printer and Cura to just make this was horrible and I heard noises coming from the belt and extruder as it would print from time to time. I adjusted the belt numerous times and leveled my bed almost ten times. It wasn’t until I saw a video showing how to tighten the x-axis belt even more by using the large allen wrench as a lever to pull the belt as tight as it should be. After fixing the belt I didn’t have anymore off-centered layers or prints and I had also gotten my bed level to create all my prints. All of my prints came out to 38.1×38.1×63.5 to meet the requirements for this assignment so my models are much more stretched than their original Rhino renderings. I also believe that the twist angle feature in GrassHopper caused a lot of rendering issues with both Rhino and Cura since the majority of my prints had missing pieces that weren’t evident from the Rhino file until I sliced it.
Vessel 2:

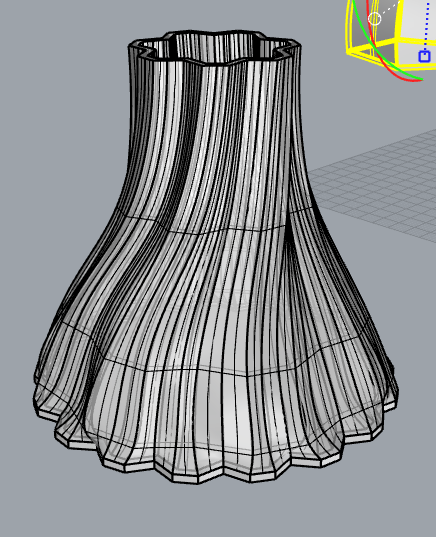
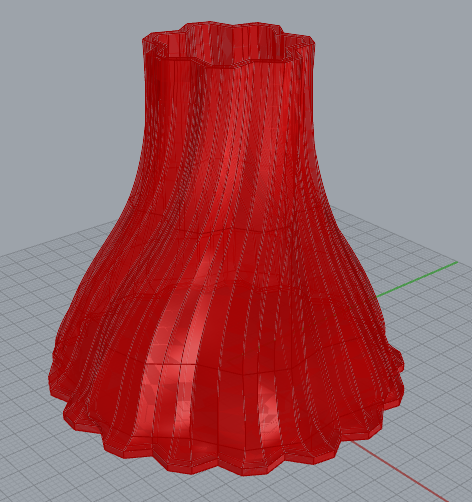
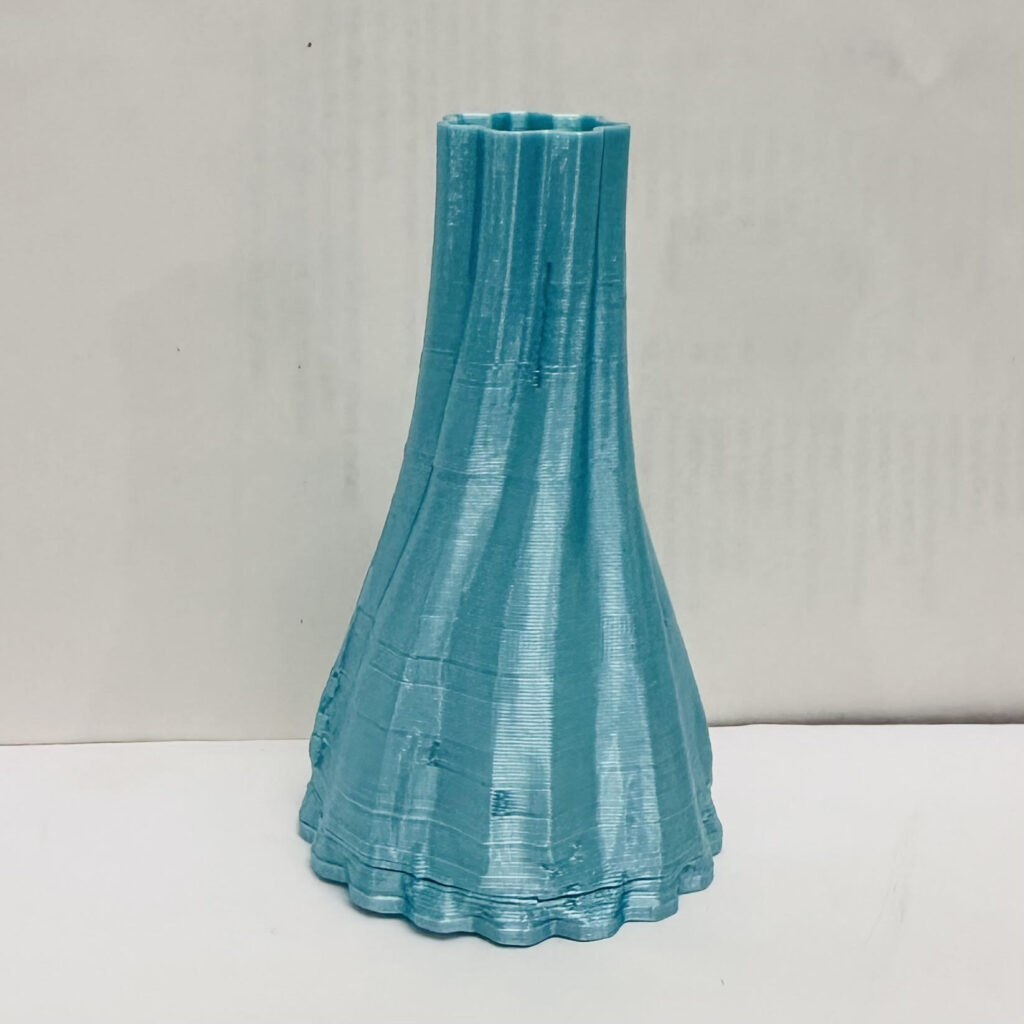
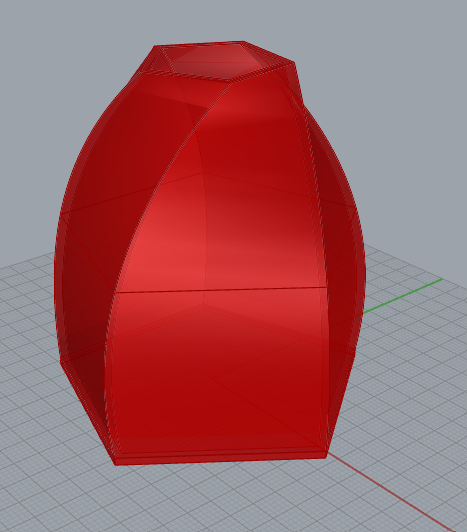
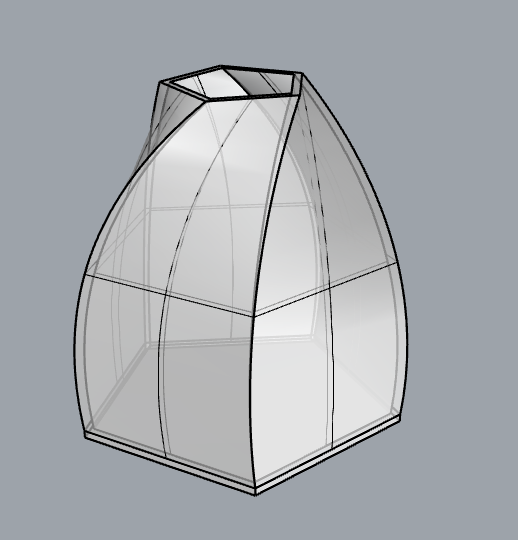
This design was really fun to make, and I created it by altering the the triangle gear function that we made in class and replaced the two point gear with essentially a three-point one which made the geas created a lot more flat and more like a flower outline. Originally I made this shape very wide and bulbous and because of the the little gear design on the bottom it made it look like little feet and with the round shape it looked like Pear from Finding Nemo.

It was really cute looking and had a very small opening at the top that was more of a hexagon shape, it was the very first failed print and due to my belt being off and Cura not rendering it properly the design was missing tons of pieces from the model and the first two starter prints that I made started printing way off-center and printing all shifted. Of course after fixing the belt I realized that it wasn’t moving as much as it should have so that was causing it to not properly move across the printing bed and print things in the wrong coordingates.
Vessel 3:
This vessel was definitely an interesting one that I did not expect it to come out. I just wanted to do a simple sine wave to the polygons by making a new function to alter the points and having the polygons function use those points. I was expecting all the shapes that were created to be wavy, however that was no the case. I altered the amplitude and frequency that passed through the sine function and instead of wavy points it actually distorted all the polygons making them into other shapes and at one point if I turned the amplitude high enough it created a fish design that I really wanted to make but the edges seeemed to twisted and would have had tons of holes where the design couldn’t loft the shapes together. Overall it was a funky looking design that had a nice little wave to its body from the twist but also the alteration from the sine function. Printing it out I made the changes to its size to make it fit the requirements for the assignemnt so it looks a bit more elongated than the design. Despite all these issues all my prints only took about an hour or two to make, but thats if they made it past the first five layers or they messed up in the final layers. Despite the printing time being low for all my prints I would have rather had longer prints with no printer and Cura model issues. For my designs there are still random holes and artifacts that the model had I’m still not sure if it was Cura that did this or maybe I needed to make a higher quality STL mesh for it to render. Overall this was a great experience making the models and troubleshooting my printer longer than it took to model the vessels and print them.
Reflection:
The parametric design process was very fun and exciting to use and explore. There is so much that you can do with the GrassHopper and Python functions to create intricate and interesting models. It definitely speeds up the process of having to manually create a 3D model and calling all the different functions and transformations within Rhino. It does take some time to set up GrassHopper with the type hints matching and the Python code to output what you actually want, but once you have that set up there are endless possibilites and tons of live models you can create and alter with ease rather than having to stress over making model after model by hand. By using code and and tools to formulate new designs it opens up a grand scheme of designs you can make using computation that otherwise you would have to put tons of time in to create and even replicate. It definitely shows you how we can use technology to increase our creative processes and bring more variety when it comes to modeling and designing. This skillset will definitely be one that I will be using going forward and combining with my computer skills. By 3D printing and programming it allows me to create things that I most likely could not have created simply from my own mind and drawn down on paper, I could but it would take a lot more time than it would if I had a 3D printer, GrassHopper, and Rhino to help me bring it to life.
Overall, when I was creating my different vessels I didn’t have a true design for any of them in mind. I always tend to make things randomly and then it reminds me of another object or some sort of reference. The first vessel that I tried to make with the triangular top it reminded me of an abstract Youtube Play Button and of course my second experimental vessel that looked like Pearl from Nemo, but in the end I change them slightly due to printing issues or the Cura modeling issues. Had I had a perfect run with my printer and the models I believe I would have created some more unique and fun looking designs they just didn’t seem to work out this time around. I feel like I can really put the printer to use its just that some things don’t end up how you envisioned them. I still enjoyed the process creating the different vessels as well as troubleshooting my printer, but I would have surely not had to have used my time mostly to adjusting and fixing my 3D printer despite it working perfectly fine a few days prior. But it also shows me that not all prints are going to work with your basic setup and you are always going to have to tweak things as you go!
Hey Andrew,
I like the design of the second vessel. I wonder if you’re able to have the edges of the base extrude further away to create the feet of Pear. You can tell the rendered and final version came out different. I had this happen to me multiple times where I had to fix some parameters because holes were randomly appear throughout the figure. I agree that when using python scripts to create your figure it can definitely speed up the process and introduce some randomness for interesting figures. I hope you were able to fix everything with your printer.
Yes, the second vessel was definitely my favorite. The gear function definitely gave it some spunk compared to the other two! Extending the feet was definitely something I considered to make it more Pearl-like. I would have had to mess with the z-axis on the other polygons to make sure it wasn’t too steep of a print for Cura to try and render without supports. I tried all qualities for printing, and for whatever reason, Cura would not properly fill any gaps that weren’t prevalent in the Rhino application and STL. I thought the twist was too drastic, but even after making them, I removed the twist function, and they still had holes, so I might have to reinstall Cura or Rhino to fix it.
Hey Andrew, you’re designs are really cool and interesting, I like the sizes you chose as well as your problem pictures. I also struggled with the printing process because as some point the x-axis belt got misaligned and I couldn’t figure out how to fix it. I tried everything until I finally figured out that one of the screws was loose that was making it so the belt had too much slack. I also thought that parametric design was really fun to experiment with.
Thank you! I wanted them to be more complex and twisted, but the Cura rendering had other plans for me, so even the simple ones had printing issues. I have no clue why the axis belt was an issue this time around; I printed other smaller sample prints from Thingiverse and never had any alignment issues; it goes to show how each print is different, and your setup always needs to be adjusted. I messed with the screws so many times hoping not to strip them, but I didn’t realize just how tight my belt could be when I looked up the tutorial to tighten it and the comparison of having it tight like a guitar string gave me some comfort when I tightened really tight.
Andrew,
I’m sorry you had such a bumpy road getting the first vase printed! I had wondered when setting up my printer if a loose x-axis belt could cause problems. It’s really quite interesting to see the kinds of issues that caused!
I love that you used the word “explore” to describe the parametric design process! That was much the same as the experience I had. My favorite design was your second one, as that one seemed the most interesting to me!
It’s all fine it was definitely an eye-opening experience for sure! Yeah the x-axis belt can shift layers and even completely miss printing spots like my first vessel where there is an entire line missing from the print. Yes, the parametric design really showcased all the different objects we can create from a few functions and a lot of the designs I first experimented I would have never thought to have designed so it was a new experience to explore all of them. The second design overall was my favorite, I like the gear design as a whole so I might have some future designs that incorporate that!
I like your first vessel because the top part in particular is very similar to one of my models. I think the small polygon shape with the twist adds a very nice feature. I would definitely agree that using grasshopper speeds up the design process significantly from just using rhino. Coming from being a CS student, the idea of using code rather than the direct tools is much more straight forward. Great project!
Thank you! It seemed like an interesting yet simple print to do that I hoped would be able to be rendered without any issues, and then I could move on to somewhat more complex designs. The twist with a smaller radius polygon at the top is definitely a cool design overall! I would use Rhino in my own free time when I want to have fun and explore all the tools by hand, but definitely, if I were on a crunch for time or a deadline for an assignment or even making something that had to meet specific requirements, I would use grasshopper to create the foundation for an object. If I like it, I can see all the possibilities for my object. If not, I would have a good starting point to mess within Rhino alone.