Design Process
To give in insight into my design process, I should give a quick background on me. I’ve always loved math and science, so for this project, I wanted to see how I can represent mathematical functions in these artistic vessels. Every vessel that I created utilizes sin waves as well as other functions to generate their forms. I hope that through this work, we can see how math can be used to create new and interesting art.
Rendered Rhino Images
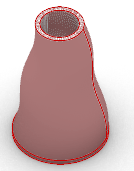
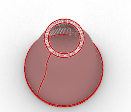
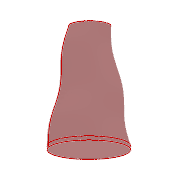
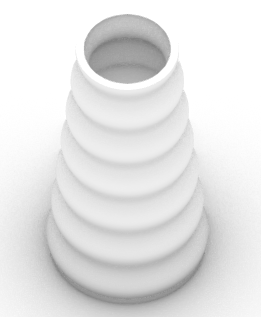
Vessel 1:
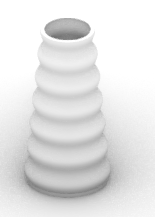
Vessel 2:
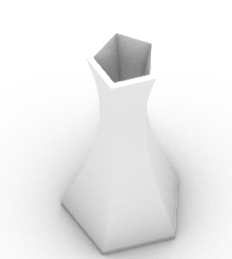
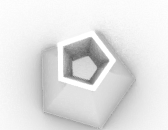
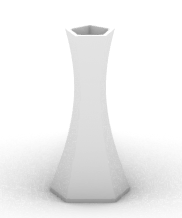
Vessel 3:
Printing Process and Problems
Vessel 1 –
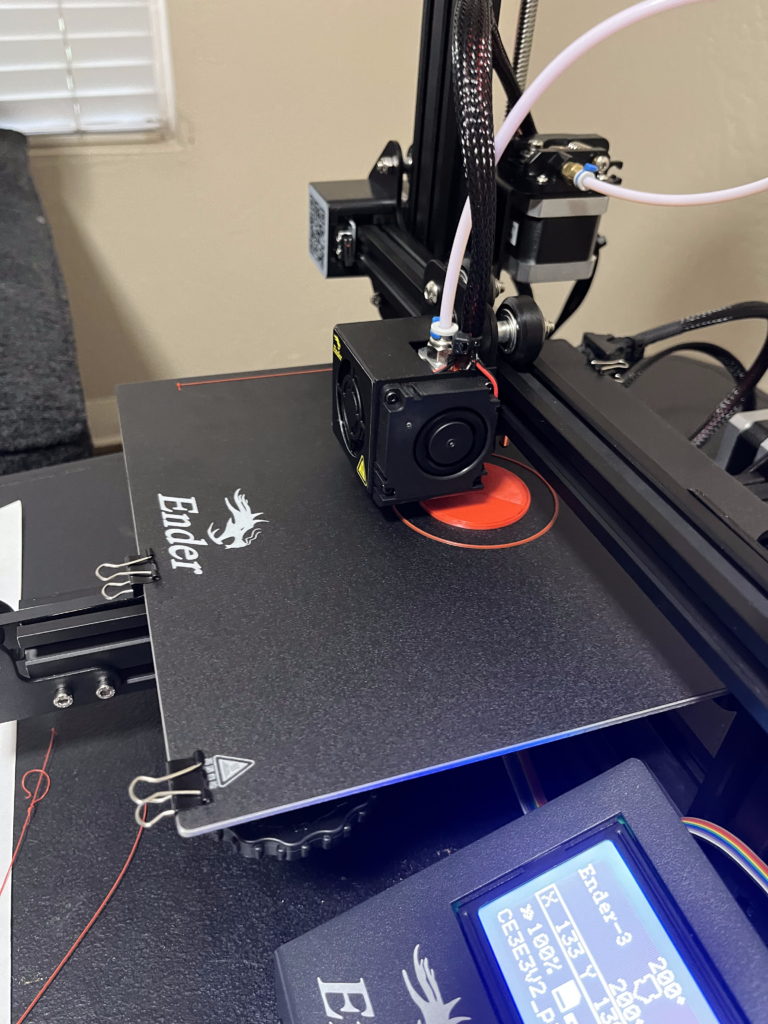
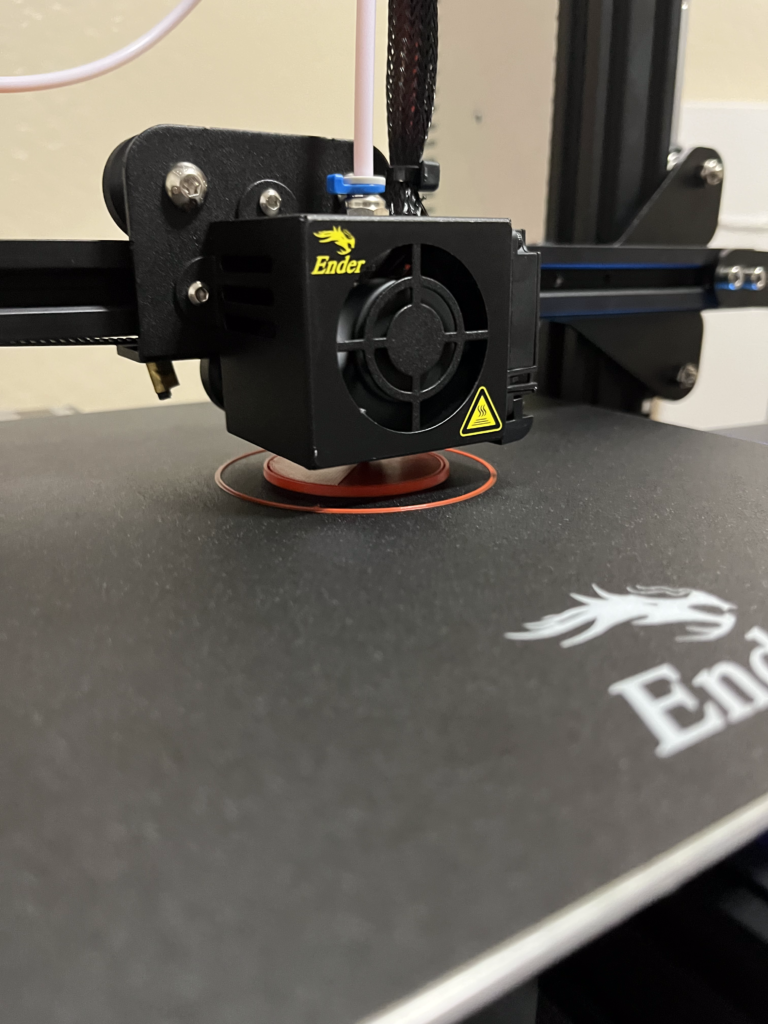
Vessel 2 –
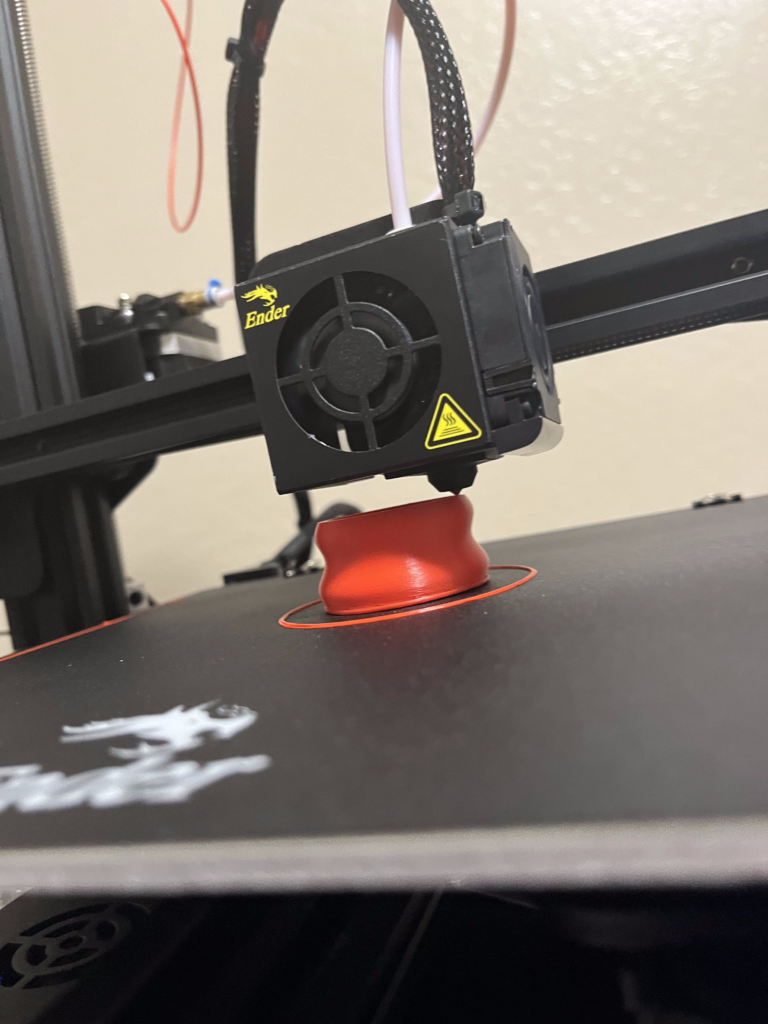
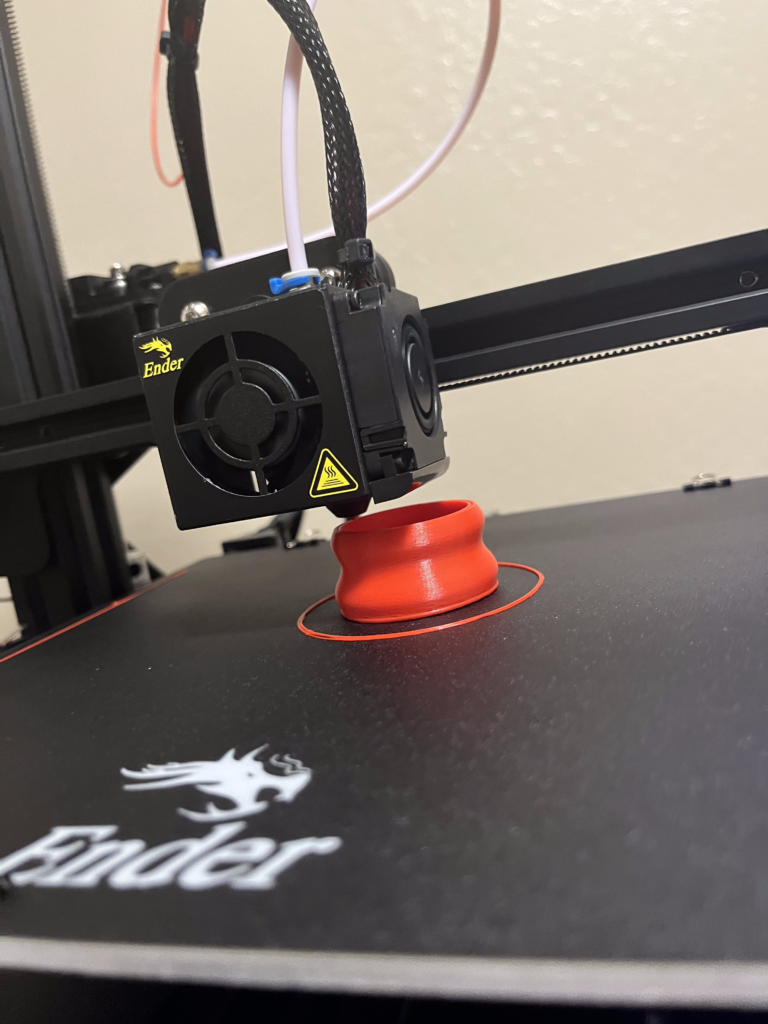
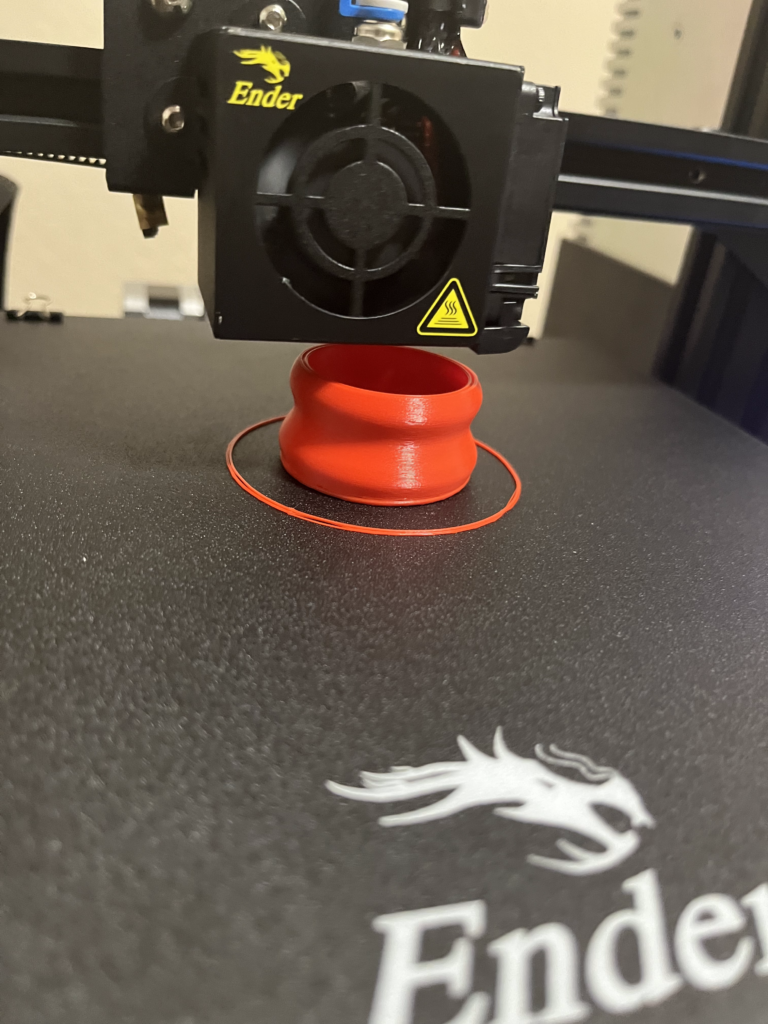
Vessel 3 –
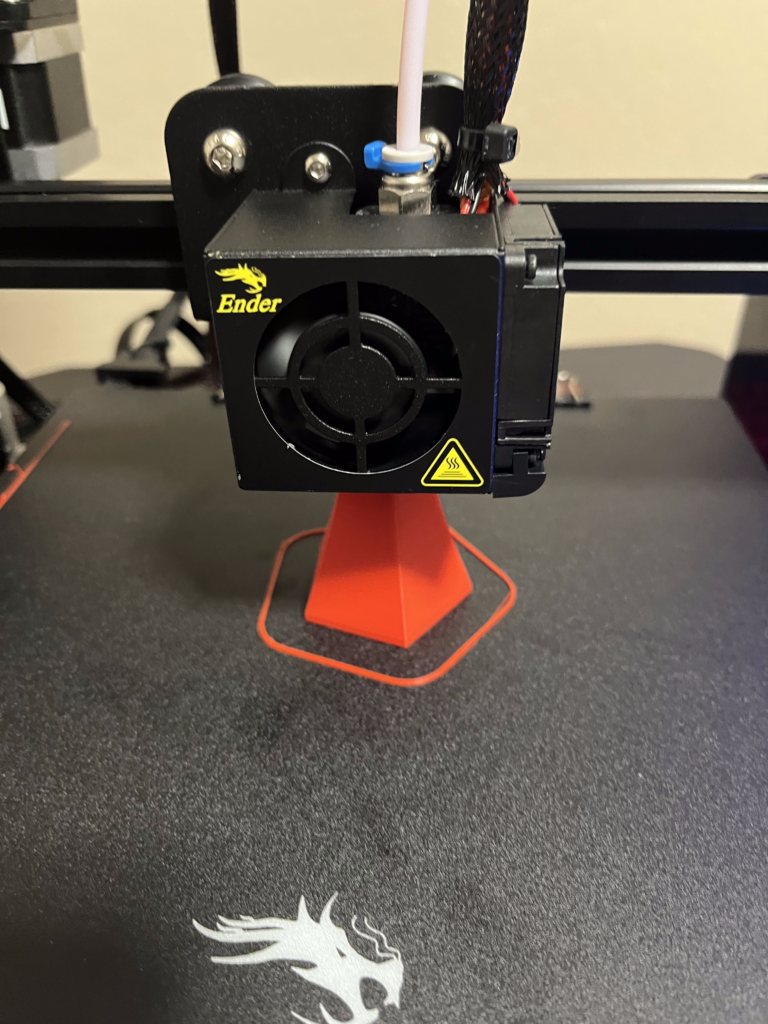
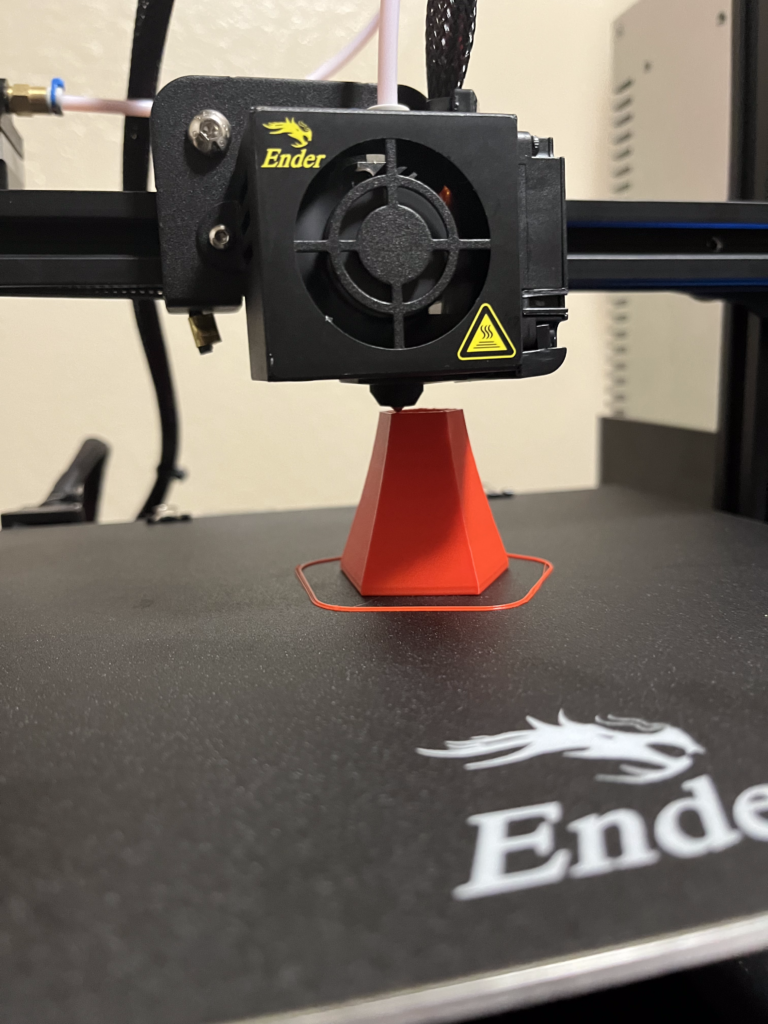
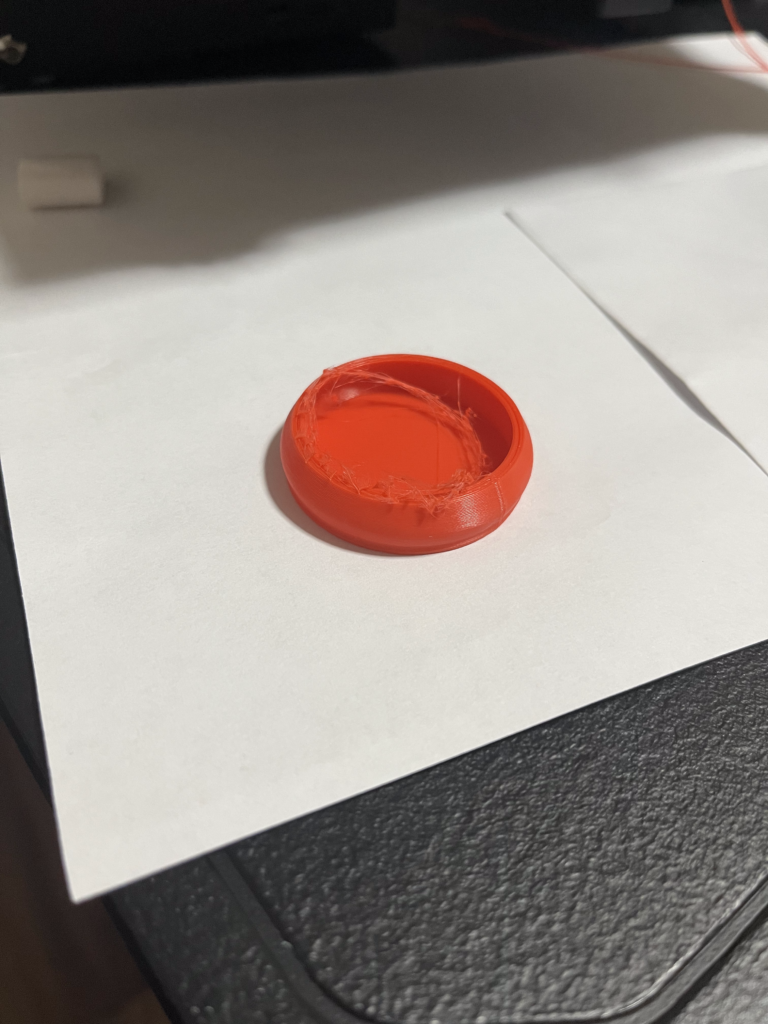
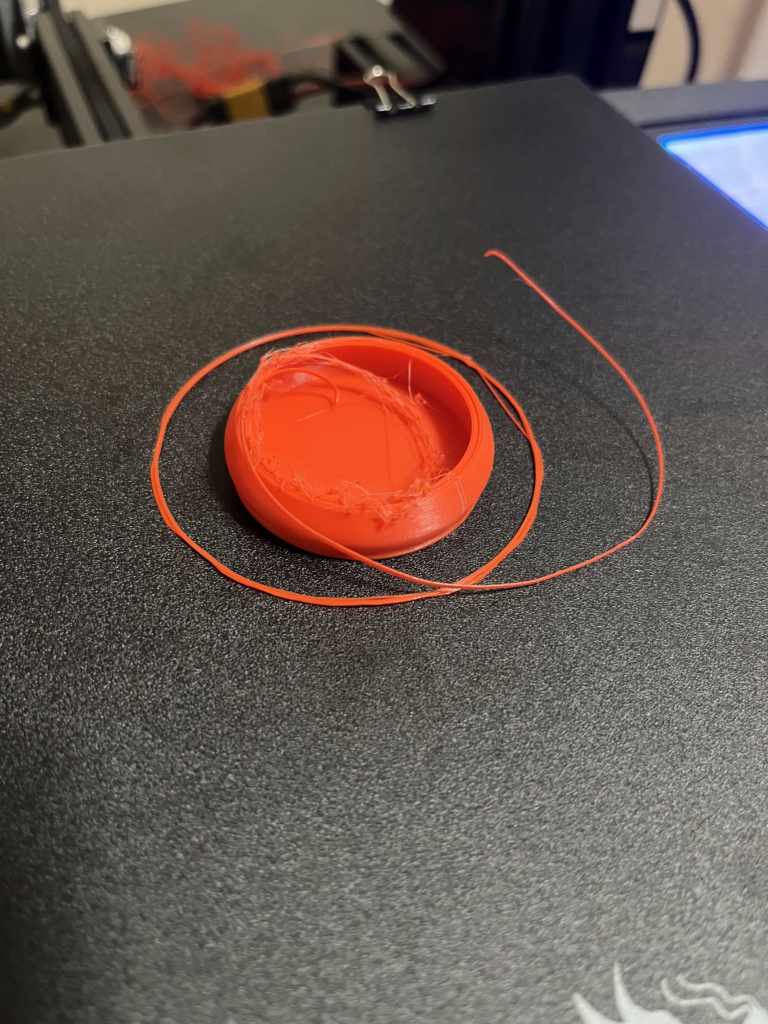
Failed Prints – Below you will find the worst failure I had whilst printing. This issue occurred when I was printing my second vessel. What happened was the filament in the spool was trapped under other filament that was on top of it. That made it very hard to pull out the new filament and my ender 3 was unable to pull in new filament to the extruder. This caused the extruder to be moving without any filament coming out. I got it resolved, but I felt like it was a bit unlucky since I believe it was an issue with how my filament was packaged and not something I messed up.
Final Printed Artifacts
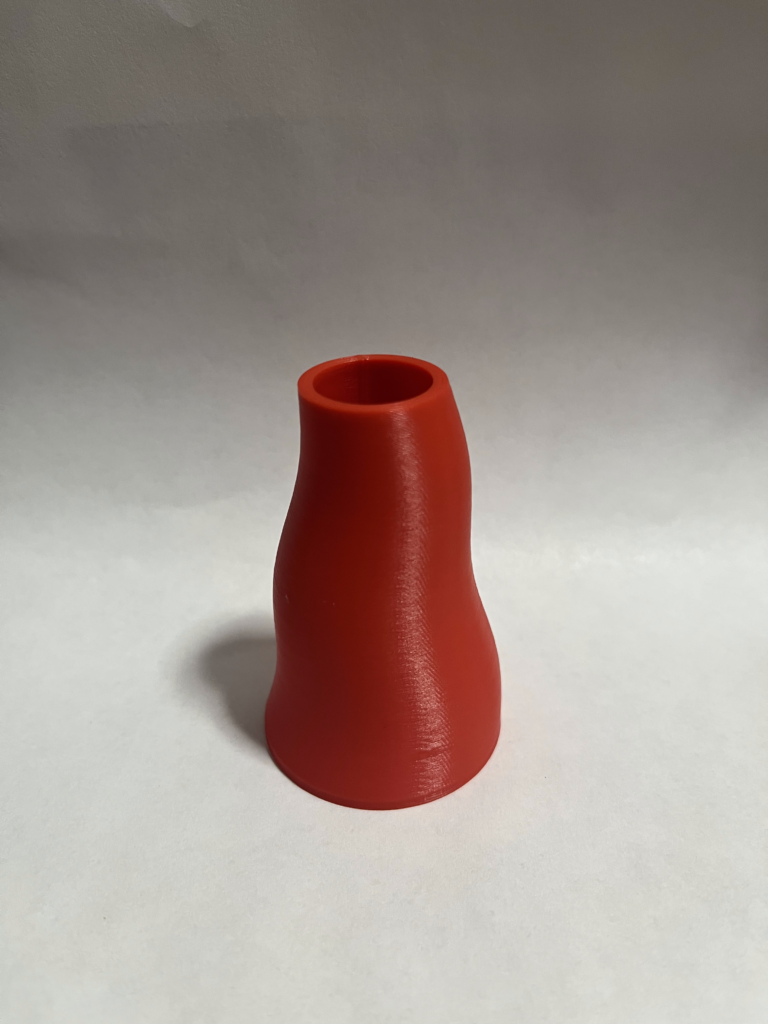
Vessel 1 –
Vessel 2 –
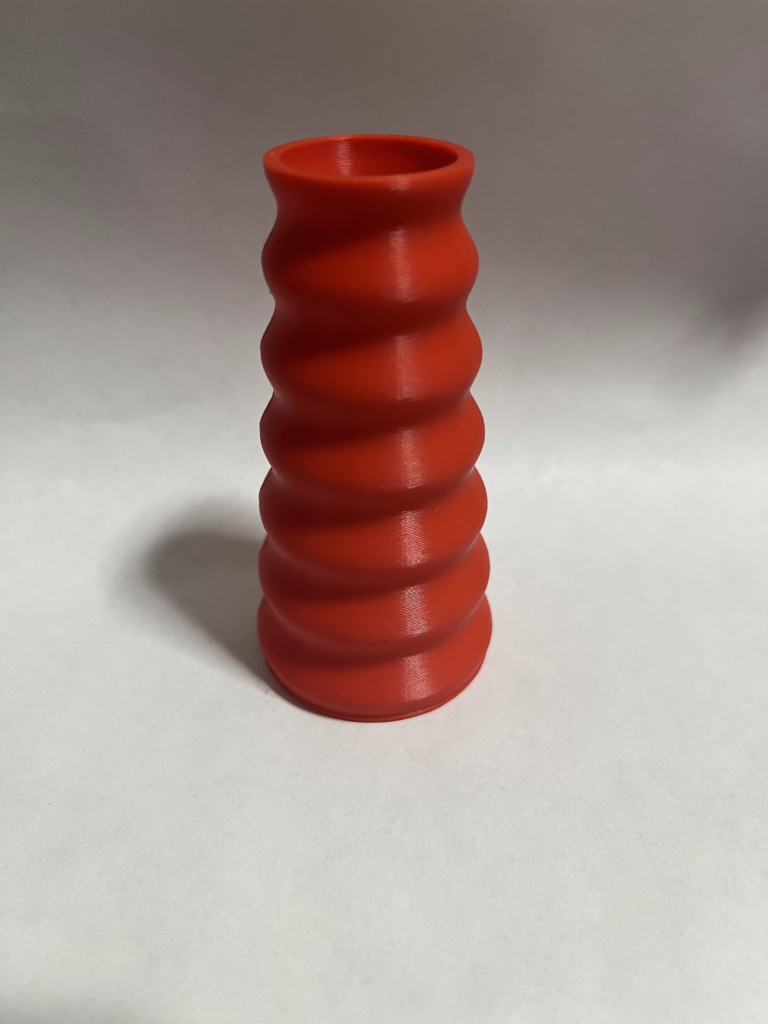
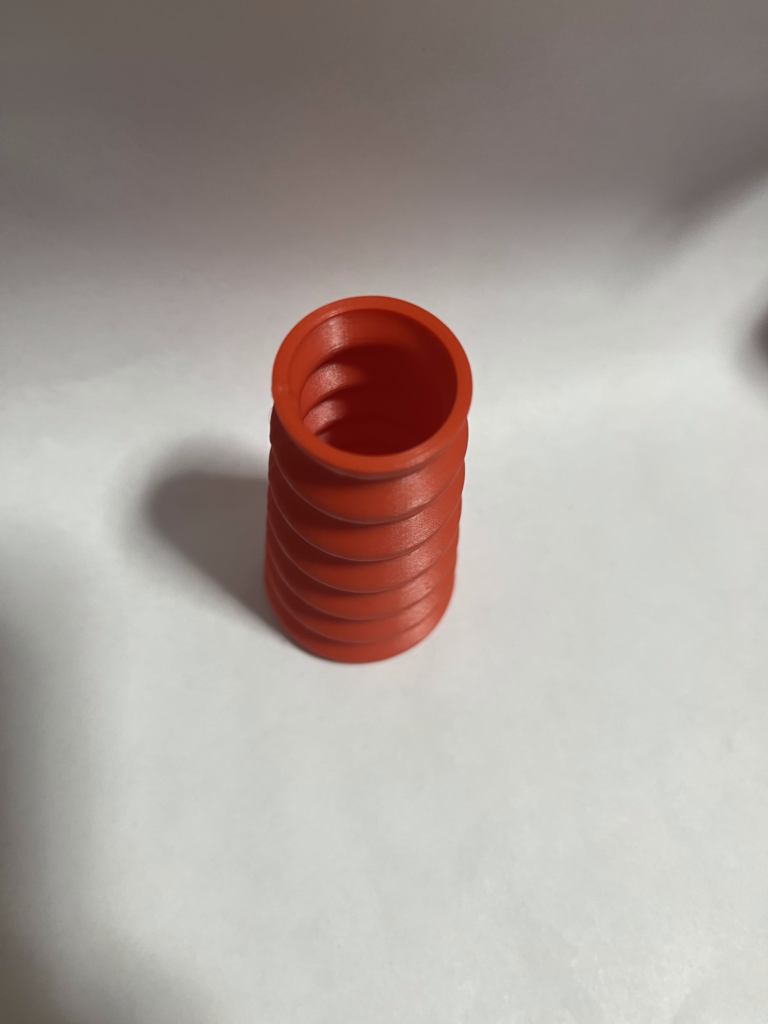
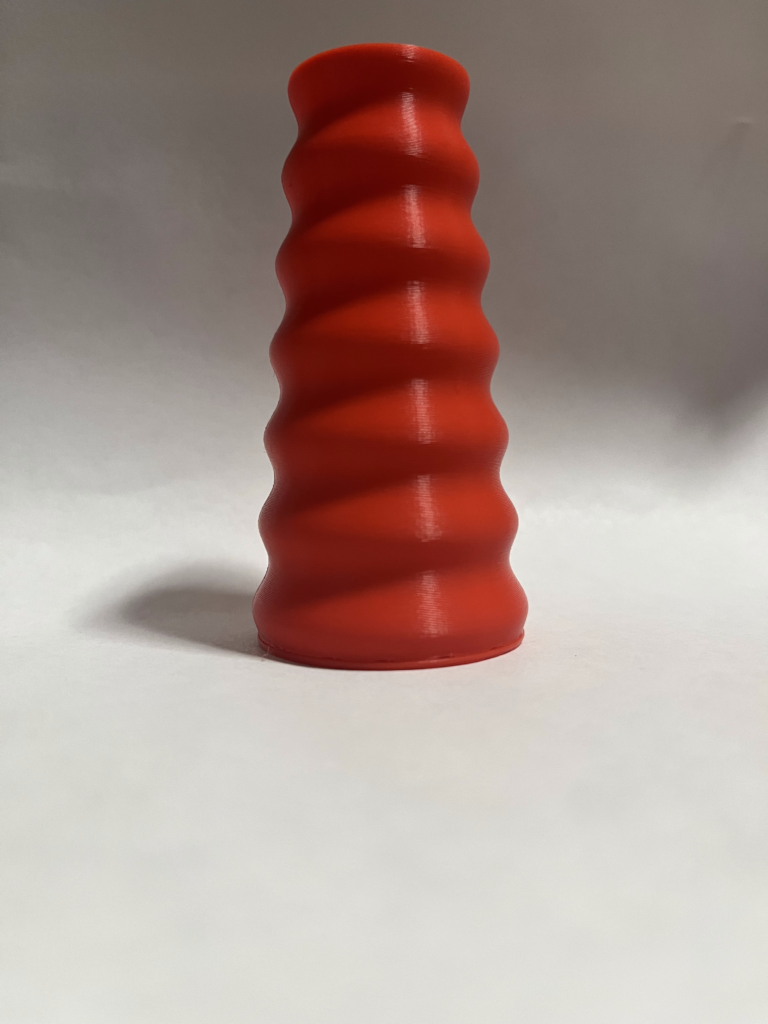
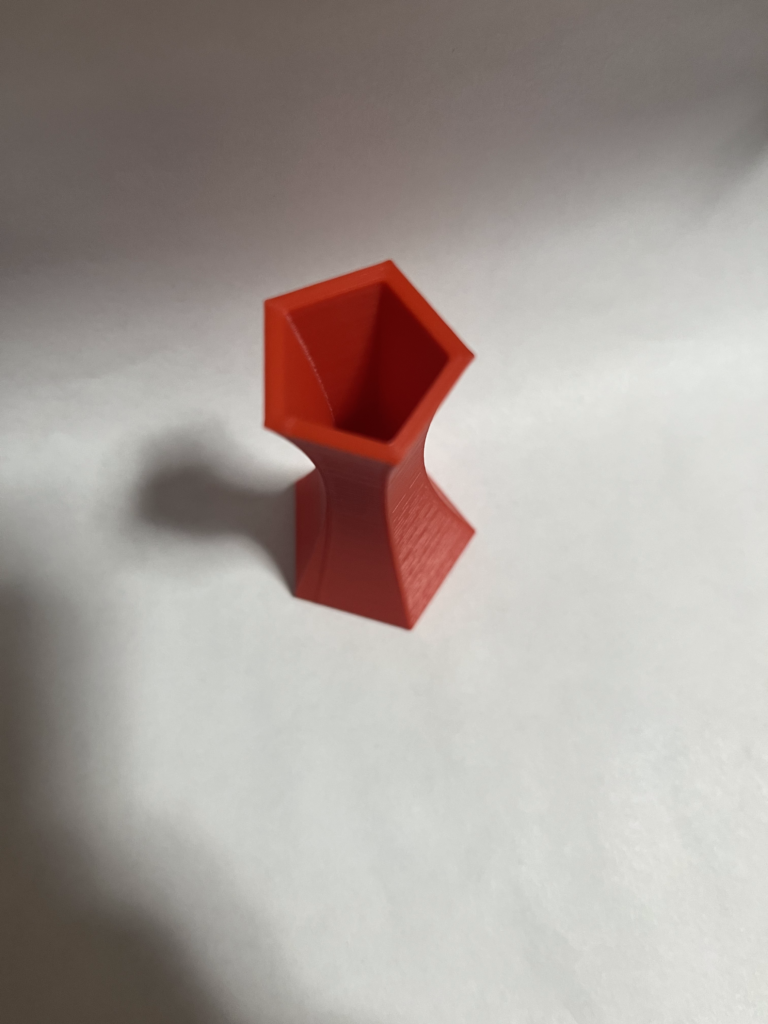
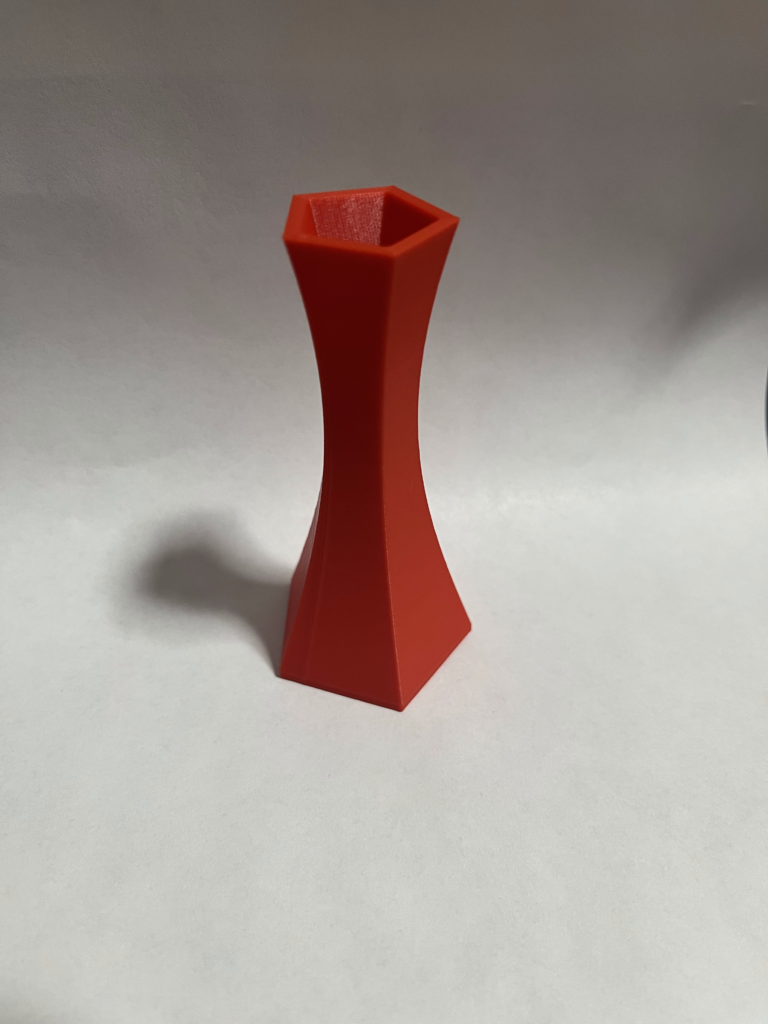
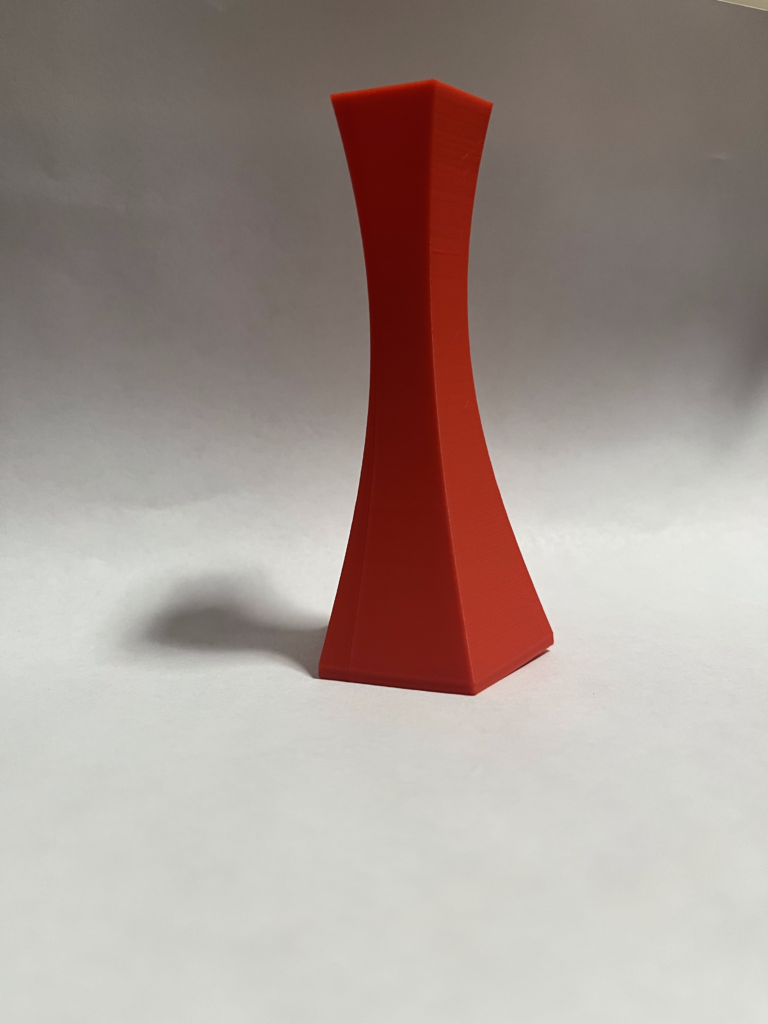
Vessel 3 –
Reflection on the Parametric Design Process
Overall, I must say that I really enjoyed this parametric design process. Since my original goal was to visualize and create physical objects that showcased the beauty of math functions, I was very pleased with the parametric design process that I utilized for this project. I love writing code in python, and the libraries help to implement virtually anything you can think of. Since I was using the sin function a lot, the math library was very useful for this project. I was able to modulate the sin waves and quickly see how they affected my vessel. This made the design process much easier as I was able to quickly visualize how changing my math functions changed my vessel.
I see this method of generating objects in real time in rhino as a huge advantage. Before this, I would have had to sculp a model out of clay and make rough sketches on paper. With this new parametric method of design, I am able to make precise objects that exactly represent the math functions that I desire, whilst being able to see how my vessels look along the way. Without these tools, I would have never been able to produce the vessels that I did for this project. I will continue to work with these ideas and see how far I can push the boundaries with this new design process.
Creative Agency and Intent
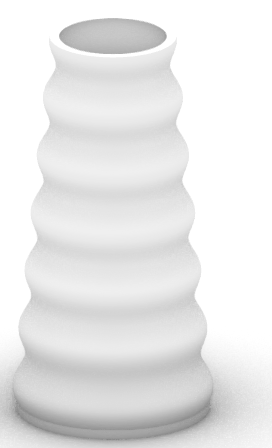
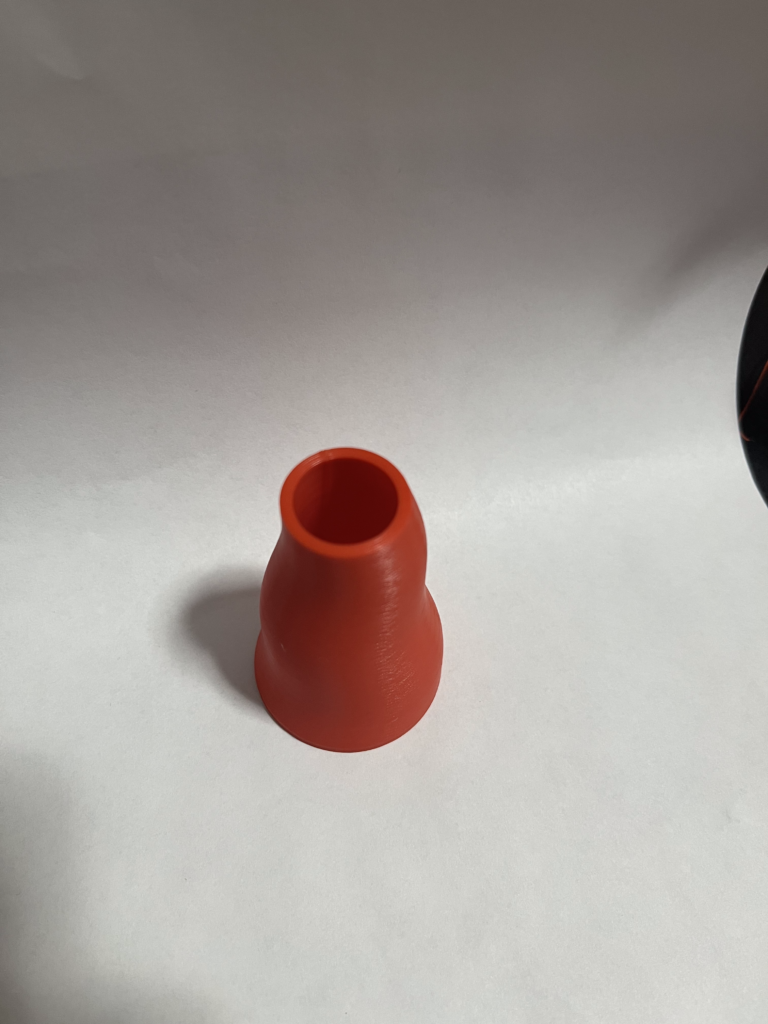
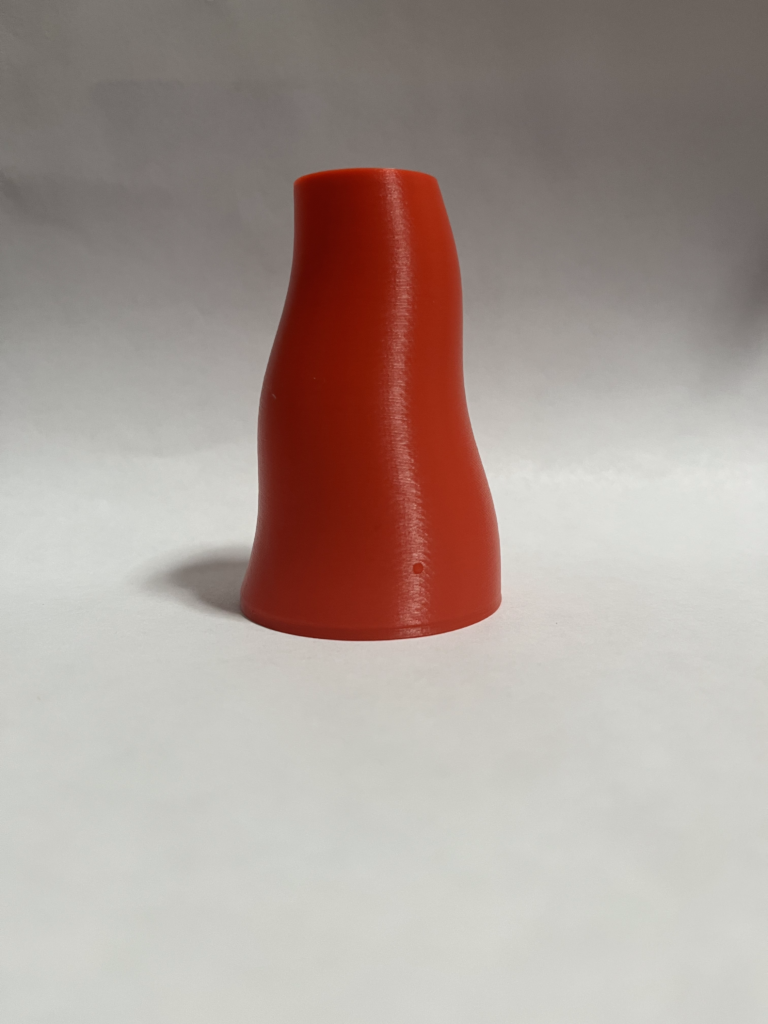
My main inspiration for designing my vessels was to use math in a new and creative way. All of my vessels were generated using a modified sin function. In vessel 1, the sin function changes the x value to make the vessel wavy when looking at it from eye level. The second vessel changes the x and y value to make the vessel vary in thickness as it ascends the z axis. This creates the cool bubble look. The final vessel is a very long and drawn out sin wave on the x and y axis to affect the thickness of the vessel. I did this with a pentagon to create a cool flower vase.
I came up with these vessels through both planning and a lot of trial and error. I remade the vessels many times with modified values to create some strange and interesting shapes. The final shapes I decided on had intriguing designs while also having proper structural integrity. Some of the shapes I generated were more extravagant, but I was worried about the shape holding form.
Hey Wayne! The process of using mathematical functions like sine waves made your designs look great! In particular, I liked the second vessel a lot as I feel it brings out the wavy and repetitive nature of a sine function the most.
I agree that the parametric design process is incredibly helpful in making precise shapes that would be a lot harder to do in the traditional way.
Also, I didn’t even know that the spool being trapped under other materials would be a problem. I guess that’s just another issue to look out for when 3D printing to the already long list.
Thank you for taking the time to read my post! I’m glad you liked my use of math functions in my vessels. I agree with you in that I do think that my second vessel was probably my best work of the three. The filament being trapped in the spool was something very unexpected but I’m glad I got it resolved.
Your final designs turned out great! I really liked how you highlighted the use of mathematical principles in your work. I experimented with sine waves in one of my designs, and it was fascinating to see how much it influenced the overall look.
Your pieces also seem practical, like they could easily serve as cups or vases, and I appreciate how they all feel like they belong to the same collection. Each one is unique, yet they clearly fit together as a cohesive set.
Awesome job! I’m excited to see what you come up with for our next assignment!
Hey Andrei! Thank you for taking the time to read my post. I tried to keep practicality in mind when I was designing these pieces. I think all of them turned out to be useful objects for flower vases or pencil holders or something that could easily fit on a desk or table. I’m considering reprinting these in a larger size so I can use them in my house for various practical applications.
Hello Wayne!
I had a similar idea to use a sin function for shapes, but to use such to modify the base curve rather than how the design changes on the z-axis. I would love to hear more about your design process, like if you used something other than LoftSrf to make your solids. If you did use LoftSrf, how did you apply the sine function to change the size of each curve? Do you think printing objects with a higher amplitude than what you applied would be realistic?
Otherwise, your designs came out great.
Hey Nathan! Thank you for taking the time to look at my post! For each of my vessels, I made points in a 360 radius around a central point and used interpCurve to connect all of these points into a circle. I then used Loft to connect all of my circles together and this generated the walls of the vessel. My various functions changed the size and placement of these circles in small increments and that’s what gives my vessels their unique shape. And for the pentagon (vessel 3) I just did a math operation that was something like (degree mod 72) so I could get 5 points on my circle. I do think it would be feasible to print with a higher amplitude, I just wanted to make sure the vessels worked out first before I pushed the limits. I think my vessel 1 looked really cool when I make the curves more exaggerated, so that would be the vessel I will probably reprint. Thanks again!
Hello Wayne, these prints came out great, I think the final print quality and resolutions look excellent. I think that is really cool how you utylised math functions within each of your vessels to base the shapes foundation around . I think that is awesome that you are passionate about finding the way to combine computer science, math, and art in order to create new figures. I also can definitely relate to the struggle of failed prints, as this is something I definitely have struggled with and find frustrating as well. Keep up the great work!
Hey Ian, thank you for taking the time check out my post and respond! I am glad that you think the prints came out in a good quality. I was personally very happy with how they turned out I think that my design process where I generated 80 different circles before I lofted them really gave a precise surface when I exported it as an STL file. As far as the failed prints go, I was glad that I was able to figure out my issue and got it to work out. Thanks again for the feedback!