Part 1: Curves
Open a new Rhino File and practice the curves commands by completing the following steps. Organize your Rhino file so each step is clear. Use the Text command to label each step and the commands you used.
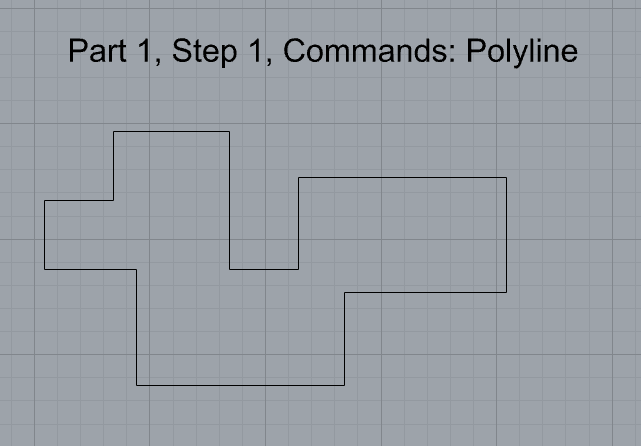
- Make the specific footprint below.
- Commands: Polyline
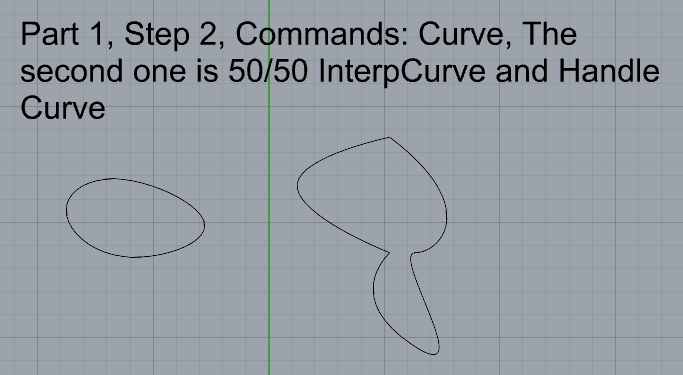
2. Make 2 closed rounded curves using the various curve commands.
- Commands: Curve, InterpCurve, HandleCurve
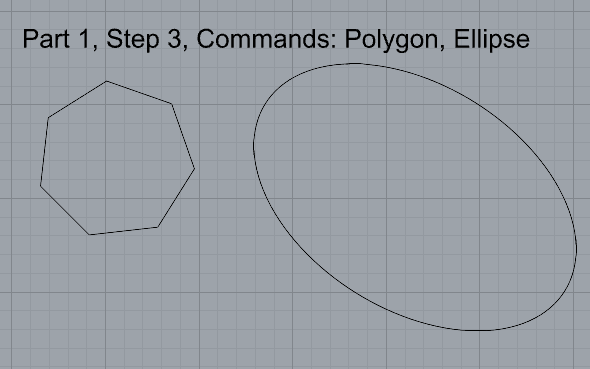
3. Make 2 closed curves using polygon, ellipse, or circle
- Commands: Circle, Ellipse, Polygon
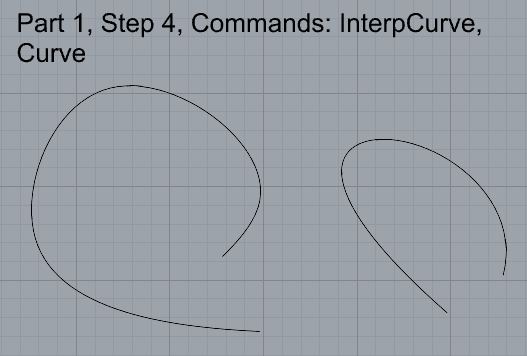
4. Make 2 open curves
- Commands: Curve, InterpCurve, HandleCurve, Sketch
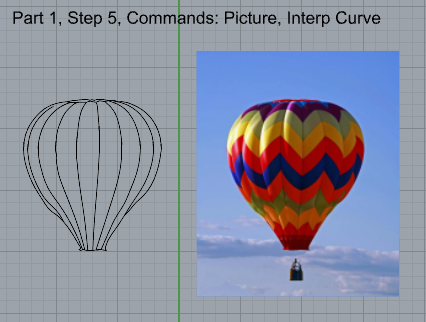
5. Import a picture and trace an image
- Commands: Picture, InterpCurve
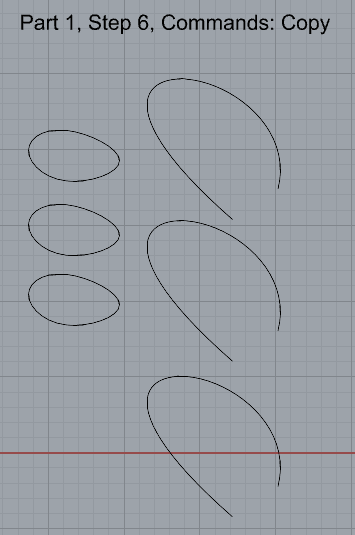
6. Pick one open curve, and one closed rounded curve and make three copies of each.
Commands: Copy
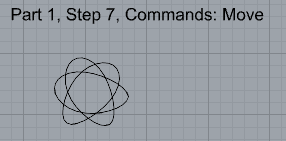
7. Take at least 3 of your closed curves and overlap them to create a new shape
Commands: Move
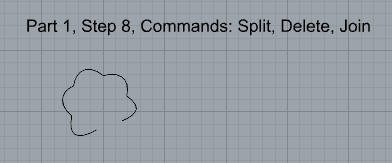
8. Use split, delete, and trim to combine these curves into one open curve
Commands: Split, Delete, Trim, Join, Explode
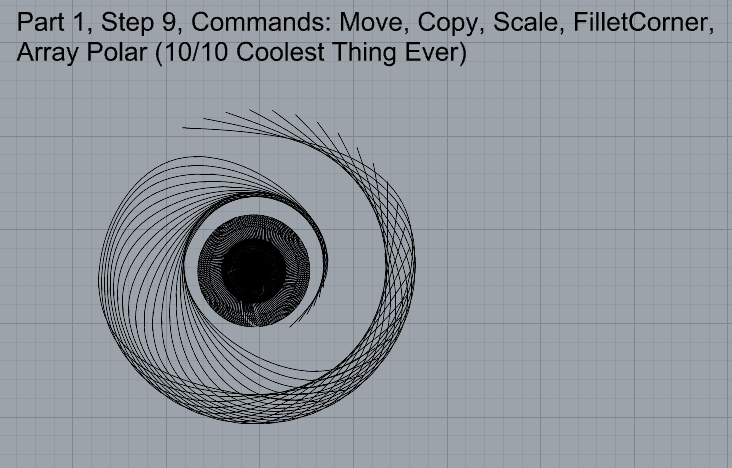
9. Take at least two curves and use various transformations make a pattern or composition.
Commands: Move, Copy, Rotate, Mirror, Array, Scale, Offset, Fillet, FilletCorners
10. Organize your Rhino file so each step is clear. Use the Text command to label each step and the commands you used. Add a link to your FirstnameLastname_Curves file at this point in your post.
Part 2: Surfaces
Open a new Rhino File and practice the surfaces commands below by making two different surfaces for each command. Organize your Rhino file so each step is clear. You may want to use some of the curves you modeled in Part 1. Use the Text command to label each step and the commands you used.
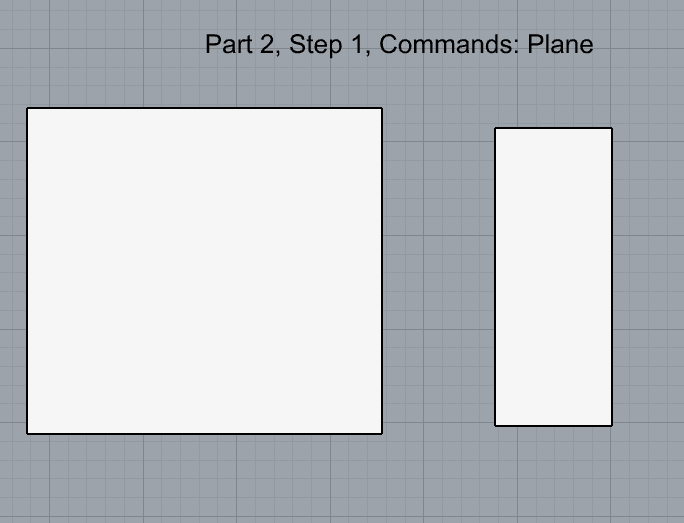
- Plane
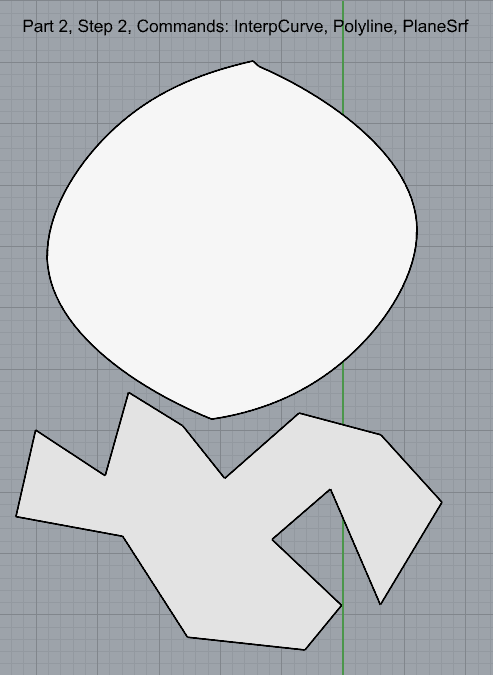
2. PlanarSrf
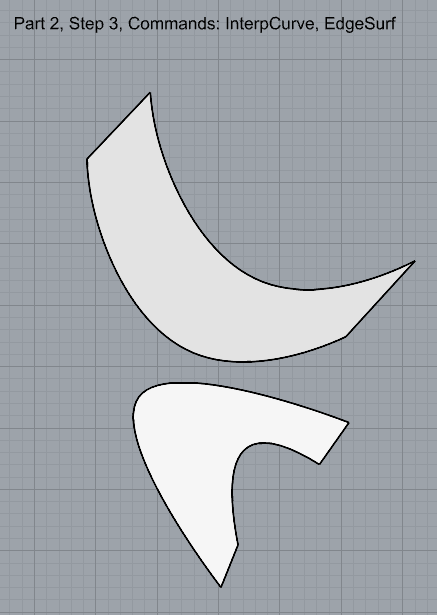
3. EdgeSrf
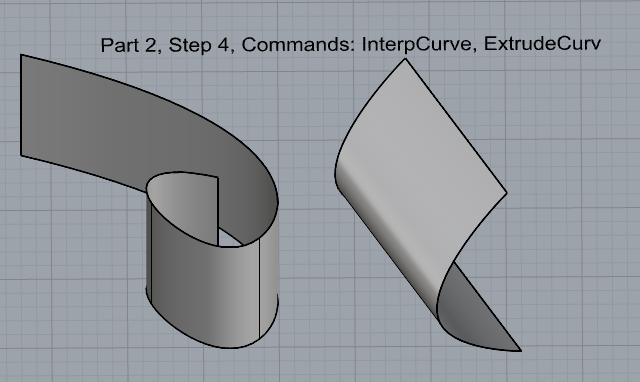
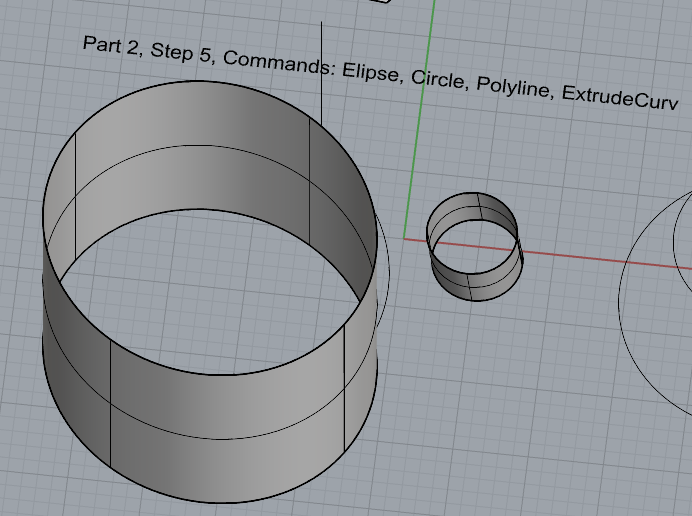
4. ExtrudeCrv
5. ExtrudeCrvAlongCrv
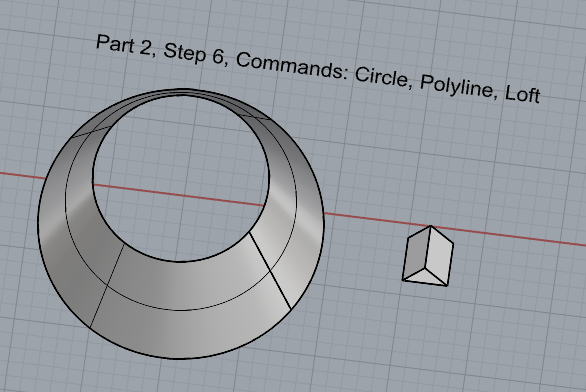
6. Loft
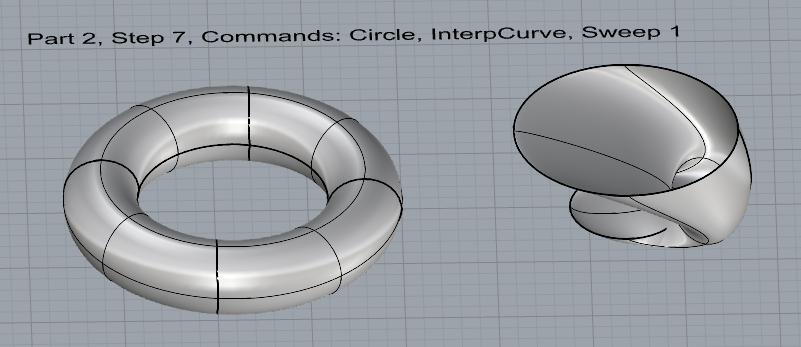
7. Sweep1
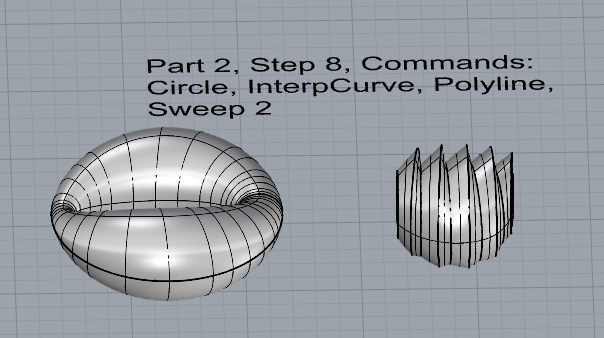
8. Sweep2
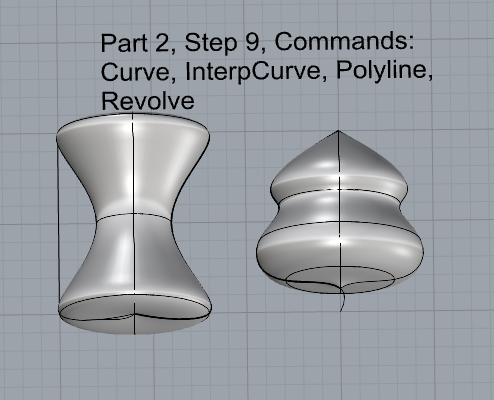
9. Revolve
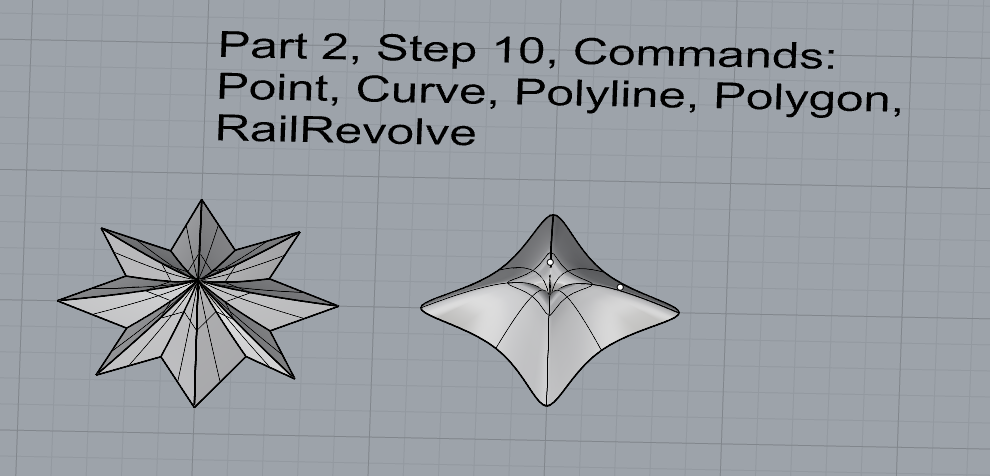
10. RailRevolve
11. Add a link to your FirstnameLastname_Surfaces file at this point in your post.
Part 3: Solids
Open a new Rhino File and practice the solids commands below by making two different solids for each command. You may want to use some of the curves and surfaces you modeled in Parts 1 and 2. Organize your Rhino file so each step is clear. Use the Text command to label each step and the commands you used.
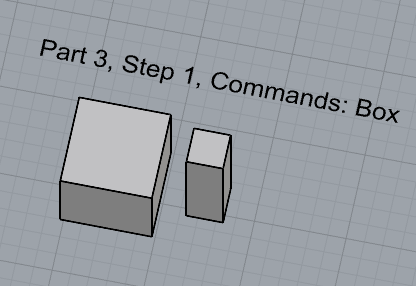
- Block
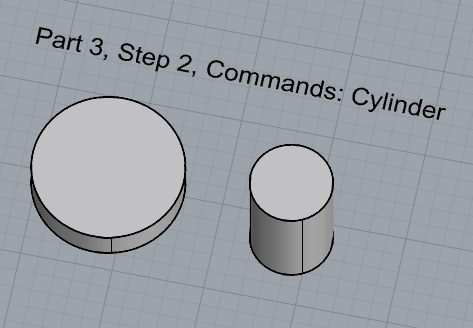
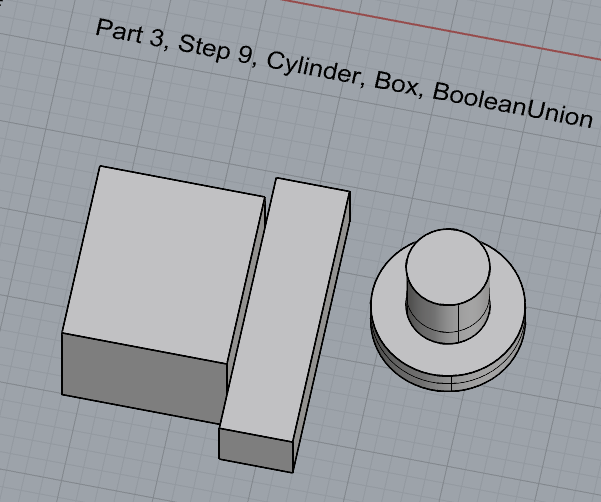
2. Cylinder
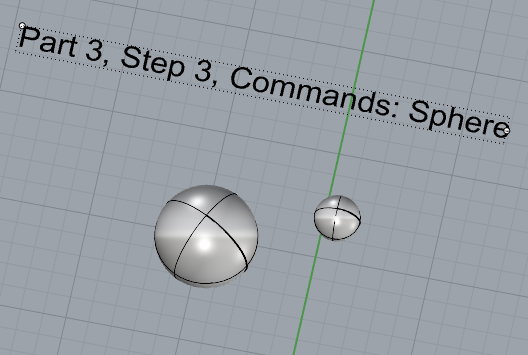
3. Sphere
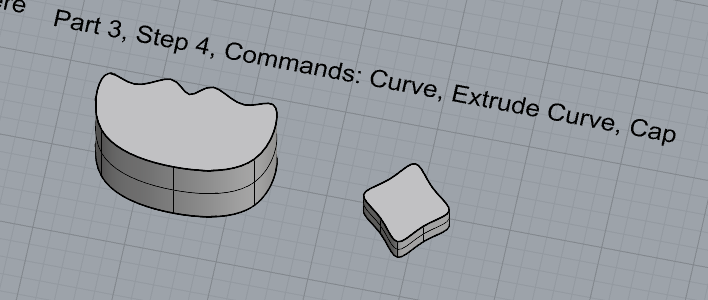
4. ExtrudeCrv and Cap
5. Pipe

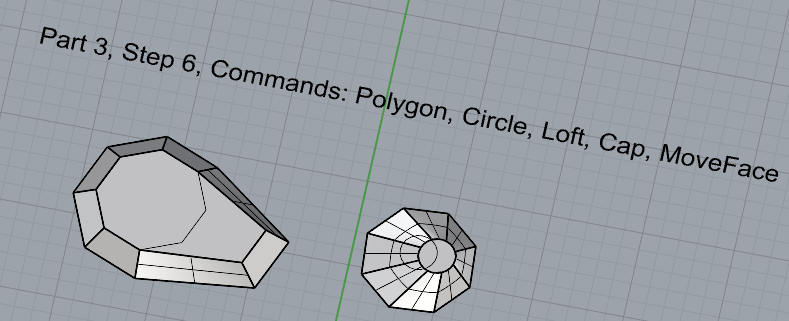
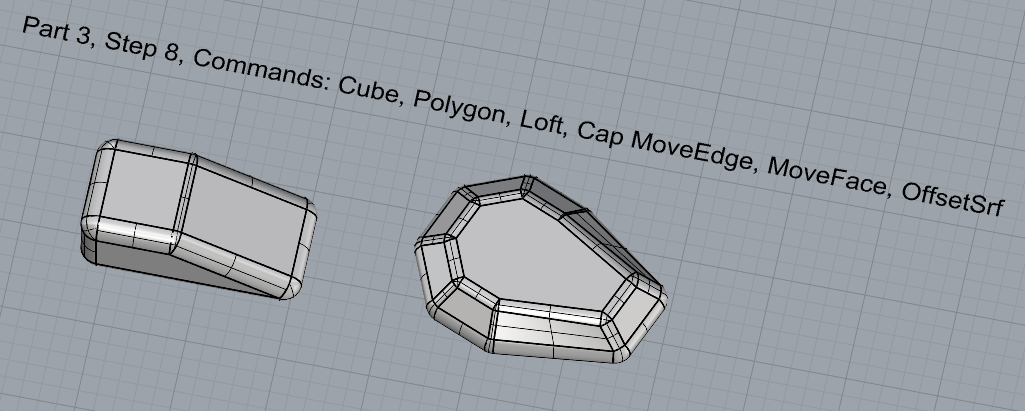
6. MoveFace
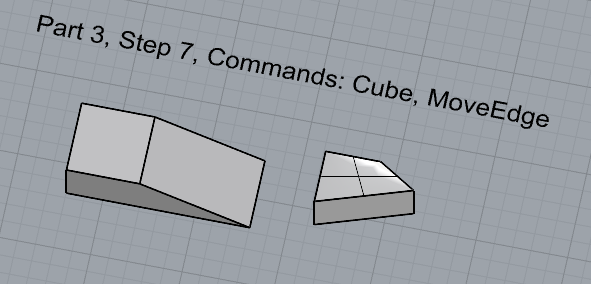
7. MoveEdge
8. OffsetSrf
9. BooleanUnion
10. BooleanDifference

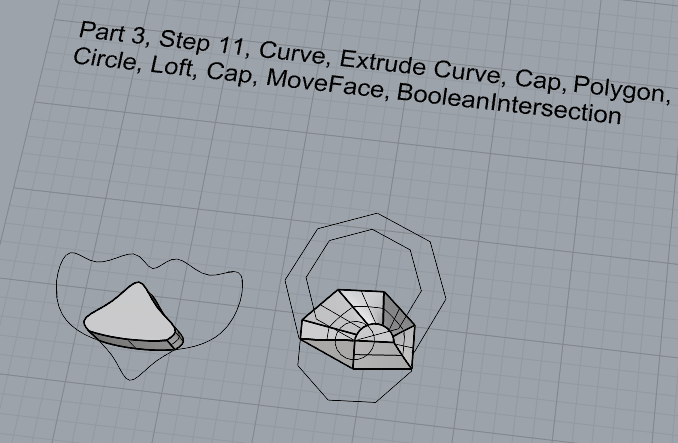
11. BooleanIntersect
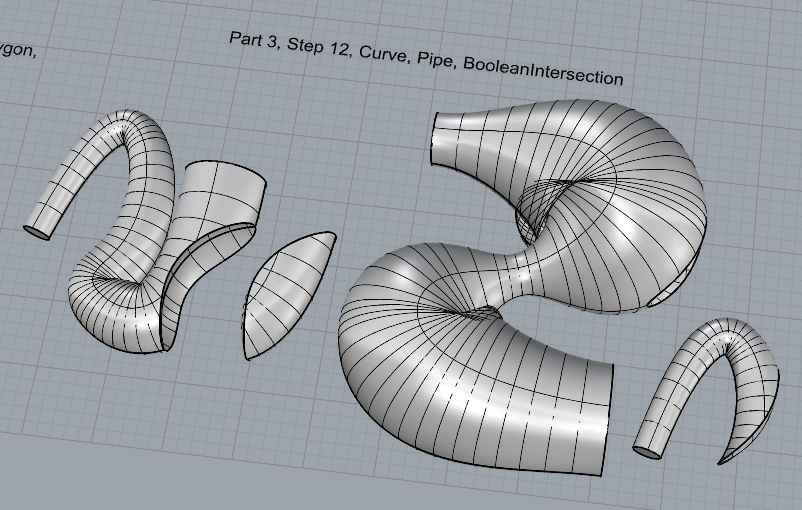
12. Boolean Split
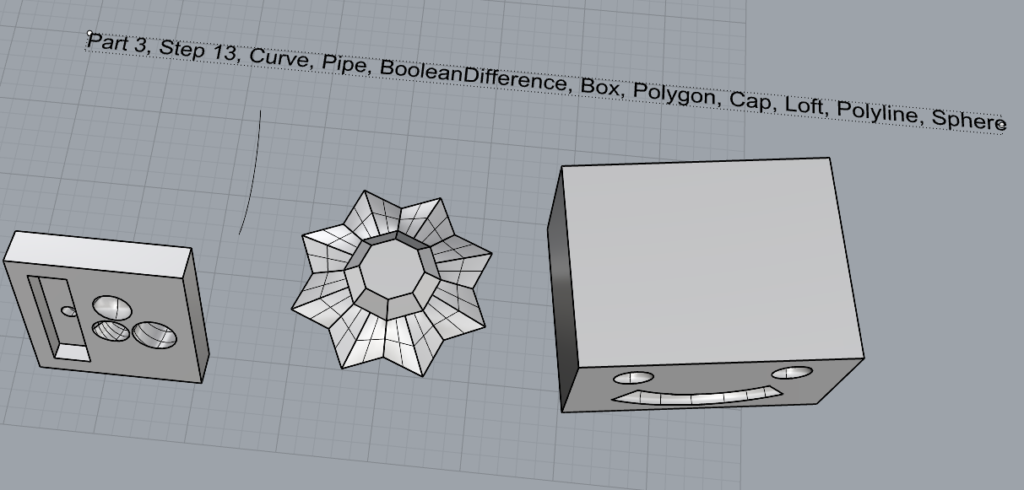
13. Using the surfaces and solids you modeled and the Boolean tools, make three solid shapes you find interesting.
14. Add a link to your FirstnameLastname_Solids file at this point in your post.
Part 4: 3D Printing
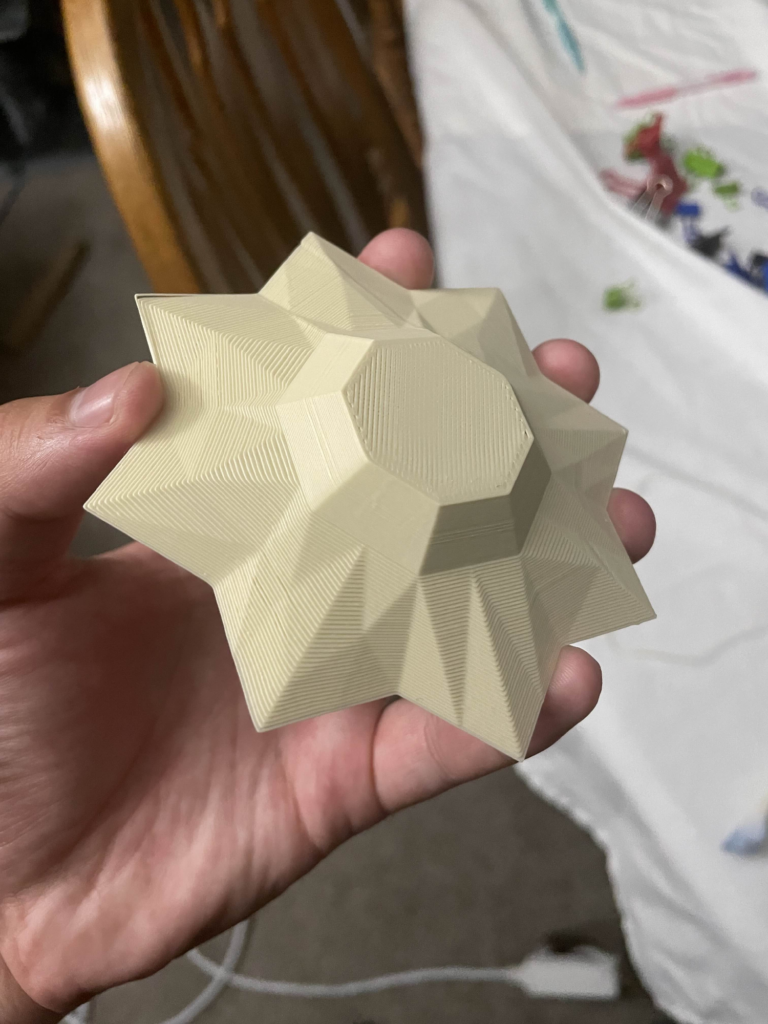
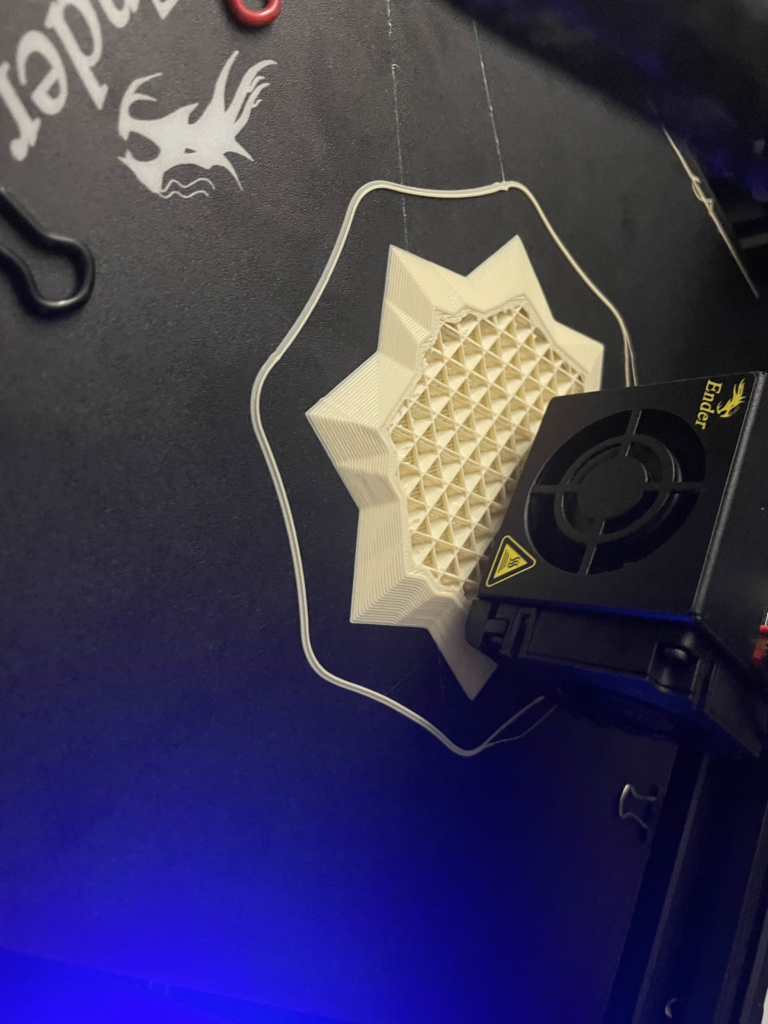
- Pick one of the shapes you created and 3D print it using your 3D printer. Note: to be able to print an object with the 3d printer, it must be watertight. That means that your shape must be a closed form with no naked edges and no holes.
- Export your model in the .stl file format. Import the .stl file into Cura and slice it, generating a .gcode file your printer can interpret.
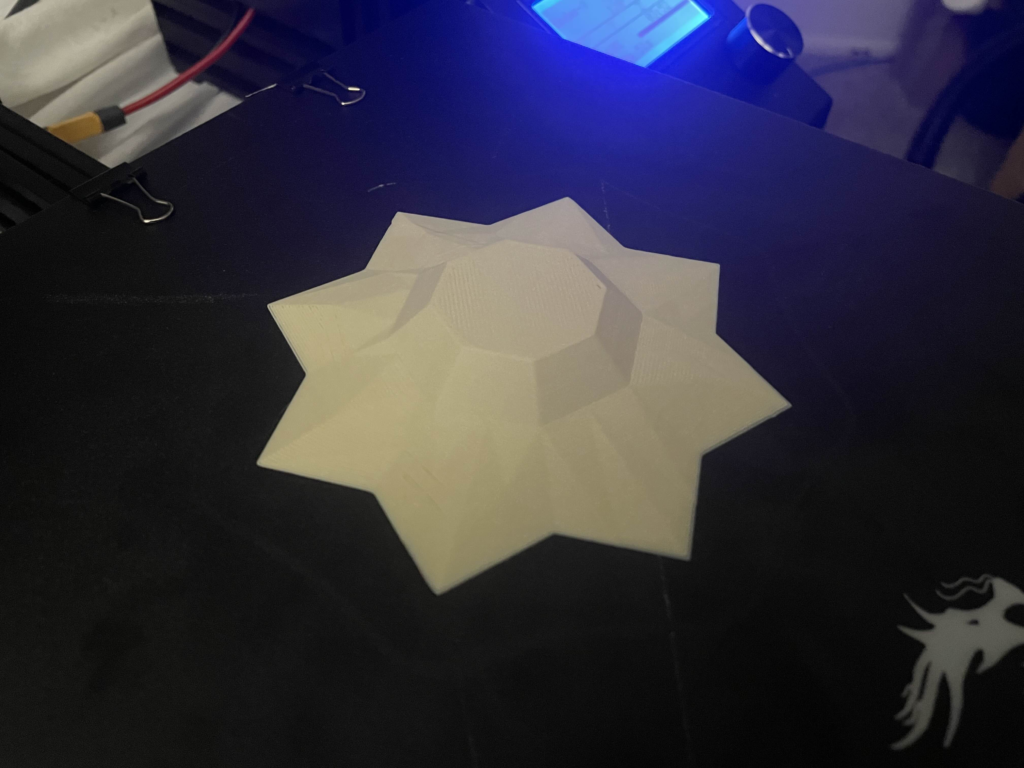
- Your final print should be at least 3″ x 3″ x 3″ in size. Note: the print doesn’t have to be square, but the total volume should be approximately 9 in^3.
- I had great trouble with this actually, I don’t know if it was because it was so much wider than the test print, or the number of jagged edges but the print wasn’t sticking and was dragging along with the print. I had to lower the print speed and adjust the base before it would actually print properly. There’s also a strange artifact in it, a line running across the whole thing that’s like printed at a slightly different orientation than the rest of it, otherwise I’m happy with how it came out
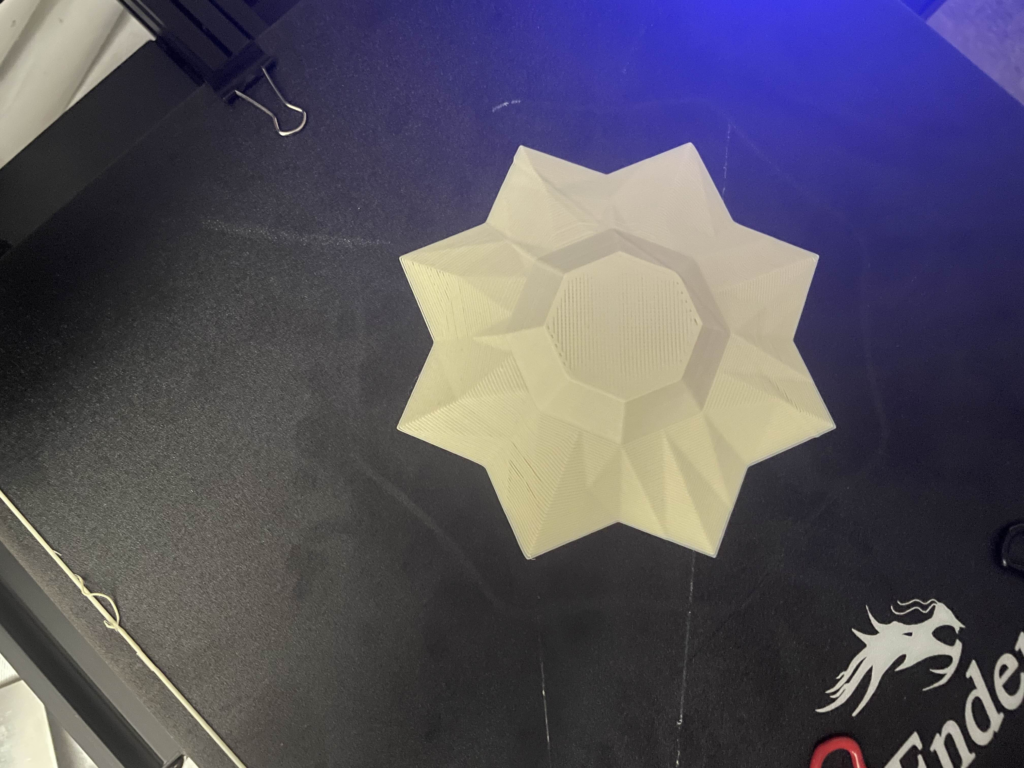
- The final print is I believe 100 mm x 100 mm x 16 mm or 4″ x 4″ x 0.6″, the dimensions were strange to work with
Hi Beau,
I’m glad you were able to work out the printing issues! I think the design came out really well. Additionally, tracing a hot air balloon was a good choice. Balloon Fiesta is coming up quick!
Nice print, Beau! Always note that if you’re having trouble with print bed adhesion, you can try turning on the raft option when slicing in Cura. It’ll add some more material and requires some extra cleanup, but it should help with adhesion quite a bit. Also, double check to make sure your heated bed is working correctly, as if it’s cold it’ll have a real hard time staying put.