Part 1: Curves
Open a new Rhino File and practice the curves commands by completing the following steps. Organize your Rhino file so each step is clear. Use the Text command to label each step and the commands you used.
1. Make the specific footprint below.
- Commands: Polyline

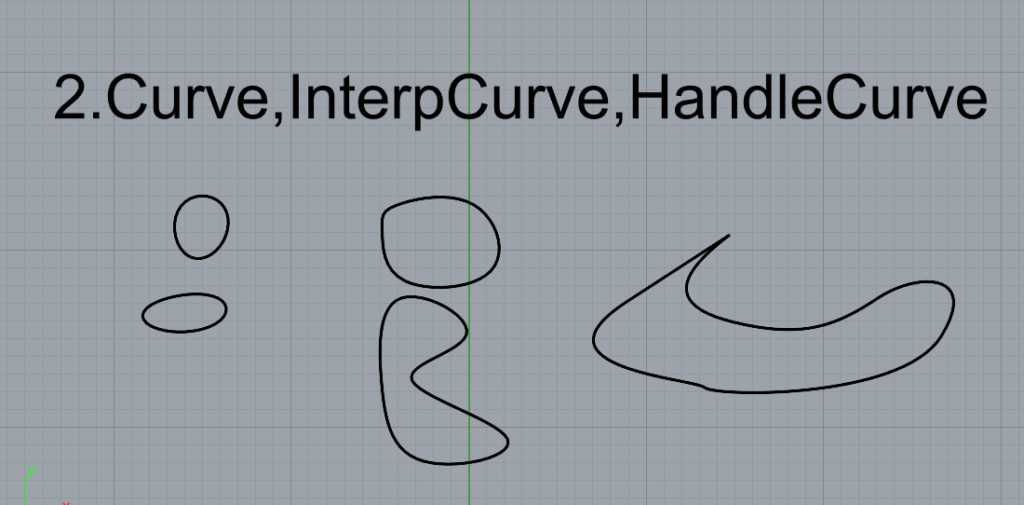
2. Make 2 closed rounded curves using the various curve commands.
• Commands: Curve, InterpCurve, HandleCurve
InterpCrv command draws a curve through selected locations in space.
HandleCurve command draws illustration-program-style chained Bézier curves.
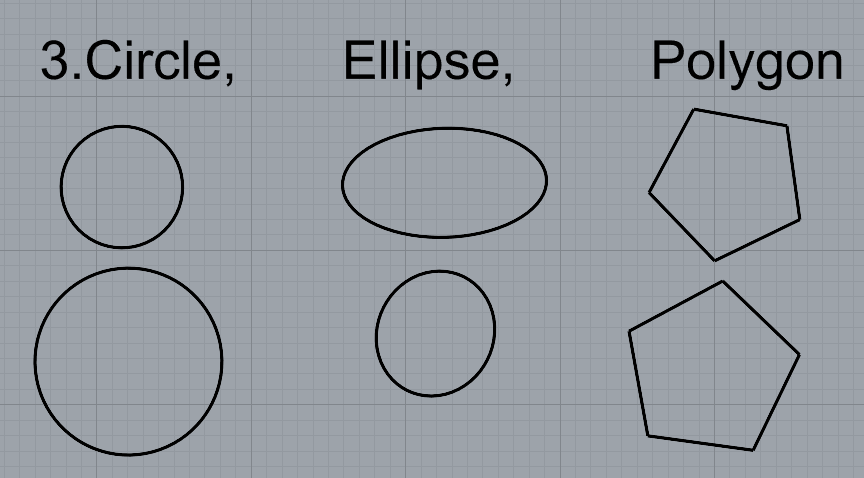
3. Make 2 closed curves using polygon, ellipse, or circle.
• Commands: Circle, Ellipse, Polygon
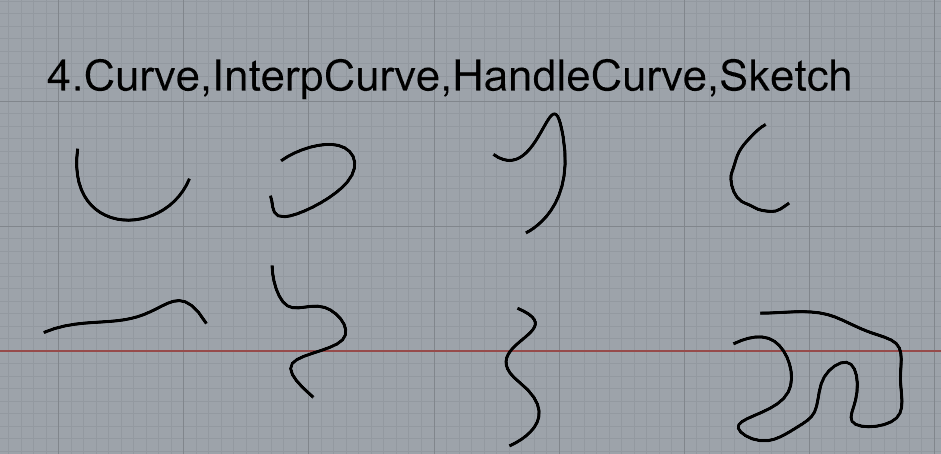
4. Make 2 open curves.
• Commands: Curve, InterpCurve, HandleCurve, Sketch
The sketch draws a curve by dragging the mouse
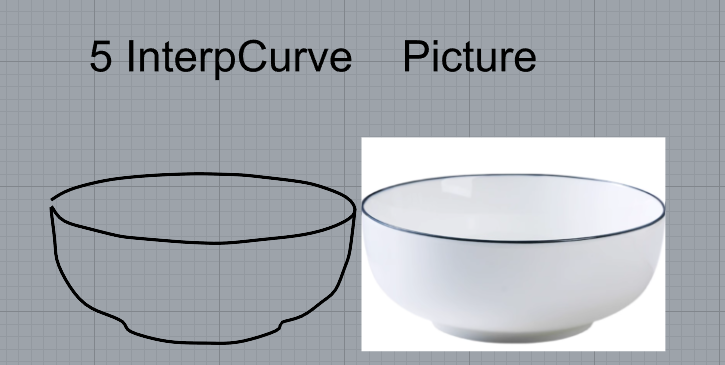
5. Import a picture and trace an image.
• Commands: Picture, InterpCurve
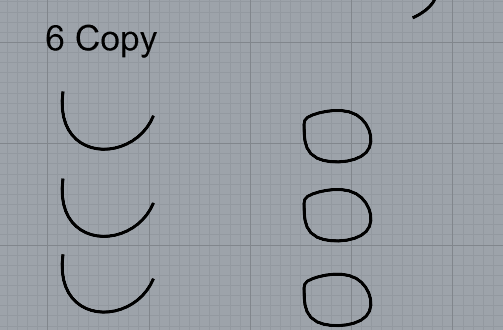
6. Pick one open curve, and one closed rounded curve and make three copies of each.
• Commands: Copy
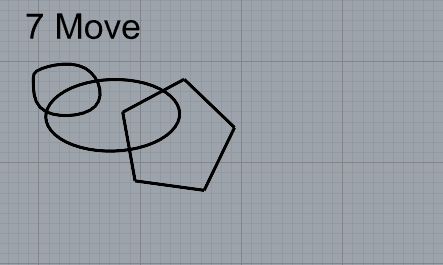
7. Take at least 3 of your closed curves and overlap them to create a new shape.
• Commands: Move
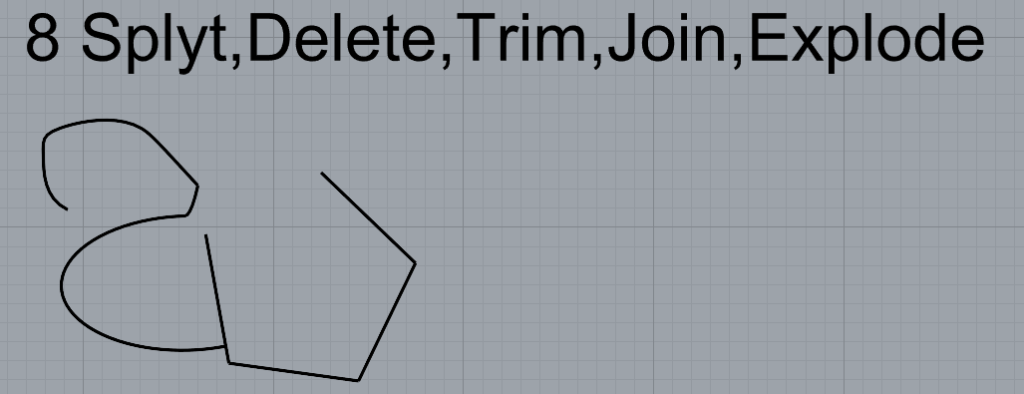
8. Use split, delete, and trim to combine these curves into one open curve.
• Commands: Split, Delete, Trim, Join, Explode
The Explode command breaks objects down into components.
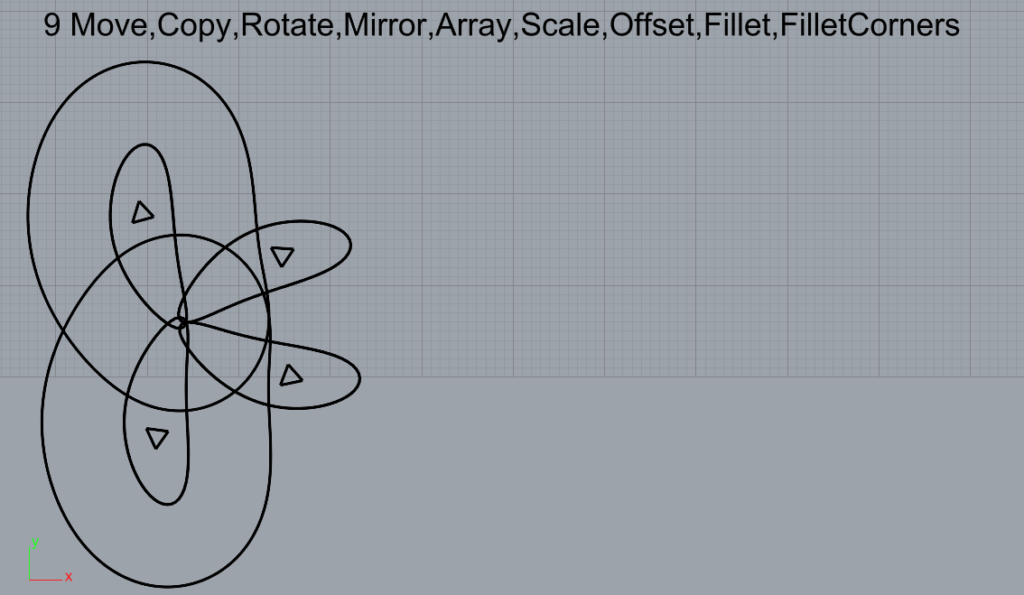
9. Take at least two curves and use various transformations make a pattern or composition.
• Commands: Move, Copy, Rotate, Mirror, Array, Scale, Offset, Fillet, FilletCorners
The Offset command copies a curve so that all locations on the copied curve are a specified distance from the original curve.
The FilletEdge command creates a tangent surface between polysurface edges with varying radius values then trims and joins the original faces to the fillet surfaces.
10. Link to my Part 1: Curves file(Github): https://github.com/QinghongShao-sqh/Rhino_Assignment0910
Part 2: Surfaces
Open a new Rhino File and practice the surfaces commands below by making two different surfaces for each command. Organize your Rhino file so each step is clear. You may want to use some of the curves you modeled in Part 1. Use the Text command to label each step and the commands you used.
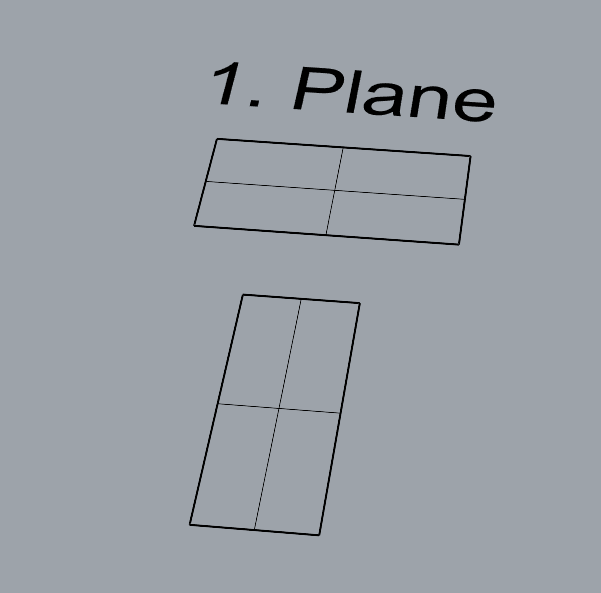
2. PlanarSrf

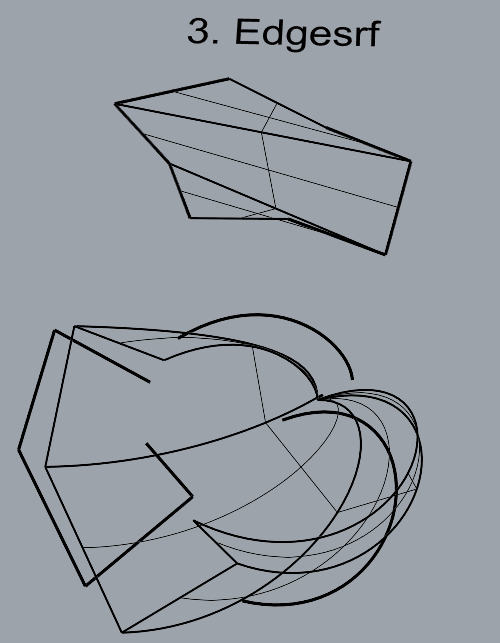
3. EdgeSrf
The EdgeSrf command creates a surface from two, three, or four selected curves.
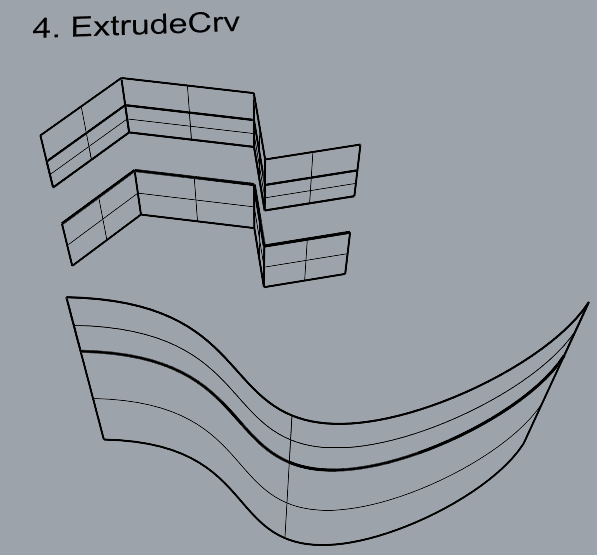
4. ExtrudeCrv
The ExtrudeCrv command creates a surface by tracing the path of a curve in a straight line.
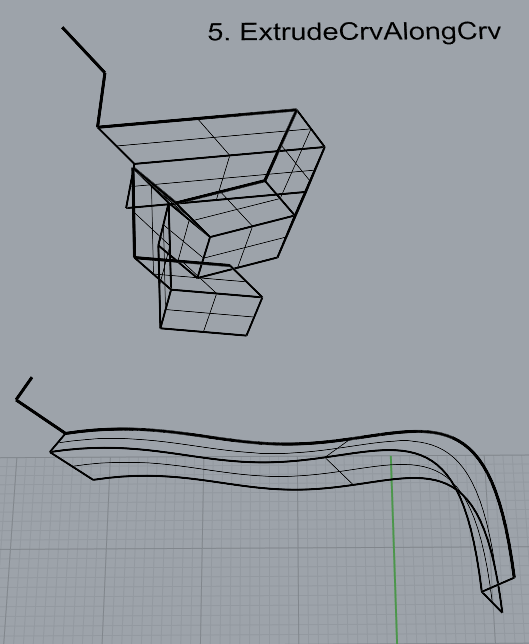
5. ExtrudeCrvAlongCrv
The ExtrudeCrvAlongCrv command creates a surface by tracing the path of a curve along another path curve.
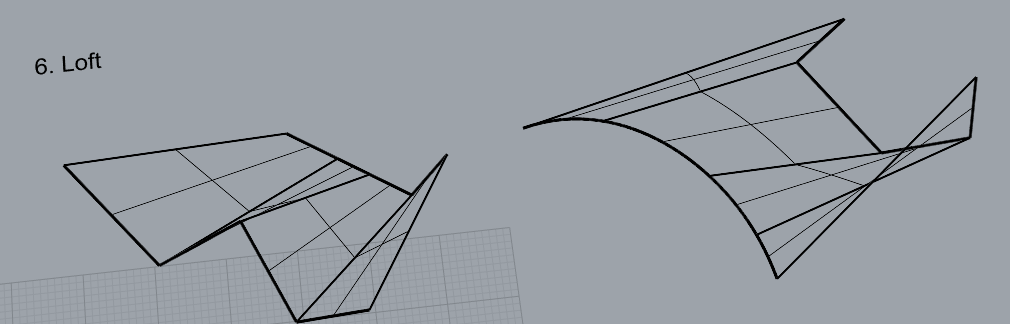
6. Loft
The Loft command fits a surface through selected profile curves that define the surface shape.
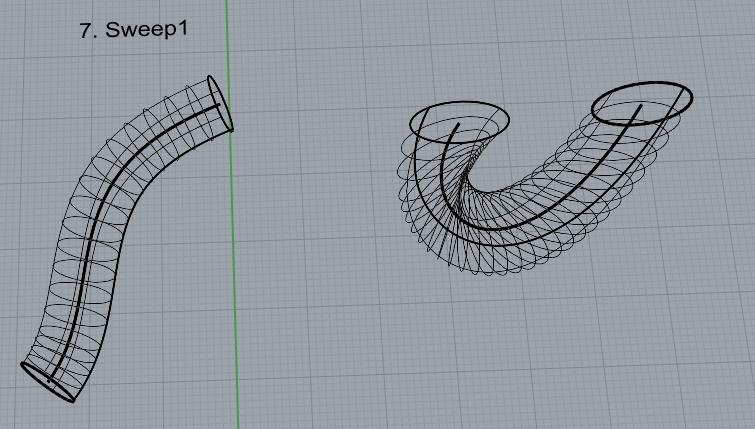
7. Sweep1
The Sweep1 command fits a surface through a series of profile curves that define the surface cross-sections and one curve that defines a surface edge.
Step.
Select cross-section curves in the order that the surface will pass through them.
Select a single rail curve.
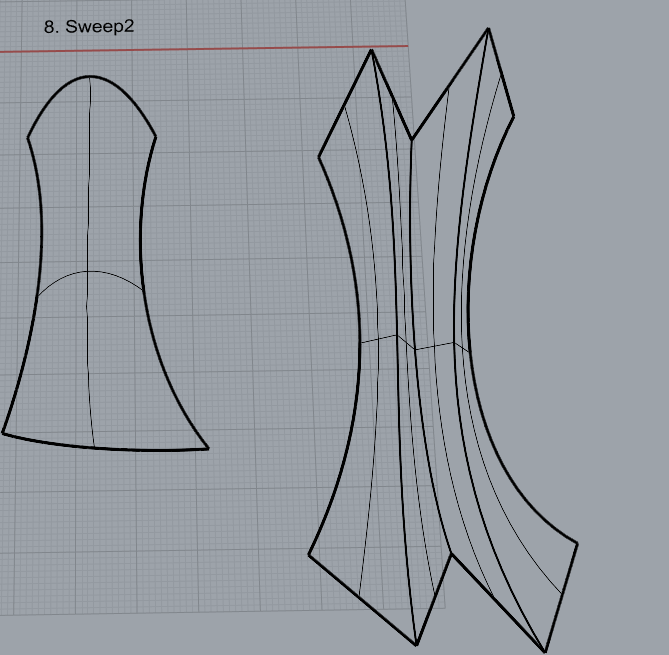
8. Sweep2
The Sweep2 command fits a surface through a series of profile curves that define the surface shape and two curves that define the surface edges.
Step.
- Select two curves as the rails.
- Select cross-section curves in the order in which the surface will pass through them.
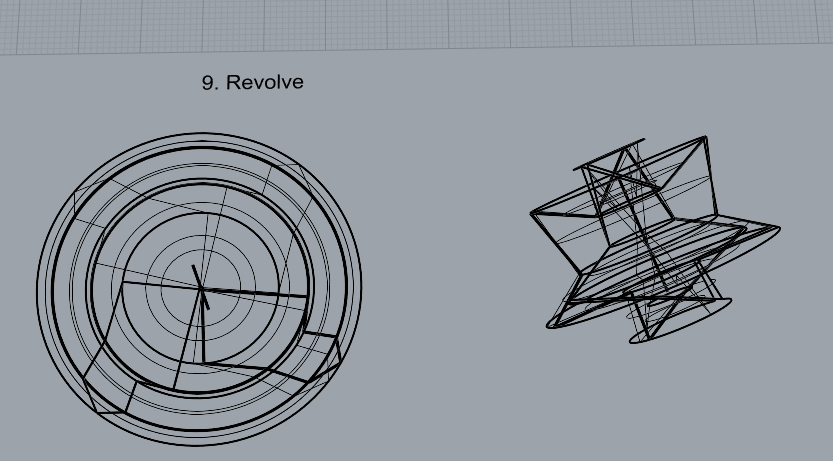
9. Revolve
The Revolve command creates a surface by revolving a profile curve that defines the surface shape around an axis.
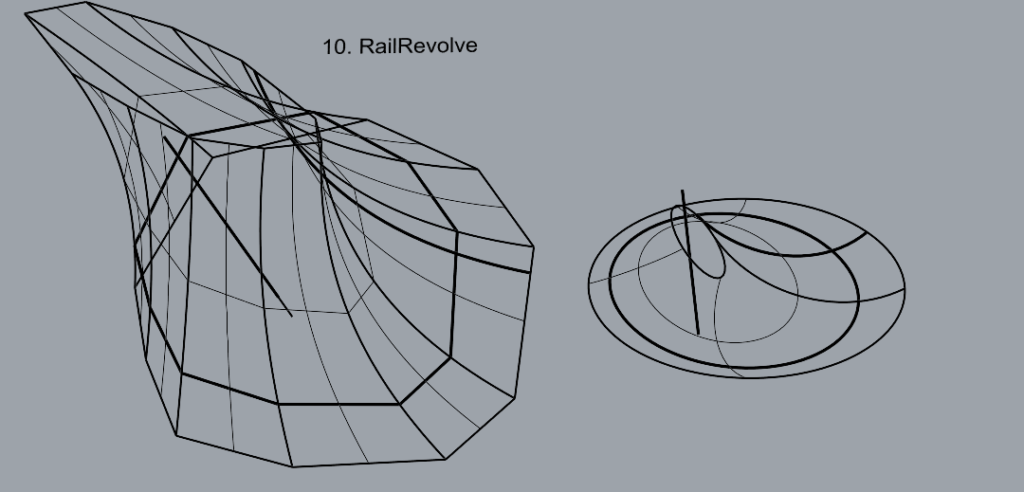
10. RailRevolve
The RailRevolve command creates a surface by revolving a profile curve that defines the surface shape around a rail curve that defines the surface edge.
11. Link to my Part 2: Surfaces file(Github):https://github.com/QinghongShao-sqh/Rhino_Assignment0910
Part 3: Solids
Open a new Rhino File and practice the solids commands below by making two different solids for each command. You may want to use some of the curves and surfaces you modeled in Parts 1 and 2. Organize your Rhino file so each step is clear. Use the Text command to label each step and the commands you used.
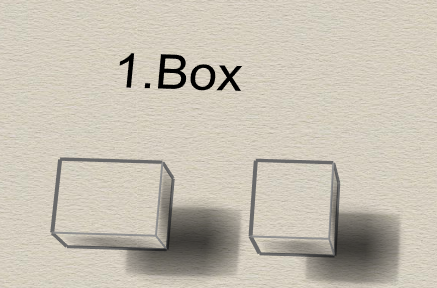
1. Box
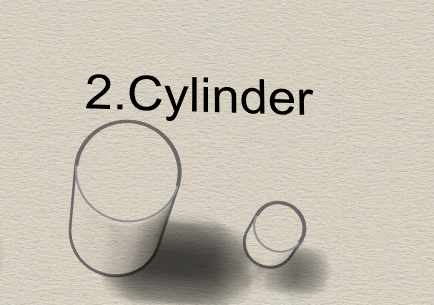
2. Cylinder
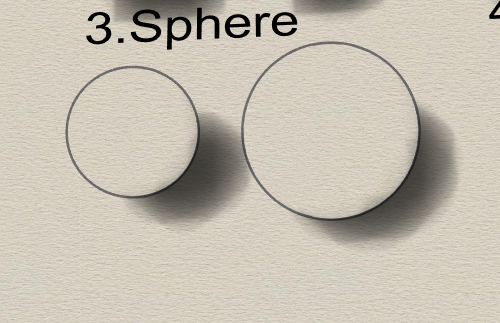
3. Sphere
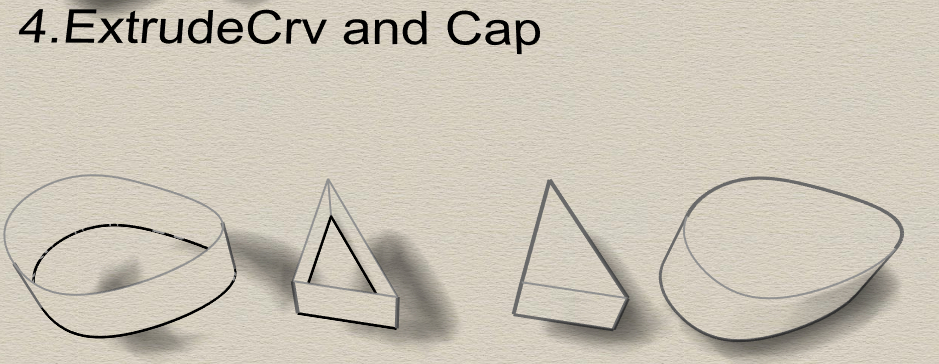
4. ExtrudeCrv and Cap
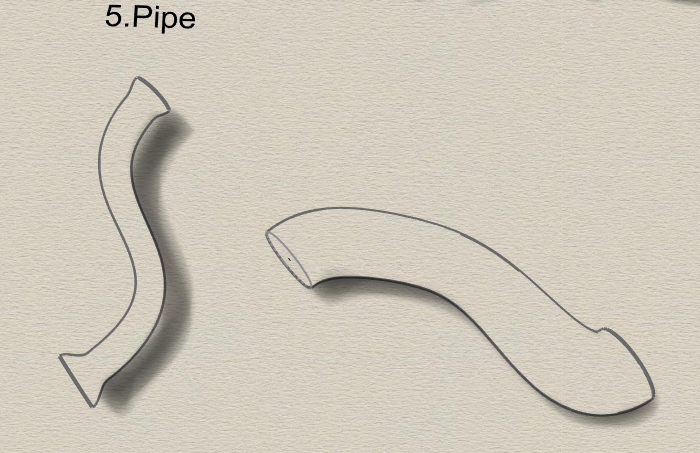
5. Pipe
The Pipe command creates a surface with a circular profile around curves.
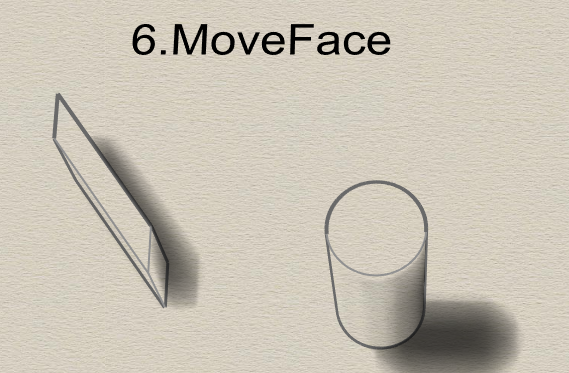
6. MoveFace
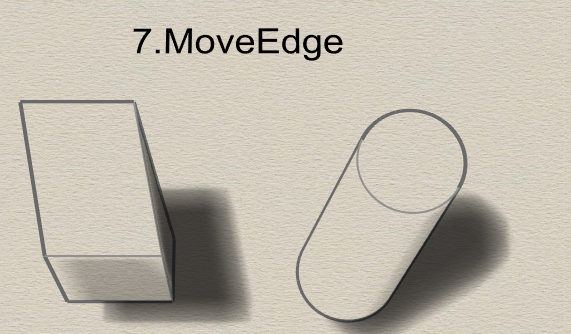
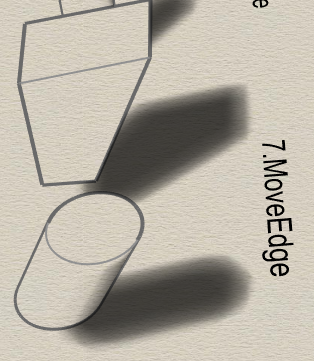
7. MoveEdge
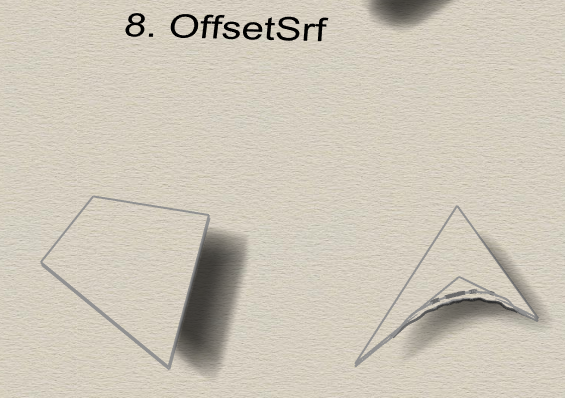
8. OffsetSrf
The OffsetSrf command copies a surface or polysurface so that locations on the copied surface are the same specified distance from the original surface.
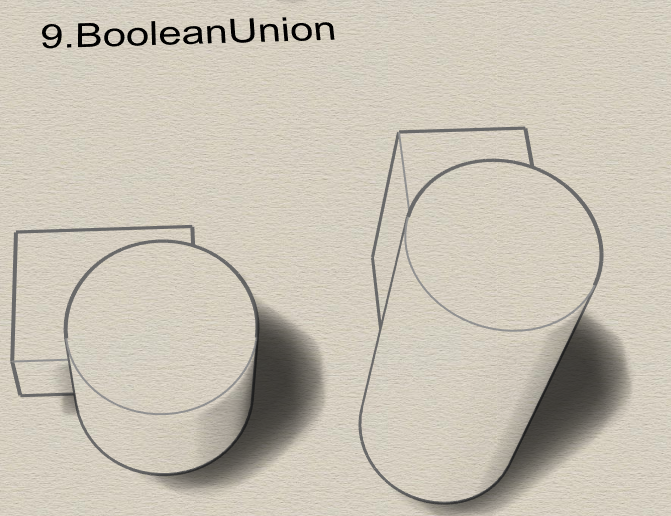
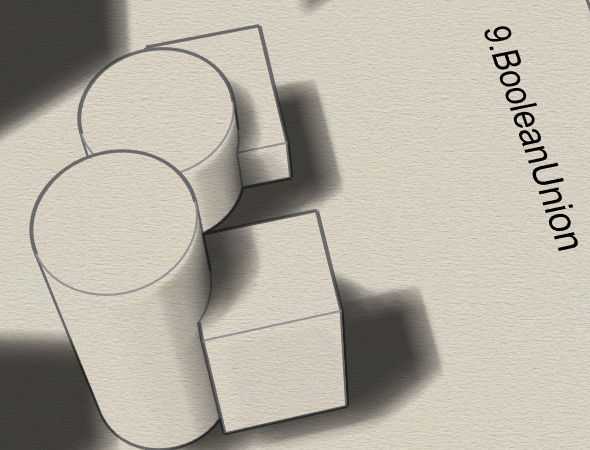
9. BooleanUnion
The BooleanUnion command trims the shared areas of selected polysurfaces or surfaces and creates a single polysurface from the unshared areas.
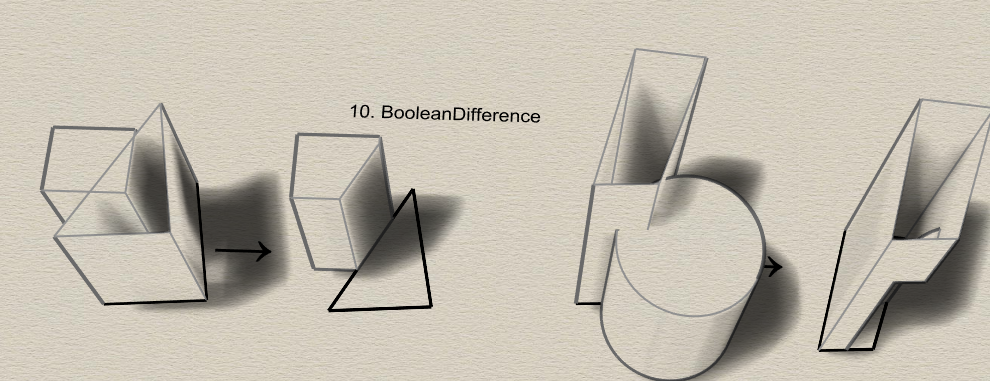
10. BooleanDifference
The BooleanDifference command trims the shared areas of selected polysurfaces or surfaces with another set of polysurfaces or surfaces.
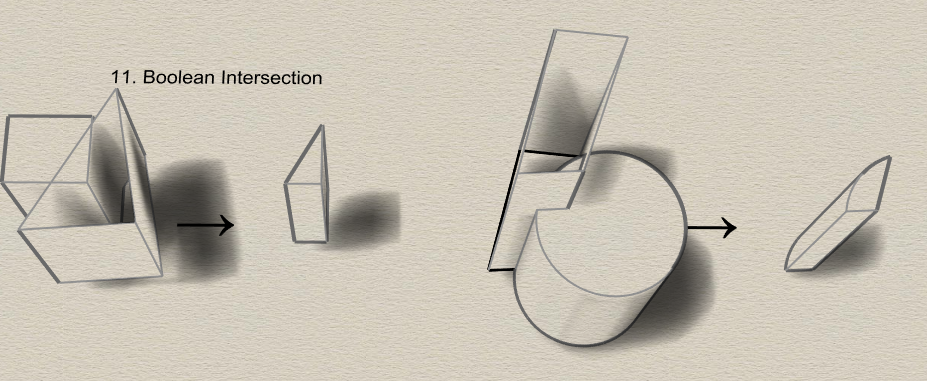
11. Boolean Intersection
The BooleanIntersection command trims the unshared areas of selected polysurfaces or surfaces.
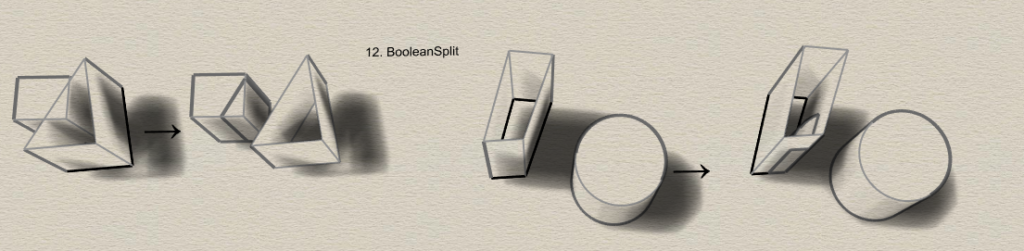
12. BooleanSplit
The BooleanSplit command splits shared areas of selected polysurfaces or surfaces and creates separate polysurfaces from the shared and unshared parts.
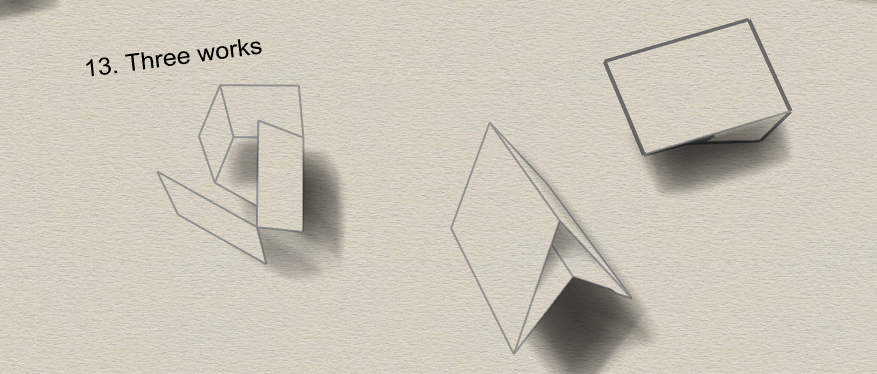
13. Using the surfaces and solids you modeled and the Boolean tools, make three solid shapes you find interesting.
14. Link to my Part3:https://github.com/QinghongShao-sqh/Rhino_Assignment0910
Part4
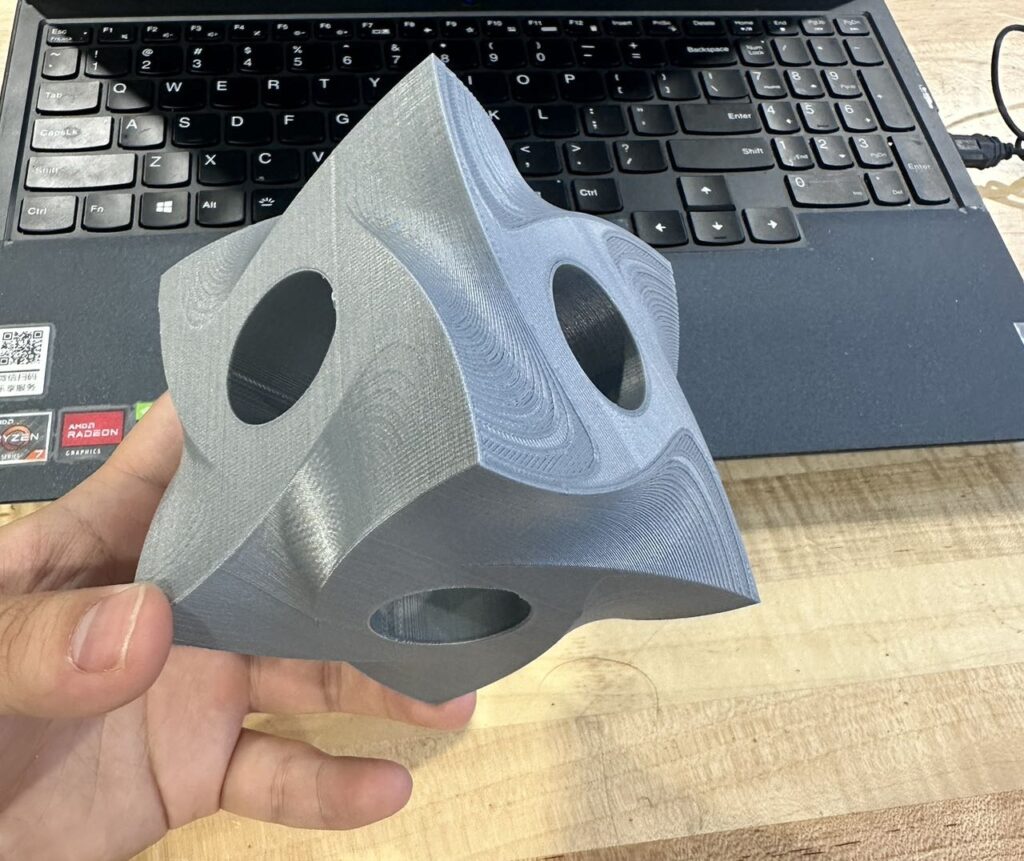
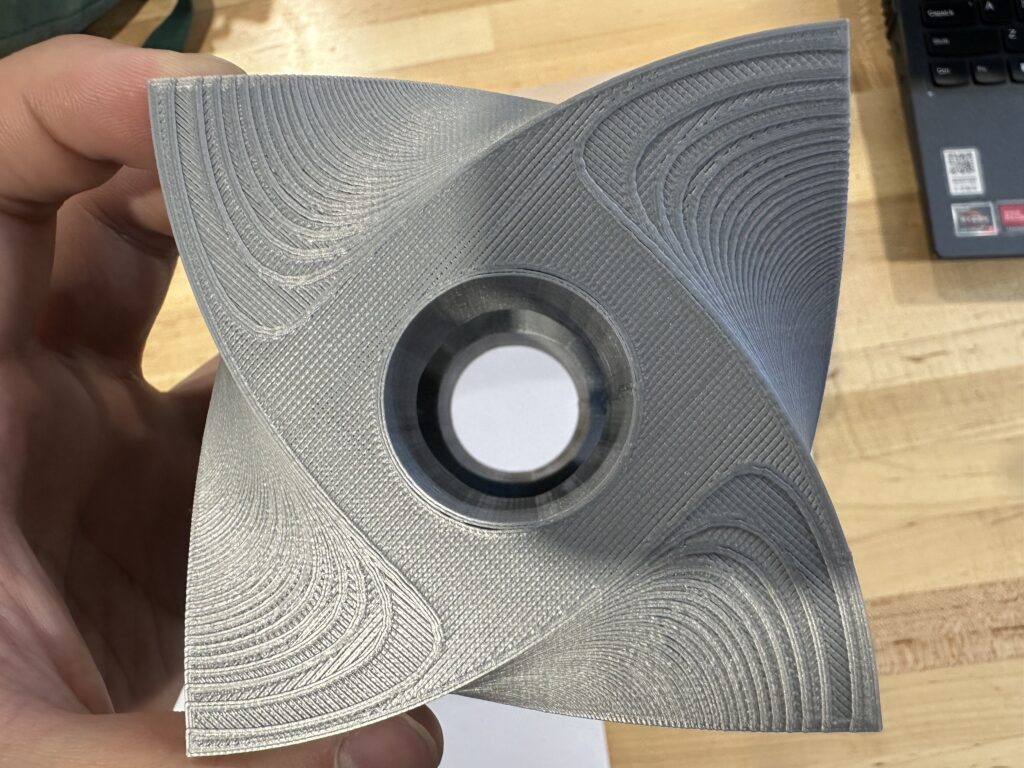
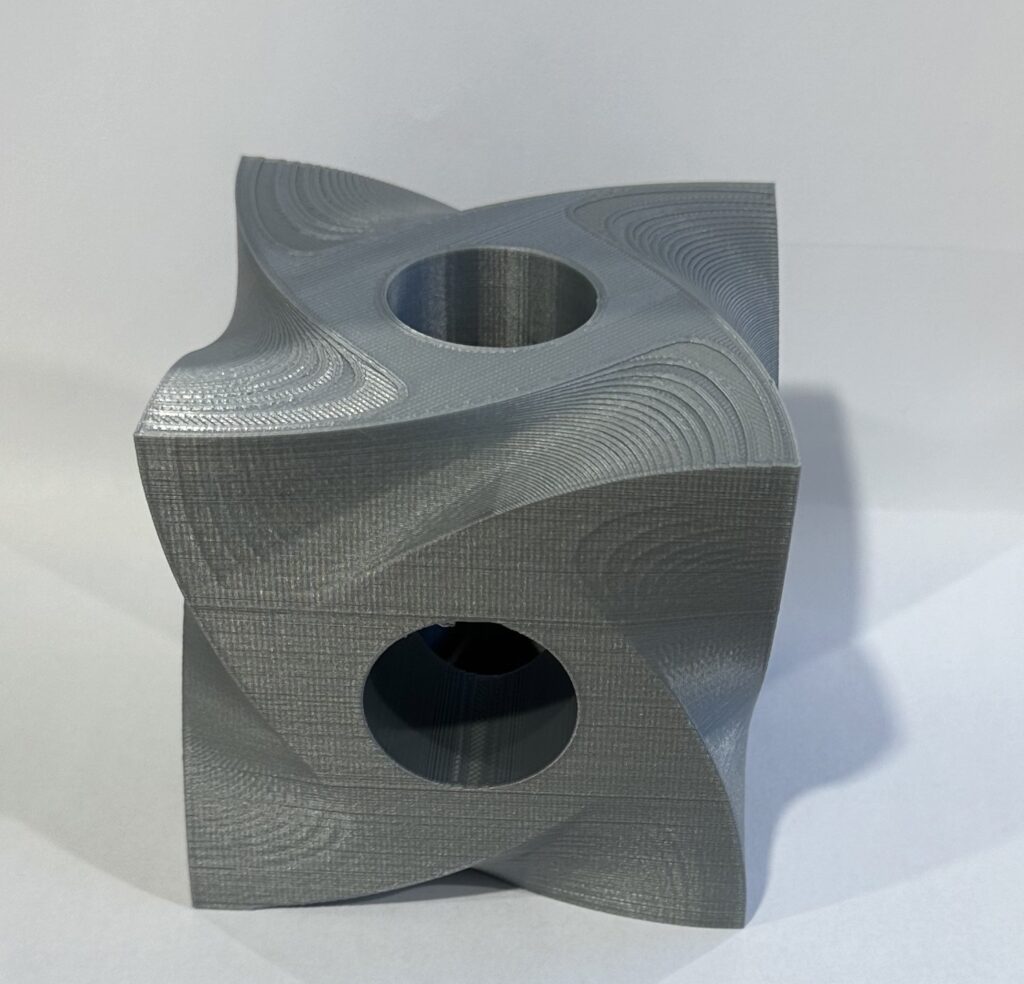
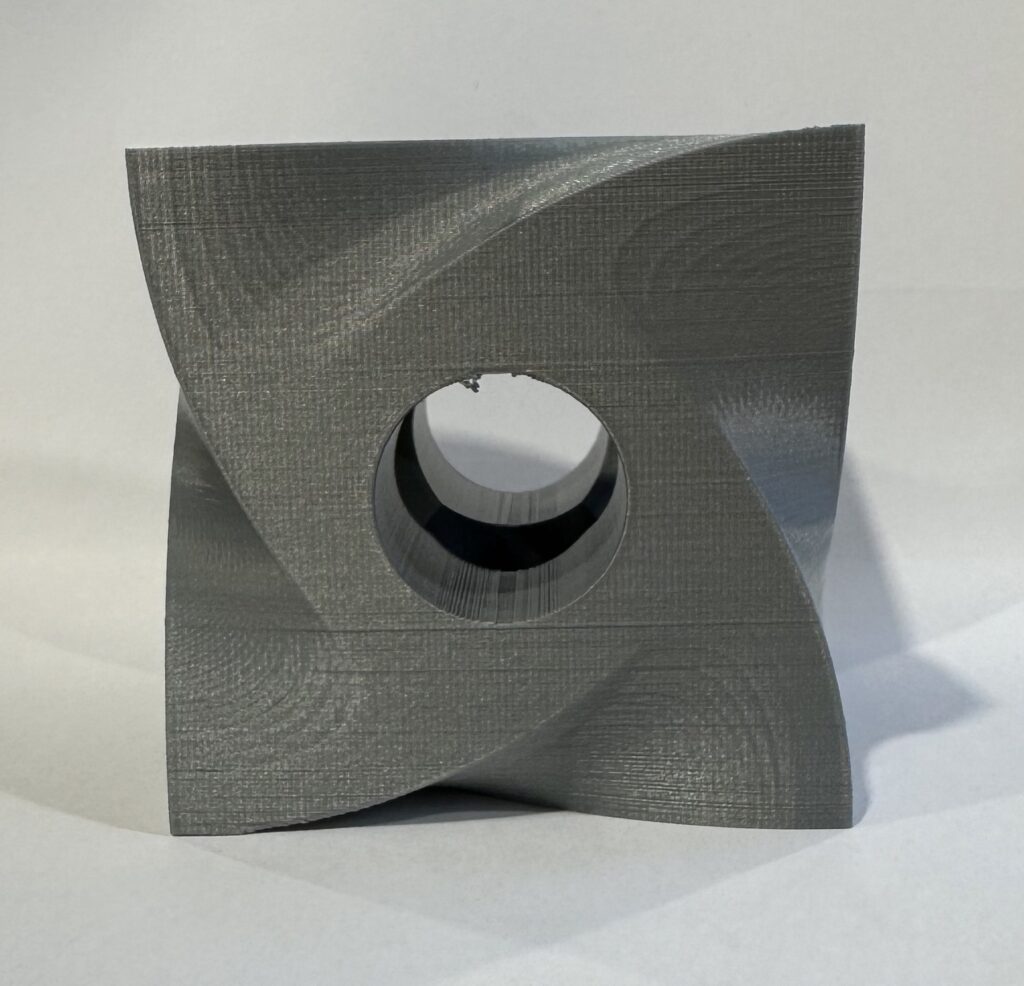
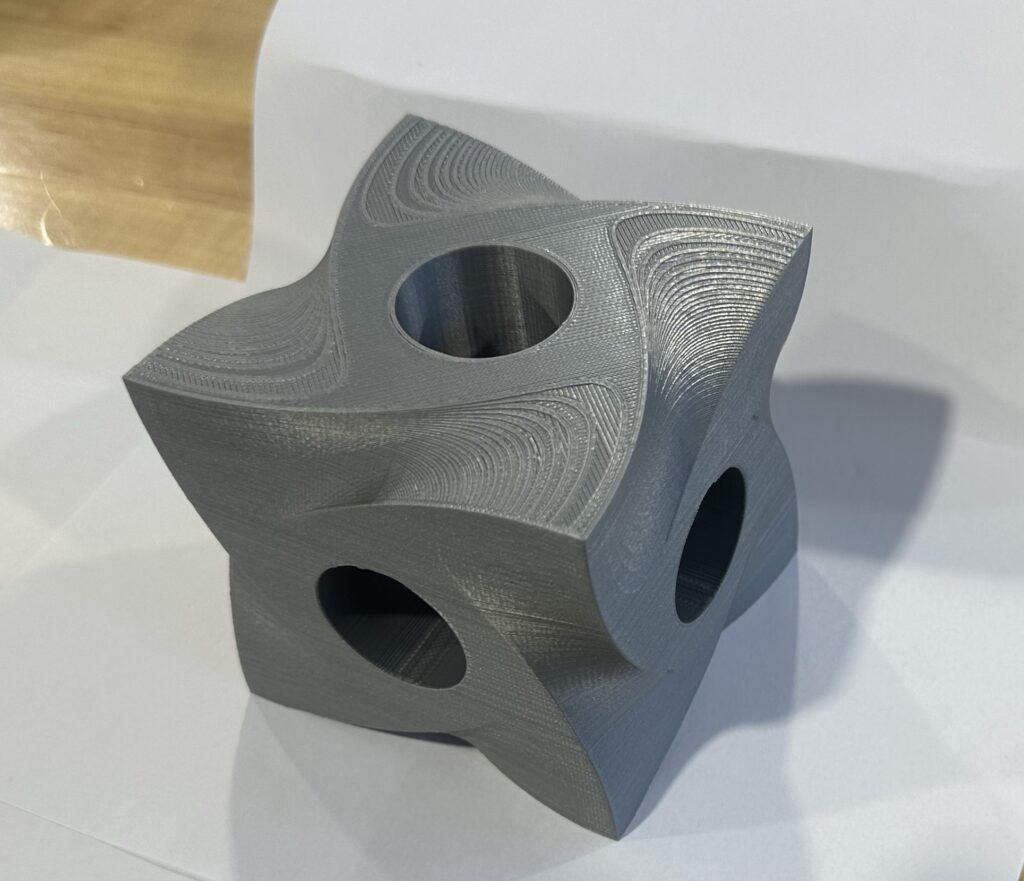
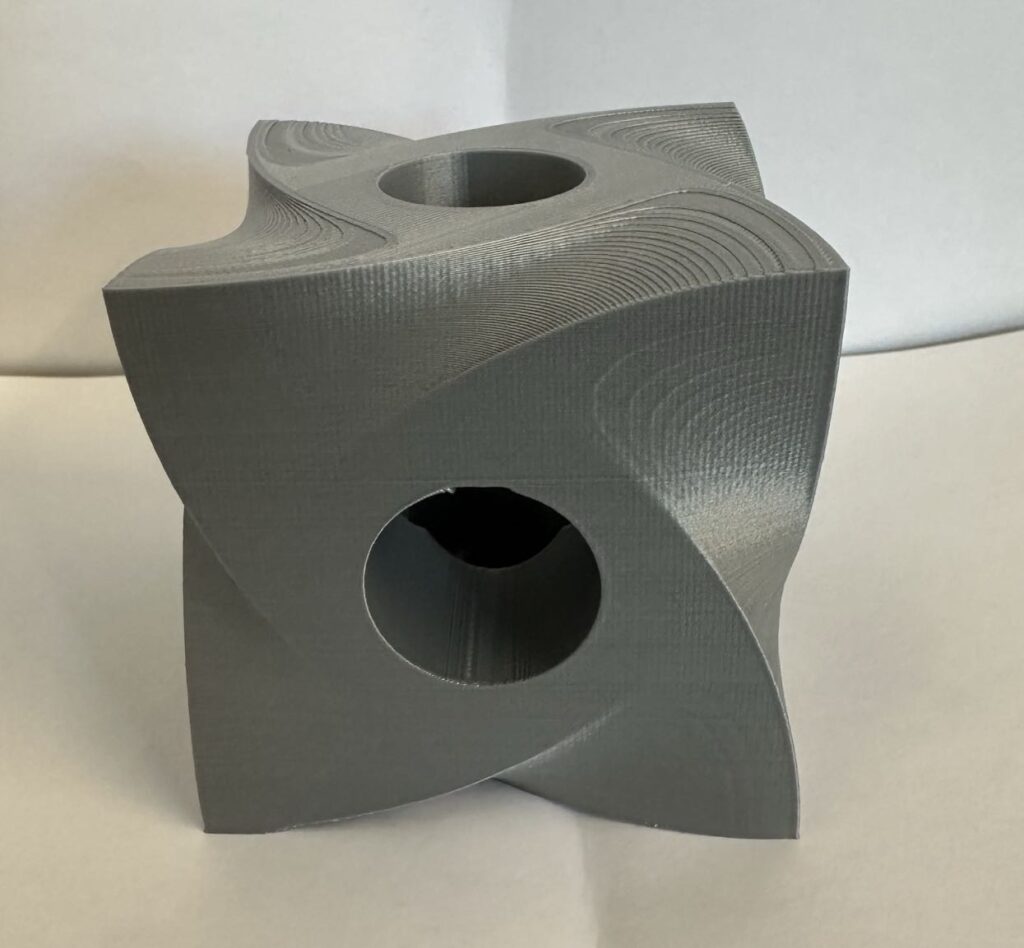
This is a cube surface fluid model, the middle part of it is obtained by Boolean difference operation with three cylinders. It looks not bad. On top of it, there is a wave type texture, I like this texture, it looks beautiful. The only disadvvantage of this printed object is that it takes 13 hours to finish printing. I’m curious about some other printing algorithms.

Hello Qinghong,
Your final print looks amazing! The quality looks really good and it’s a super interesting design.
Thanks, you printed objcet also looks well.
Excellent print! I rather how the slicer alternated directions for the top layers – it gives your shape some interesting texture. The edges and corners are also very well defined. Well worth the 13 hours I think! But if you’re looking to cut the print time, I’d recommend giving the “adaptive layers” option in Cura a try.
Thanks for your recommendation, I will try it the other day!