Introduction
Originally I was inspired by a previous final project I found in the archives of this class about making cookie cutter stamps. From then I wanted to create stamps for tin work inspired by Mexican folk art. My project has evolved into exploring printmaking through computational design. With my interdisciplinary art degree I have my focus areas in studio art/printmaking and computer science so I was inspired to mix the two in a new way.
Background Research
For this project I took inspiration from traditional Indian woodblock stamps as well as other cultures that have patterned/stamped textiles and the work of MC Escher. I love the look of combining mathematically sourced designs with an element of human imperfection/creation. Textile woodblock printing is a timeless practice that has been around for centuries. This is where I got my inspiration for creating a garment (interesting paper on the technique). If I had a bit more time and resources, I would create a wooden block to print, but that’s pretty time intensive. I also may create a supplementary block for the textile portion so that I can have a multi-color print. This will also be more true to Indian-style prints. MC Escher’s work (https://mcescher.com/) is very interesting and his ability to appeal to both mathematical senses and creating visually appealing works is inspirational. His linocuts/woodblock prints gave some insight into what I was aiming for.
Process
When generating my first design I used Rhino and math to create the shapes but I manually created the template in the software to connect more with the process. I had yet to use Rhino (without Grasshopper) to create a finished piece so I enjoyed that process a lot. It was extremely time consuming to manually fabricate the pattern, and it definitely would have been a more efficient process to code the stamp. However, I liked the intimacy with the stamp and the manually aspect of it. I later went back a wrote this design in code, but since my stamp worked, I did not reprint. This was mostly for my future use so that it would be more mathematically perfect.
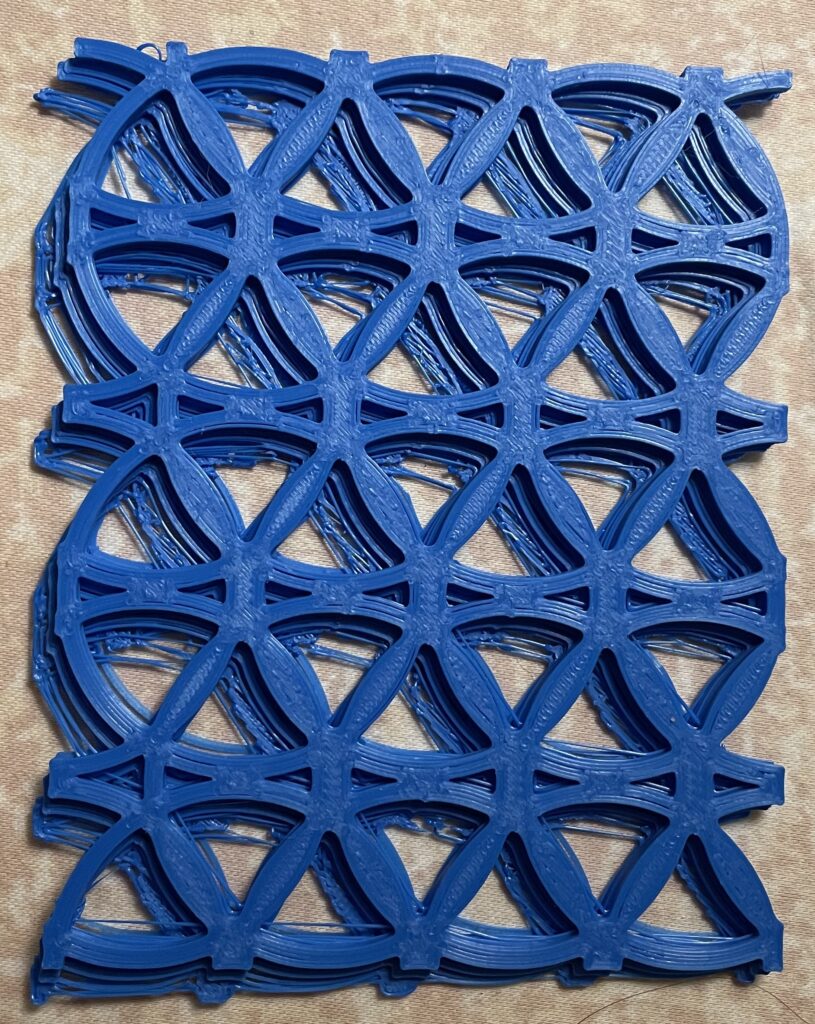
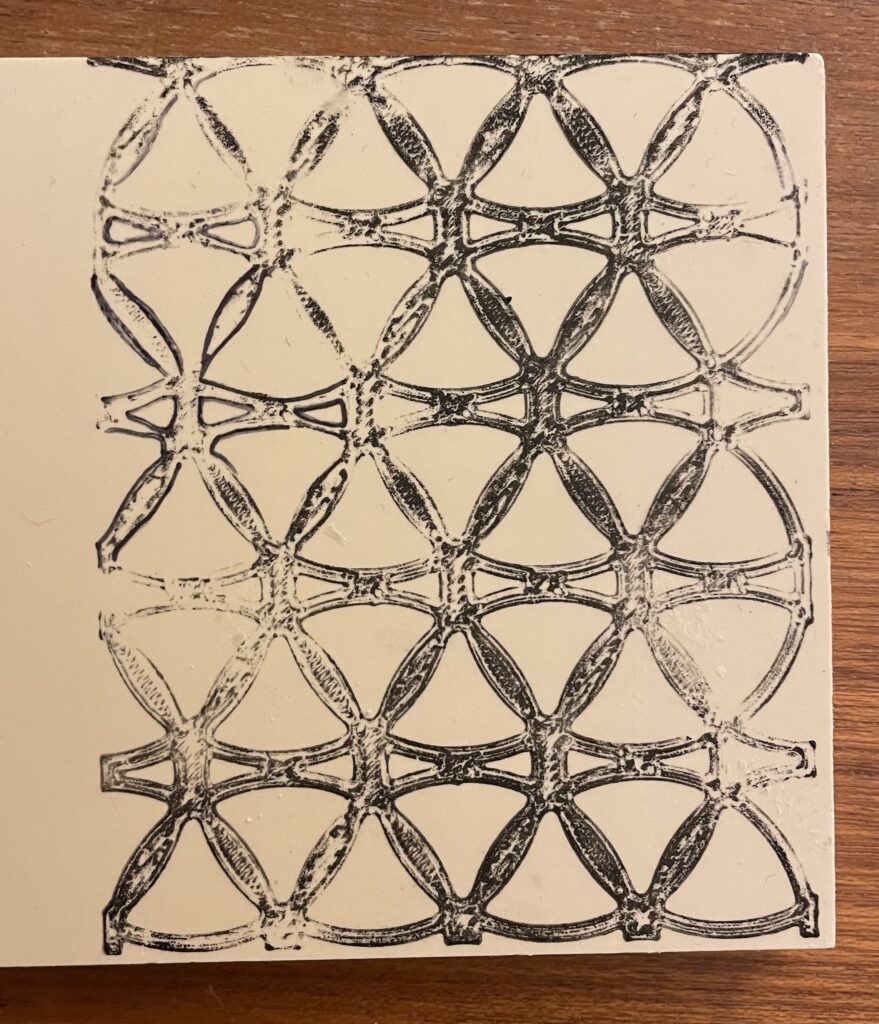
My first print was a bit wonky and the print shifted a lot during the printing process because I lost one of my clamps. However, when I stamped the PLA stamp the pattern showed up just fine and so I decided not to reprint. With ink I transferred the design onto a rubber stamp block and carved out the design.
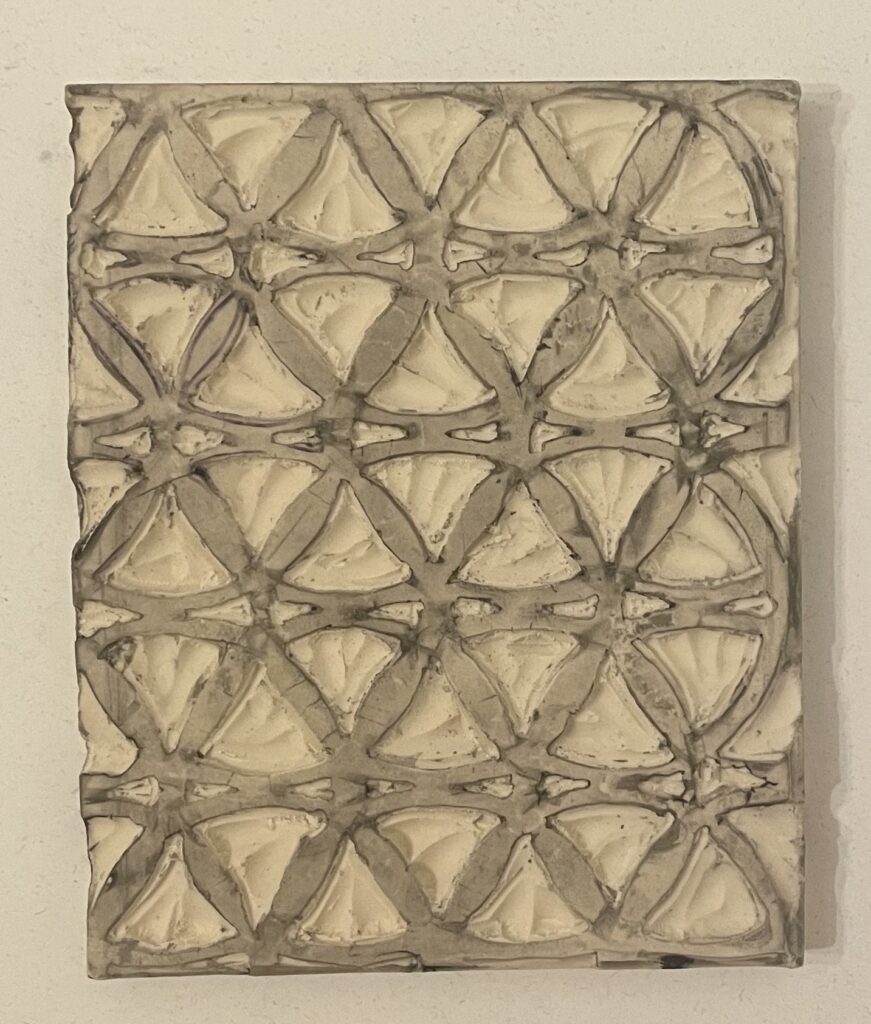
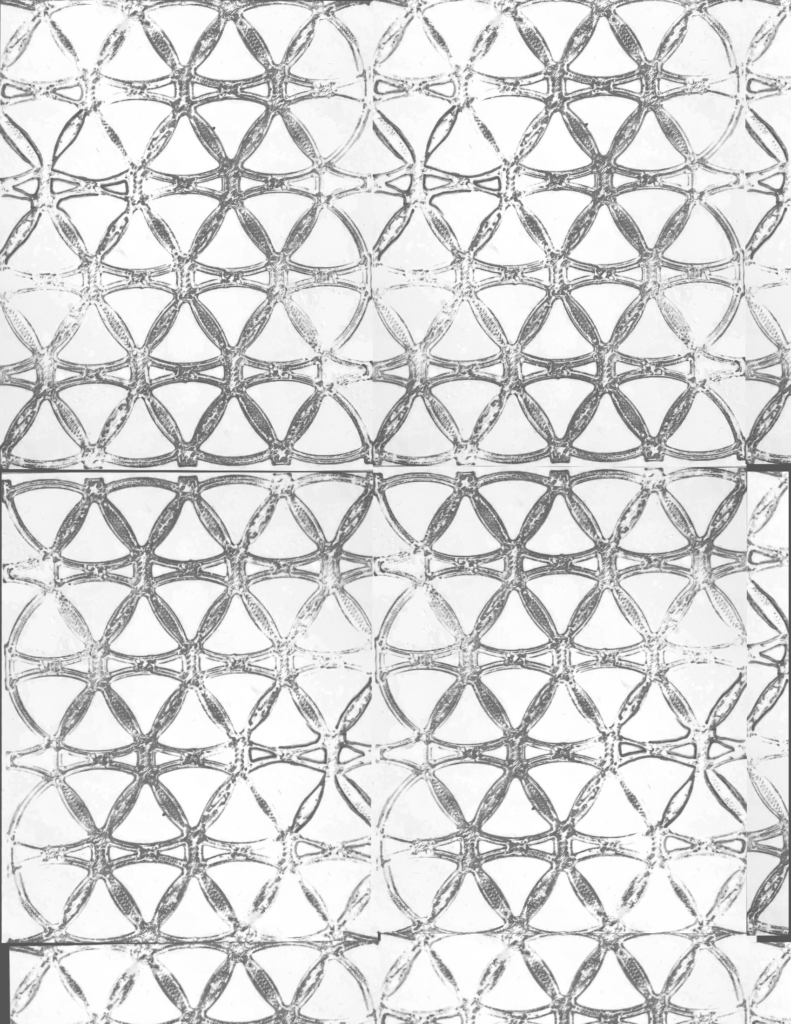
Because the design was small and somewhat intricate, there was a lot of rough edges/ mess ups in the carving process. But in the end, I like the obviously hand-made look to the stamp. I ended up stamping both the rubber stamp and the PLA stamp for parts of my deliverables.
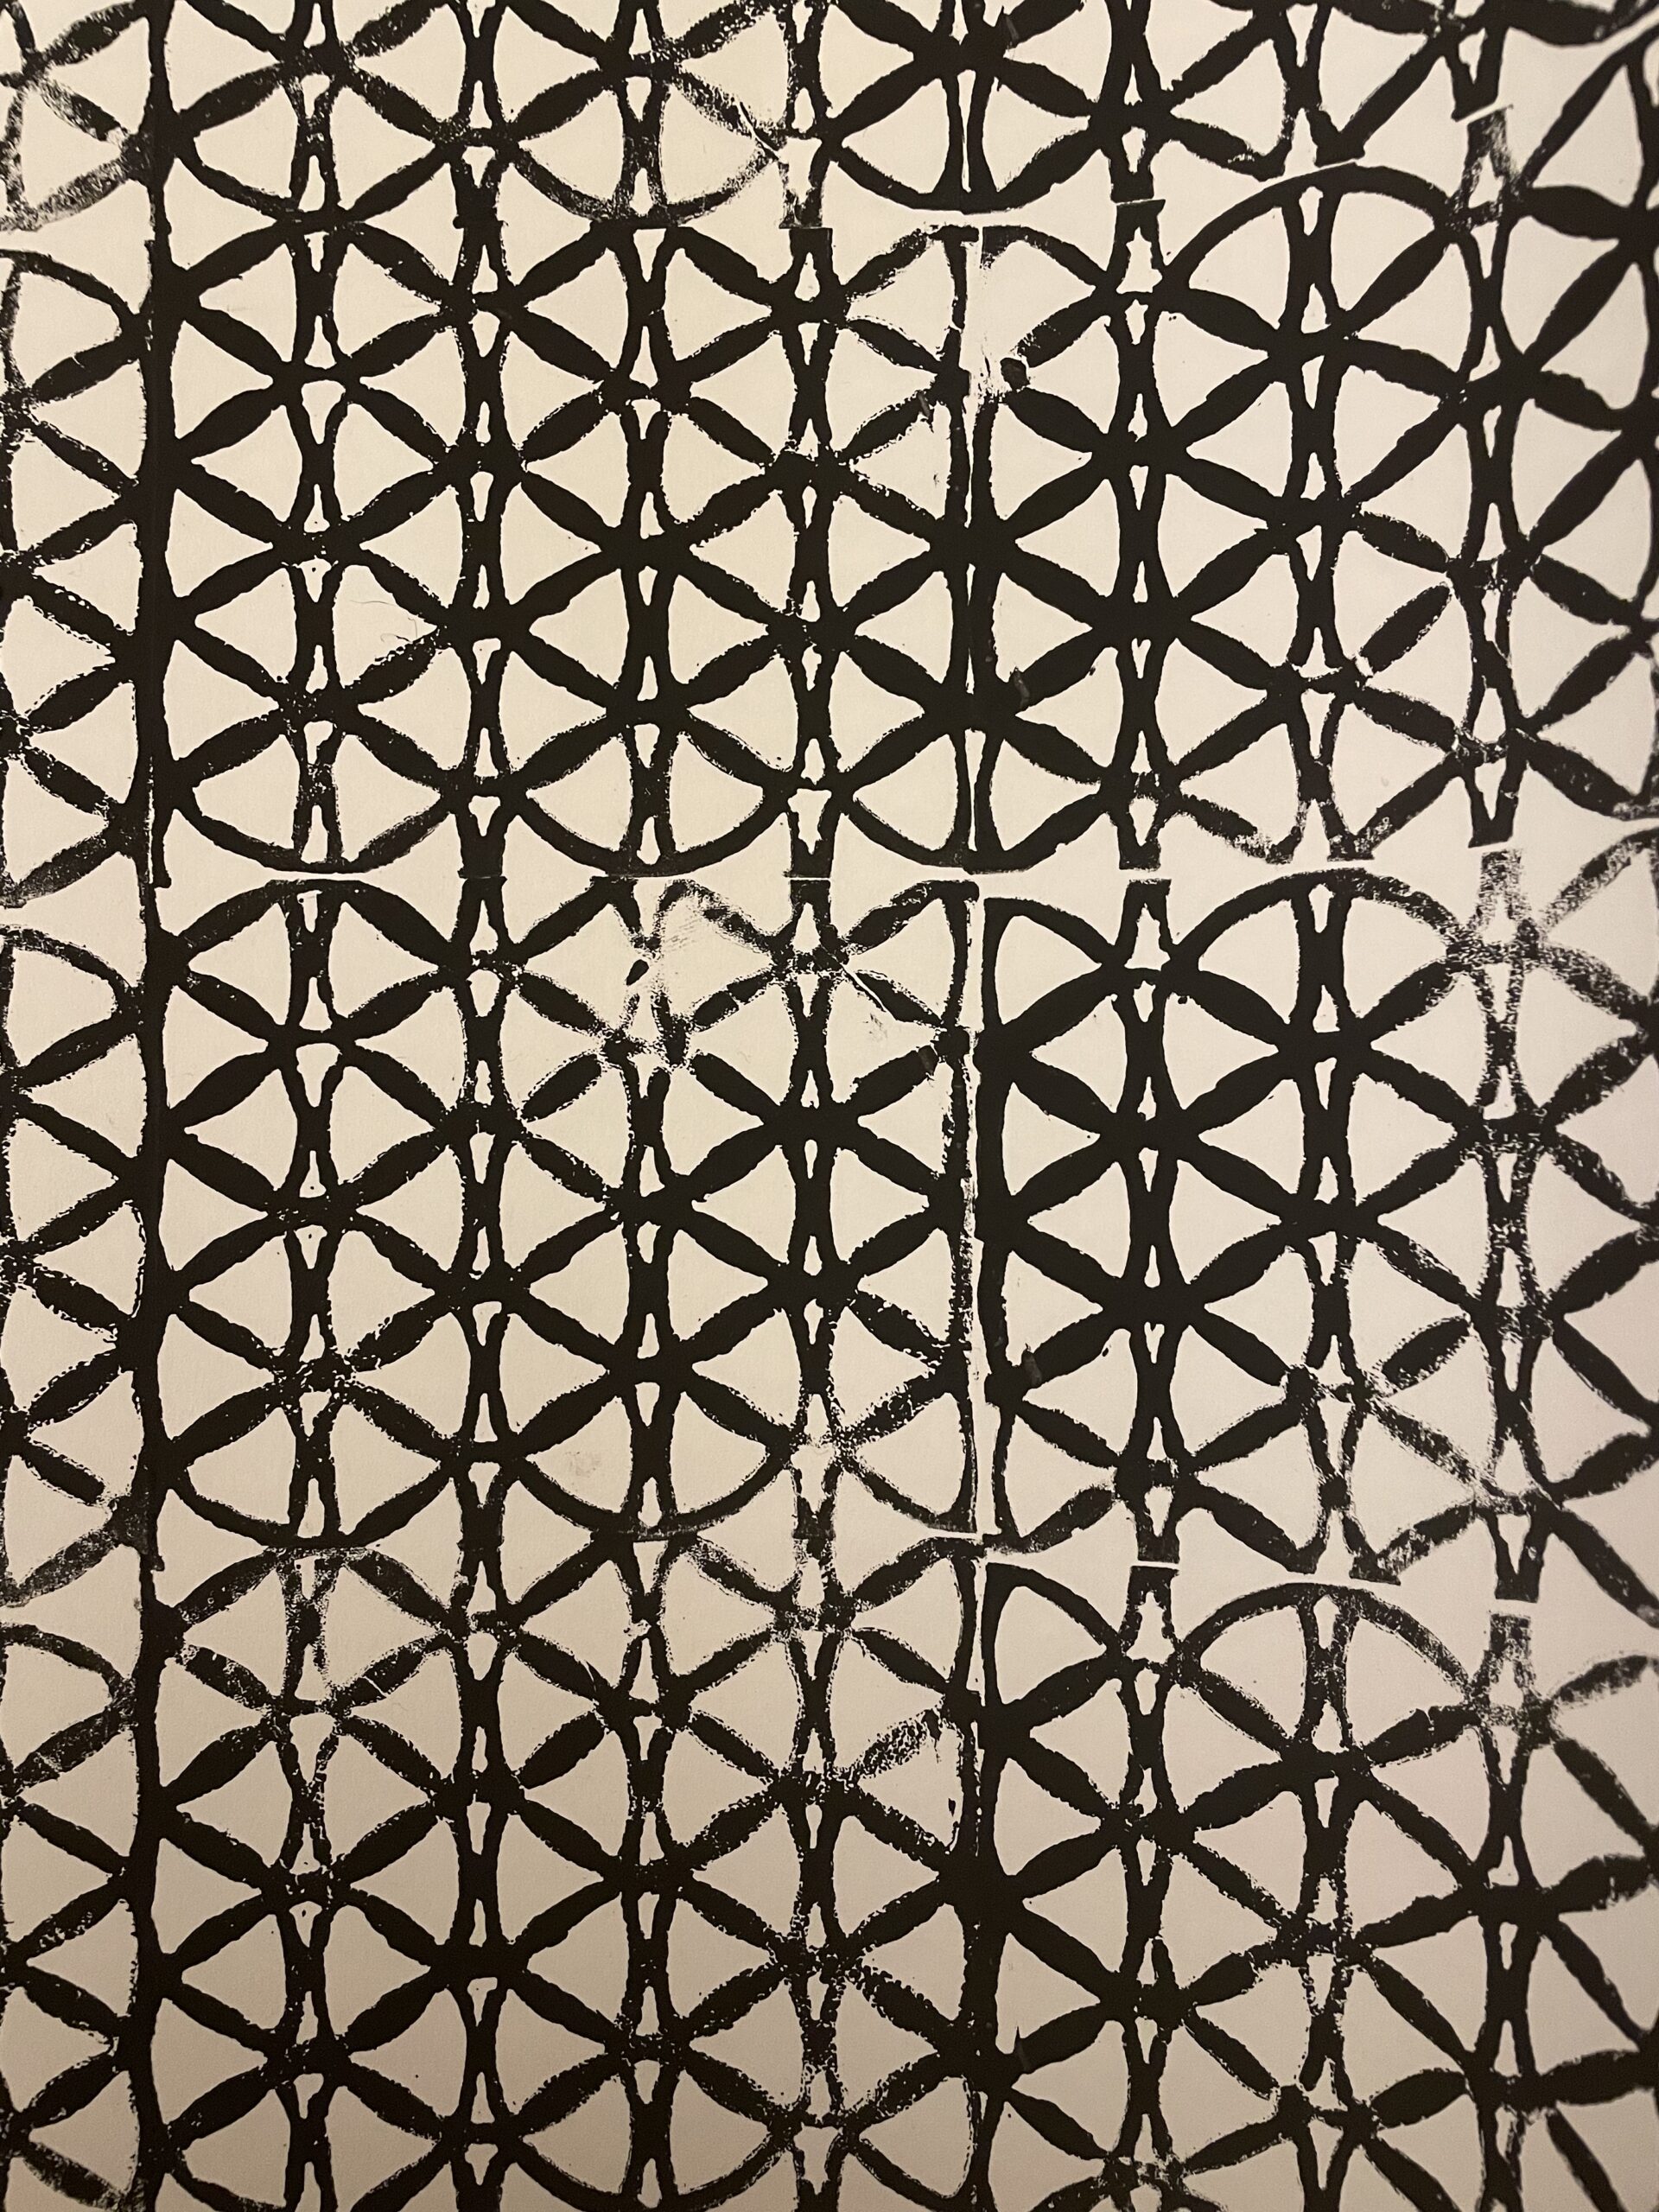
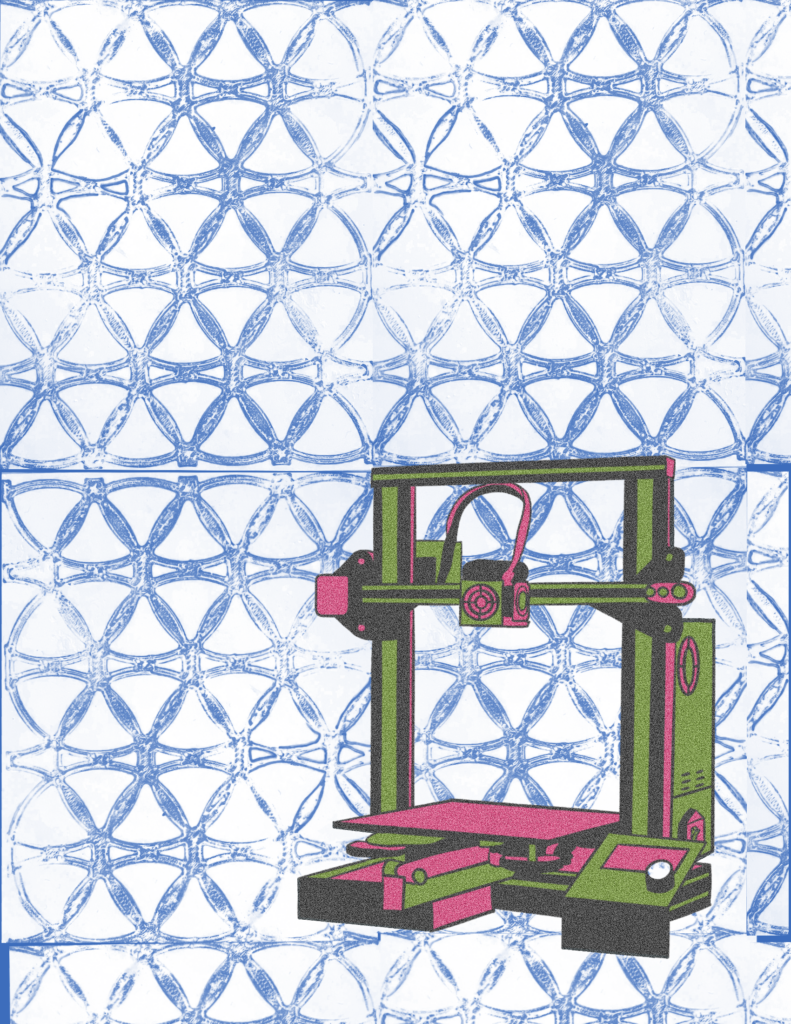
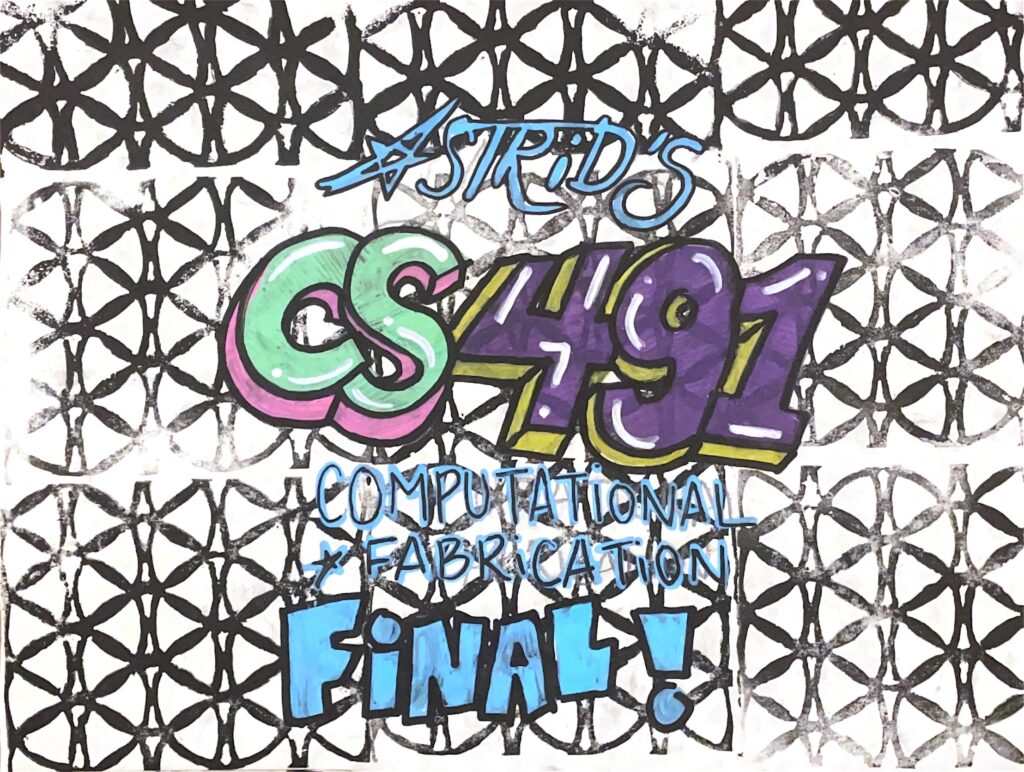
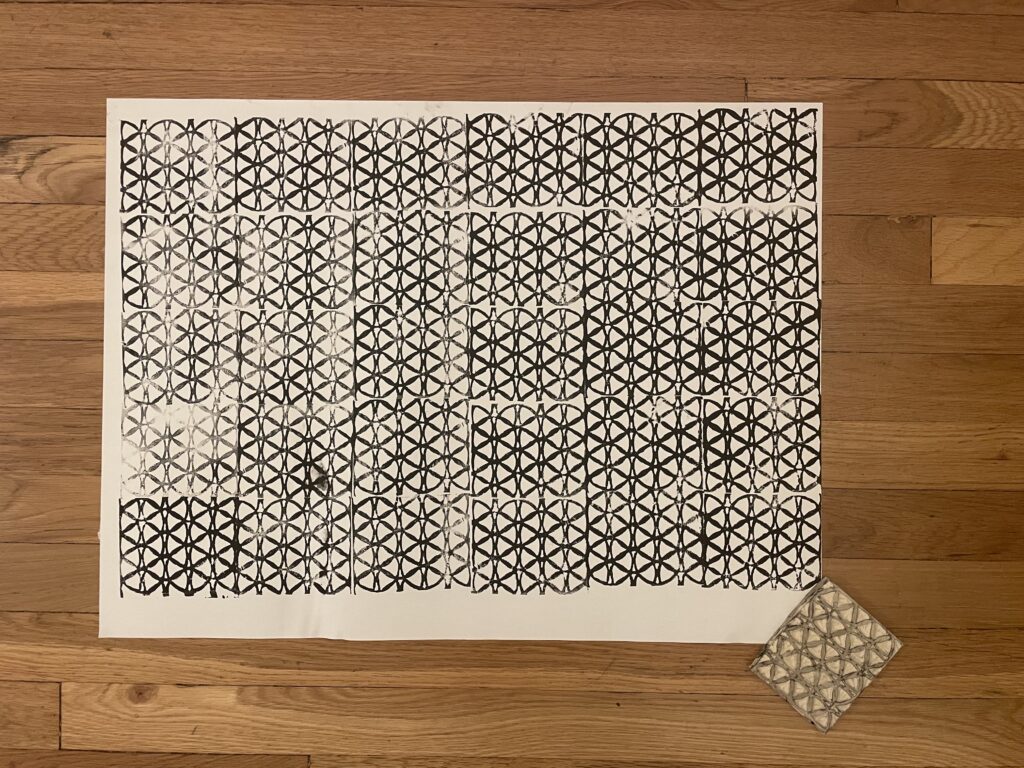
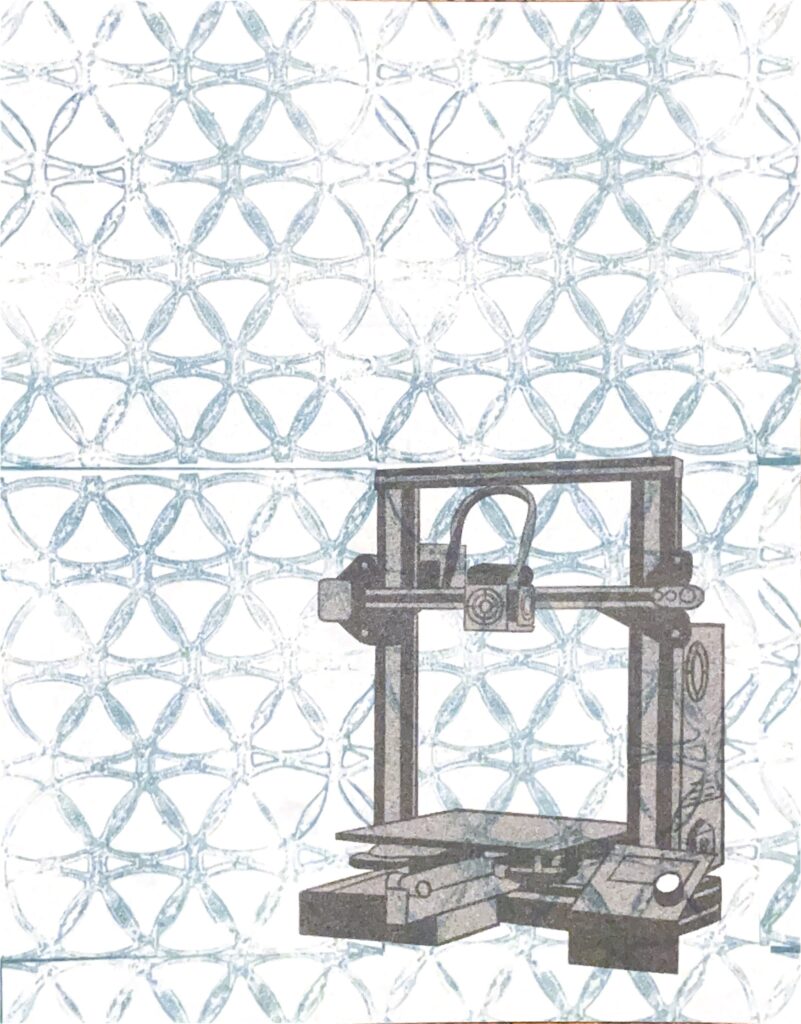
I stamped out the rubber stamp on a large piece of drawing paper to give the illusion of a textile design, similar to my inspirations. I really like the way the large scale turned out and in the future I would like to experiment with different colors, layering, and adding an image on top of the design. For experimentations sake I did a digital version of this where I quickly drew a Ender 3 on top of the pattern. This was a lot of fun and I was able to experiment with color here.
The digital sketch is what I decided to use for the Risograph I wanted to create. I had gotten in touch with ARTSLab and through this class I was granted access to the Riso printer. I liked being able to create yet another iteration of this same pattern. I also was excited to have access to a Riso printer, as I have a lot of fun with them in the past. It was cool to use some of the resources granted to me through enrollment in this class (Risograph printer access is not usually given to undergraduates).

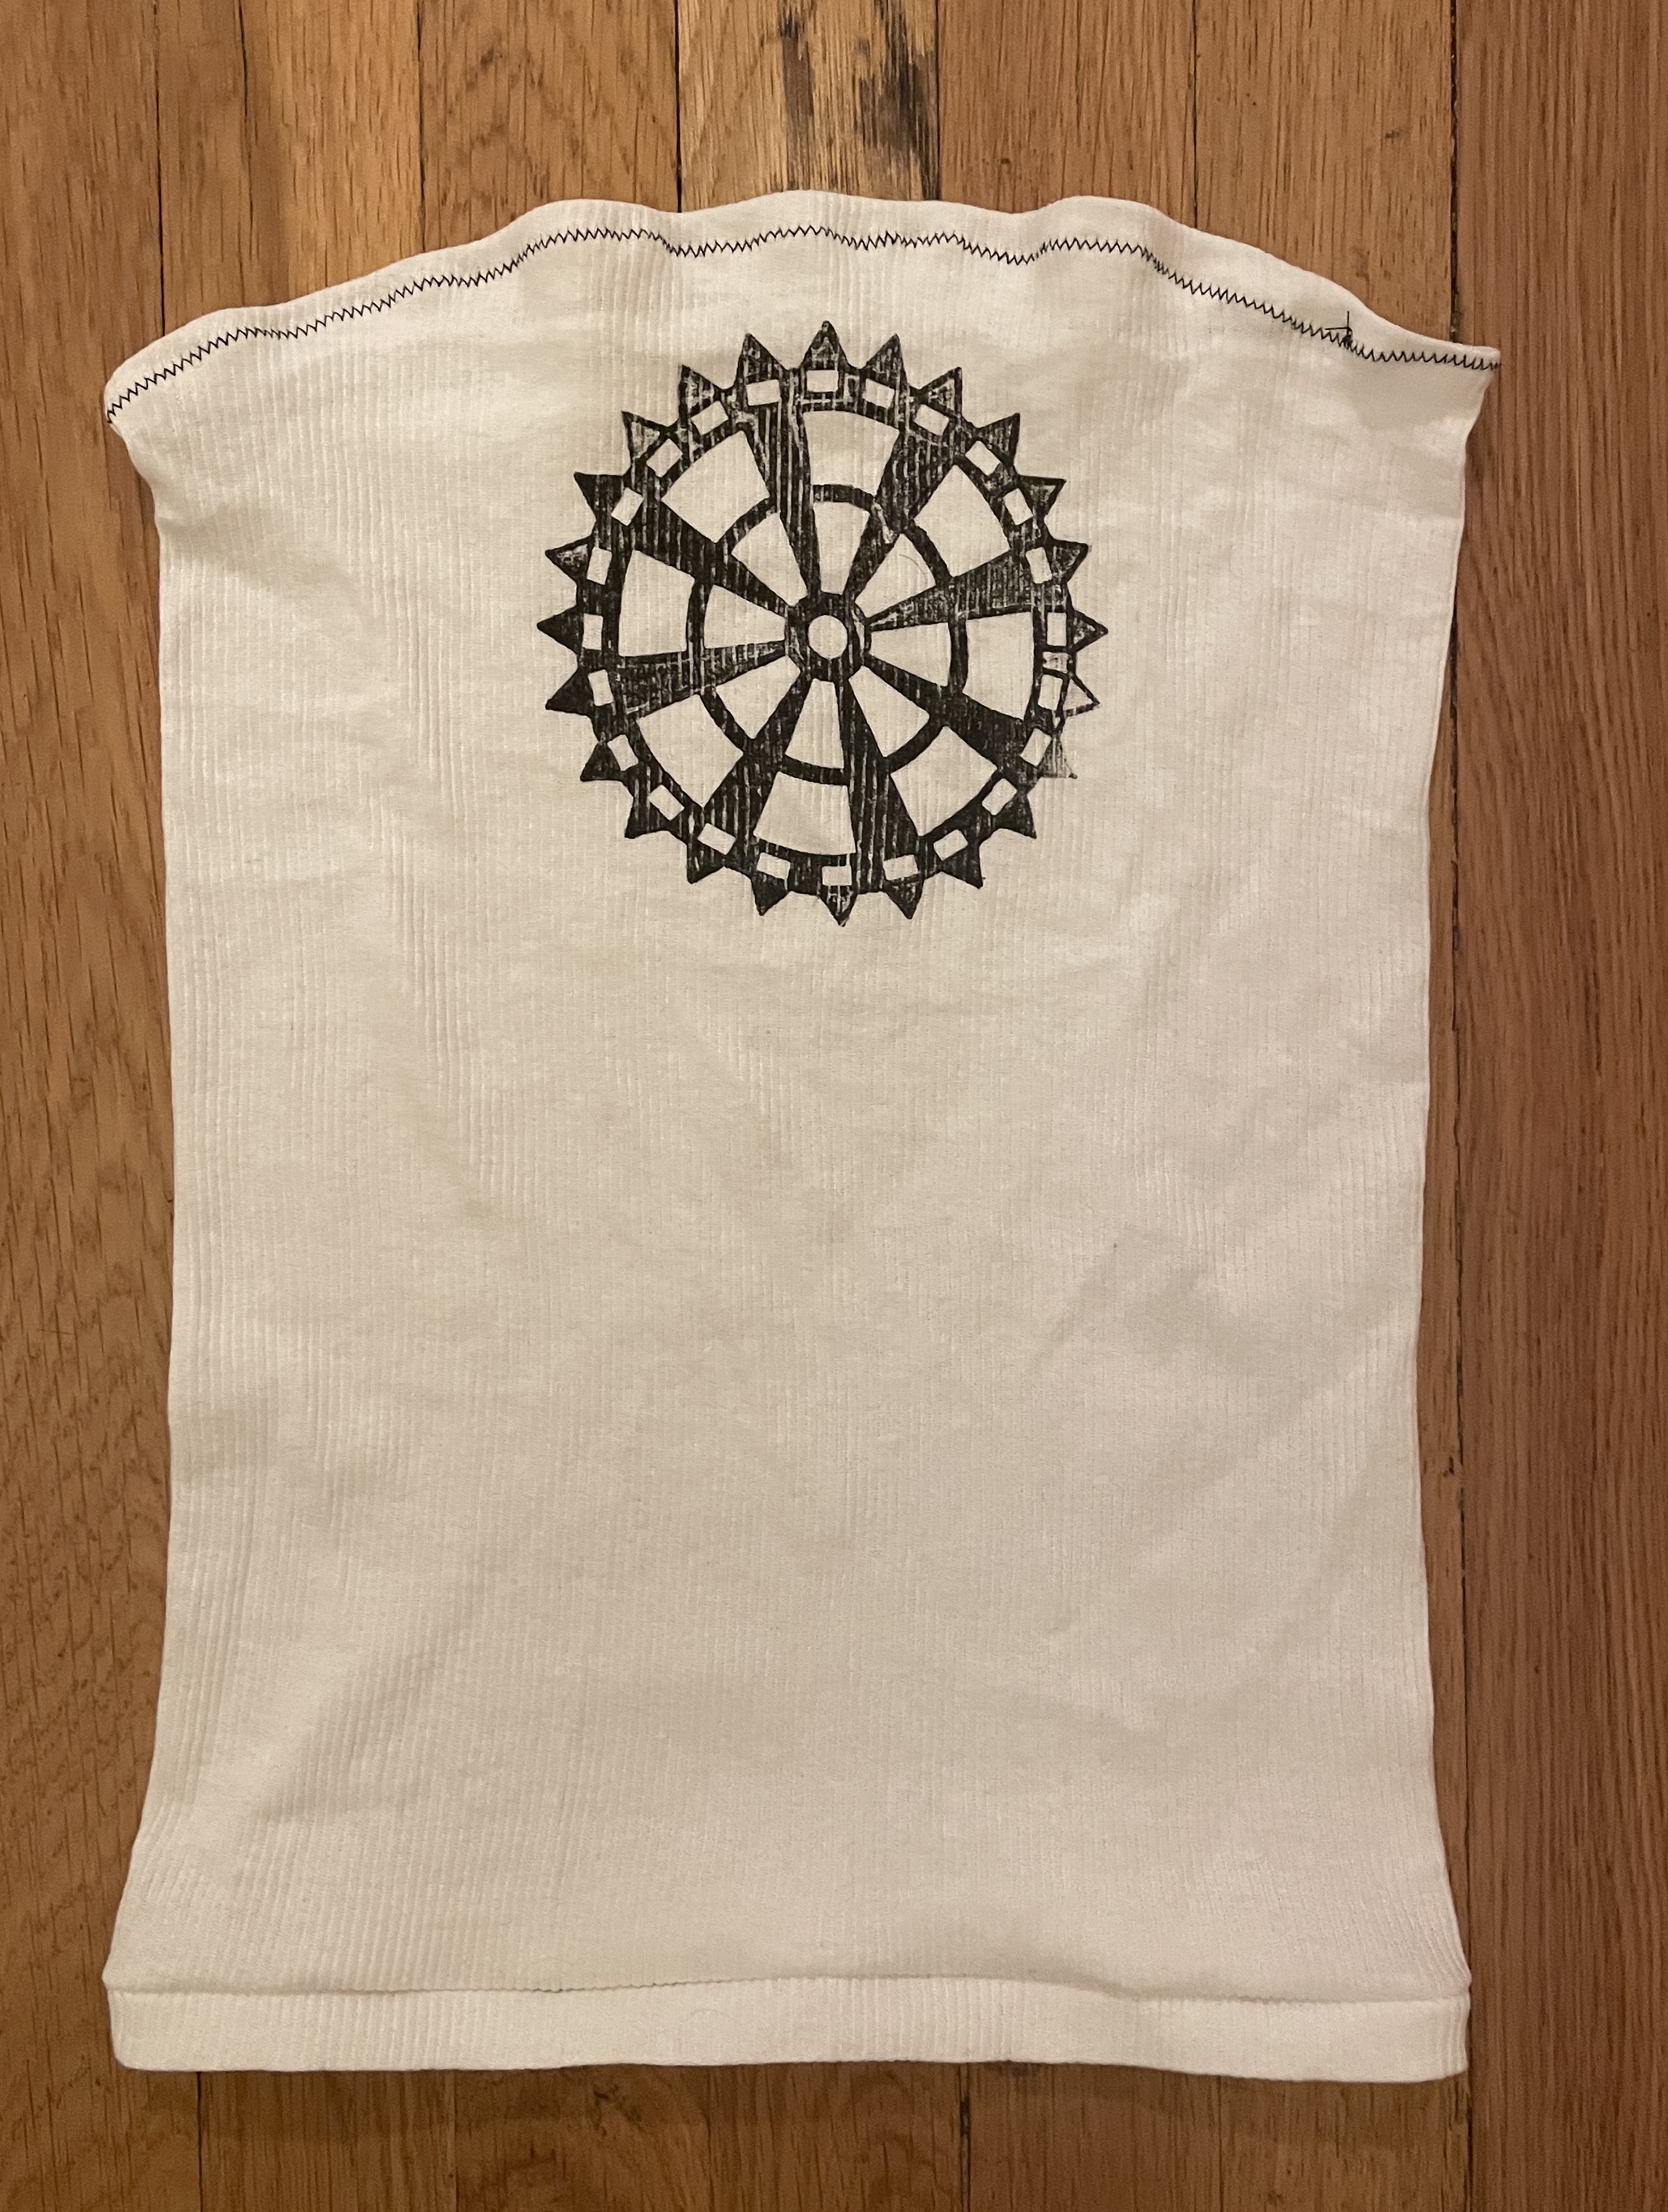
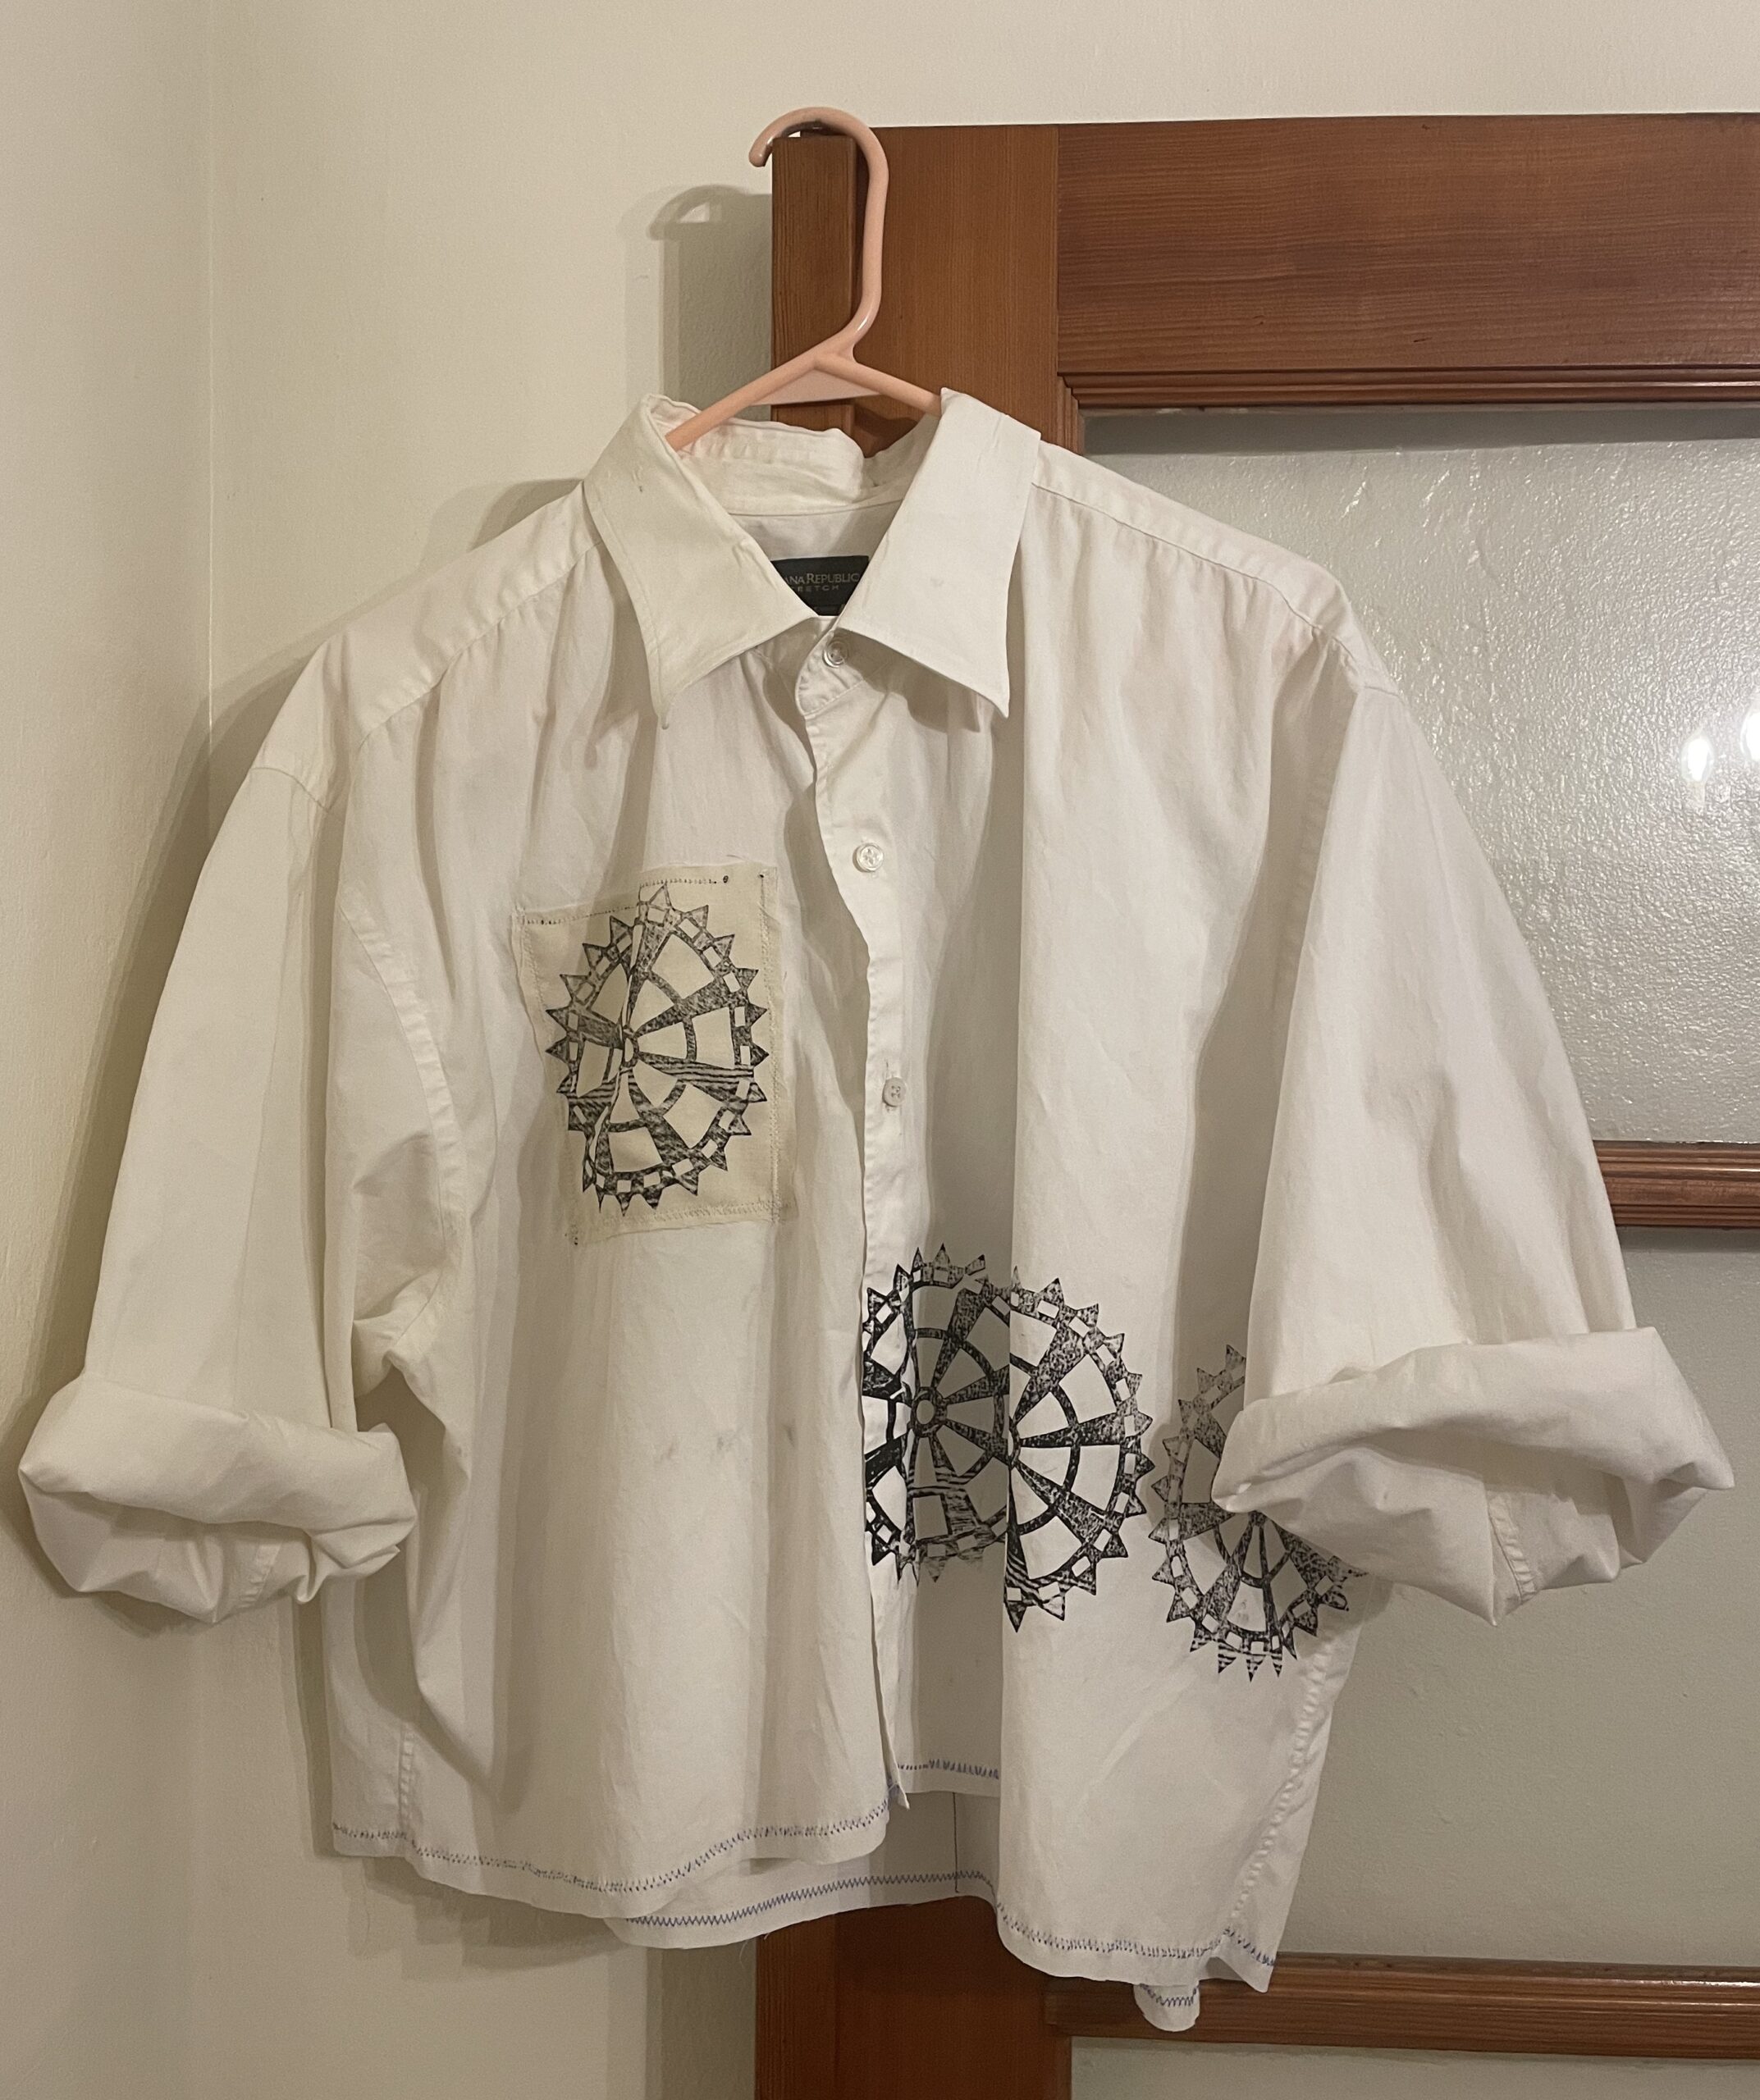
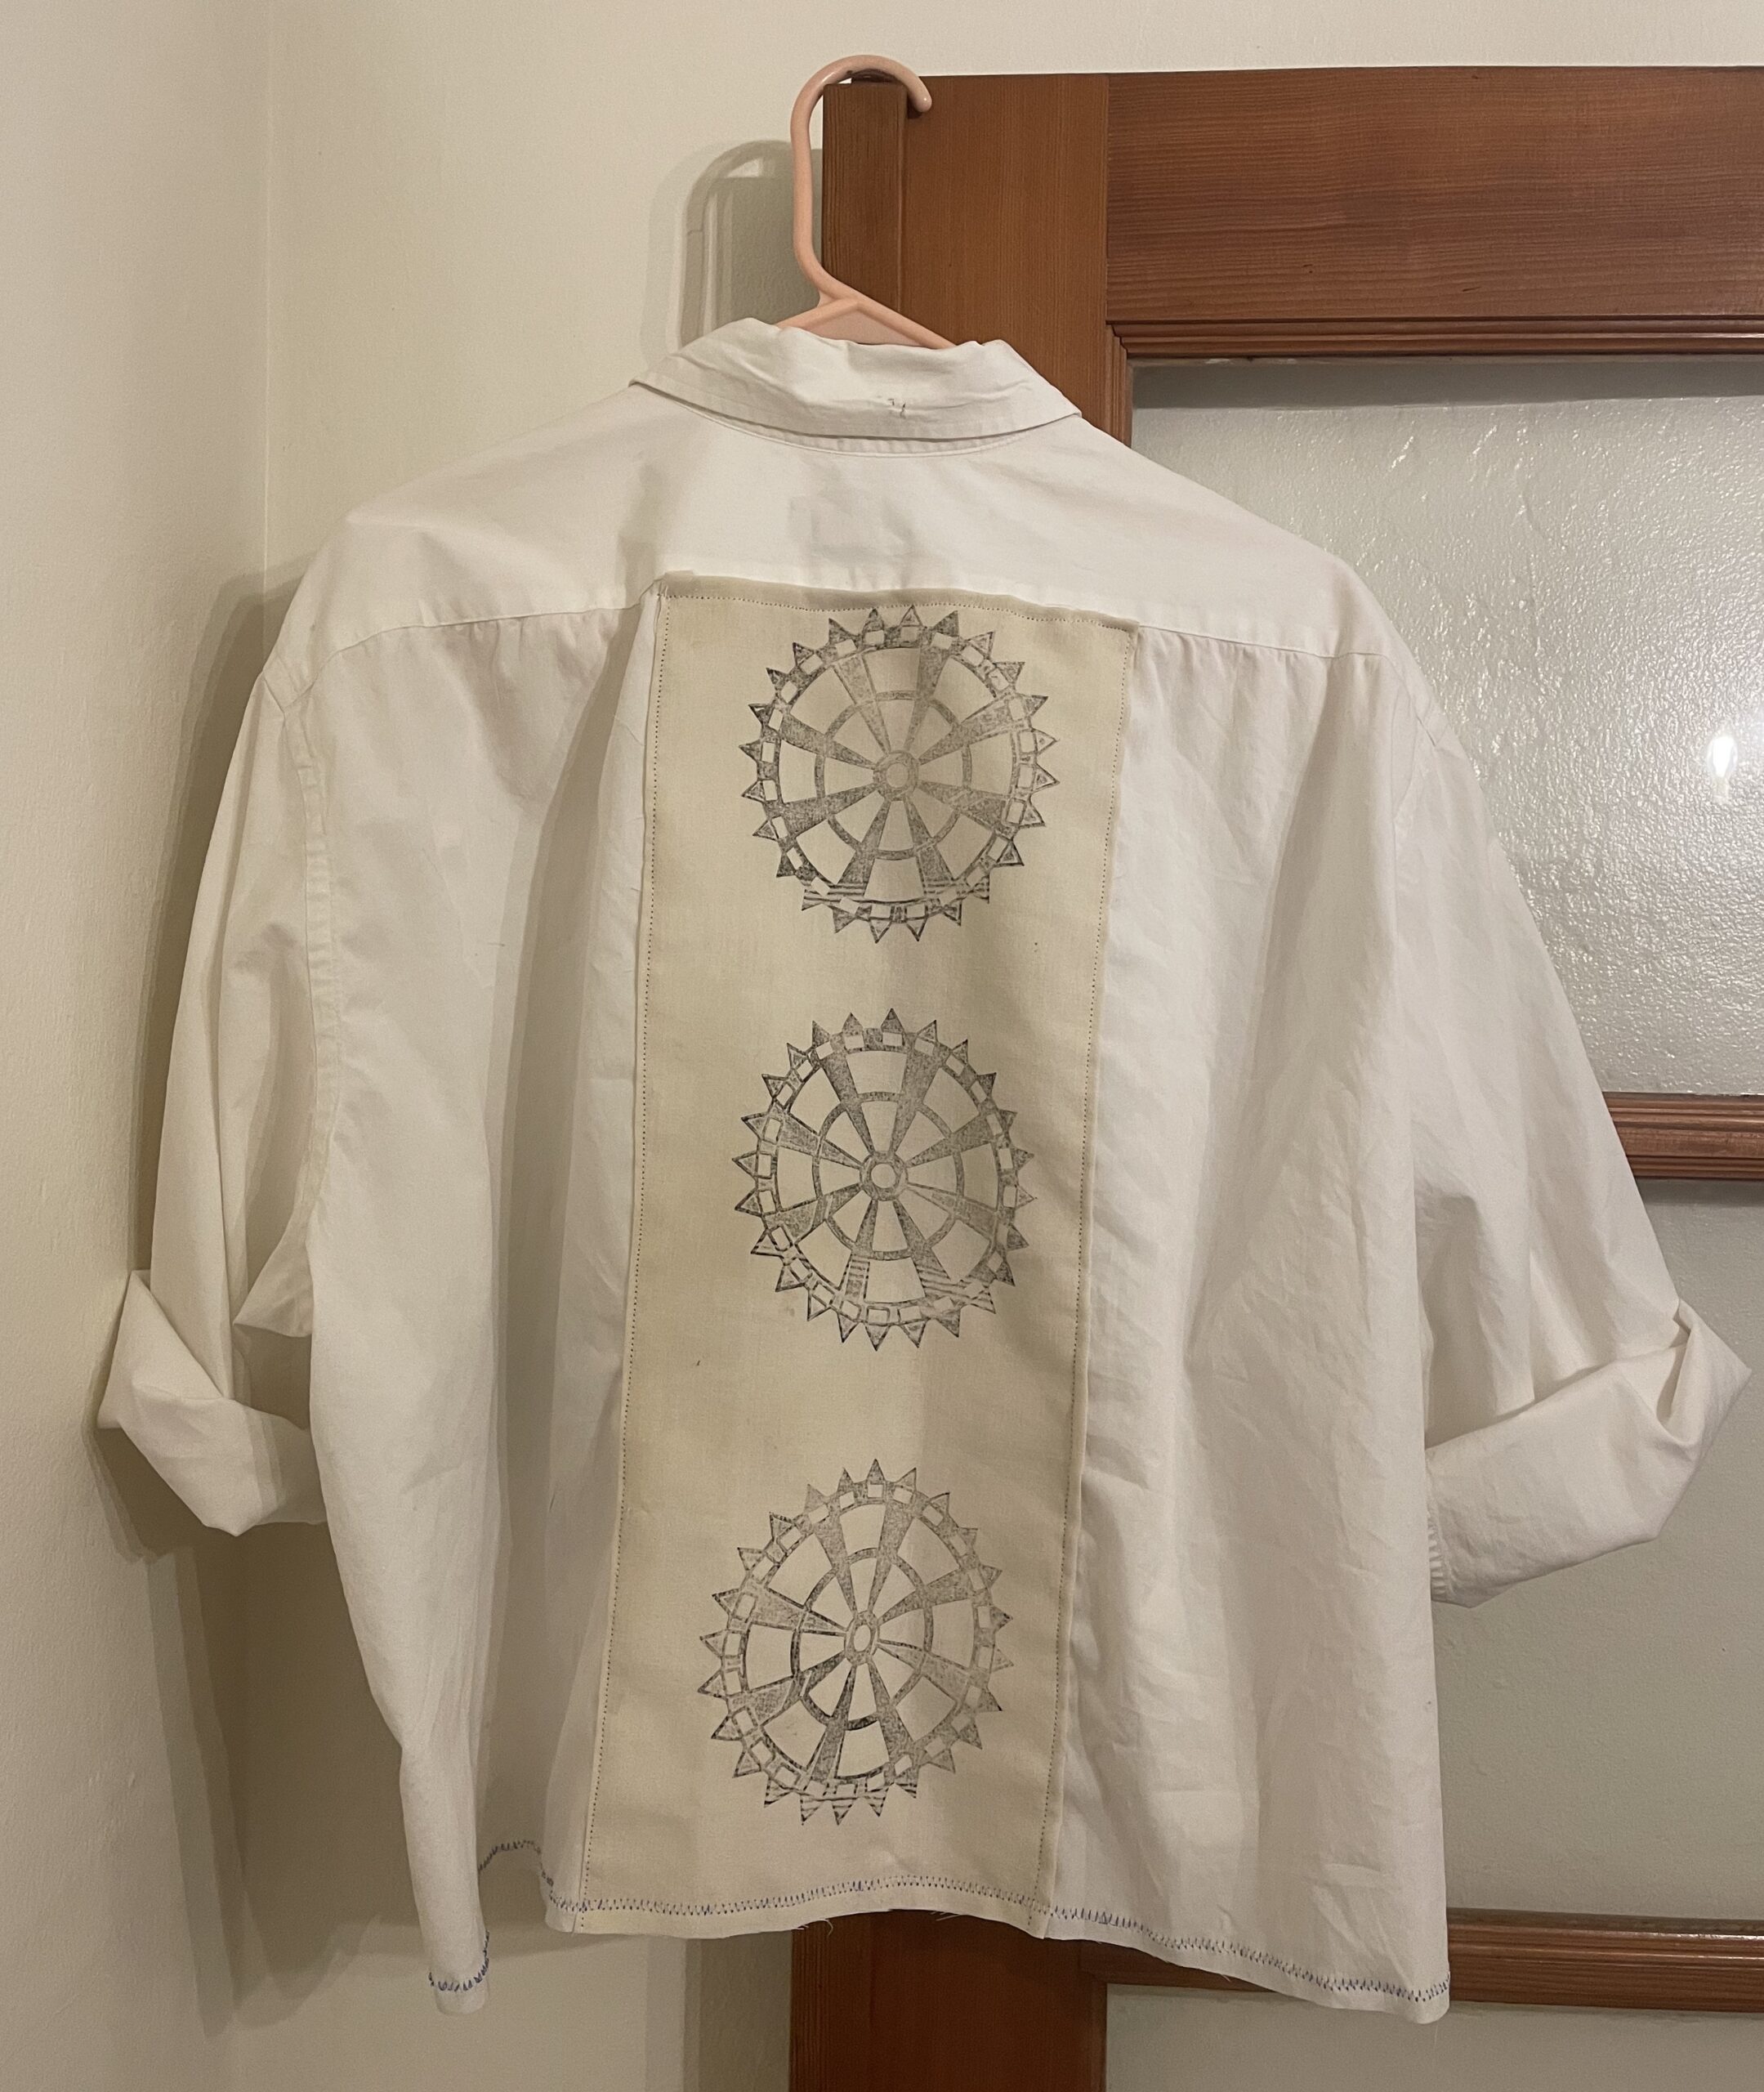
For my second stamp, I created a radially symmetrical design. I wrote a program that generated the three circles then I added on the embellishments through Rhino as I liked the slight imperfections from my last stamp. I scaled this stamp up a bit as this was the piece I intended to use for my textile aspect.
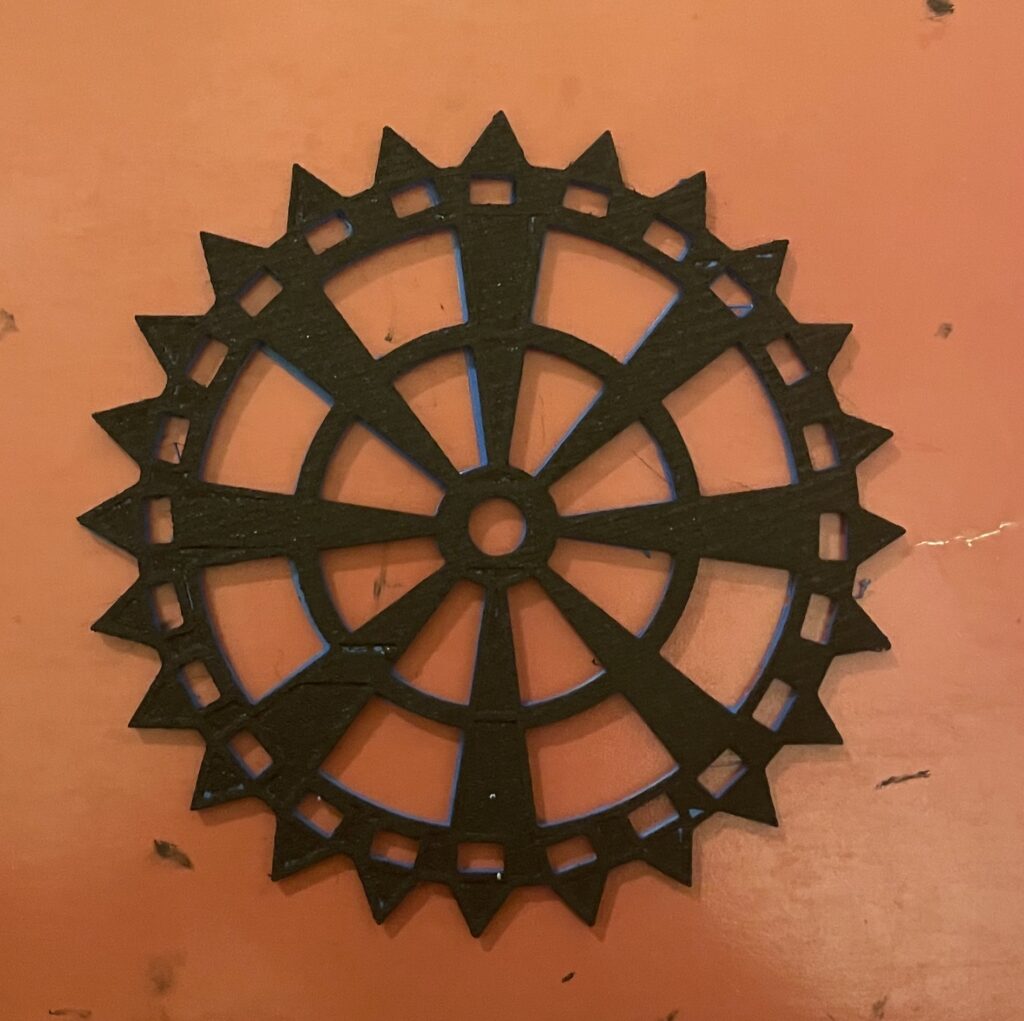
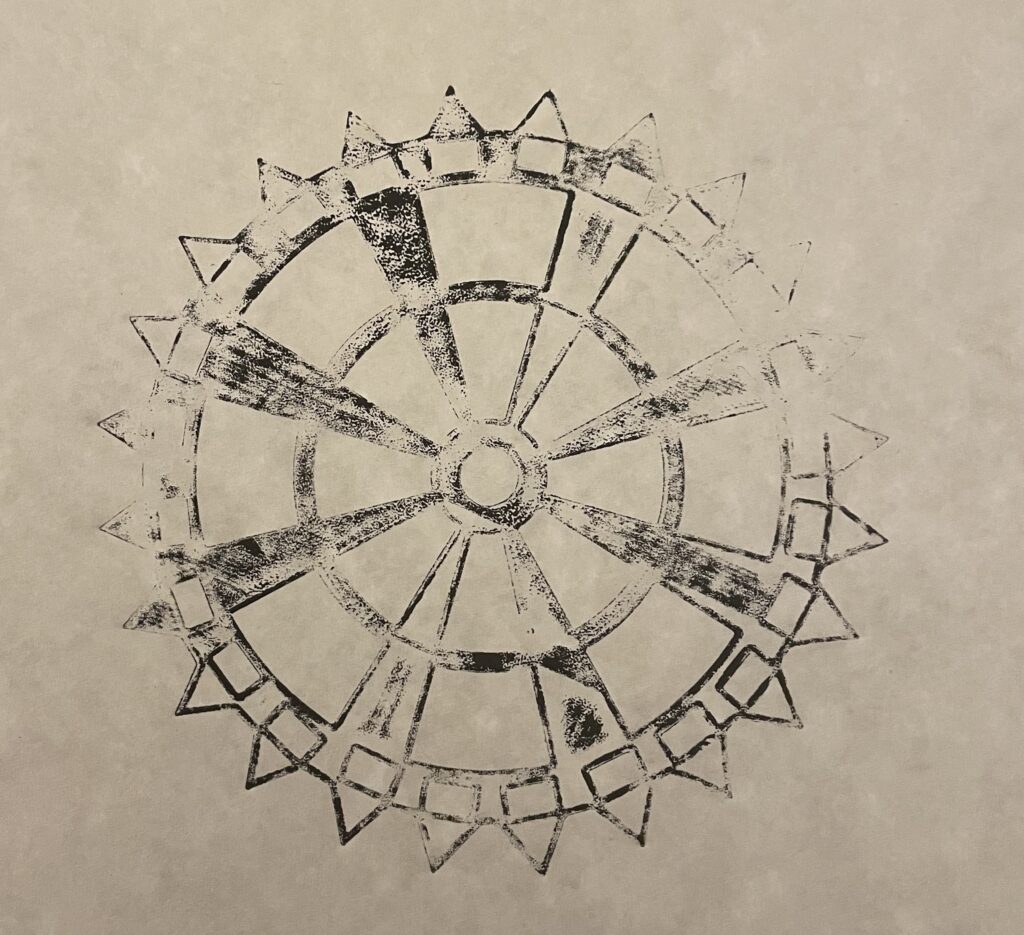
I had a lot of fun with the textile application. I haven’t bit sewing much so my technical skills here were a bit wonky but I had fun experimenting. I decided to re-do an old button up of my dads with the stamps directly on the shirt as well as on some extra linen I sewed on patch-style. I also made a tank top from some extra fabric.
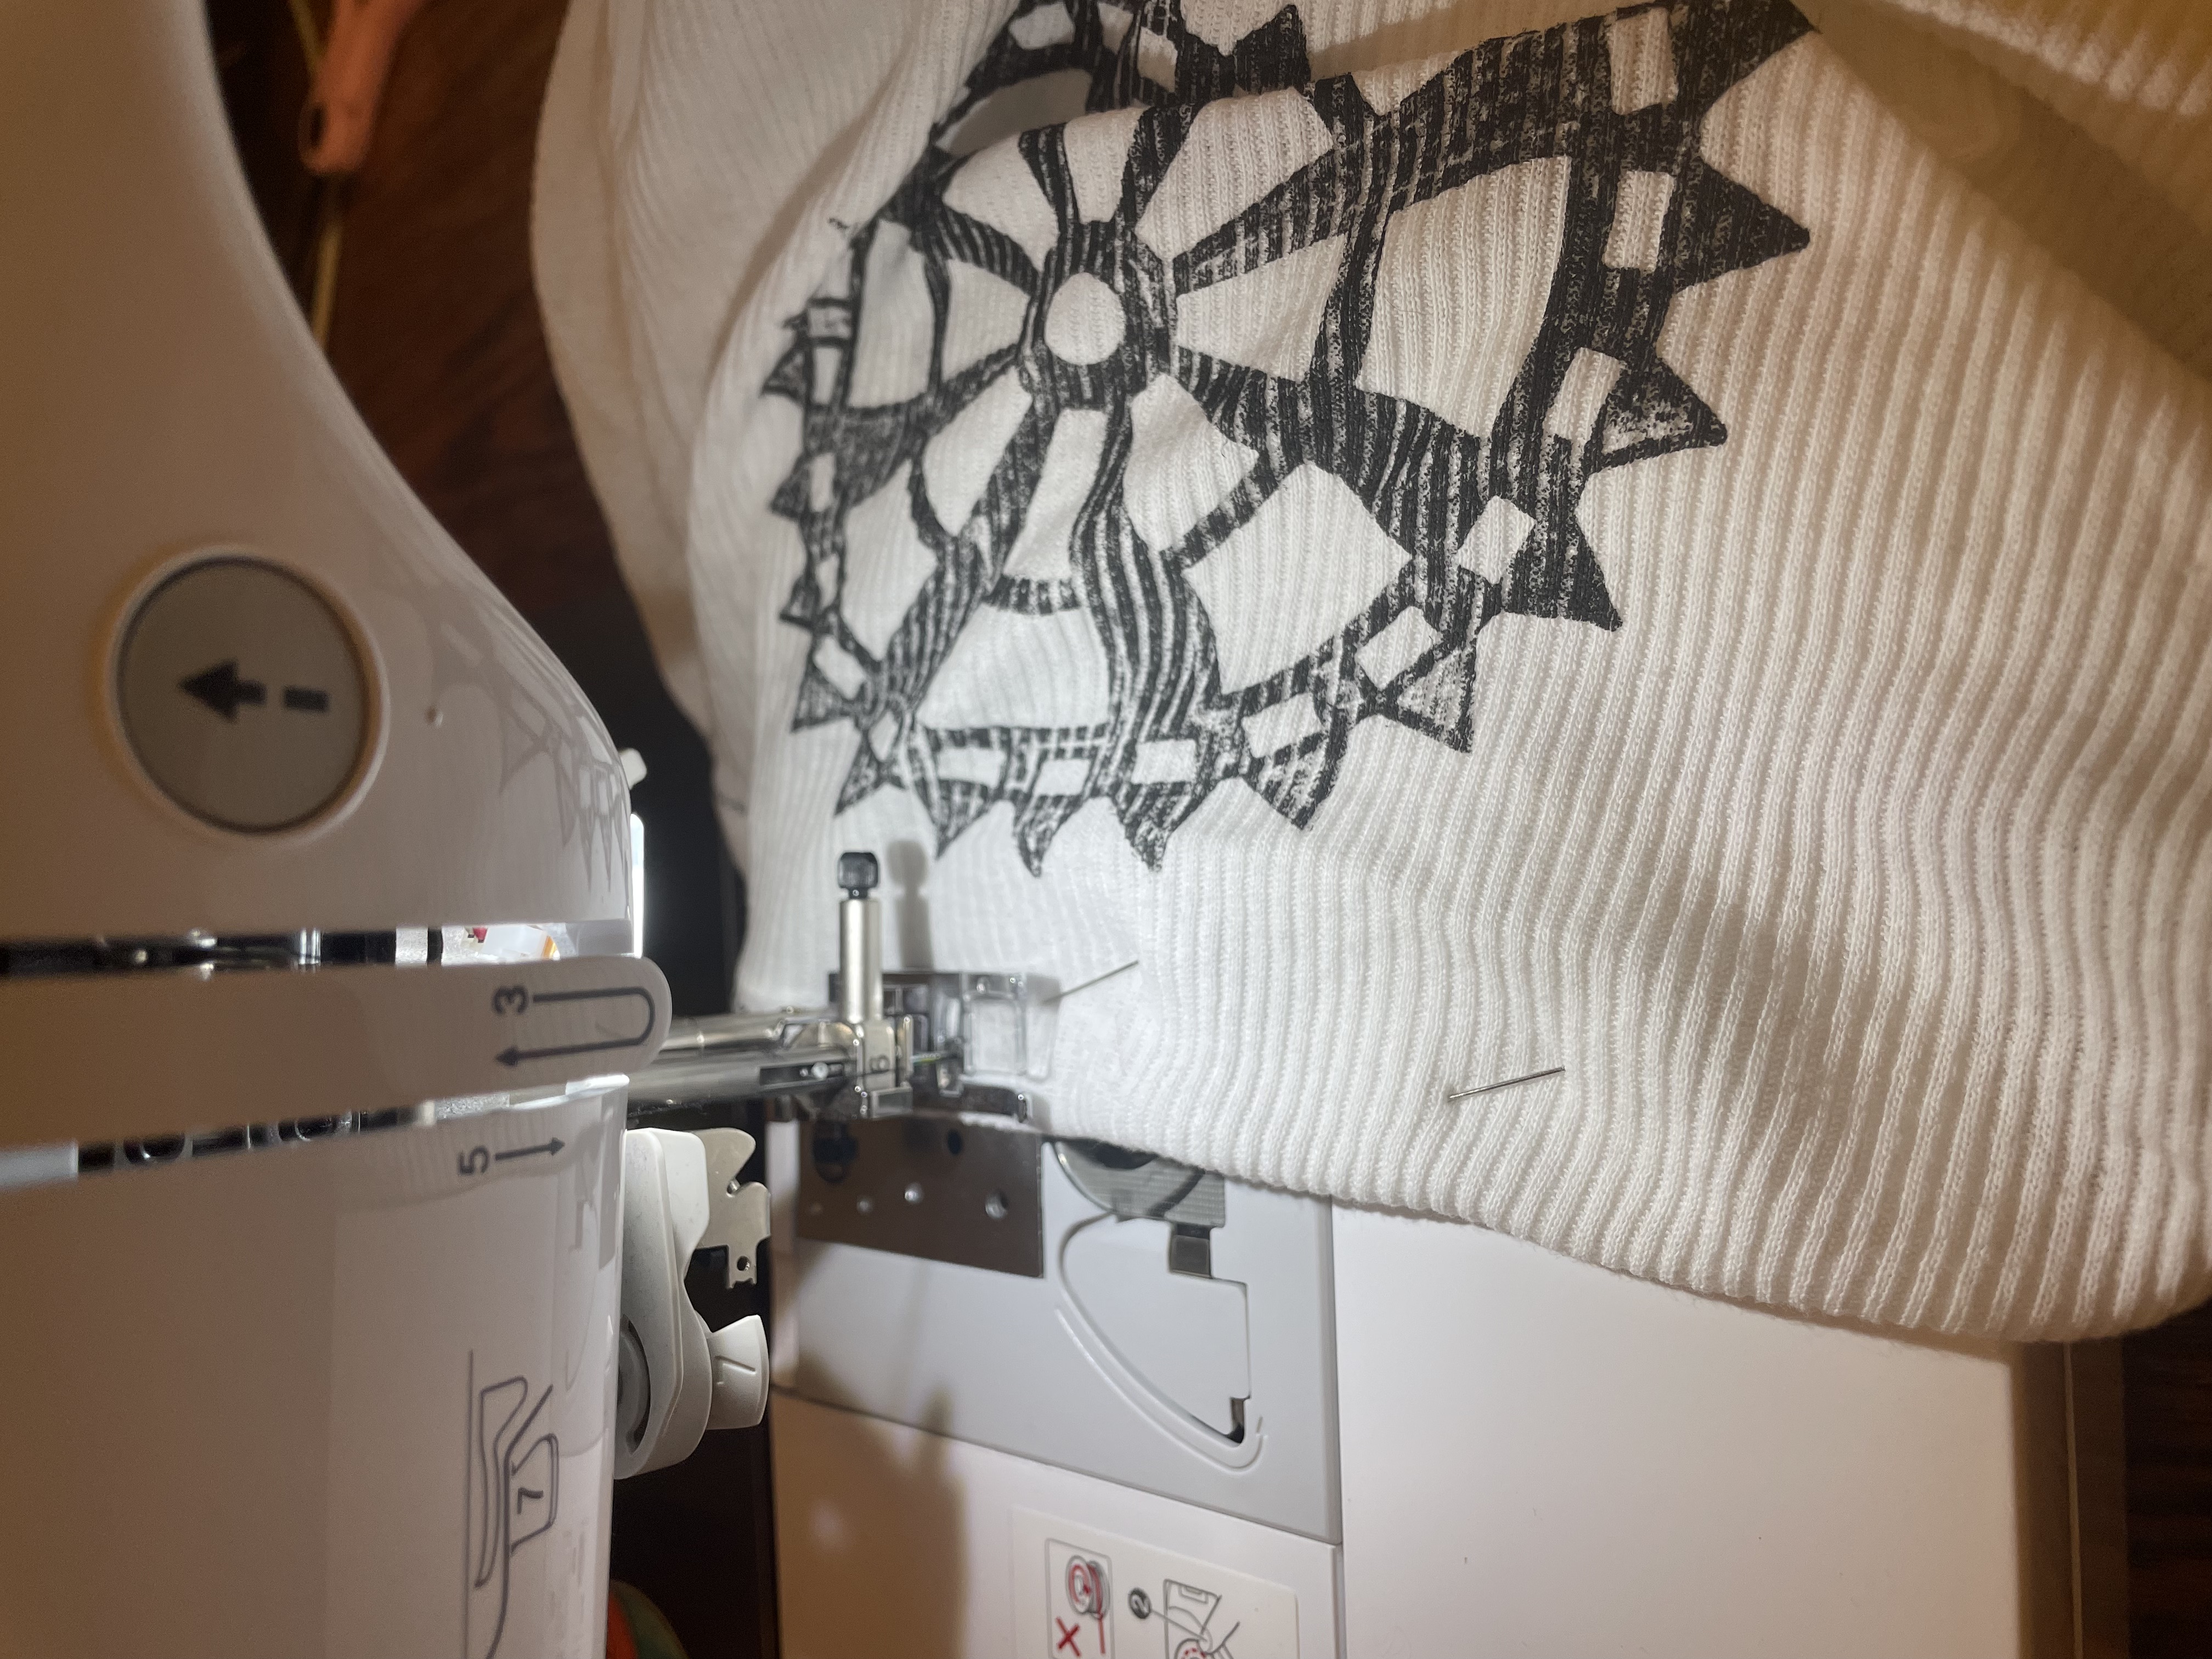
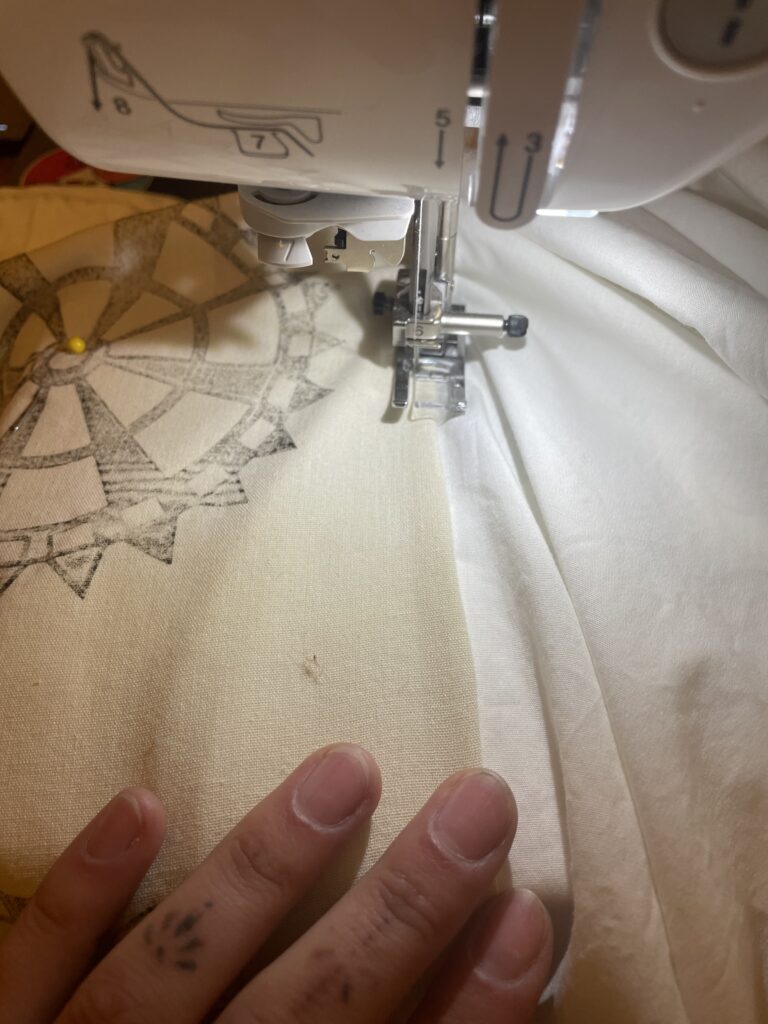
Final Outcomes
Overall, I am super happy with how everything turned out. I had a lot of fun throughout the process and I’m excited at what I was able to create. The whole point of my degree is to experiment and combine my different skillsets, and I think this project was a great way to combine the skills I have learned in this class with my printmaking background. My final deliverables consist of two PLA stamps, one rubber stamp, a large-scale tiling, two shirts, and my risographs.
Future Work
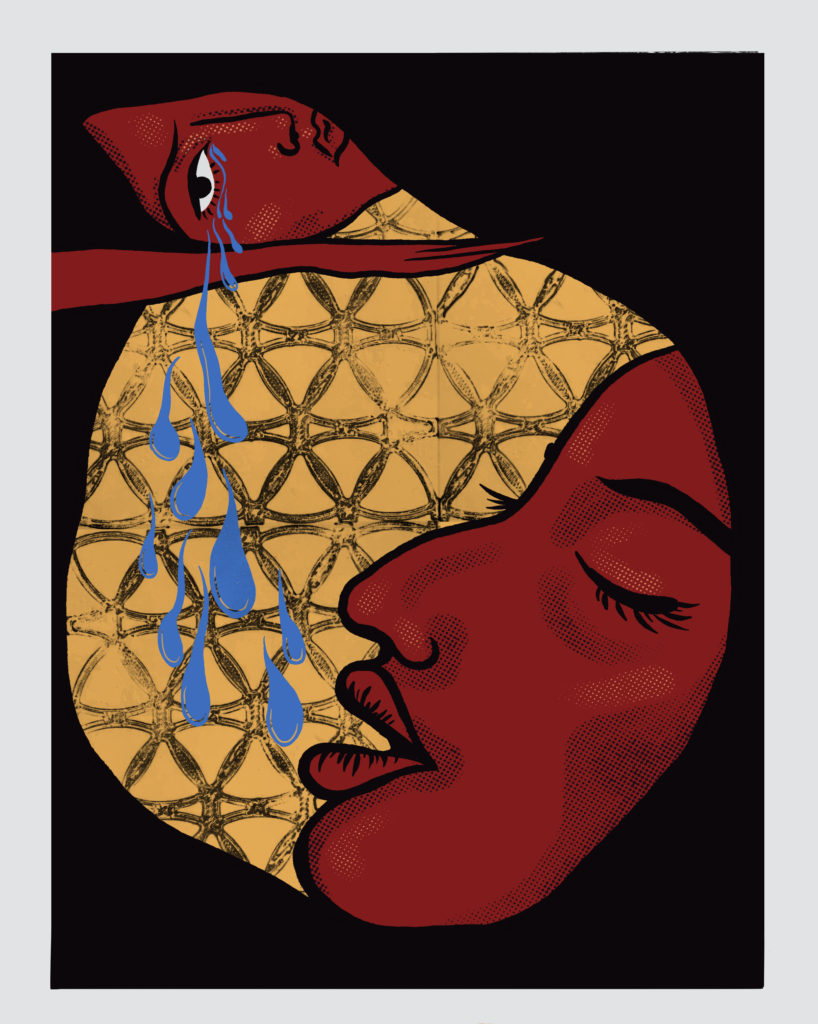
In the future, I would love to explore more printmaking techniques with the designs I designed. This semester I took screen printing for my art class and it would be super cool to burn a screen as a background with my first stamp design. Below is an example of work I created this year that could have the design added in:
I also was hoping to find time to try using cyanotypes and the stamps to create more garment design. This didn’t end up happening for this project, but I will 100% be trying this over break! Cyanotype is so interesting and I think the PLA stamps would be a great stencil to attempt to create with. Not necessarily in line with this class, but I would like to make a more artistically experimental stamp. With linocuts, my gripe is always the process of having to transfer my design over and over again. By stamping the PLA onto the rubber, it was actually a very efficient and useful implementation. I may try creating something in Adobe Illustrator, importing to Rhino, and then printing a PLA stamp from there.
Reflections
After this project I feel like I have found a new way to add complexity and interest into my printmaking work. I was also able to adapt the skills we learned in this class to something that fits into my work and I can use moving forward. As always, I wish had more time to further explore and expand on the set of deliverables I created. However, because I had so much fun I will definitely be working on this project in my own time, especially with break coming up. I am also super excited to work further with the Risograph printer. Riso is such a great way to create quick and easy prints that are high-quality and colorful. ARTSLab is a great resource and I hope to explore what they have to offer further.
Presentation Link: https://docs.google.com/presentation/d/1tnCFafYcMTzaWDEUS5cVmJqxZwRoW8vpyPrTQYJjbpQ/edit?usp=sharing