Link to slides: https://docs.google.com/presentation/d/1Hgf7d9Jv-bkCtgQ_mtqJuaiLzETDvmwTn7KwfnsHrz4/edit?usp=sharing
Introduction
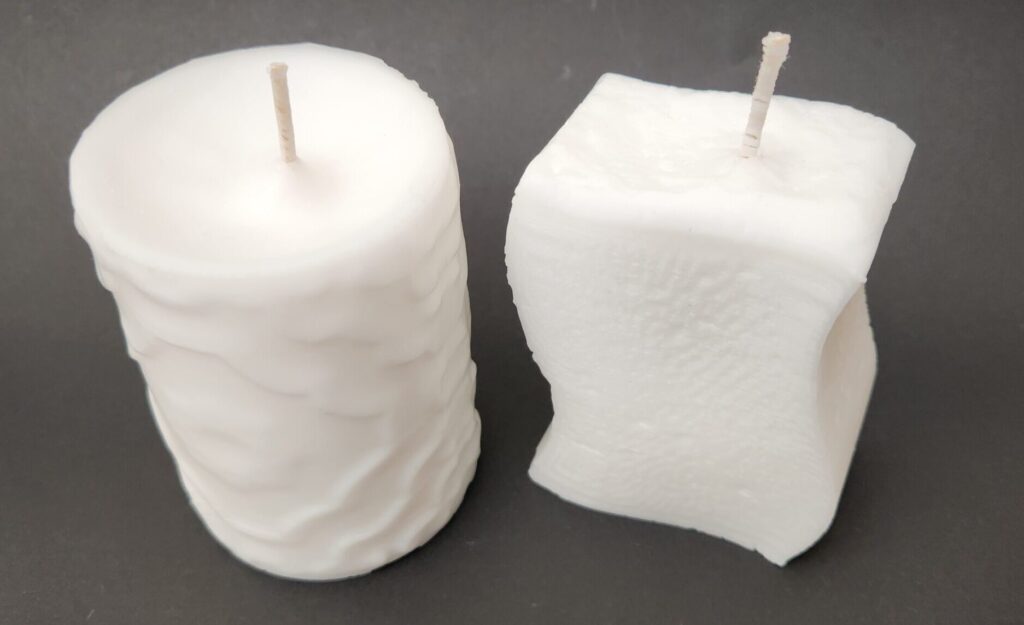
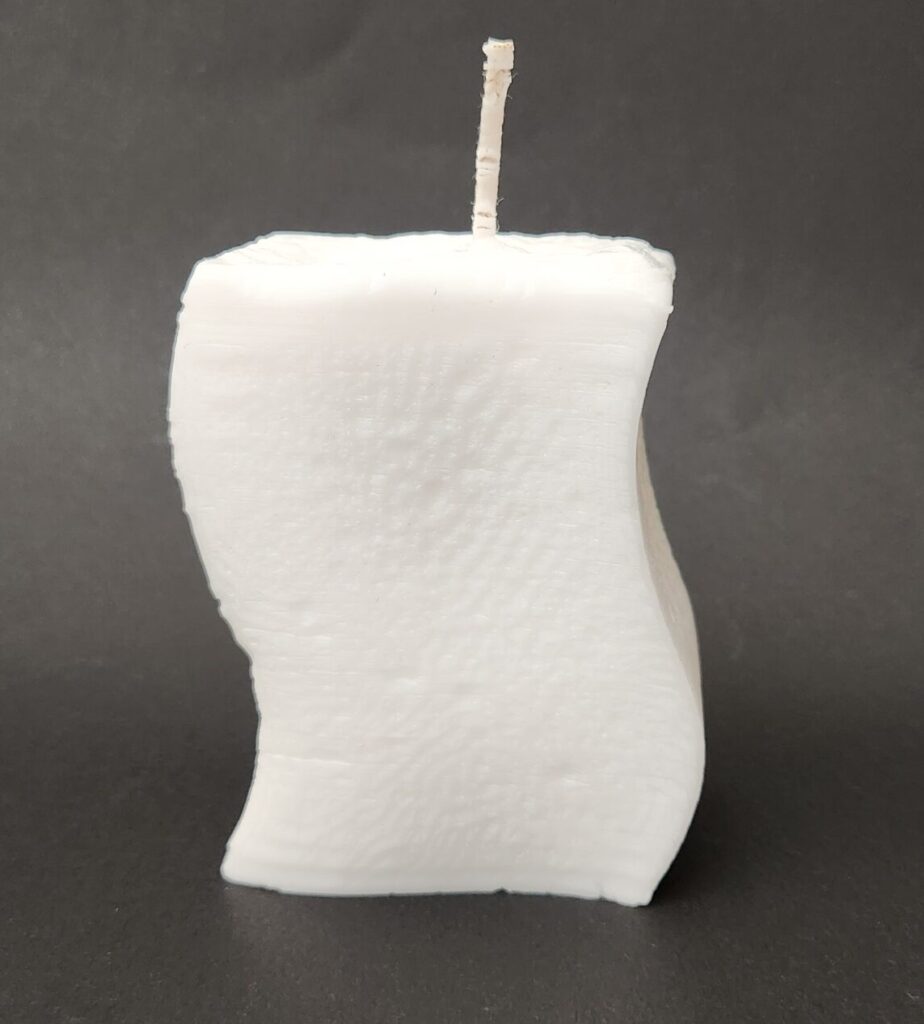
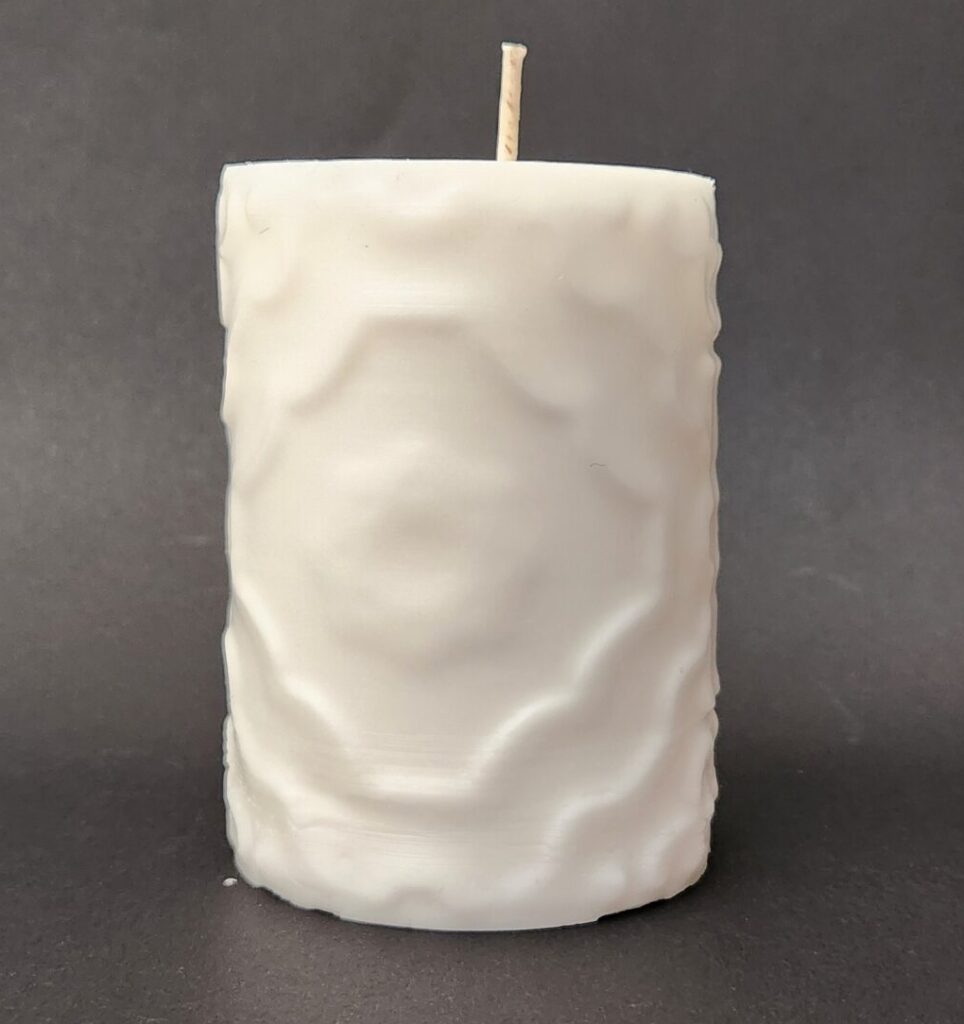
For my project I wanted to utilize Turing patterns in order to create interesting physical forms. Turing patterns also commonly known as reaction–diffusion patterns are seen in many patterns that are created in nature. For instance animal patterns, such as zebras and leopards, and other patterns like fingerprints can be seen using this model. In addition to the interesting physical forms I wanted to create something more practical than just 3D printing forms with these patterns so I created candles using the patterned forms I created as a base to mold and cast. Below are the final candles that I created.
Background Research
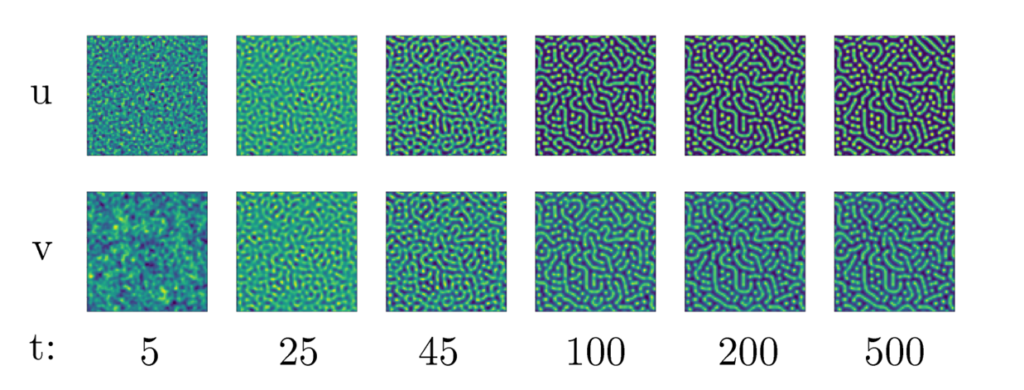
As given in my initial proposal this paper was a good starting point in trying to figure out how the pattern develops and some insights into some of the patterns that can be made (which are simpler than the ones that are in the following example). These patterns are closer to the final ones I ended up creating and can be seen best in the SurfaceGrid plots.
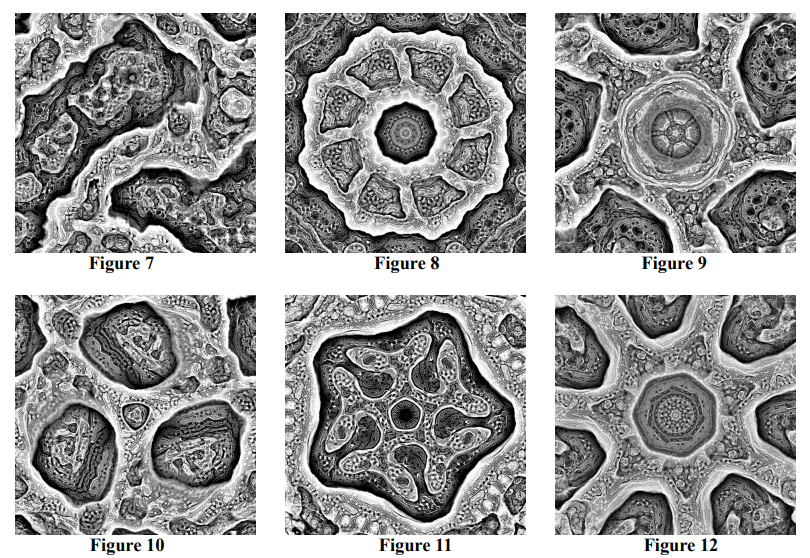
As also given in my initial proposal for this project Jonathan McCabe has many works that are created using Turing patterns in complex ways to create 2D moving artworks, that can be found on his website here: http://www.jonathanmccabe.com/. While I did not go as complex as his works it was good inspiration to see just what kind of things can be created using Turing patterns as a base, such as these works of his from this paper.
A bit of inspiration for the molding and creation process can probably be attributed to Evan and Katelyn, their website link: https://www.evanandkatelyn.com/. They mostly deal with resin work but a lot of these require molds and they have explored other mediums, like candles, occasionally as well. I have watched their videos in the past and it gave me some insight into the process I would not have otherwise had. They are more focused on videos so good standalone images are hard to come by but some of the things that they have made include: a giant resin and tungston powder D&D die, keyboard key caps in a variety of materials, and replicating existing vinyl records in resin.
Process
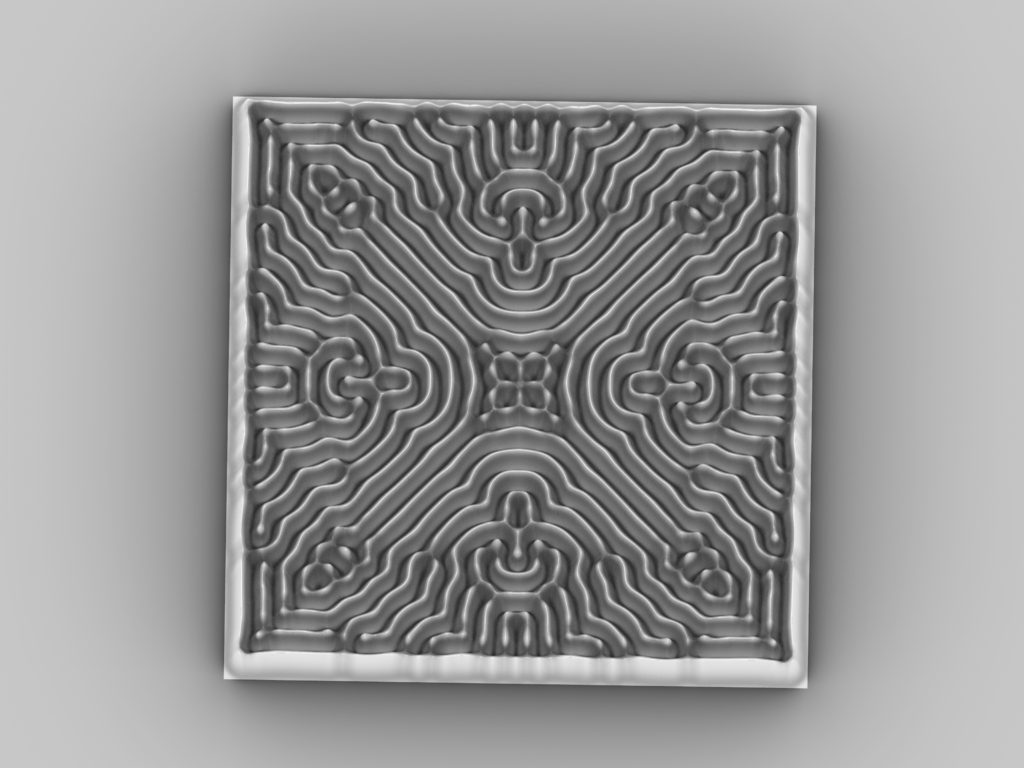
I have one python block that handles the entirety of the generation of the Turing patterns utilizing the Gray-Scott model, with input values Du (diffusion coefficient for u), Dv (diffusion coefficient for v), F (feed rate), and k (kill rate). These affect the generation of the pattern over a given time span and only the final generated plot is kept from the entire time span. The points are plotted in 3D with z being the concentration (instead of in standard 2D where the concentration would be represented in colors). Below are the created plots after using SurfaceGrid to create a surface from the plotted points.
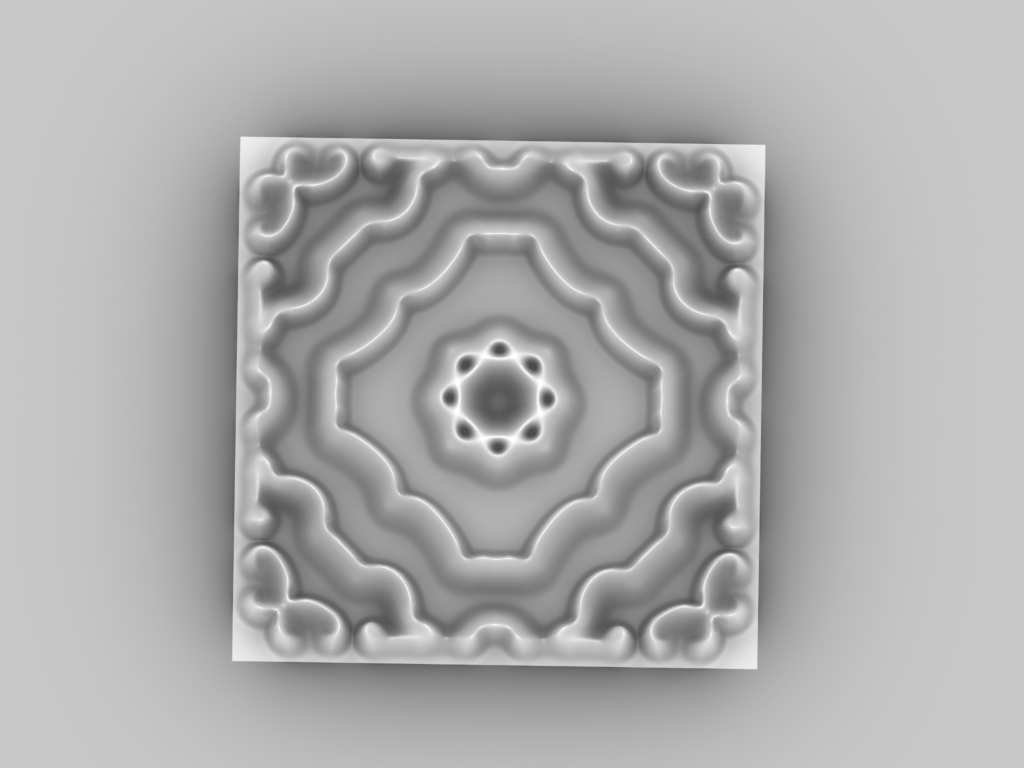
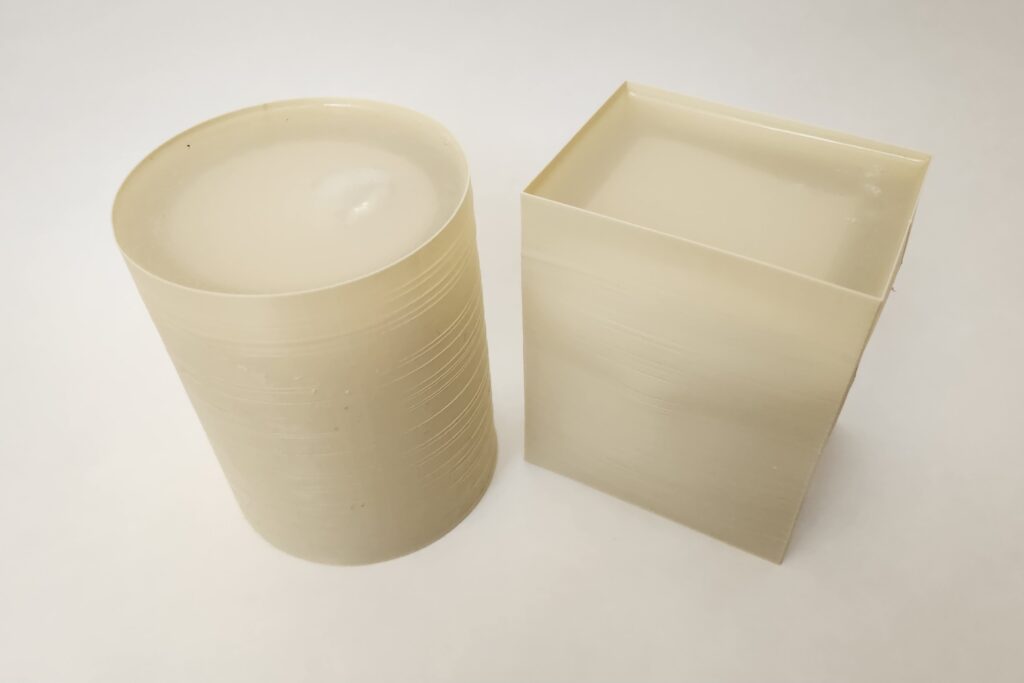
Using these surfaces I created two forms using these with a SurfaceMorph, one simply morphing two onto a cylinder, and the other the extruding a face with the second pattern morphed onto it.
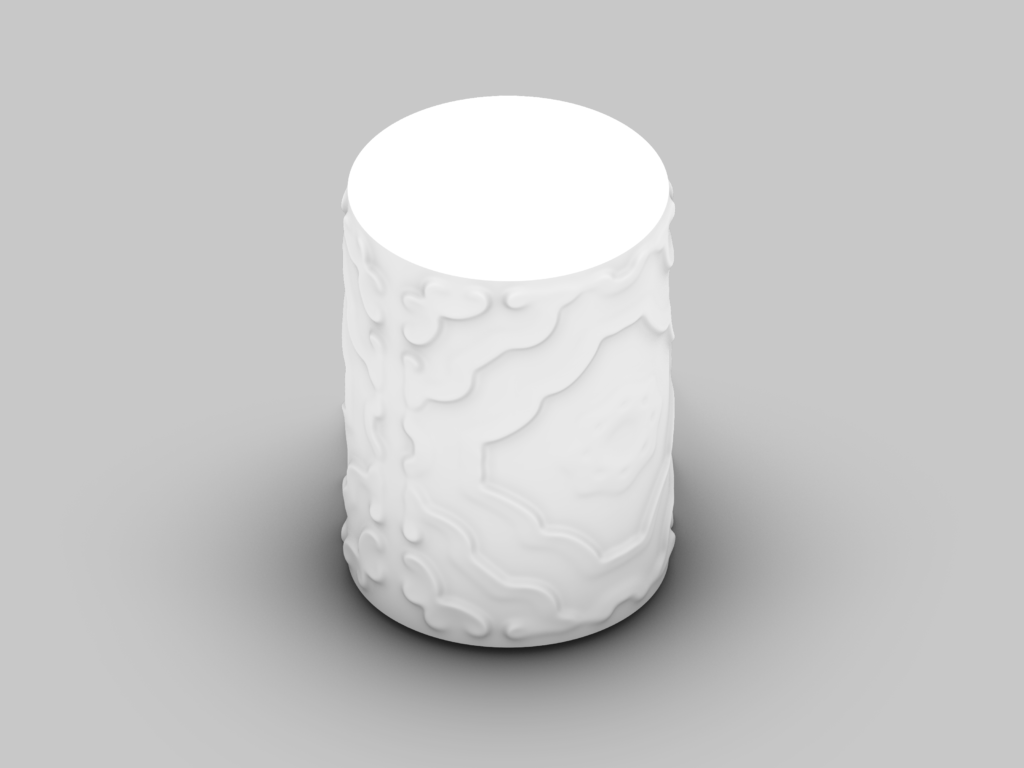
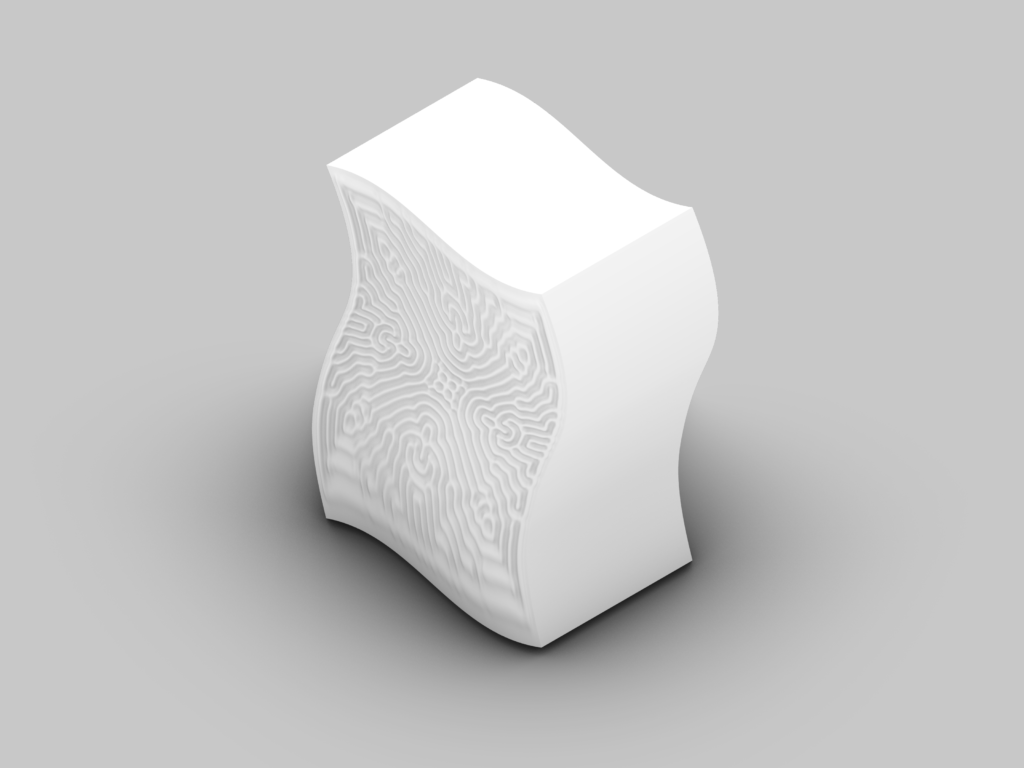
Following this I created walls around these forms to be able to pour my silicone mold material into them and simply remove the walls after (as they were only one layer of filament thick).
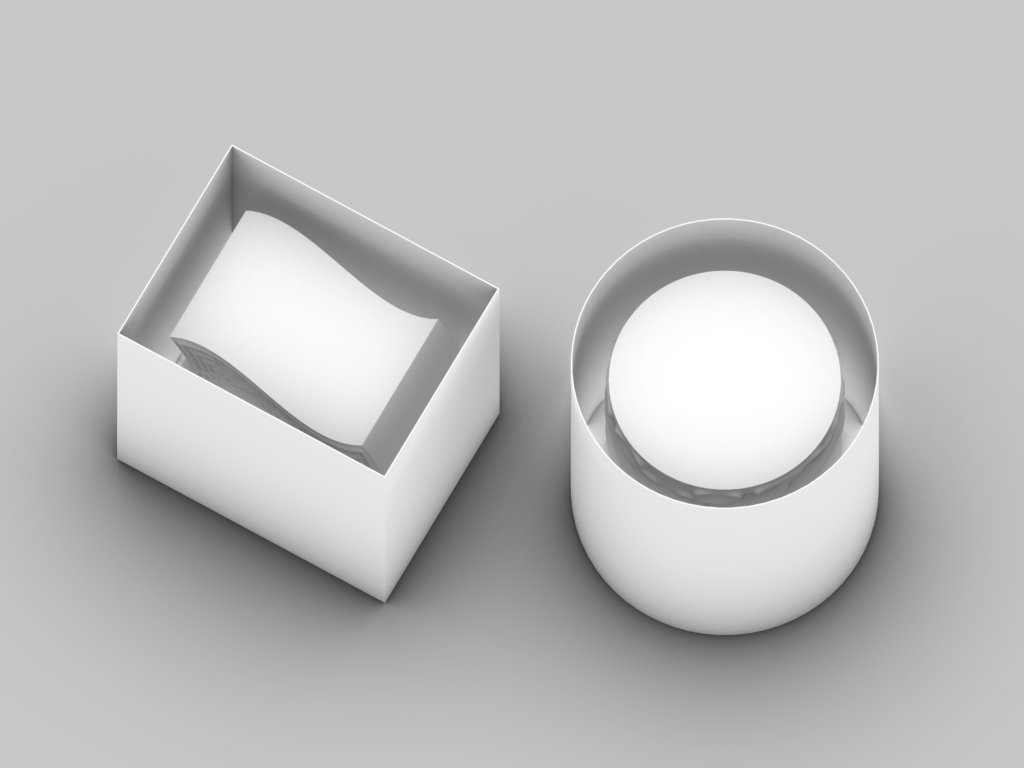
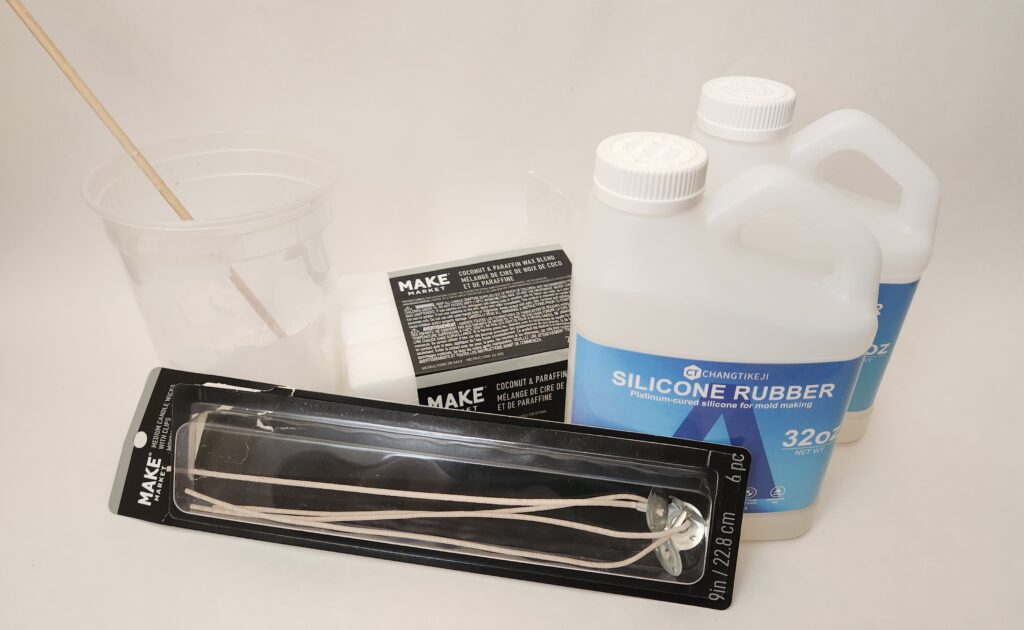
Below are all of the materials I used for the following parts to create physical items from these 3D prints.
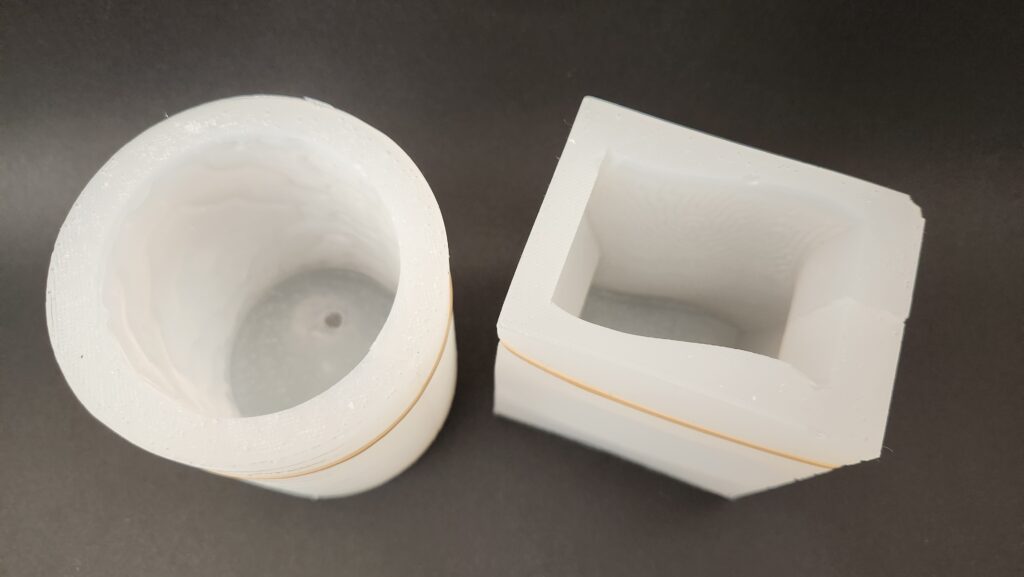
Taking the silicone molds out went mostly without a hitch, I really wanted to take them out without having to cut them open but I had anticipated beforehand that this was very unlikely to happen. I simply cut along the z-axis line that was an artifact of 3D printing, so there was already a seam that would show up on the casts anyway. Below are these molds (with a rubber band to make sure that cut seam stays aligned correctly). The bubble on the bottom of the cylindrical form can be seen and almost looks like a hole but there is enough silicone there that the mold doesn’t leak when liquid is poured in.
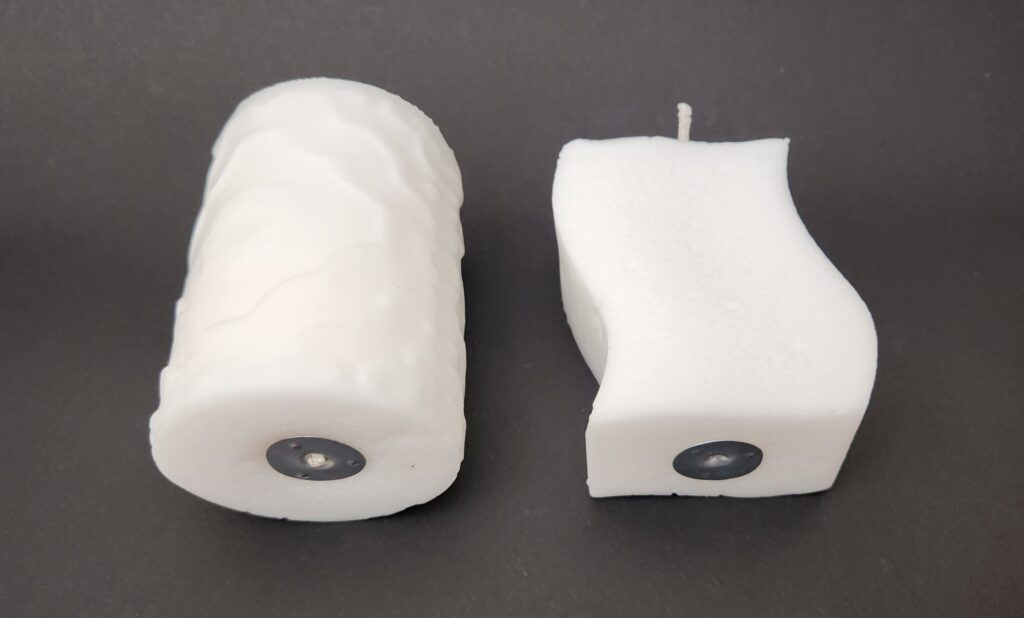
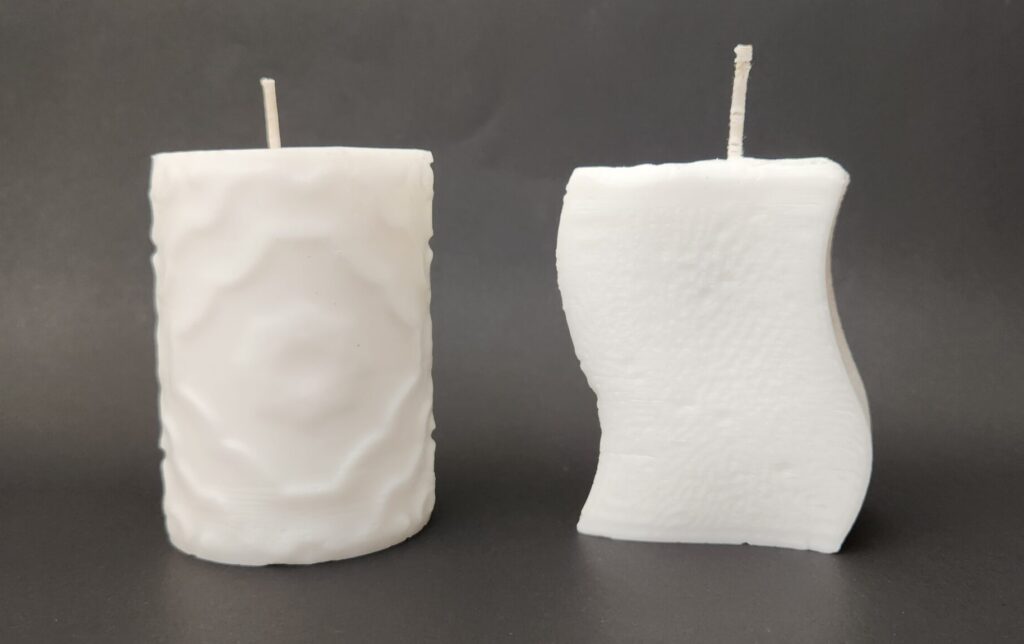
At this point I poked holes in the bottom of the molds with a wooden skewer (to push the wicks through) to prepare them for pouring in the wax. With these molds I then fed the wicks through and poured in the melted wax (after melting it in a container on the stove). One of the things I regret is buying the prewaxed wicks with the clips at the bottom because nothing sticks to silicone (except for itself in most situations) so to create candles you can’t stick down the metal clip to the bottom of the mold like you would with glass, so I had to rip out the metal part and replace it after removing the candles from the mold. My first candle also had a lot of pits and I am not sure if this is because I poured it too fast, it’s due to the small details or the odd shape of the mold, or something else. My second candle (cylinder one) came out much nicer but it was also the much simpler overall shape.
Outcome
The final candles came out pretty well and I am happy with the outcome.
Future Work
In my update I had wanted to create more forms but after the time it took to melt the wax, which had to be uninterrupted else it was a worry to just leave the stove for an hour while the wax melted, I didn’t have the time to create something I was happy with. There are many forms that can be created with these patterns and the possibilities are truly endless, since a pattern can be added to almost anything. Another thing that could be interesting to delve into would be different colors in the wax, even multiple colors to see the patterns more clearly would be an fun thing to do.
Reflection
Overall I had a lot of fun with this project, it was nice to be able to create physical and useable forms with some of the things I had learned from taking this course. It also gave me many excuses to buy materials and other things I had always wanted to mess with but didn’t feel like spending the money on without a definitive plan set in place. Regarding my final candles, I’ll probably use them as decoration but I can also eventually light them at some point since they are candles and have useable wicks. They won’t smell of anything but this was sort of by design, I tend to do badly with scents and I didn’t want to overdo it accidentally, and those oils and scents would’ve been one of the most expensive parts if I had used them.