(Late Due to Being Sick for a Week Straight)
Part 1: 2D Tiles
A. Escher Tile
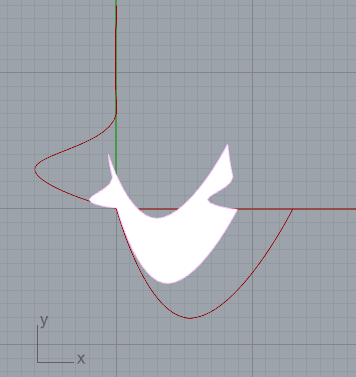
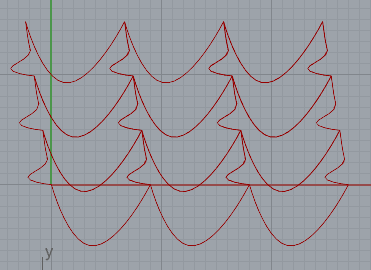
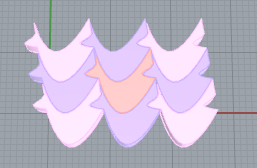
I started off by trying off some super wavy designs, however, it seemed that a lot of the designs I made had very pointy outer edges when the tiling was made so it was very hard to use offset and create tiles that didn’t just spill out of their edges and morph into one thing. You would expect the tiles to get smaller when you do a negative offset, but negative even made the tile twist in on themselves. I decided to go back to a simpler design and so I made a sort of flying unicorn using a large hump curve for the bottom and a curve the humped out and went straight up a few blocks. I got the inspiration more so from the movie Thelma on Netflix since my sister was playing it for my nephew at the time. I used some of her colors to make the tile design for my Escher tile. I find out overall that sometimes the simplest curves can make really cool designs especially if you can angle them right and utilize the offset slider very precisely. I used all the code from class and followed through with the process and didn’t have any issues except for putting the lines or curves in the wrong order in the python block which stumped me until I realized a or b was in the wrong order.
B. Triangle Tile
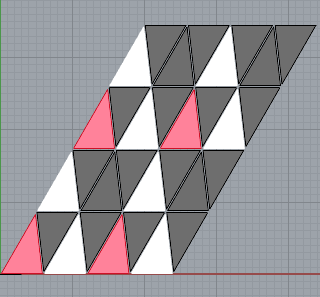
I couldn’t tell you how much of a doozy this triangle tile was. From the very beginning of trying to create it I knew that I was able to divide the parallelogram in half to create two tiles for every parallelogram tile. At first, I thought I could take the original bottom left curve and just rotate it along with mirroring the left curve to divide the two triangles. I realized that just blindly rotating with the origin or random coordinates was not going to work. Even when I got the rotation right since it was upside down the tiles would start generating towards the bottom and they wouldn’t line up with the tile besides them. After those struggles, I decided that I needed to make a diagonal line to separate the original tile in half. I took the endpoint of a and the endpoint of b and created a line and duplicated it within the tiling for loop. I also realized that instead of rotating I could use the top and right curve and join them together to make the top right corner of the parallelogram and this would act as my upside-down triangle tile. I then took the bottom right curve and the top right curve and joined each one with the diagonal line and created a left triangle tile and a right triangle tile. Using the rest of the code in class I was able to alter the code to change the colors and create an extrusion of them as well. I decided to go with red, black, and white since I thought of the Pyramids in Egypt.
Part 2: 3D Printed Tiles (Lava Cakes)
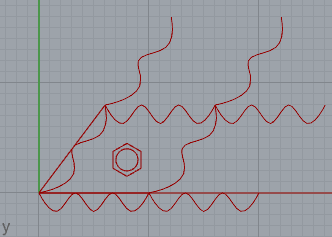
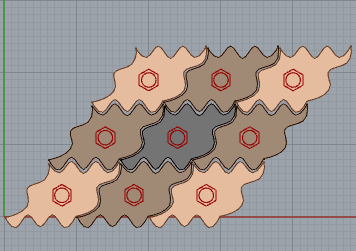
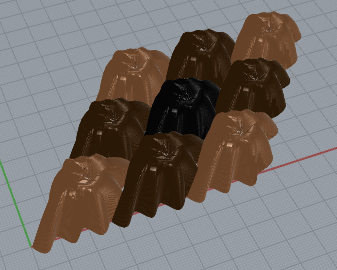
This design was a redo of the “complex” squiggles and tiles that I wanted to do in the first escher tile, but I was able to make this one work and come out with a cool squiggly tile that I took inspiration from Ditto, the Dancing Ditto Gif, and Muk from Pokémon. I decided to use that look for the next part of the project below. However, with this design I knew I wanted to make some sort of volcano look so I knew I had to loft the outer surface to a top object, and then one slightly lower than that to create the hole within the design. Originally, I just took a circle block and a polygon block and created them and thought I could just merge them and loft. But this lofted every single tile to singular hexagon and circle making my design into an entire swirl. I took inspiration from the triangle code, so I manually made a circle and a hexagon in a python block then took that and input it into the tiling for loop to create multiple sets of each shape. I took these as a list like the tile list and did a for loop that lofted each set of shapes together to make one nice, lofted surface and then I coerced the shape into a Brep and was able to cap it and size it to a factor, so it was bigger than 1’x1′. After I looked at the design it was super twisted so I went back to the python block where I made the initial shapes and rotated them. Once I got a final look, I noticed they looked like the lava cakes from the different restaurants, so I colored them and made them look delicious with the coloring.
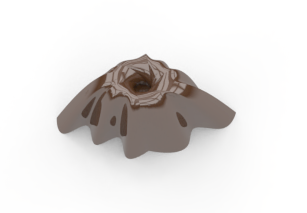
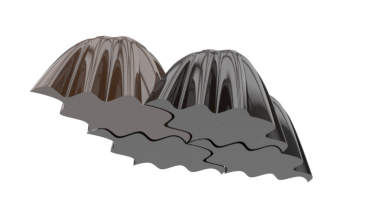
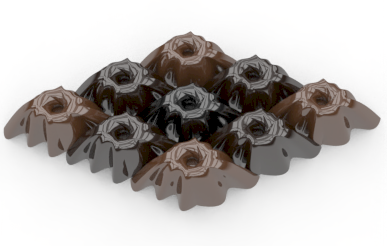
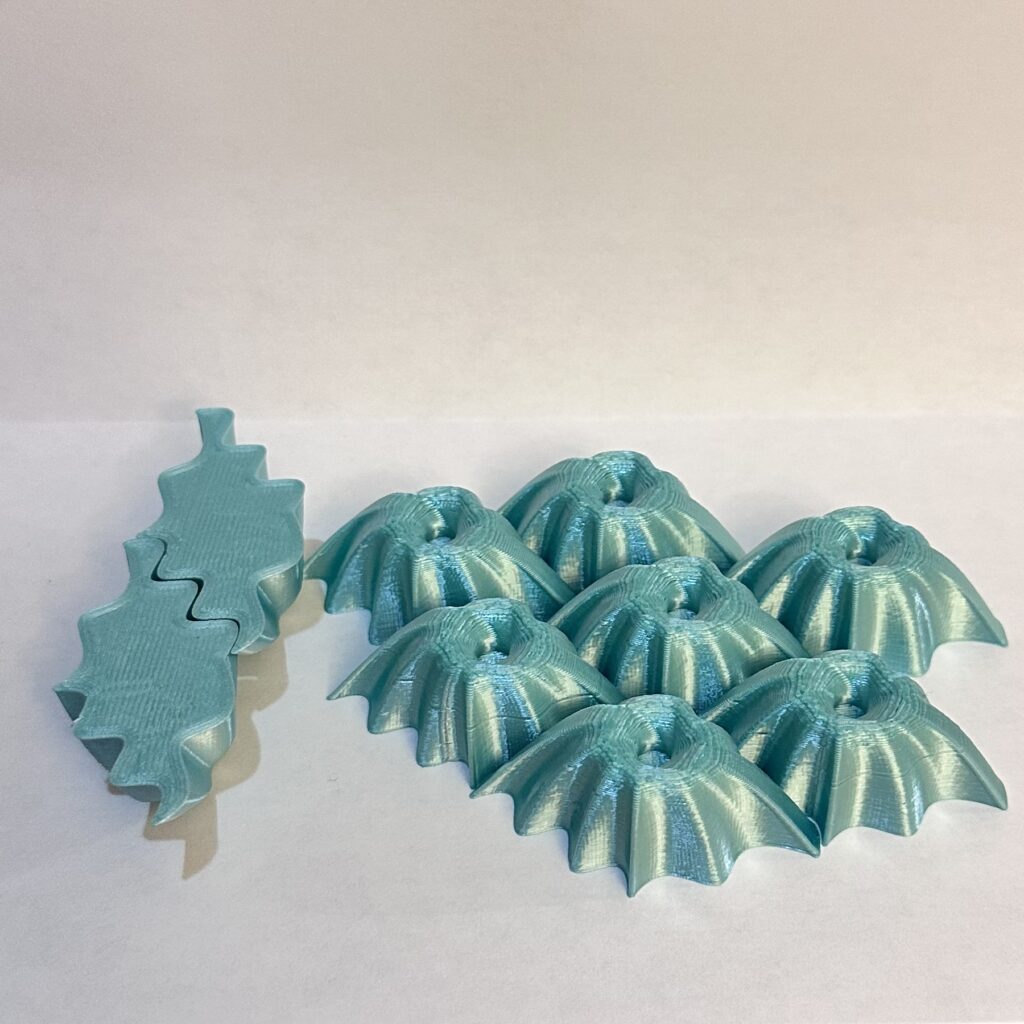
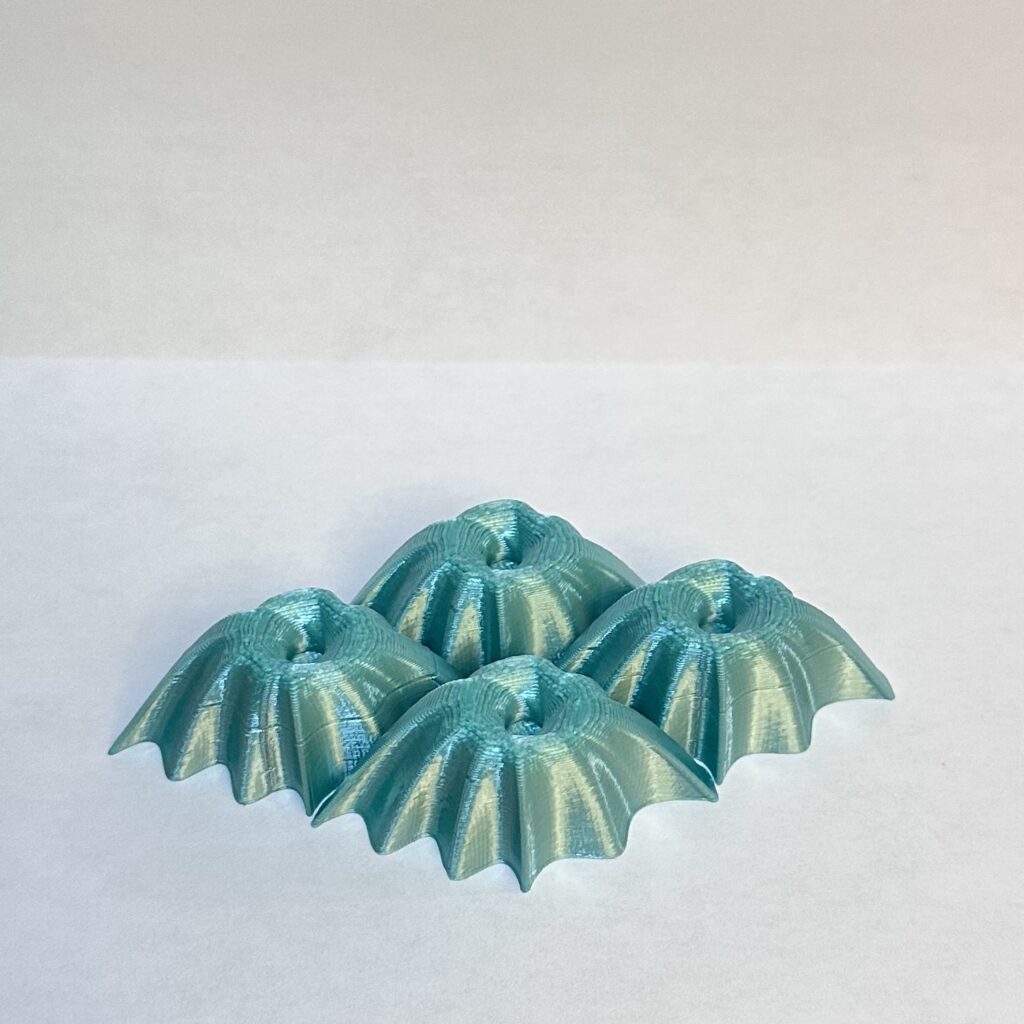
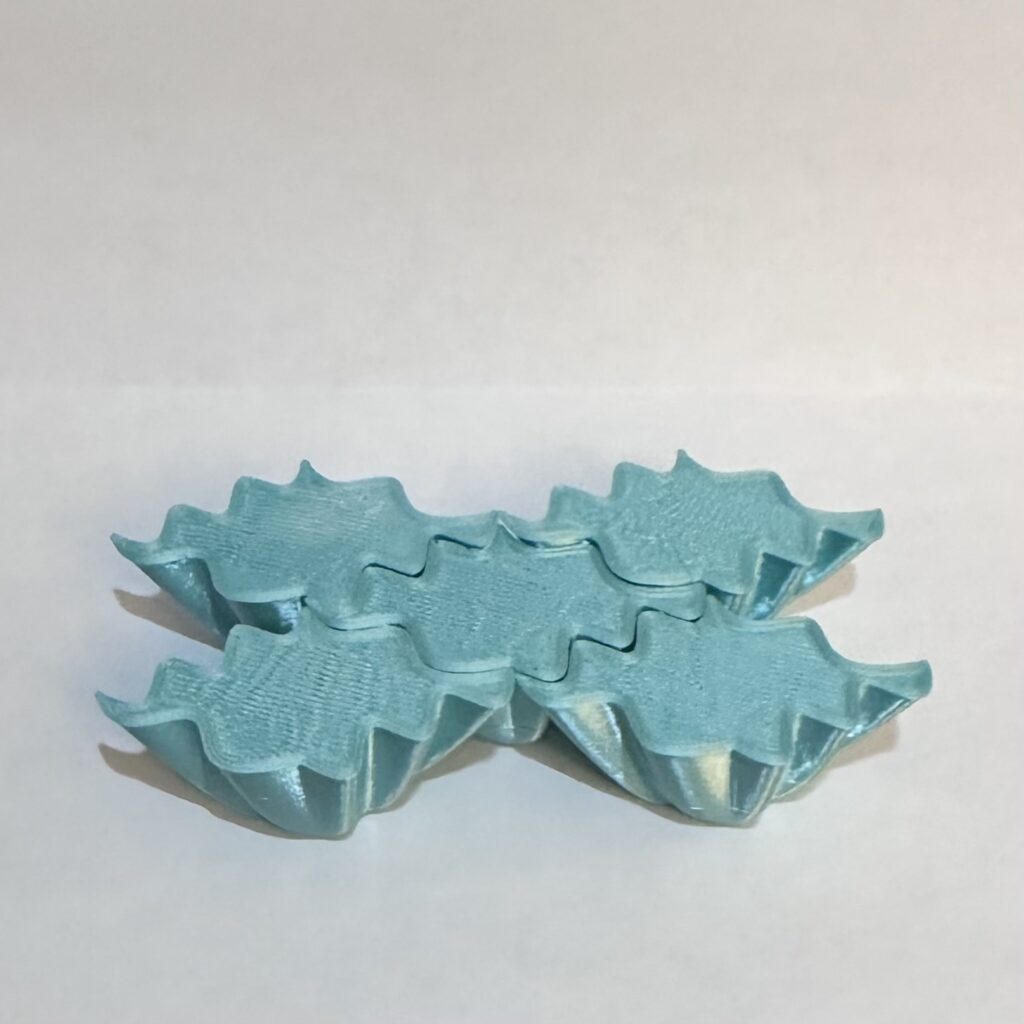
Printing out the tiles was very straightforward, my first designs were 100% and took no time, but when I redid my code with the python blocks for the circle and the hexagon, they took longer so I made them about 10%. I printed each one out one by one until I said forget this and made multiple copies on one gcode file and let it print for a few hours. They look really cool in person and are fun to intricately place together!
Part 3: Surface Morph
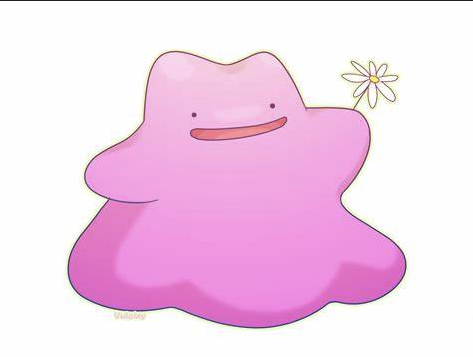
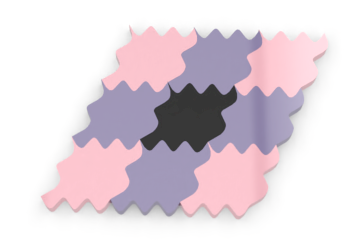
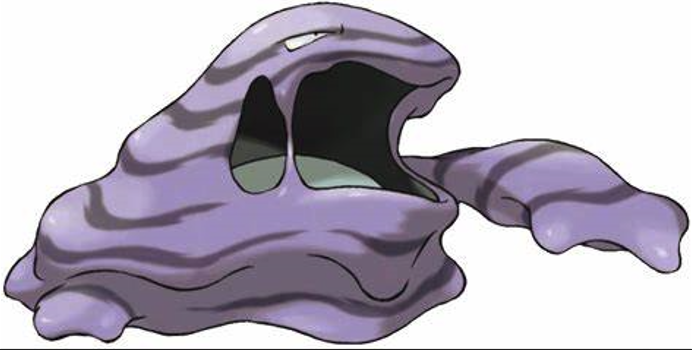
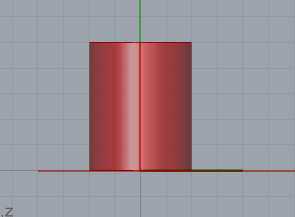
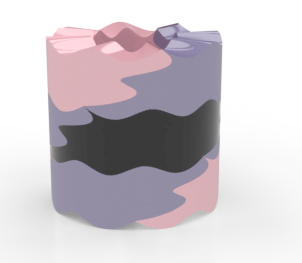
For this part of the project, I originally wanted to do a sphere and loft the design with a cone, but the code just wouldn’t work with it and I had no clue as to why. I was frustrated with it and decided to go with the simple approach of using a simple cylinder to morph my design onto. With my base tiles they reminded me a lot of Ditto and Muk and that’s essentially how I made my curves to mimic them in a way. The coloring definitely helps seal the idea and makes it more noticeable rather than a bunch of random squiggle squares. I had the offset originally on when I was making the surface but adding offset messed things up so I didn’t do a negative since there was gaps, and if it was positive, it would of course leak out onto the other tiles.
Code:
All 4 of my Designs Are Located on One GrassHopper File Since I Internalized All the Curves!