I am using 2 late days for this assignment.
2D Tiles
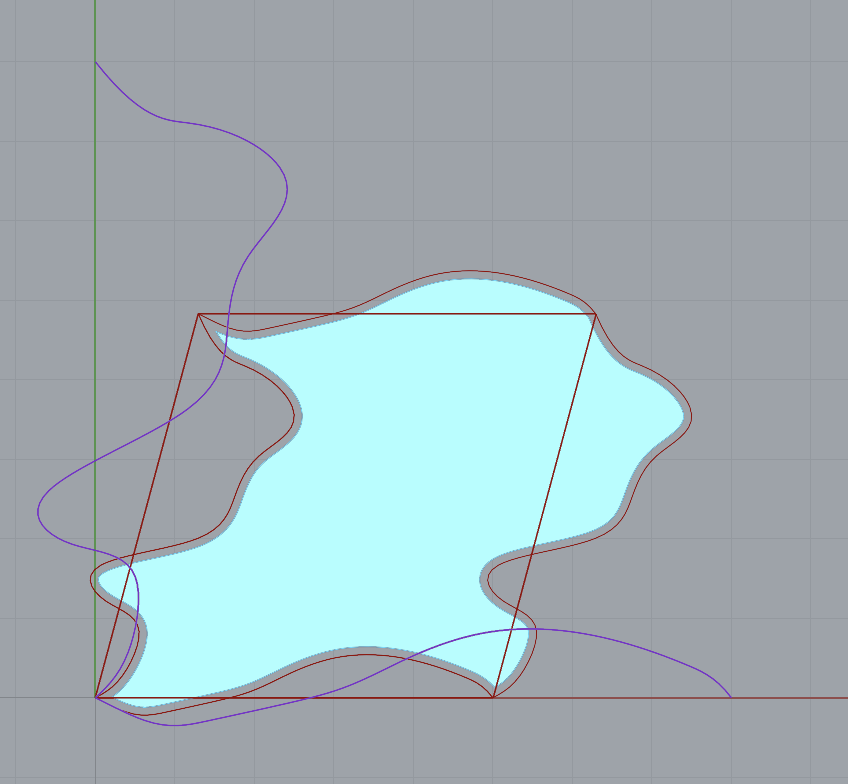
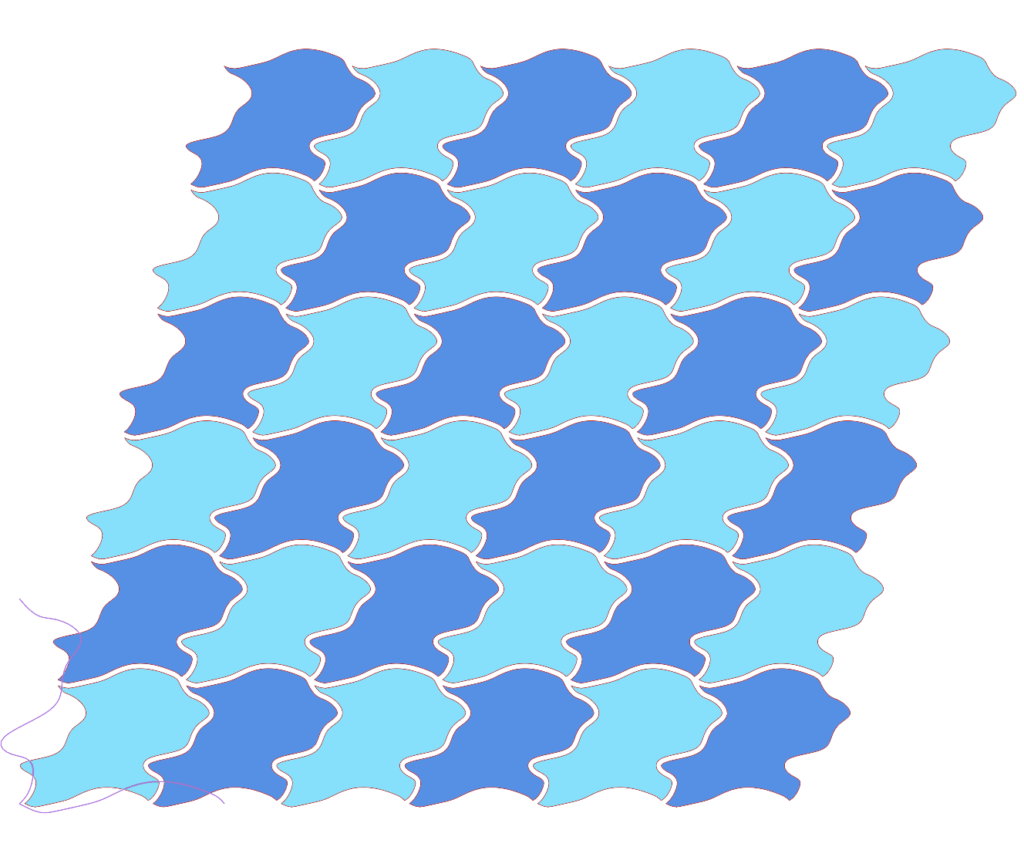
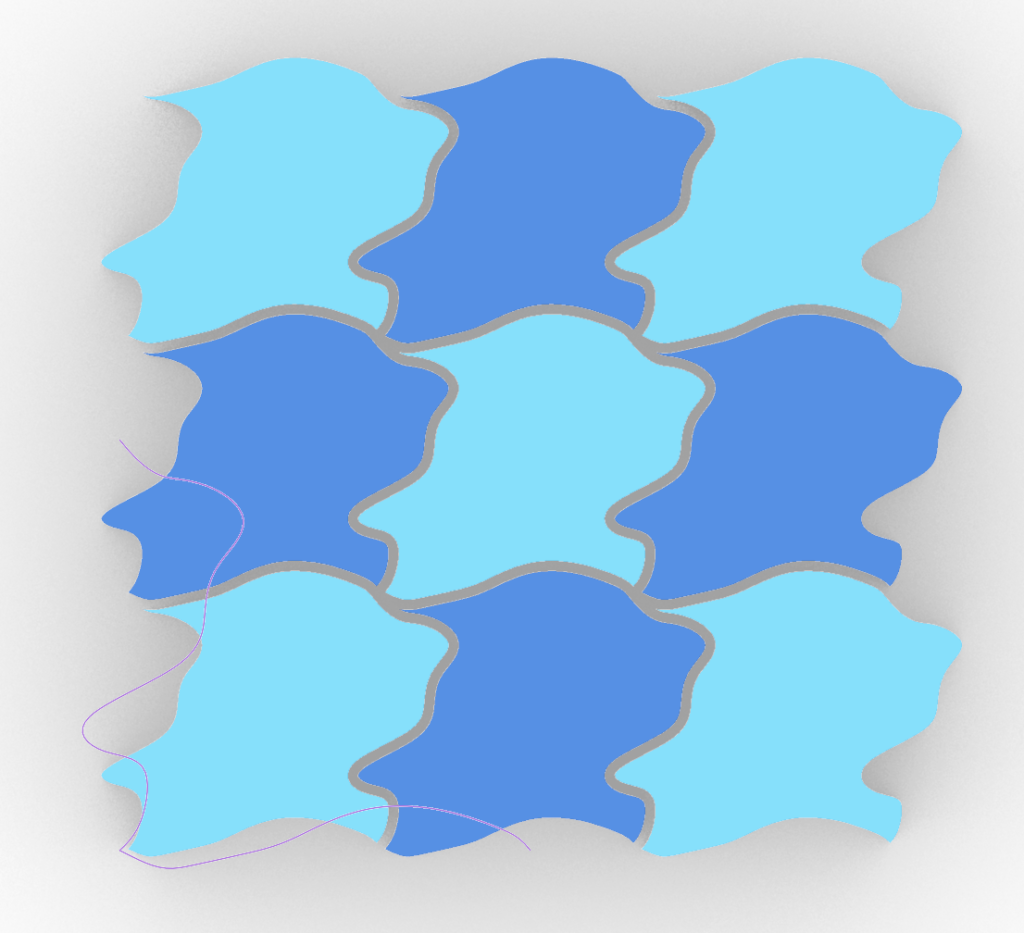
For my Escher tile, I went with an abstract shape that appealed to me with a regular square tiling. I had a difficult time getting the vertices in the correct places to create a closed shape for the lattice. I had to zoom in a *lot* to get them to align. Initially my shape had more sharp corners, but I found that they caused gapping problems once the offset was applied. Smoothing these corners out greatly improved the fit.
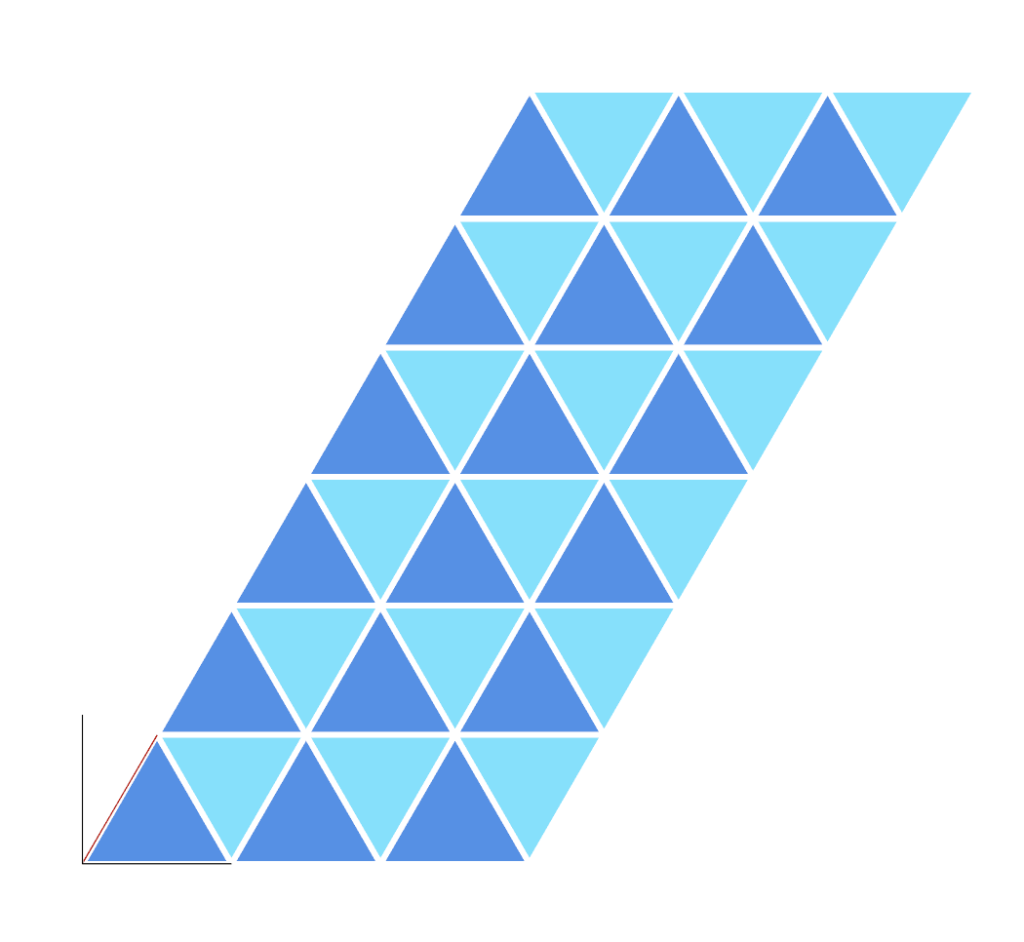
I chose to do a triangular tiling for my other regular tiling. To generate the tile I created a bottom_left curve like in class as the basis of the lattice, but set the angle to 60 degrees. For each lattice cell, if its horizontal index was even, I moved it halfway along the current index’s x vector and copied the bottom_left curve. If its horizontal index was odd, I moved it halfway along the previous index’s x vector and rotated the curve by -60 degrees.
Printed 3D Tiles
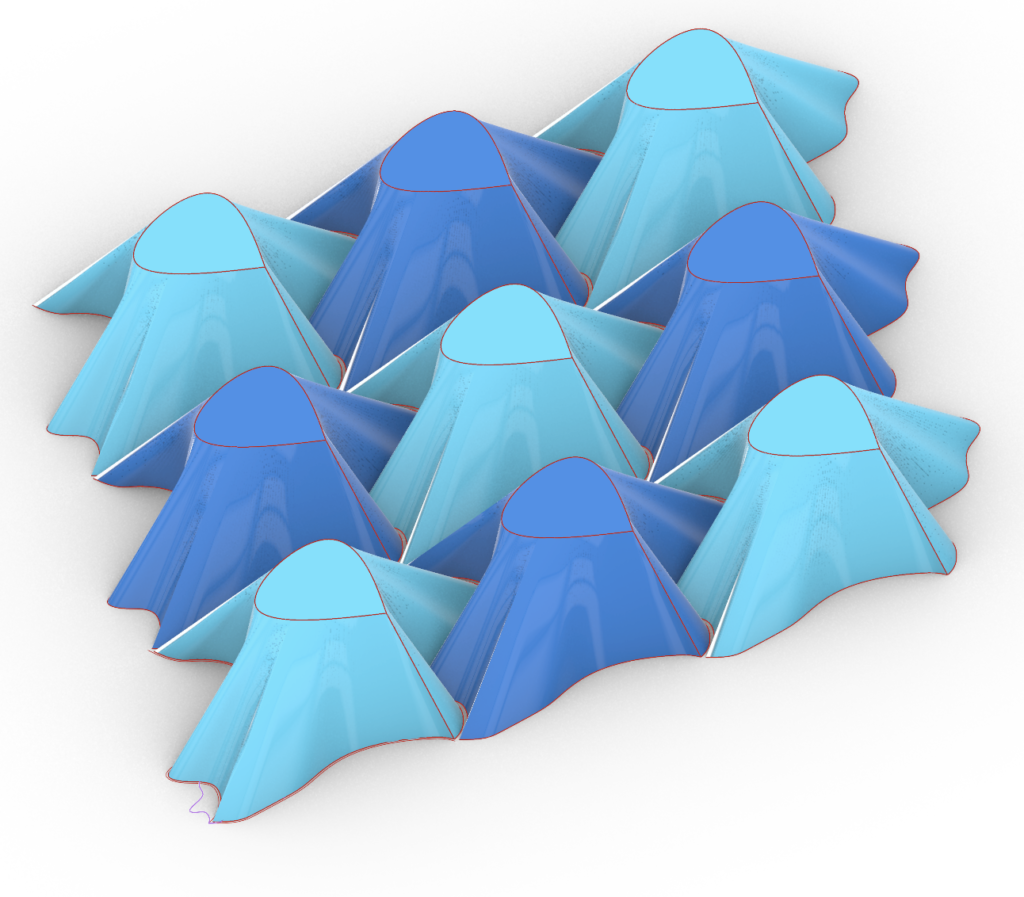
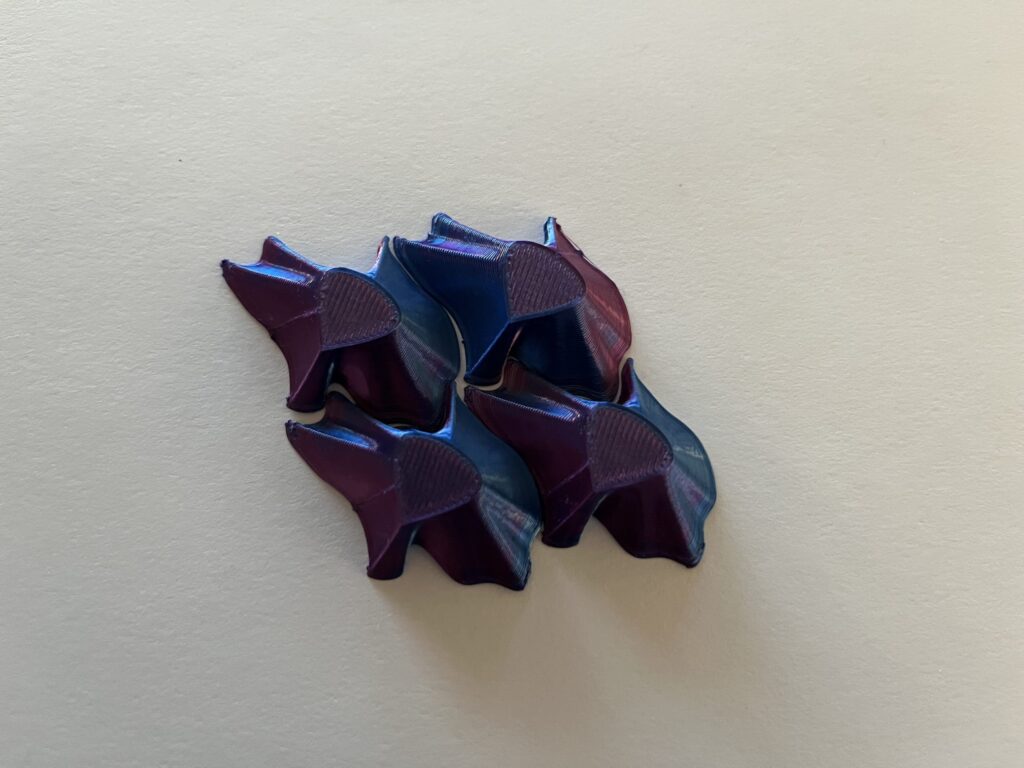
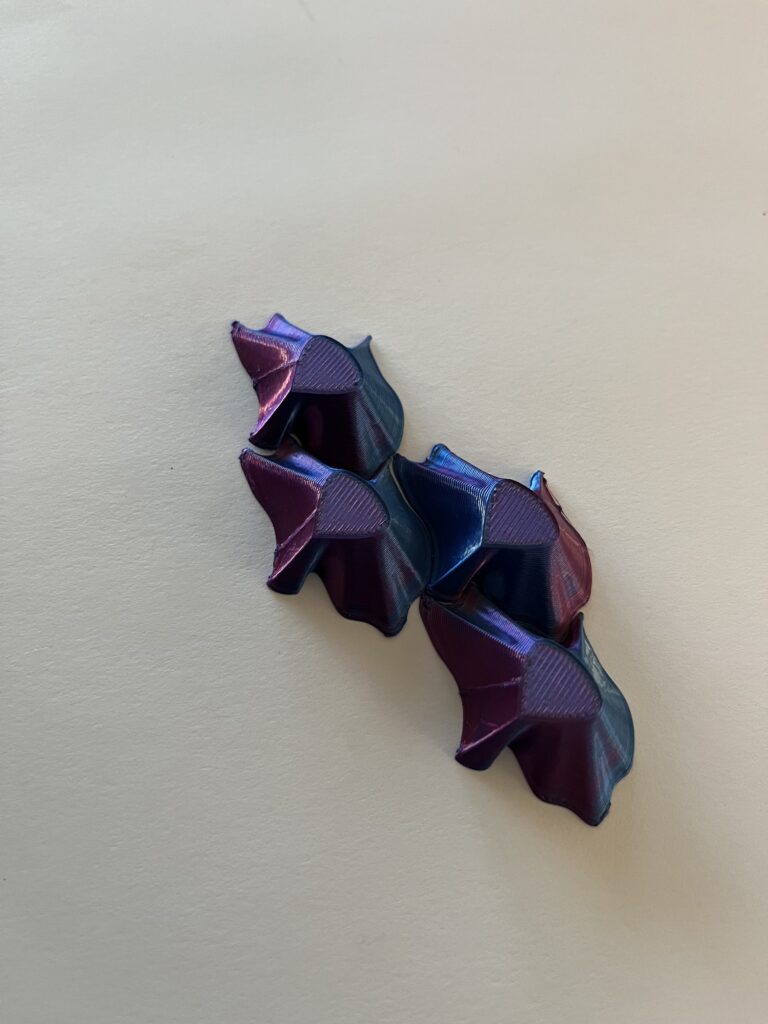
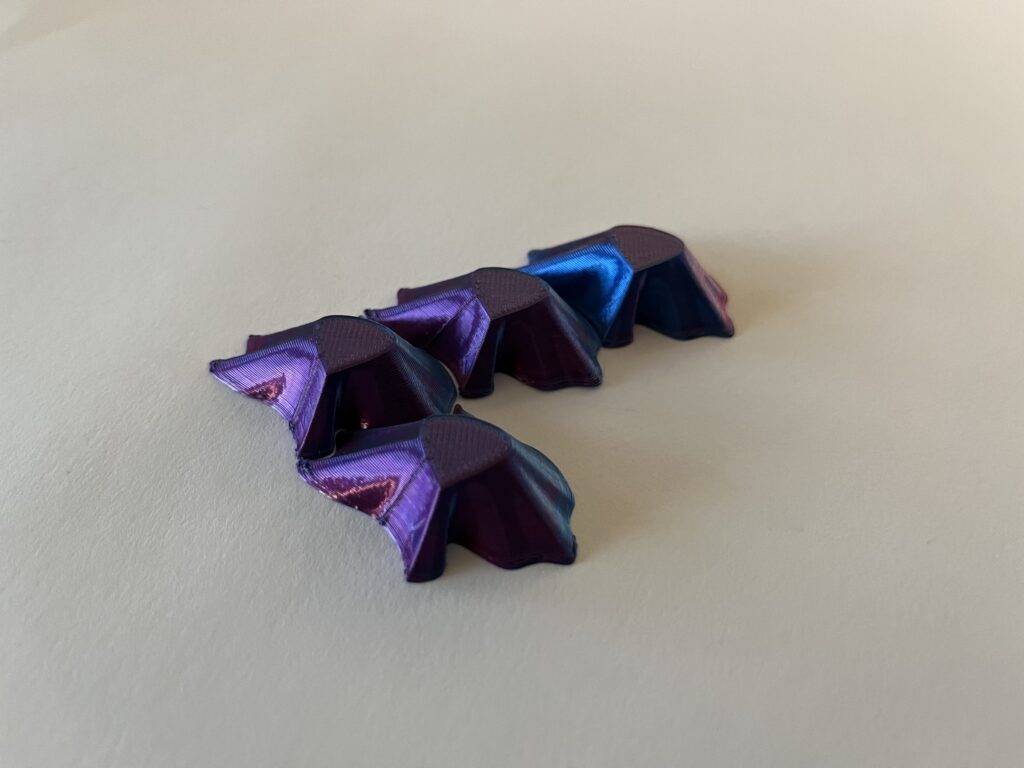
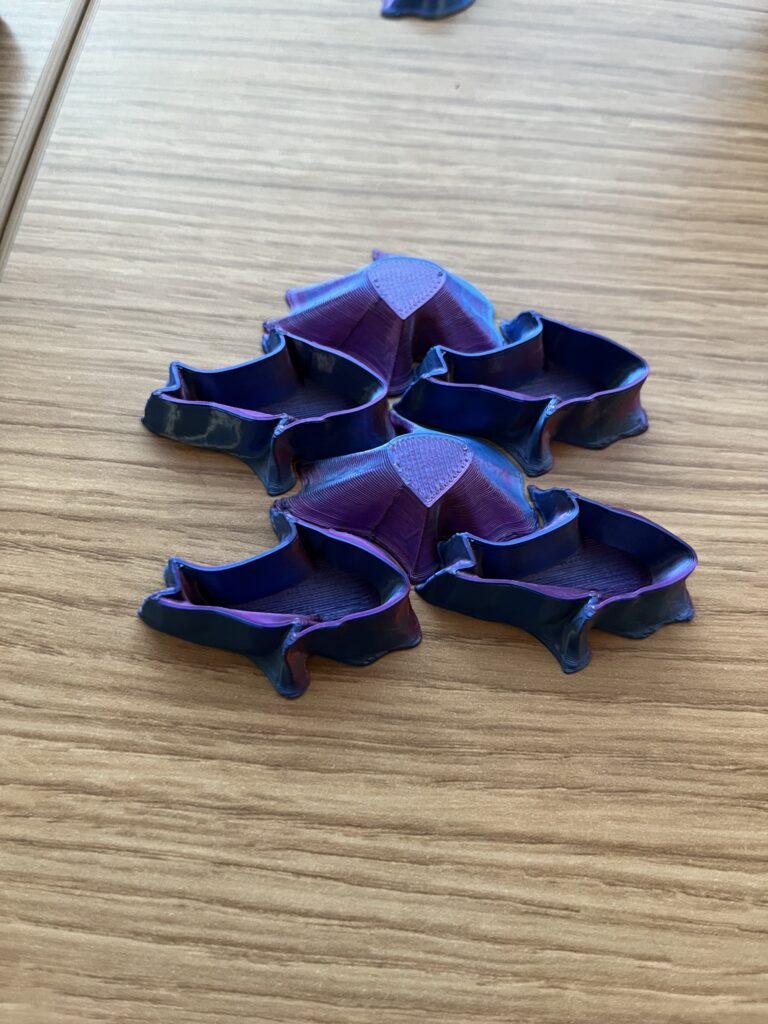
Initially I read the assignment wrong and created a 3D tile in Rhino. See the Appendix if you want to know more about that. For my Grasshopper generated 3D tile, I chose to use my 2D Escher tile as the base. I used the polygon curve from Large Assignment 2 to create a curve to loft to from my tile. I then inserted code into the tiling block to create copies of the loft curve shifted to match the tiling. From there I created the offset curves and boundary surfaces of my tile and lofted from the edges of the boundary surfaces to the loft curve. As this assignment is already a couple of days late I opted for function over form, getting it done rather than adding design flourishes. Despite the rush to pivot and the struggles get the code working, I like that the tiles look like little volcanos.
Surface Morph
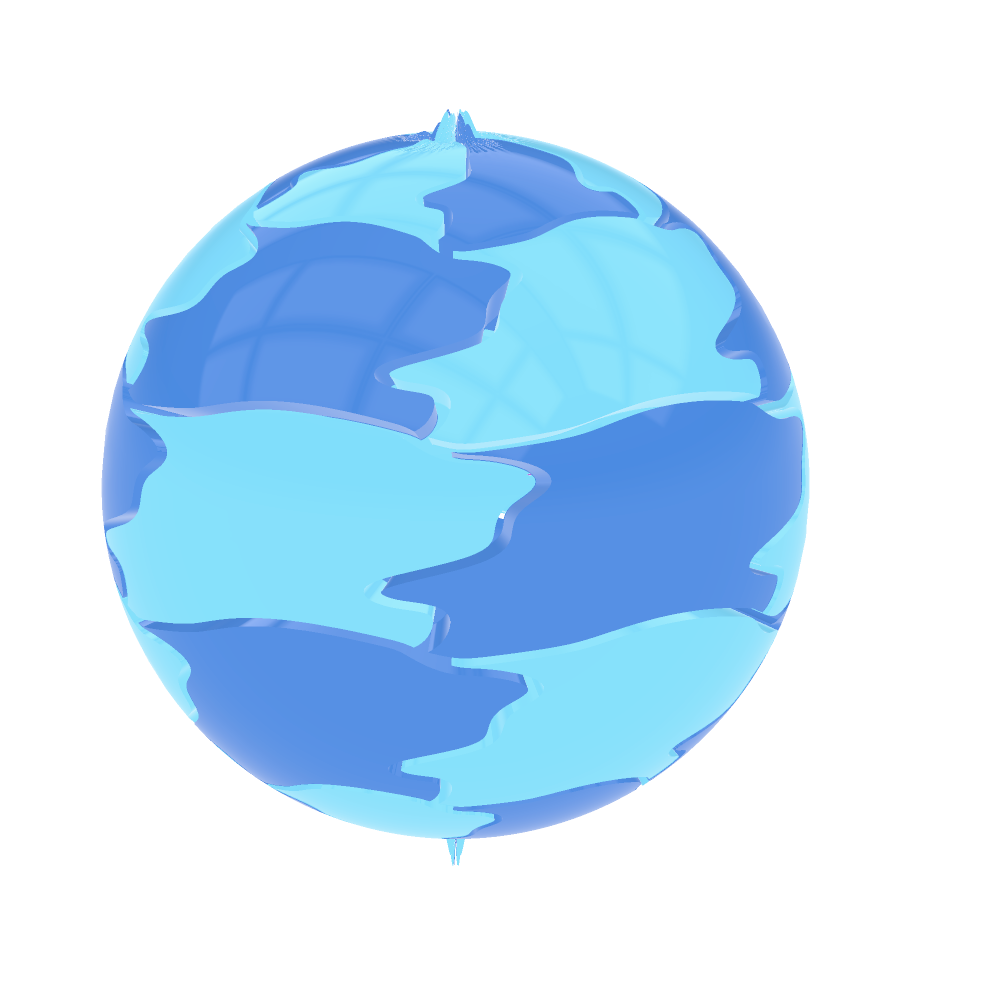
For the surface morph I used the same tiles from Part 1, though I changed the angle to 90 degrees as their previous angle of 75 was causing the surface morph to be incomplete. I was able to get my parametric vessel code from Large Assignment 2 into a cluster block, however when I connected it to the data dam the surface morph block threw an error about the brep to surface conversion failing. As a result I used a Grasshopper sphere block as my surface. I was able to pretty easily perform the surface morph onto the sphere. The weirdnesses that occur around the poles are really interesting.
Code
Appendix: 3D Tile Made in Rhino
So, I read the assignment wrong and created a 3D tile in Rhino using offset curves baked from Grasshopper. This is the tale of that endeavor.
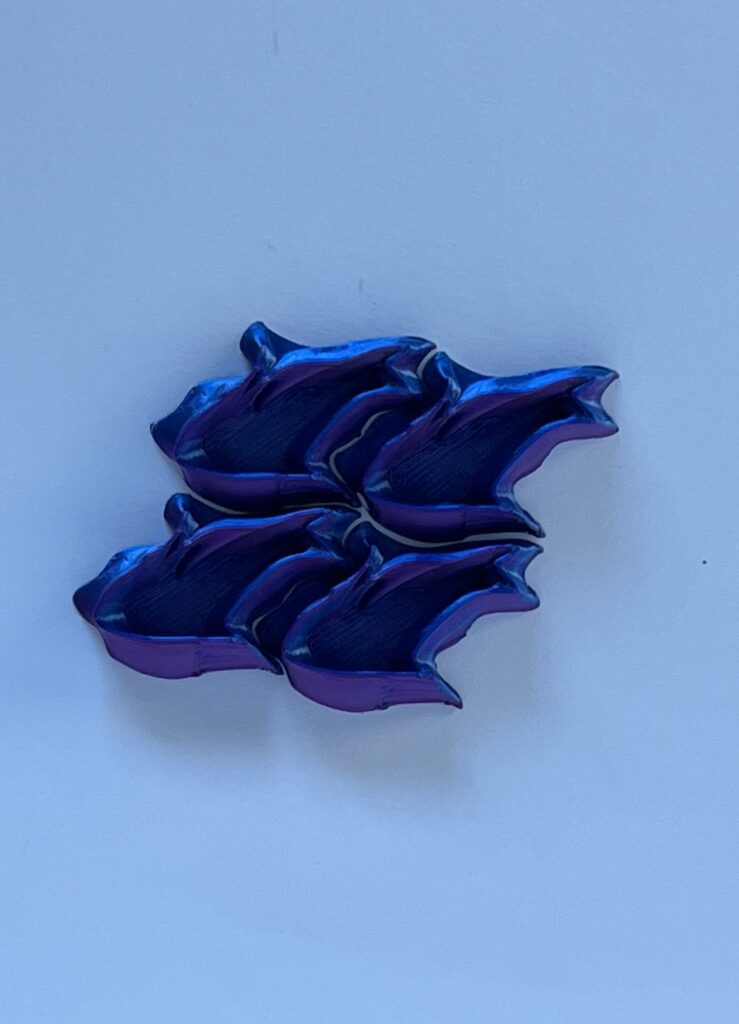
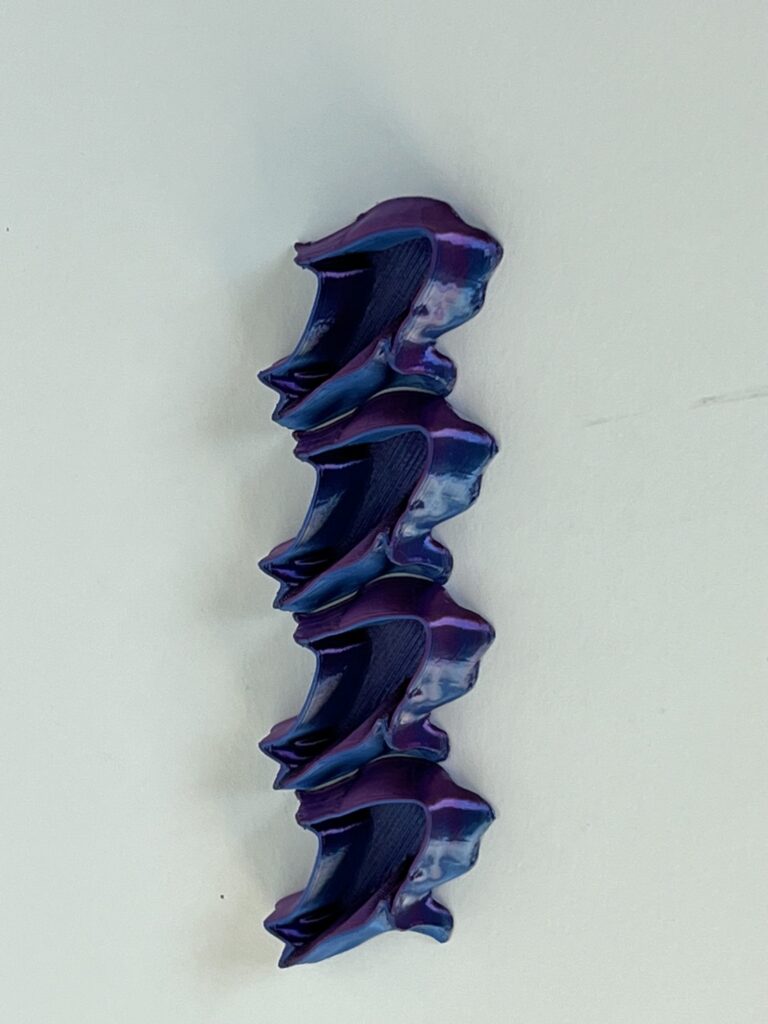
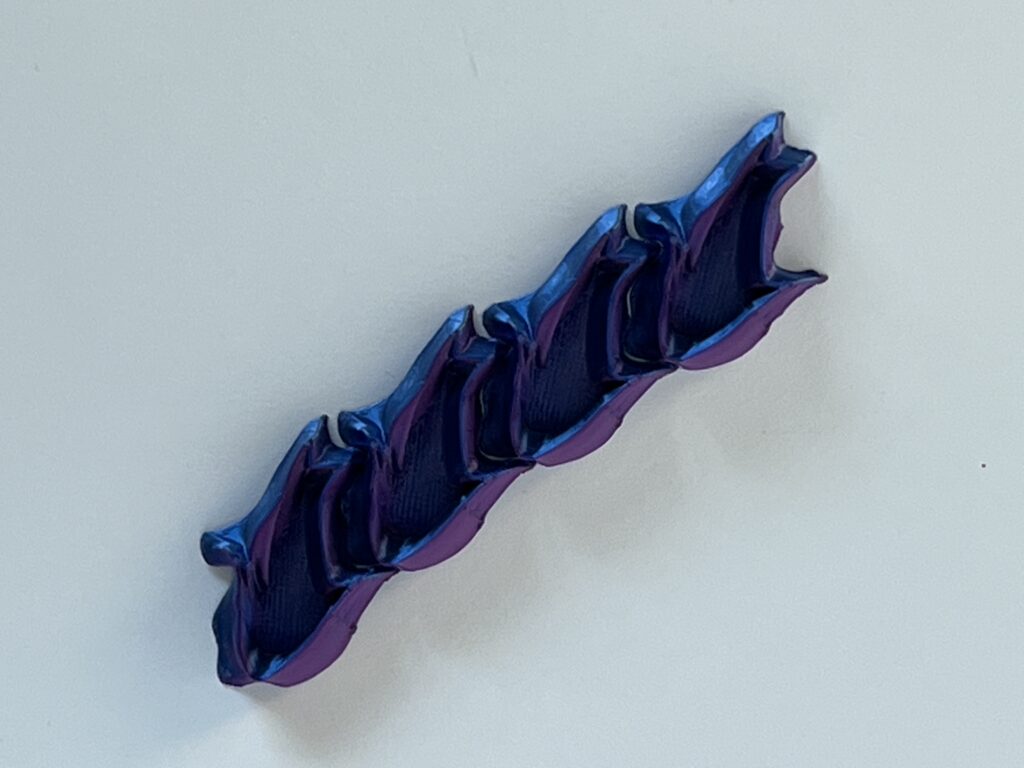
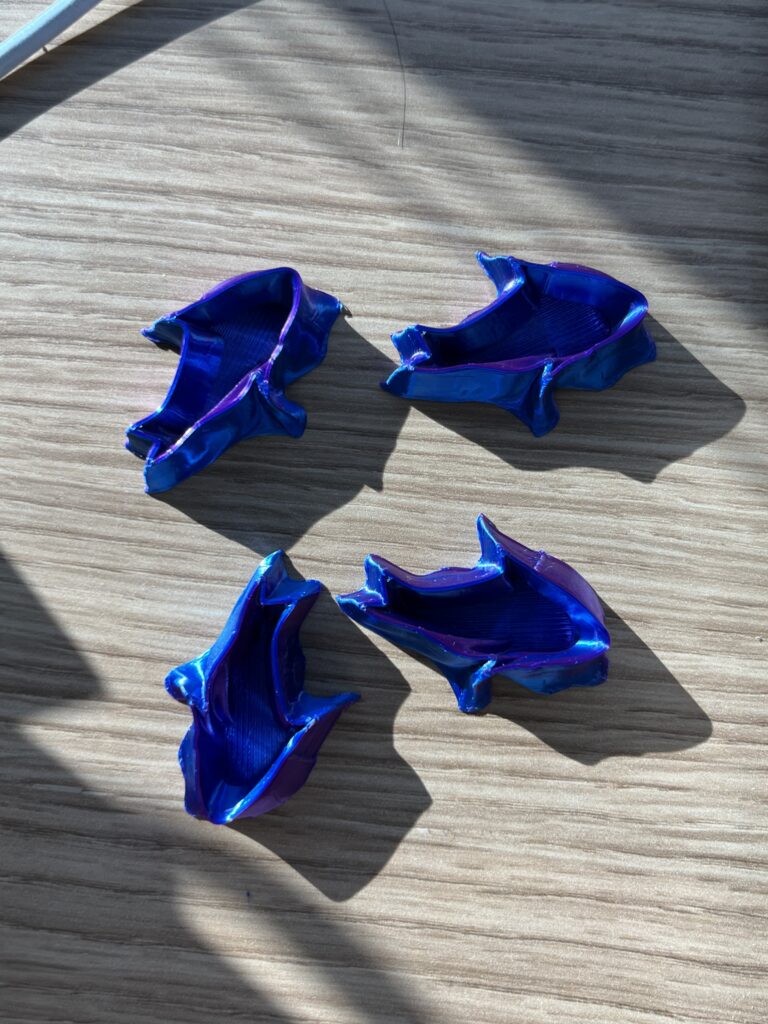
I used my Escher tile from Part 1 as the base of my 3D tile. Initially I made a curve to loft to that was an abstract curvy shape. However, in attempts to get it to loft the way I wanted my tweaks to the loft curve kept getting progressively more fish-shaped, so I decided to go with it and make a fish. In the end I needed multiple loft curves in order to get a suitable wall thickness and viable loft shapes to perform a boolean difference with. I really struggled with both getting the shape I wanted to come out correctly in the boolean difference and with getting the prints to actually tile. What looked fine to me on the screen came out not fitting right on the printer.
Hi Liz,
When I saw them in person, they initially resembled shark I’m not sure why, but your fish look very clean. The choices of color in rhino and in person, really help to understand the design. Your surface morph looks really cool, too. The two spikes on the north and south ends give it a nice touch. I wonder if you’ll be able to spin the sphere with those spikes?
Hi Alan,
Thanks for your comment! I can totally see the shark. I’m glad you found the colors helpful. Lol it would be really cool if the surface morph could spin like a top!
Hi Liz,
Your tiles look really cool, and the spikes on the sphere also add to it. Did you intend for those spikes to be there or were they a product of your tiling? I also had the brep error, the way I got around it was I got rid of the python portions that made the vessel walls and bottoms so that it was only one surface.
Hi Andrew,
Thanks! I did not intend for the spikes to be there. I’m not sure if they were directly a product of the tiling, I think it has to do more with how drastically things have to be narrowed near the poles of the sphere. It doesn’t show that well in the image but there’s wrinkling on the surface of the tiles right around the spikes. Ah! Thanks for explaining the brep error, that makes a lot of sense.
Once again – really great filament choice! It’s very eye catching, and matches the fish design well IMO.
The surface-morph onto the sphere is quite interesting – I wonder what causes the extrusions at the poles.
Hi Louis,
Thanks! I like how the filament looks for the fish too. For the surface morph, I think it’s a result of how drastically the tiles have to be narrowed near the poles of the sphere. It’s hard to see in my image but the surface of the tiles right around the poles is wrinkled.
Hey Liz,
Your 2D tiles turned out so well! I can see how much effort went into aligning those vertices. Zooming in that much sounds like a test of patience! The changes to smooth out sharp corners clearly paid off since the tiling looks seamless. For the 3D tile, I love the “little volcanoes” approach. I also liked your approach to the surface morph, especially switching to a sphere when your parametric vessel had issues. The distortions at the poles actually add an interesting element to the design. I think it came out so well!
Hi Andrei,
Thanks! Aligning the vertices definitely tested my patience. I like how the volcanoes came out too, though I still prefer the fish. Putting the fish and volcanoes together is fun as, at least to my mind, it evokes islands in an ocean. While I didn’t anticipate the pole distortions for the surface morph, they’re definitely a fun artifact of the process.