Design
In this assignment, I designed several different Escher-style tilings in 2D and 3D forms.
Thanks to difficulties with my Windows VM (I’m an incurable Linux user unfortunately), I tried out using software other than Rhino/Grasshopper to create these tilings. After some searching around, I found OpenSCAD (Open Solid CAD) — a script-driven CAD software for creating 2D/3D objects. It can be scripted in Python or via its own DSL, and has libraries which provide a fair set of NURBS and mesh primitives.
OpenSCAD has also been compiled for the web via WASM — so you can view my project here! (it might take a minute to render, so be patient).
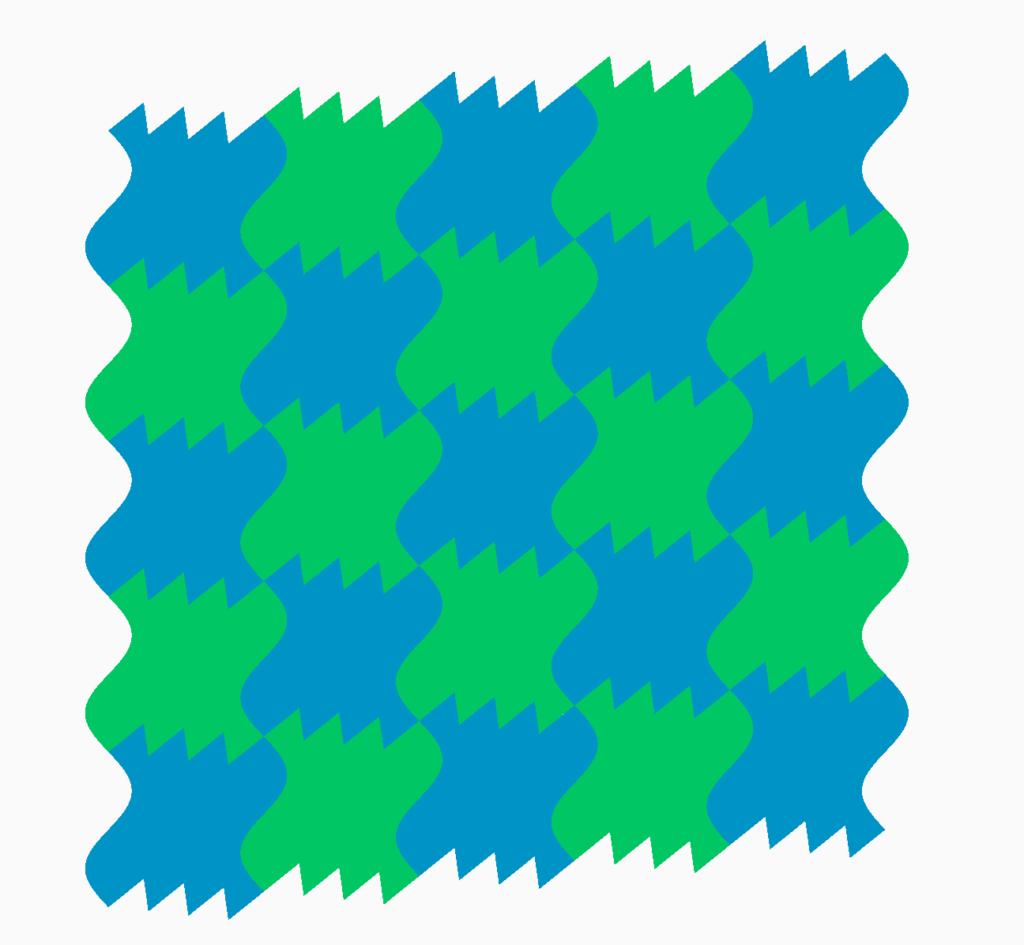
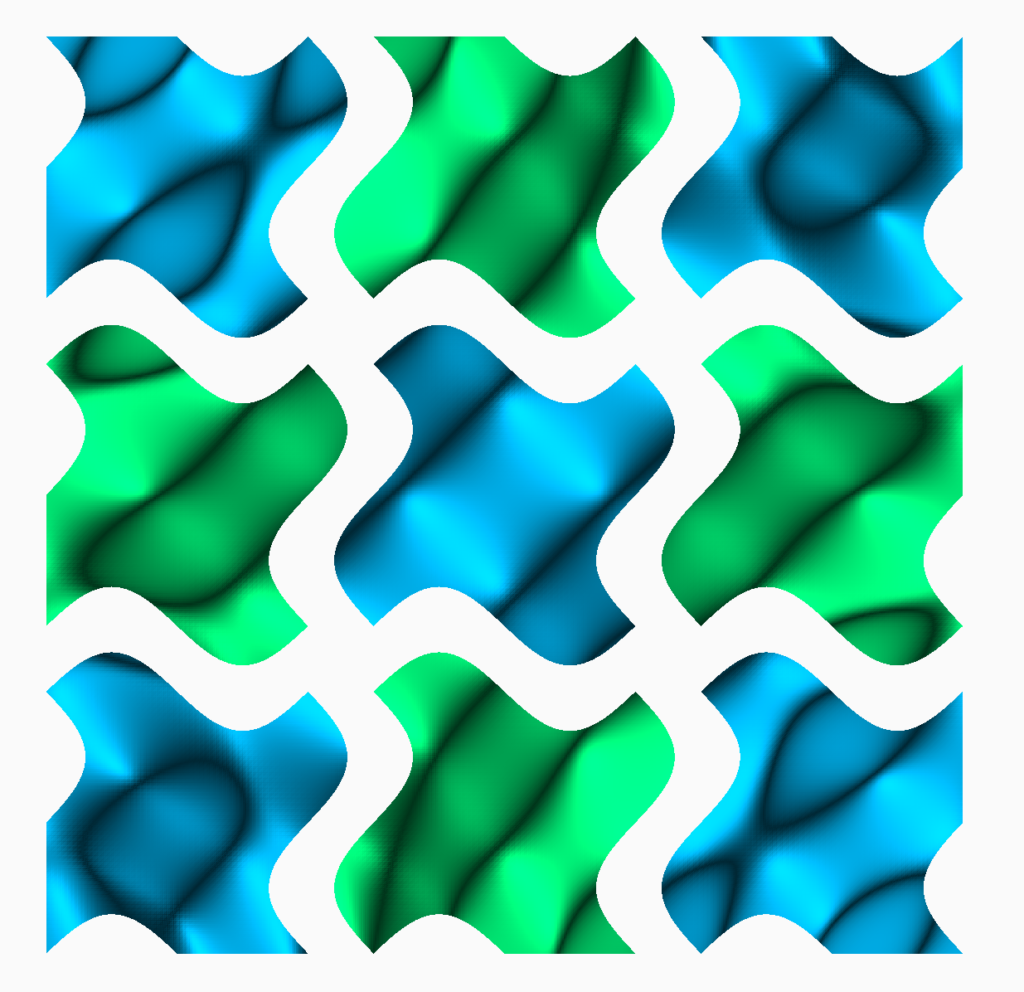
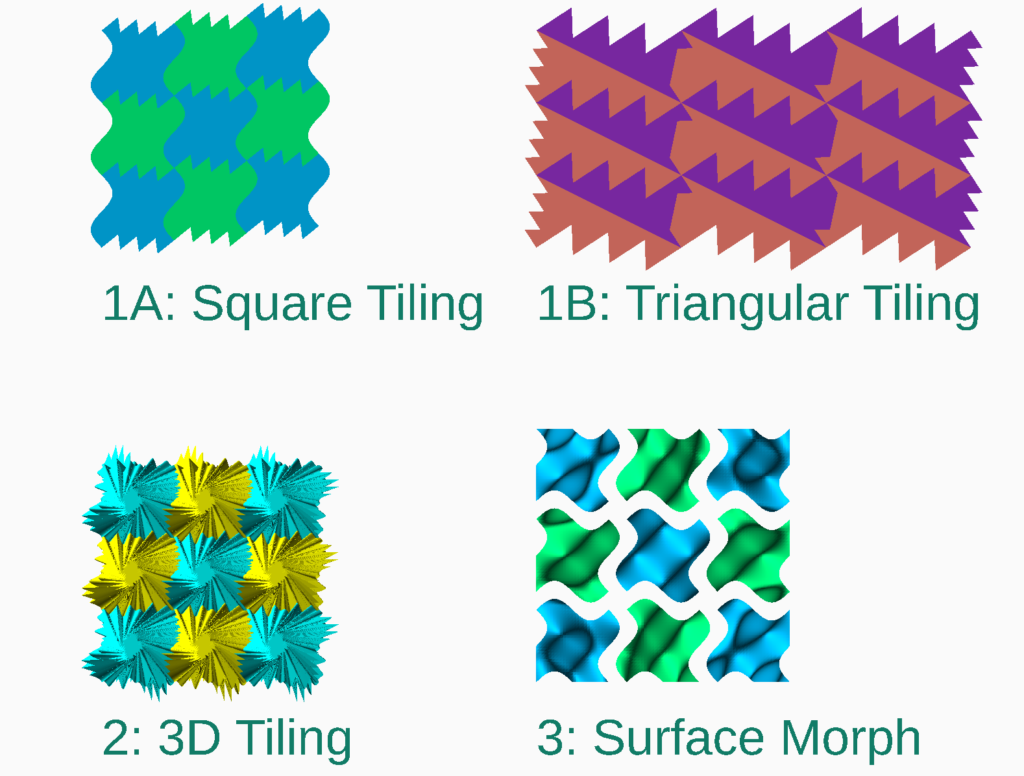
My first piece is based on a regular square tiling, with a slight skew incorporated. The edges were crafted using a sine curve for the horizontal direction, and a sawtooth for the vertical. This tiling, which is colored blue & green, can be seen in the gallery of renderings below.
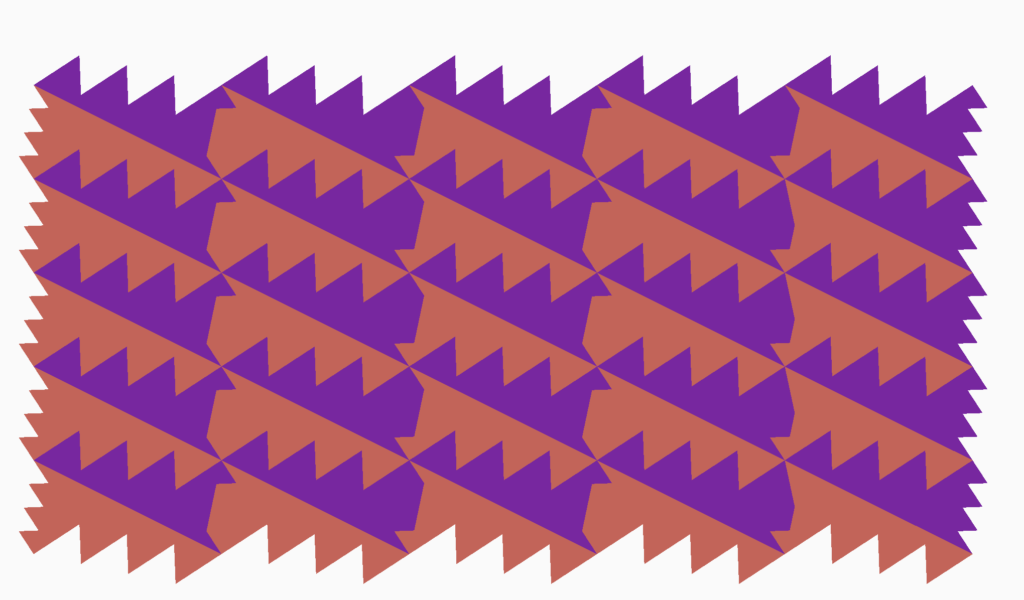
I created the second piece using a triangular tiling. A sawtooth curve is used for two of the faces of the triangular tile. The third face, which the piece gets mirrored across, is straight. This tiling is colored purple and brown, and can also be found in the gallery that follows.
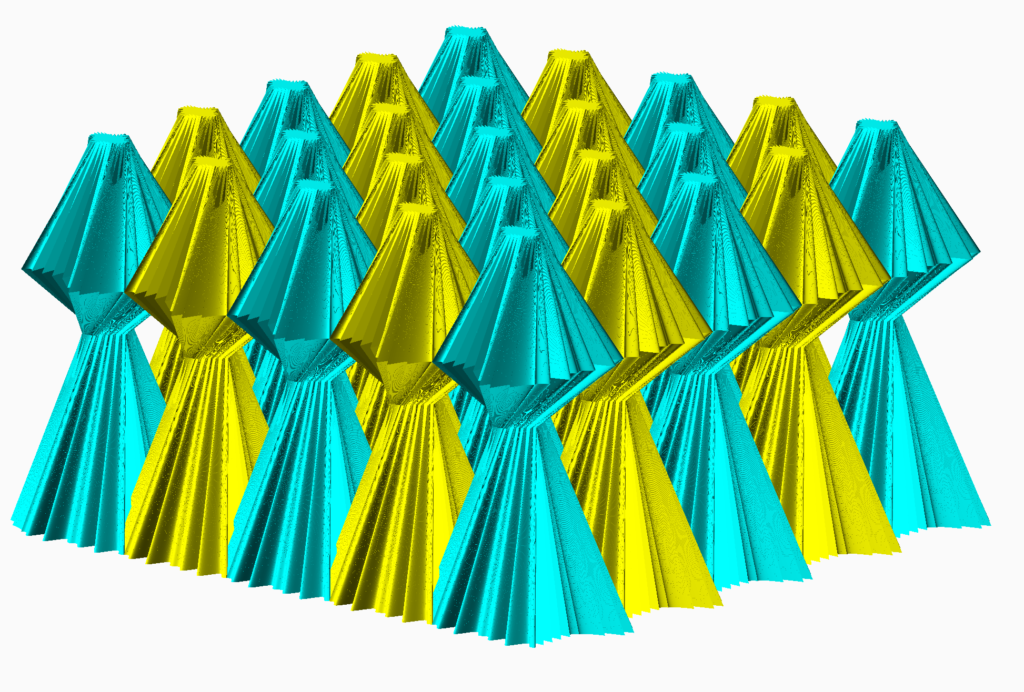
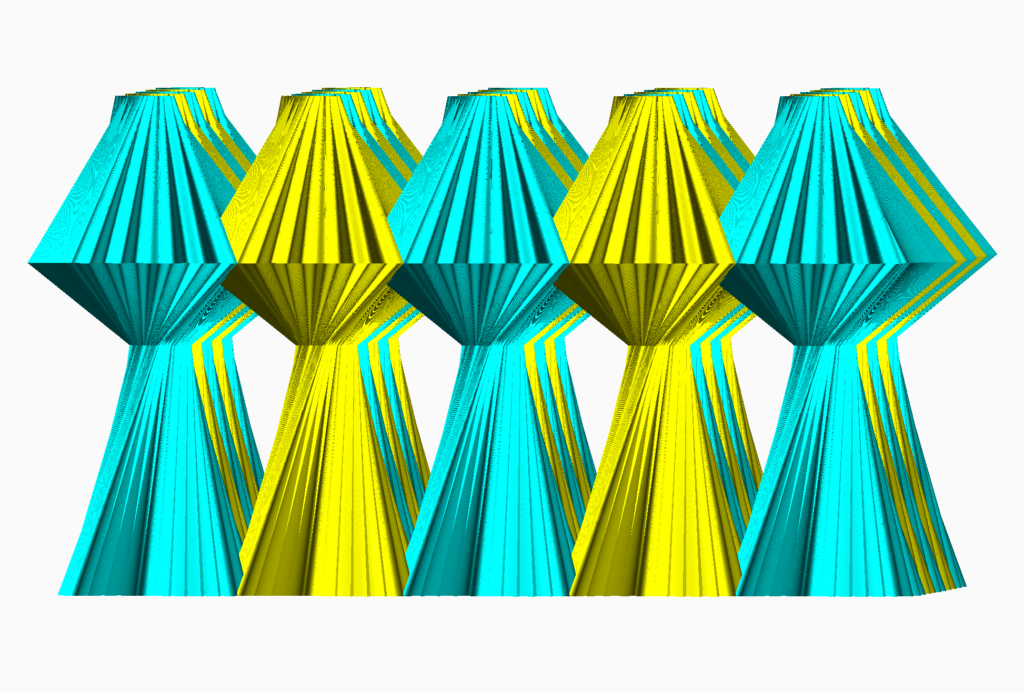
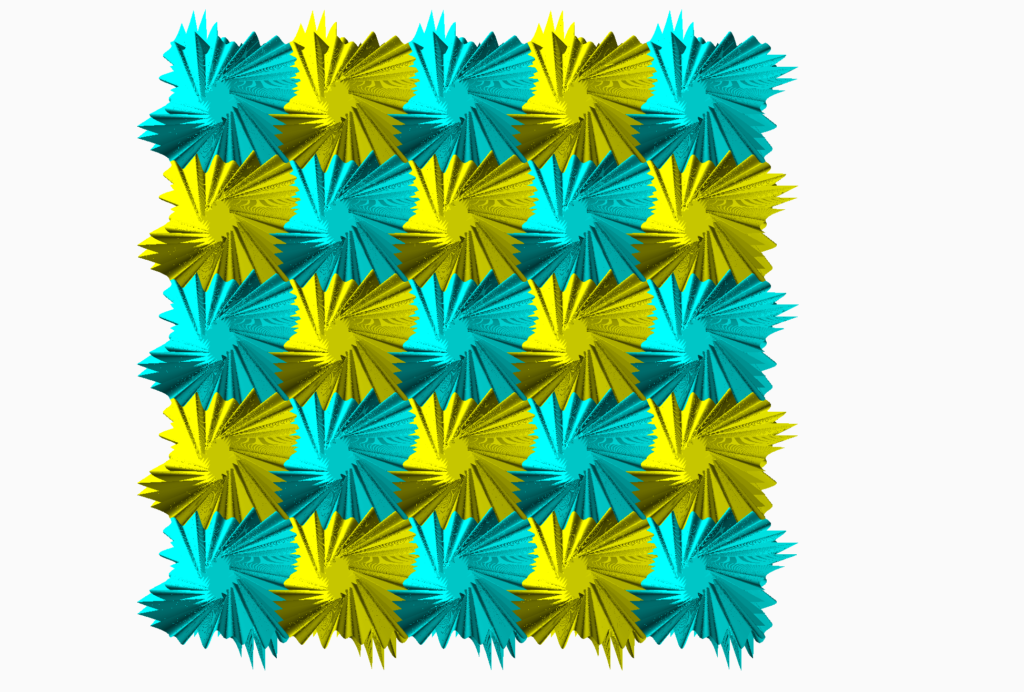
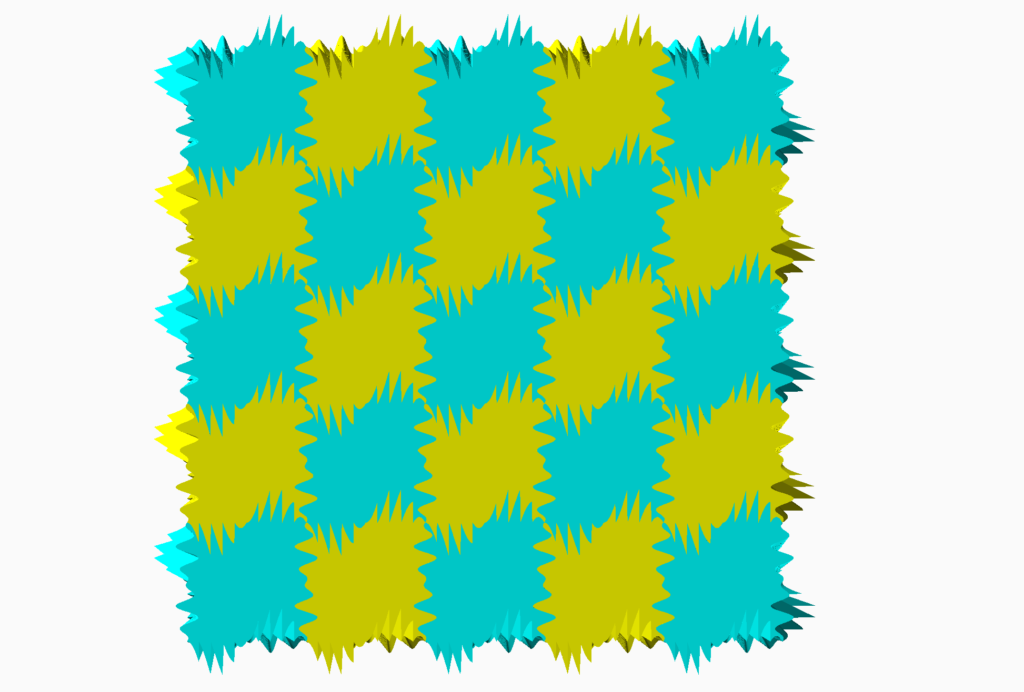
The third piece is a tiling of a vase-like shape, which meshes together at two different heights. The shape was created by lofting four copies of a 2D tile, all of which was rotated to give the shape a twist. The middle and top profiles were additionally “pinched” to about 25% of their original size. This square tiling was created using two curves. The first is a product of sine and cosine functions with differing periods. The other is a product of sine and modulus, which I chose to give that face a more jagged effect.
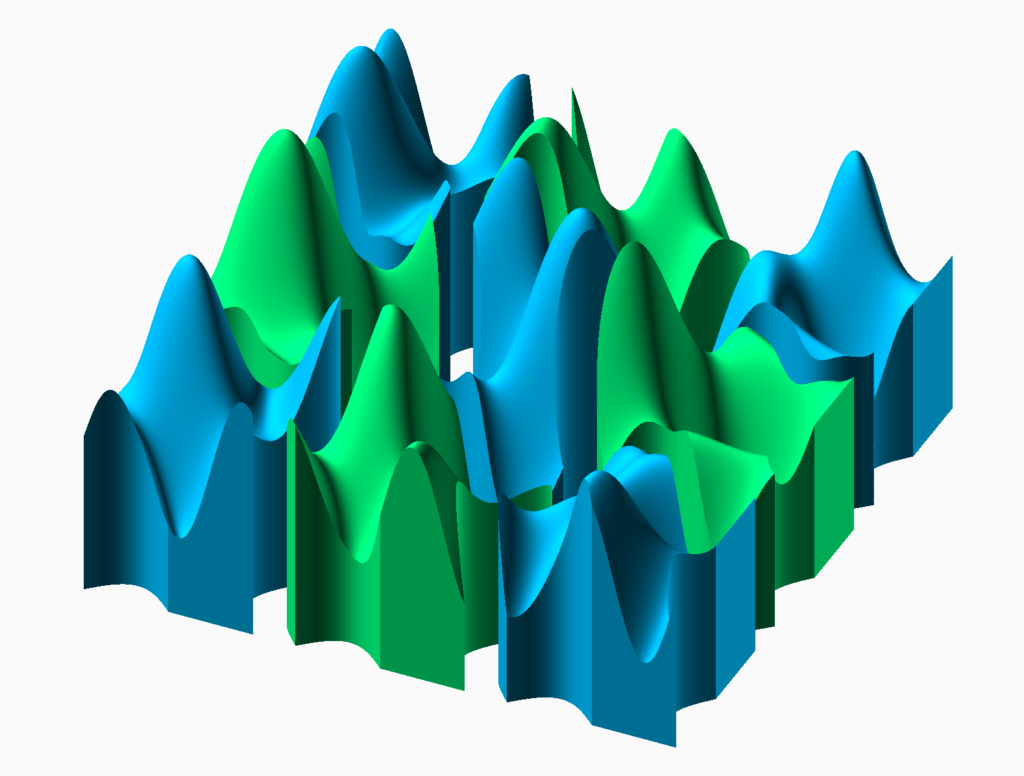
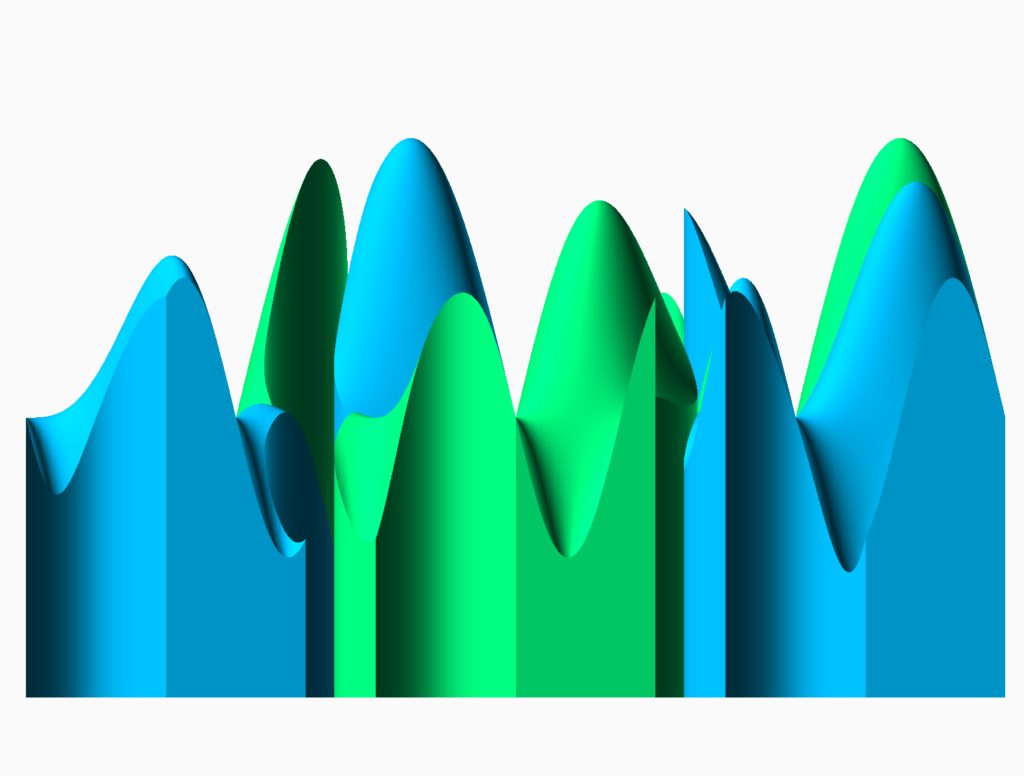
And finally, I also created a surface-morph-ish object with a wavy surface. OpenSCAD doesn’t have a clear SurfaceMorph analogue as far as I can tell, so I improvised — I crafted a surface, and then used boolean operations to partition it with a simple square tiling. The partitioning doesn’t follow the surface the same way as a SurfaceMorph would (as it’s perpendicular to the plane, rather than to the surface), but superficially they look similar. I think it would be possible to reproduce SurfaceMorph in OpenSCAD, with a little more time and expertise.
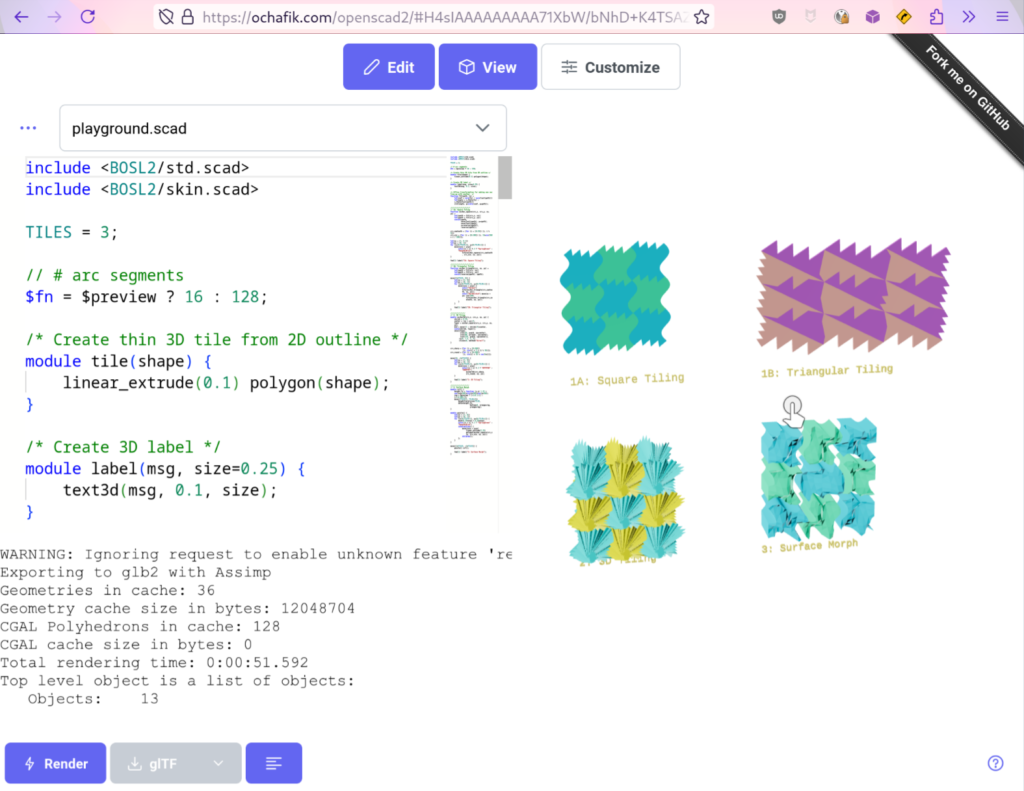
Gallery
Printed Forms
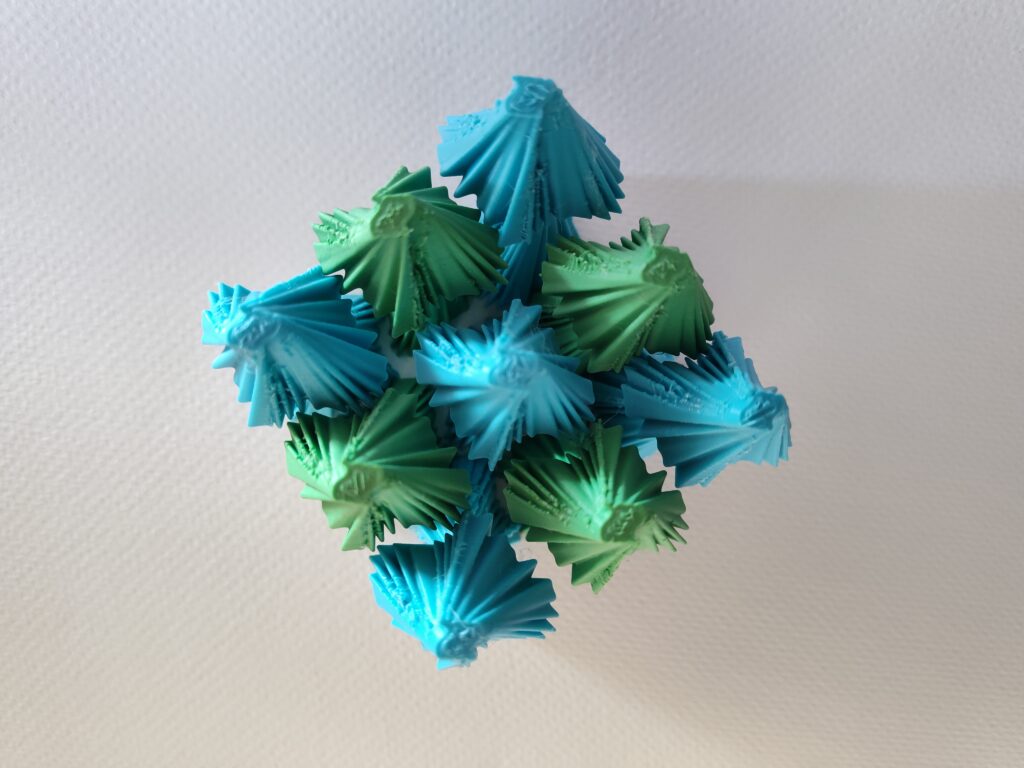
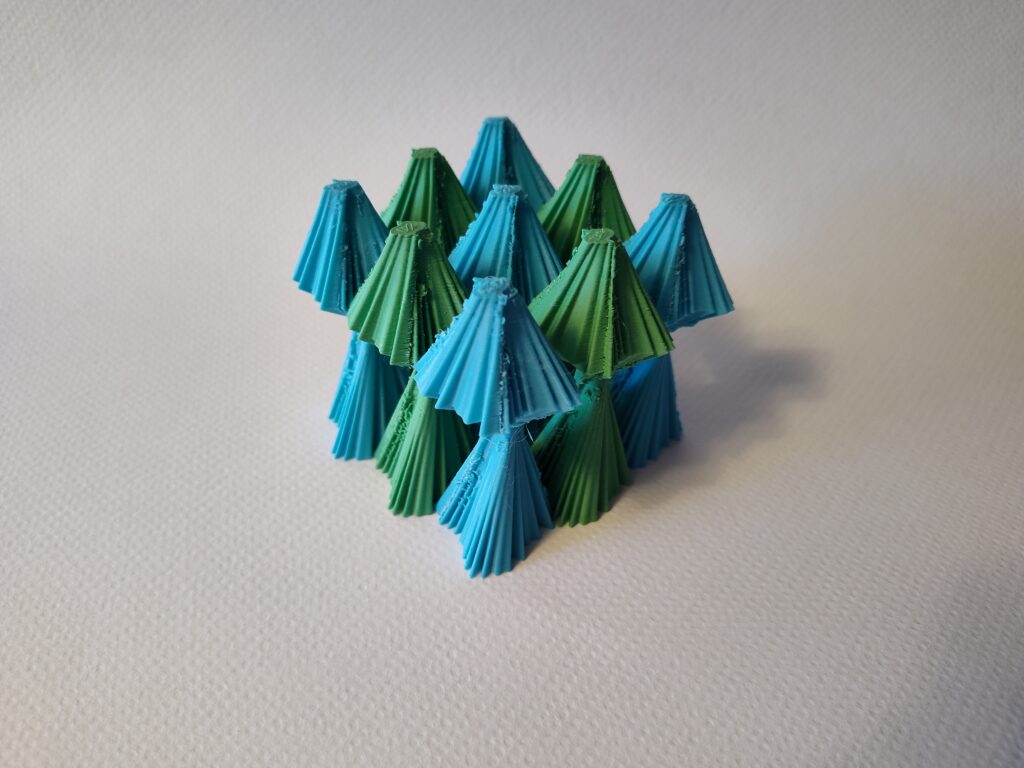
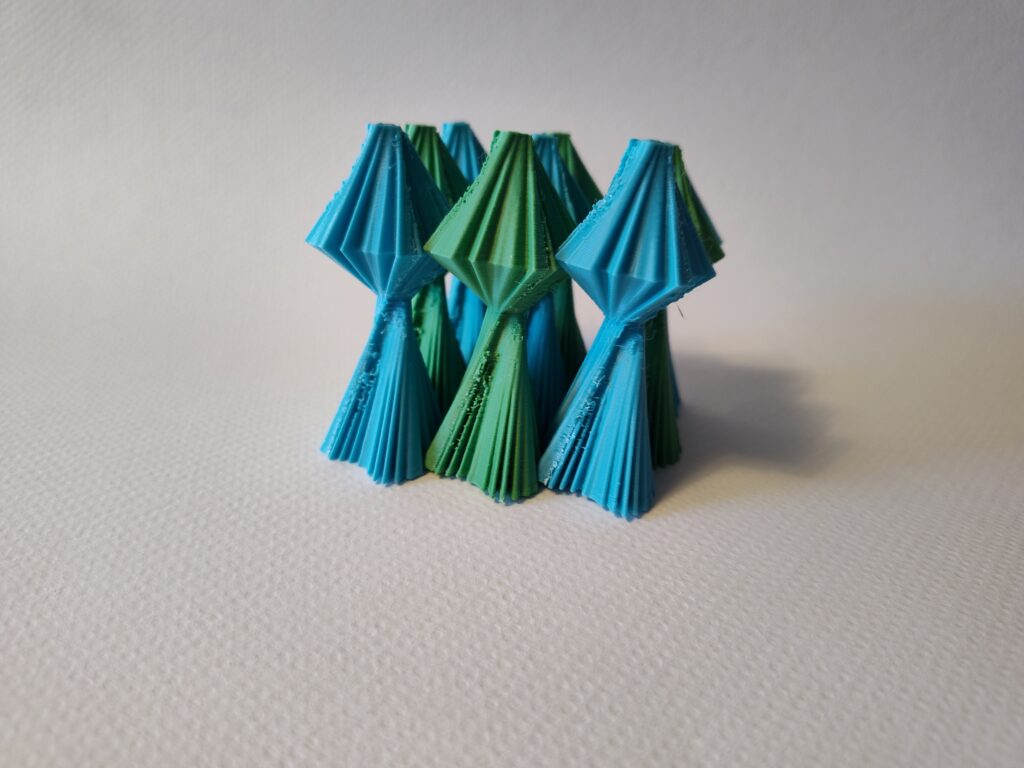
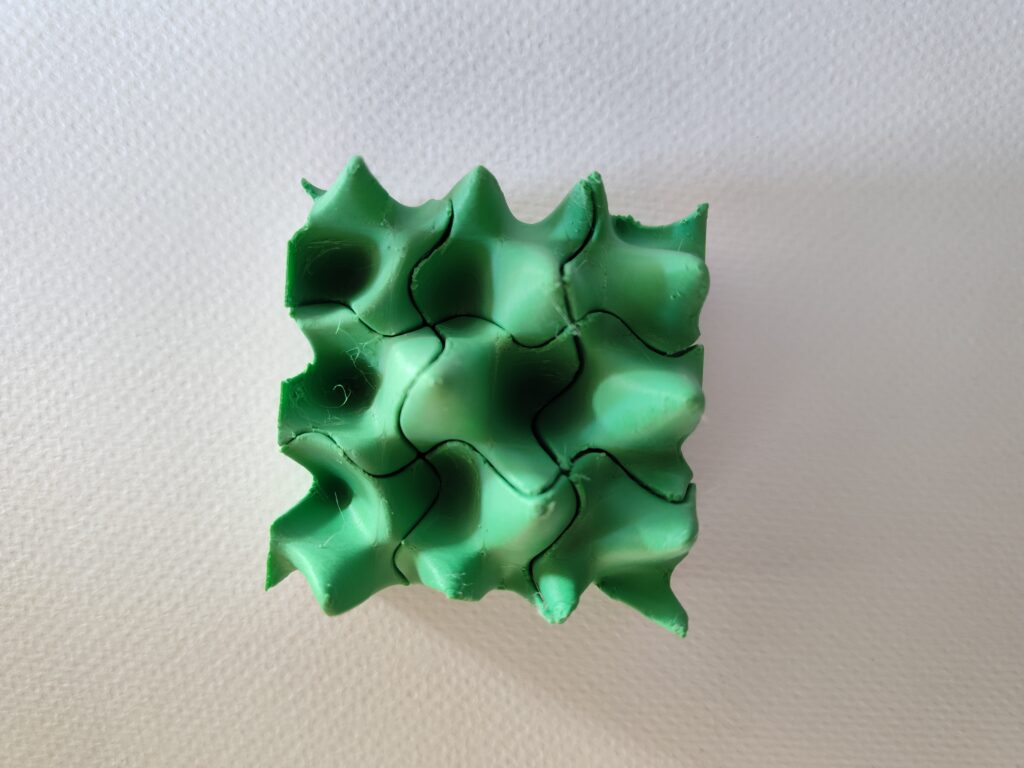
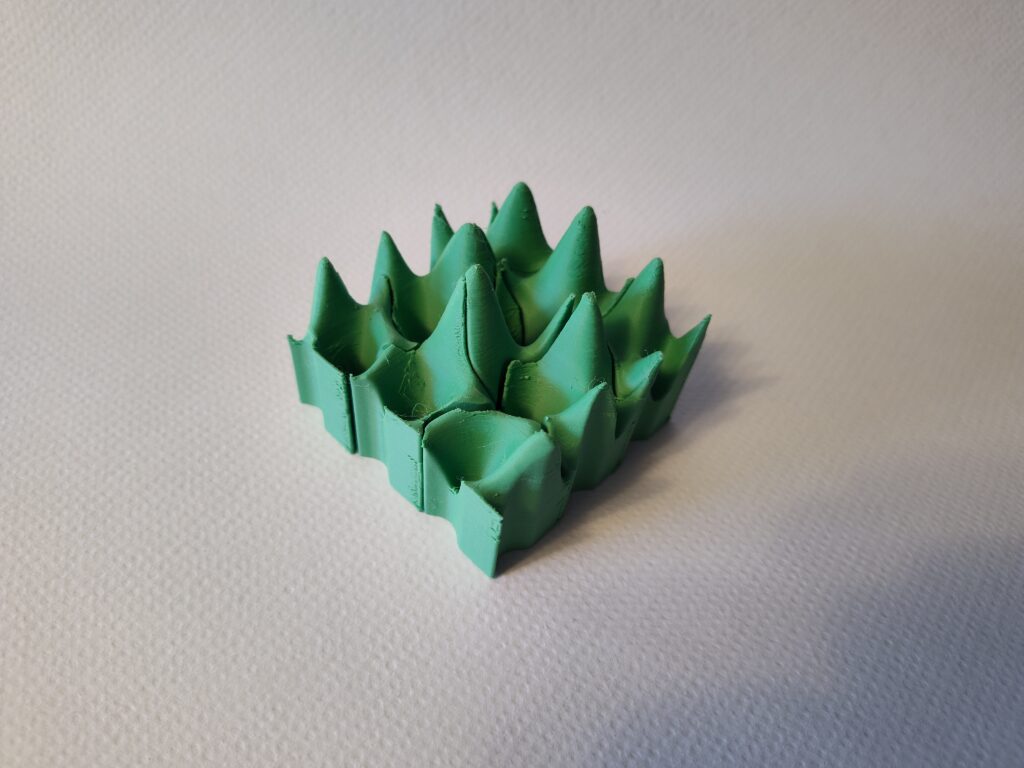
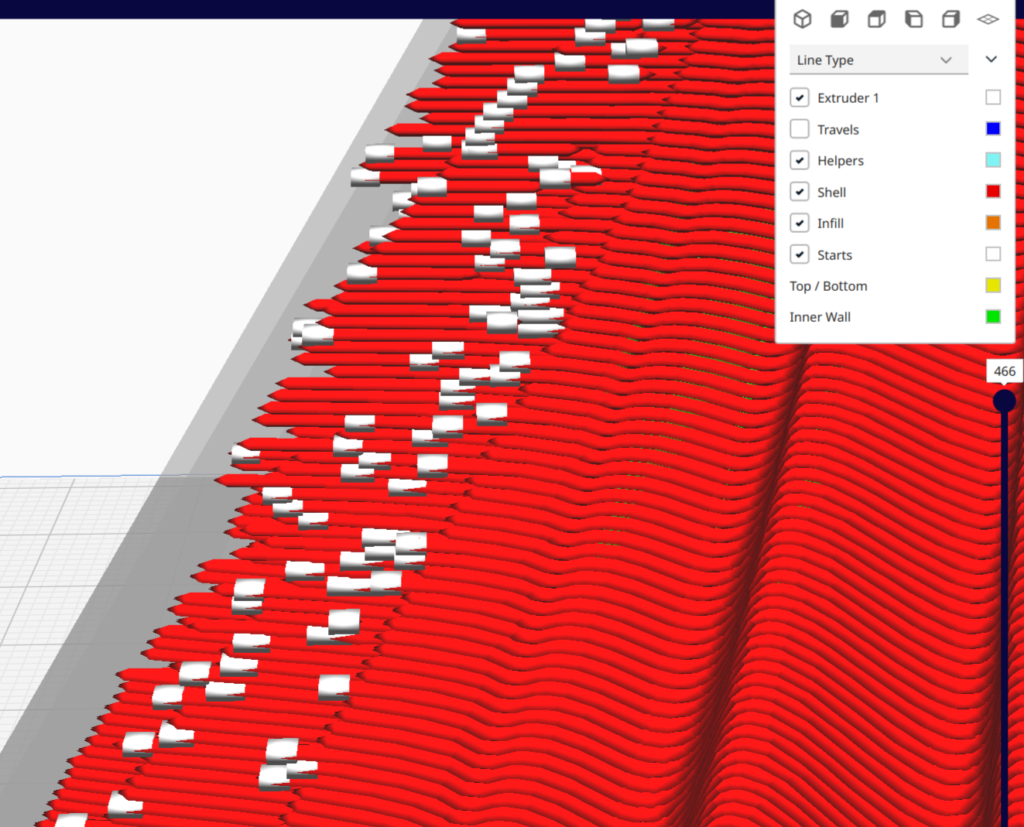
I really struggled with Cura on these prints, and wasn’t able to get them as clean as I would’ve liked. At this small size, some of the detail on the small sharp edges was getting lost during slicing. This gave some of the edges a rough & jagged effect not found in the original model. A larger print, or a smaller nozzle, would probably have made for a cleaner slicing.
Hey Louis,
Your prints were wild to see in person! It’s very impressive that you created these beautiful prints with a program you’ve had no experience with. I particularly like the surface morph prints, I think they are so aesthetically pleasing and it was a lot of fun to see them in class. The color combination I think really brings everything together. I very much enjoyed reading your post.
Thank you! It was really fun to experiment with new tools for this project. I’m also happy with how the surface morph came out — I’m tempted to print a much larger one
Hi Louis,
I can’t believe you were able to do all this without grasshopper/rhino! For the first row of your printed models how were you able to create that outward design at the top? Did you just have different widths at the sections and lofted them together? Definitely interesting z-axis and the prints were awesome to see in person. I also wonder if using a different slicer could have helped your prints. Cool designs!
Yep, you got it!. I just scaled and twisted the same curve four times, and then lofted them together. I’m very pleased with how complex-looking the resulting shapes were.
Hmm, maybe another slicer would’ve helped. I don’t have much experience outside of Cura so far — maybe next time I’ll try a different one
Hey Louis,
These prints look great! Especially considering you did them in a whole separate software from what we’ve been using this semester. Were there any unique challenges you had to deal with when using this software compared to Rhino and Grasshopper? Anything you think this program does better than Rhino and vice versa?
I particularly enjoy your triangular tiles as they look a lot more complex than my own triangular tiles. Thanks for sharing!
Thanks! One challenge I encountered with OpenSCAD was in getting an appropriately-detailed renderings. As an mesh-based program, OpenSCAD will approximate curves with a configurable amount of fidelity, which is by default pretty low (low enough that circles are practically octagons). You can improve the fidelity, but this slows down the rendering process — sometimes significantly!
But that was also an advantage to this software. You can turn the fidelity wayyy down while iterating on your work, and get a “preview” version very quickly. Perhaps more rapidly than you could in grasshopper/rhino.