Part 1: 2D Tiles
For part 1 A. I used the idea of the code we did in class and took it in my own direction. Instead of creating and aligning all the edges systematically to fit together. I tried designing a single base hexagon shape that could span a plane. Afterwards I made a Echer title that had the same bounding span,this means I could make one Echer shape and duplicate and move it in the same way as the base shape. This cut down on time to implement and total code complexity.
For part 1 B. I already title a with a hex as base shape for my escher title. I went with a triangle with a parametric side length. I need to look up some simple math formulas to tell if a triangle exist you have to follow the rule: “the sum of the lengths of any two sides of a triangle must be greater than the length of the third side”. The code for triangle a makes a rectangle , rotates the base triangle 180 degrees and moves it by an (a,b,0) vector.
Pictures
A)


B)

Part 2:
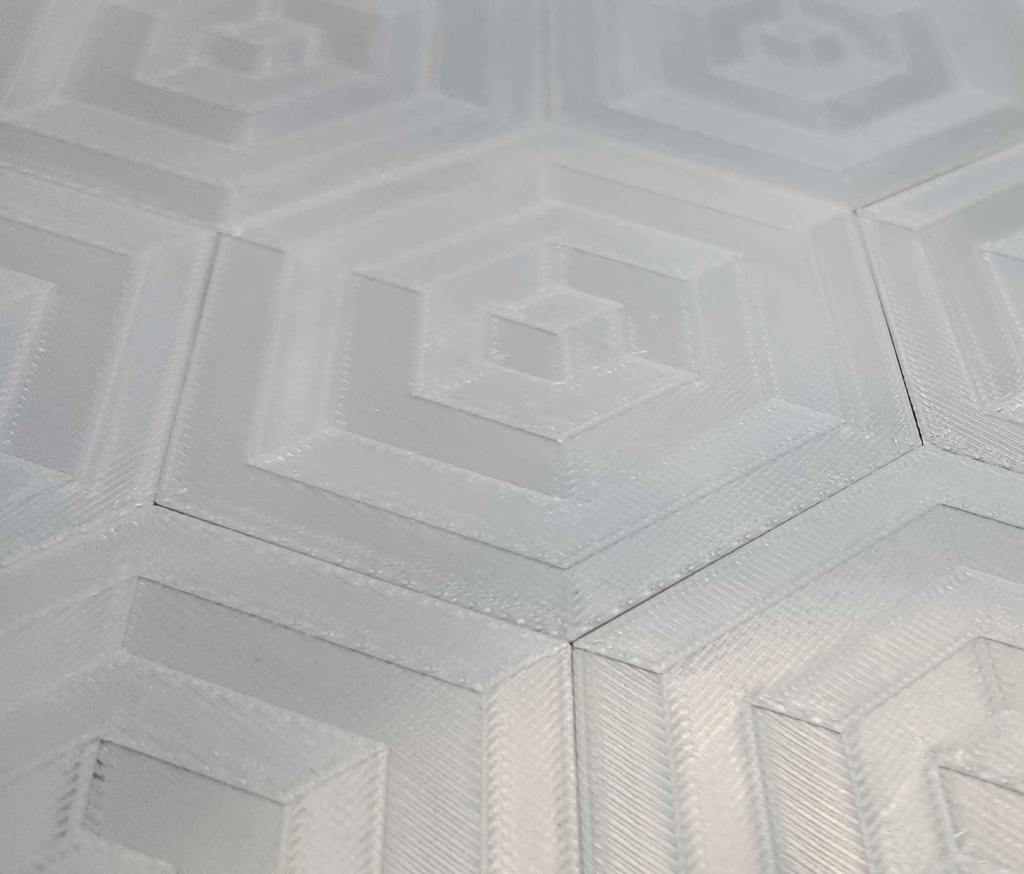
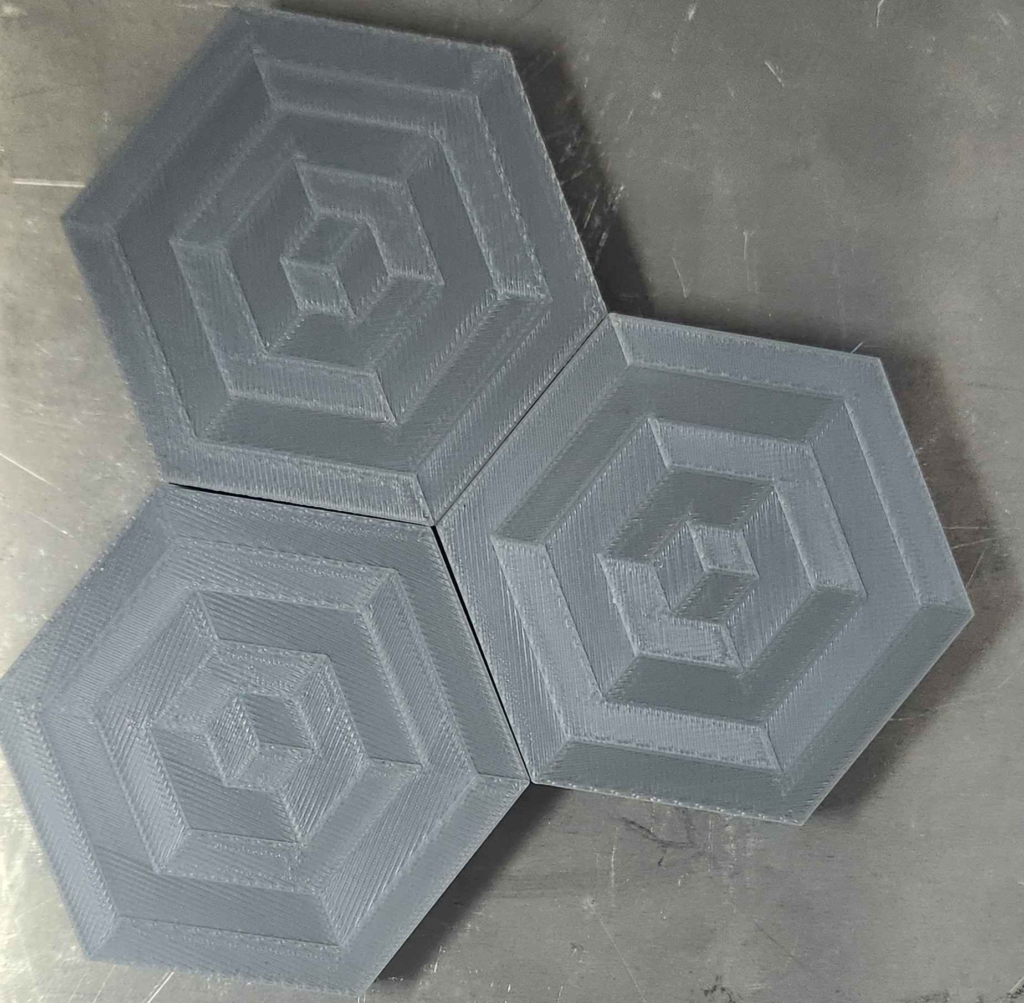
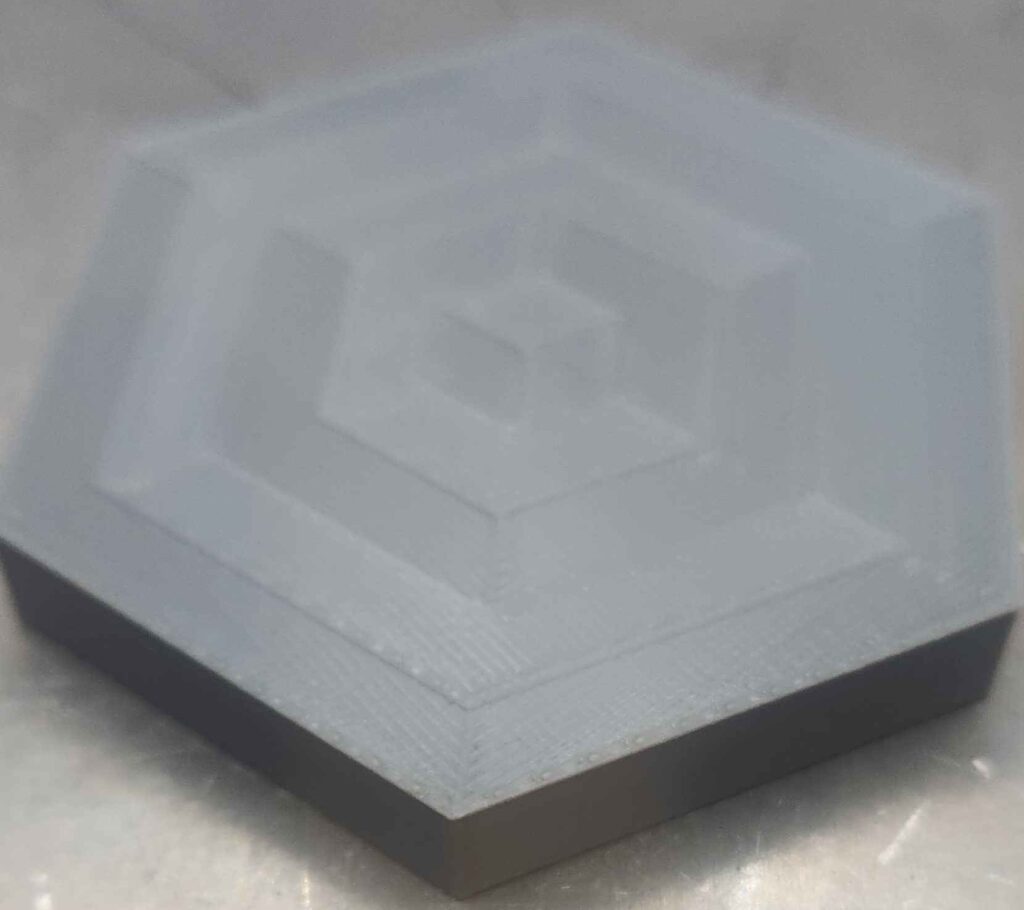
For part 2 I wanted to help with research for my final project. For this I made flat hexagons that naturally span a plane and drew an optical illusion that was my background for a few years(image below). This optical illusion was aided by the slicing program to give diction and depth. So testing for my final project, I had a lot of trial and error to get the layer height of the slicer and the print correct. I needed a herringbone pattern with all the rectangles surface grain pointed short ways rather than long ways or mixed. This was achieved by making the parts layer height difference between the resolutions of the printer layer height and keeping all parts that need the same direction to be on the same level. This falls apart for bigger pieces but for these small ones it works without any intervention from me.

Rhino Pictures


Pictures:


Part 3:
This is where a large percent of my time was spent making this work. The issue arose when I sent all my parts into the bounding box. Give me a list of bounding boxes. I watched a dozen or so videos on surface morph, and did the slides over and over again Try to make it work. I got all my hexes stacked up on eachother. After this was fixed I think the process went as smoothly as it could go. I tried my parameterization vessel form project but it freaked out at the hole and crashes even when opening the file So I picked a simple shape for the cylinder. I tried doing a render and the shadow failed.

Pictures:

I was unable to upload a zip file
The final surface morph you made is really cool! Hexes are my favorite and the pattern you put on them looks very good. Speaking of hexes, your 3D printed tiles are also amazing! I love what you’re doing with getting the “grain” to go different directions for different parts of your print! So, you just made a small difference between the height of the different sections of your print and your slicer automatically did the rest, right? Did you use Cura for that?
The process is simple but hard at the same time. I did it in orca, it does have support for the Ender. I would hope that there is a slicer were you can paint it on. I needed to mess around with orination in the part in the slicer I found that if I had a flated edge parel to the y axis it would not make the patern, I also found if you were at layerhight at “FINE” so layers are .04 they would do it but if you change it to “FINE-FILLEMENT-SAVER” it would not do it. Changing the Layers to .08 did not do unless the layers were a mutiple of .08. This was not true for 0.04.
Hello Nicholas,
The way you changed the example program to make the initial tile and then duplicate it across the plane is intuitive, and I believe that it works rather well if you are simply translating the duplicate tiles across the plane. The are some (very minor) issues that I noticed when implementing this approach that can occur if you’re not careful though.
If your tiling includes rotating or mirroring duplicate tiles, these tiles can have very minor gaps or overlaps if the center of rotation or mirror line is not accurate. For example, if you rotate your tile 180 degrees and use CurveAreaCentroid for your center of rotation, the rotated tile may not line up perfectly with its adjacent tiles.
Despite the issues you encountered with surface morph, the final result is visually appealing. I would love to hear more about what changes you made to the class example to make this work for a hexagonal tile.
Hi Nicholas,
Your work seems interesting, to design a optical illusion is really a good idea when combining with the tiling, the repeating pattern, could I know how did you achieve the color differences on the final print surface? The look of alternating black and dark gray.
Nick,
Great prints! I really liked the way you created that surface on your tiles. Took some out of the box thinking to ensure the grain was correct. Might have to steal that idea when it comes to my next prints. Overall great presentation and awesome prints. Can’t wait to see what you do next time.
Justin