*All of my code is in one grasshopper/rhino file you can find at the bottom of this post*
Part 1 – 2D Tiling
Design Process –
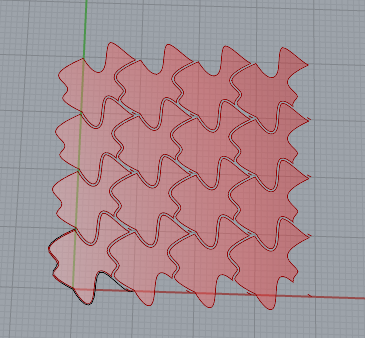
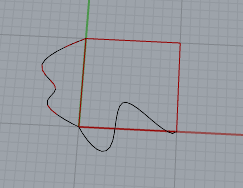
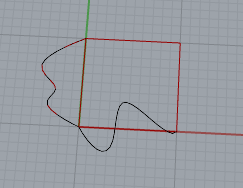
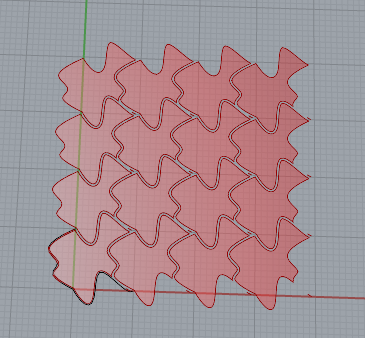
For this 2D tiling section, I wanted to design a tile that used mathematical elements whilst also making a plane of tiles that look similar to pieces from a puzzle. I went in and I manually decided to design the two lines that go out from (0,0). The first line that goes up the y axis from the origin I wanted to petrude outward, yet have an inflection point. I experimented having the shape be the same on both sides of the inflection point, but I prefered the tiling pattern when one side was a little different from the other. For the second line that goes along the x axis, I wanted to design a wave that looks similar to that of a sine wave. When I brought these two elements together, I had a mathamatical shape, that looked like it belongs in a puzzle. I was happy with how the tiles turned out, and I decided to use this tile on part 2 and 3.
Images –
Part 2 – 3D Printed 3D Tiles
Design and Coding Process –
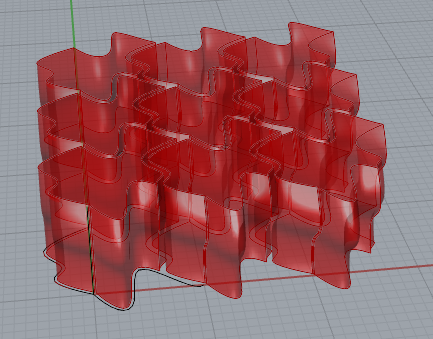
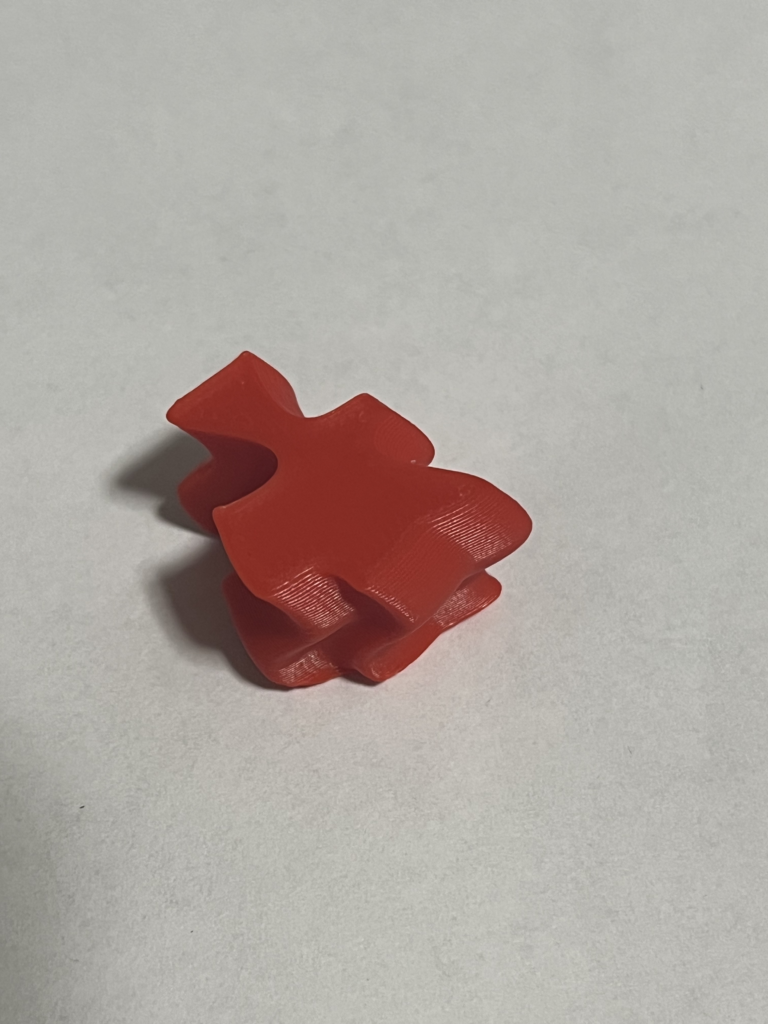
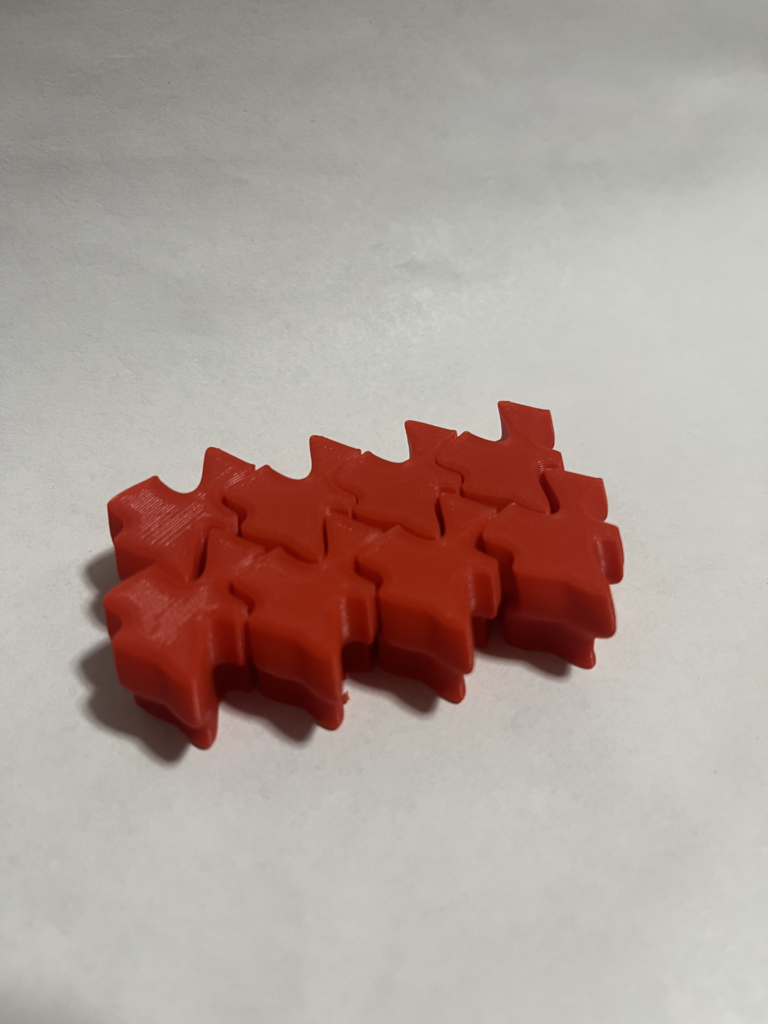
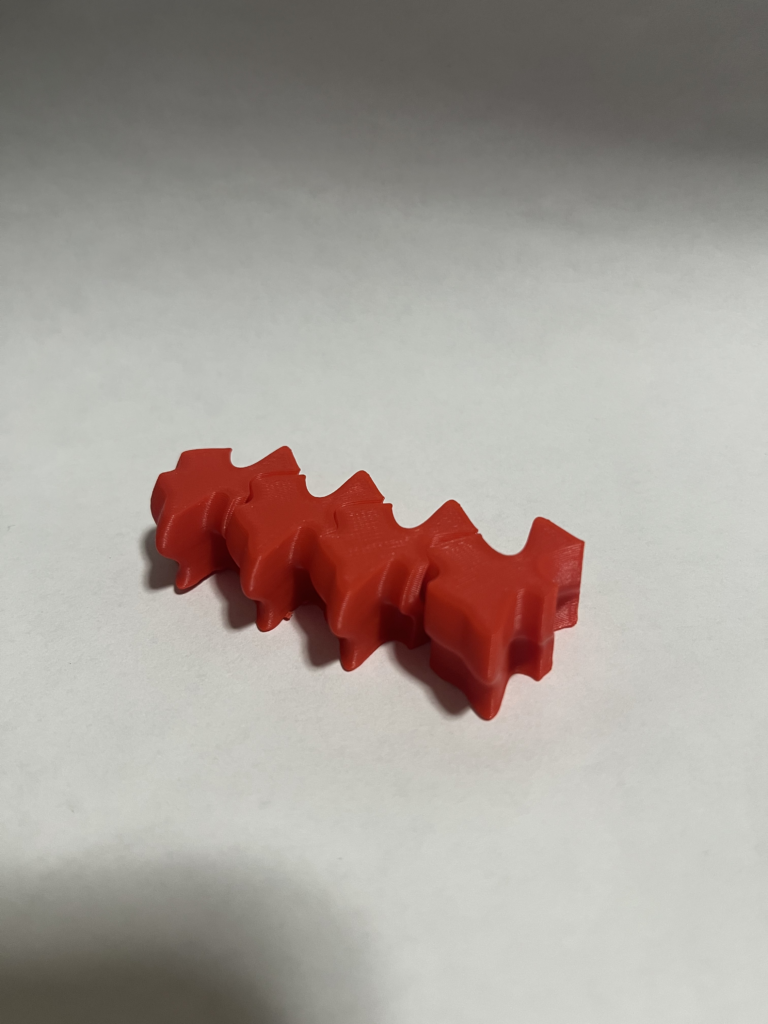
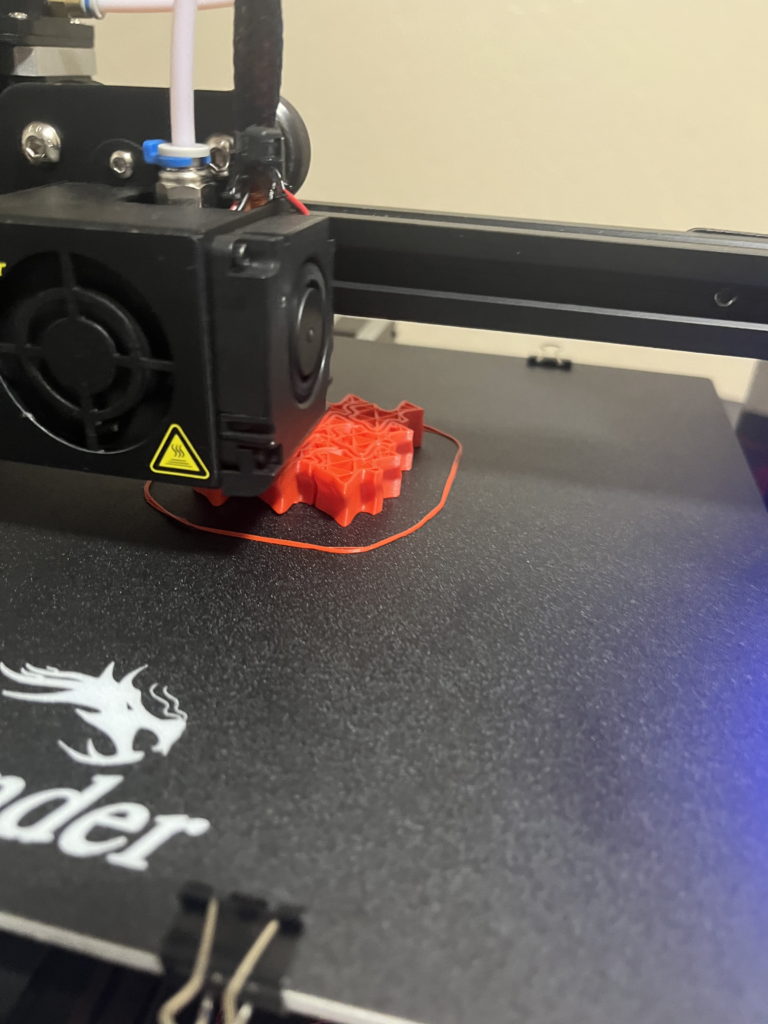
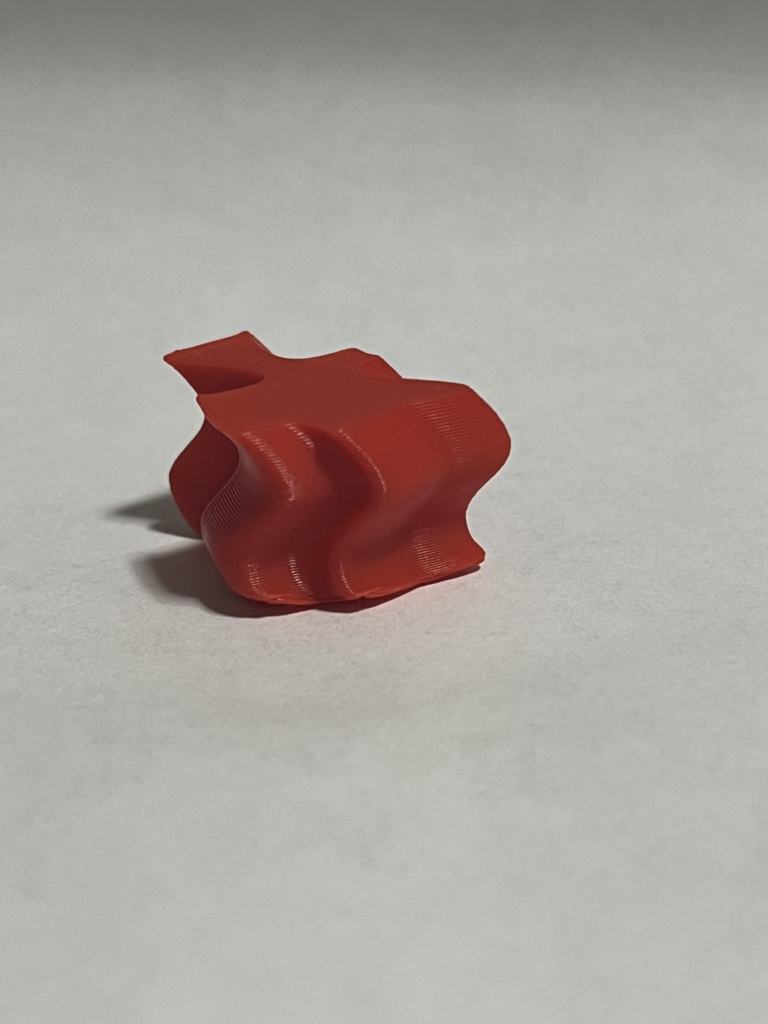
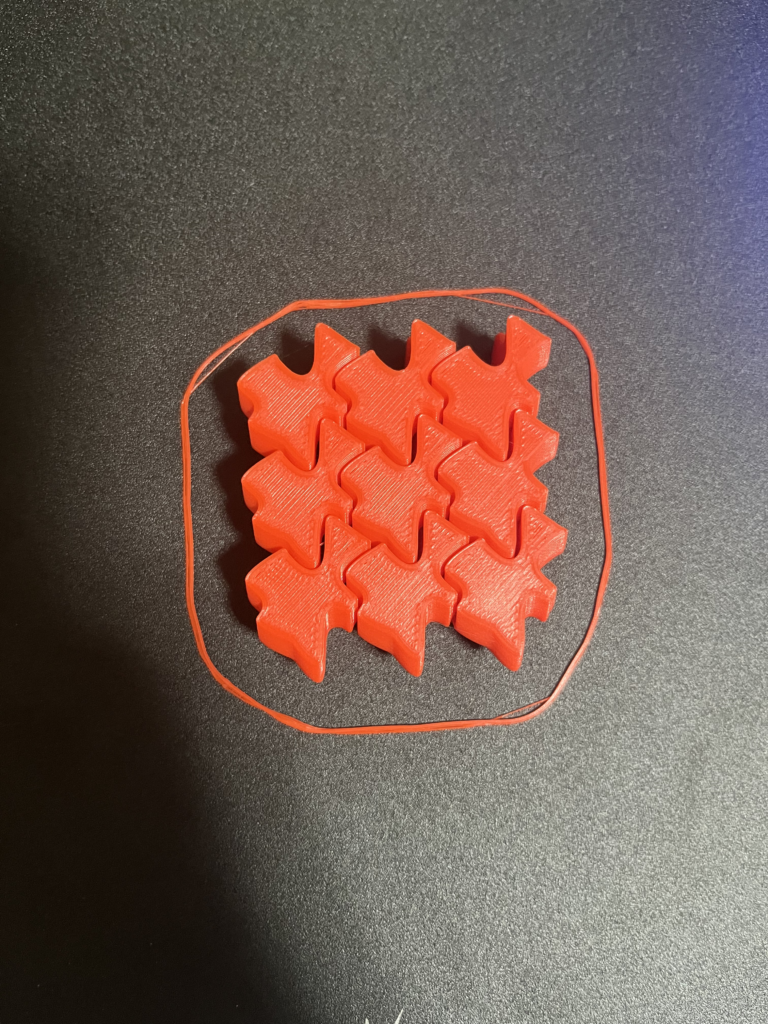
For the 3D printed tiles, I based my design on the 2D version, as I really liked the puzzle-like shape I created in 2D. This shape inspired me to experiment with an extrusion along the Z-axis. I extruded my 2D tile shape upward in a sine wave pattern, creating an effect where each tile appears to slide back and forth as it ascends along the Z-axis. This wave-like extrusion added dynamic movement to the structure, enhancing the interactive, puzzle-like qualities of the tiles. When I received the printed tiles, I found that they were non-trivial to assemble, which emphasized their puzzle-like characteristics and added an extra layer of engagement to the design. Overall, the design printed well, capturing the intended complexity and visual interest.
Rhino Images –
Printed Object Photos –
Part 3 – Surface Morph
Process Description –
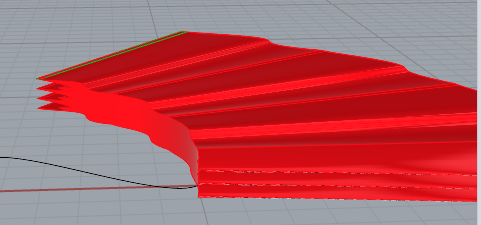
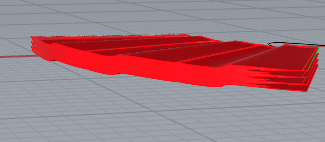
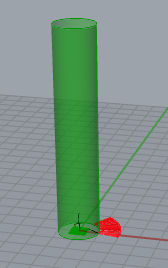
Part 3, the surface morph, was the most challenging section of the project for me. I encountered several difficulties in trying to apply the tile surface to a 3D object, which required multiple attempts and adjustments in my code. Eventually, I managed to map my tiles around a large cylinder. Due to the width of the tiles and their significant protrusion from the cylinder’s surface, the final design took on an exaggerated and somewhat abstract form, which I found visually compelling. The computational load of the program was quite high, which limited the extent to which I could print the object. I was only able to print a partial section up the cylinder. However, this partial print effectively demonstrates the design’s concept, and the result still captures the unique spatial relationship of the tiles with the cylinder, as shown in the images. The protrusion of the surface morph adds a striking visual quality that highlights the contrast between the base cylinder and the tile pattern wrapping around it.
Code –
Hey Wayne,
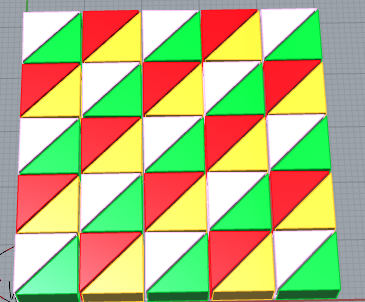
I really like your project and tiles design. Based on your presentation today, I thought it was extremely cool how you decided to go the route of printing all the tile components together and I’m really glad for you that it worked. Do you have any advice on properly setting up the tiles to print all at once with the spacing parameters? Also I was wondering on what you did to properly get the triangles to print out in part 1b, it looks extremely cool! Part 1b is something that is extremely difficult for me so I’d appreciate any advice you have!!
Great work man!
Ian
Hey Ian! I’m glad you liked my project and presentation. I am glad that when I printed all of my tiles together it worked so seamlessly. Some advice that I would give is to make sure that you put sufficient space in between your tiles so that they do not stick together. You might also try reducing the printer speed or the heat of the nozzle if you have issues with stringing from one tile to the next. To get my triangles to print properly I basically made a grid of squares and then cut the squares diagonally to make them into triangles. As far as making the tiling I would make sure that you have a closed tile and you can output the top bottom left and right of the tile to see exactly where they line up. Best of luck on your project and thanks for the feedback!
Hey Wayne,
I really enjoyed seeing your designs! The waviness of your pattern in Part 1 turned out amazing and has a unique, puzzle-like look to it.. Your Part 2 extrusion with the sine wave effect adds such a cool sense of movement to the tiles. I had a similar idea for mine, so it was great to see your approach. Part 3 looked challenging for both of us, but the way you wrapped the tiles around the cylinder is super effective, even in the partial print. Great job overall!
Hey Andrei! Thank you for the great feedback on my project! I really liked how the sine wave turned out and it’s been a design that I’ve used in a few of my projects now. I think the effect that has on the tiles is really cool because when you put the tiles together it feels like there’s more of a three-dimensional puzzle than a 2d puzzle where you’re finding the best fit. Part 3 was difficult, but at least I was able to get some shape to go around my cylinder. I’ll probably try to fix it up here sometime soon just because it’s been bugging me lol. Looking forward to your future prints!