Part 1 – 2D Tiles:
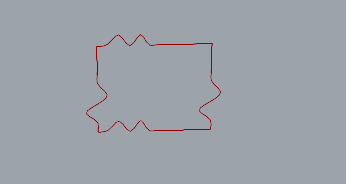
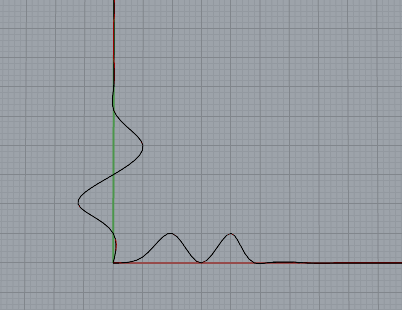
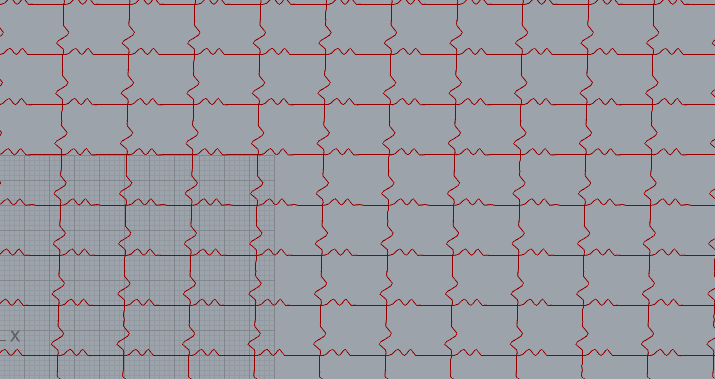
A) For the initial 2d tiling section, I went ahead and attempted to implement the in class code with my own a and b shape lines on the y and x axis respectively. To be honest for this initial portion, I struggled greatly to get my code to compile properly because I kept running into lots of very frustrating and time consuming bugs. I decided to go with a sine wave style line on both the x and y axis , to me which resembled a heart / pulse wave. Everything for the most part went pretty smoothly once I figured our my bugs in my python code compilation. I liked the way that everything fit together and rendered.
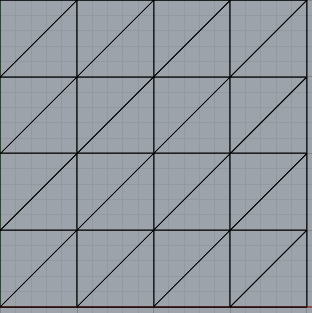
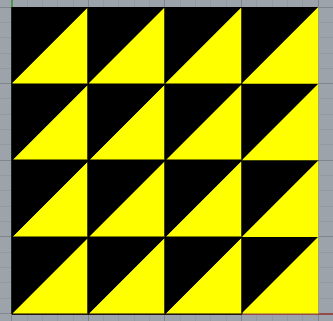
B) hexagonal or triangular 2D tiling:
Base Tile (Two base Triangles)

Colored Tiles:
Part 2: 3D Printed 3D Tiles
Design Process
For my design process, I decided to utilize essentially the same custom lines for for my custom Escher tiles and extruded it in the z direction to make the 3 dimensional shape. In order to fulfill the assignment portion to add variation in the z direction instead of it just being a simple extrusion, I experimented with combing the z and y inputs in the extrude block in hopes of adding some interesting artifacting / divets on the walls of each tile. Once I got the coloring code properly working (provided in lecture), I really enjoyed implemented and experimenting with different color combinations with my tiles patterns . I included my two favorite color combinations below.
I went ahead and extruded my surface using the tile pattern with my custom lines.
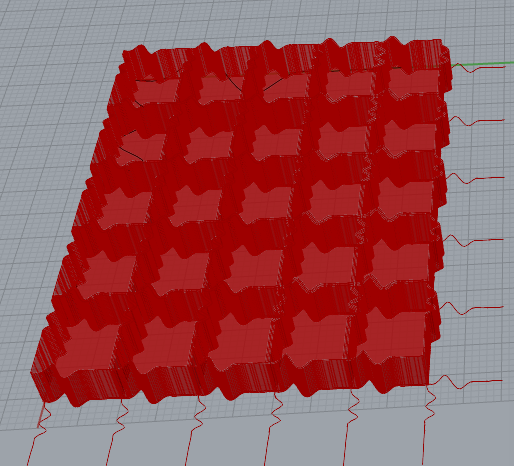
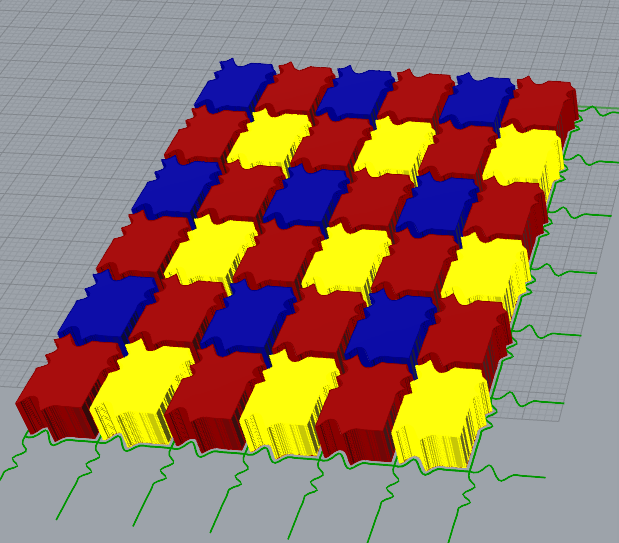
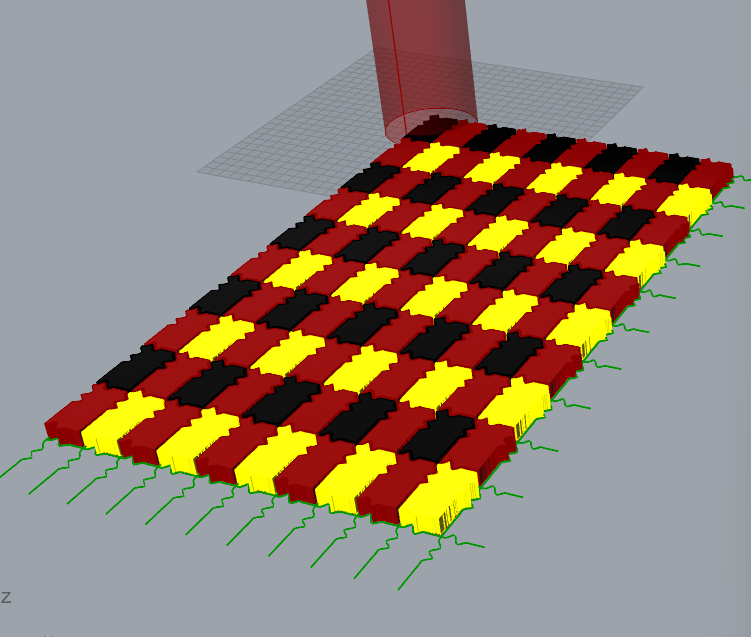
I made two variations on color patterns .
Here is another interesting more complex variation I made with some different input curves, but I decided to go with the simpler one to put less strain on the printer.
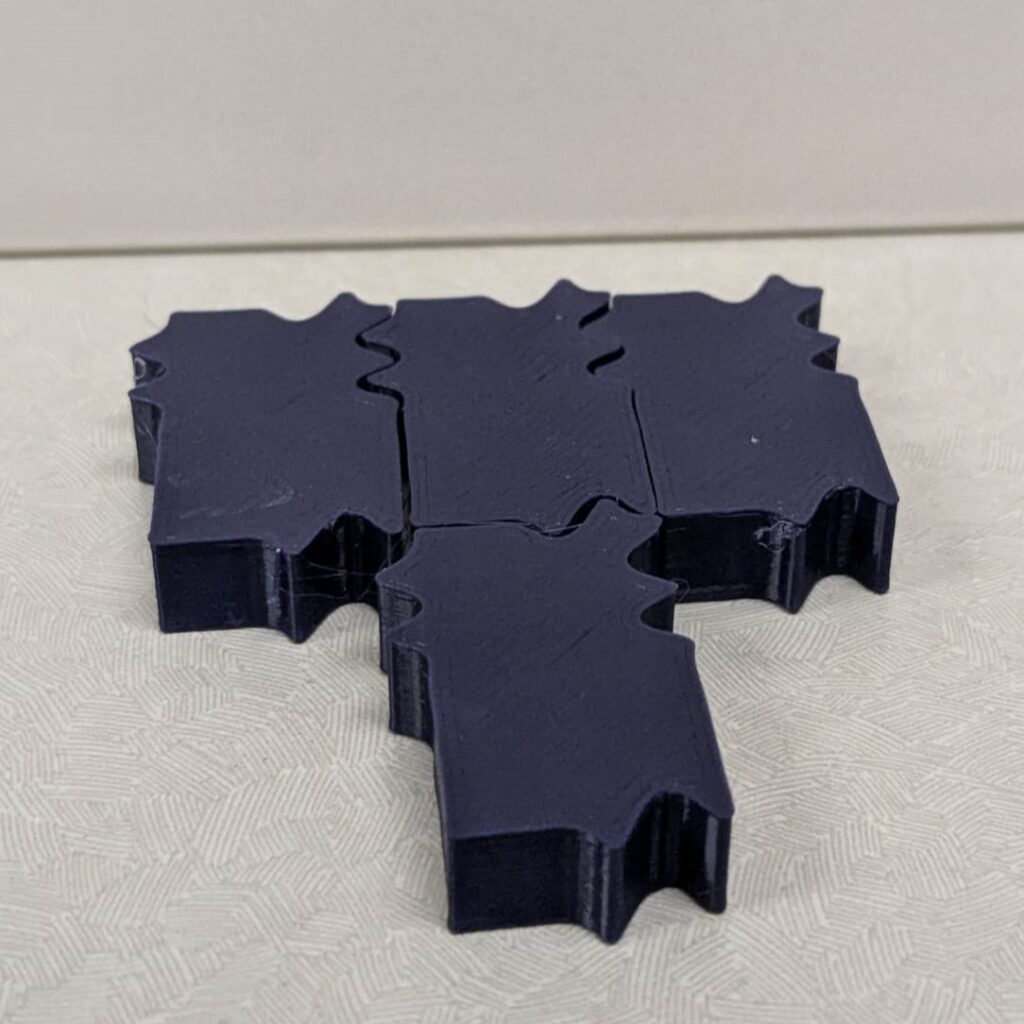
3D Print:
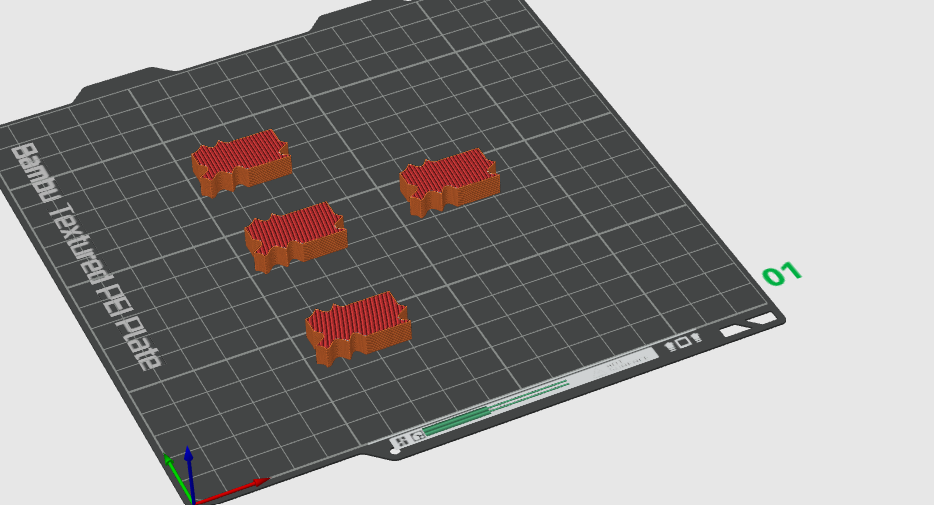
To begin my 3d printing process, I first baked a singular STL model in Rhino , imported it into my slicer of choice: bambuu, and then sliced and exported the singular model to be used by the bambuu printers in the 3d printing lab in the mechanical engineering building.
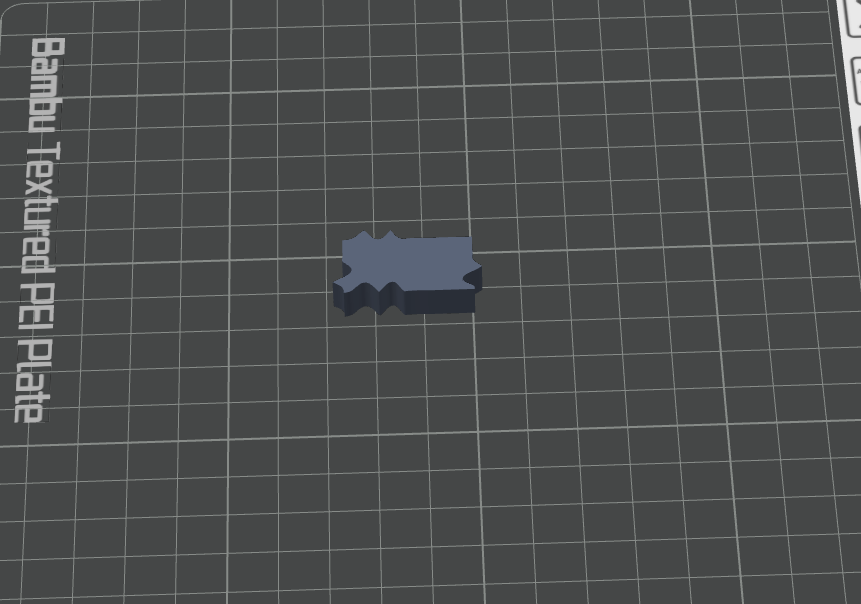
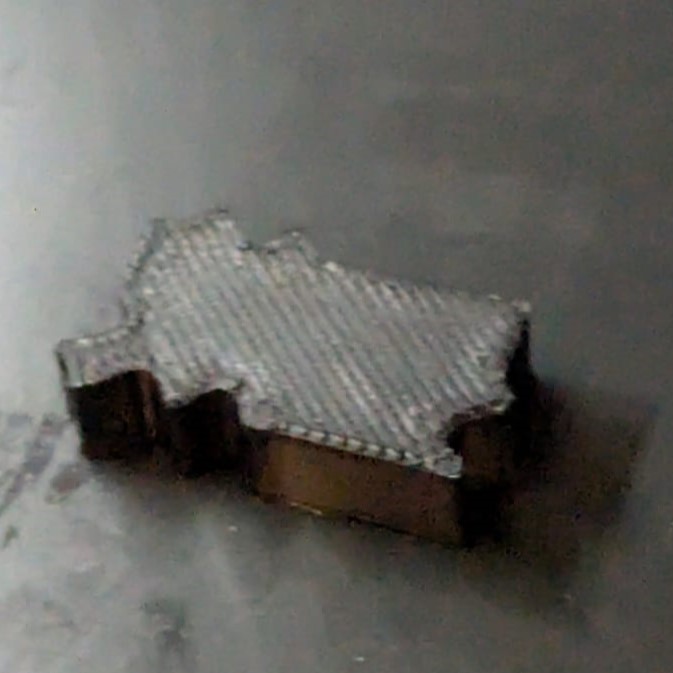
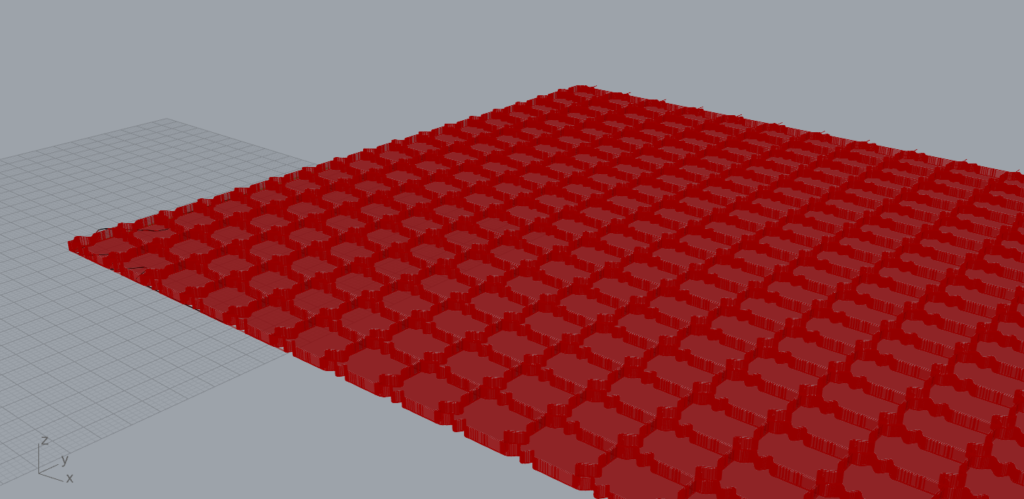
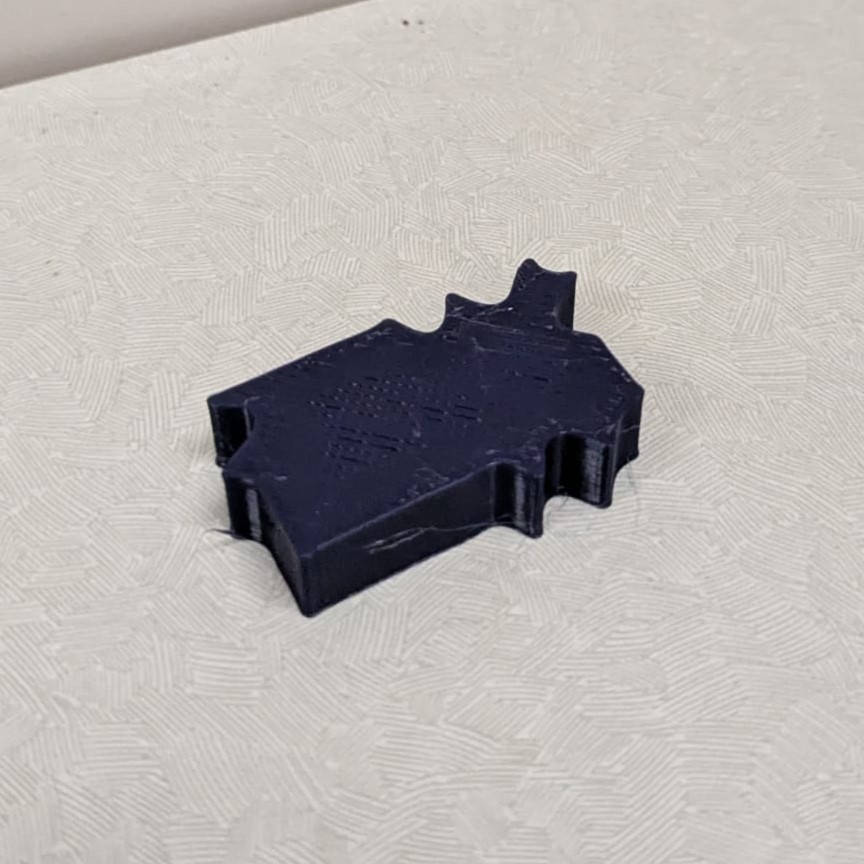
Thankfully, as seen above the first print at a 1″ by 1″ scale (as directed by the assignment instructions) came out really nicely, so I then moved on to printing multiple copies of the STL file across the bambuu print plane at the same scale.
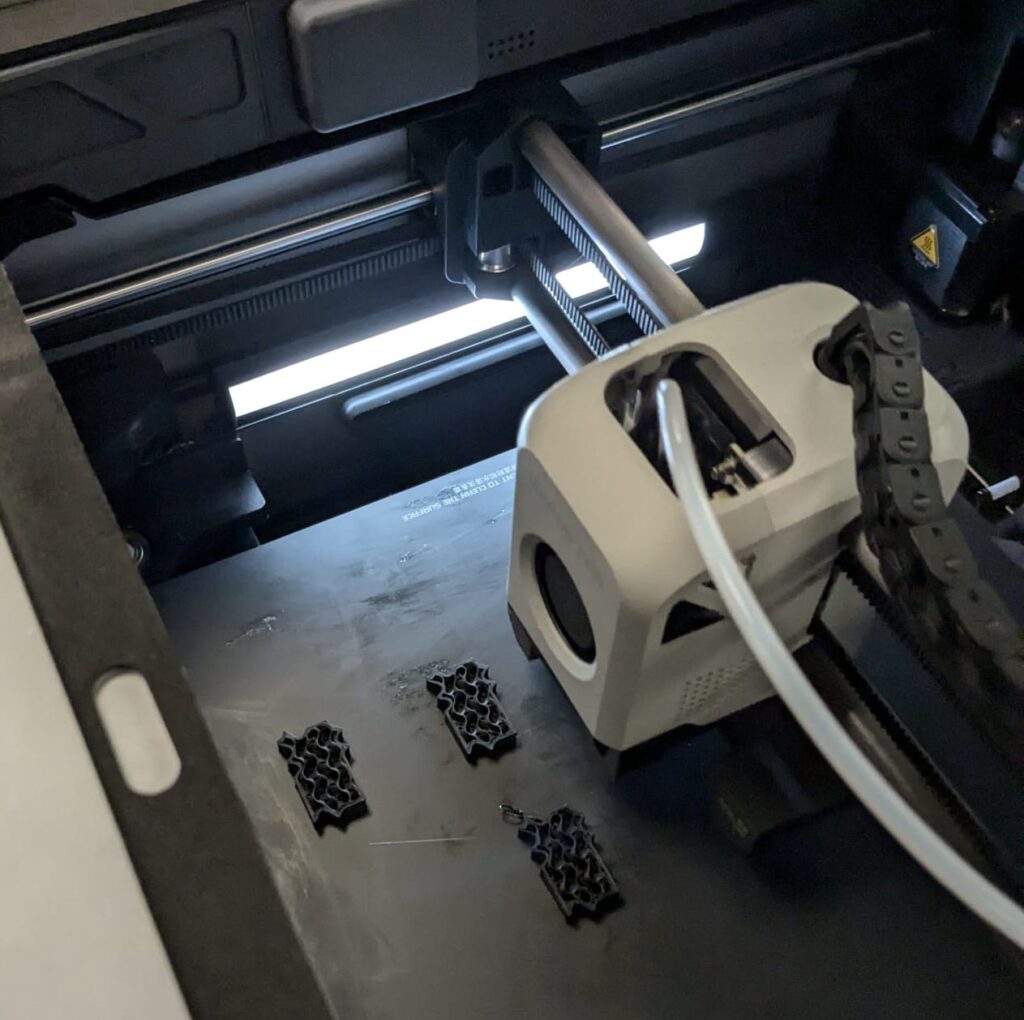
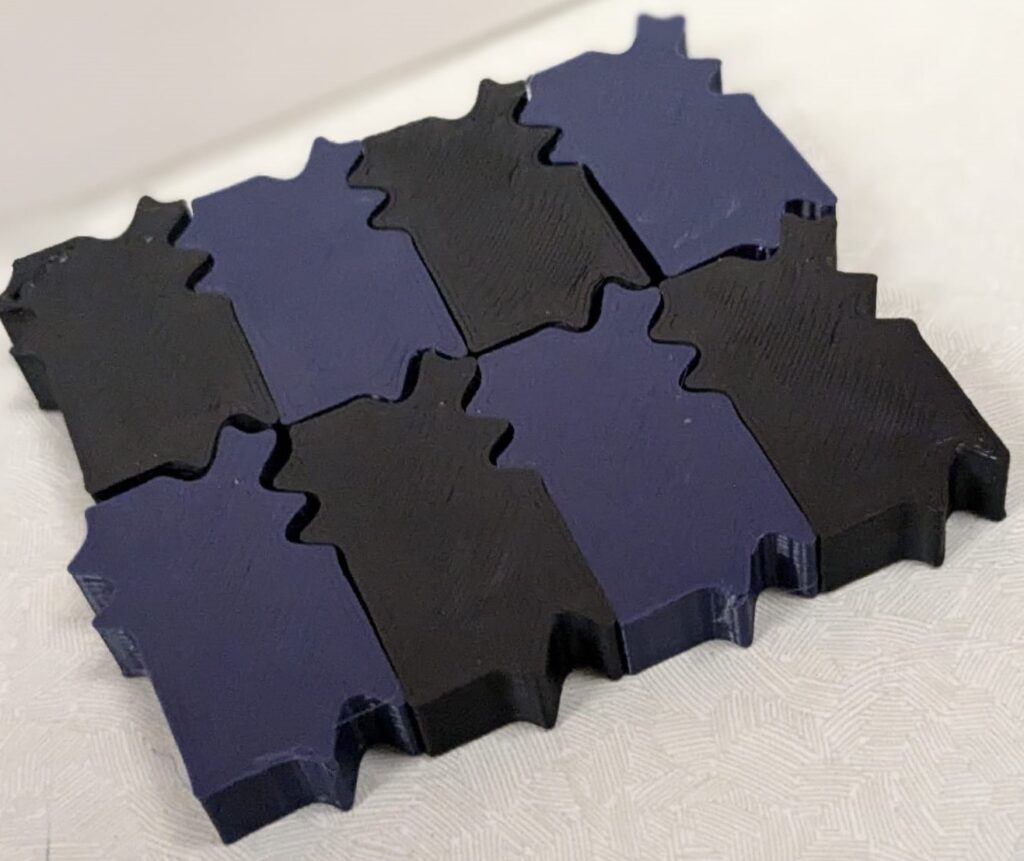
These came out nicely as well and I was really happy with how well everything everything came out and how well the pieces fit together.
I went ahead and printed another batch of tiles as well to create a more composite collection with alternating colors, I was really happy with how this came out.
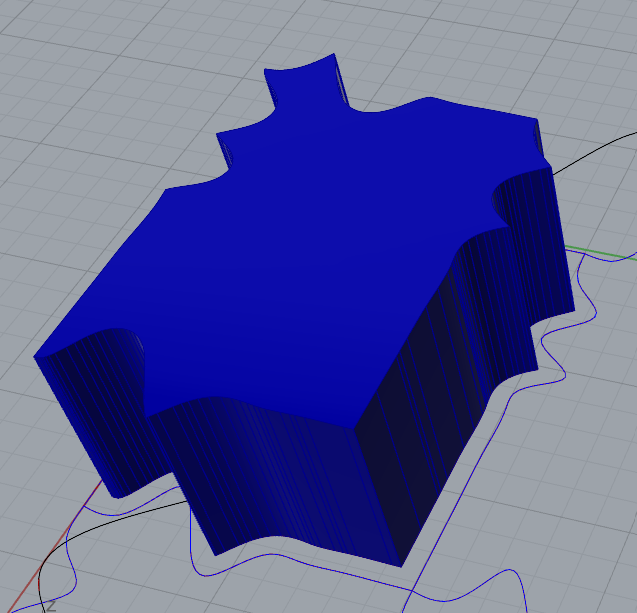
Part 3: Surface Morph
For my surface morph, I continued to use my escher-esque tile pattern I made to decorate the 3d shape. To keep things simple, I utilized a cylinder shape like in the lecture slides.

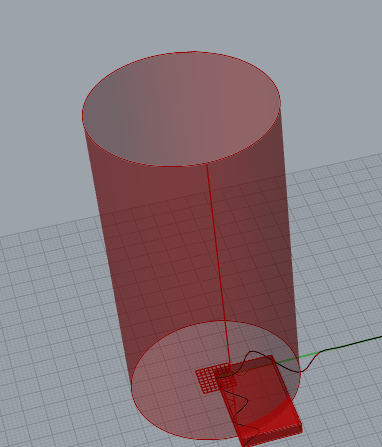
Here is the surface without tiles.
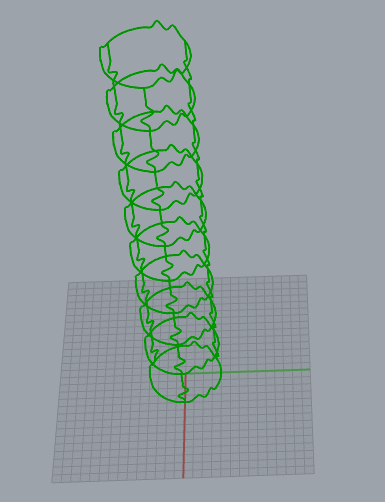
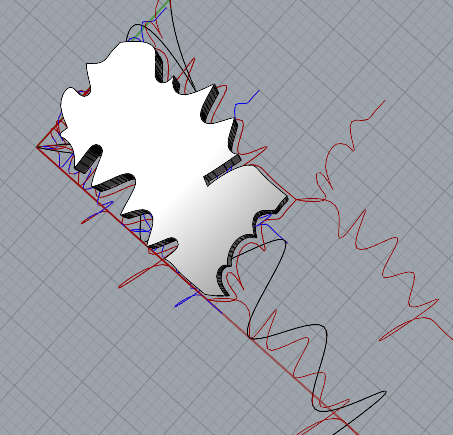
Here is the surface decorated with my tiles. I am not sure and kind of struggled with how to convert this to the 2.5 or 3 dimensional tiling, but I was really happy that my computer was able to render this. Interestingly,( and as add the slide indicated) this surface morphing process froze up my computer a few times, but thankfully I had everything saved. I think if I continued this process, I would go ahead and try to extrude the tiles to give the walls 3 dimensionality after they have been morphed to the cylinder surface.
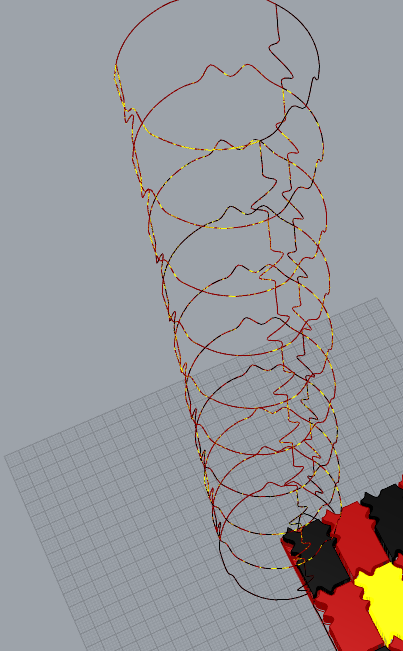
As far as coloring, I was able to apply the same color scheme as before but I am not sure why it didn’t fill in the surfaces like on my other tiling, I think it is because I was not able to extrude on the surface tiling , but I think it looks cool as a transparent wireframe, so I kept it as is for now.
Code
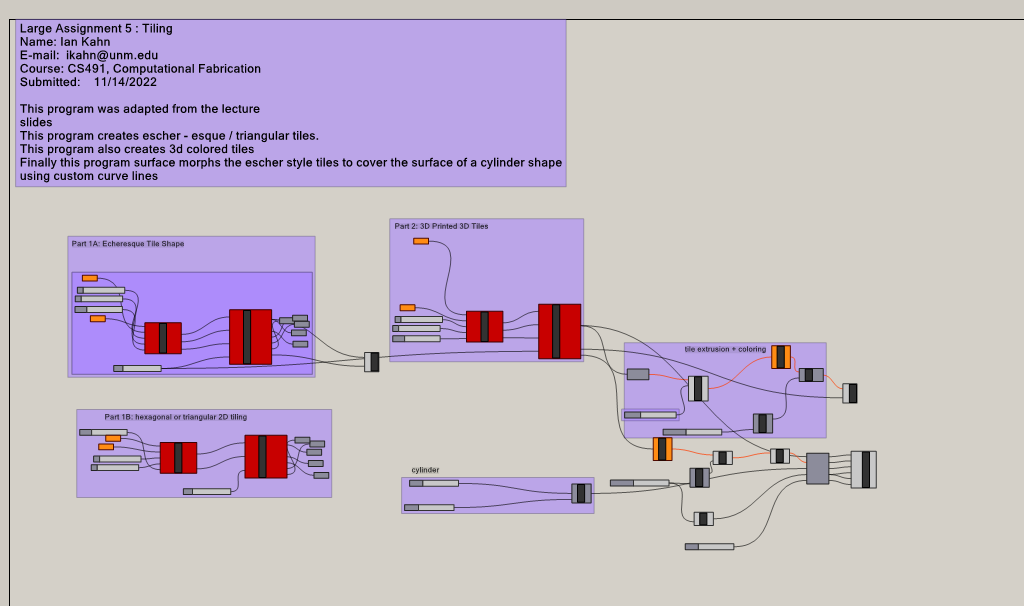
All my code for all 3 components of this project are contained in this zip file:
Hey Ian! I think your tiles look really cool! The heart pulse wave is a good way to describe how the sides of your tile look. I was just like you where I had difficulties with this project as well. Just stay persistent and I know you will figure it out! Great work on this project.
Hey Wayne thanks for the comment , yeah i am still struggling a little bit due to some health difficulties but I think I am getting in a good groove now, great work on your project as well. – Ian
Hi Ian,
Your design is really nice! I agree that it does look like a pulse wave. Your choice of colors also adds a great touch to the pulse wave idea. What I find especially impressive about this project is how it only requires one tile to check if it satisfies the lattice structure and uses a single STL file to print as many tiles as needed. Great work, your printed tiles look amazing!
Hey Alan ,
Thanks so much for the comment, I really liked your project as well. Yeah it was a really satisfying feeling to have the STL file print nice and clean and the ability to print as many as I want and for them to fit together nicely.
Thanks,
Ian
Hey Ian,
I really like how your final prints came out. I also think using those two different colors was a great idea. I considered doing the same with mine, but ended up just using one. Your surface morph came out nicely! I struggled a lot with this part specifically, but yours looks clean and uniform.
Nice job!
Thanks man I really liked yours as well.
Ian