Part 1: 2D Tiles
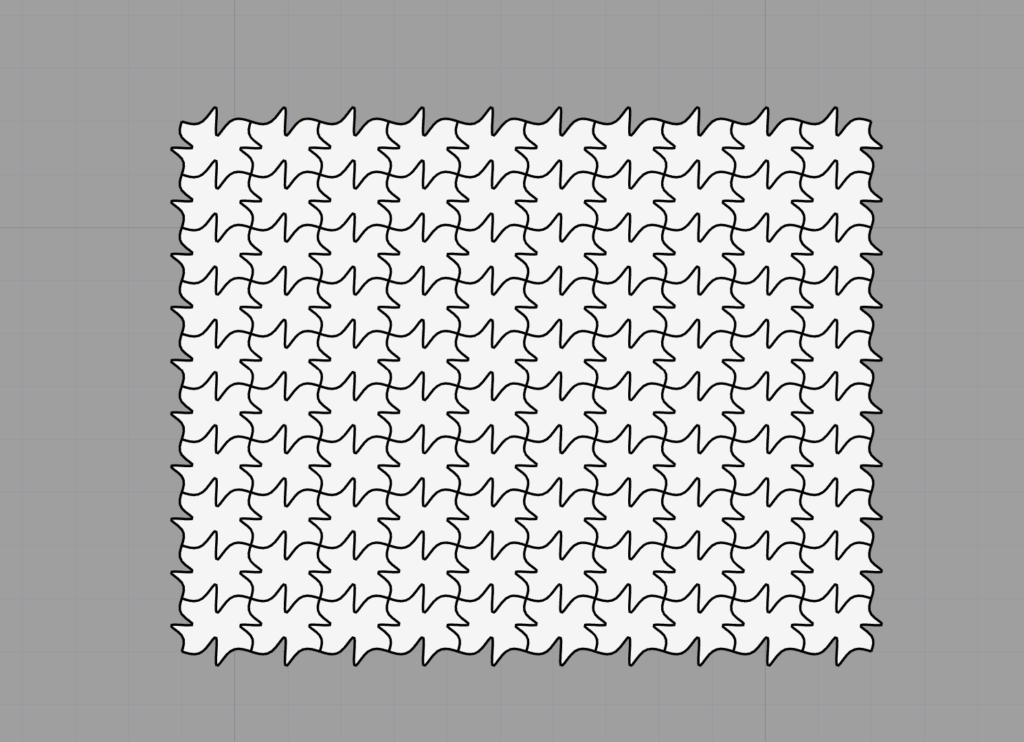
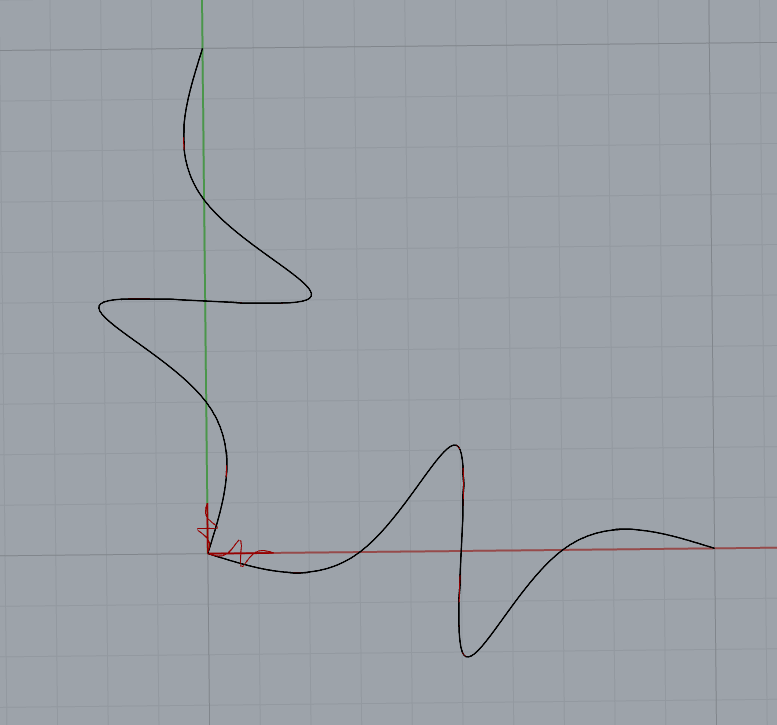
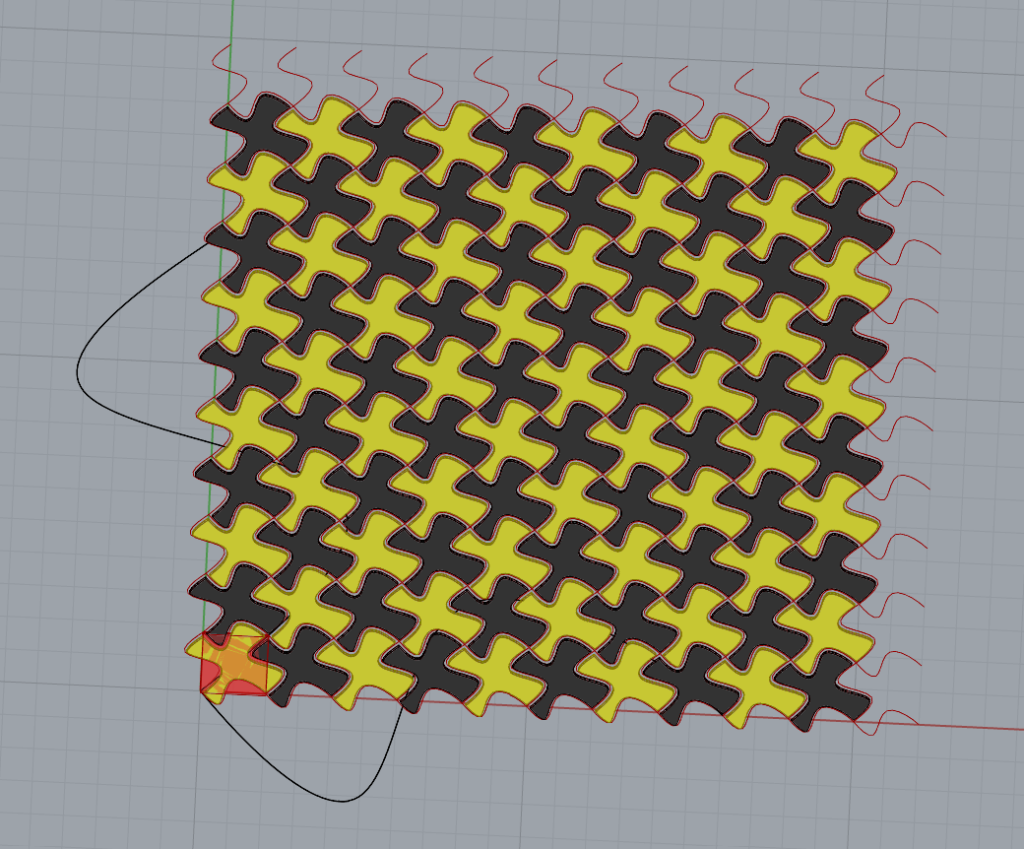
The Escher-Esque tiling of my choice only used one curve variation that was essentially rotated around the center of the base shape. The original design uses a square as a base shape, with a simple curvature pattern intended to form birds when tiled together. The following was my inspiration for this part:
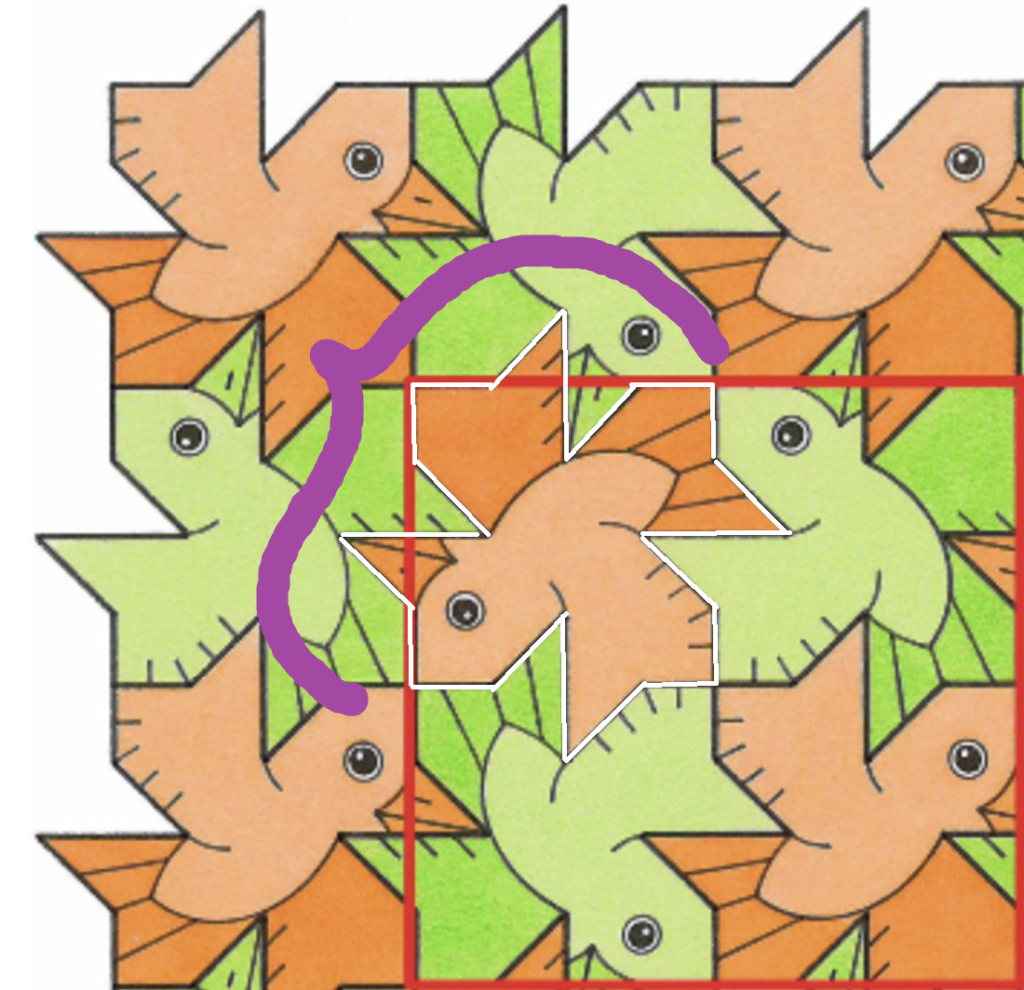
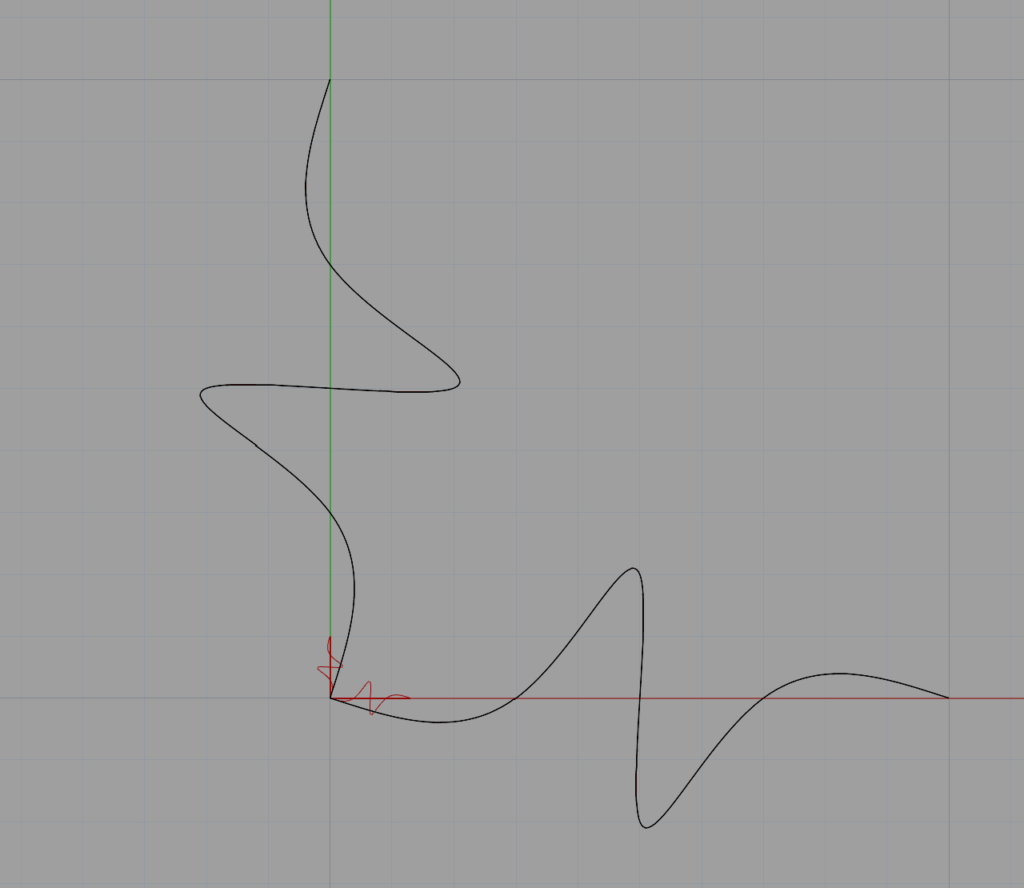
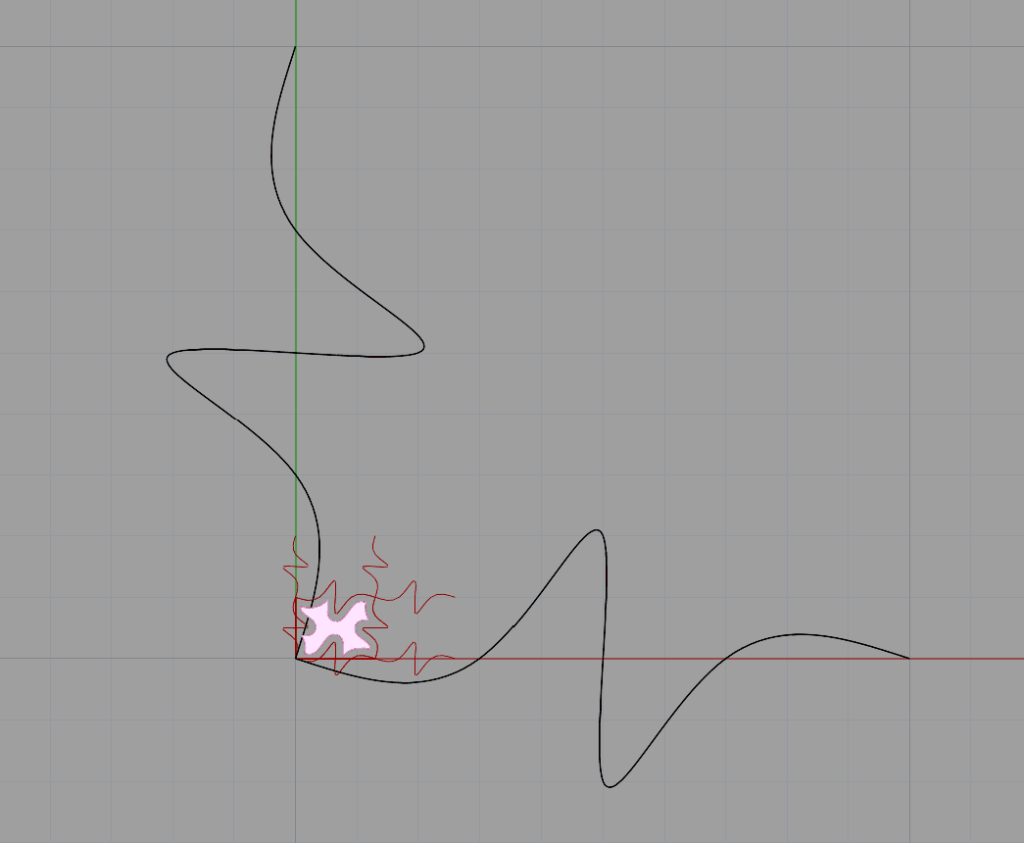
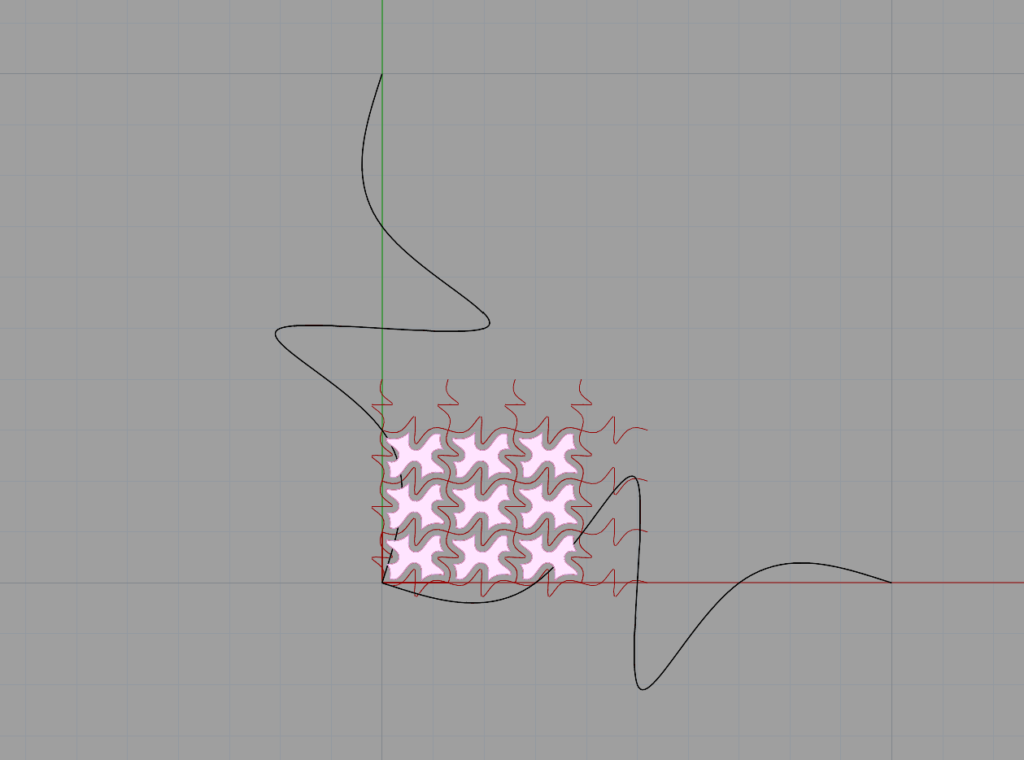
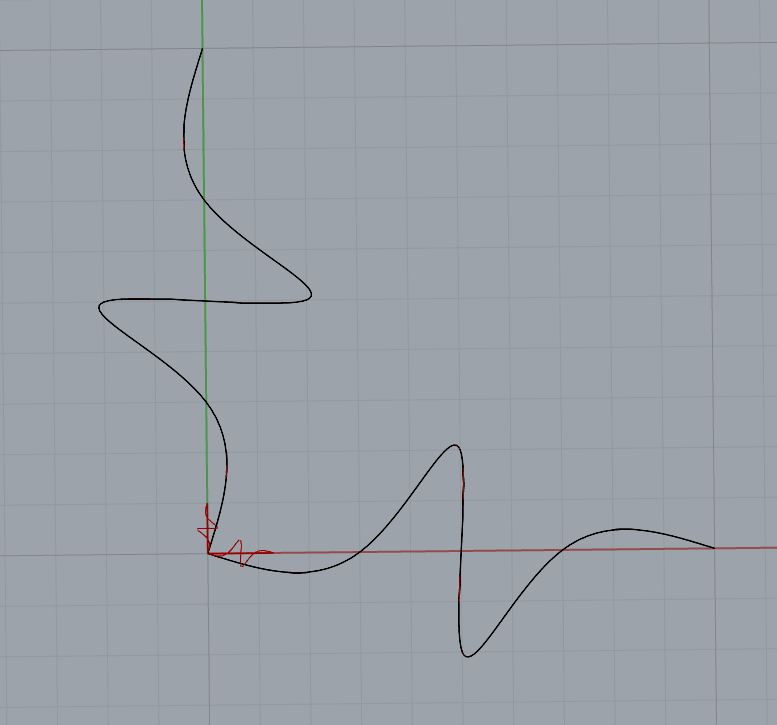
The only change I made was making the curve more “curve-like” rather than using such rigid and straight lines. I felt that it made the tiling and pattern appear much softer when it was all put together. As for the computational part, I used the the program from class and added the curves in Rhino to pass into the Grasshopper Python block. Since there weren’t any changes that were really made in the code, most of my challenges came from creating the curve in Rhino which took several tries to match that of the reference image.
Rhino Images of Escher Tiling:
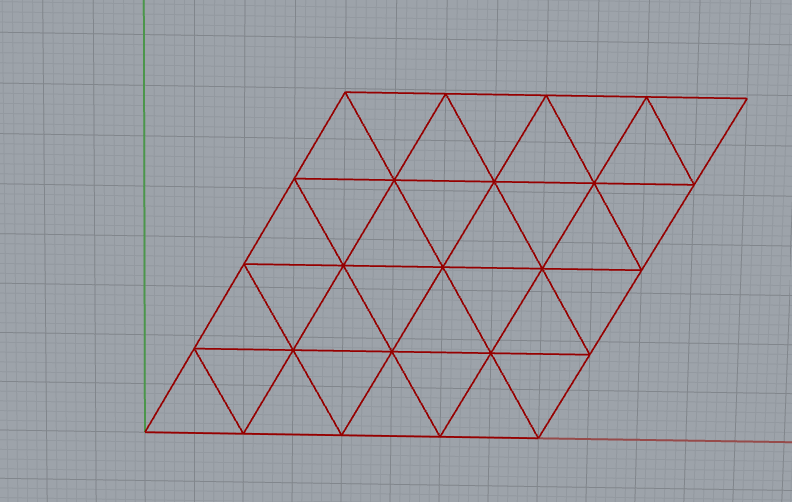
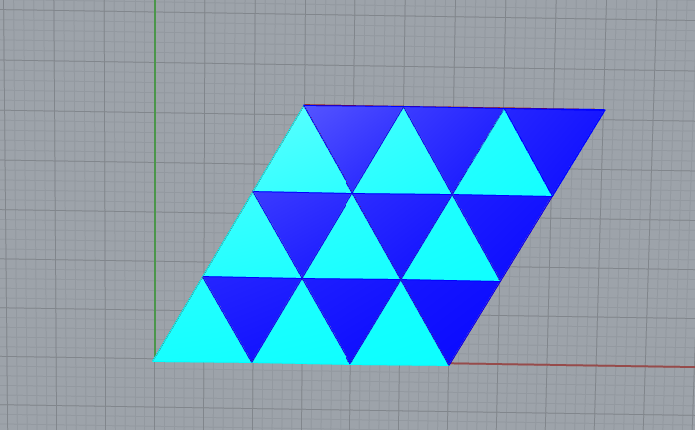
Now for the triangular 2D tiling, this specific part turned out to be the most difficult to render for me. In my initial attempt, I created a new line in the first Python block, right to the first curve in attempt to close the shape and pass into the lattice block. However, I failed to join this curve to the original first two and had a difficult time “closing” the final outcome in a way that all curves were joined together appropriately. Even though the final tiling visually looked correct, the tile coloring was what gave the inconsistencies between the curves away. After making this correction, I had the second issue where the pattern was created only with equilateral triangles, and making any changes to the angle threw off the entire lattice. I eventually figured out that the triangles were only being tiled “right-side-up” and missing the rotated triangles that fit in-between each column for each row (hopefully that makes sense). I struggled trying to tile the rotated patterns within the same blocks that had the original tiling, so I eventually decided to create a separate lattice Python block that rotated the original shape, and shifted it slightly along the x-axis and y-axis. Once I was able to correctly create the two tiling patterns, I merged and joined their final results together to create one.
Rhino Images of Triangular 2D:
Part 2: 3D Printed 3D Tiles
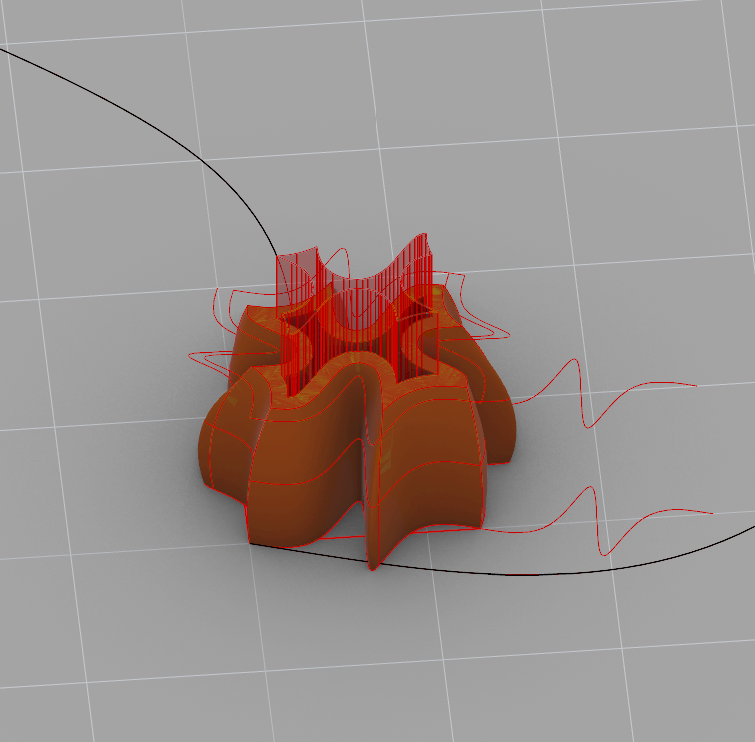
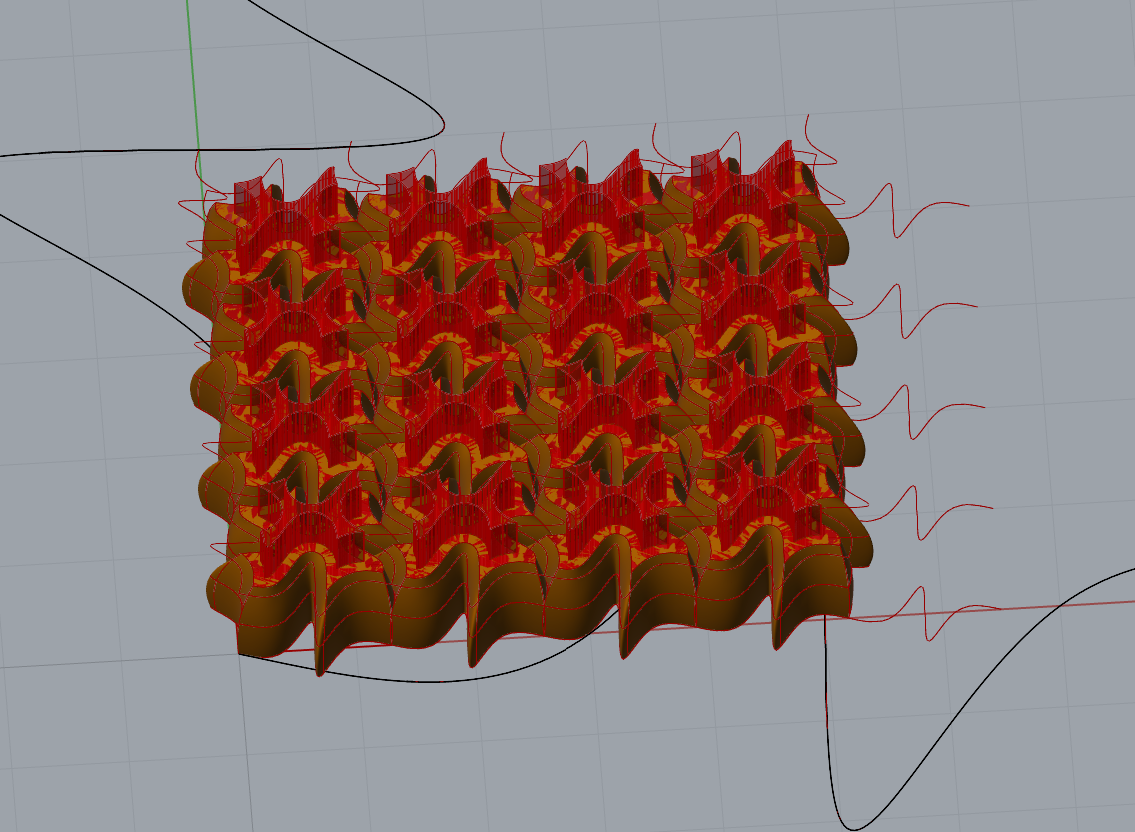
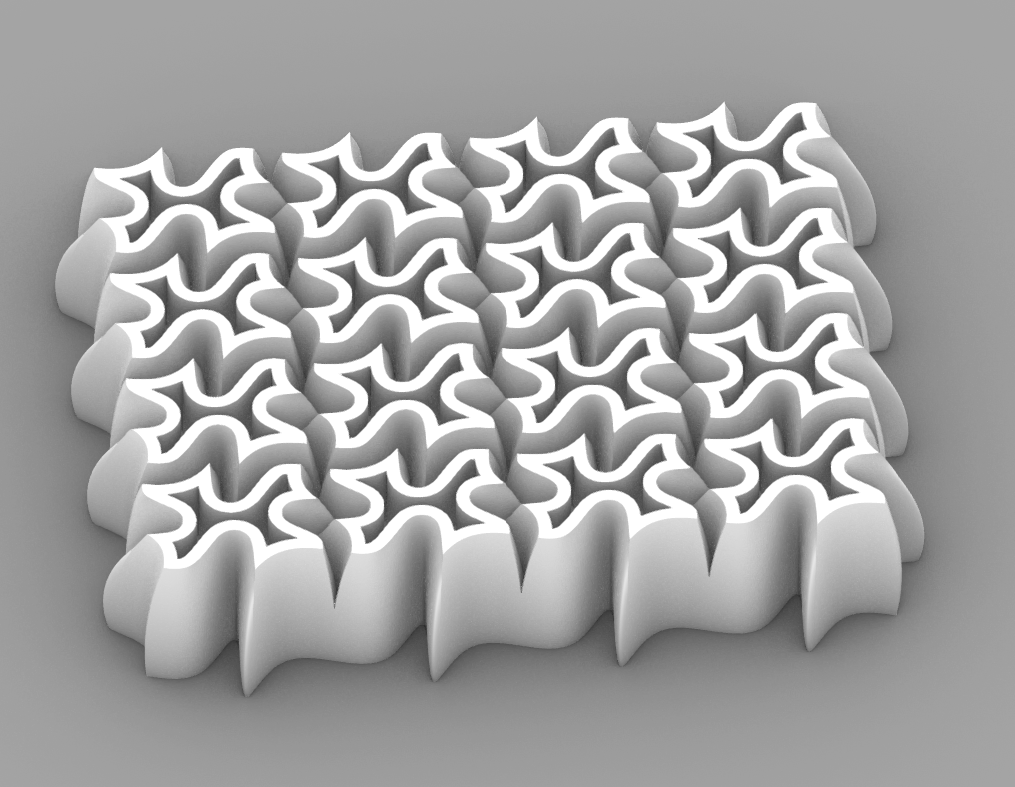
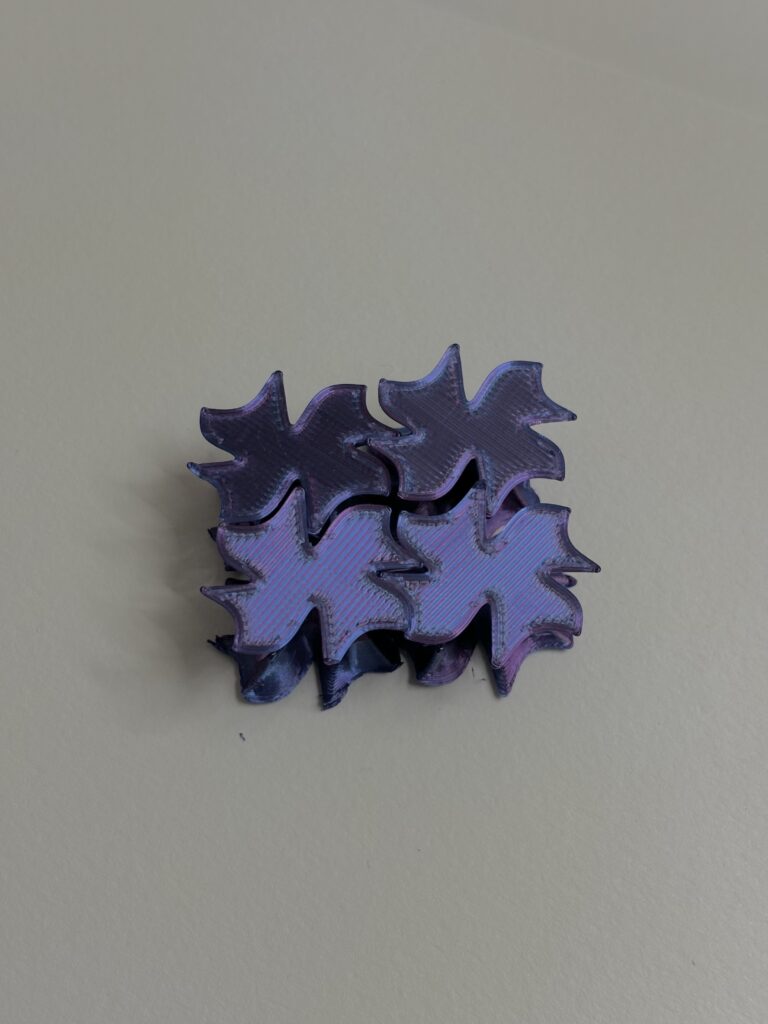
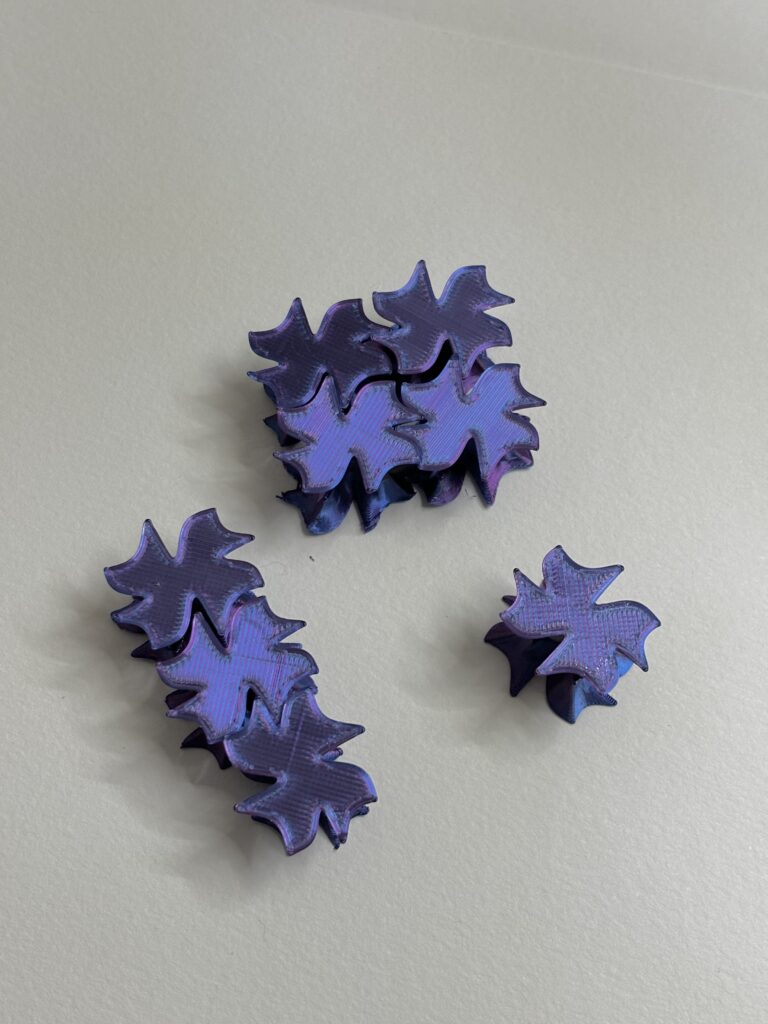
For my 3D printed tiles, I stuck with the Escher style base shape. To fulfill the requirement of making a change along the z-axis, I created a new base shape outline that was placed at three different height levels (layers) on the z-axis and joined them all together to create one object. Once doing so, I lofted the three together and adjusted the offsets to create significant changes that ultimately resulted in a unique tiling of the 3D shape.
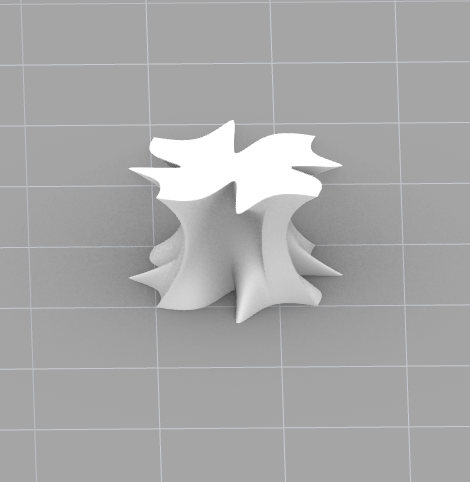
I had a secondary idea where I then added a copy of the blocks an additional time and added a parameter to shift the extrusion up the z-axis slightly more than the first shape. I also ensured that this part had a negative offset smaller than any of the other 3 layers to avoid any unusual holes when taking the two differences. To create the opening in the final object, I added a Solid Difference block in Grasshopper and connected the “two objects.” Unfortunately, I was having issues with my 3D printer and was unable to print this one on time.
Rhino Image of 3D Tiling:
3D Printed Images:

Part 3: Surface Morph
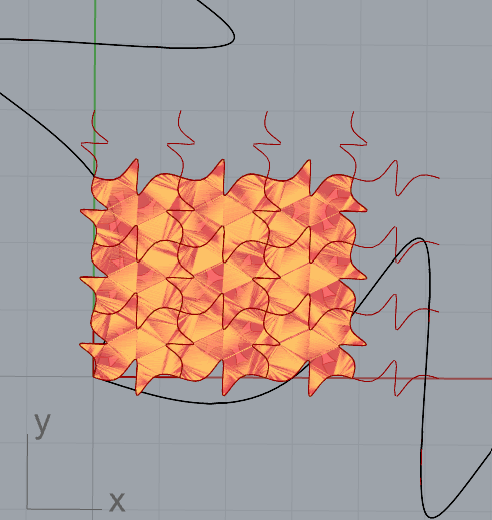
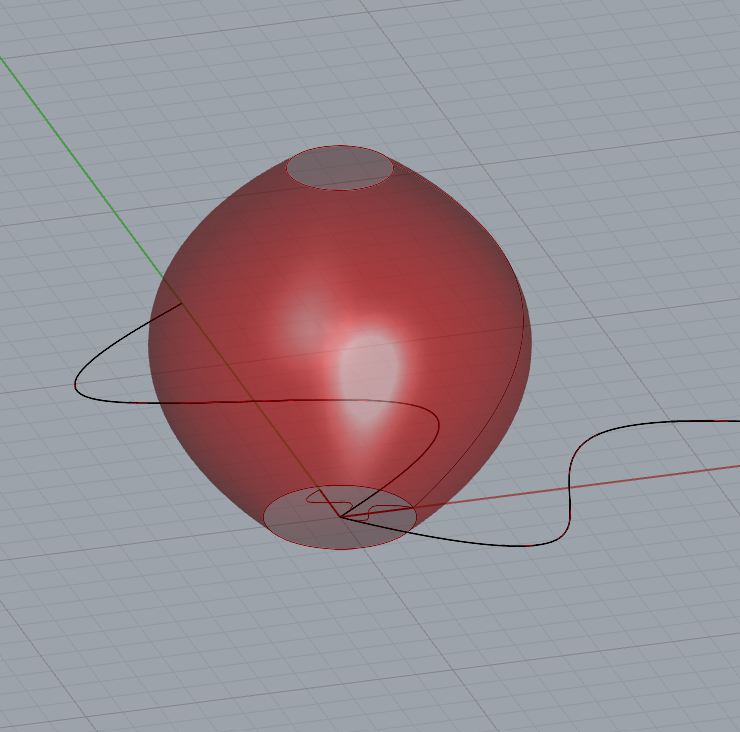
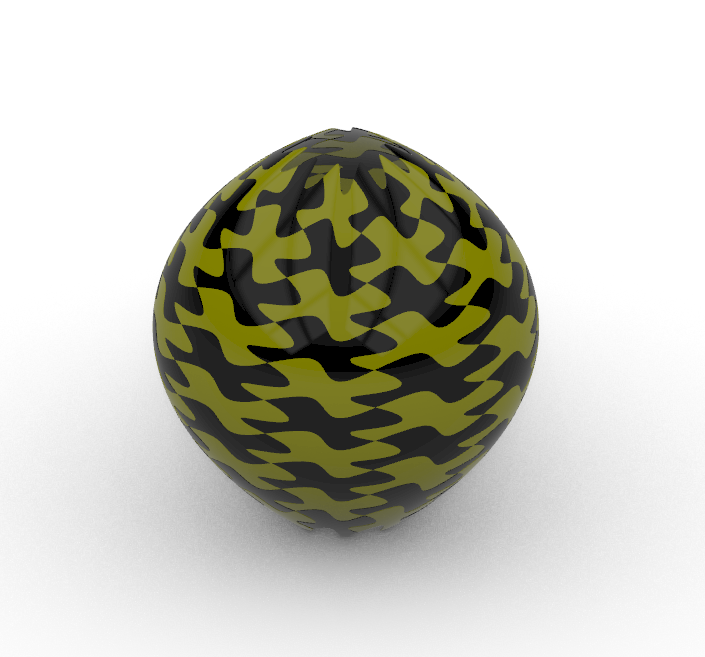
For the final part of this project, I had some difficulty with getting the tile to tile the surface plane of the vase, but fortunately did not spend as much time as I did in the triangular tiling part of this project. My intention was to simply use the original Escher tiling from the first part to tile the vase, however, I was only getting it to tile about 1/10 of the vase surface. Eventually I got so frustrated that I recreated the entire program from class from scratch and was finally able to render the surface tiling (I still don’t know what I was doing wrong in my first attempt, both of the programs looked the exact same). I also had the small issue of passing in a brep curve instead of an actual surface, but that issue was a simple fix.
Rhino Surface Morph Images:
Grasshopper Files:
I really like the iterative design you used when creating your forms. The two concepts for your 3-D tiles are very interesting and I especially like conceptual one you did using solid difference, it’s not function I see used a lot in design and it created a very interesting texture. Sorry to hear about your printer difficulties, hope everything worked out okay.
Hi Beau,
I was actually inspired by the example post that was tagged in the assignment! It’s definitely something that I intend to use for the final project now that I know my implementation was correct. Thanks again!
Hey Desiree,
I love your prints and I’ve said it before but your filament is super cool. Did you have any issues with overhang with this project? I feel like if my print has even the smallest overhang Cura will yell at me. I love the inspiration for your project and I think you nailed it!
Hi Patrick,
I actually didn’t have any issues with the overhang since the change at each layer was very minimal. I don’t intend to use supports ever again unless I absolutely have to, the effort to take them off is not worth it. I appreciate it, thank you!
Hi Desiree, your 3D printed forms turned out great! Because of how you lofted it, can it fit using the top or bottom for the tiling? In other words, are your top surface and bottom surface the same size and shape? That’s a neat feature if so.
Hi Sachi,
Both are the same shape and set at the same offset so the top and bottom tile together! That’s actually a good observation, I also noticed that the top won’t tile with a bottom, only bottom tiles with bottom and top tiles with top given the direction of the curves. Thank you!