PART 1: 2d Tiles
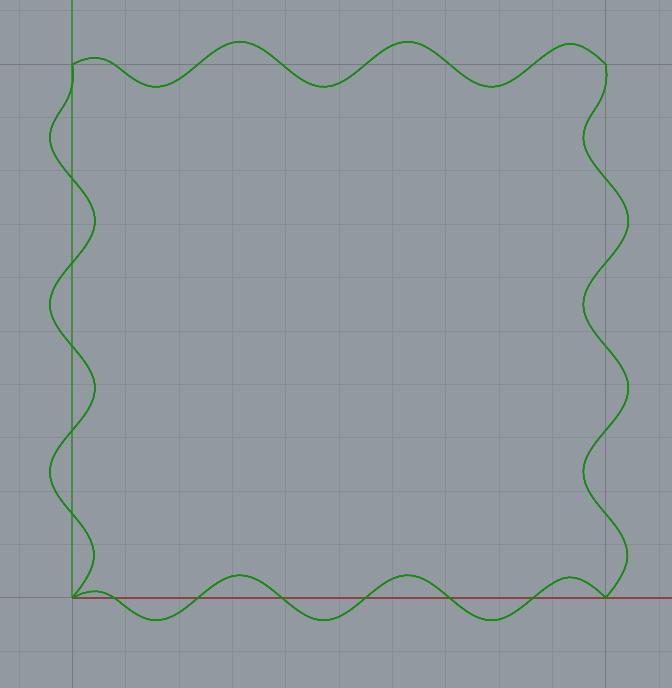
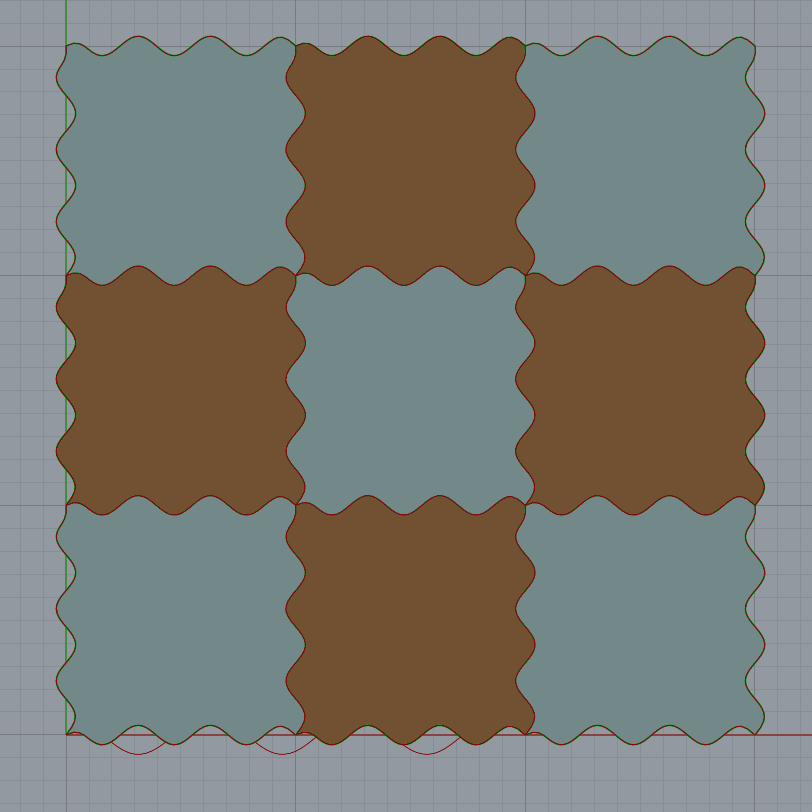
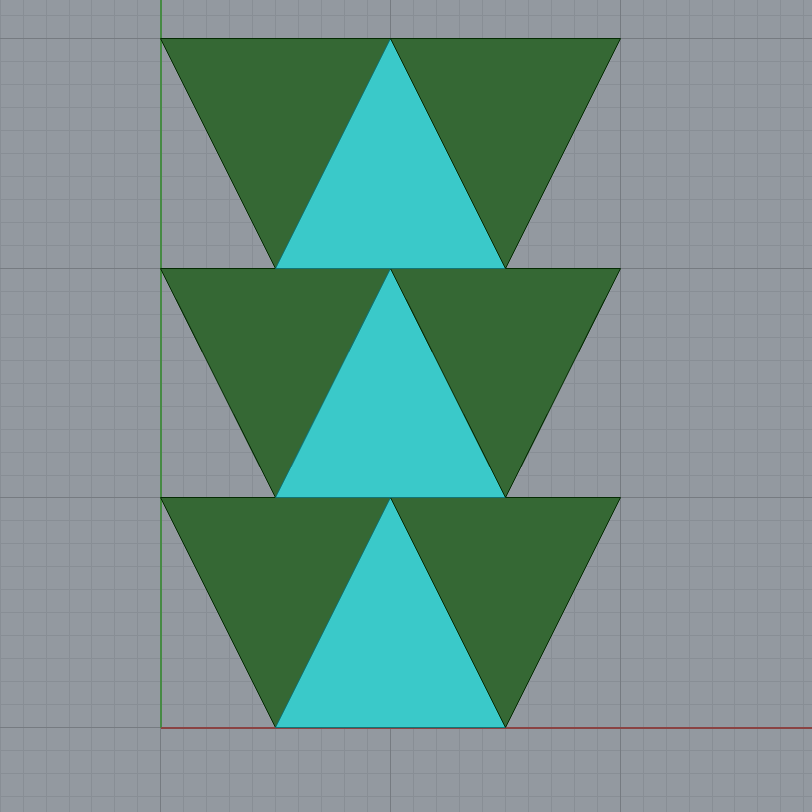
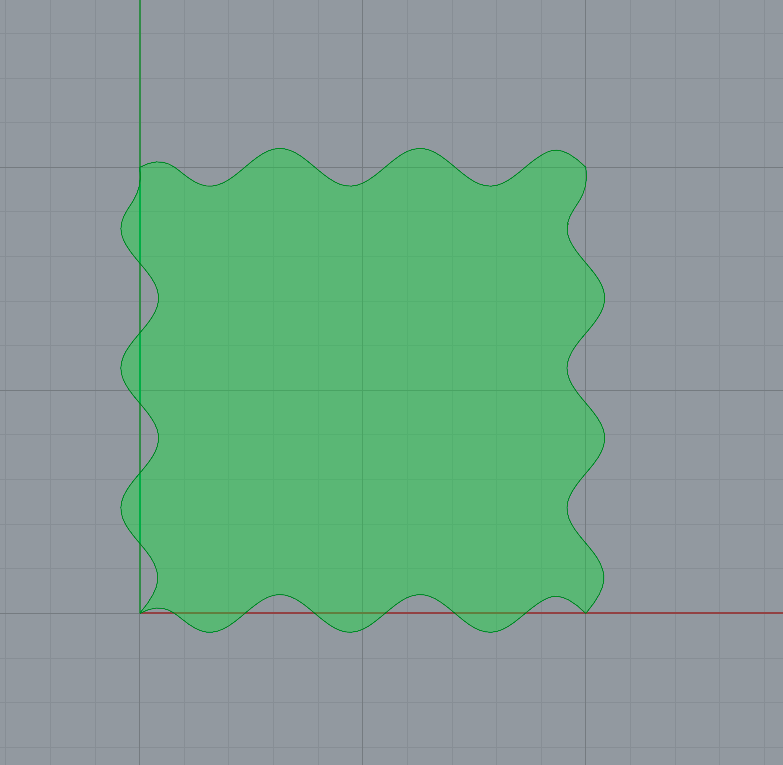
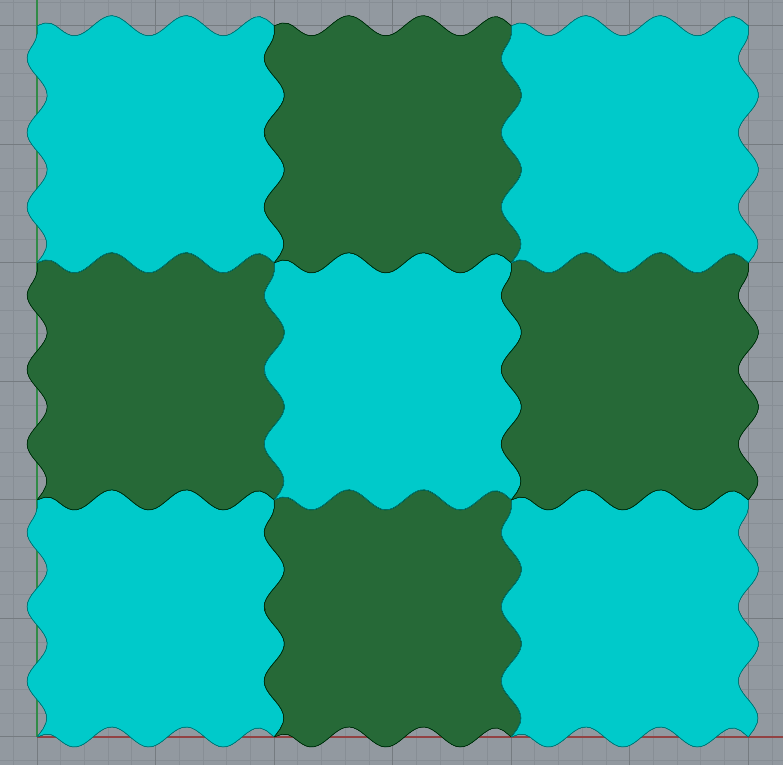
When designing my base 2d tile I ended up deciding to go with a sin/cos wave function design. One edge set is cosine, the other is sine. I played around with amplitude, frequency, etc. until I was able to get waves that I liked and also didn’t overlap. For the second 2d tiling I ended up going with a triangular tiling. I wasn’t able to figure out how to modify the example code to generate this kind of tiling, so I ended up starting from scratch and creating the tiling on my own. One challenge I faced was that I realized I couldn’t make the edges anything other than flat since the triangles tile in an right-side-up/upside-down fashion, meaning every side is adjacent to itself on the neighboring tile. In retrospect I realize I could get around this by having two different tiles that are able to be connected. Below are images of the tilings:
GrassHopper code:
PART 2: 3d Printed Tiles
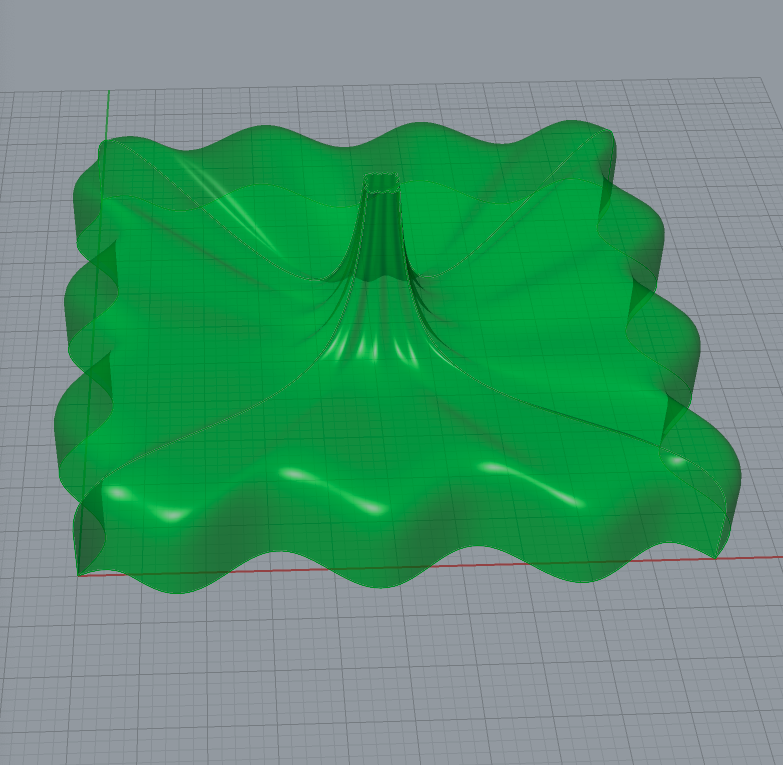
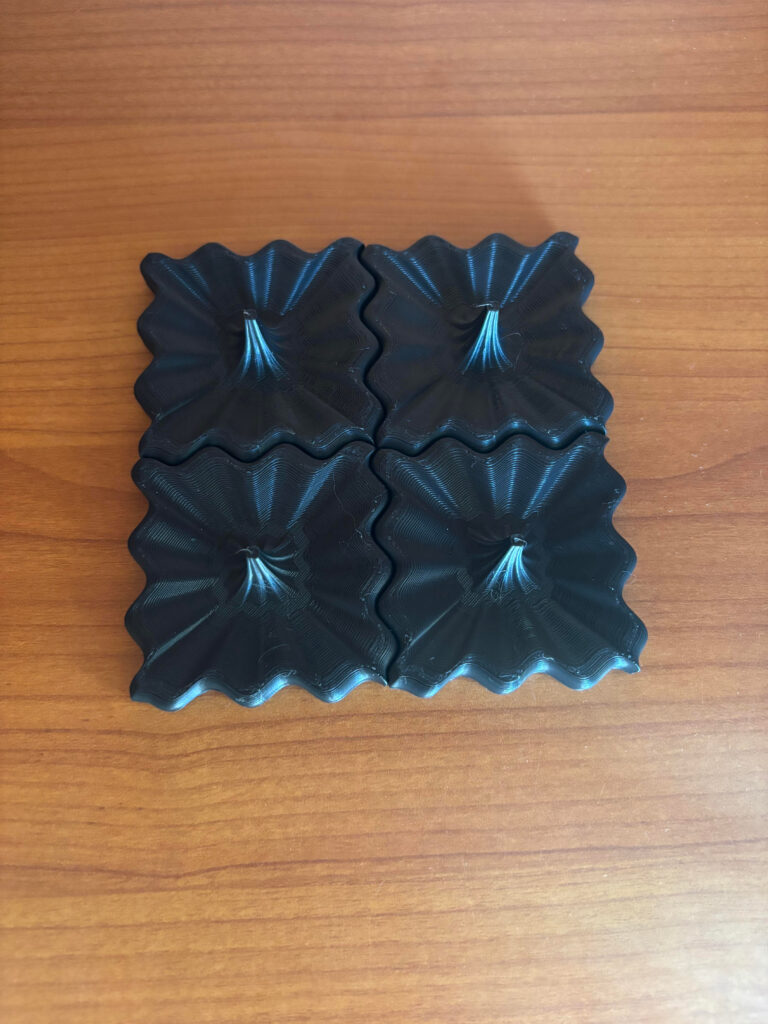
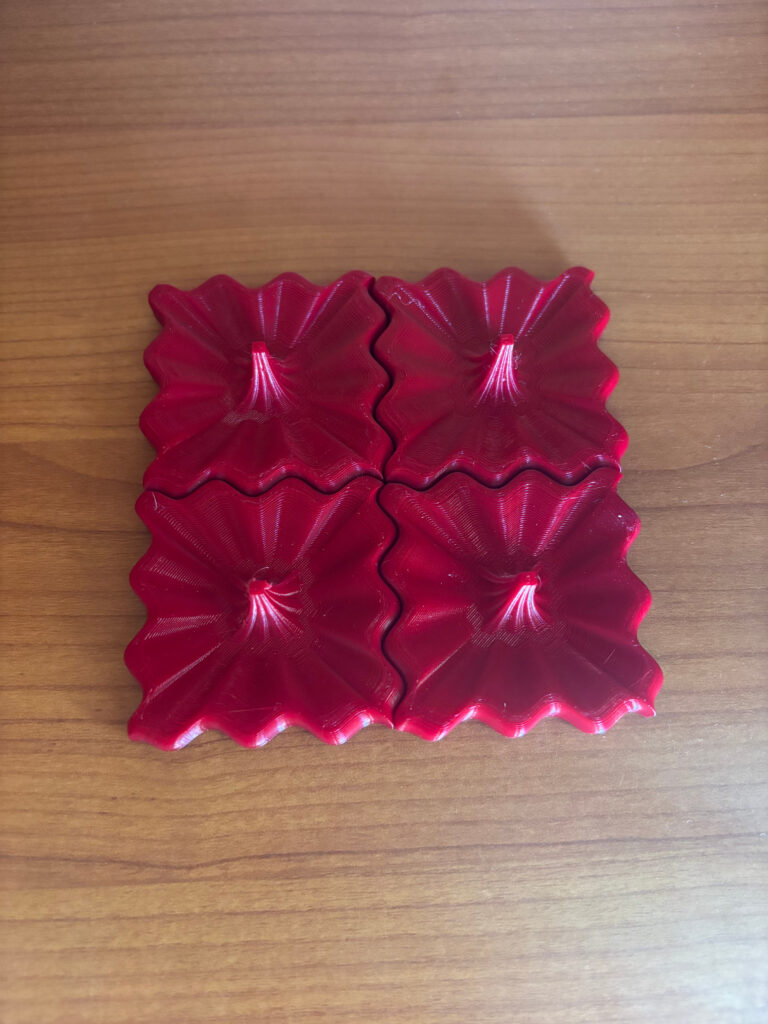
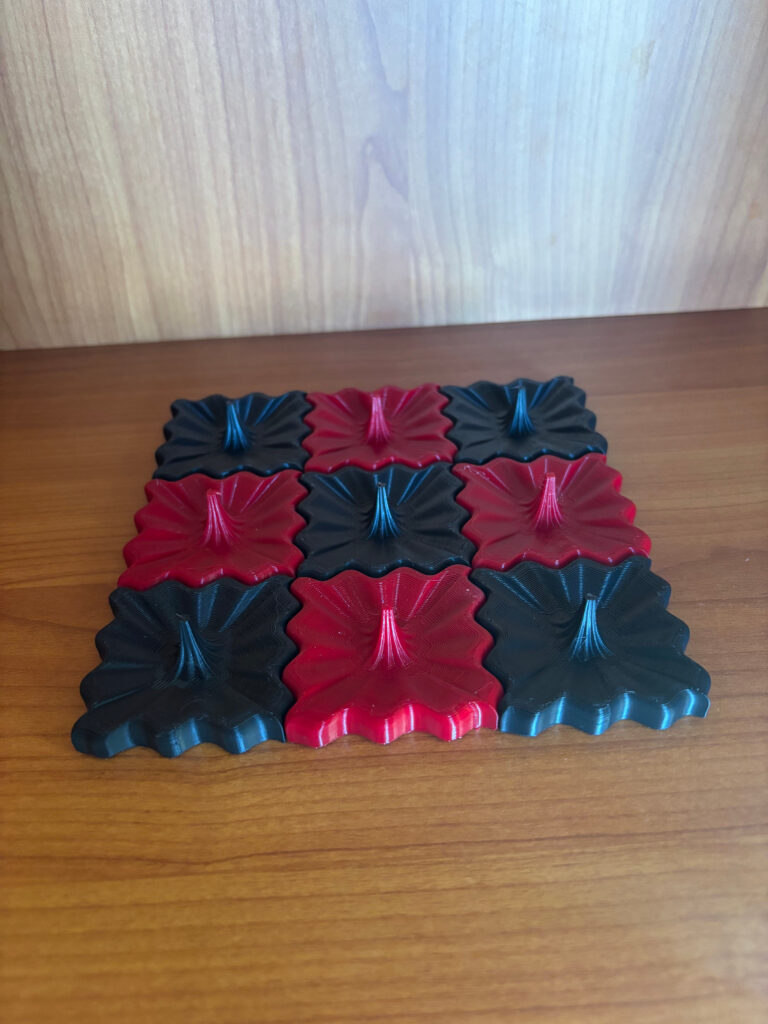
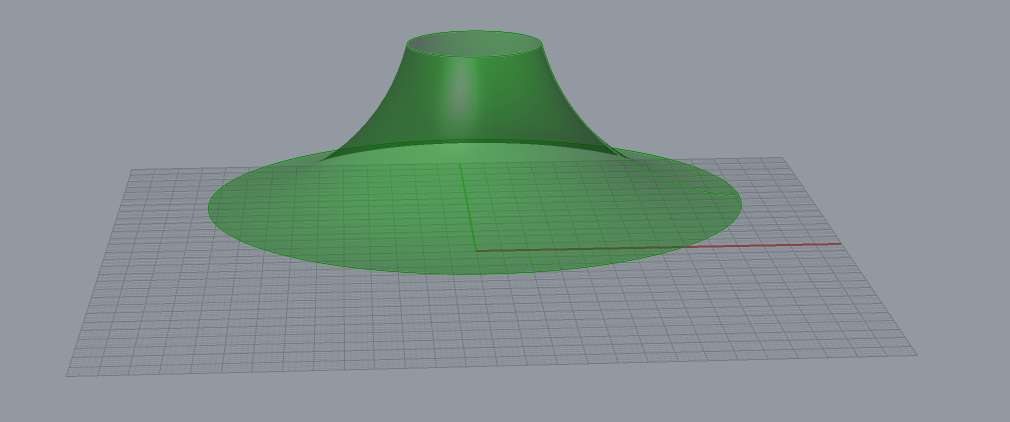
For my 3d design I ended up going with a z axis shape that extrudes the base tile, and then after a certain point in z, it begins scaling the tile down until it reaches a small point. I accidentally messed up and made the z point where the extrusion ends higher than the z point where the scaling begins. However, this created a cool concave effect that I really liked, so I decided to leave it in. Below are images from rhino:
Images of the finished prints:
Grasshopper code:
PART 3: Surface Morph
I chose to stick with my same cos/sin wave function tiles for the surface morph. For the surface itself, I originally wanted to use one of the models I made for assignment 5. However, I quickly figured out that the surface morph function does not work for solids. Since all my models were several surfaces joined together I wasn’t able to pipe a single surface into the function that created the shape I wanted. I ended up generating my own vessel to wrap my tiling. Below are the images from rhino:
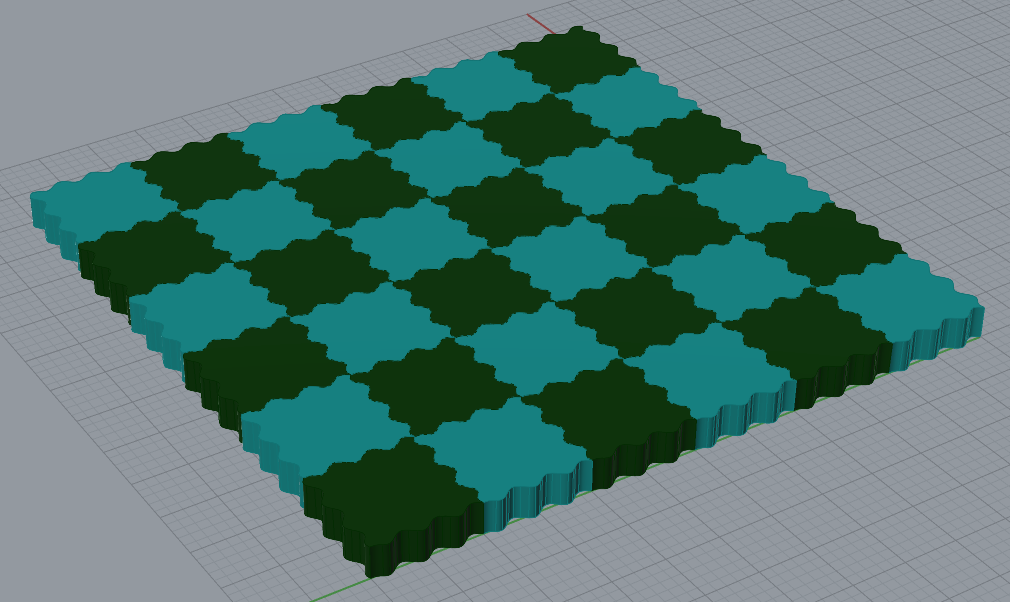
Base 3d tiling

Grasshopper code:
Code zip file:
Hello Samuel,
I don’t know if the expectation for making the triangular or hexagonal tiling was to create the regular tiling, but do note that your implementation for the triangles doesn’t satisfy the regular 6,6,6,6,6,6 tiling (a set of 6 connected triangles should form a hexagon). Try mirroring the triangles on the x-axis or rotating them 180 degrees when the row alternates.
Your 3D tiling is neat, it almost looks like someone is pinching the center of a cloth.
Hi Samuel,
I like your sin/cosine curves, its a really fun and interesting design that reminds me of dyed raviolis. I liked that you also printed out multiple colors to make a cool grid design instead of just having the base color. I find it fascinating how most mistakes that come from these projects end up being ideas that we stick with and end up using as our final forms. Playing with the software really opens up the opportunities for new designs.
I think your final 3D print is also cool it reminds me of a flattened pumpkin top that has been left outside by an unbeknownst homeowner.
I agree, a lot of the most interesting features of my projects have come from accidents or mistakes I made when playing around with the design software. On one hand, this means I don’t get a result that is exactly what I was envisioning, but on the other the final product is really cool.
Hey Samuel,
Great work on this project. I really love the way that your prints came out. I also agree that this accidental concave you made the prints look extremely cool as well. Do you recommend anything for creating solid prints like yours and having them connect to each other so cleanly?
Great work!
Ian
I extruded my 2d tile up for a little bit before starting the “interesting” part of the z axis. That way they would have a flat connection surface and the rest wouldn’t affect the tiling.