Part 1: Part 1: 2D Tiles
Part a:
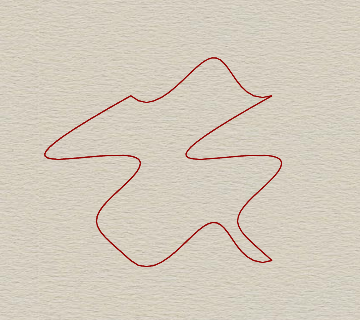
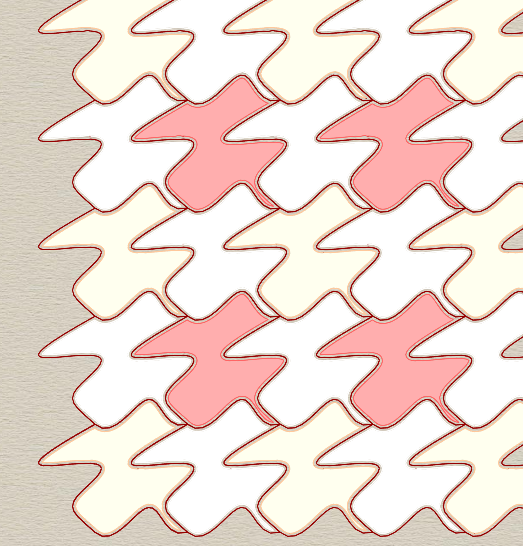
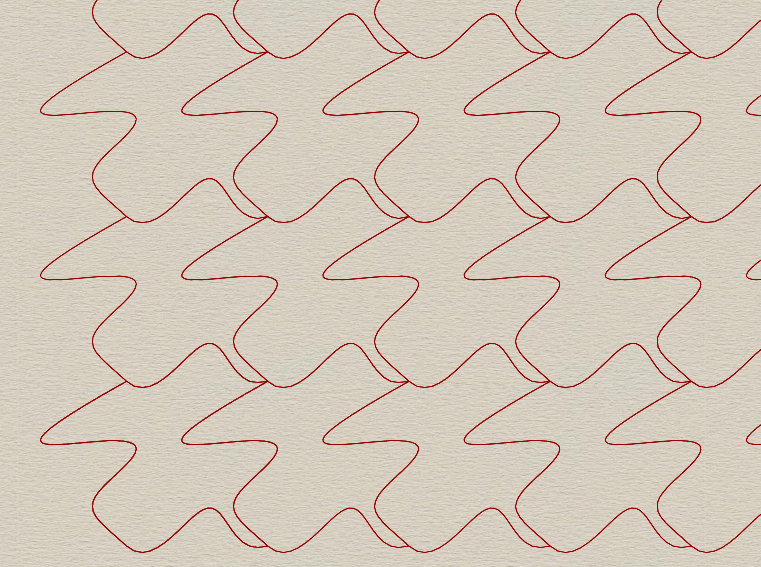
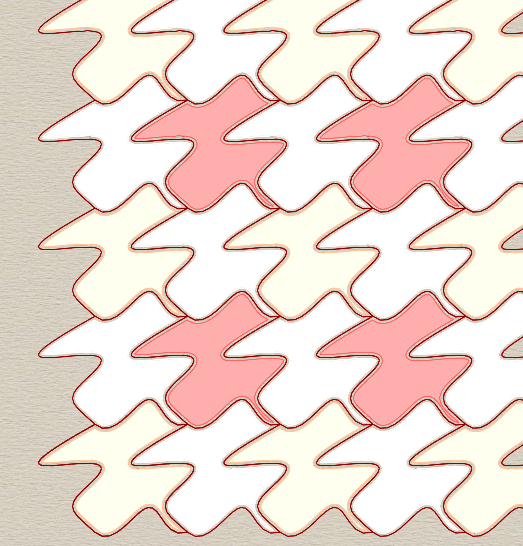
As Halloween just ended, I planned to design a cute little ghost shape. Refer to the picture below. I started with the help of Tile.art website to assist in the design, which allowed me to better understand the design steps. Another difficulty I encountered in the design was that when I couldn’t manipulate the curve freely, I tried to add a lot of control points, but I found that this often made the structure worse, so I tried to reduce the control points, and the situation improved.

Part b:
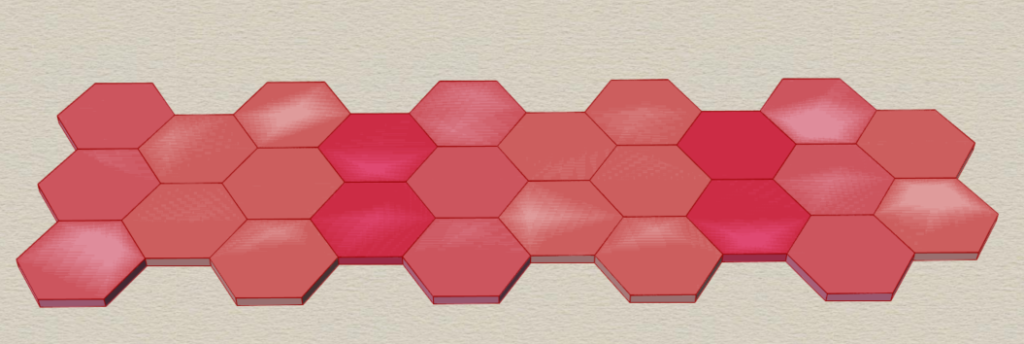
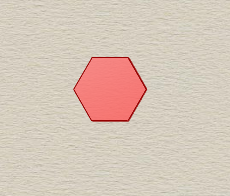
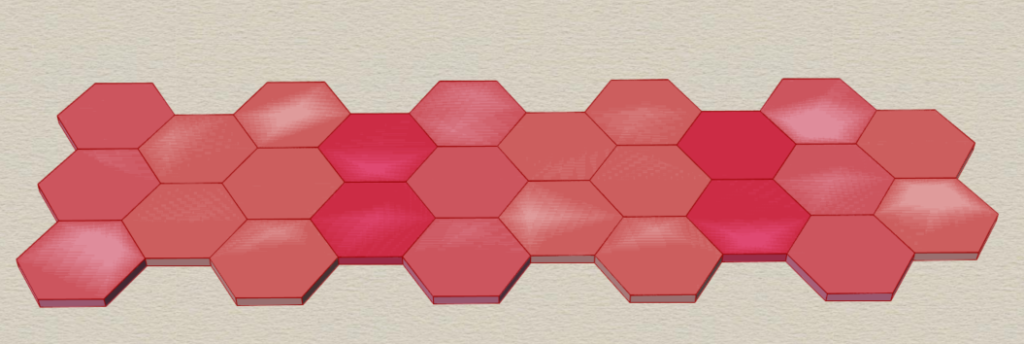
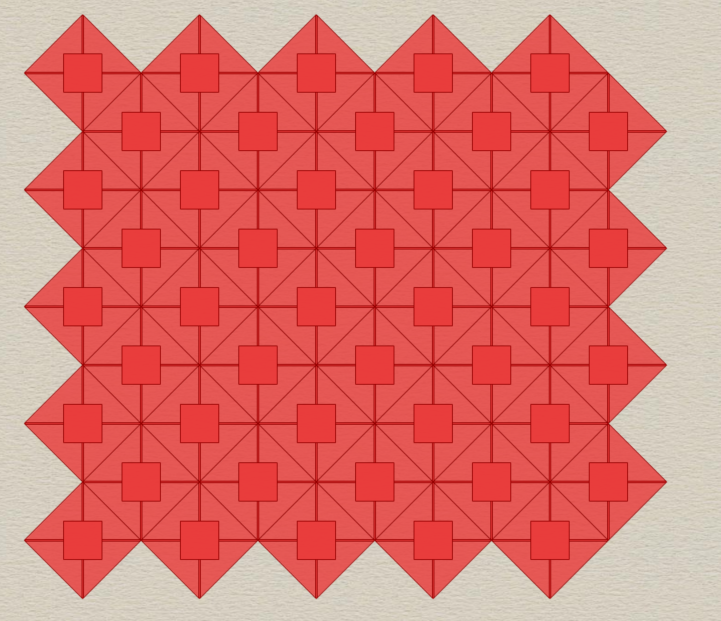
At first, I wanted to use a,bcurve to construct the hexagon, but after trying many times, I realized that it wouldn’t work, so I chose the simplest way, which was to construct hexagons one by one, and then use a for loop to copy and translate the hexagons, and I also achieved the final effect.
In addition, when I was adjusting the color, I found a strange phenomenon that the surface of these objects would reflect light, which surprised me.
Part 2: 3D Printed 3D Tiles
I’m very glad and excited that while completing this tiling assignment, I accidentally opened a new door for me that I obtain the chance to explore the classical window structure of China (my hometown), which I had not taken seriously in the past 22 years of my life, even though it has been developed for three thousand years and the skills and art have been constantly iterated and updated.
In addition, I also found that many people such as Prof. Haldane Liew, Prof. Miroslaw Lucjan Majewski from different countries are studying Chinese window art. I’m very grateful to them for leaving a lot of reference materials. See the references listed below for details. I hope to try to use 3D printers to combine new technology with traditional art.


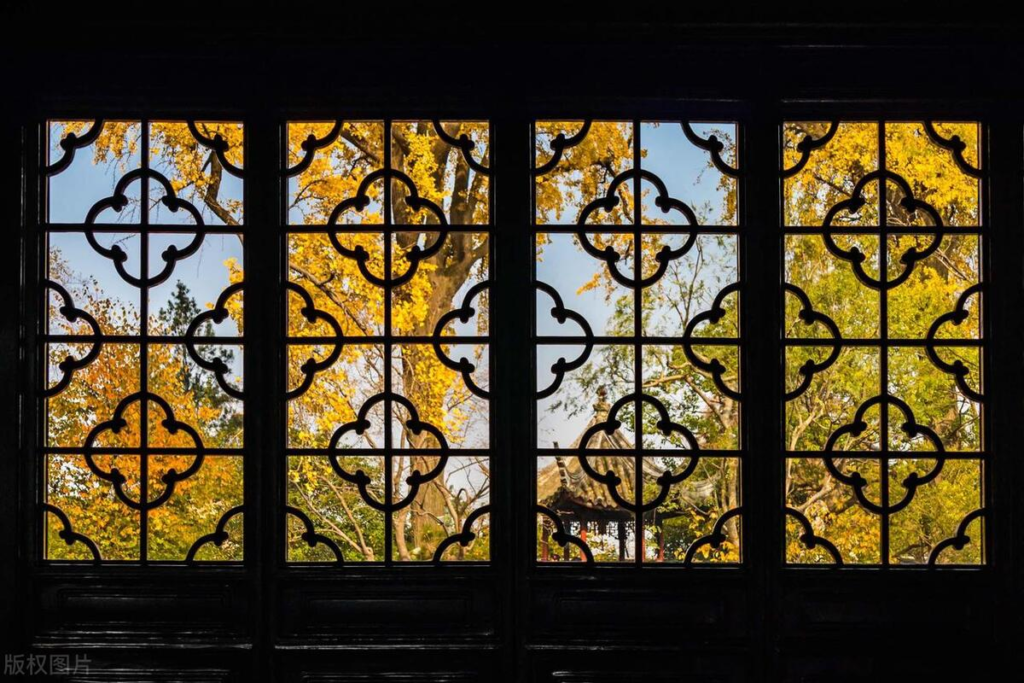

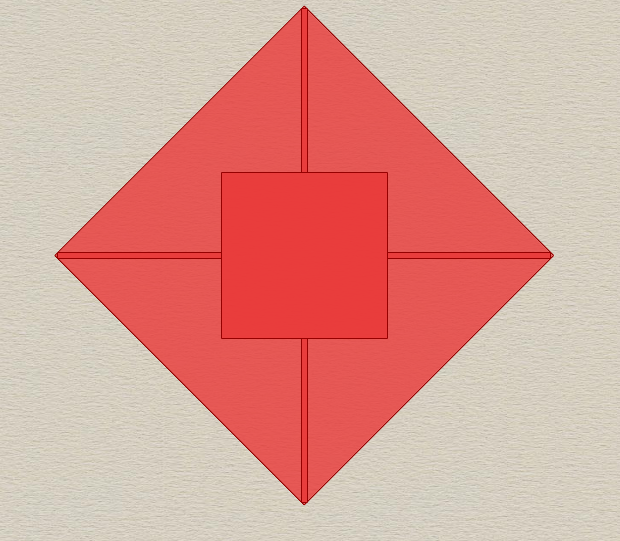
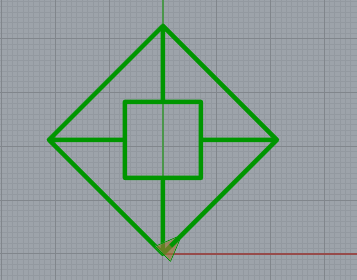
At the beginning, I planned to use the Grasshopper code in class to generate the shape of the window using a and b curves, but I tried a lot and still couldn’t achieve the shape I wanted. So I used my mathematical knowledge to construct a regular window shape by myself through fixed point coordinates.
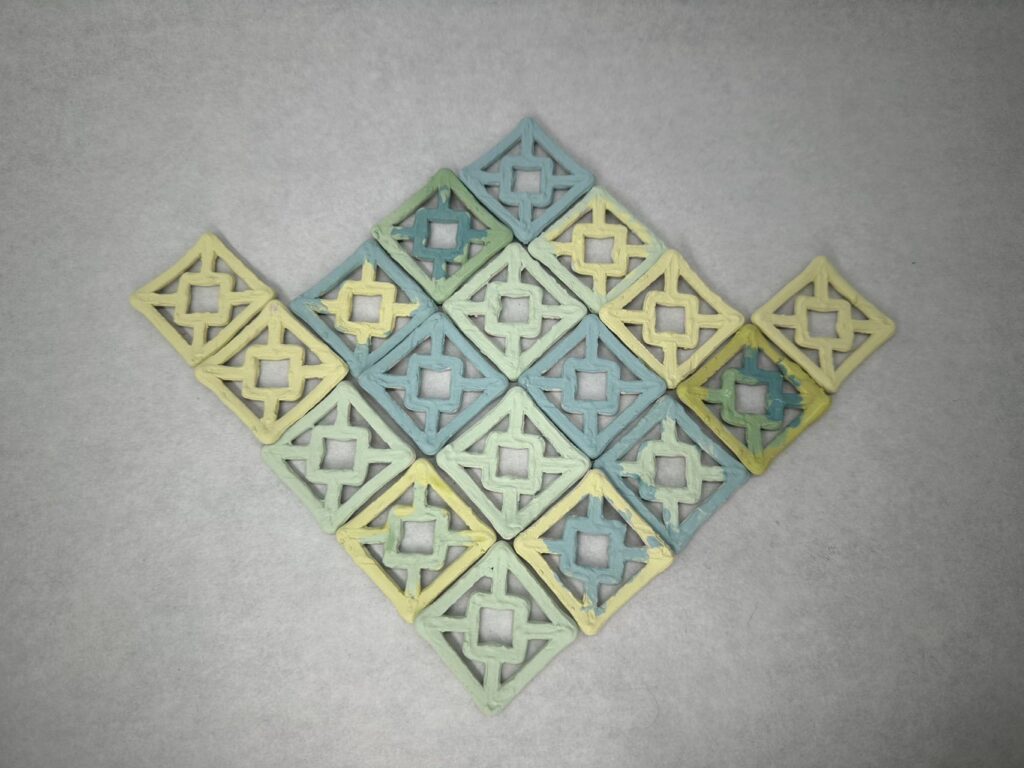
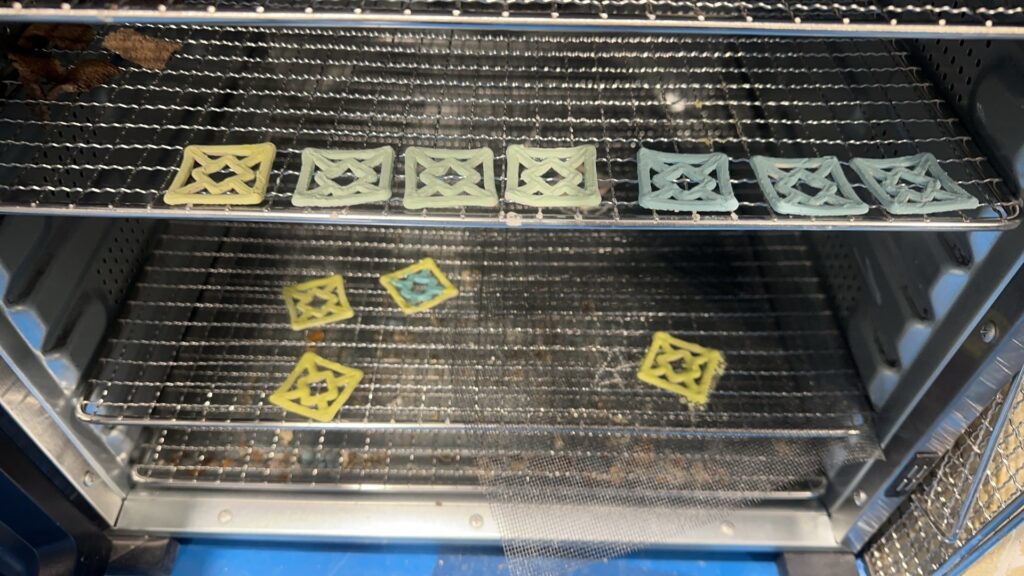
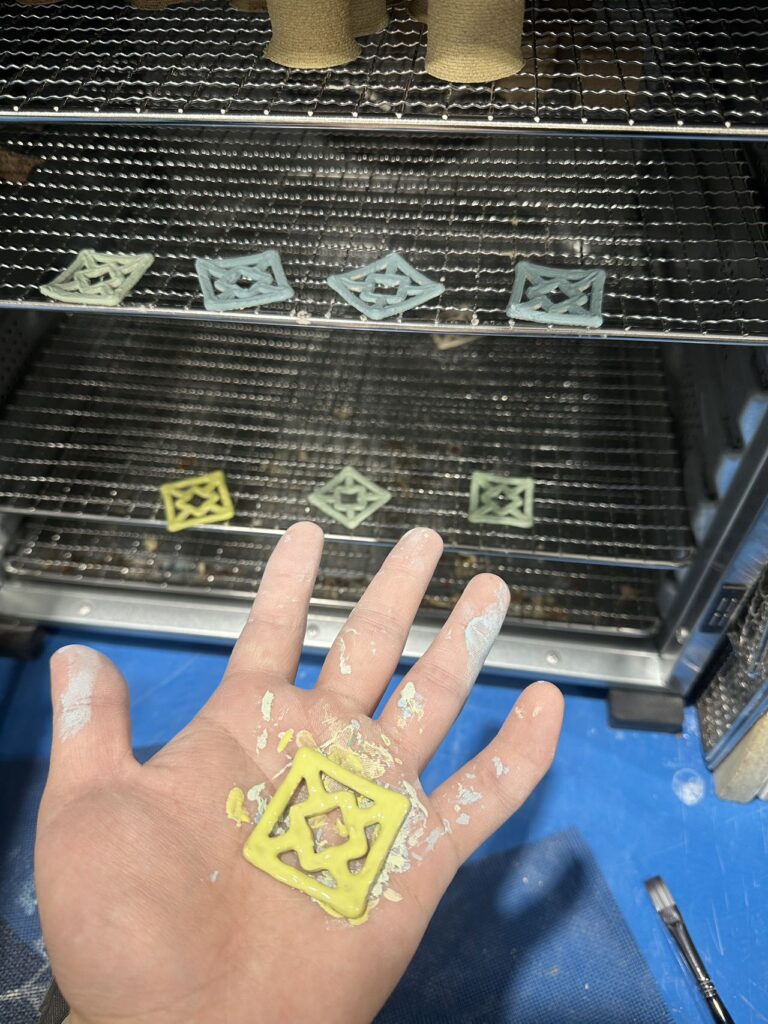
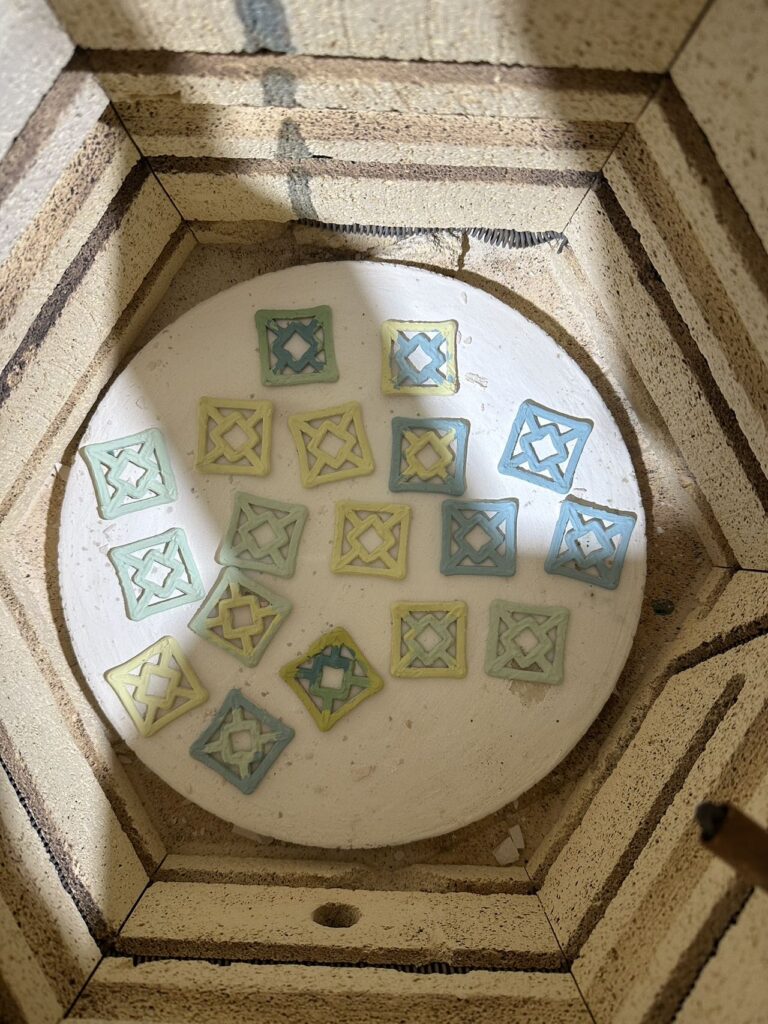
The pictures below show the three main steps to get the final result. First, put the clay work into heating dryer to absorbs moisture from clay, then color the dried clay, the clay is very fragile at this point and needs to be painted carefully, finally, fry the clay work so make it solid!
References:
An Algorithmic Approach to Chinese Lattice Design
A Journey through Chinese Windows and Doors – an Introduction to Chinese Mathematical Art
ICRAY2.0 (mit.edu) Author: Haldane Liew 2001.04.26
Shape Grammars of Ice-ray Chinese Lattice Designs : haldane liew (mit.edu)
Dye, D. Sheets, (1974). Chinese Lattice Designs, New York: Dower Publications Inc
Classical Chinese Doors and Windows
Challengs:
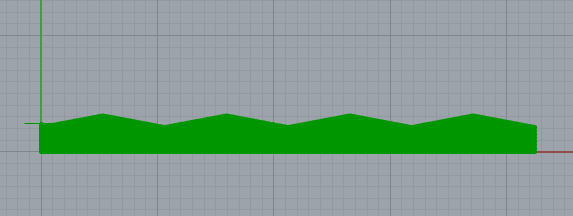
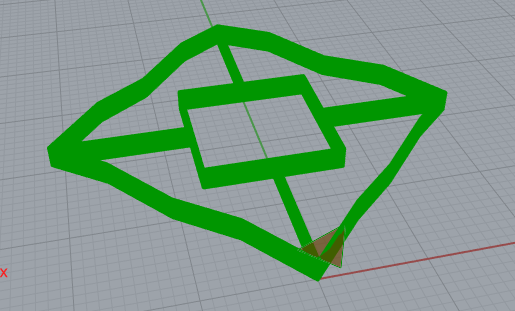
In order to achieve richer changes in the z-axis, the first thing I thought of was to use Turtle-Library to generate GCODE, because it was easier for me to control the printing route trajectory. But I encountered some difficulties and I had to compromise. The GCODE trajectory I wrote will move up and down on each side of the outermost square to generate two sin function glass shapes. The generated visual GCODE display is good, but it seems not ideal during the printing process. I want to keep the printed window in a relatively flat shape, because our windows in real life are not particularly thick, so I set it to print a window model with only four layers. Four layers are too few, so it is difficult to represent the changes in the z-axis well.
Part 3: Surface Morph
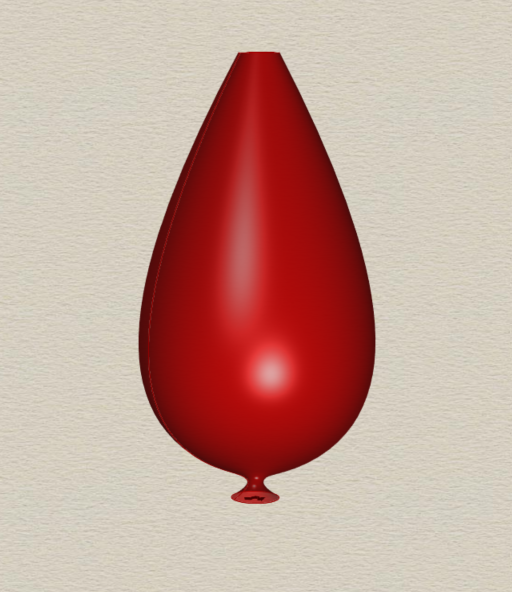
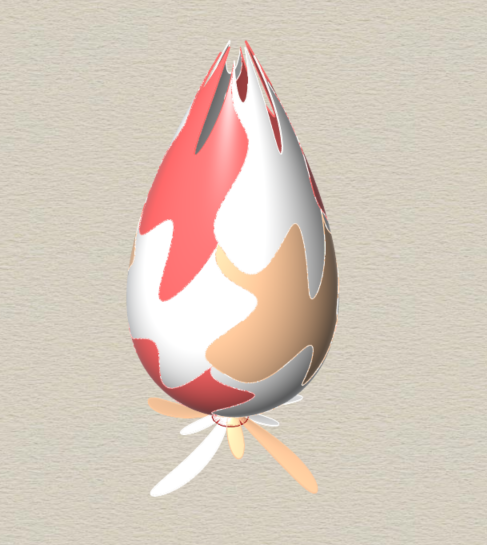
I wanted to make a goblet shape at first, but I stumbled upon a very interesting shape. You can see it in the picture below. I think it looks like a plant, a plant that is about to bloom. In the Part 3 project, I was very excited about the creative process. I really wanted to print out such a shape, but it felt a bit difficult? Because of the complex surface texture, I think I will explore this possibility in the future!
Hi, I love the ghost shape you used for the 2d tile! It is very fitting for the season. I also like that you used clay for your final 3d prints. It definitely adds some uniqueness to the assignment. I definitely feel you on making things easier by having fewer control points. I quickly learned in this class when designing things that fewer points means faster rendering and better final results. Great project!
Hi,
Thank for your comments, it seems really a good idea to have fewer control points, this is my choice after trying many times.
Hey Qinghong, I really like your 3D tiles and I think it’s cool that it seems you’ve been really interested in using the clay 3D printer for multiple of your projects. It’s also cool that you were able to make them different colors more easily than having to buy/replace the filament, I think my prints would’ve looked cooler in a different color but it wasn’t worth getting new filament or painting them. I think the colors make your 3D tiles a lot more interesting.
Hi Luka,
Thank you for you like. I also excited to try to color my works, although it didn’t achieve the result I expect. I want do some colorful galss work in my final project!
Hi Qinghong,
Every part of your assignment was more interesting than the last. I really liked the final products of your first and second parts in particular. Your Escher tiling patterns look great and I enjoyed how you described the process you went through mapping specific curves like the b curve. And as for your second part, I like how you used clay materials once again for this assignment. Keep up the great work. I’m definitely looking forward to how you’ll work with whatever materials you have in mind for your final project!
P.S. I couldn’t edit my initial comment, so I decided to just reply to it here.
Hi Jyrus,
Thanks for your comment! I’m also looking forward to your final work! Keep up!