Part 1: 2D Tiles
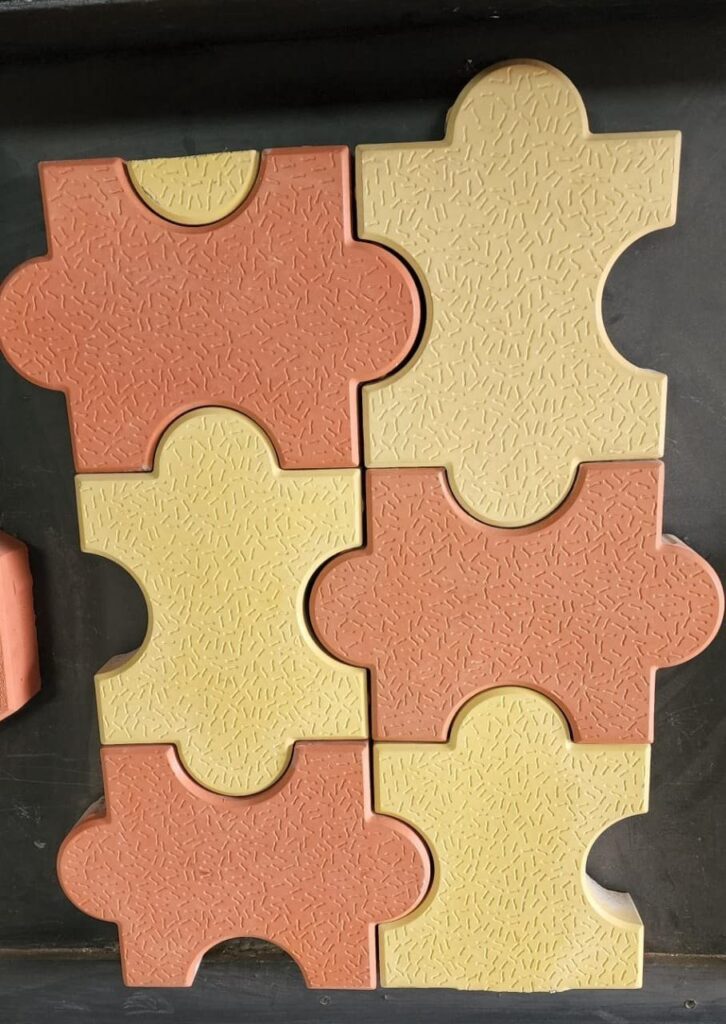
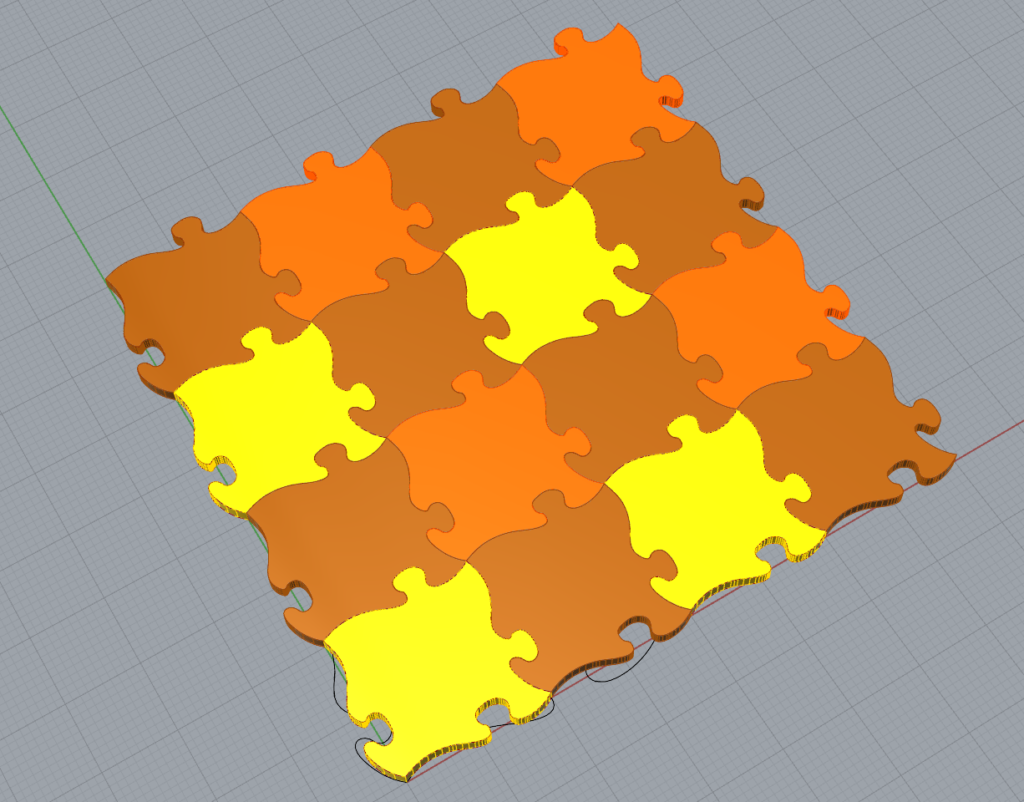
For this part of the assignment I used the process we developed in class to generate my Escher tiles. The shape I made resembles a puzzle piece generated from the two “InterpCrv” lines I made in rhino. I spent a lot of time trying to come up with a way to mirror the right side line to no avail, but my Idea was to make a different shape than the one I got as pictured below. I had some problems in generating a closed base tile until I realized that the lines drawn in Rhino had to have both starting and ending points somewhere on their respective axis (x, y). Once I figured that out it was easy to generate randomly shaped tiles.

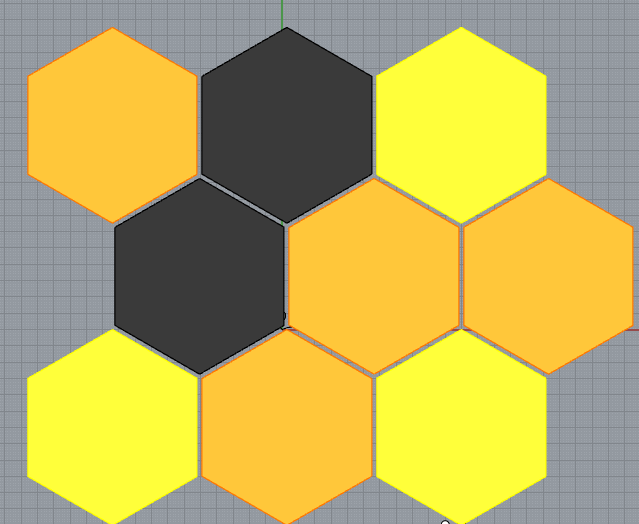
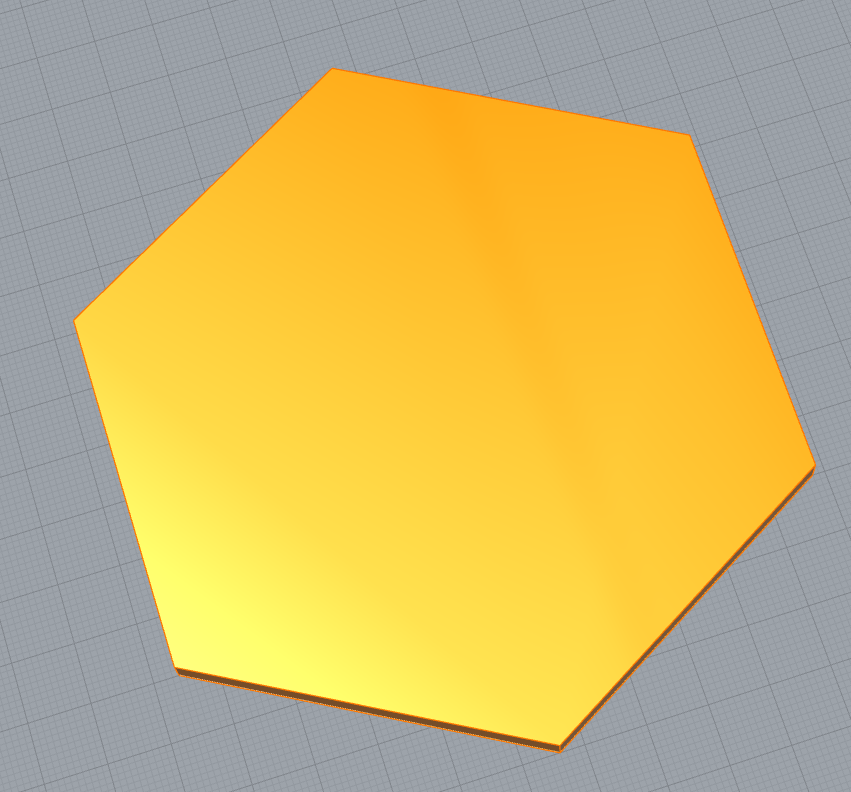
For the next part I made an hexagonal base tile. I wanted my hexagonal tiling to be offset from row to row and it took me a little while to figure out the geometry. In the end I realized that the distance from the center of one hexagon to the next horizontally was the same as diagonally, using the Bravais 2D lattice structure we saw in class. In my case for the hexagonal tiles, a = b = (Radius * square root (3)). The angle used is 120 degrees. In my hexagon tiles generator I added parameters to move the lattice around in the Rhino grid since I dislike everything starting at the origin. Additionally, I added a parameter to add space between tiles. My assumption was that a little bit of space between tiles would make for easy printing of many tiles at a time (I learned this assumption was wrong later on).
Part 2: 3D Printed Tiles
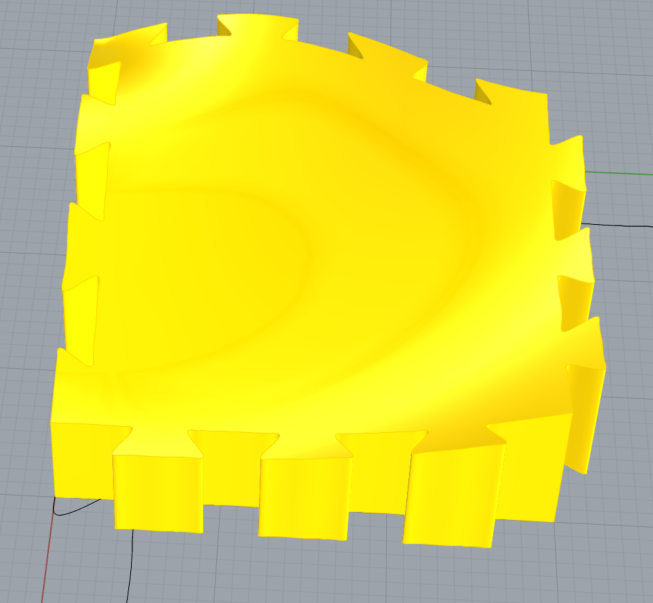
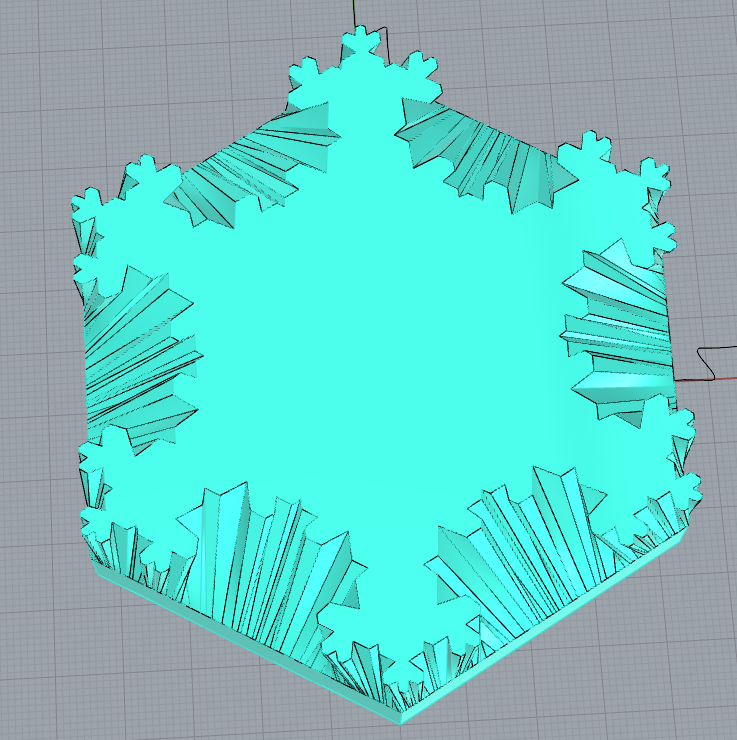
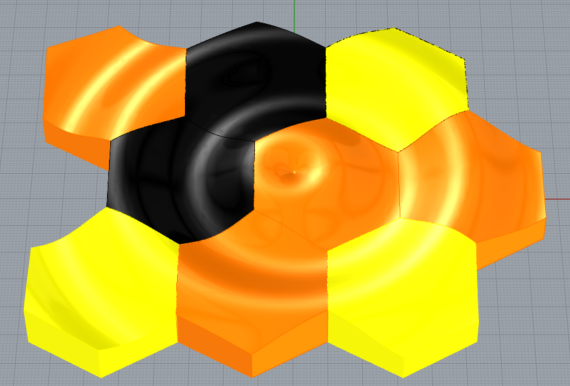
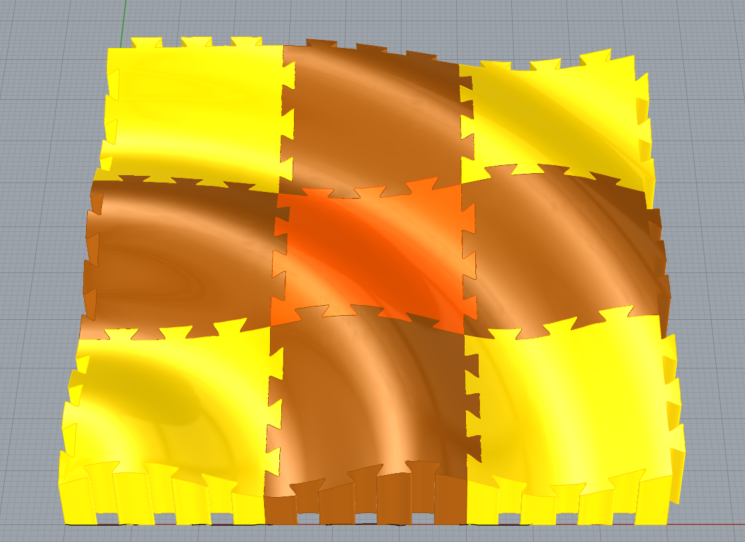
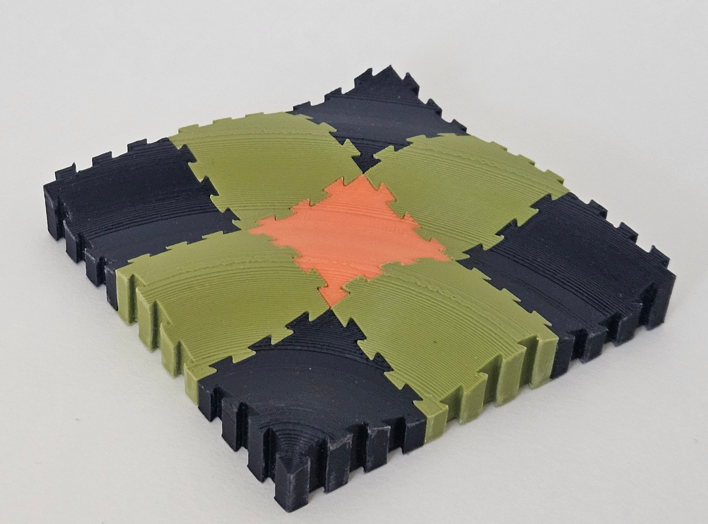
I had a hard time coming up with an interesting idea to add complexity in the z direction. I spent a ridiculous amount of time trying to make a snowflake-like line that I could then use to loft from the top of my hexagonal tiles, but I couldn’t make something useful in Grasshopper. I managed to make a model manually by baking the individual objects and then using boolean operations in Rhino, but ultimately I think that defeats the purpose of parameterizing the design process. After taking a second look at the surface morphs I already made, I had an idea of using a surface to “cut” my tiles to make the top surface interesting. I made a few designs and decided that I wanted to see if my puzzle like object would work in real life and fit together after printing. In theses models, the surface sitting on the XY plane is flat, and the top surface has been cut to conform to the wave surface.
Part 3: Surface Morph
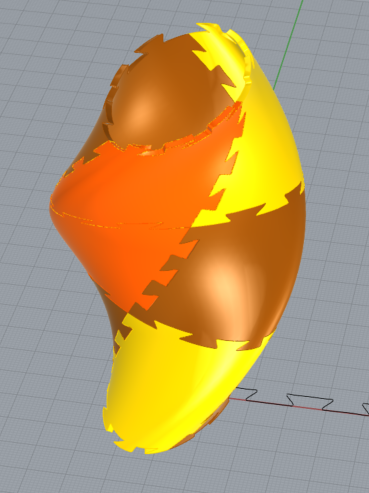
For this part I used the program we developed in class. The changes I made to it were creating my own surfaces to morph onto. I inadvertently deleted my original Escher tile lines, so I made new ones. The first surface I morphed onto is a concentric wave surface, akin to the surface of water when something is thrown in it. The second morph uses a vessel surface. Both surface morphs use the new Escher tiles shape that I made with new lines.
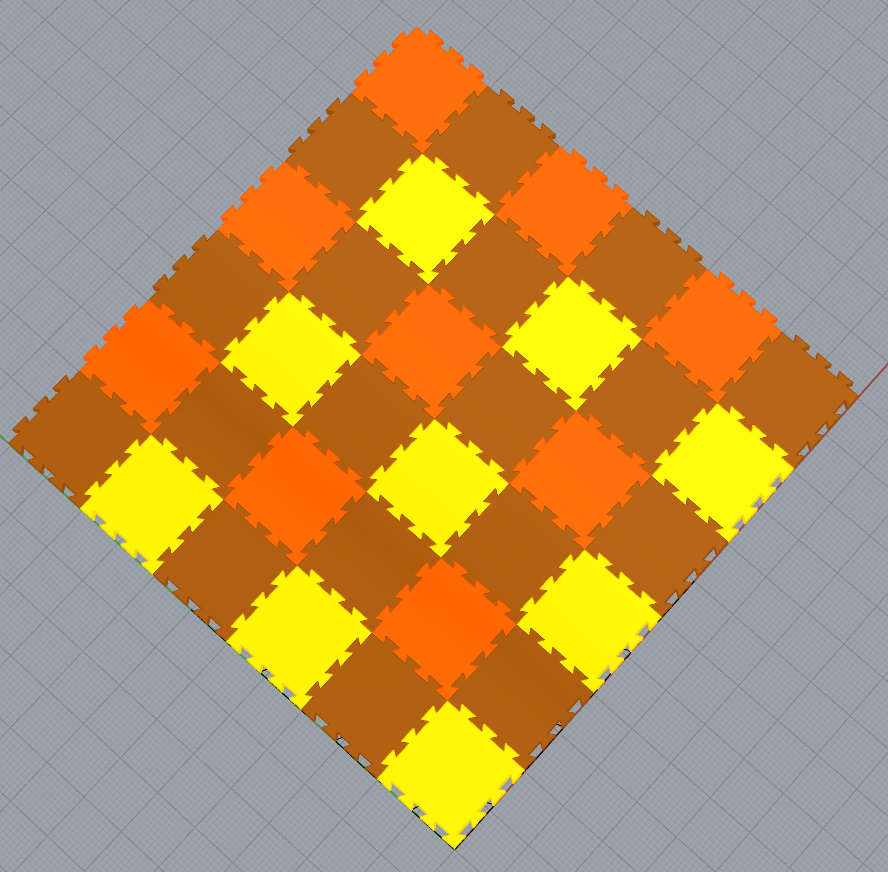
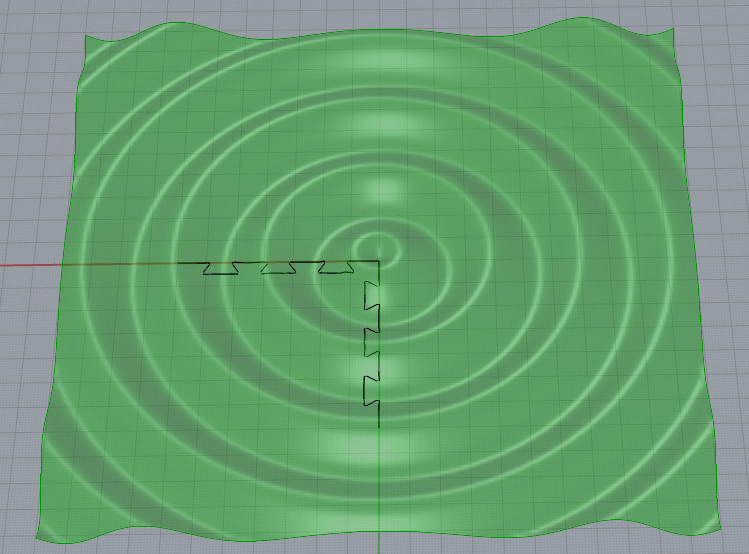
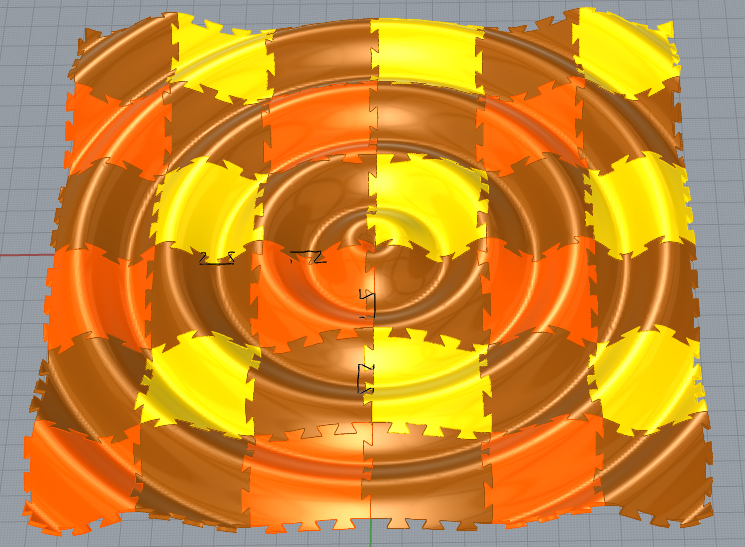
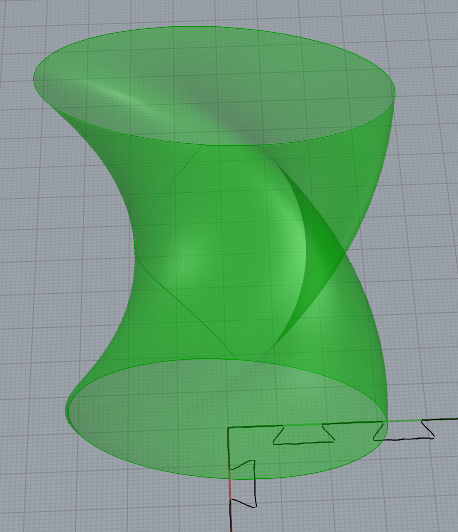
Final Printed models
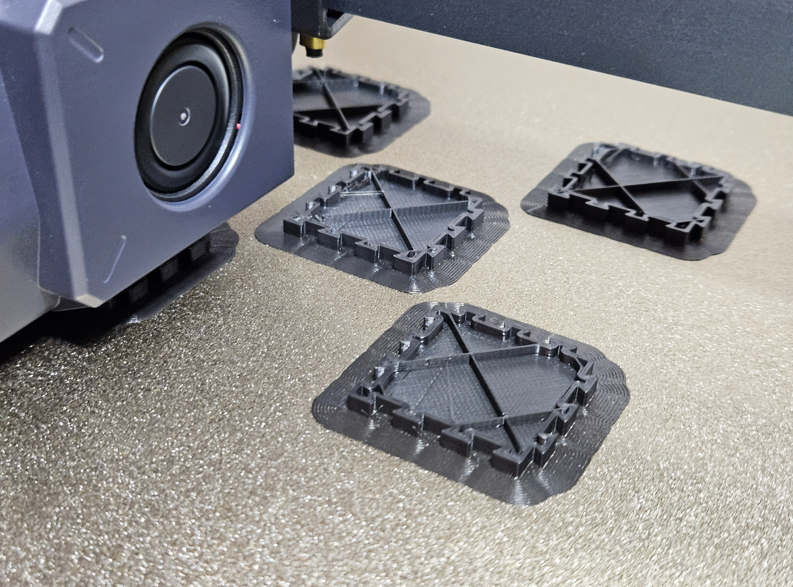
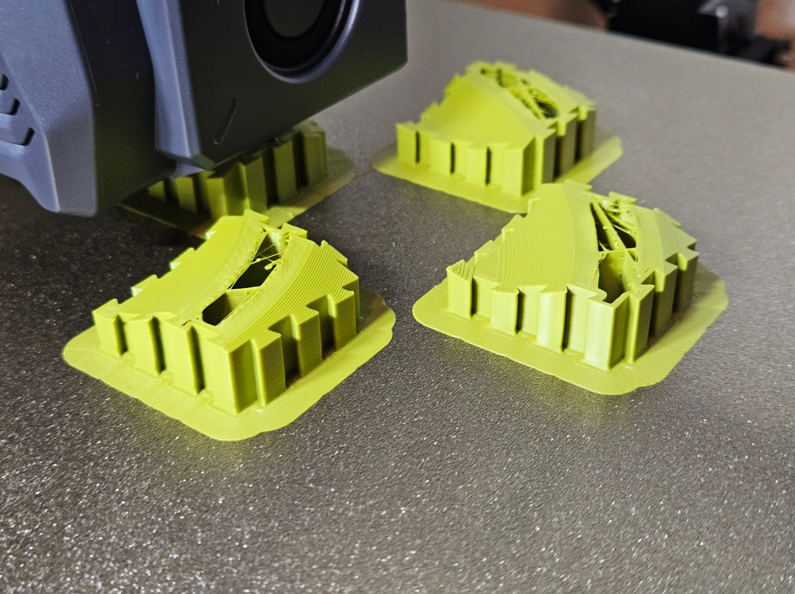
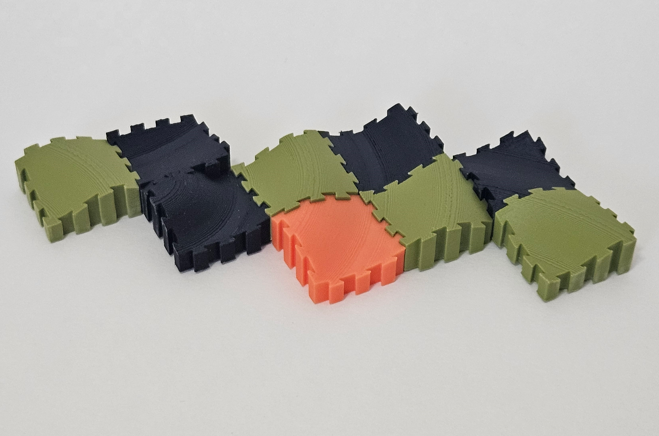
I ultimately decided to print the puzzle-like model with the waveform top surface. I used different filament colors for a more dramatic effect. It was necessary to do some minor sanding of the “dovetail” joints of the tiles to make them fit easily. I made several attempts to print all the pieces at once the first time and that resulted in poor quality. I then tried printing fewer pieces at a time until I tried printing in pairs and that gave me a good final product.

Grasshopper files
I am including my Rhino and Grasshopper files here. All the code I used to generate my models is in the single Grasshopper file. I tried uploading them both in a .zip file but the website wouldn’t let me.
Hi, German!
Great job in this assignment! I especially like your 2D tiles that resembles a puzzle. It looks unique and when I looked at it I had a thought that it’s possible to create a floor with unique tiling that you could connect like a puzzle using 3D printer in future. Overall, great job!
Hi Bat, thank you for your comment. The inspiration for my puzzle-like tiles actually came from those large foam tiles that are placed on workout areas, so your idea to make flooring with something like that is correct!
Hi German! I really enjoyed reading about your process and the creativity behind your tile designs. It sounds like you put a lot of thought into creating a functional and visually interesting 2D tiling pattern, especially with the Bravais lattice approach for the hexagons. That extra detail of moving the lattice away from the origin is a nice touch, making the tiling feel more dynamic within the Rhino workspace. I can also relate to the challenge of managing spacing for printing—it’s something that often sounds good in theory but can be tricky to perfect in practice!
Your solution for adding complexity in the z direction with the waveform cut is really clever! It adds a subtle, organic texture to the puzzle-like tiles, and it’s great to hear that your printed tiles fit together after some adjustments. For my final project I am working on creating some jigsaw puzzles. I was wondering for the puzzle-like tiles that you created do the fit pretty well? Are the pieces loose at all?
Thank you for your comments, Daniel. There are some ideas that don’t pan out when it comes to actually printing the models. I think in my case it came down to temperature. By the time the printer head got back to the first tile, the plastic had already cooled enough that subsequent layers didn’t stick properly.
My puzzle tiles fit pretty tightly. The final tiles are the my 3rd attempt at making them fit (besides the adhesion problems I had). If you are using Cura slicer, there is a setting “Horizontal Expansion” that helps make the pieces fit better. I used -0.12 in this setting and that made a difference. Also, I think doing a little bit of post processing will be necessary, I used a nail file to remove small imperfections on the dovetail joints but you could also use regular sandpaper.
Hi, the sloped z curves you used for the final 3d printed tiles makes such a cool look. I also like that you used honeycomb colors for the hexagonal tiling, I think it adds a nice touch. I also had trouble getting closed curves for my tiles, especially when I designed them separately in rhino rather than generating them in grasshopper. I think my issue was that I wasn’t lining up their end points correctly. Overall, great project!