The three structures I chose to showcase for this assignment were: a wheel with spokes, a crown-like cylinder, and a conical figure with a star shape infill. The first highlights a structure with freestanding filament lines. The second highlights non-planar movement in the z-axis. And the third highlights a combination of the two.
The Shapes
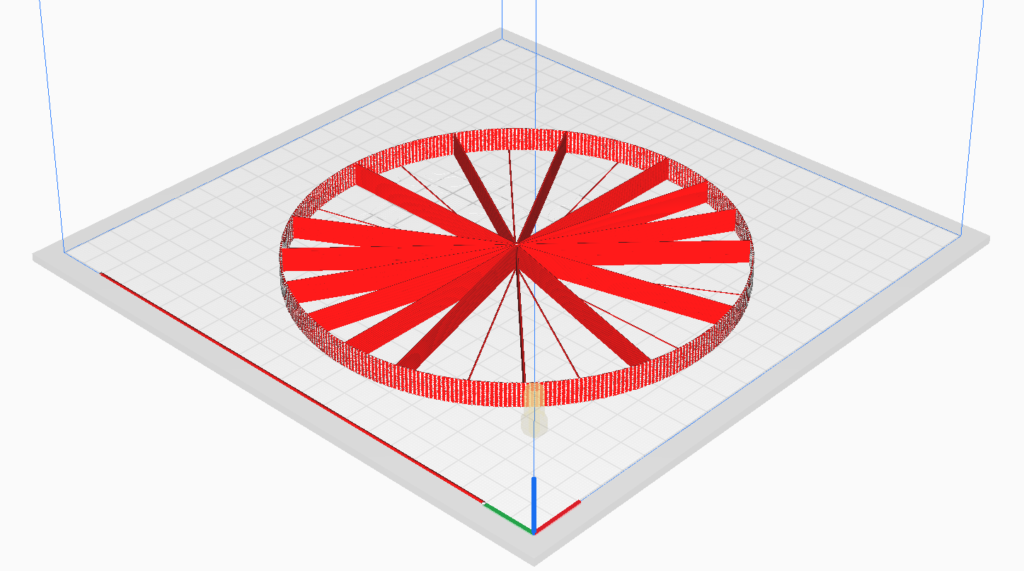
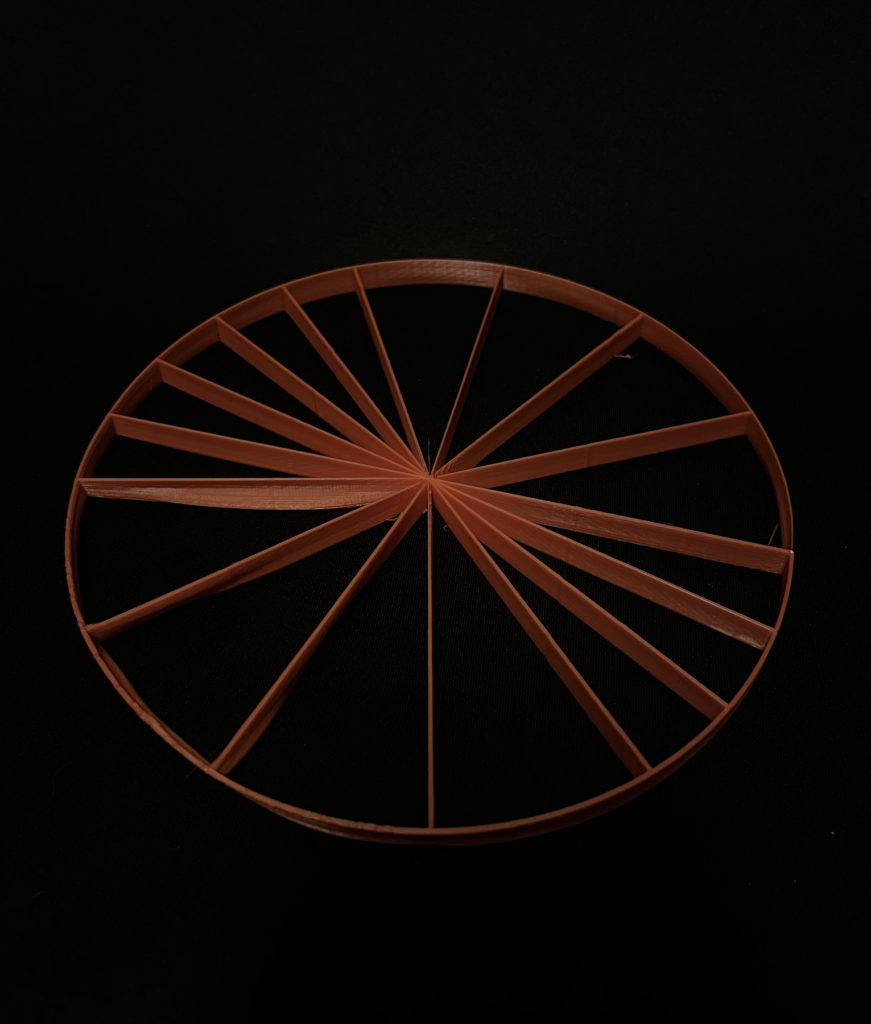
First off, I wanted to start with a basic shape that I noticed was common for this assignment based on previous years: a wheel with free-standing lines (spokes). The process for generating this shape was relatively straightforward and simple to implement–especially with Python and the Extruder Turtle library. In the code, I simply programmed the turtle to walk in a standard circular path and at 16 equi-spaced points, walk from the current x-coordinate to the opposite x-coordinate. This was trivial to visualize and even simpler to implement. Although, if I did redo the structure, I would make the filament extruded thicker because it is pretty fragile. Consequently, this is my least favorite print of the three.
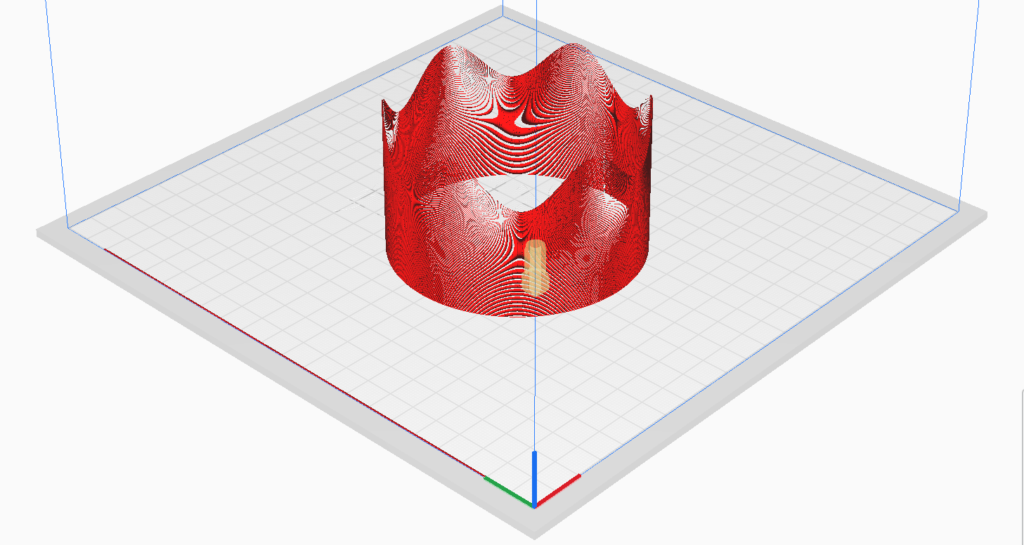
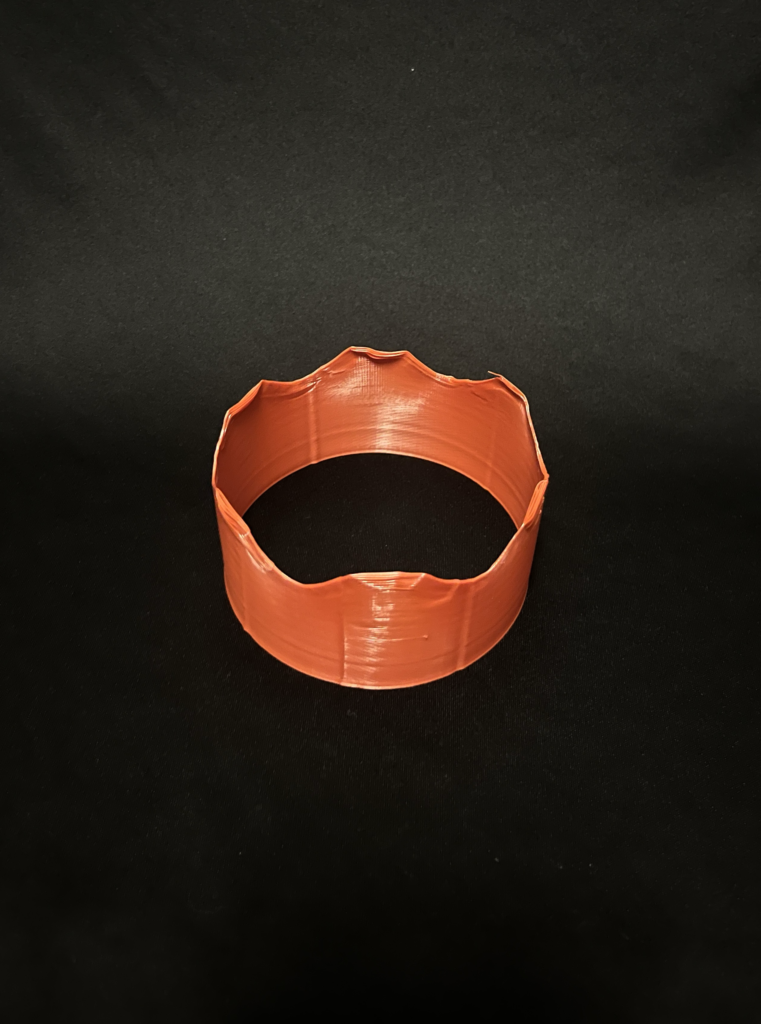
The next shape I generated was the crown-like cylinder. Alternatively, you can just call it a crown. The process for generating this shape appears simple, but for me, it was slightly complex. I initially wanted a vase with wavy walls like the example given on the assignment description. But when that wouldn’t pan out, I just went with a variation and arrived at a crown-like cylinder. To generate this, I simply had the turtle walk in a circular path like the first shape. But as the turtle got higher and higher in the z-axis, I would alter its path to walk up and down in a wave-like fashion using the sin function and an increasing wave amplitude value. This resulted in an organic crown-like structure that I really enjoyed producing.
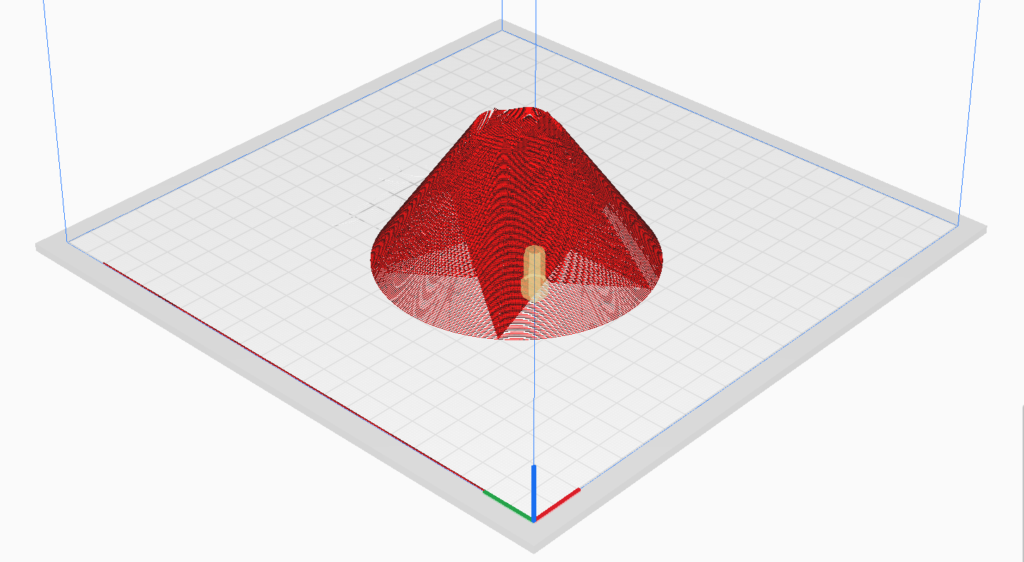
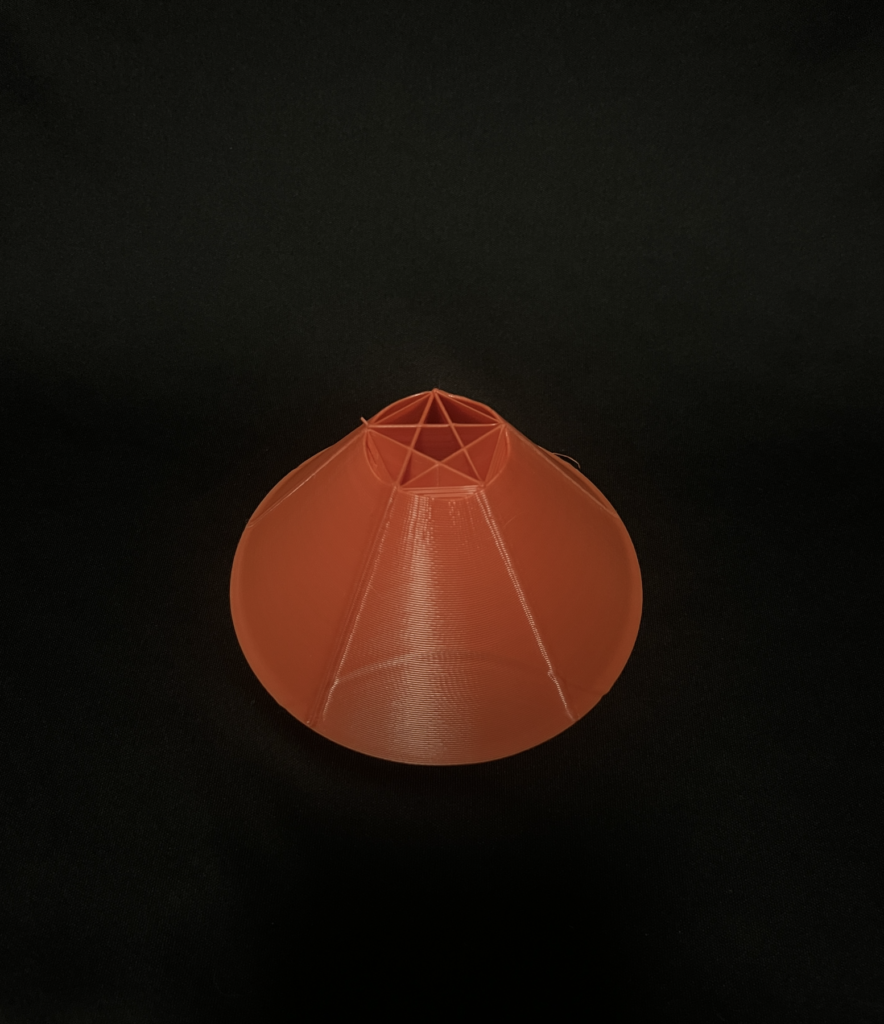
The third and final shape I generated was the conical-like structure with a star-shaped infill and freestanding filament elements. The process for generating this shape was inspired from my previous iterations generating the former two shapes. This shape includes both free-standing filament generation and non-planar movement in the z-axis. To generate this unique shape, I again used the circular movement of the turtle. Similarly, I also had it change direction at certain points on the circle towards another point. But for this iteration, I wanted a star path. And since the height of this shape was much higher, the star path of free-standing filaments ended up forming more of a wall. Unexpectedly, however, there were webs of filaments connecting adjacent start points. This resulted in the best of both worlds. Finally, while not the as dramatic as the crown, there is a wave-like appearance as we approach the top of the cone.
Why My Shapes Can’t Be Sliced Normally
If you take a look at the Cura renderings of each shape, you’ll notice certain elements that explain why they cannot be generated by a traditional slicer. In the first shape, this is the free-standing filament element, which makes it difficult for a slicer to process because it recognizes that the filament is on is too thin to slice, or it branches off. In the second shape, this is the non-planar movement in the z-axis near the top of the crown. In a slicer, aggressive non-planar movement in the z-axis is difficult to slice because it can have a branch-like effect. This is evident in my crown structure as we get near the end of the top-most layer. My third shape is difficult to generate with a traditional slicer due to the same reasons above. Although, I do believe if you “hack” a traditional slicer, you can generate the third shape.
Conclusion
All in all, I ended up printing a total of about eight shapes. For this assignment, my first and last prints were 2/3 of my final prints. This was interesting because it meant that there was a lot of iteration between those two points and to generate that middle print took most of the work. Fortunately, this meant I had a good base and learned enough information to produce a third print that I was proud of the most. For this assignment, I found that lines of free-standing filament were the easiest to produce. It was the non-planar movement of the z-axis that I had the most trouble with. In fact, for my second print, I had trouble with the extrusion unit hitting my thin crown walls and altering its appearance. To prevent further damage, I stopped the print prematurely and went with what I had. Although, this did give me insight for my third print. To not have the same issue, I knew I should lower the wave height and make it just high enough for visual appeal but not too much to interfere with the extrusion unit.
Thank You!
Hello Jyrus,
Your second and third prints are super cool! The star shape infill looks really good in a shape like that. Did you have any issues removing your first or third print from the print bed? I had issues with one of my prints that had a base similar to your third print and it felt like the issue may come from the extruder turtle but I am not sure. I really enjoyed your post, good work!
Hey Patrick,
Thanks! I really like the third print as well. I did have trouble removing my first one off the bed because the filaments were thing and fragile. In fact, my first iteration was smaller and I completely destroyed it removing it off the print bed. So I increased the size and I was able to get it off the print bed quicker. Although, I did damage some freestanding filament as a result.
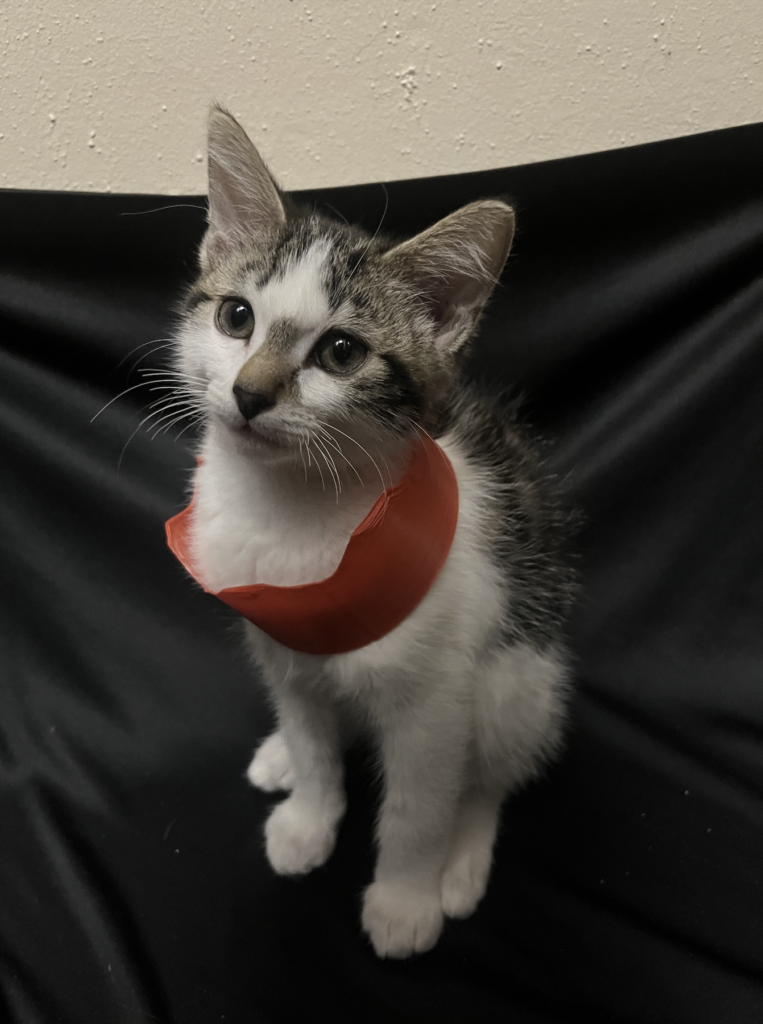
OMG CAT!!!!
Regarding your “least favorite print”, I am curious how this object meets the free-standing filament requirement. It looks like your spokes are laid upon the layer below it, making it no different from how Cura would tool this shape. Is that just the camera angle? A more in-depth explanation of what makes this toolpath different from what could be generated in a traditional slicer would be appreciated. Similarly, the free-standing filament elements in the third print don’t really seem to be free-standing for the same reason. I would love to be persuaded as to why they are free-standing though.
Good work experimenting with a large sine wave for your layers instead of having a more tame wave. Bonus points for the cat.
Hey Nathan, as you can see from the Cura render, I had a few free-standing filaments (about eight) that were supported by the remaining lines/walls (spokes) but they were damaged when I took the model off the print bed. I think if I redid this print, I would increase the extrusion width and rate for sturdier free-standing filaments. As for the third print, the free-standing filaments are not visible in the picture. If you look from the perspective of under the model, you’d see them more clearly and be able to feel their web-like structure hanging from the anchor points of the star around the circle. They were actually unintended in this print, but I guess they were a by product of the toolpath the extruder took.
Hi Jyrus,
I also struggled a lot with z-axis movement, my nozzle would push down into the model and it somewhat created a wave model but not in a nice way. Most of my decision was based on the Cura model shown and now I feel I should have trusted the printing process better than the visual Cura gave me. Great models and great accessories for your cat
Hey Alan,
Thanks! I think a lot of people had this same issue. It’s tempting to trust the Cura renders, but with prints like this where we manipulate the G-Code directly, it’s not wise. Like I said, I think to improve my print, I would decrease the wave amplitude and not make the extruder point go so deep to where it was hitting the model.