Form 1: Free Standing Filament
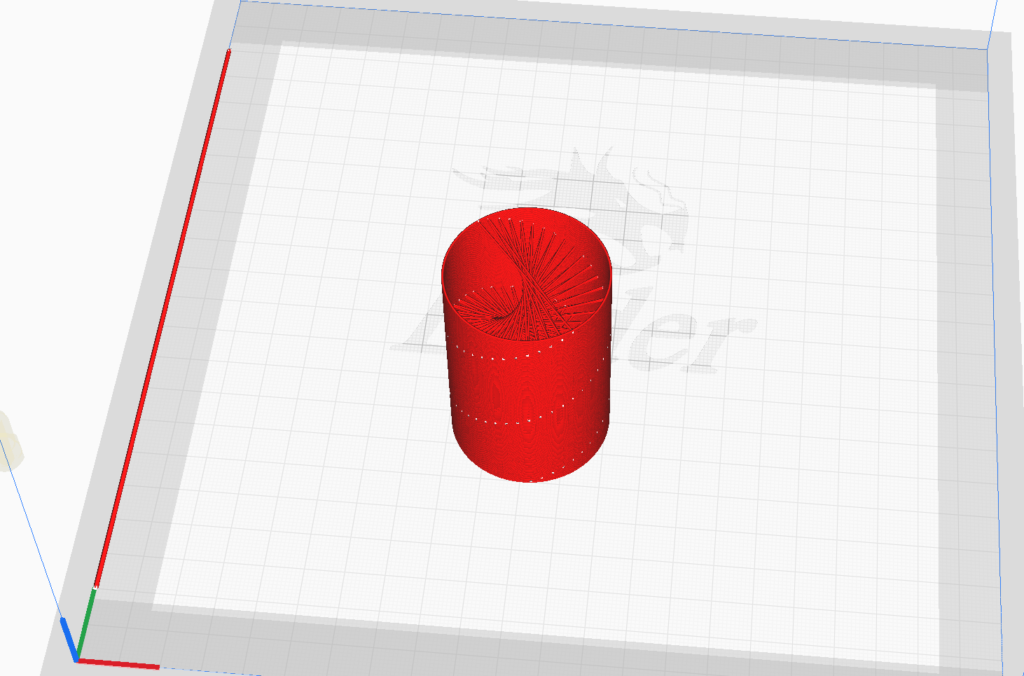
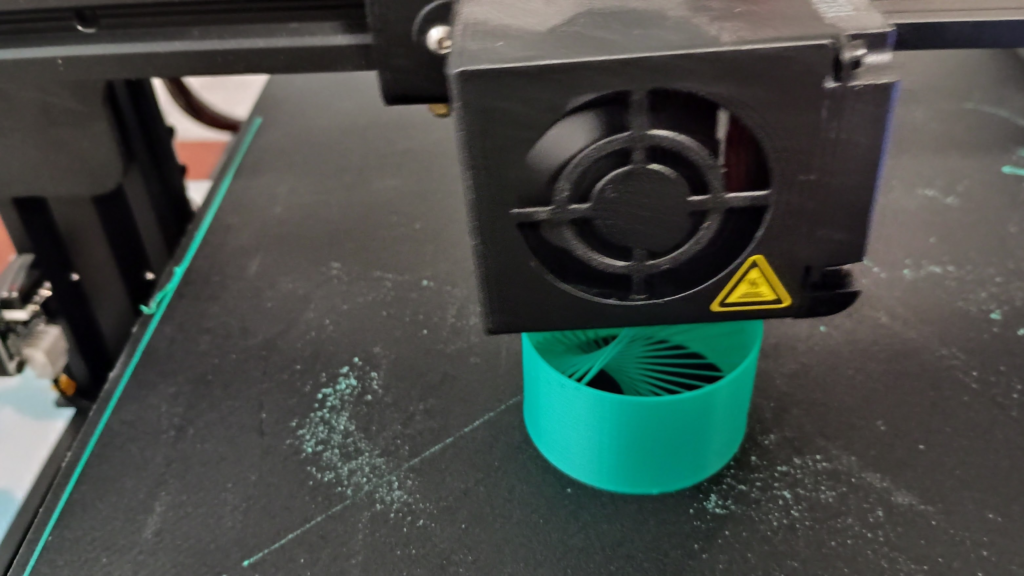
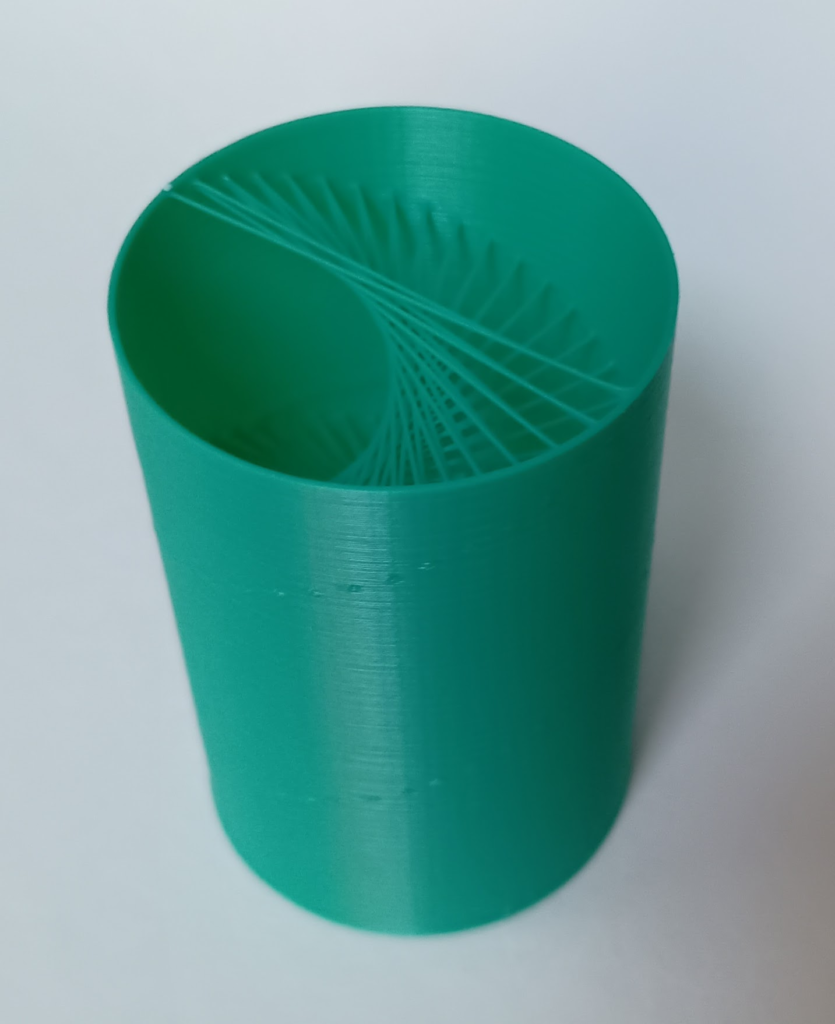
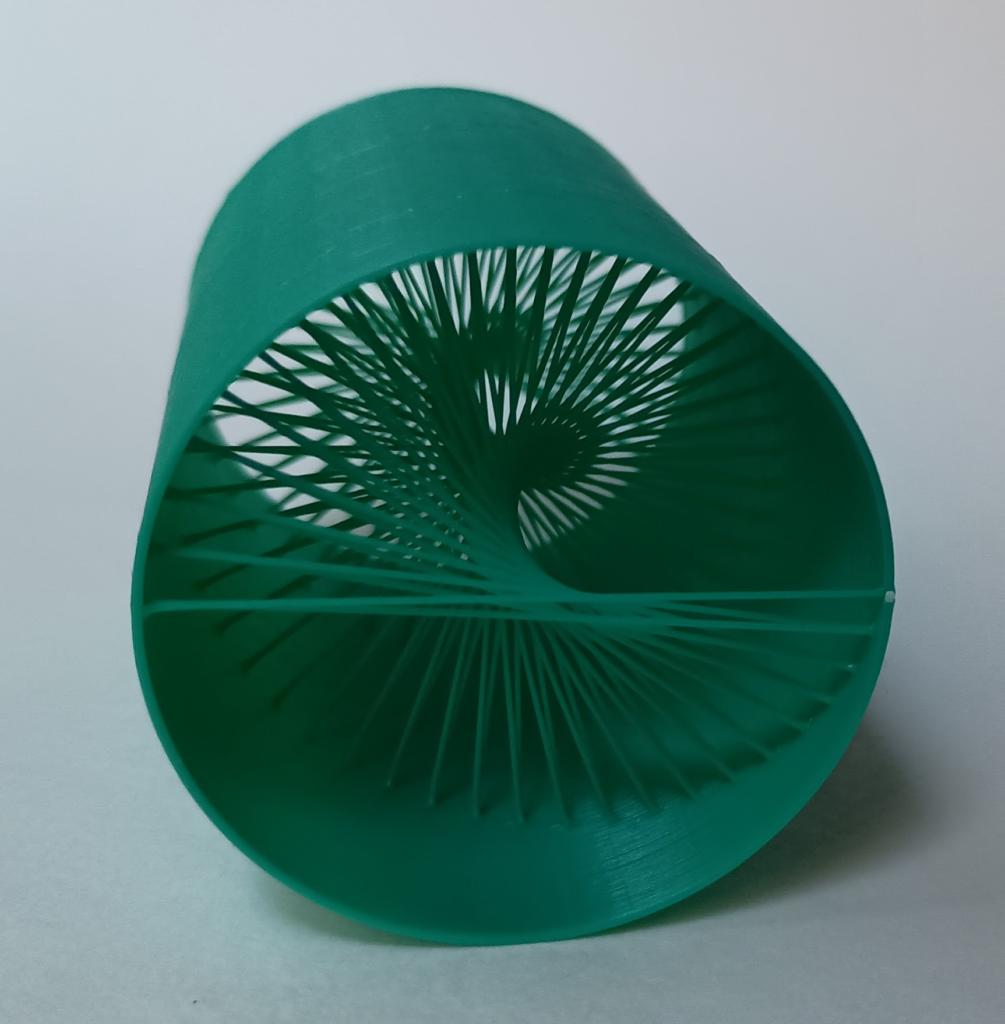
This form was generated using a circle with a line in the middle as the repeating layer. As the layers increase, the rotation of that line increases as well. The result is freestanding filament inside the cylinder. Freestanding filament was one of the requirements as it is not able to be done using a slicer. I did not have any issues with this design and didn’t go through an iterative process with it. It took 42 minutes to print.
Form 2: Non-Planar Movement in the Z-Axis
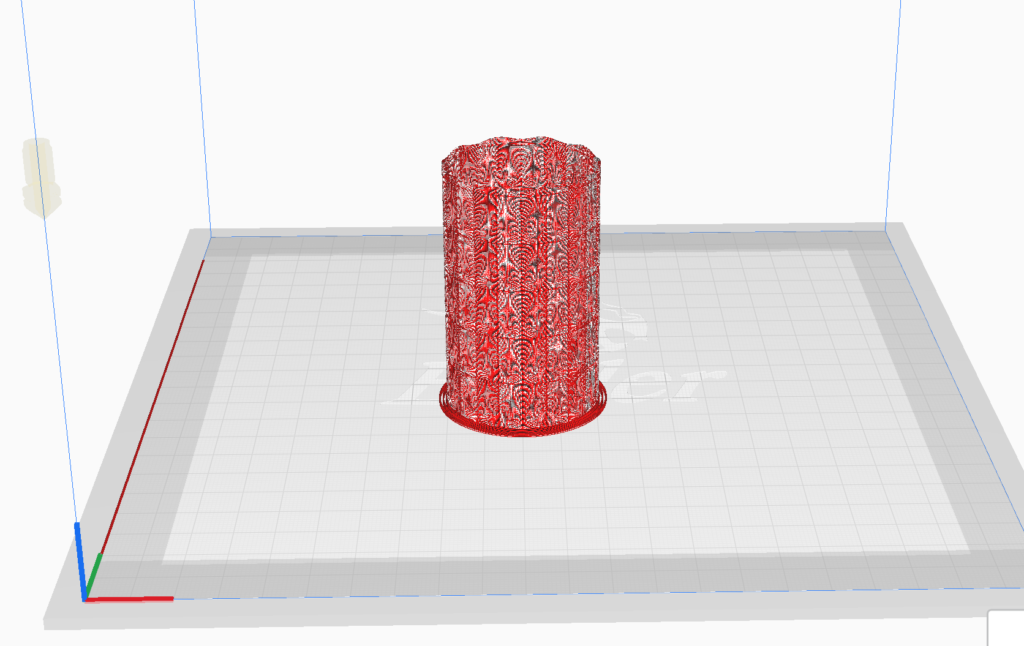
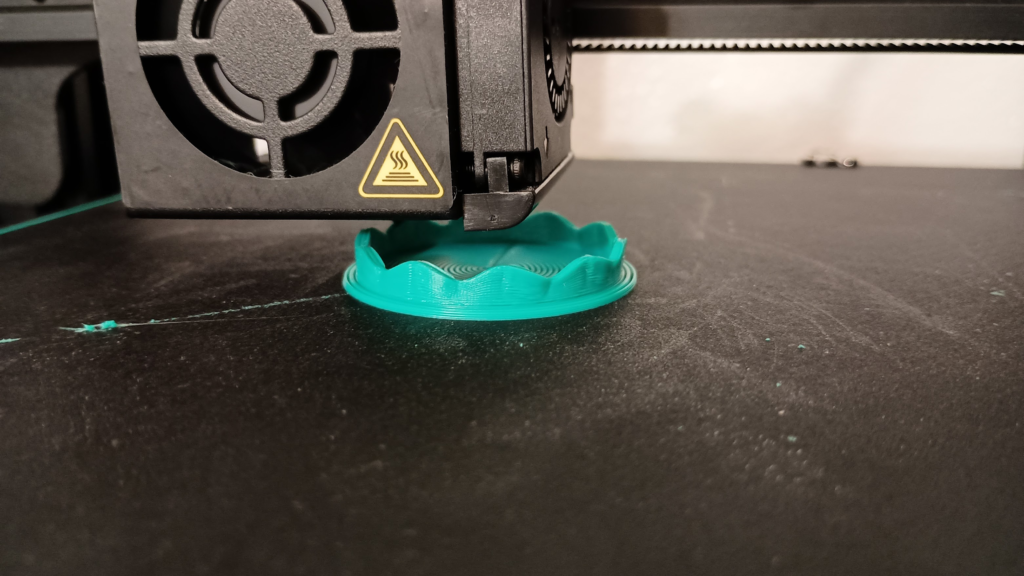
Each layer of this form is a sin wave in the z-axis around an x/y circle. The amplitude of the sin wave changes everyother layer to either increase or decrease. This pattern requires the nozzle to move up and down along the z-axis, which is something a traditional slicer would not be able to do. This non-planar toolpath was a requirement of the assignment.
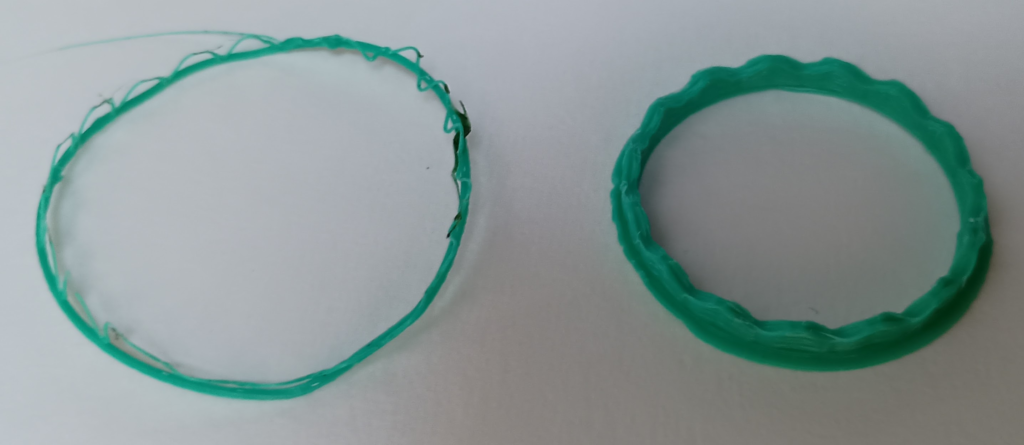
I printed a few trial forms before the final print. To the left is a single sin wave printed in a circle. I did not like how flimsey and likely unreliable that form would be in a larger design so desided to print increasing amplitude sin waves to provide itself some support, as seen on the right. I liked the look of that design and desided to use it to create a cylinder.
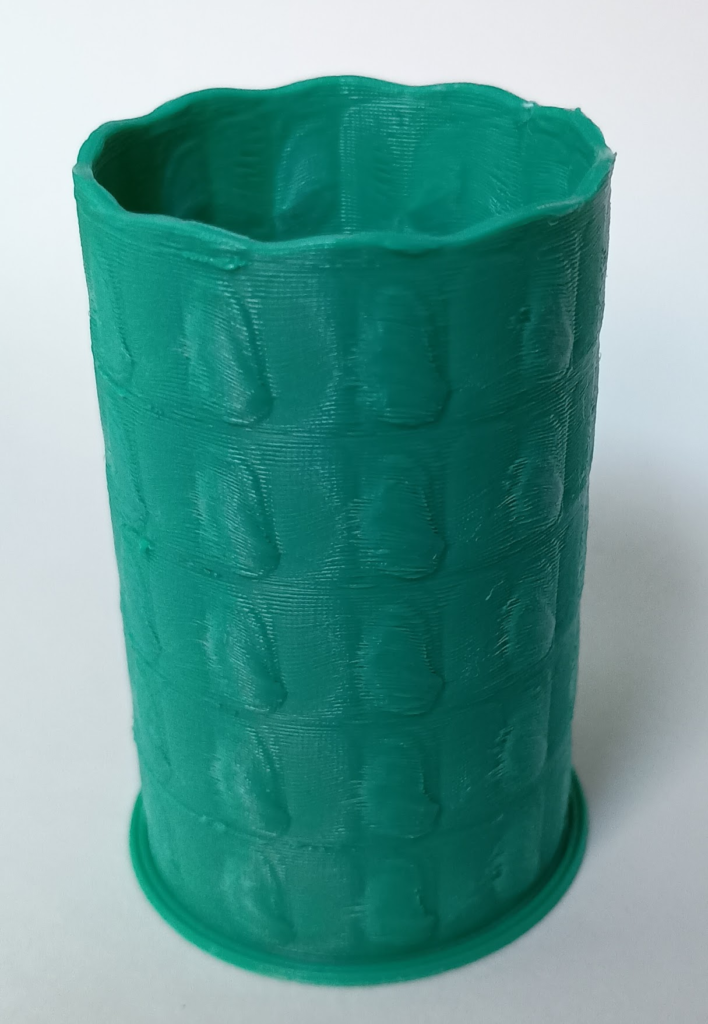
While the final form was printing, I realized that the nozzle was starting to slide against the sin waves and was pushing a little bit of the excess filament out of the way. It was not extreme and was actually forming interesting bumps on the outside so I decided to let it continue printing and was happy with the final design. It took about 5 hours to print.
Form 3: Extrusion Rate
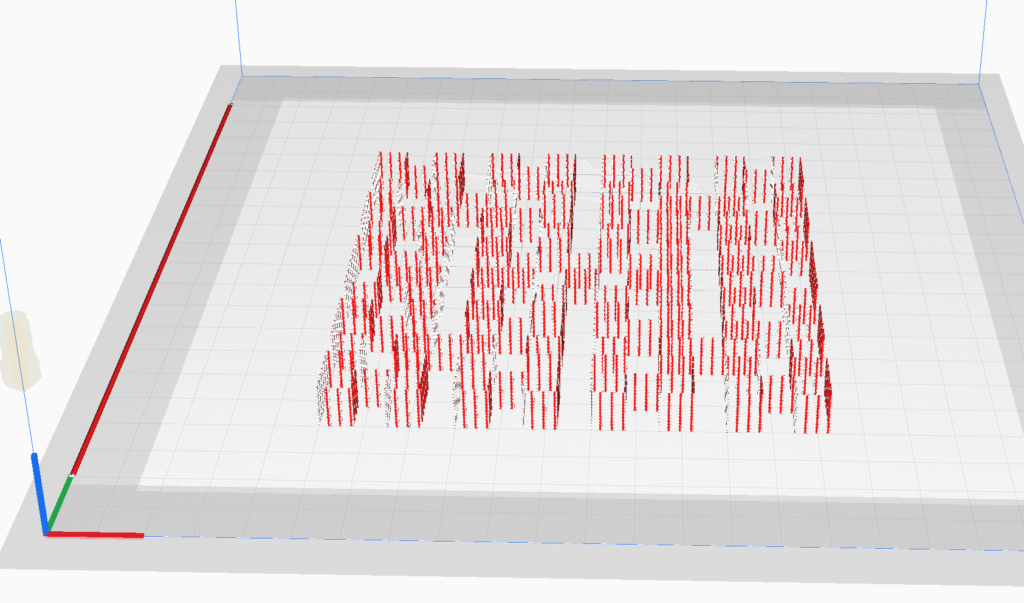
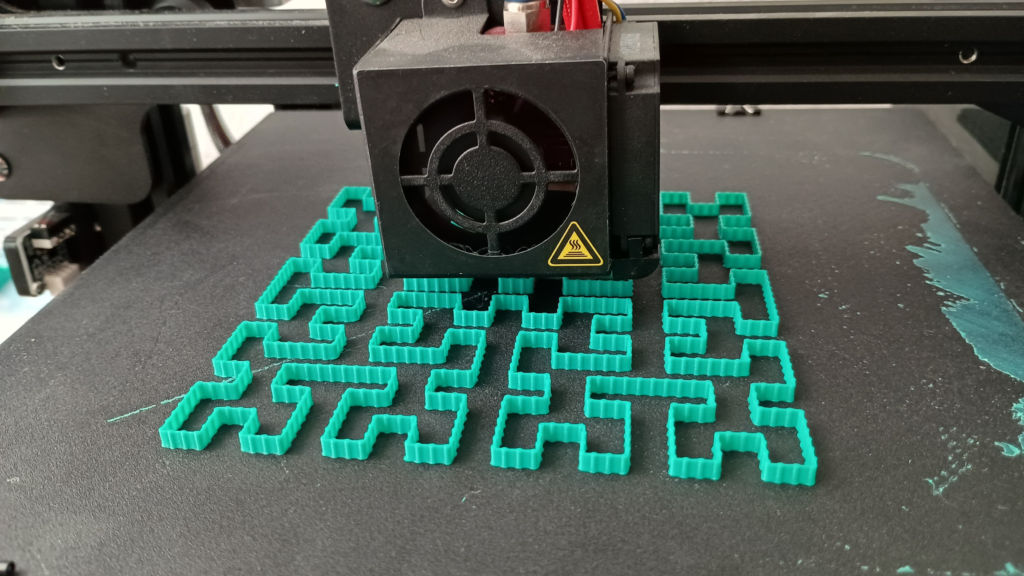
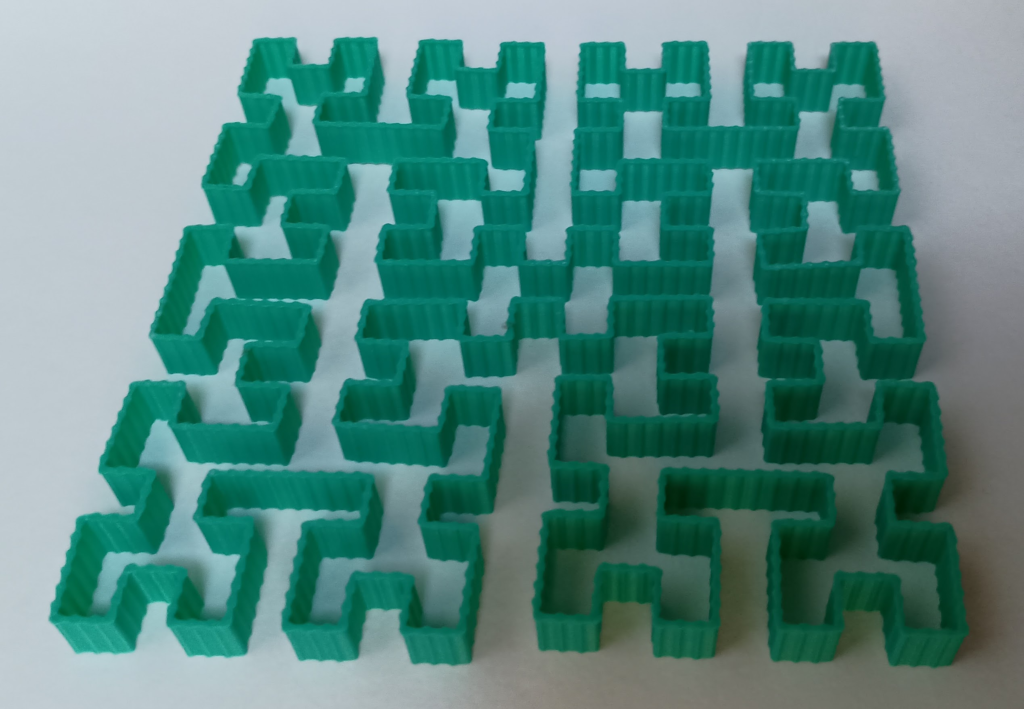
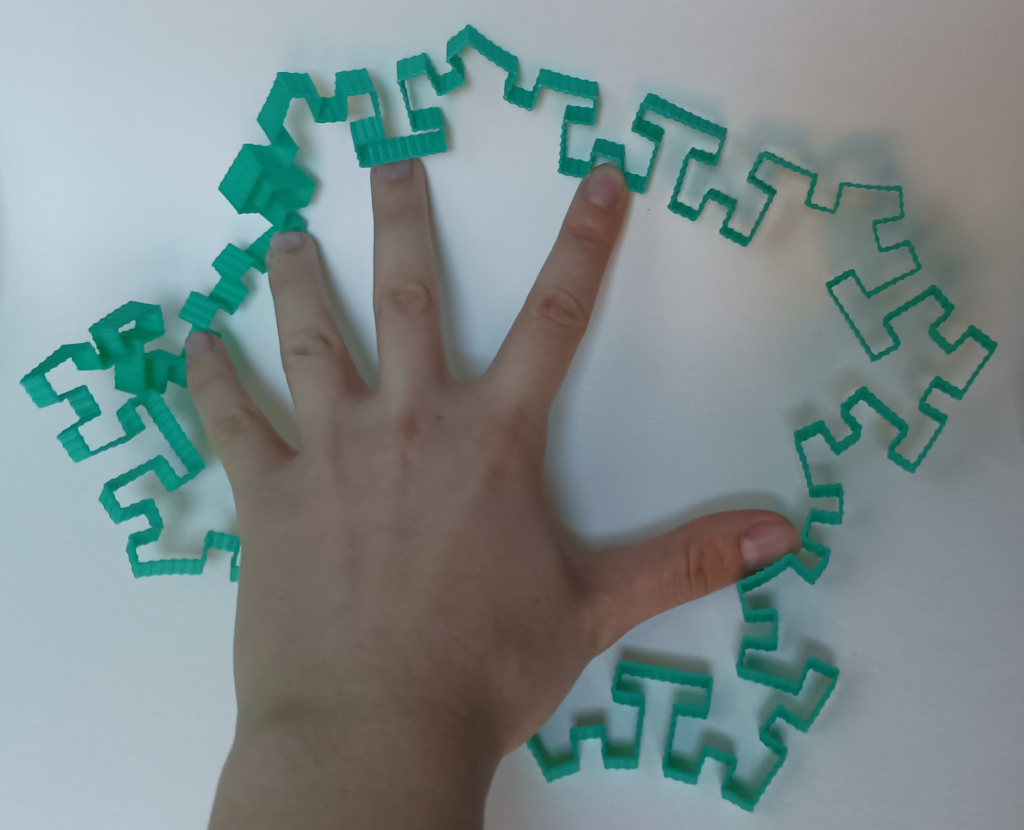
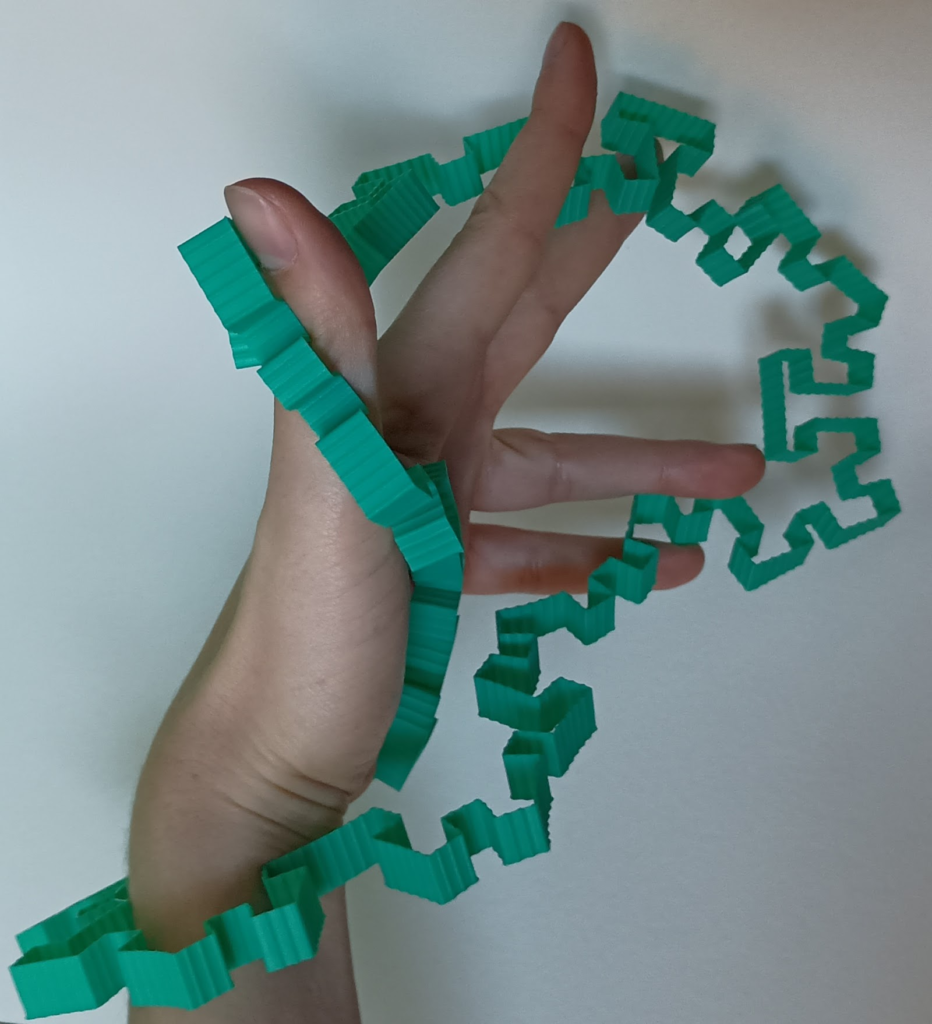
This form is a depth 4 Moore curve. A Moore curve is essentially a space filling curve that forms a loop. This form cannot be generated by a traditional slicer because I alternated between different extrusion rates every few mm and had the nozzle pause inbetween each.
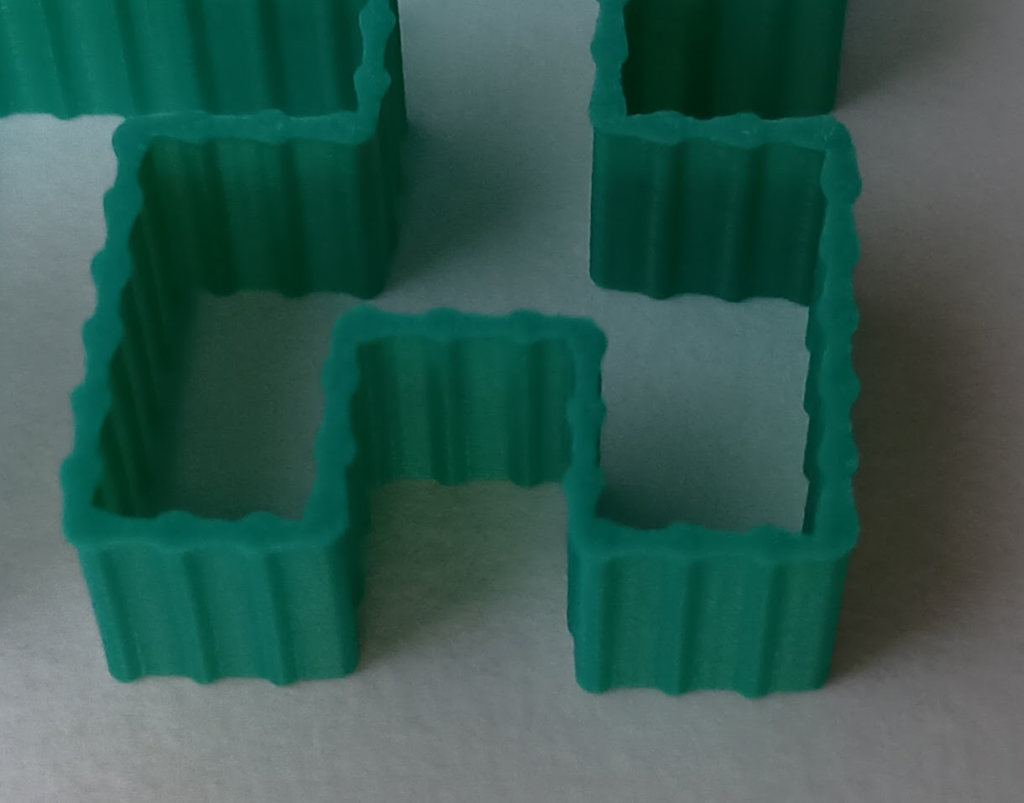
I had an iterative process to understand how the extrusion rate worked. I had some issues with whatever maximum extrusion rate I had spilling over into the minimum extrusion rate forming a blobby line as opposed to distinct widths. My solution to this was to add a pause of about half a second before switching from the maximum to the minimum extrusion rate. It still spilled over a bit so I ended up setting the minimum extrusion rate to 0 and the maximum to 0.2.
The final print then went well as it was relatively simple. The final form is relatively flexible and manipulatable due to the thin walls as a result of the extrusion rates. It took about 4.5 hours.

Hi, Elektra!
Great prints especially the final print. For the final print, I was wondering if you used any loops or did you manually generate it? Besides that, all your forms look very unique and impressive! Great job!
Thank you! I used a loop for the number of layers. The actual design of the curve uses recursion where I can set the depth (how many times I recurse) I want and it will create a more complicated loop. The one I printed was a depth 4. If you are curious about the rules of the recursion I suggest googling the Moore curve, there should be a decent description of the rules.
Elektra,
Great work! I really enjoyed your first print, I had a similar idea, but I strayed away from it because I was avoiding the longer print times. For your second print did you increase the extrusion rate? It looks thicker in some areas.
Thank you! For the second print I did not do anything with the extrusion rate. The periodic thickness was caused by the nozzle slightly grazing the mounds of already printed filament. That caused the mounds to spill a little bit to form the thickness. It was initially unintentional but I liked how it looked and decided to let it finish printing.
Hey Elektra,
Great job on all your prints, they are really fascinating and well done. I’m particularly impressed by your first print . I am very fascinated on how you implemented being able to have the free standing filament within the cylinder without the extruder crushing it in some way or overheating the filament and melting it. It came out really awesome. Do you have any tips on how to ensure that the free standing filament strands come out sturdy? That is something I definitely struggled with in my implementations.
Great Work!!
Ian
Thank you! For that first print I did not change any of the default settings for heat and speed etc. All I needed to make it work was two sturdy structures on either side of the filament. I imagine it will become less stable the bigger it is but I am not sure.