Introduction
This is my first time using the CLAY printer, and the experience has been truly fantastic and amazing, despite the many challenges I encountered while preparing the material and printing. First and foremost, I would like to express my gratitude to the Hand and Machine Lab for sponsoring the Eazao printer. Special thanks to Prof. Leah and Fiona for helping me get familiar with the machine.
Helpful Reference, A paper about ExtruderTurtle: https://handandmachine.org/publications/Extruder_Turtle.pdf
Process
I was excited about the example given from the Turtle Library, but its shape seems too complex to print by the clay printer. I failed to print some the example works. Then I turn to some simple shape, like simple geometric shapes that were created by superimposing two polygons.
My overall design idea is to use two for loops: the first for loop is used to print the layers, and the second for loop is used to print the different edges within a specific layer. I experimented with both simple and complex functions to achieve this.
1.PolyStarCraft
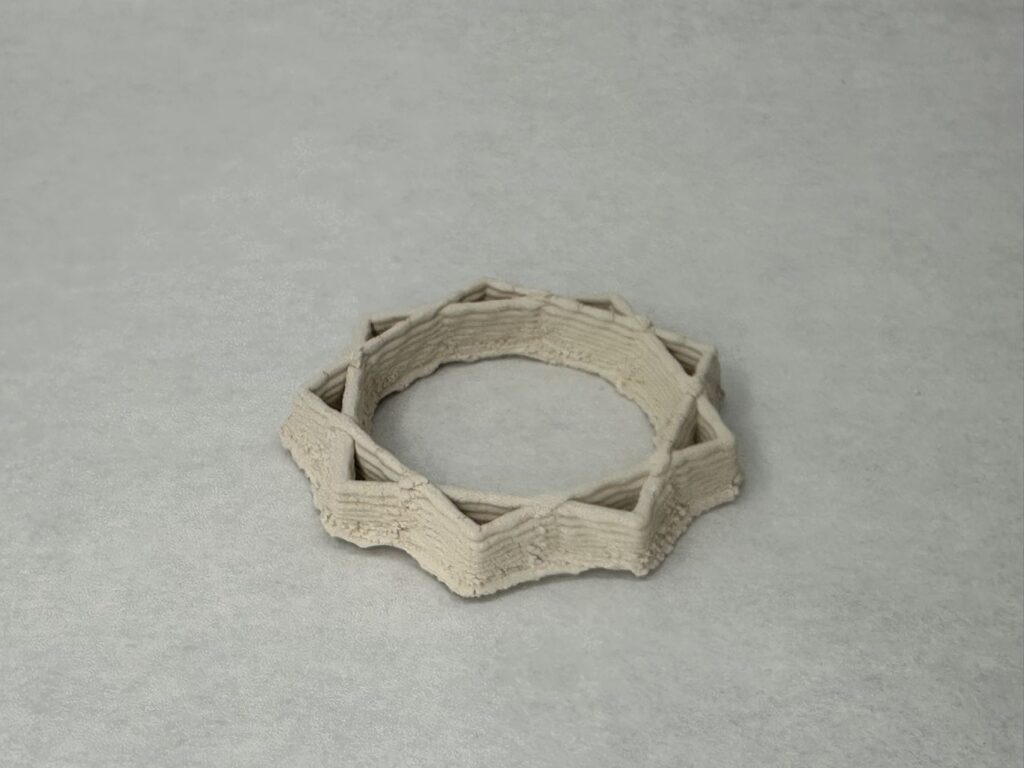
The screen shot from Cura:

I got my inspiration from the star-shaped work below! 🙂

2.Mini-WaveCrown
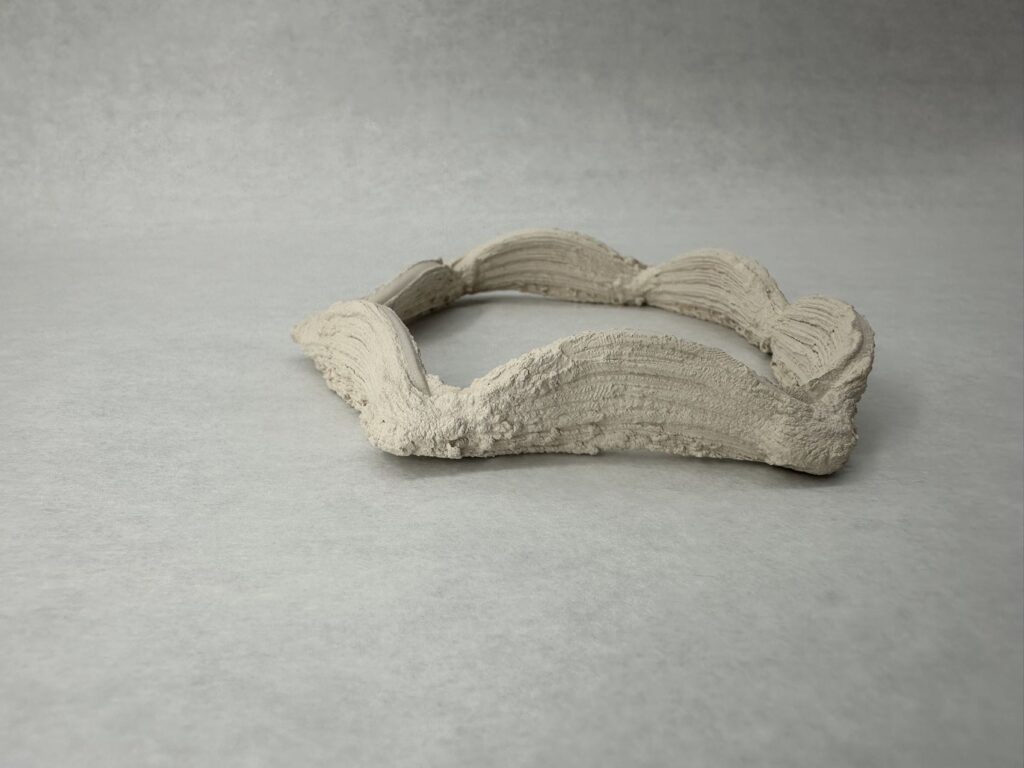


3.LoopContainer(a cube with 3 ears on each side)
Based on the previous work, LoopContainer will, on the specified layers in the if condition, draw a simple equilateral triangle midway while printing the edges, and then return to the original printing path.
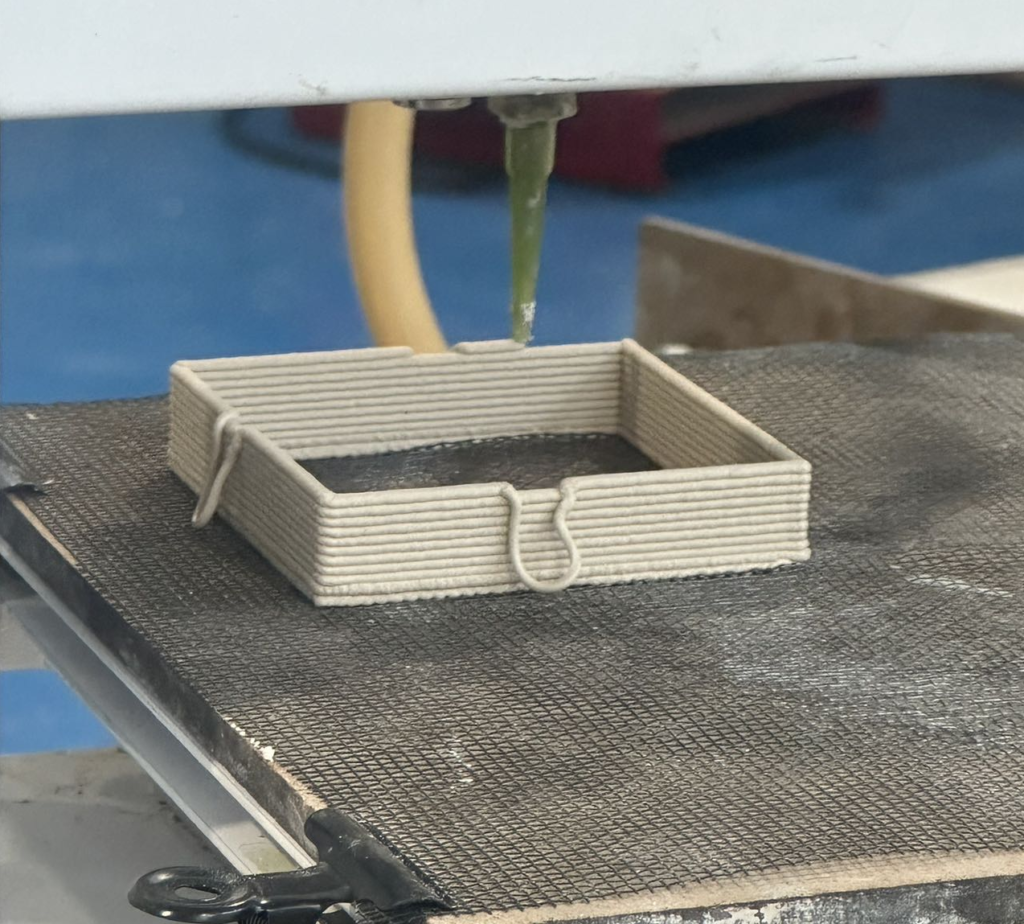
First Version
If the clay is too soft during printing, the printed clay will squeeze outward, causing the actual height to decrease, resulting in a large gap between the nozzle and the current layer when printing the next layer of height, resulting in the result shown in the figure. The printed shape is granular, not smooth.
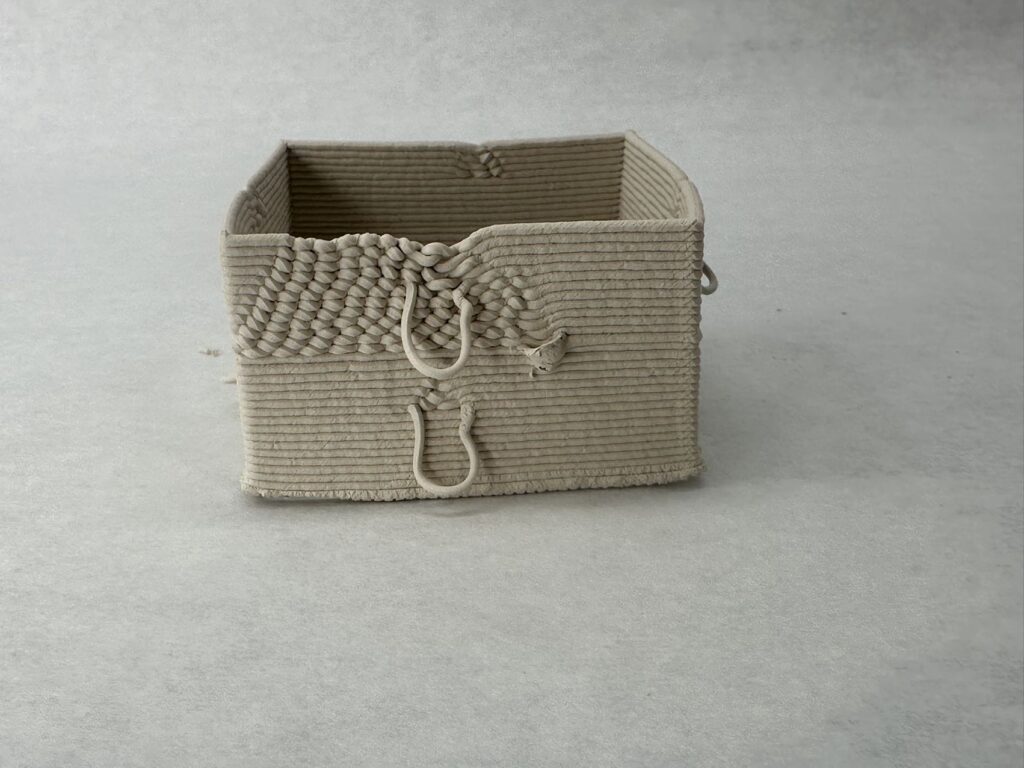

Second Version
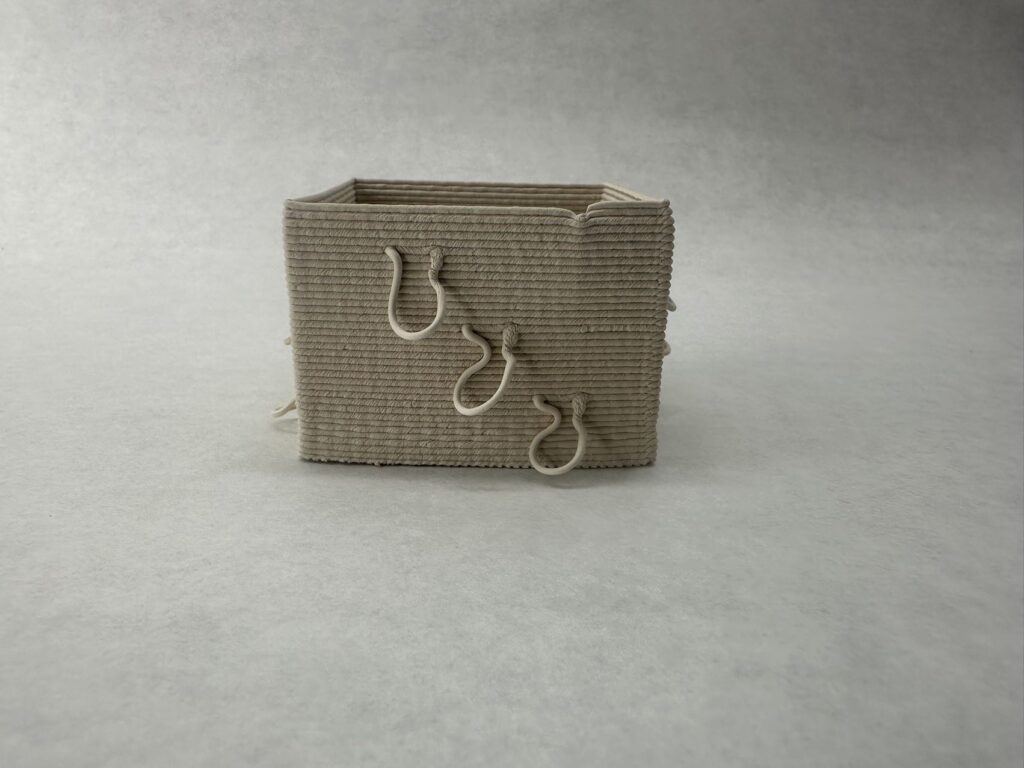
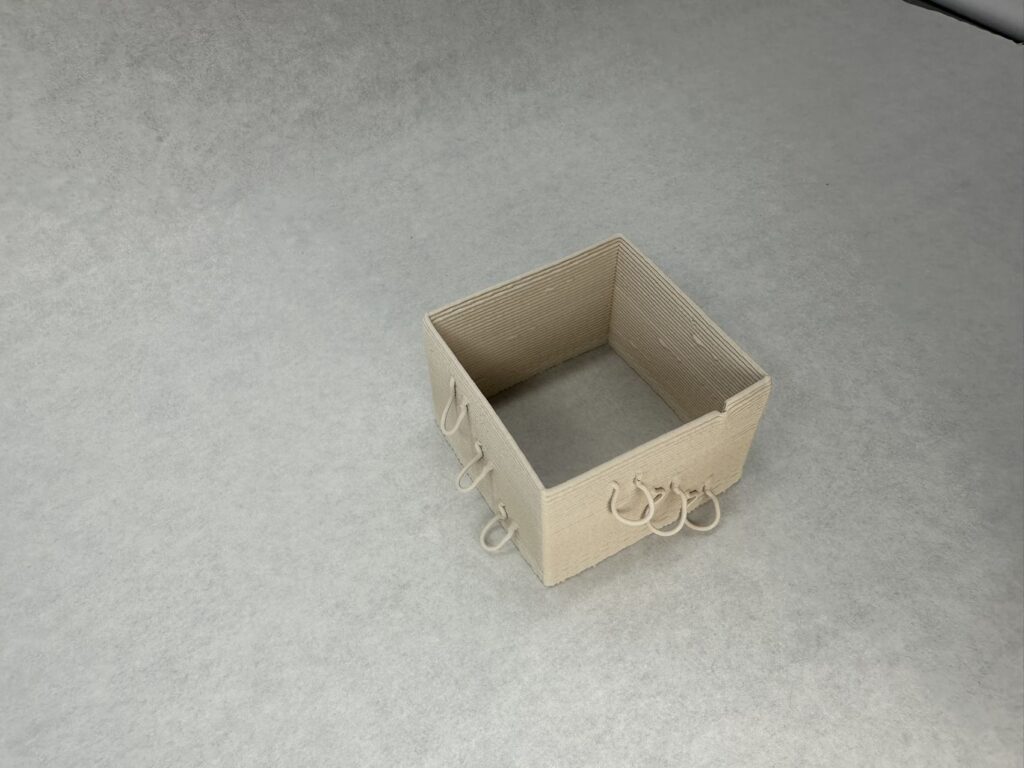


I got my inspiration from the star-shaped work below! 🙂 Extruder Turtle (handandmachine.org)https://handandmachine.org/projects/extruder_turtle_rhino/

Challenges
Unexpected Outcomes
When I was printing, I found some shortcomings of clay printing. For example, if the height of the second layer is too low, the nozzle will be very close to the first layer, which will destroy the original structure of the first layer of clay, allowing some clay to escape outward or inward, causing it to be not smooth.
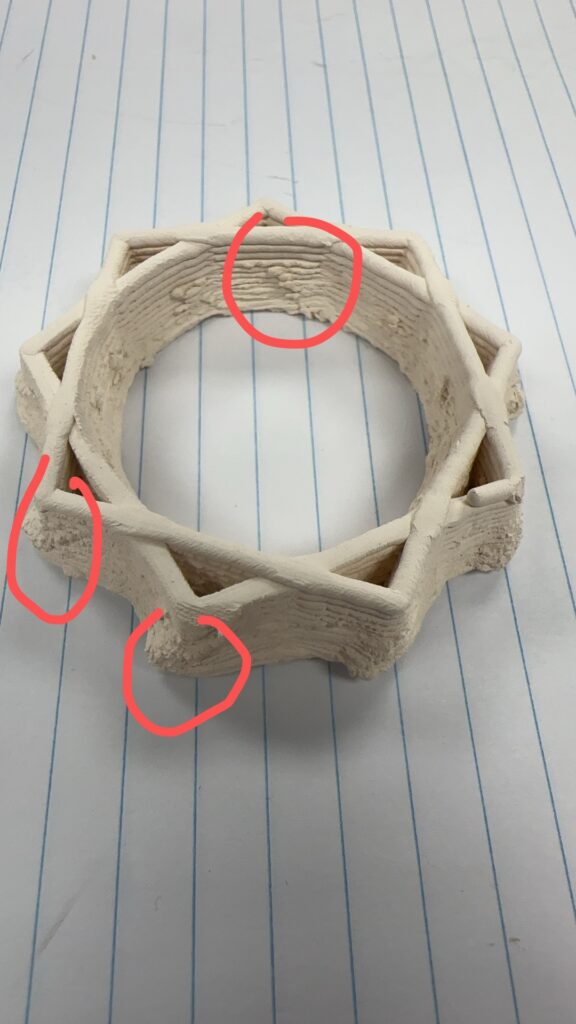
The first challenge I met is that the extruded clay are so soft and discontinuous when it float wtihout support, it looks like the second picture. The method I try to improve is to modify, adjust the extruder speed and moving speed.

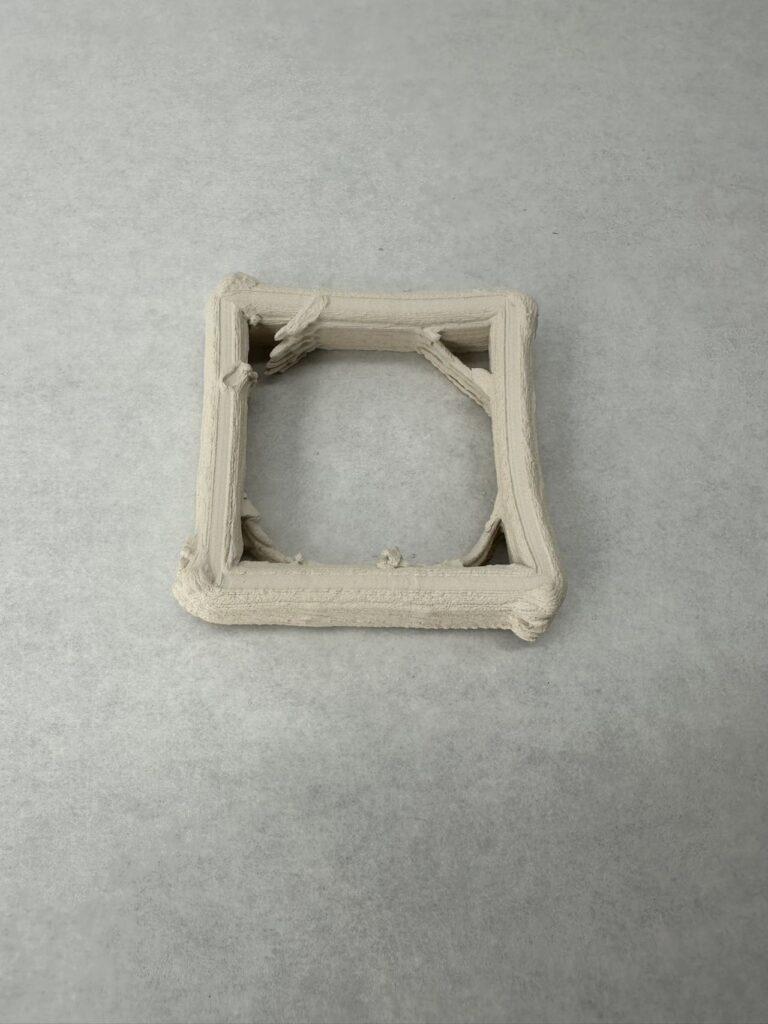
This is the second challenge I met, on the right of this printed work, the second layer wasn’t corrected printed on the first layer, so there will be a 0.3mm gap in z axis. That’s why you see part of the print result as granular.

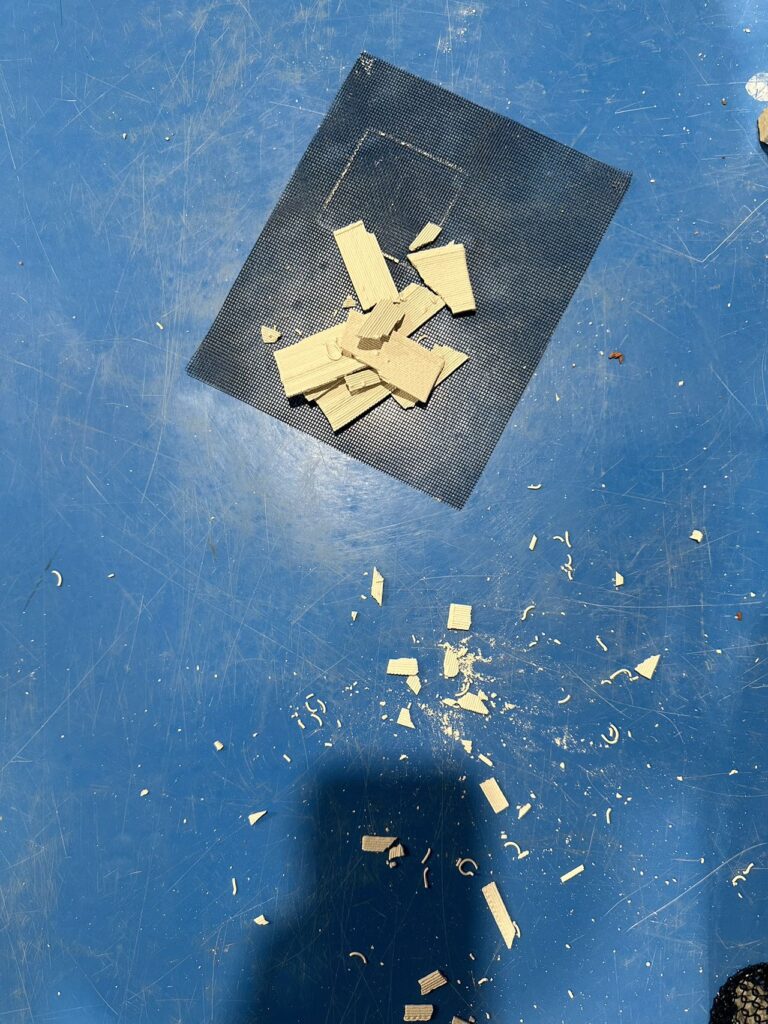
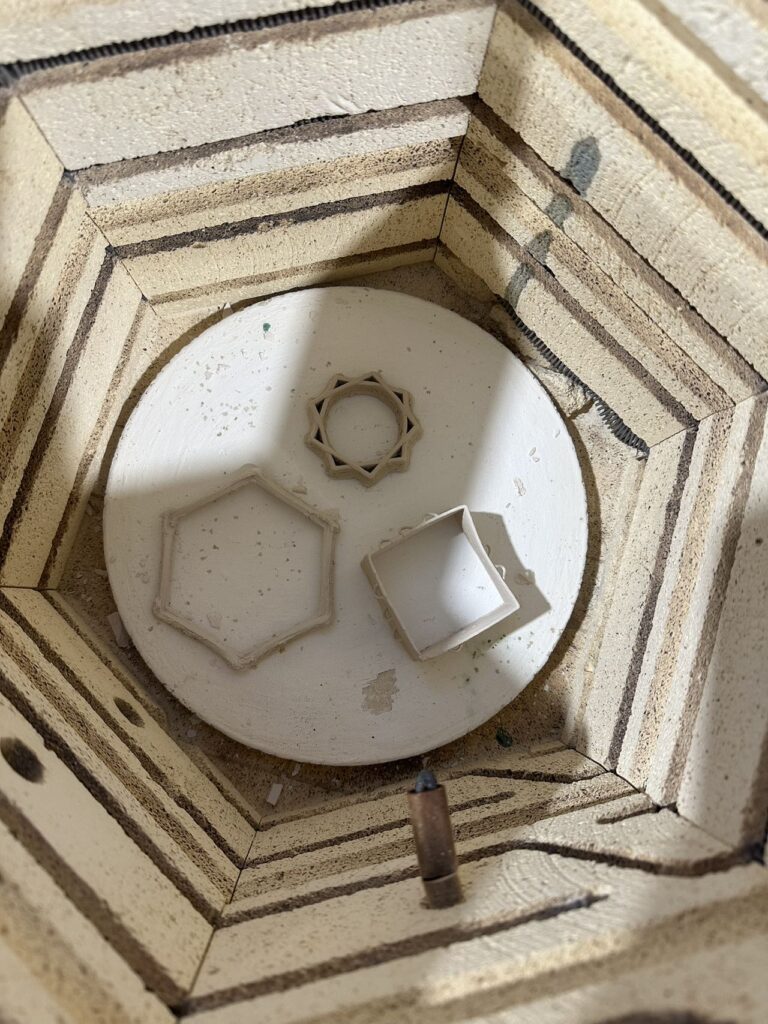
Sometime, the fried clay is more fragile than PLA printing work, so you should take care when you remove and touch it.
Drying and Frying
When we finish the printing, the drying and frying is most important, which could make the printed work harder.
Grasshopper And G-CODE
Reflection
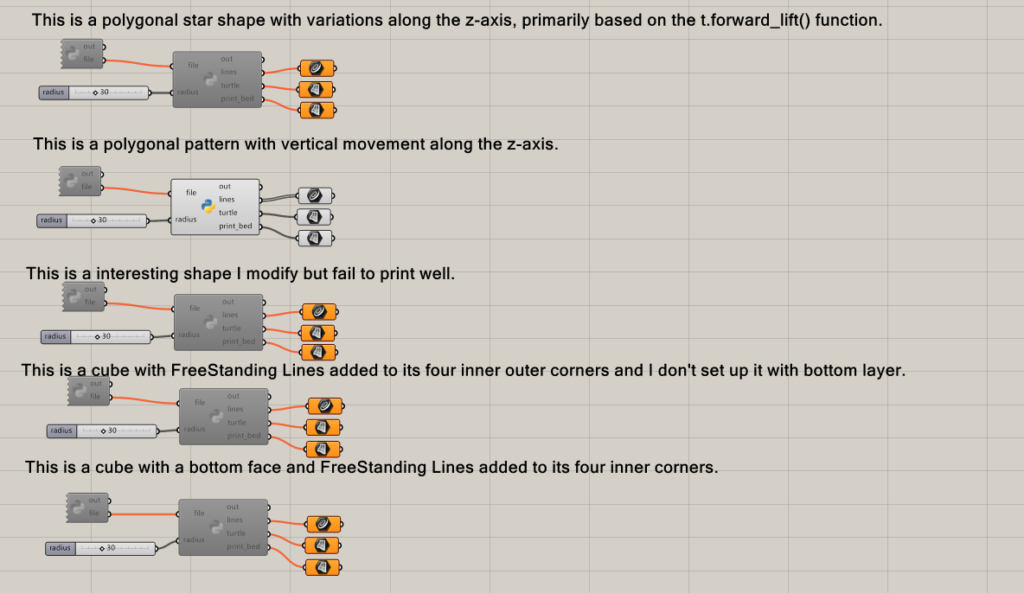
First and formost, it is really easy and comfortable to use Turtle-library to design the work you want print, because it is more flexible, especially, I think the t.foward_lift() function do a good job, you could produce object with contour variations along the Z-axis. The traditional silicing software it seems can’t do this job, they could only print every horizontal layer step and step.
Hi Qinghong!
I was really impressed with how you navigated the challenges of working with the clay printer, especially since this was your first time using it. It’s great that you chose to branch out from the PLA printer. Your approach of superimposing polygons to create geometric shapes is both clever and visually interesting, and I can see how the Extruder Turtle library gave you the flexibility needed for your designs. The LoopContainer, with its integration of equilateral triangles, adds a compelling layer of complexity to your prints. I also worked with triangles in my project, and I noticed that like yours, my print resulted in loops rather than protruding triangles, which was a neat outcome.
Your troubleshooting process with the extruder and the adjustments you made to the speed were really insightful. Working with such soft material can be tricky, and it’s cool how you overcame those difficulties. I also appreciated your reflection on how traditional slicing software struggles with contour variations along the Z-axis, which the Extruder Turtle library handles so well. I’m curious—how does the print time with the clay printer compare to the PLA printers we’ve used in class? Is it significantly longer or shorter?
Hi dprairie2, thank you for your comment. I think it is the similiar result if you triangles or squares and print these without support, i mean print it out of the shape and print in free space.
Final, it is a fair questions ragarding the comparsion between PLA printer and Clay printer. One of the advantages of the Clay printer is that they don’t need to heat the nozzle and the printing bed, it saves time! If you print same shape, and ignore the time wasted for heating, I think they consum the same print time. Exactly, I ge the advice from Leah that I could adjust the speed of extrude and the speed of moving nozzle so that the printed part are not easy to collapse, you know, the printed clay it is soft at first. However, one more thing I want mention is that the CLAY Printer it take too much time for preparing the clay materials(mixed the water and clay to get a right density), then put them into the tube. I think the time they consume is similiar when they are printing.
Hi, Qinghong!
Great prints with clay printer! How was your experience with clay printer than the printer you used for your previous assignments? How many iterations did you had to print your objects in order to “finalize” them and get what you want? Also, I really like your loop container print object! It looks complicated to do!