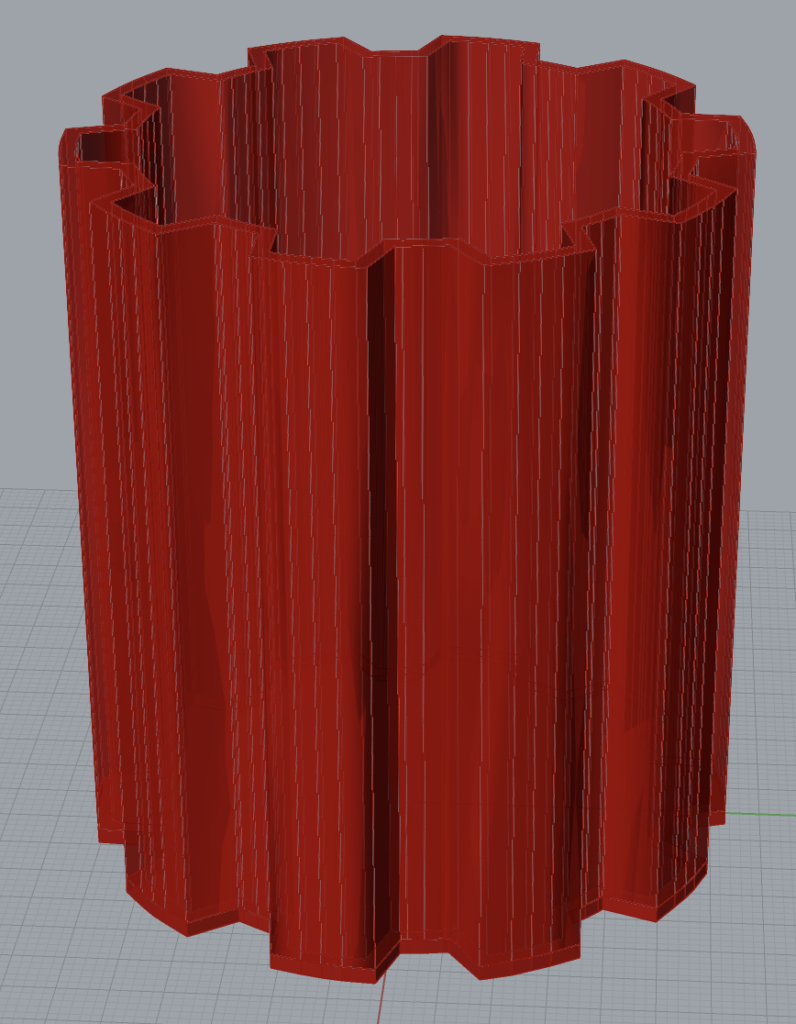
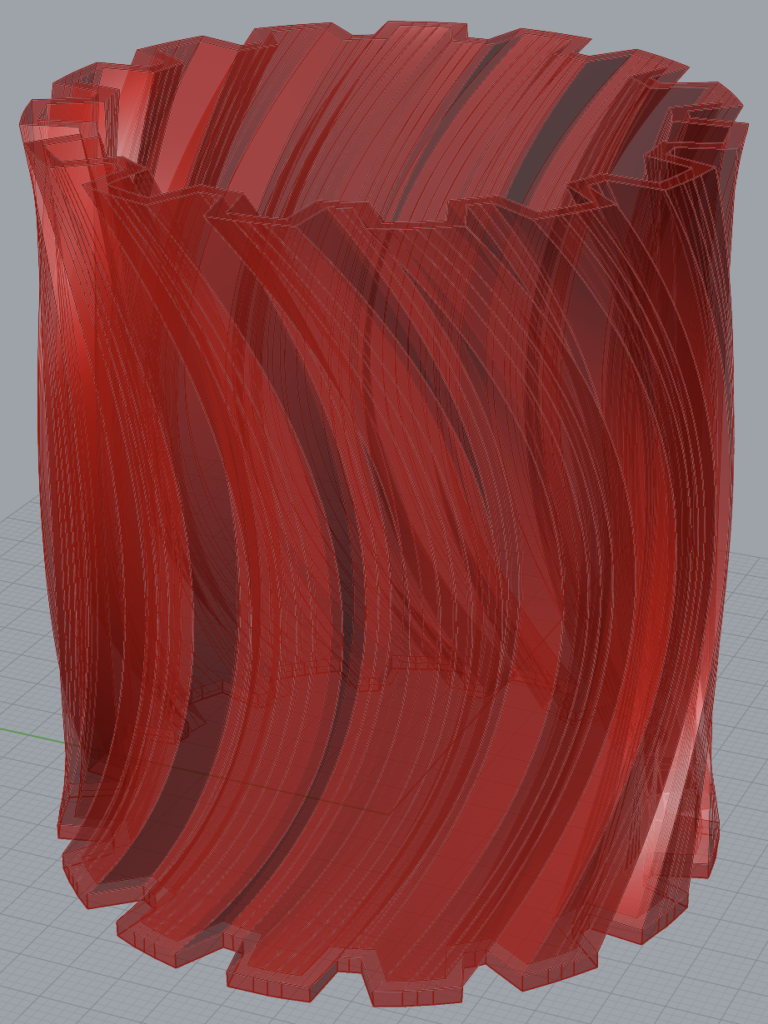
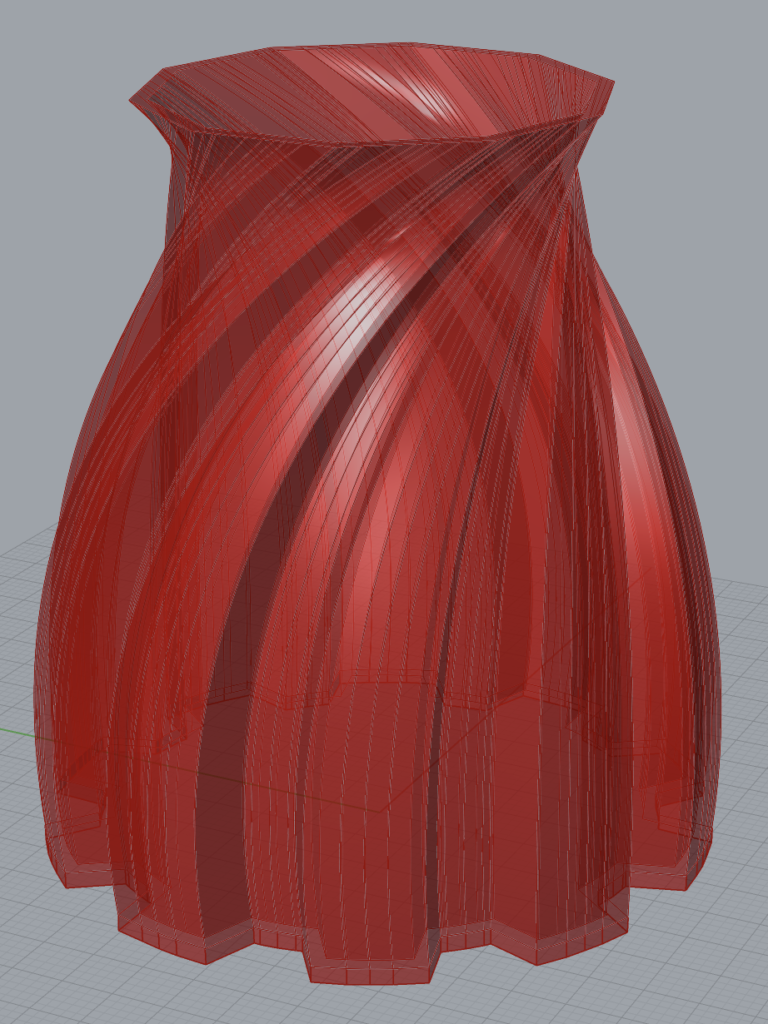
The main inspiration for my vessel family was the triangular gears we designed in class. I wanted to use a similar shape, but with square gears rather than triangles. My motivation for the square gears is that it would allow me to have many different parameters that I could modify to get a good variety in my objects. This was relatively simple to implement using the radial function we went over in class with a few of my own modifications to get the square/rectangular teeth. I also added the ability to twist the layers as I thought this would add a little more excitement to my models. The parameters I used to create the vessels were, for each of the three layers: inner radius, outer radius, number of teeth, tooth size, height, and twist angle. Many of the parameter values that I ended up choosing were geared towards limiting the need for supports to speed up print times and meet the size requirements for the project. Below are the rendered rhino models of the final forms I chose:
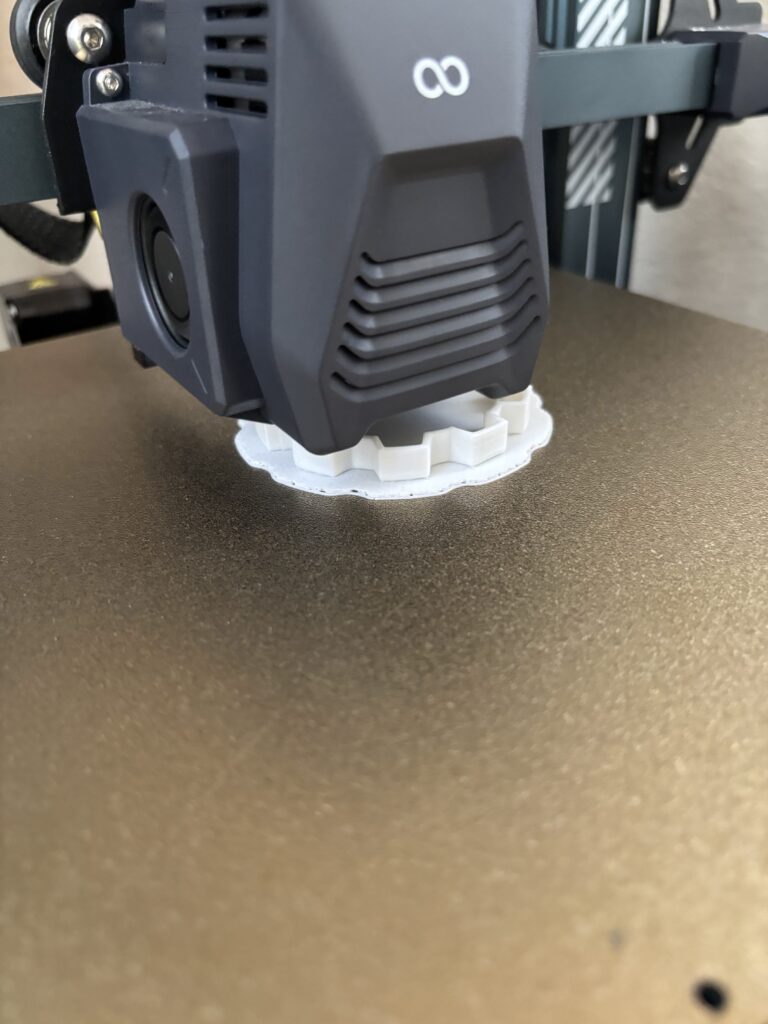
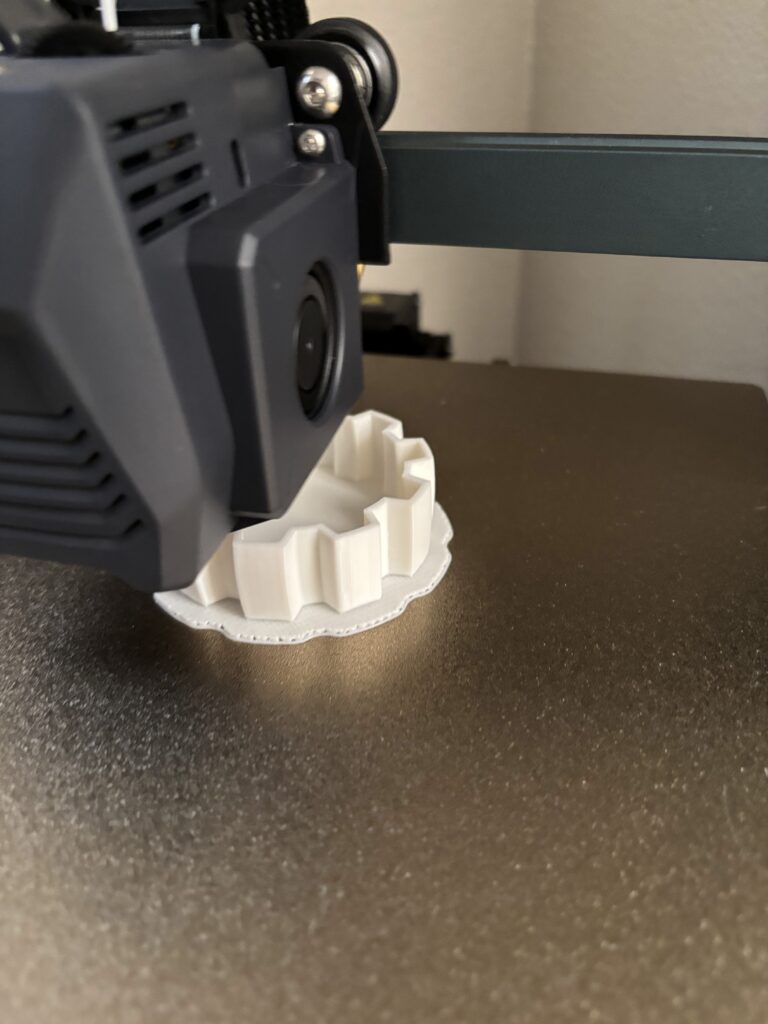
I had no issues printing and all three vessels printed perfectly on the first try. Images of the printing process:

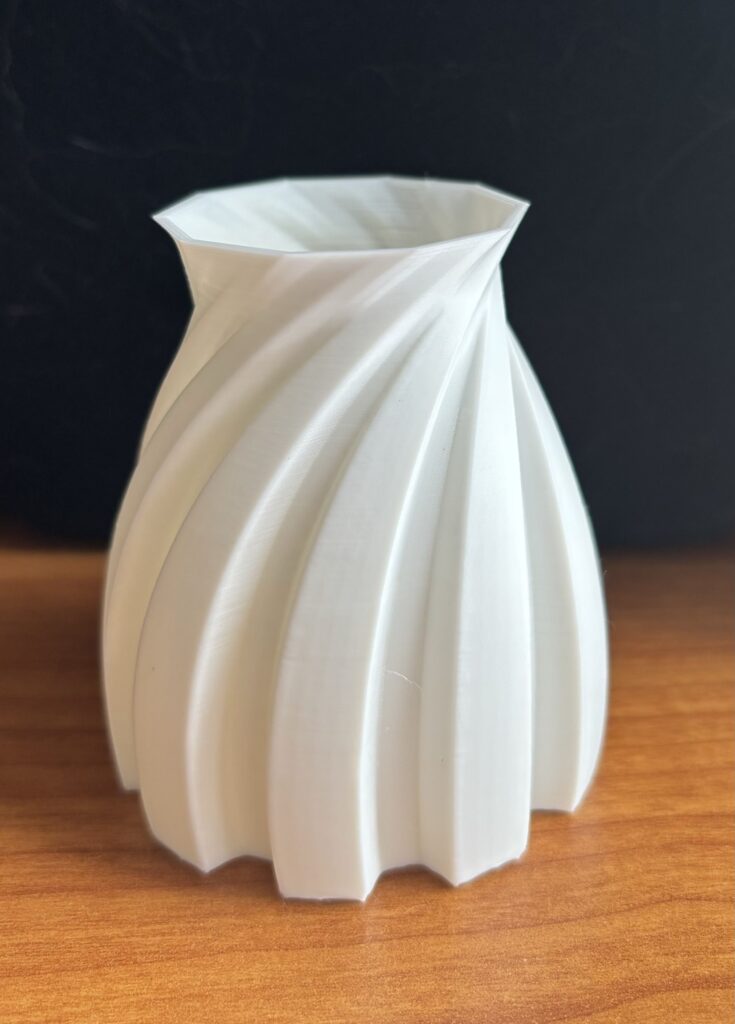
And the final products:


I really enjoyed designing these vessels. Using python to manipulate the 3d models is so much more intuitive and easier for me than using rhino directly. It allows me to be more exact with my measurements, I can define exactly which functions I want to run where, and I don’t have to deal with any sort of issues that come from trying to click and drag objects and having them end up with behavior I didn’t intend and don’t know how to revert. Particularly for this project, where parameters had to be defined and modified, it allowed me to create and design these three vessels much faster and easier than I ever could have done with rhino alone. Also, being able to define shapes via math functions simplified the process even more.
As I stated earlier the post, I went into the design process with a very clear goal in mind to create the vessels using circular curves with square gears. I started by designing the most simple version of this shape, which is the first print of my final models. I used this as a sort of base for the other two prints, which I created by playing around with the parameters I set until I found a design that both looked cool and would be easy to print. I wanted one simple base shape, a shape with just a few basic parameters changed from the first, and one with large parameter differences that showed how much of an effect the parameter changes could have. There were quite a few scrapped designs that I really liked the look of, but would require way too many supports that would not only take too long to print, but would also lower the overall visual quality due to the leftover markings that come from removing the supports. These designs implemented the curve twists to a much greater extent than the final models I made, meaning the gears would have an angle that required support on both the inside and outside of the model. As for differences in how I felt about this design process compared to the traditional, I really felt as if I had much more control over the models. I often find when using any 3d software that I click and drag and things happen that I don’t really understand or necessarily want. When designing these I knew exactly what was happening to them and was able to make sure when changing parameters that they reacted in the way I was expecting. Below is the grasshopper file used for these models:
Hi Samuel!
Your approach to using square gears for your vessels is really creative. I like how you took inspiration from the triangular gears we worked on in class but modified them to suit your own vision. The parameters you chose, such as tooth size, number of teeth, and twist angle, seem to have given you a lot of flexibility in your design, and it’s impressive that all your prints came out successfully on the first try. It’s also smart that you focused on minimizing the need for supports, which can really help speed up the print time and maintain a clean final product. I really haven’t tested out the supports yet and am glad I haven’t had to use it.
I can also relate to your preference for using Python over Rhino for this type of parametric work. Being able to control every aspect of the design mathematically definitely feels more precise and intuitive, especially when compared to manually manipulating models in Rhino. Your approach of starting with a base shape and tweaking parameters for the other two vessels demonstrates a great balance between creativity and practicality. I think the twisting effect you added gives your models a unique flair without overcomplicating the print process—well done! My favorite vessel of yours is definitely vessel 2. I love the gear-like design, and the added twist gives it a unique and visually striking appearance.
I try to avoid supports when I can, but I want to start making some more complex designs that might require them. Don’t be scared to use them! I only avoid them to keep printing times down and if I can get them to connect to the model in places where they won’t leave to much scarring it will definitely be worth it for more interesting designs.
I appreciate the focus on simplicity and efficiency. One of the things I really struggle with in this class is the print times. Depending on the size and intricacy prints can take most of a day to complete, and if you need support from structures it tends to double that time. So finding designs that are cool and also time efficient is important, and something I’ve spent time trying to work around. I like the iterative design with each print being a tweak on the last, adding extra details and complexities. Overall very neat.
I agree the print times can become quite the hassle. For future projects I want to mess around a little more with my 3d printer settings to make my prints as efficient as possible while maintaining high quality. However, I want to start making some more complex designs as mine have been feeling a little too simple in comparison to some of the cool projects I have seen in class.
Hi Samuel,
I like how you built upon the gear function that we used in class. Funny enough I did the same thing since I wanted another gear design like my very first print. I really enjoy the twist and curves you added to your prints, they are simple yet elegant! I think mine were a bit too twisted and I had a lot of issues with my Rhino stl being rendered in Cura. I really agree with you on how the programming process gives you more control over the modeling software. When I first started using 3D modeling softwares I had no idea what the tools did and what I was even doing half the time unless it was through trial and error, but by combining it with programming you know exactly how things can come out, change them up, and finalize them without the added stress of having to fix it in each rendition.