Part 1: Curves
Open a new Rhino File and practice the curves commands by completing the following steps. Organize your Rhino file so each step is clear. Use the Text command to label each step and the commands you used.


Overall this was a simple process, with one minor misstep that started to add up: I use Adobe Illustrator on a daily basis for my job, so all the keyboard shortcuts are very strong in my muscle memory. I kept clicking keys that correspond to Illustrator shortcuts that were messing up my command in Rhino. After hours on Rhino I am finally starting to not default to these commands but it has really been a struggle!
Part 2: Surfaces
Open a new Rhino File and practice the surfaces commands below by making two different surfaces for each command. Organize your Rhino file so each step is clear. You may want to use some of the curves you modeled in Part 1. Use the Text command to label each step and the commands you used.


Part 3: Solids
Open a new Rhino File and practice the solids commands below by making two different solids for each command. You may want to use some of the curves and surfaces you modeled in Parts 1 and 2. Organize your Rhino file so each step is clear. Use the Text command to label each step and the commands you used.


Part 4: 3D Printing
- Pick one of the shapes you created and 3D print it using your 3D printer. Note: to be able to print an object with the 3d printer, it must be watertight. That means that your shape must be a closed form with no naked edges and no holes.
- Export your model in the .stl file format. Import the .stl file into Cura and slice it, generating a .gcode file your printer can interpret.
- Your final print should be at least 3″ x 3″ x 3″ in size. Note: the print doesn’t have to be square, but the total volume should be approximately 9 in^3.
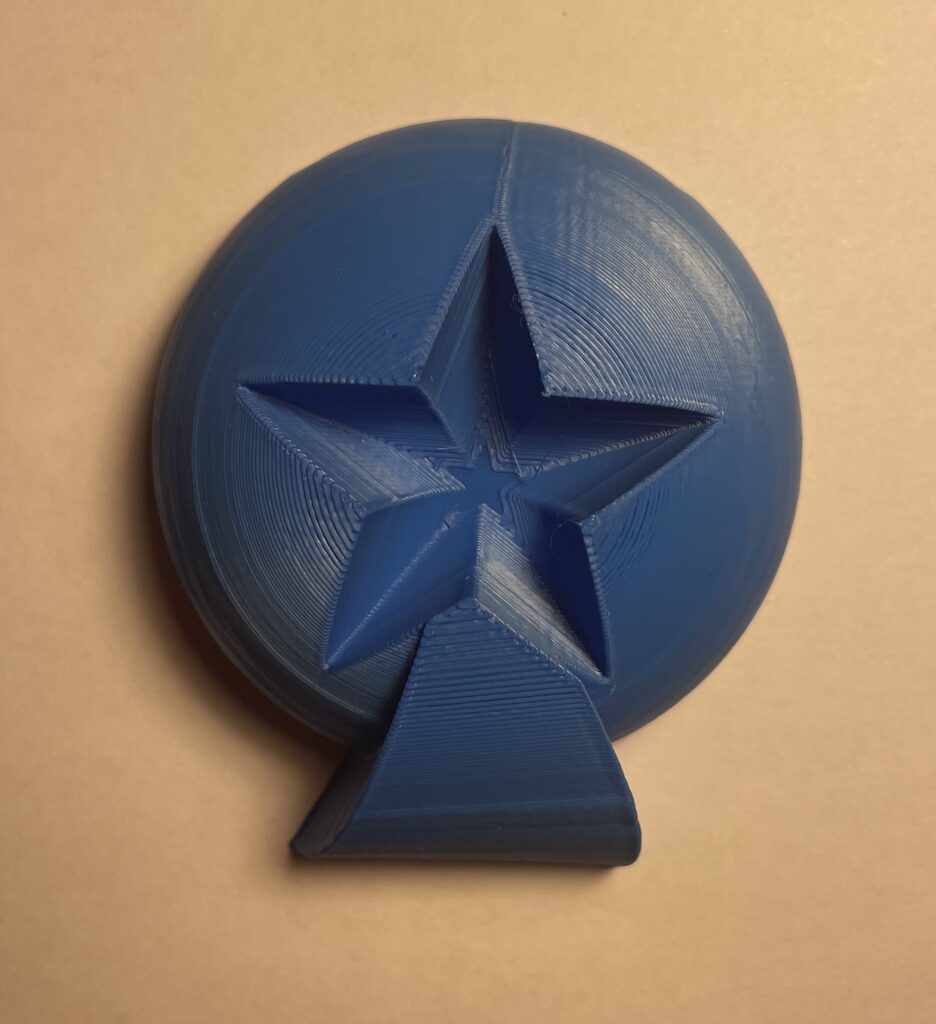
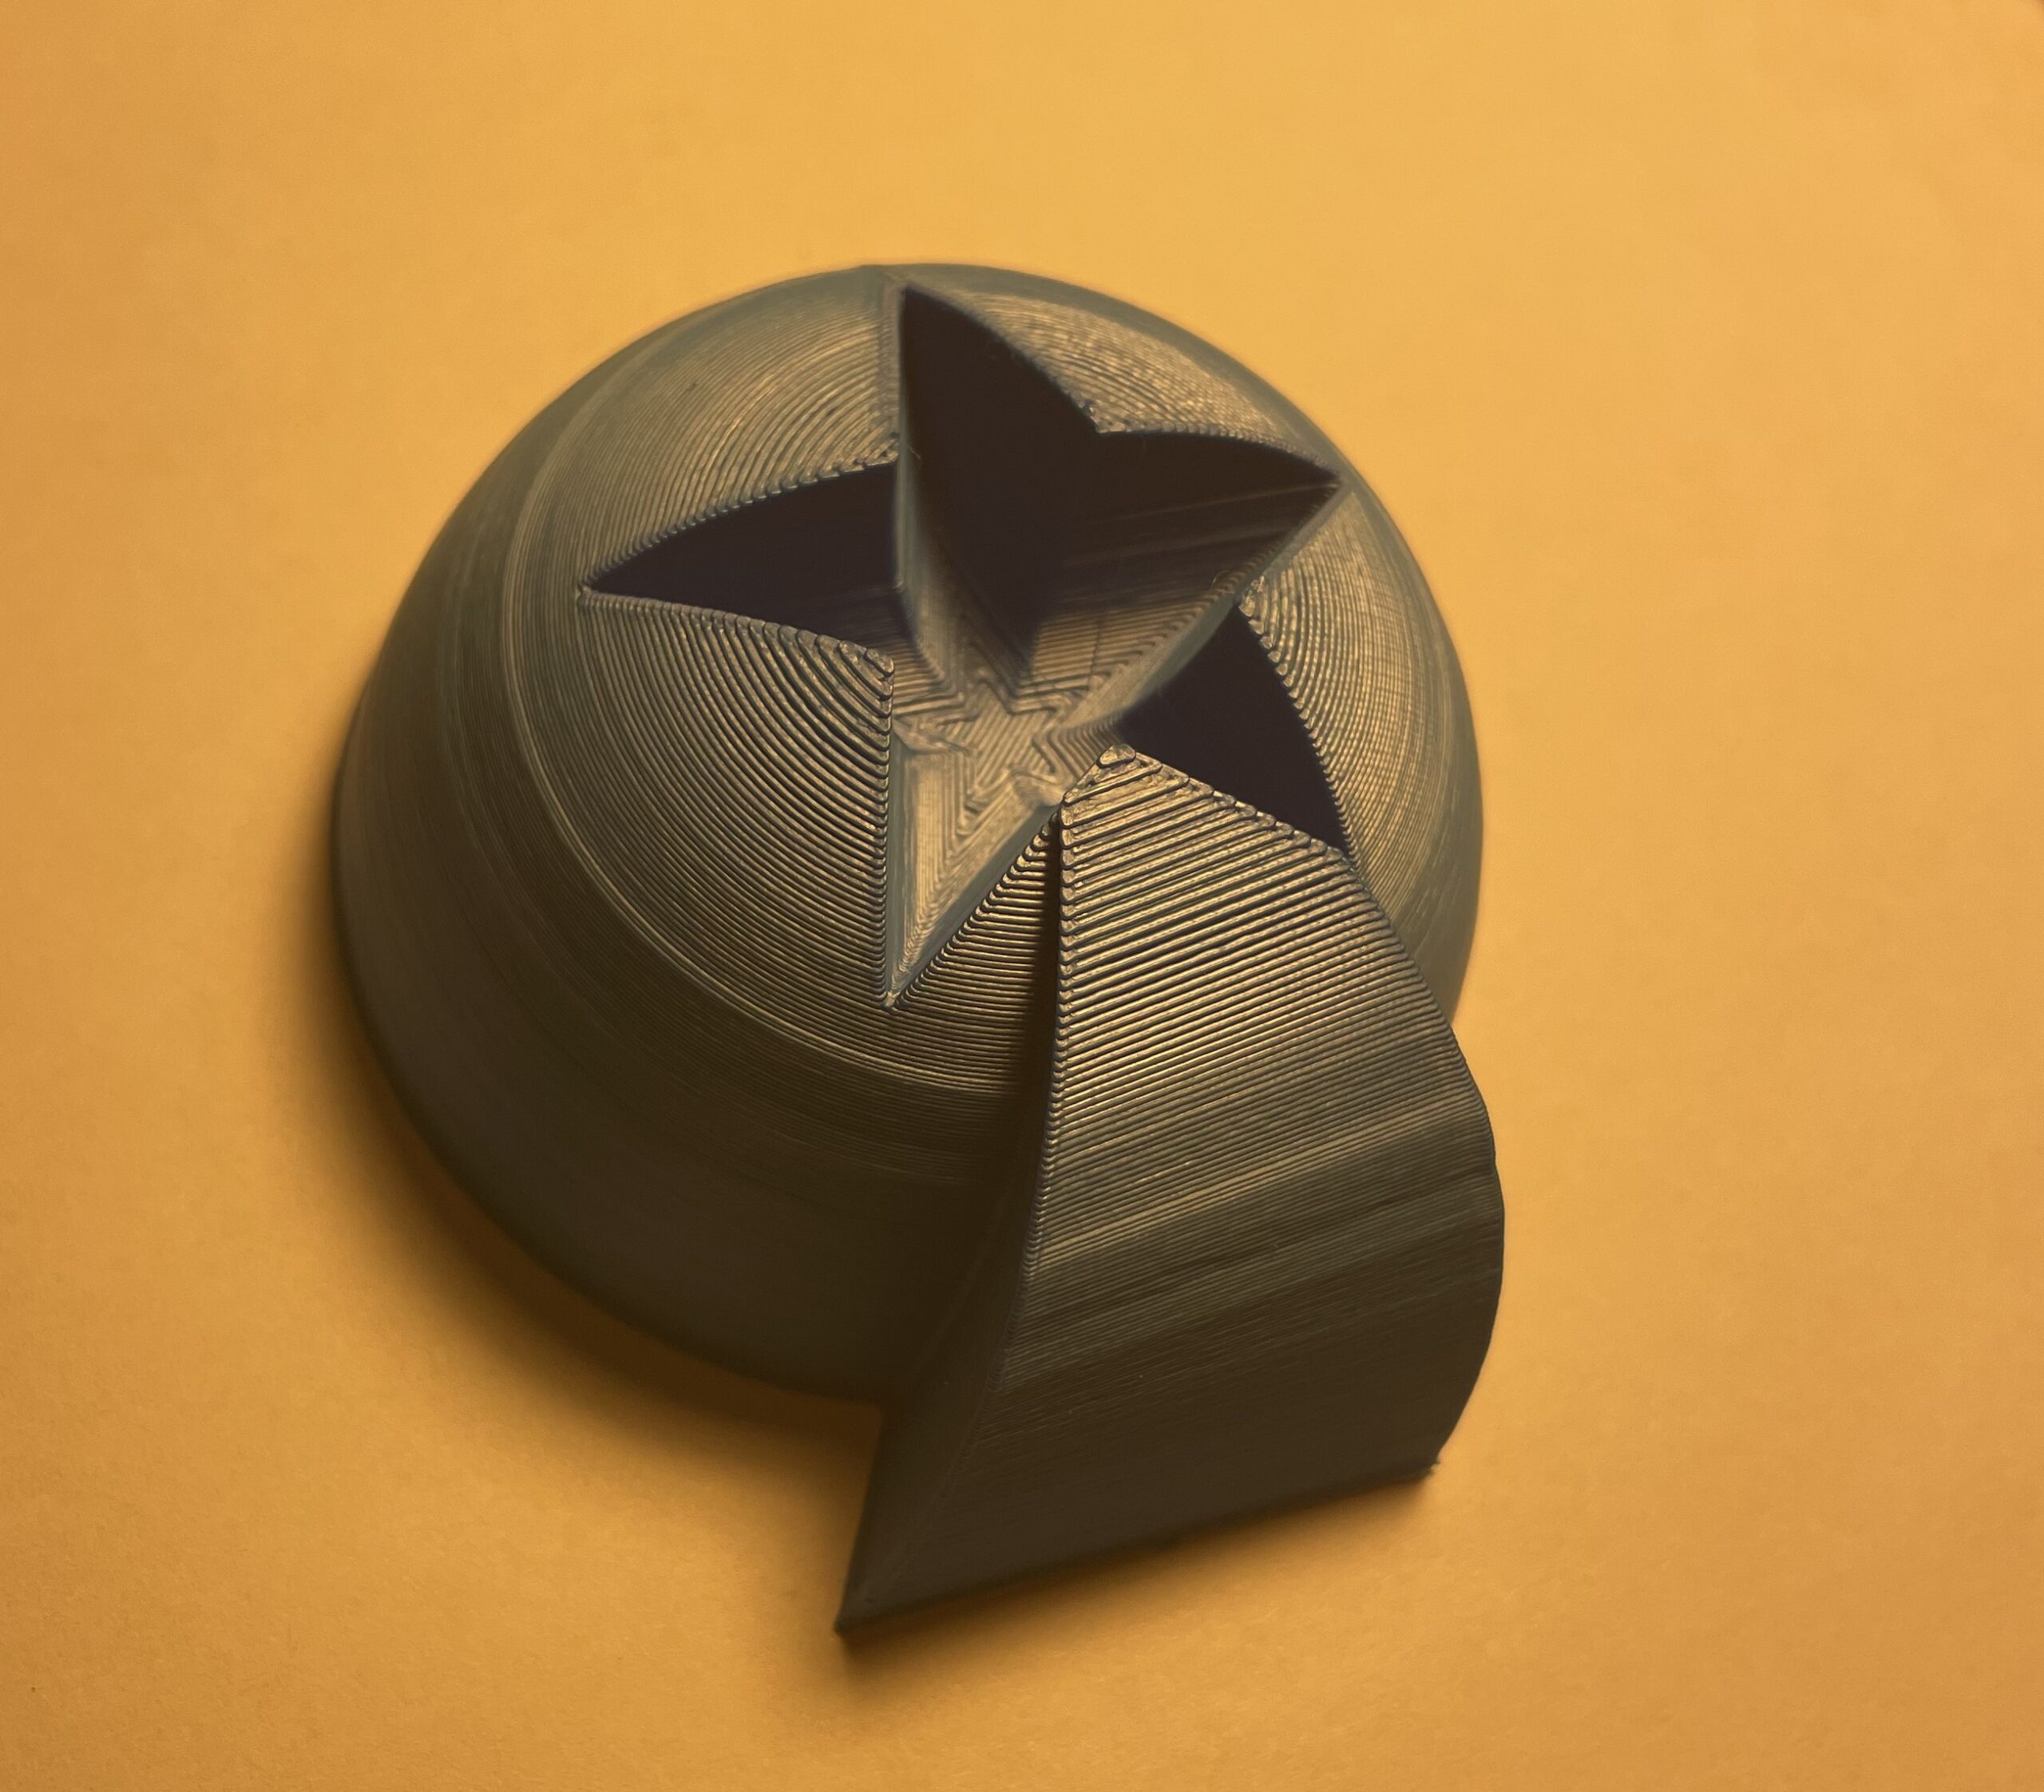
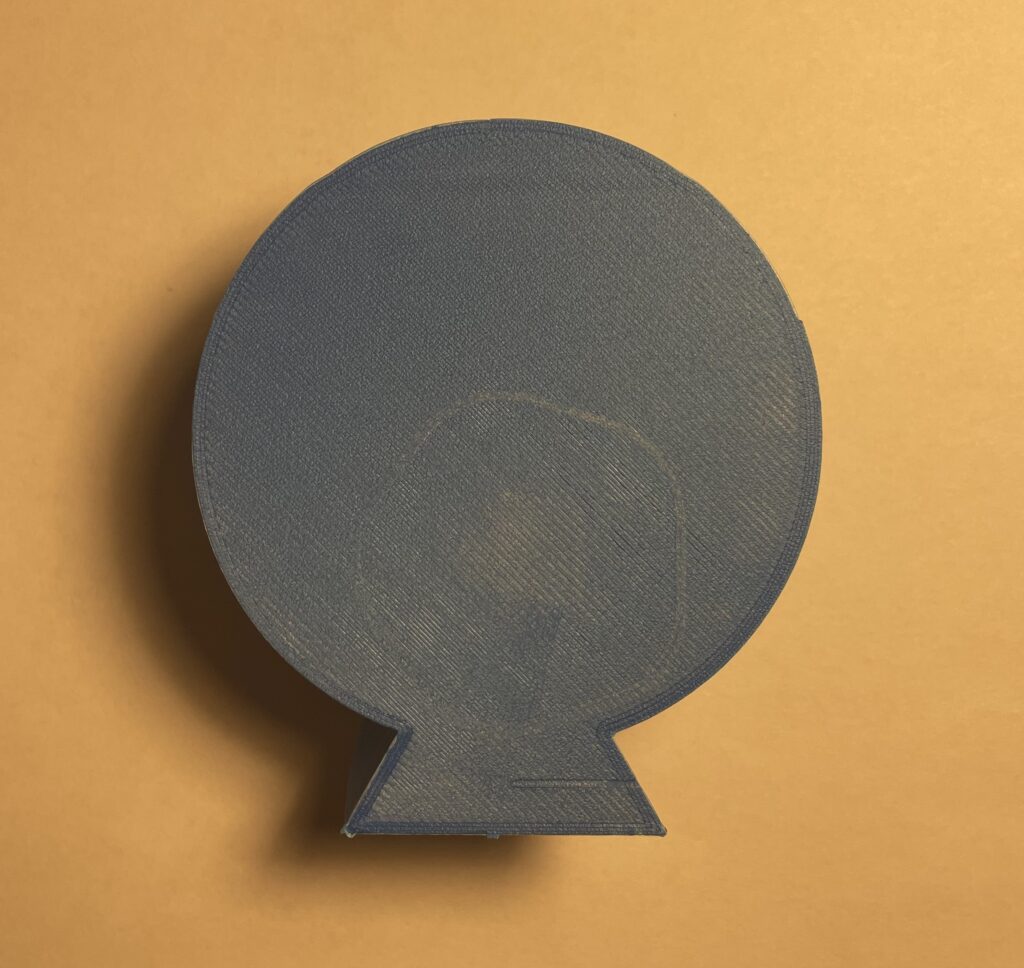
For my 3D print I modified some of the shapes I made for the RailRevolve (Surfaces #10). The two shapes both reminded me of a sand dollar so I capped the shapes (technically slight variations of them) and BooleanUnion-ed them together to create the final rendering. Curves #13 also helped inspire the design.
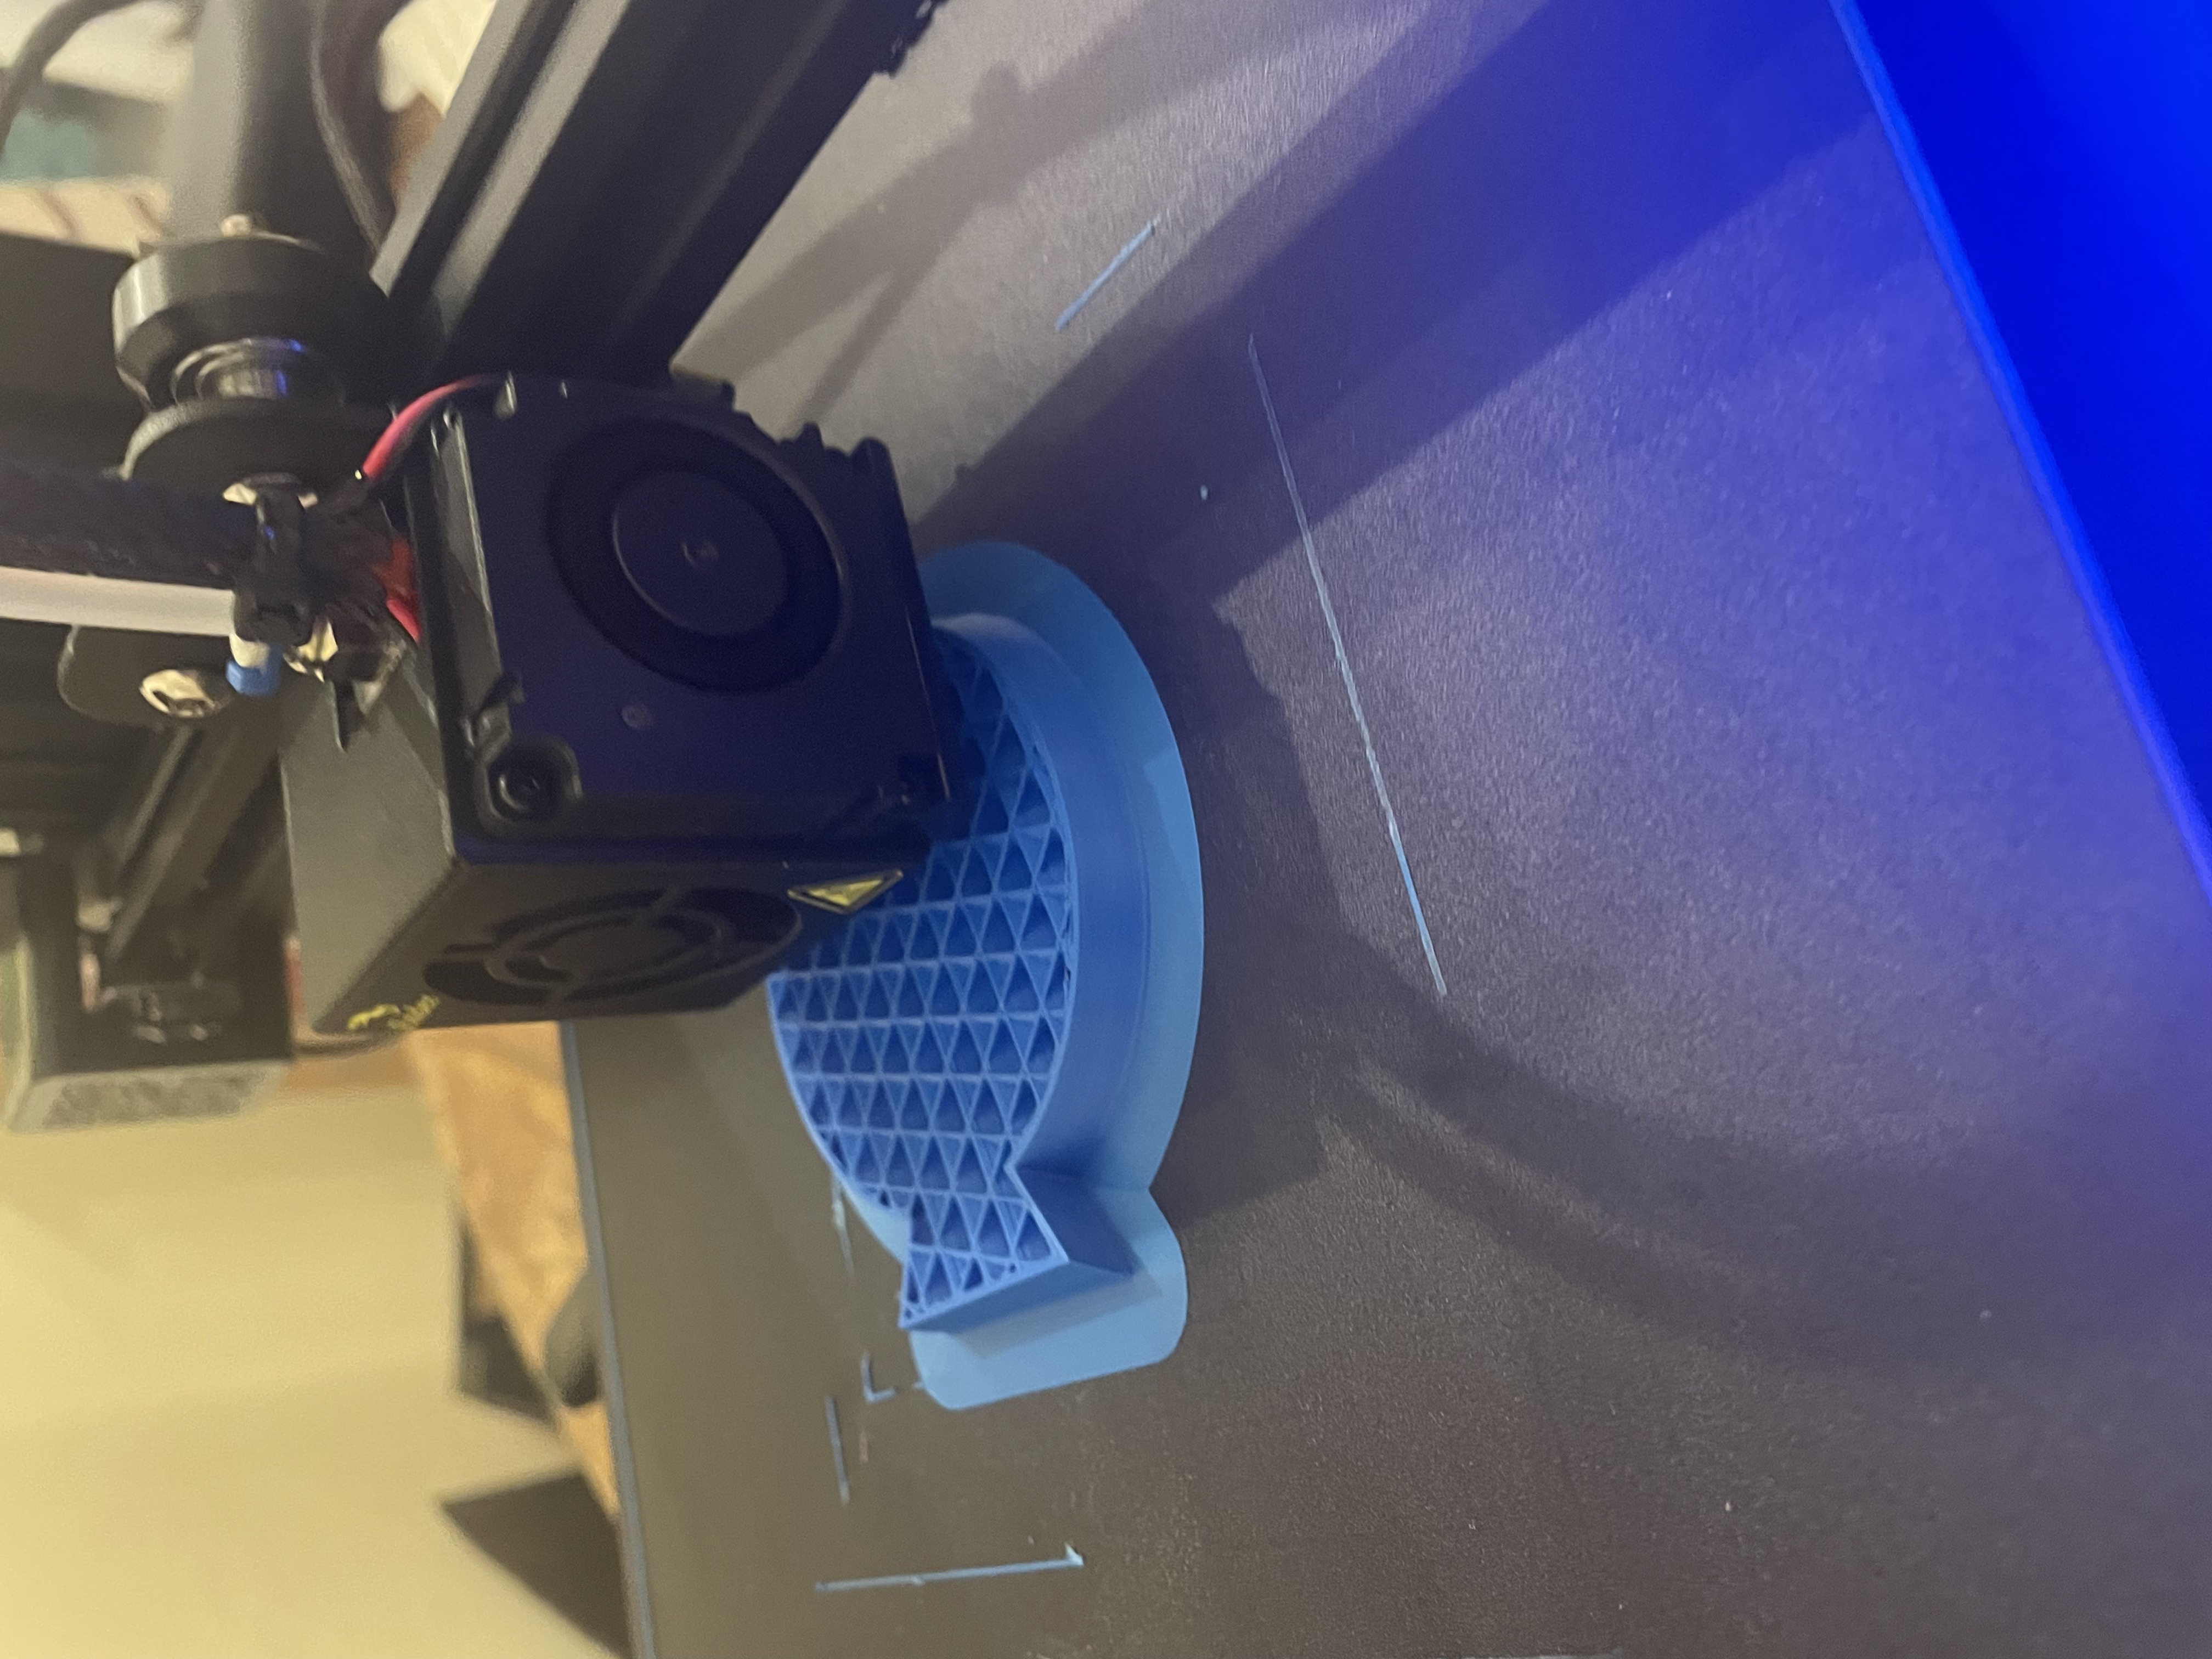
Printing was… a bit of a disaster. When I first turned on my printer and hit “Auto Home” just to reset it, it started making this awful shuddering sound and then displaying the error code “Homing failed, Printing halted, Please restart” when it attempted to move the Z axis. After looking online, people with similar problems had said it was either a wiring issue or a software problem which wasn’t very helpful. I unplugged and replugged all my wires but it still wasn’t working. Next I went into the circuit board and I unplugged and replugged all the wires. That briefly worked but as soon as I screwed the top panel back on it stopped working. I loosened the panel and it started working again. So my final deduction is that for some reason the top paneling is messing with my Z wire connection.
Wow, that’s too bad you had so much trouble with your printer! I’m glad you got it working in the end. And I love the shape you chose to print!
Hello Astrid,
Sorry to hear that you had such a vexing issue with your printer. Hopefully, with more time you can further deduce the problem and find a satisfying workaround for it. The print itself seems to have come out well. If you weren’t having such an issue with your printer, it might have been interesting to mirror the shape on the z-axis so the design printed on both sides. I am a bit confused though, which of your designs did you print? I didn’t seem to see that exact solid in your post.
Test
That is very interesting to hear that you were having issues with your top panel and wiring. Of course you don’t get any true answers online, but glad you fixed it. Maybe there was something being crimped with the wires, or maybe something is too close and somehow shorting your top panel. The second I saw your design it reminded me of the bounce pads in Sonic the game except you shift the base towards the top of the jump pad, cool design overall!