Part 1: Curves
Open a new Rhino File and practice the curves commands by completing the following steps. Organize your Rhino file so each step is clear. Use the Text command to label each step and the commands you used.
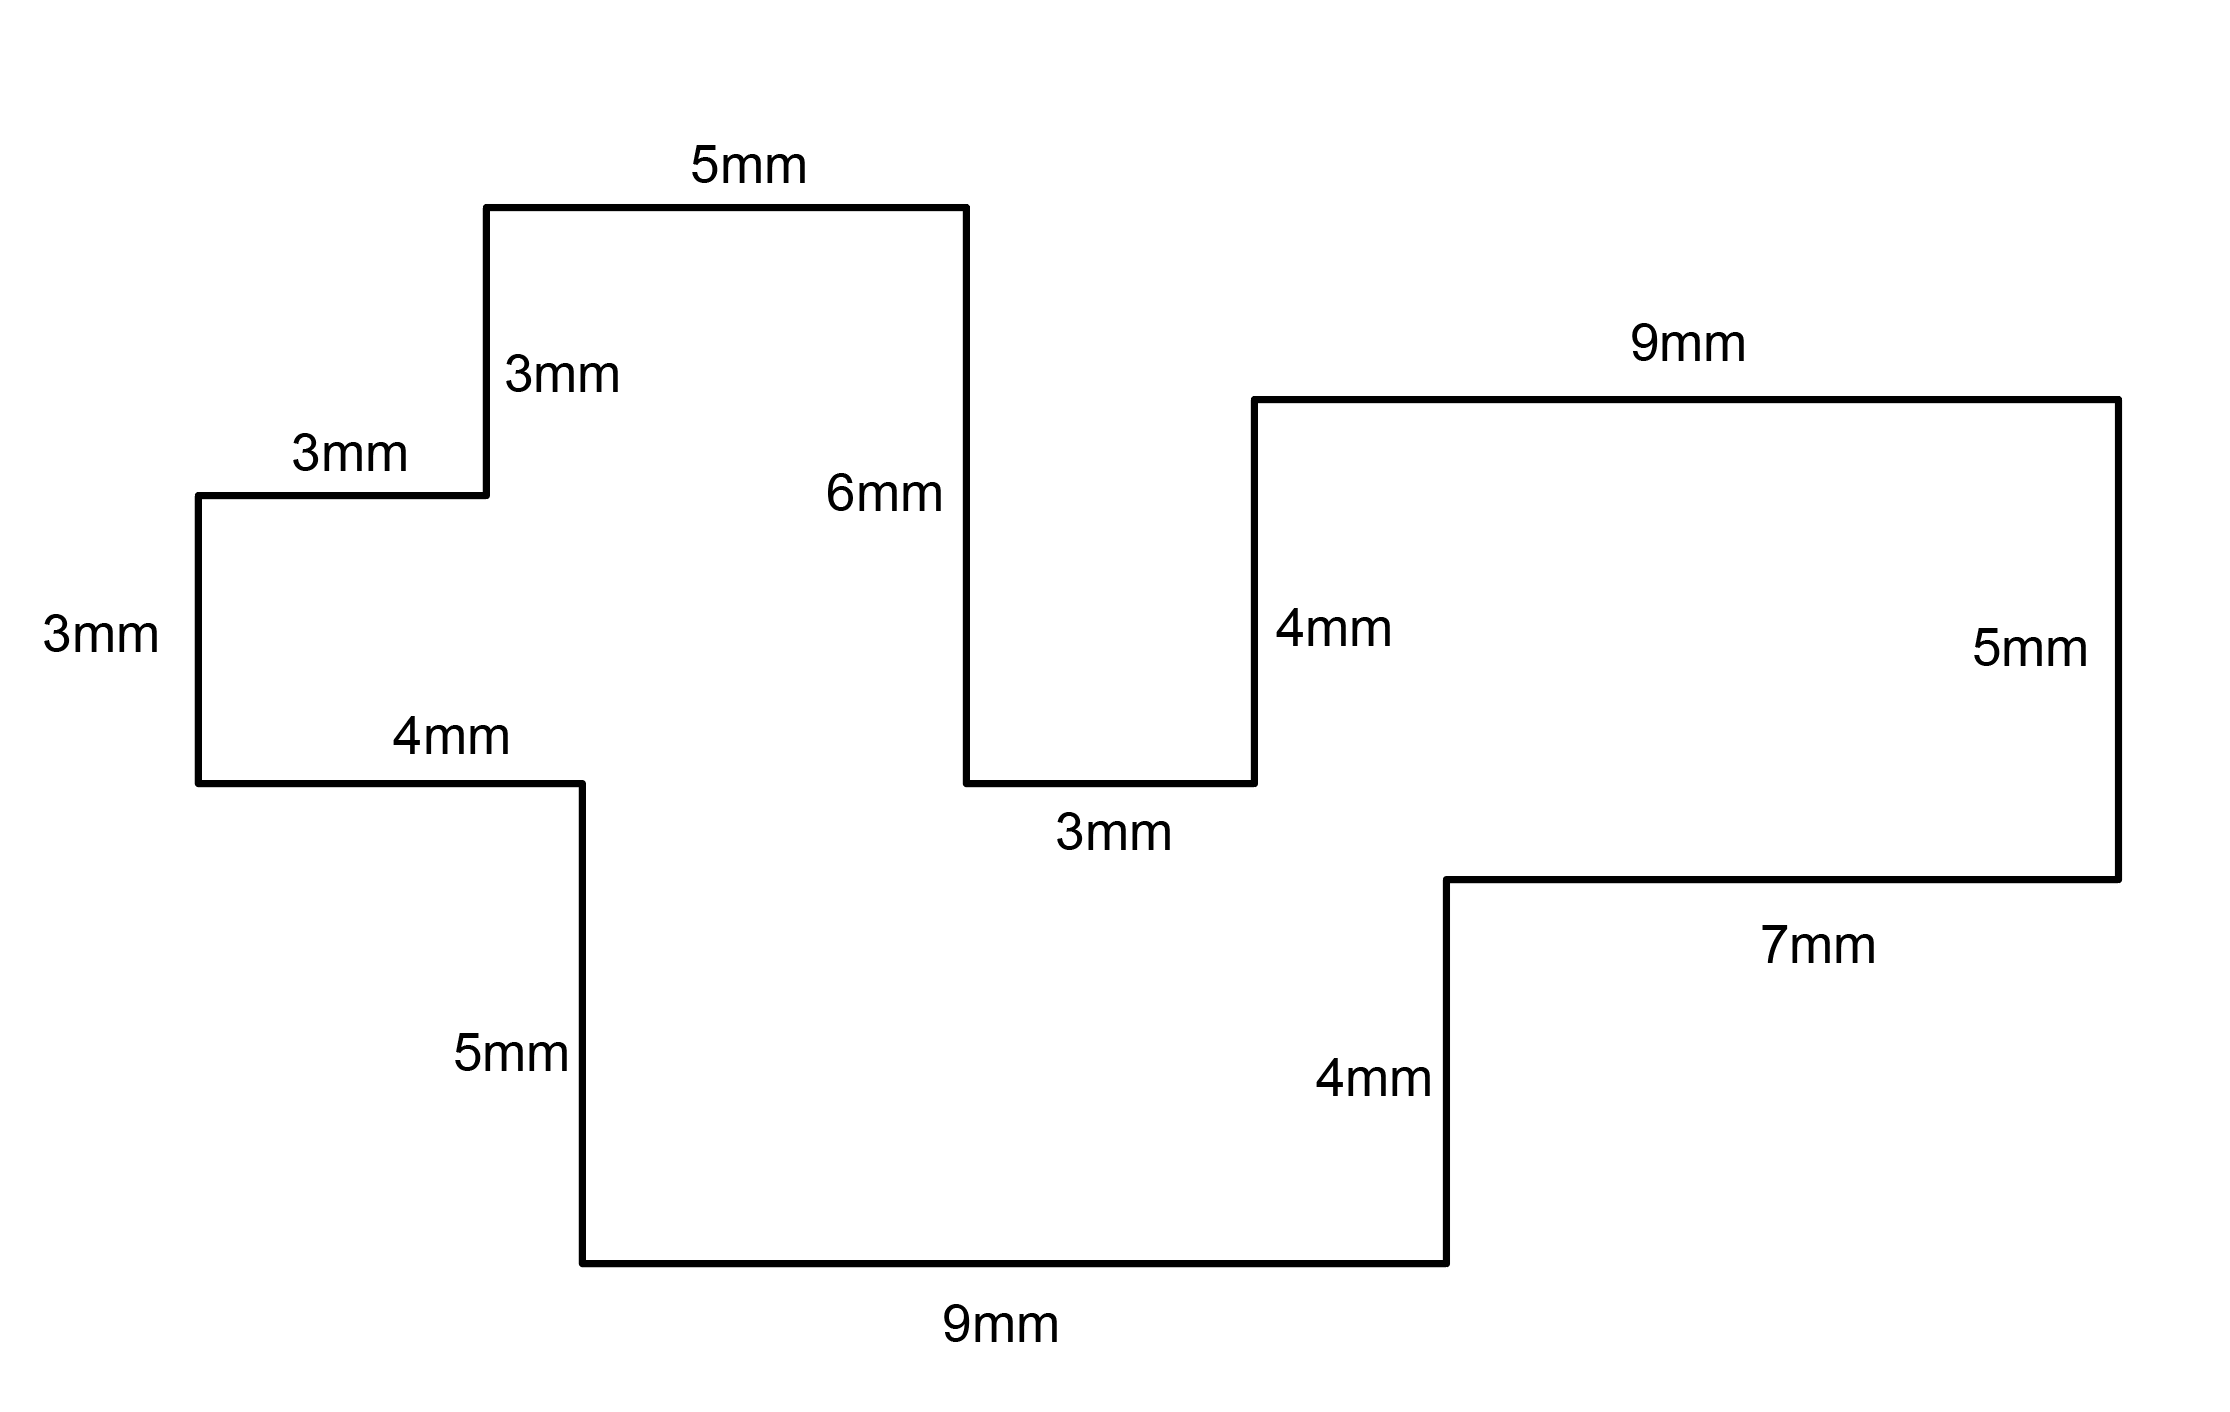
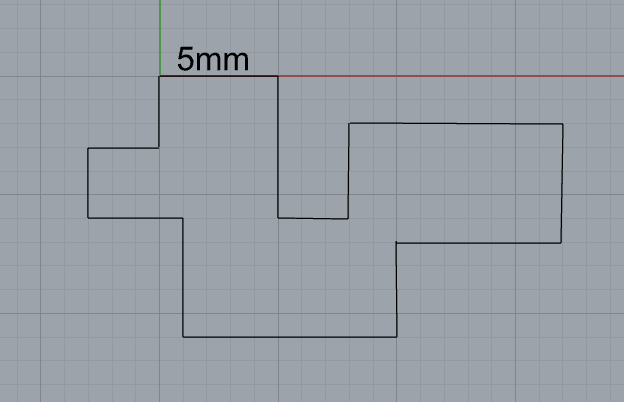
- Make the specific footprint below.
- Commands: Polyline
- Commands: Polyline
- Make 2 closed curves using polygon, ellipse, or circle
- Commands: Circle, Ellipse, Polygon

- Make 2 open curves
- Commands: Curve, InterpCurve, HandleCurve, Sketch

- Import a picture and trace an image
- Commands: Picture, InterpCurve
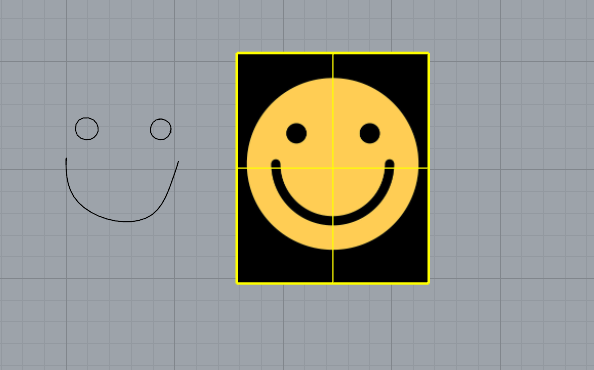
- Commands: Picture, InterpCurve
- Pick one open curve, and one closed rounded curve and make three copies of each.
- Commands: Copy
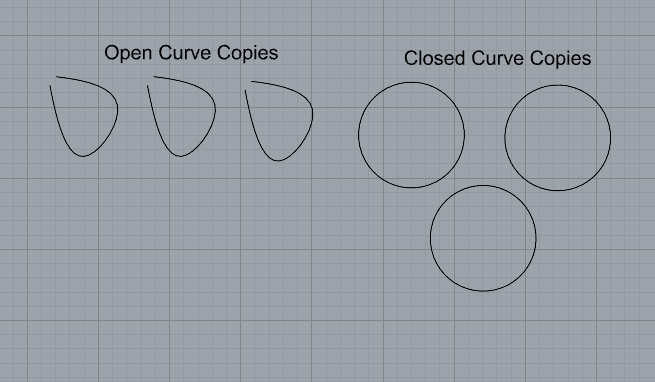
- Commands: Copy
- Take at least 3 of your closed curves and overlap them to create a new shape
- Commands: Move
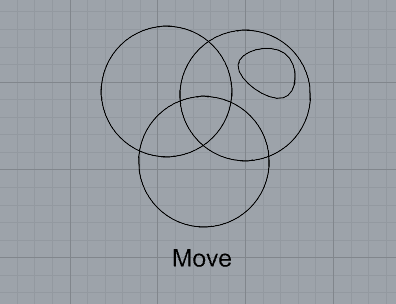
- Commands: Move
- Use split, delete, and trim to combine these curves into one open curve
- Commands: Split, Delete, Trim, Join, Explode
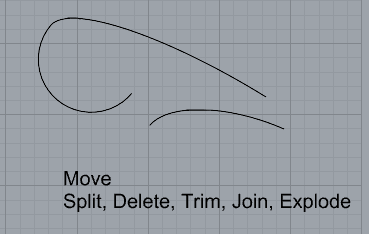
- Commands: Split, Delete, Trim, Join, Explode
- Take at least two curves and use various transformations make a pattern or composition.
- Commands: Move, Copy, Rotate, Mirror, Array, Scale, Offset, Fillet, FilletCorners
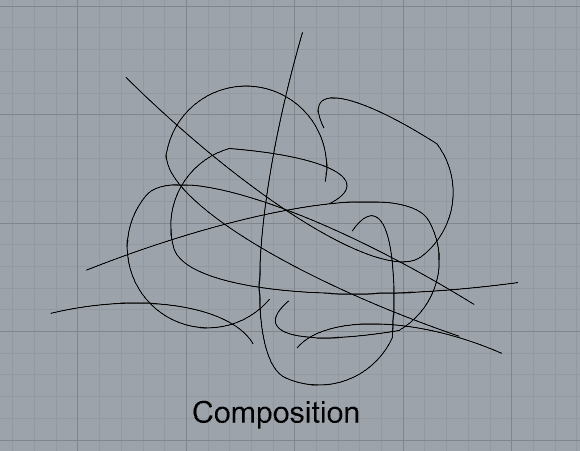
- Commands: Move, Copy, Rotate, Mirror, Array, Scale, Offset, Fillet, FilletCorners
- Organize your Rhino file so each step is clear. Use the Text command to label each step and the commands you used. Add a link to your FirstnameLastname_Curves file at this point in your post.
Part 2: Surfaces
Open a new Rhino File and practice the surfaces commands below by making two different surfaces for each command. Organize your Rhino file so each step is clear. You may want to use some of the curves you modeled in Part 1. Use the Text command to label each step and the commands you used.
- Plane
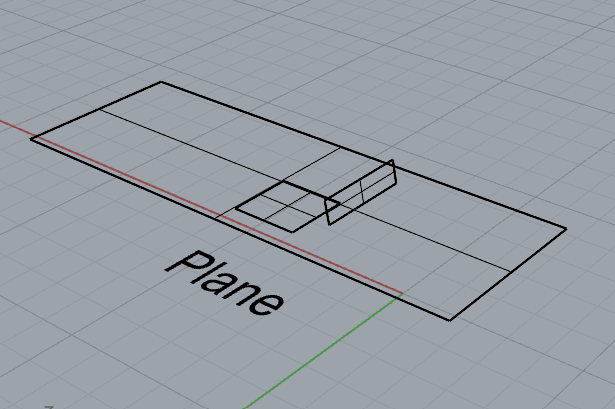
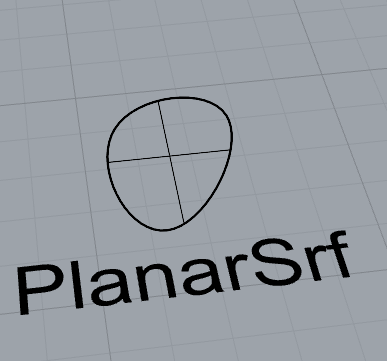
- PlanarSrf
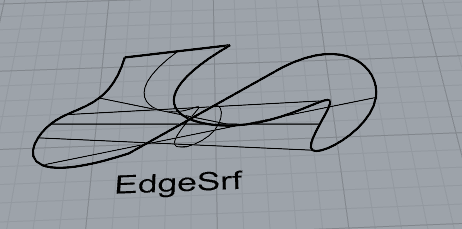
- EdgeSrf
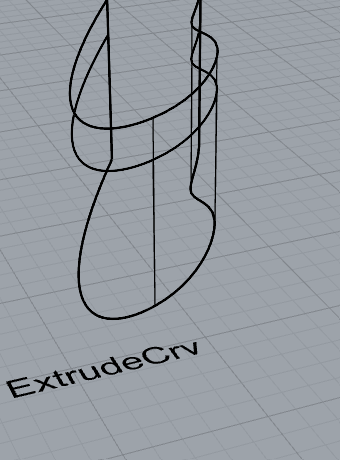
- ExtrudeCrv
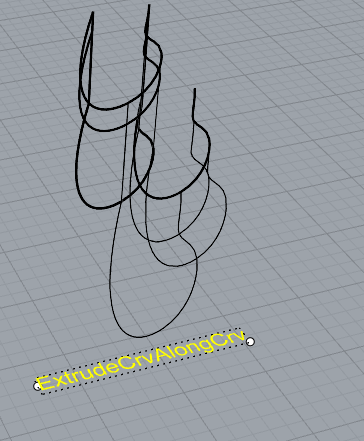
- ExtrudeCrvAlongCrv
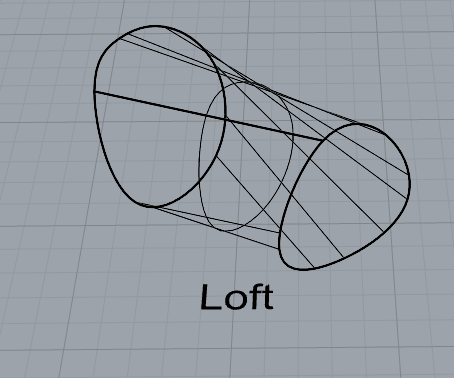
- Loft
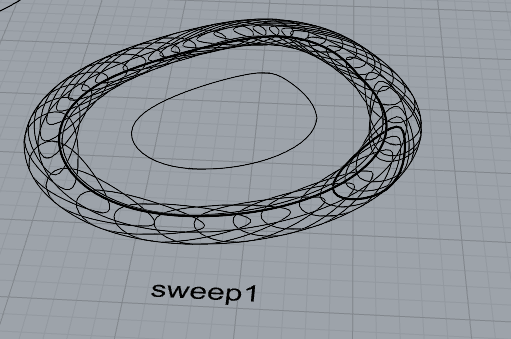
- Sweep1
- Sweep2

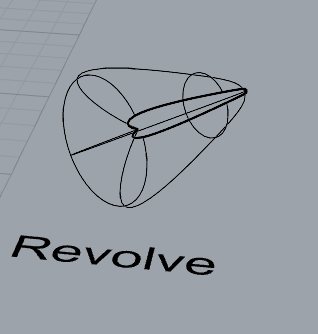
- Revolve
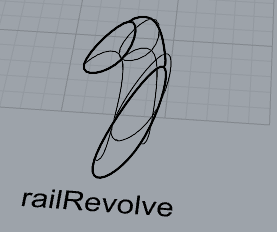
- RailRevolve
- Add a link to your FirstnameLastname_Surfaces file at this point in your post.
Part 3: Solids
Open a new Rhino File and practice the solids commands below by making two different solids for each command. You may want to use some of the curves and surfaces you modeled in Parts 1 and 2. Organize your Rhino file so each step is clear. Use the Text command to label each step and the commands you used.
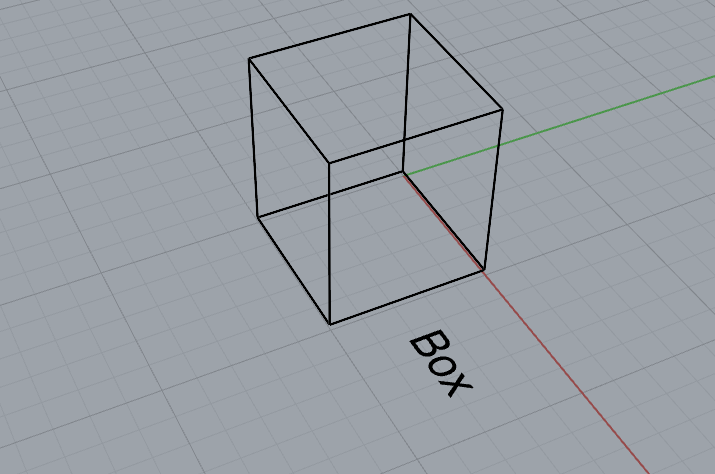
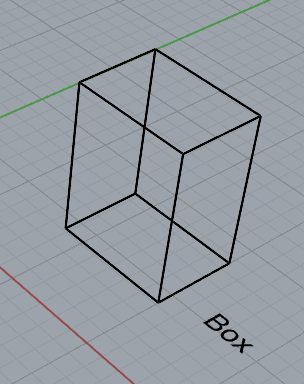
- Box
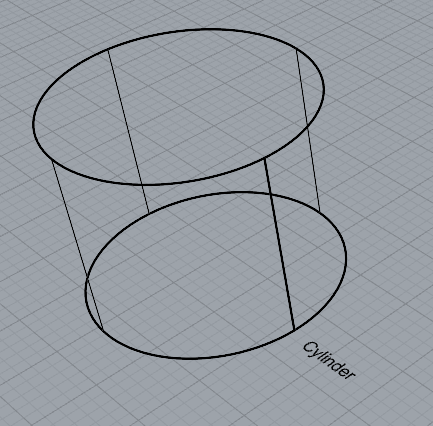
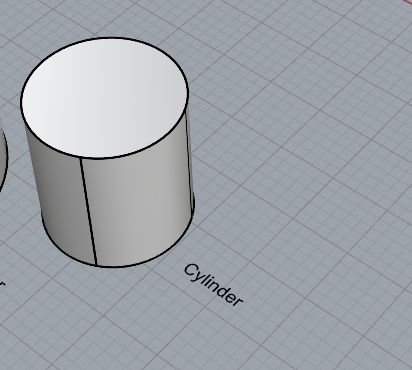
- Cylinder
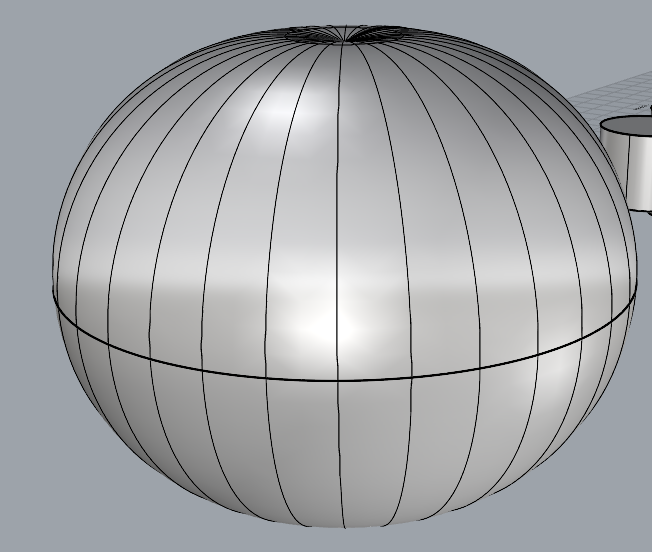
- Sphere

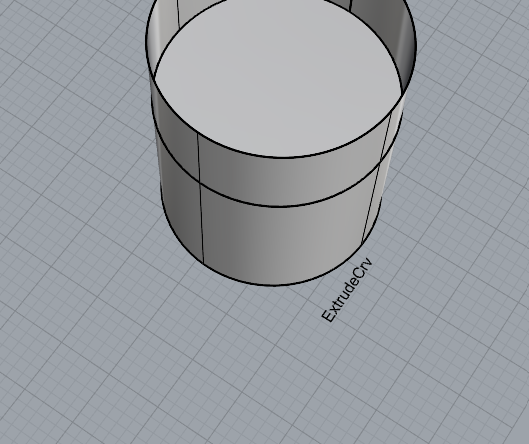
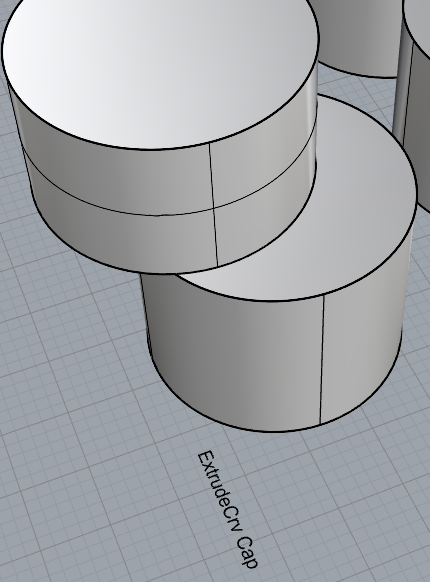
- ExtrudeCrv and Cap
- Pipe
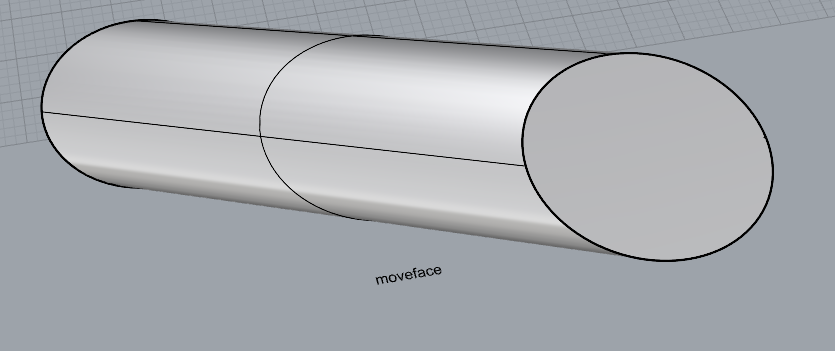
- MoveFace
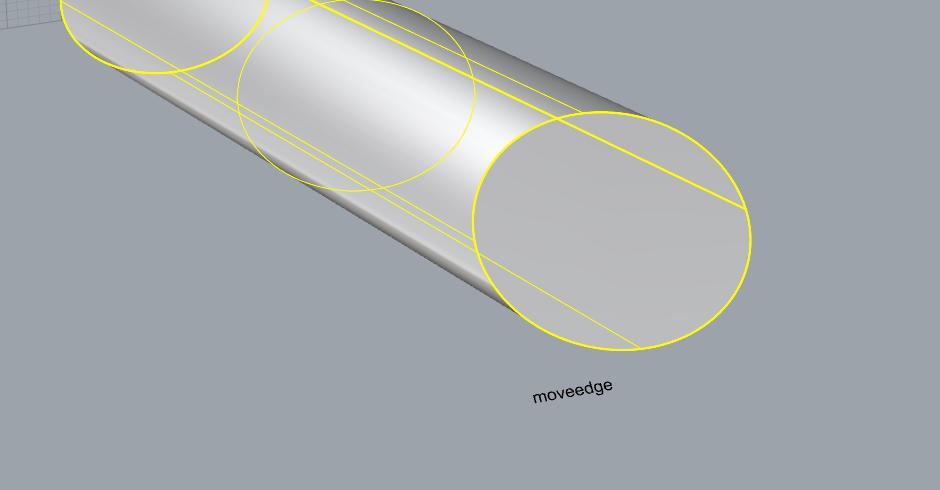
- MoveEdge
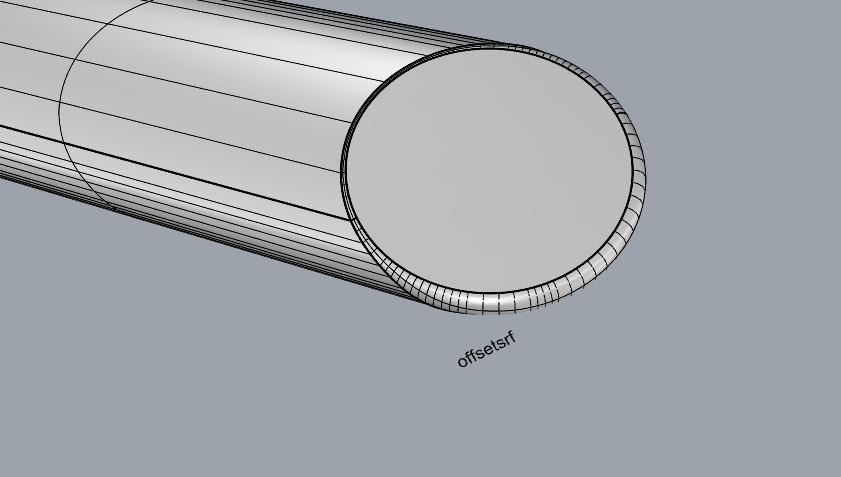
- OffsetSrf
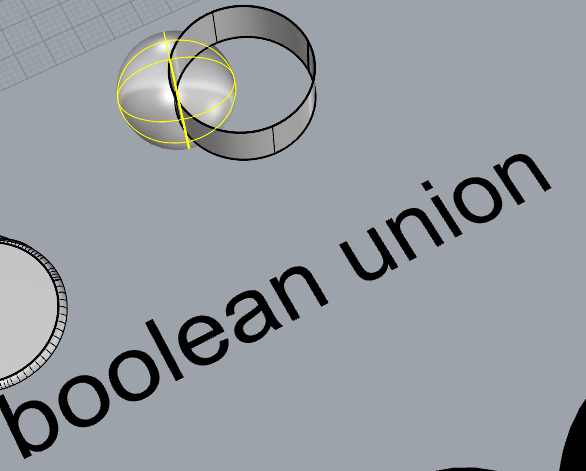
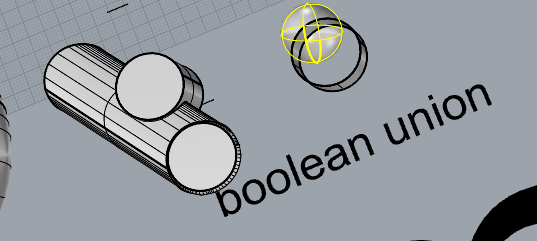
- BooleanUnion
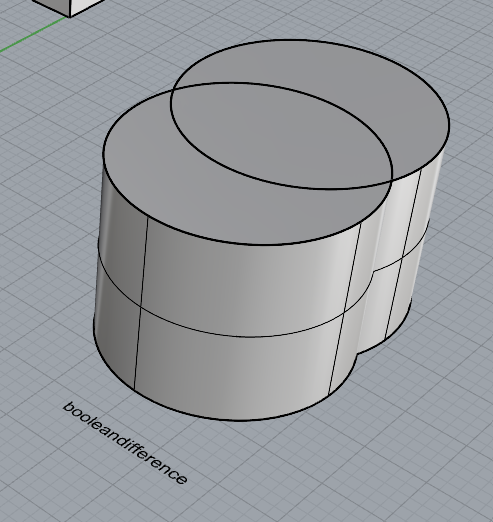
- BooleanDifference
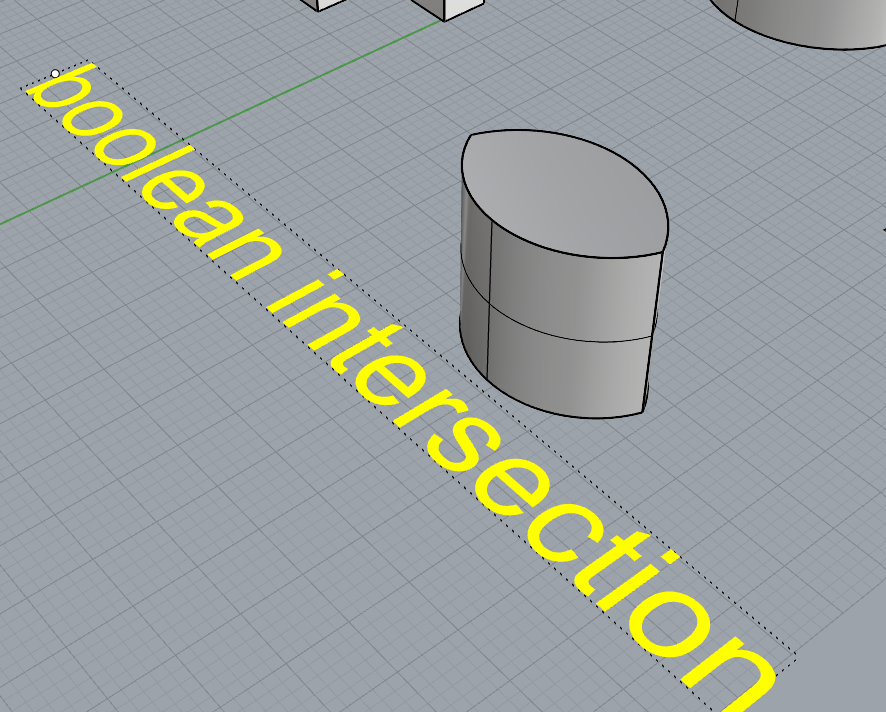
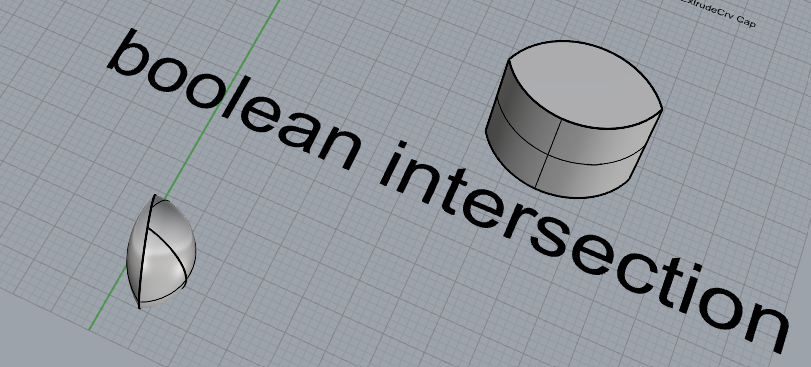
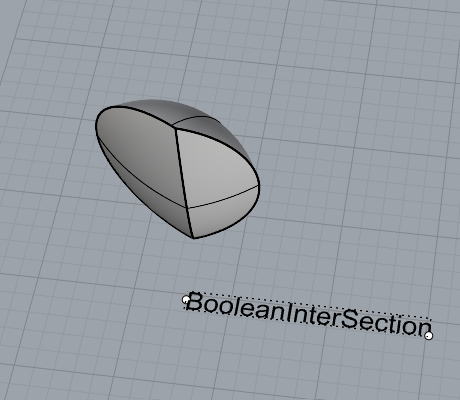
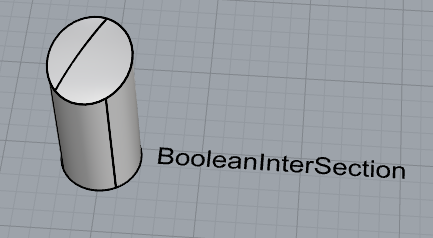
- Boolean Intersection
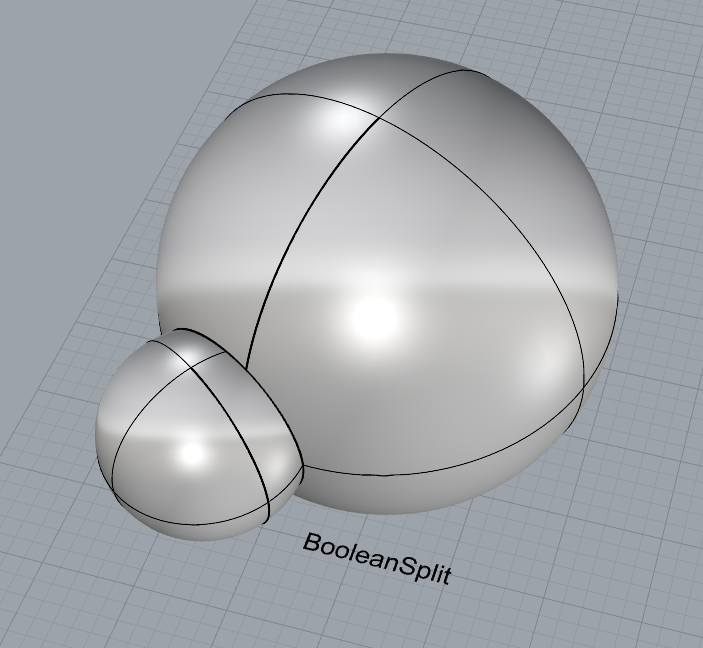
- BooleanSplit
- Using the surfaces and solids you modeled and the Boolean tools, make three solid shapes you find interesting.

- Add a link to your FirstnameLastname_Solids file at this point in your post.
Part 4: 3D Printing
- Pick one of the shapes you created and 3D print it using your 3D printer. Note: to be able to print an object with the 3d printer, it must be watertight. That means that your shape must be a closed form with no naked edges and no holes.
- Export your model in the .stl file format. Import the .stl file into Cura and slice it, generating a .gcode file your printer can interpret.
- Your final print should be at least 3″ x 3″ x 3″ in size. Note: the print doesn’t have to be square, but the total volume should be approximately 9 in^3.
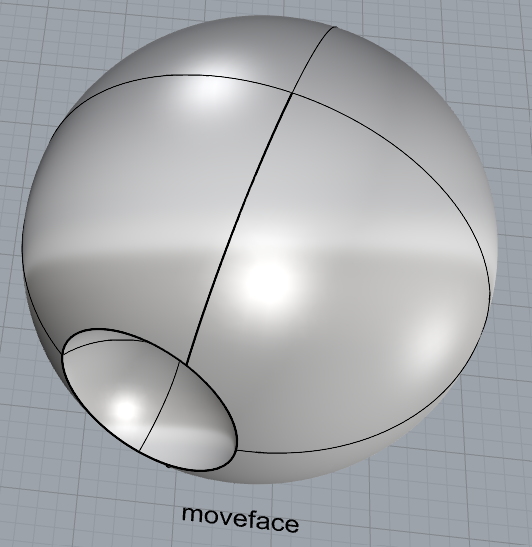
Here is the object that I created and decided to export as my model for cura for my 3d print.
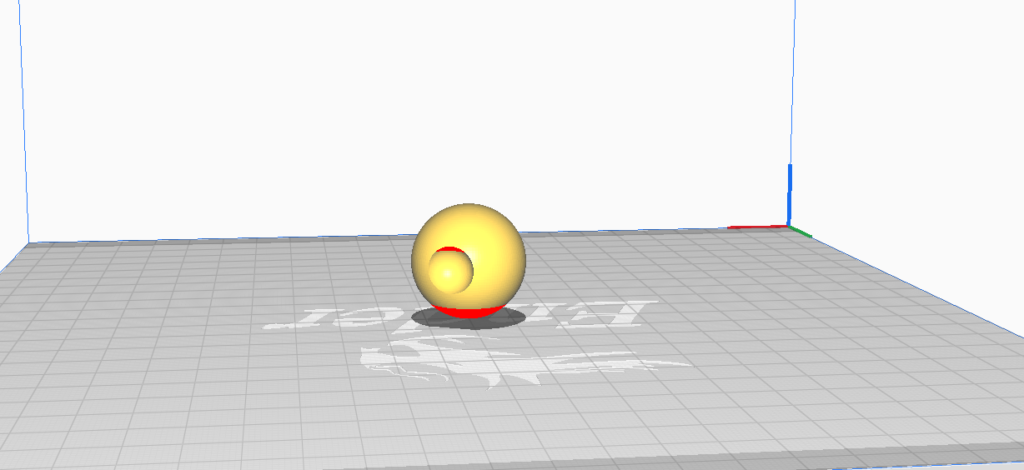
Here is the object imported into the cura program, for my print, to stay on the safe side, I decided I wanted to make the model just slightly smaller than the ideal 3” x 3” x 3” because my printer was having issues with the filament occasionally getting jammed. The print as cura indicates should take approximately 2 hours and 11 minutes.
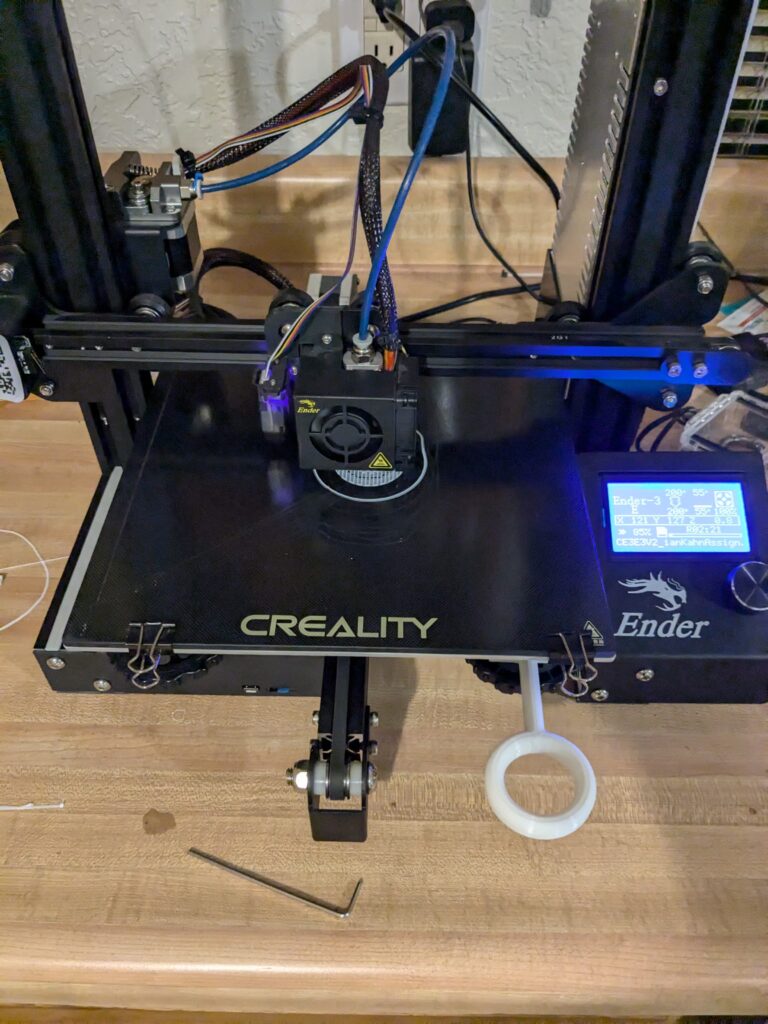
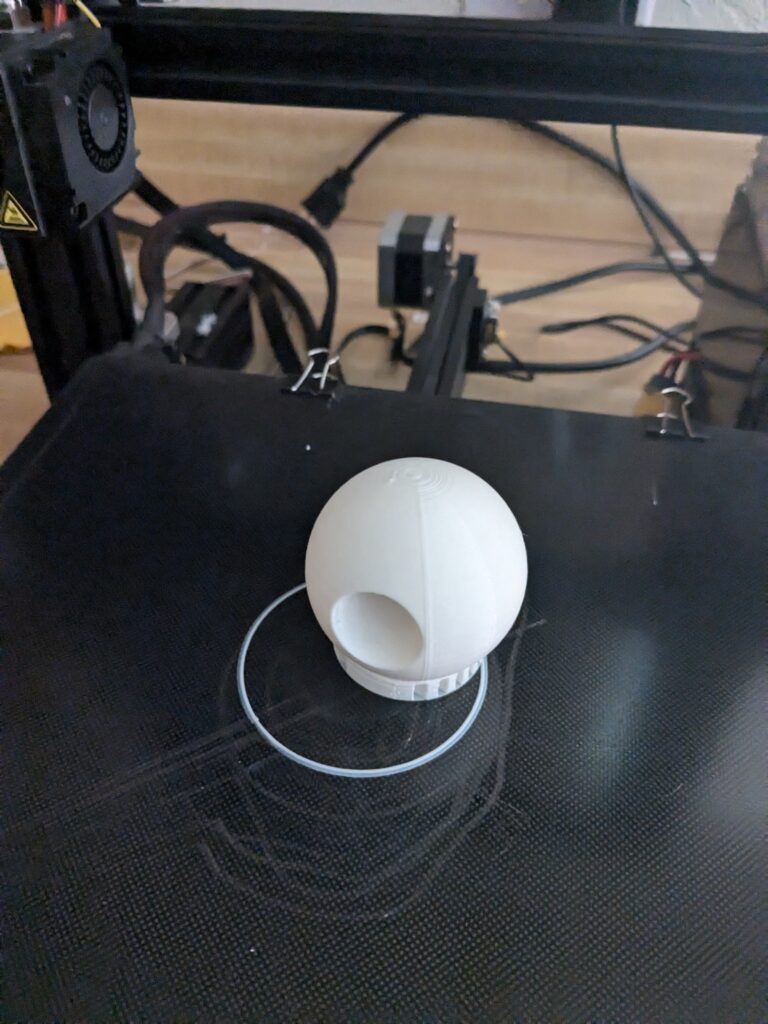
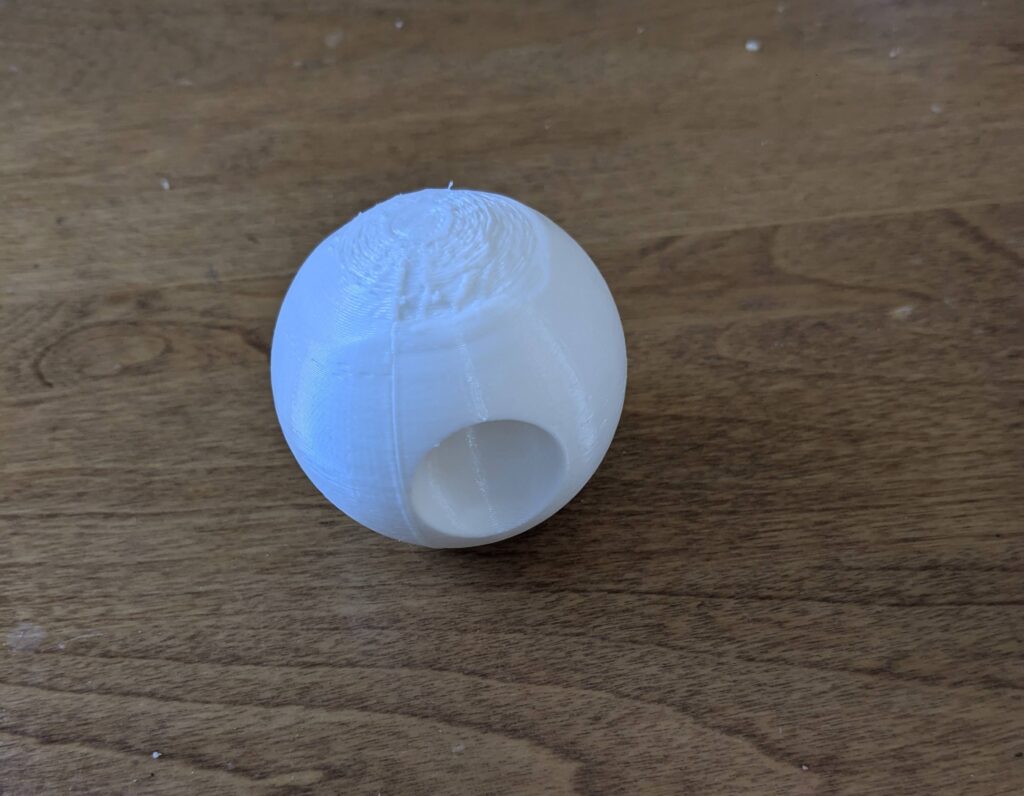
Here is how the print came out. Unfortunately, to stay on the safe side , due to my printer jamming filament issues, I did not print it as big as I wanted ideally, however, I was definitely happy with how everything came out.
Hey Ian! Your project looks really cool. Is the indentation in the sphere for stability, or does it serve a different purpose? Looking forward to seeing your future prints.
Hi Ian, your models in rhino look really nice. I wonder once you print your sphare what type of balance its going to have.
Thanks Alan!
Hey Ian!
I haven’t printed any spheres yet, so I’d be interested to see how yours turns out. I imagine it could be tricky, especially with balance as the size increases. Overall, your designs are really cool—great job!
Thank you!