Part 1: Curves
Open a new Rhino File and practice the curves commands by completing the following steps. Organize your Rhino file so each step is clear. Use the Text command to label each step and the commands you used.
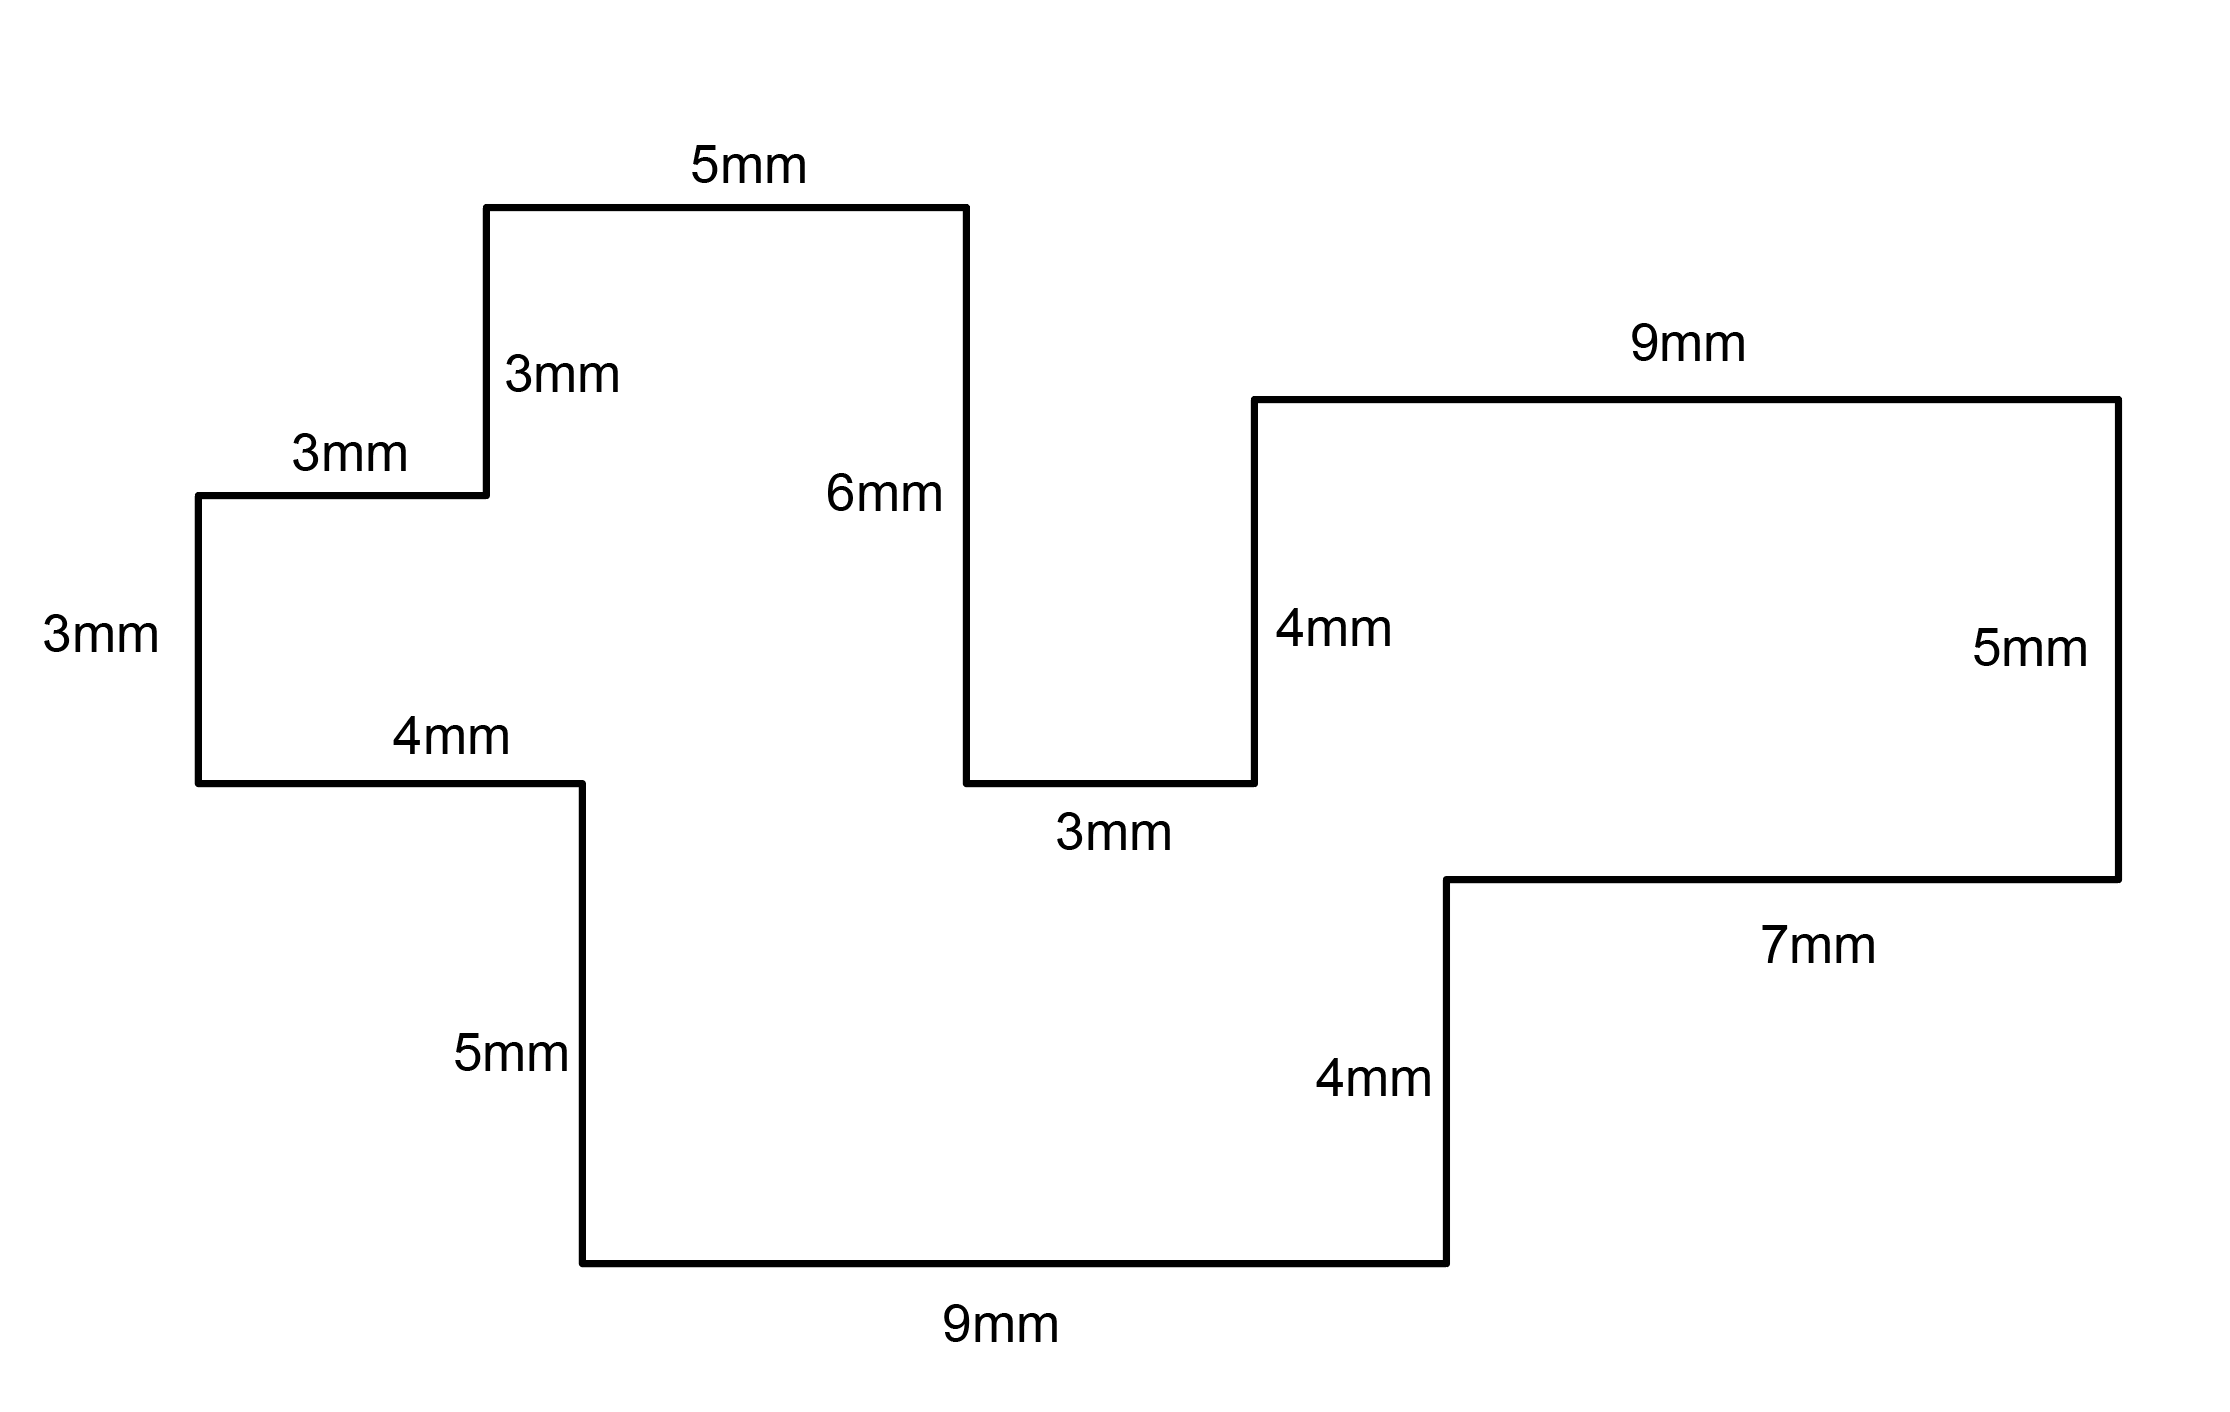
- Make the specific footprint below.
- Commands: Polyline

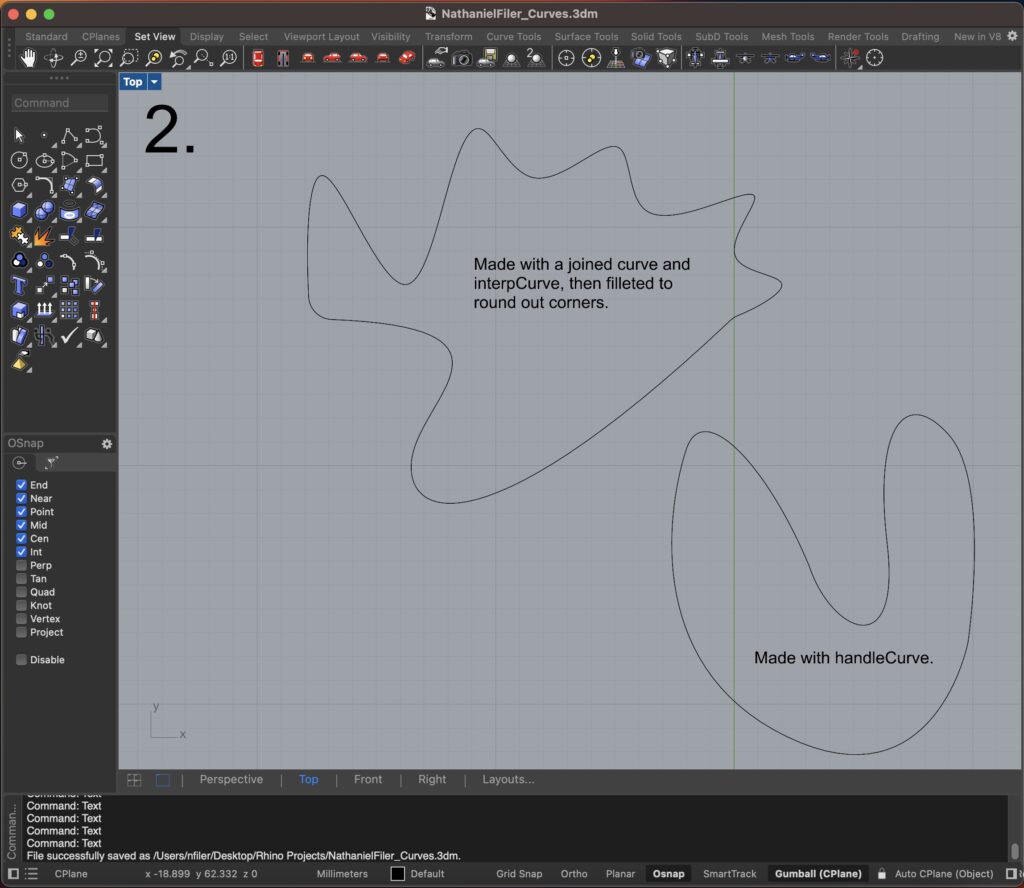
2. Make 2 closed rounded curves using the various curve commands.
- Commands: Curve, InterpCurve, HandleCurve
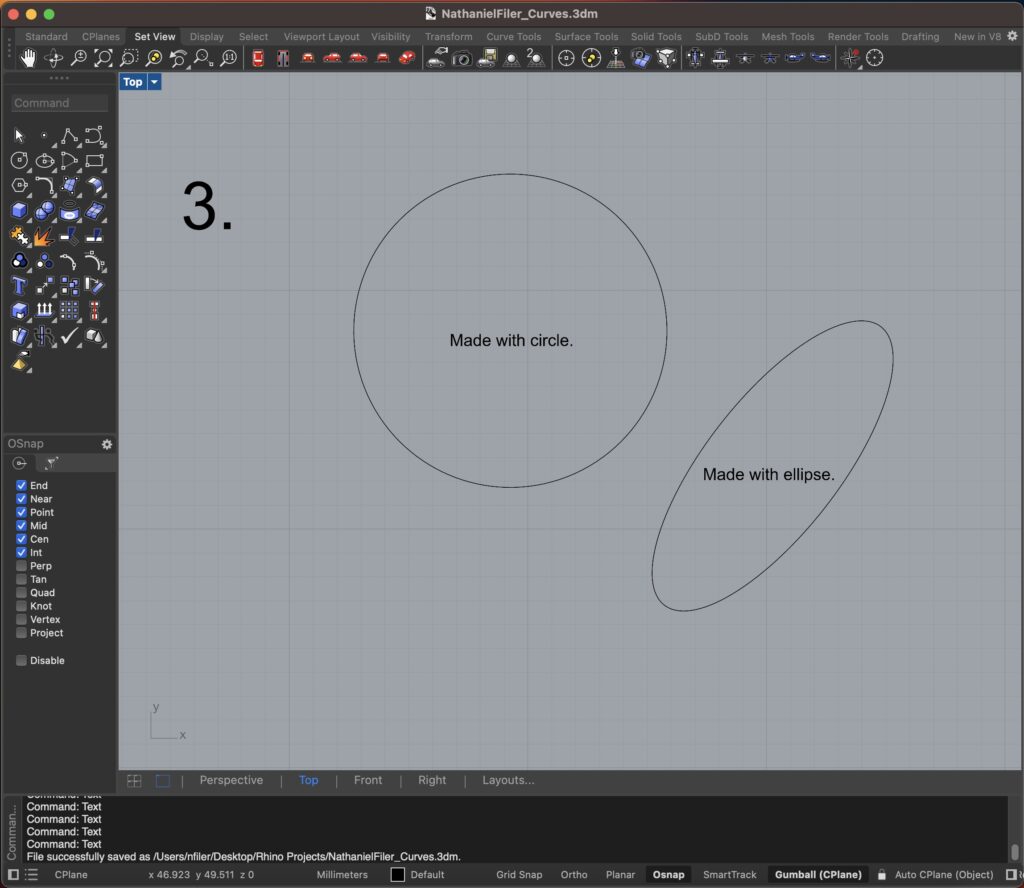
3. Make 2 closed curves using polygon, ellipse, or circle
- Commands: Circle, Ellipse, Polygon
4. Make 2 open curves
- Commands: Curve, InterpCurve, HandleCurve, Sketch

5. Import a picture and trace an image
- Commands: Picture, InterpCurve

6. Pick one open curve, and one closed rounded curve and make three copies of each.
- Commands: Copy

7. Take at least 3 of your closed curves and overlap them to create a new shape
- Commands: Move

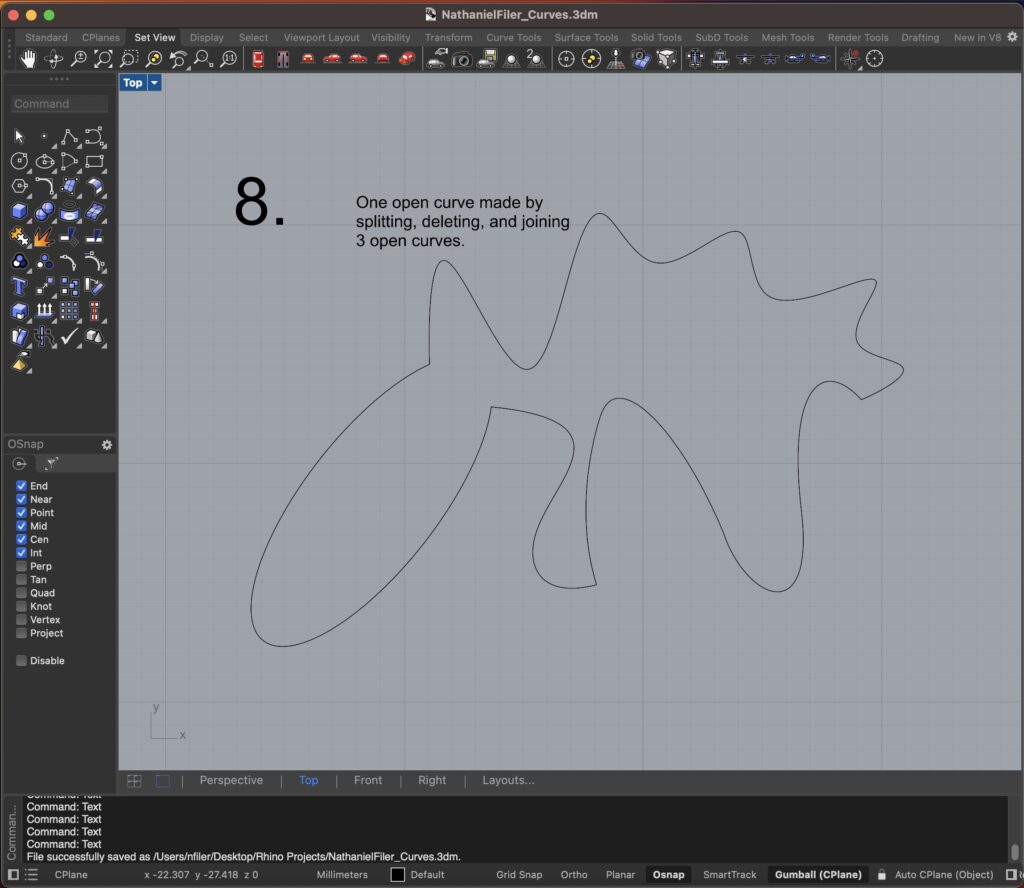
8. Use split, delete, and trim to combine these curves into one open curve
- Commands: Split, Delete, Trim, Join, Explode
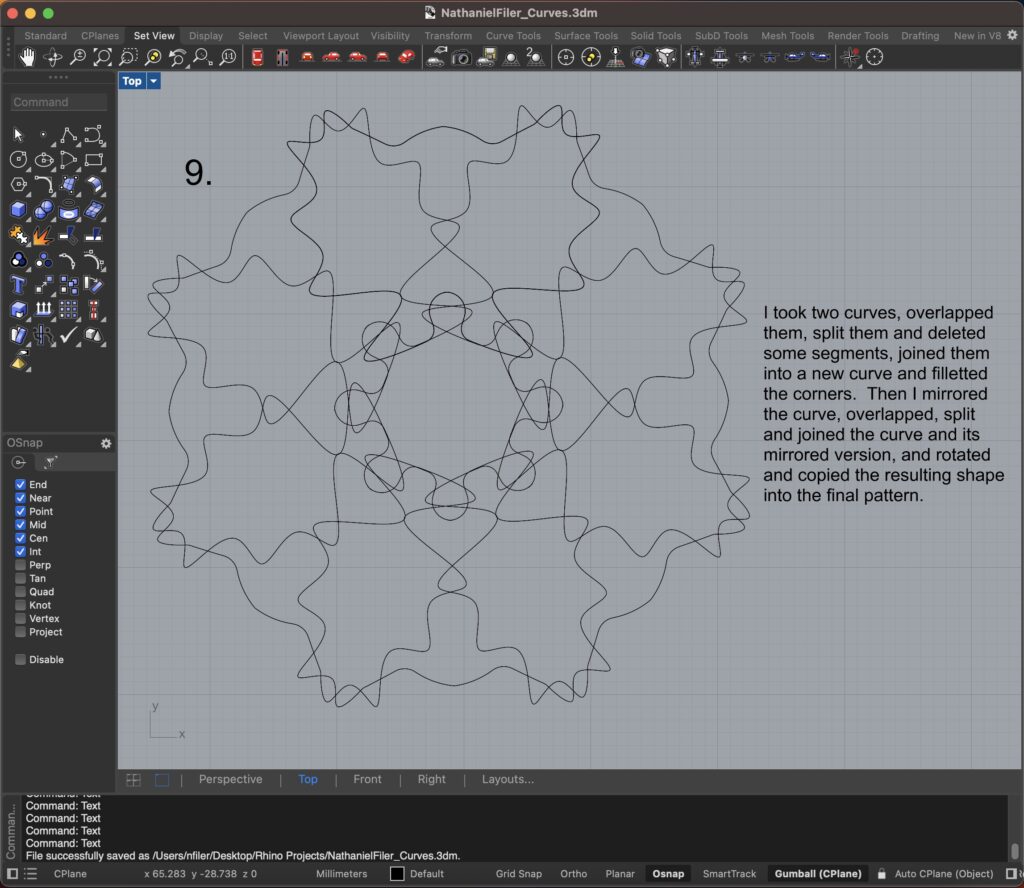
9. Take at least two curves and use various transformations make a pattern or composition.
- Commands: Move, Copy, Rotate, Mirror, Array, Scale, Offset, Fillet, FilletCorners
10. Organize your Rhino file so each step is clear. Use the Text command to label each step and the commands you used. Add a link to your FirstnameLastname_Curves file at this point in your post.
Part 2: Surfaces
Open a new Rhino File and practice the surfaces commands below by making two different surfaces for each command. Organize your Rhino file so each step is clear. You may want to use some of the curves you modeled in Part 1. Use the Text command to label each step and the commands you used.
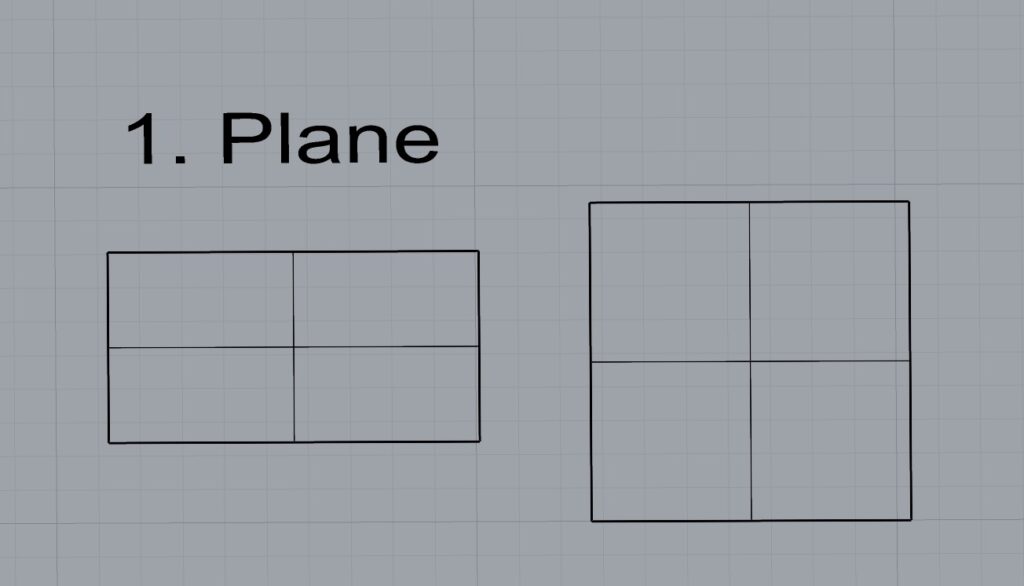
- Plane
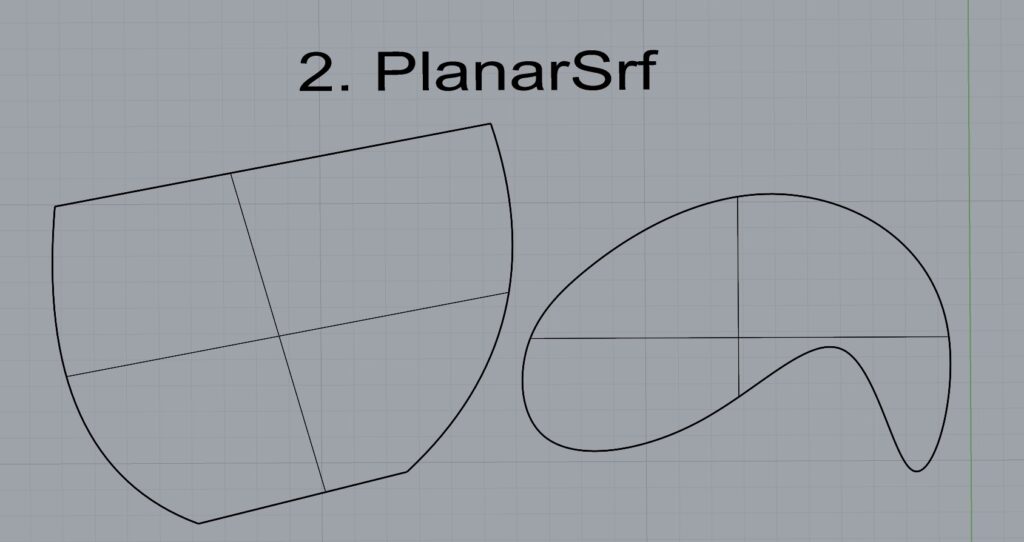
2. PlanarSrf
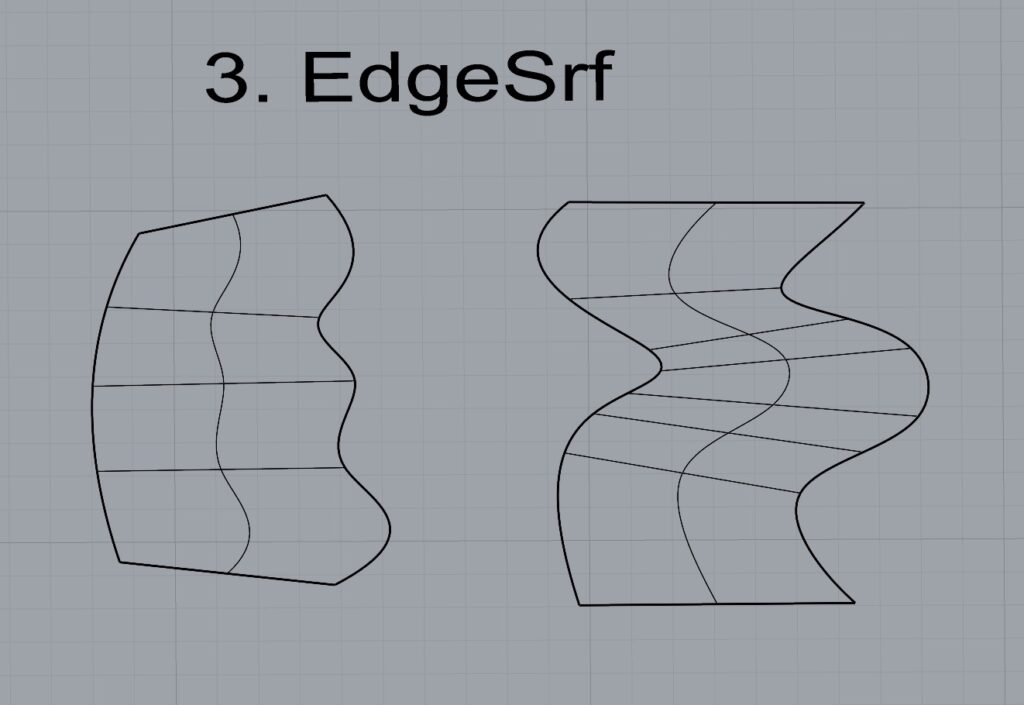
3. EdgeSrf
4. ExtrudeCrv

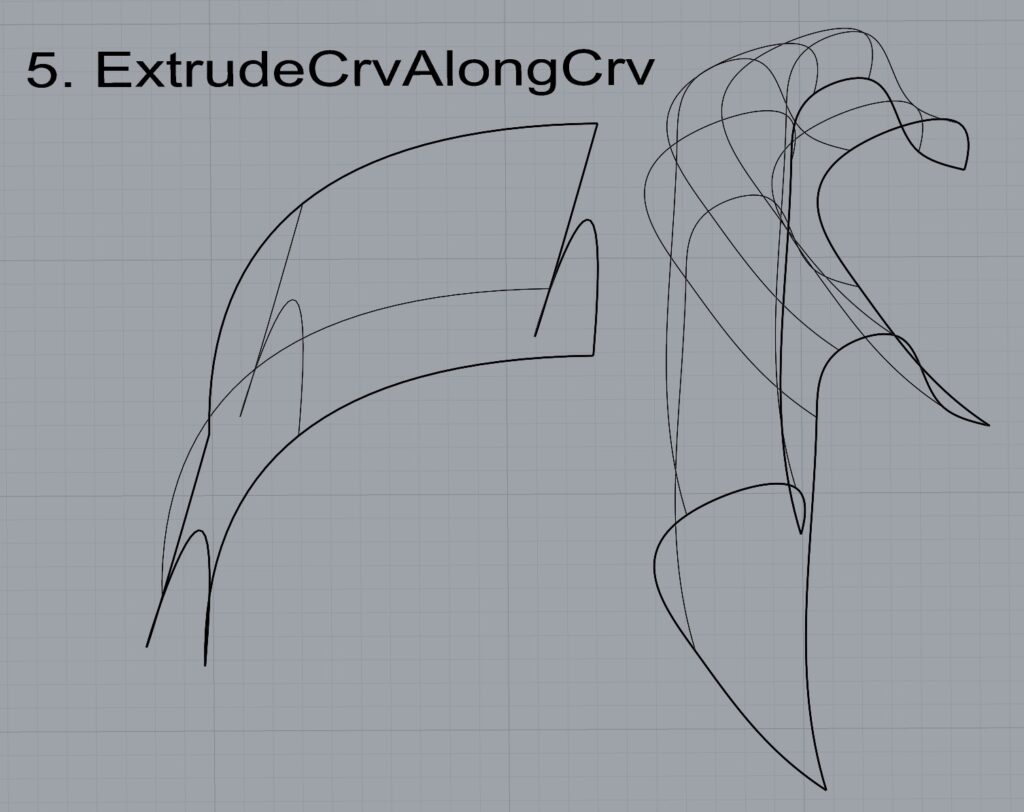
5. ExtrudeCrvAlongCrv
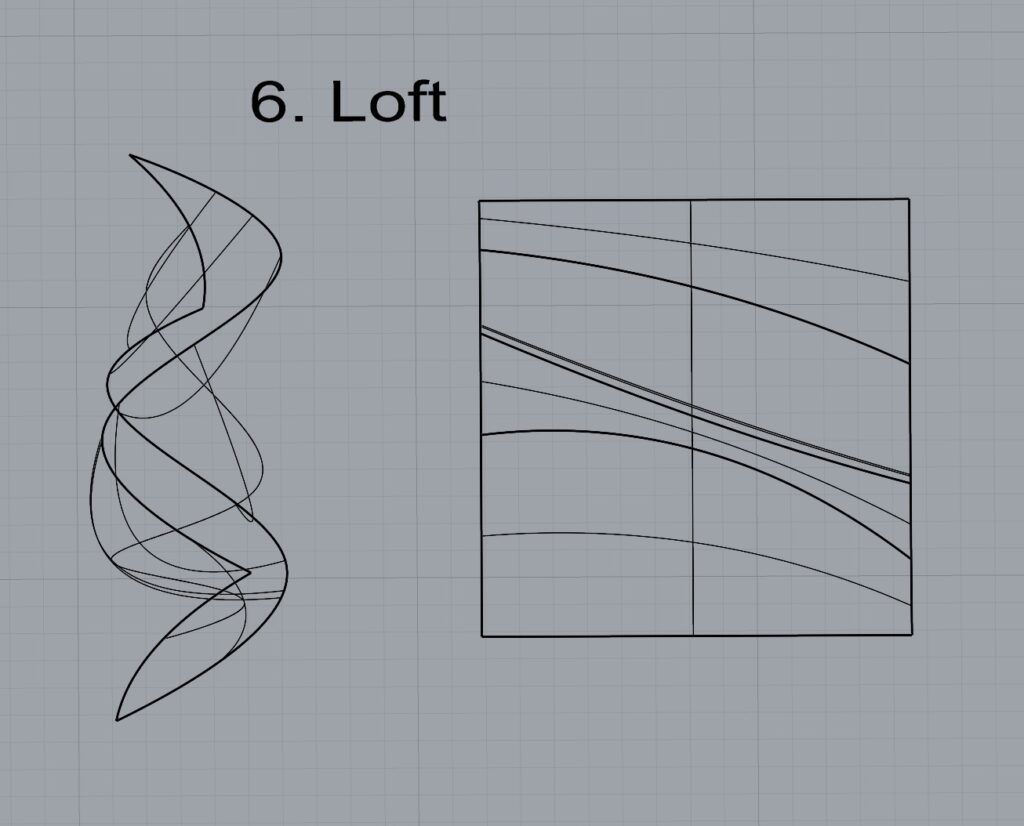
6. Loft
7. Sweep1
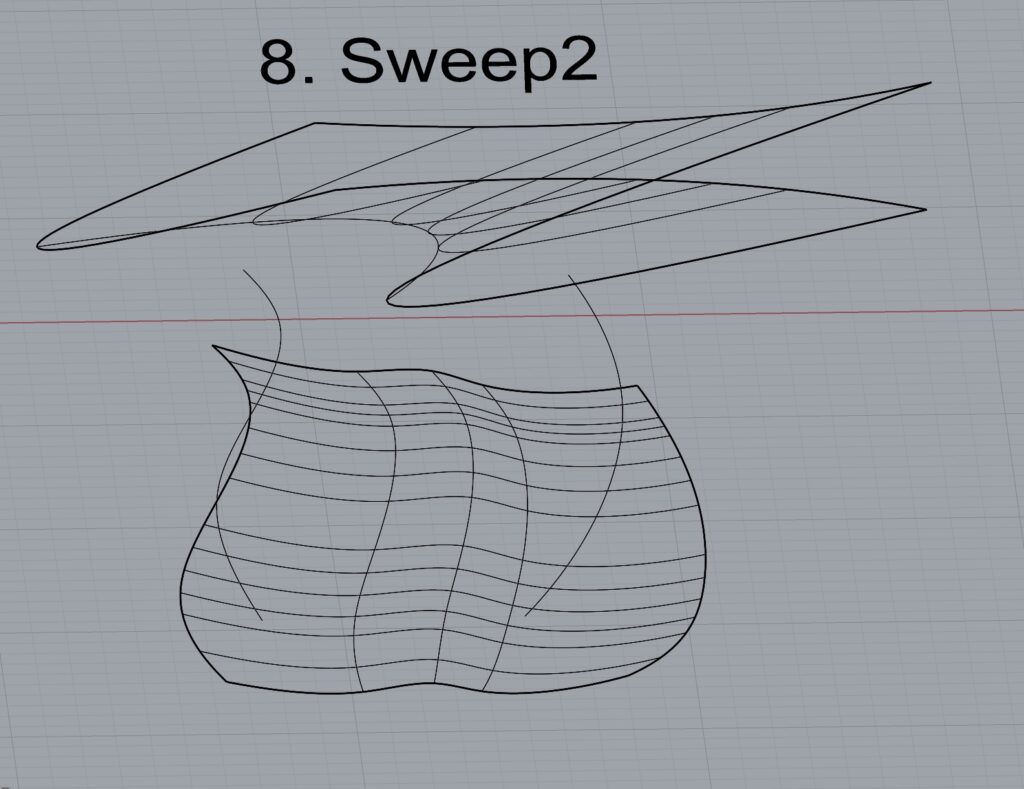
8. Sweep2
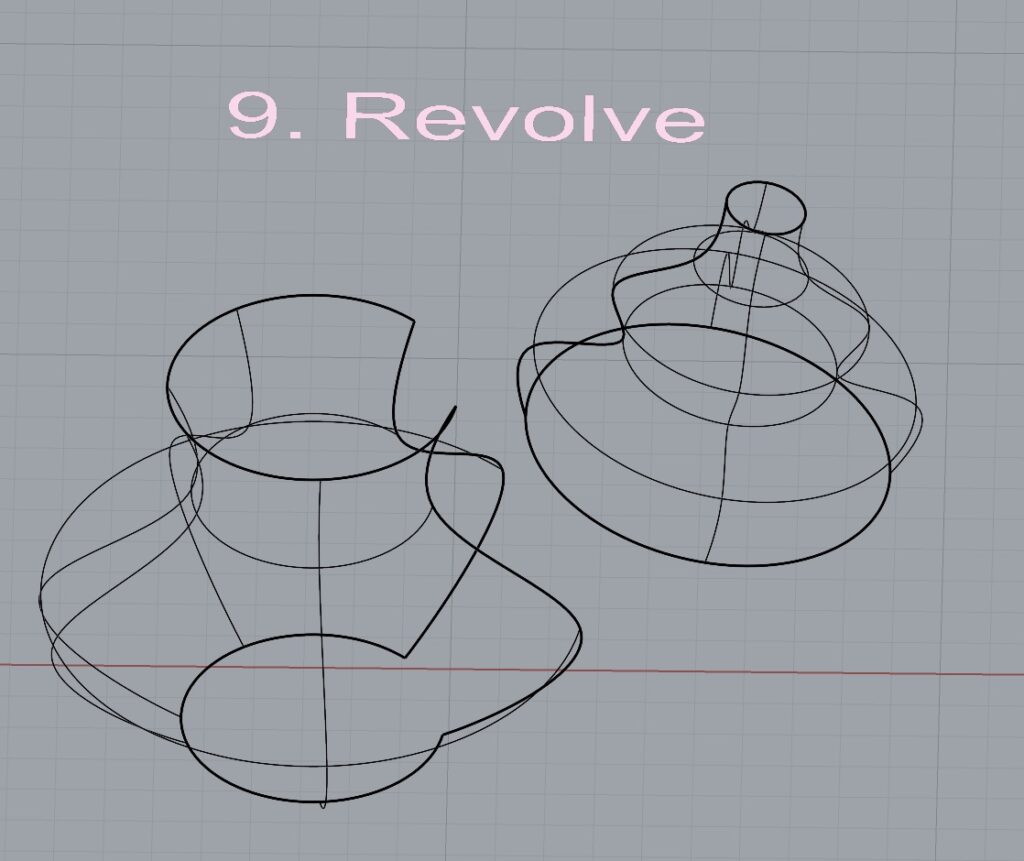
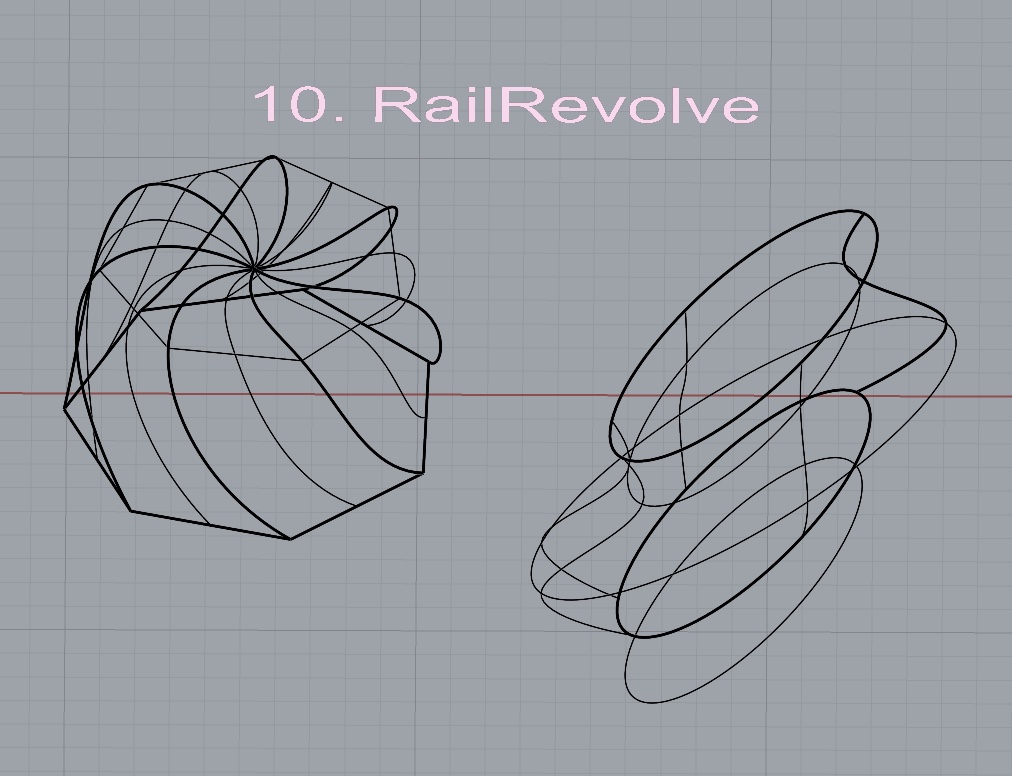
9. Revolve
10. RailRevolve
11. Add a link to your FirstnameLastname_Surfaces file at this point in your post.
Part 3: Solids
Open a new Rhino File and practice the solids commands below by making two different solids for each command. You may want to use some of the curves and surfaces you modeled in Parts 1 and 2. Organize your Rhino file so each step is clear. Use the Text command to label each step and the commands you used.
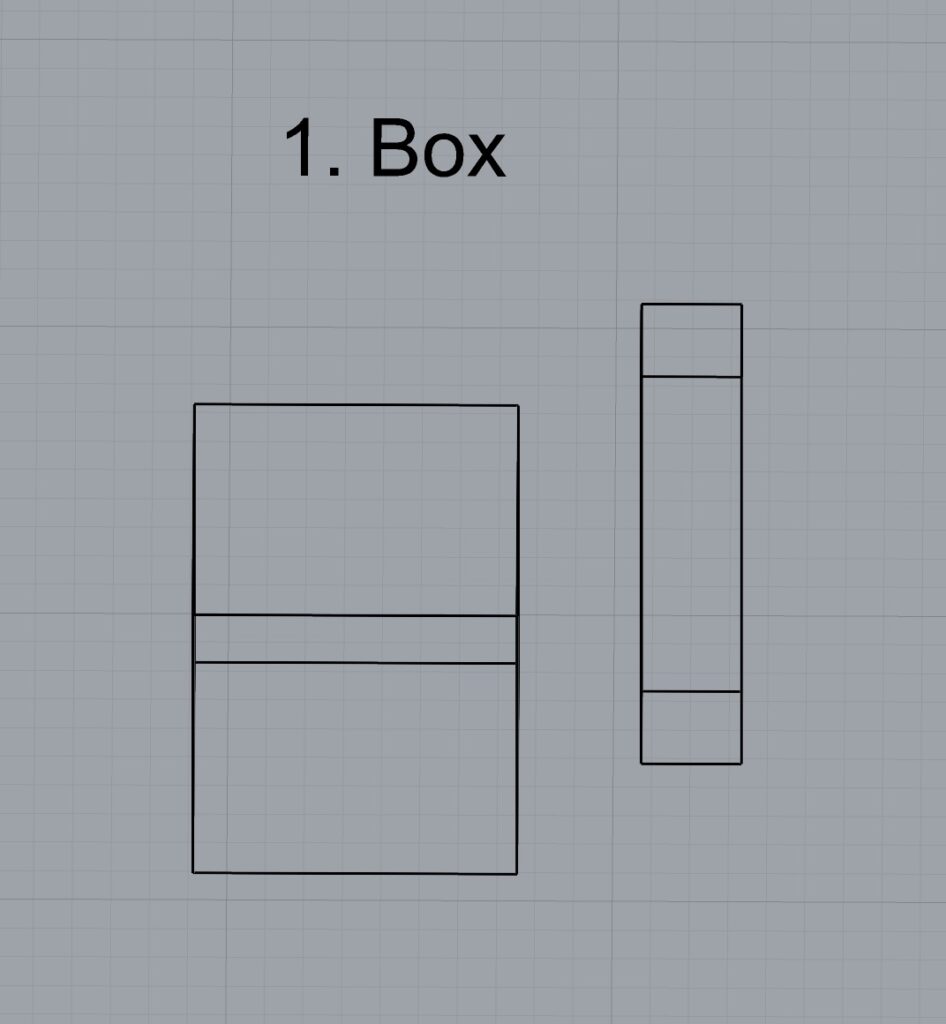
- Box
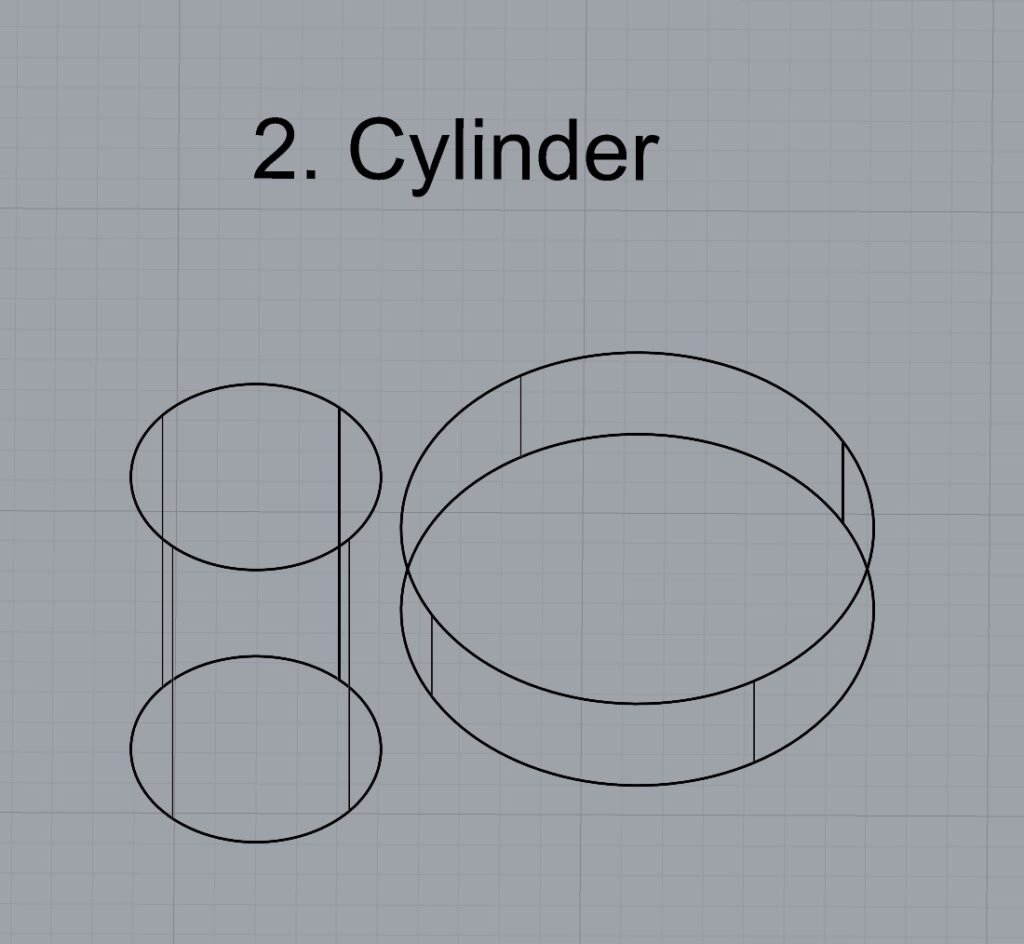
2. Cylinder
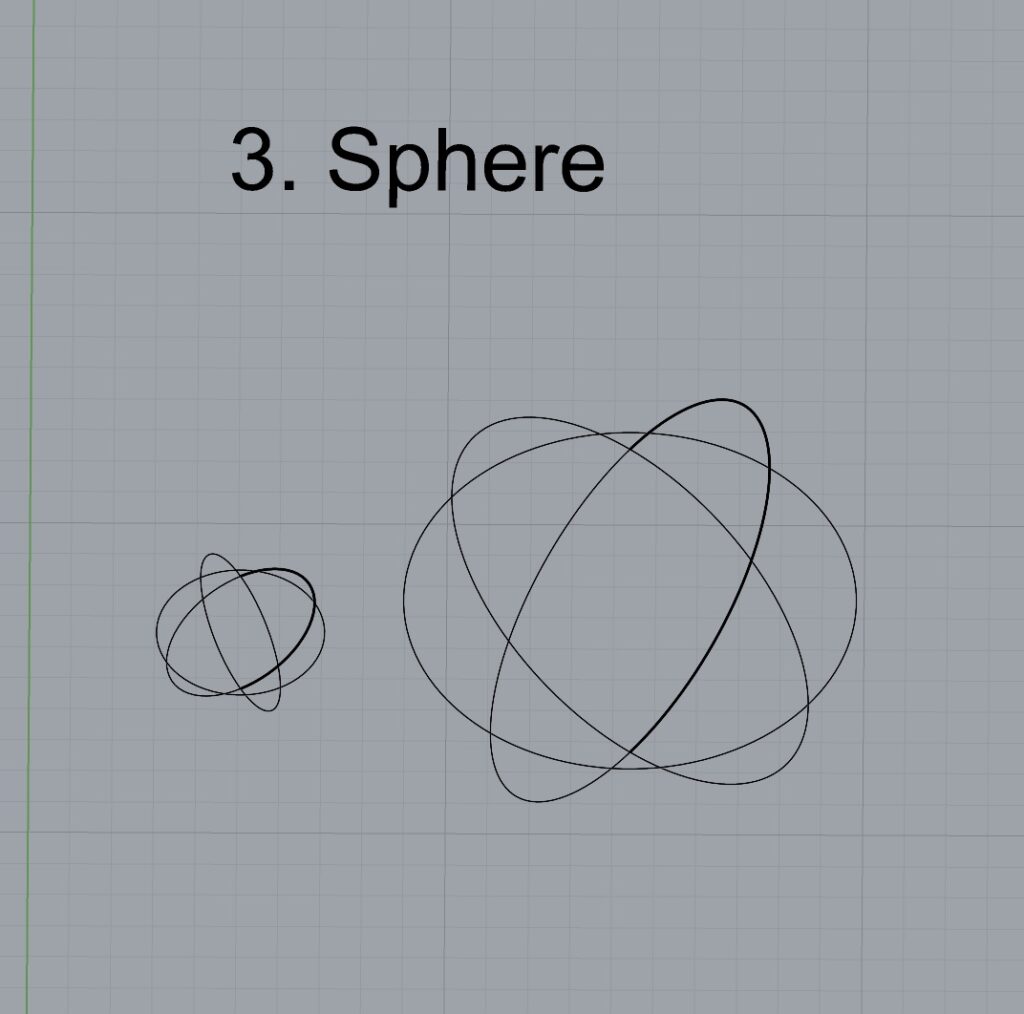
3. Sphere
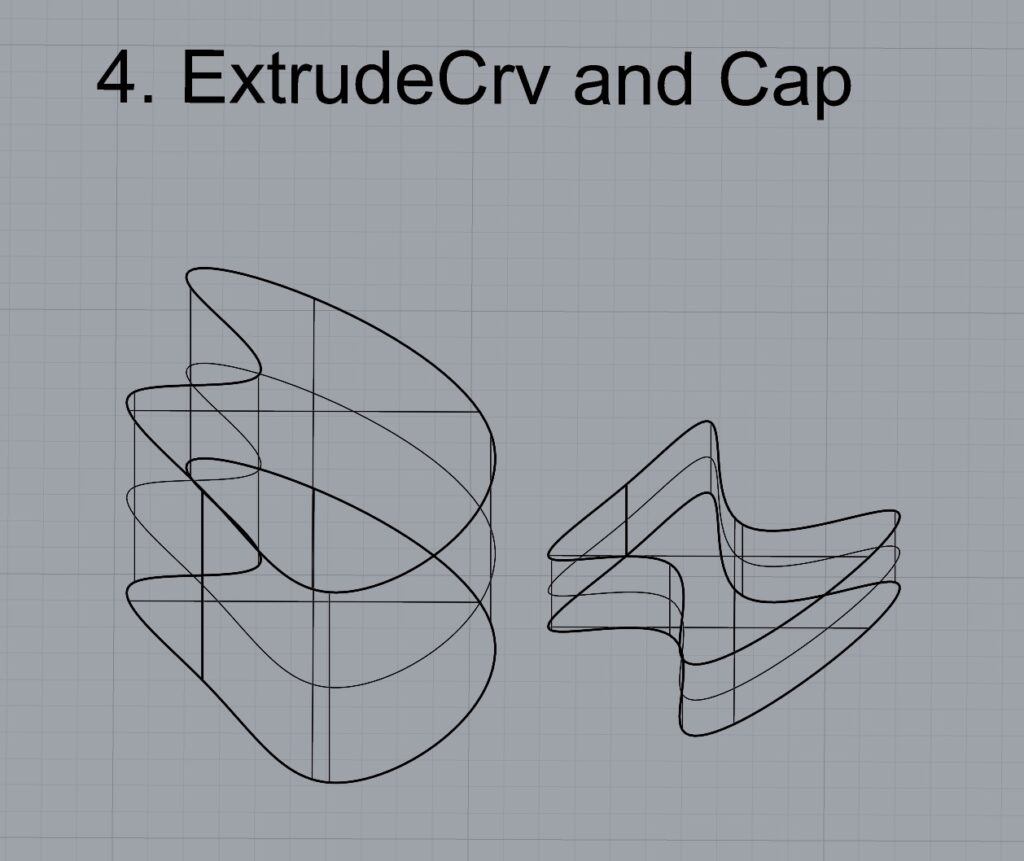
4. ExtrudeCrv and Cap
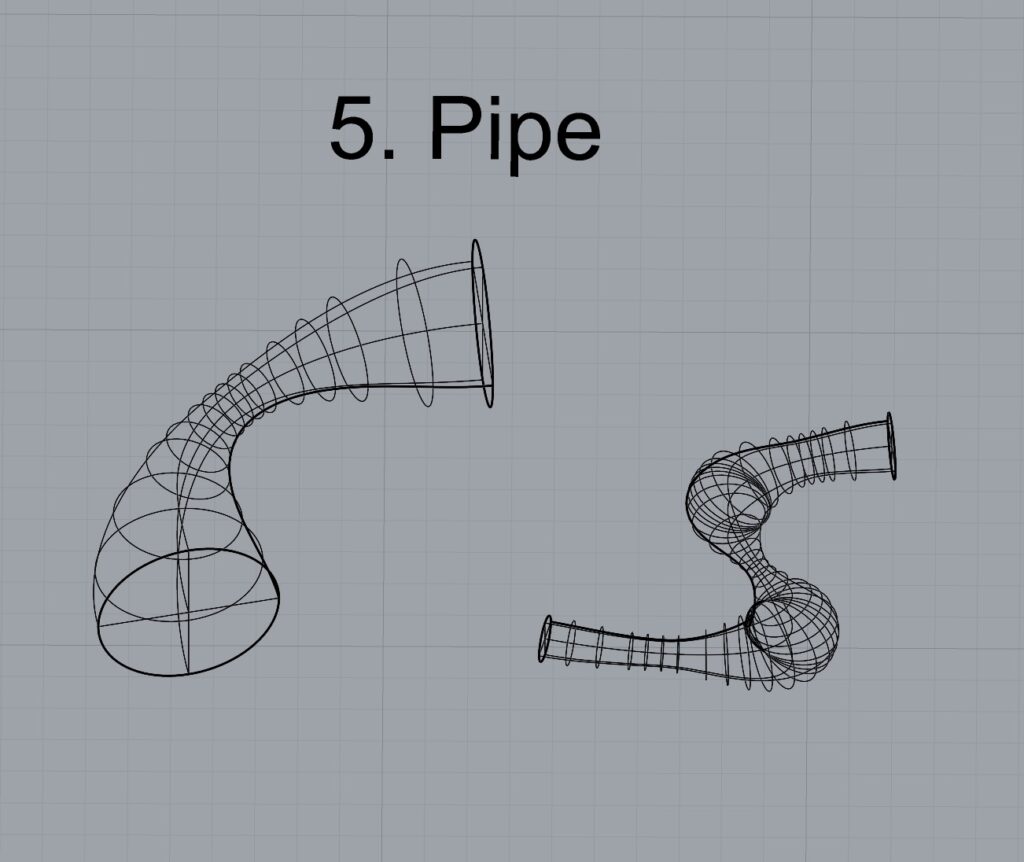
5. Pipe
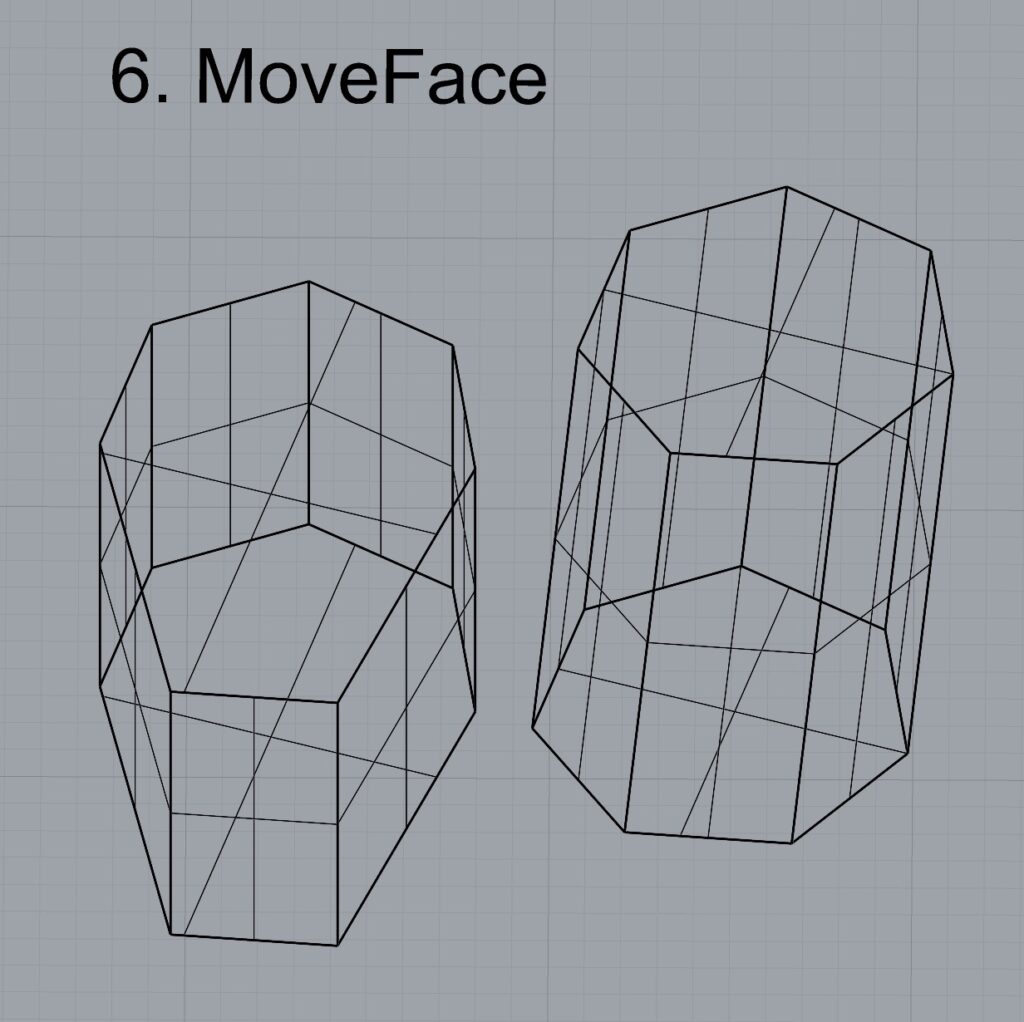
6. MoveFace
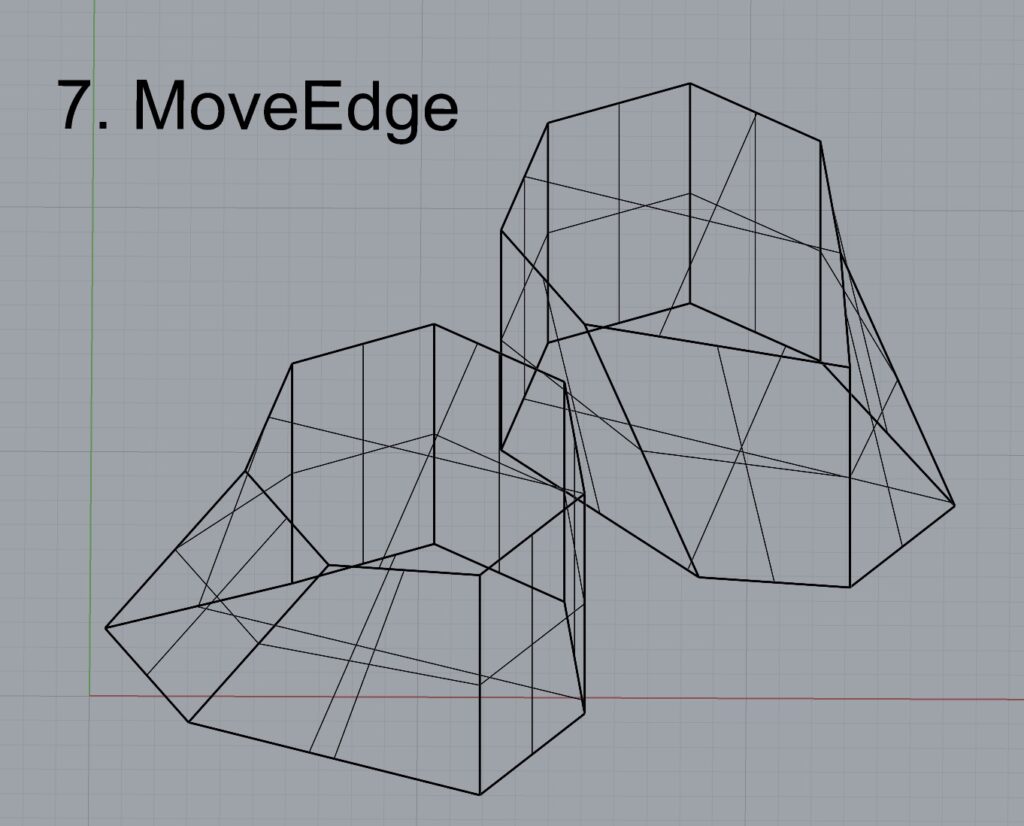
7. MoveEdge
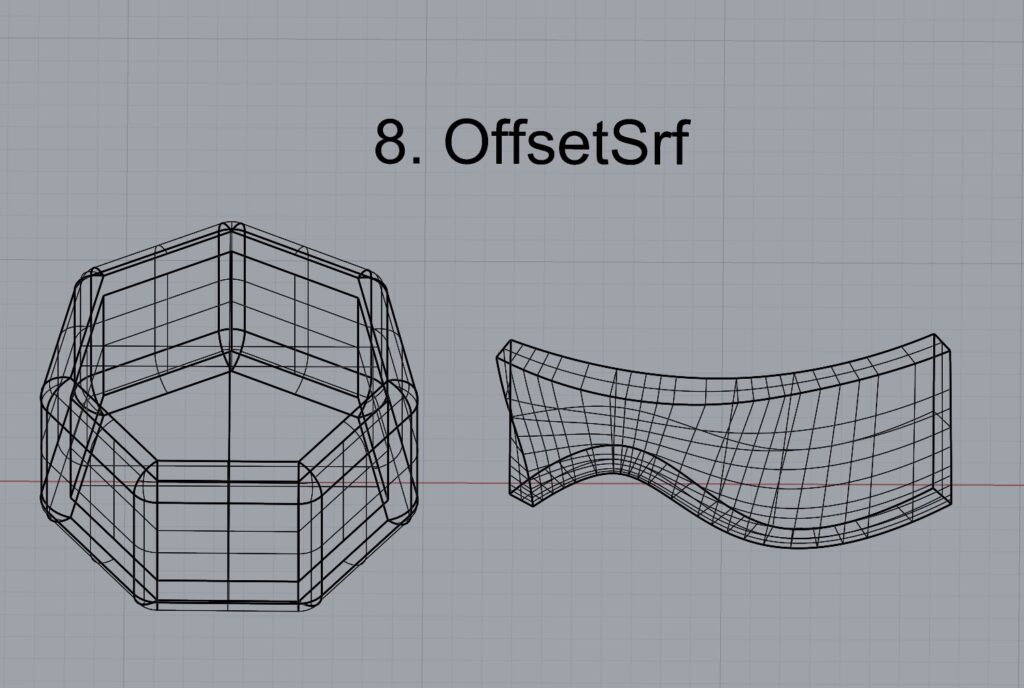
8. OffsetSrf
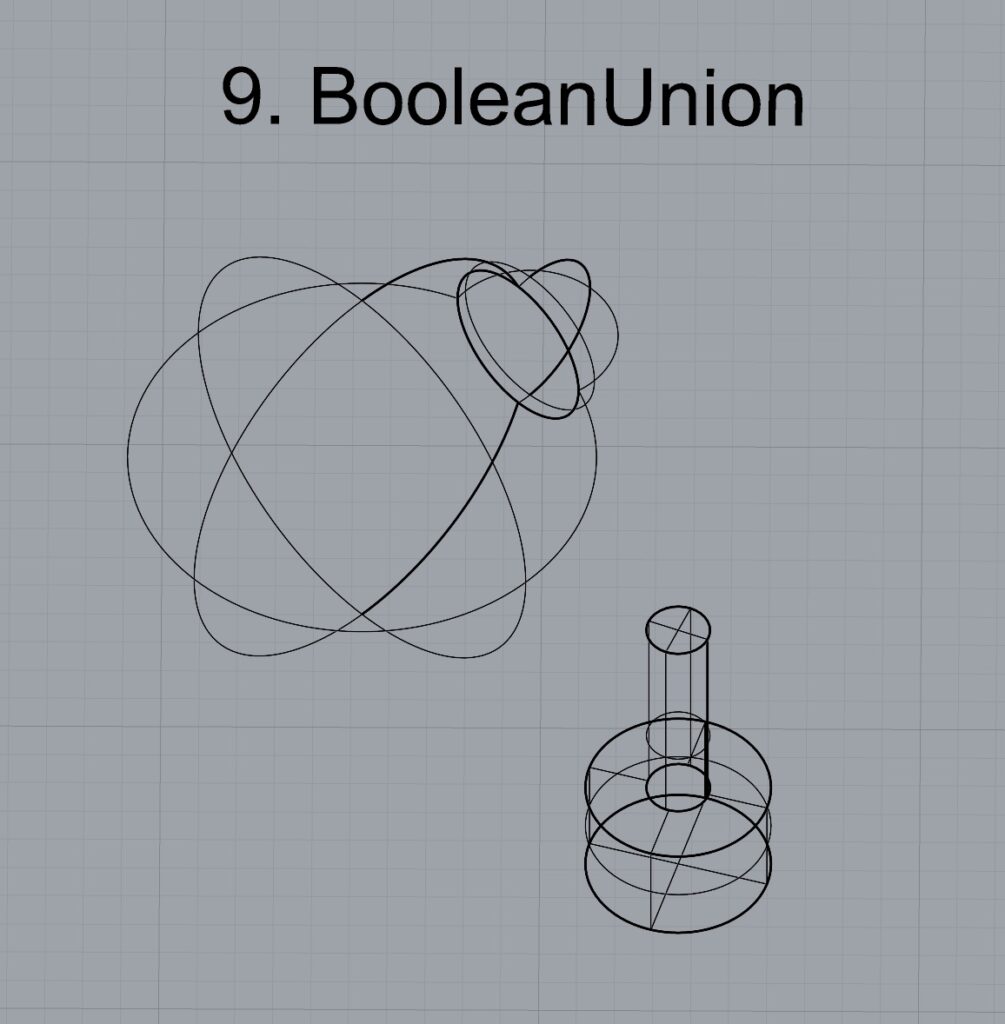
9. BooleanUnion
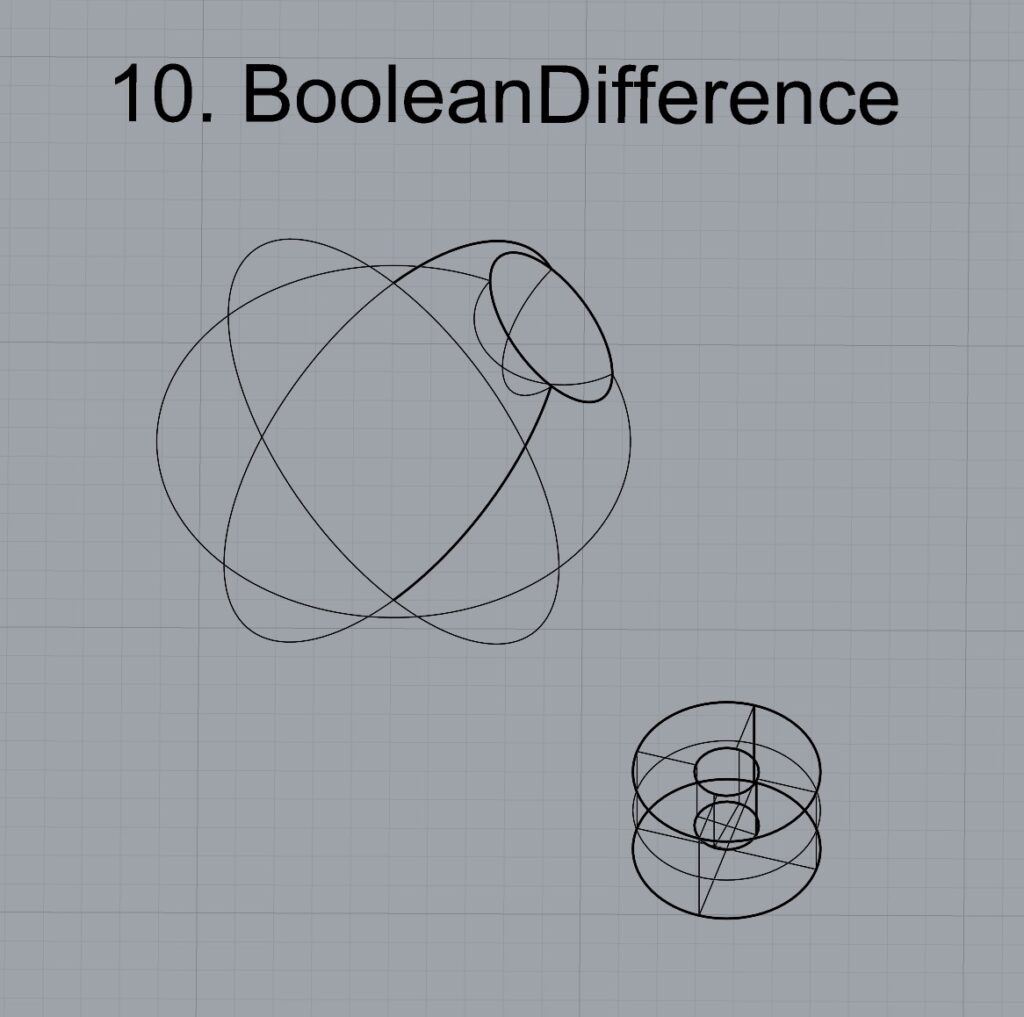
10. BooleanDifference
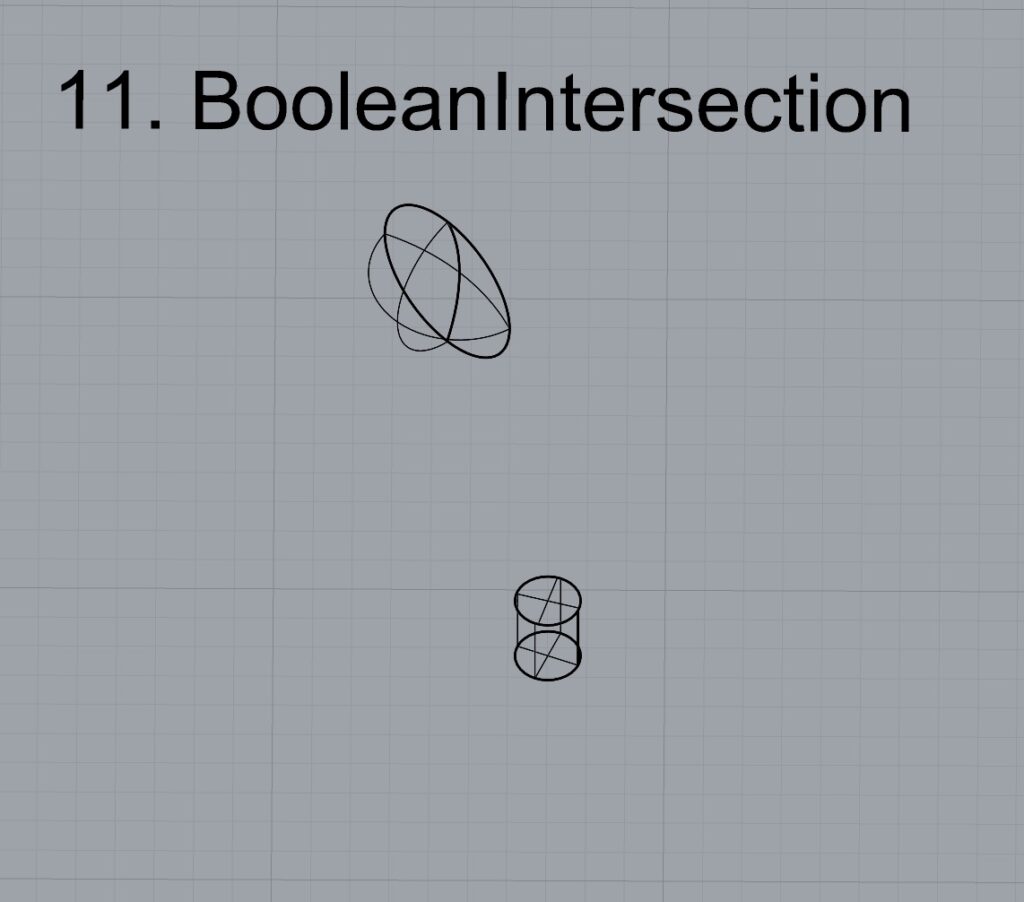
11. Boolean Intersection
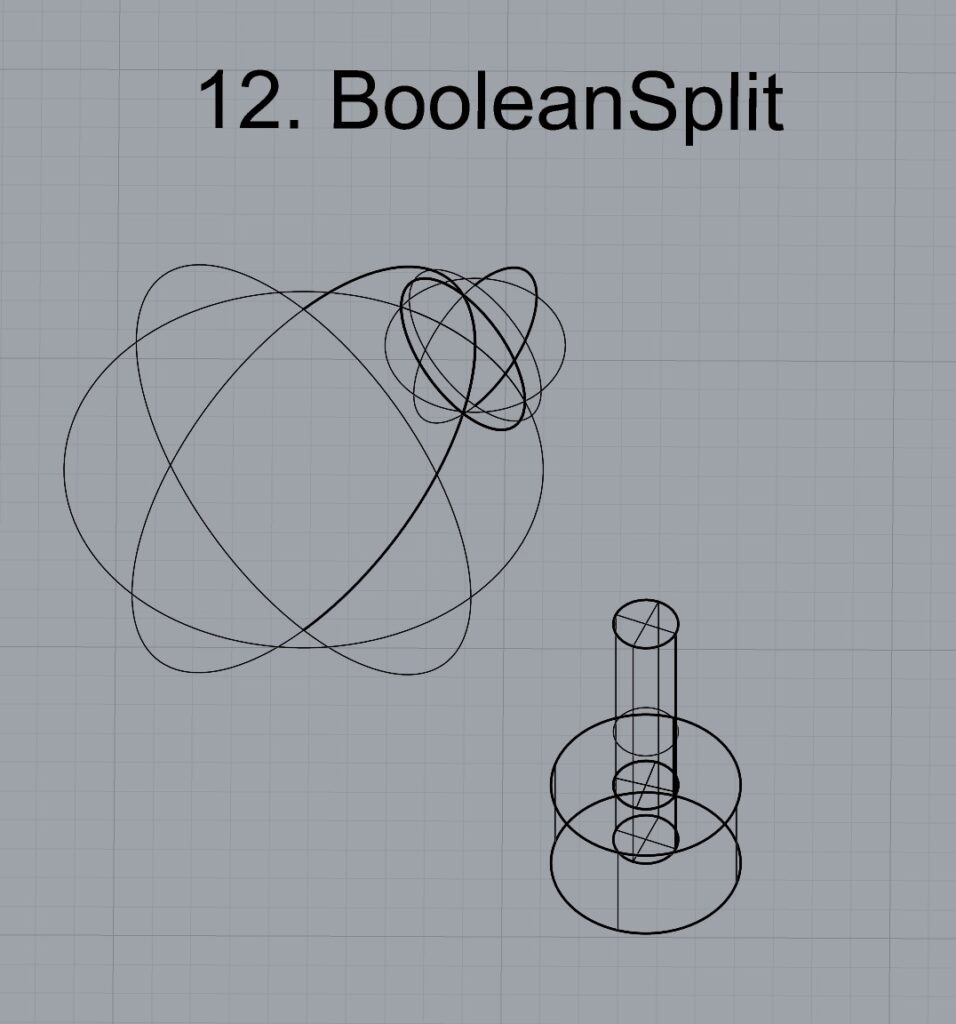
12. BooleanSplit
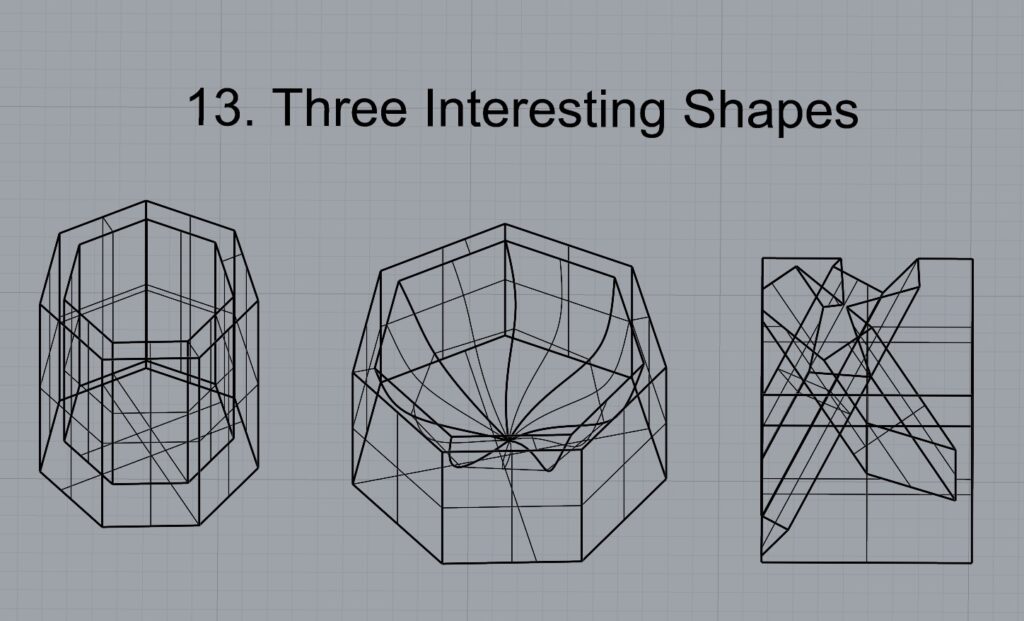
13. Using the surfaces and solids you modeled and the Boolean tools, make three solid shapes you find interesting.
14. Add a link to your FirstnameLastname_Solids file at this point in your post.
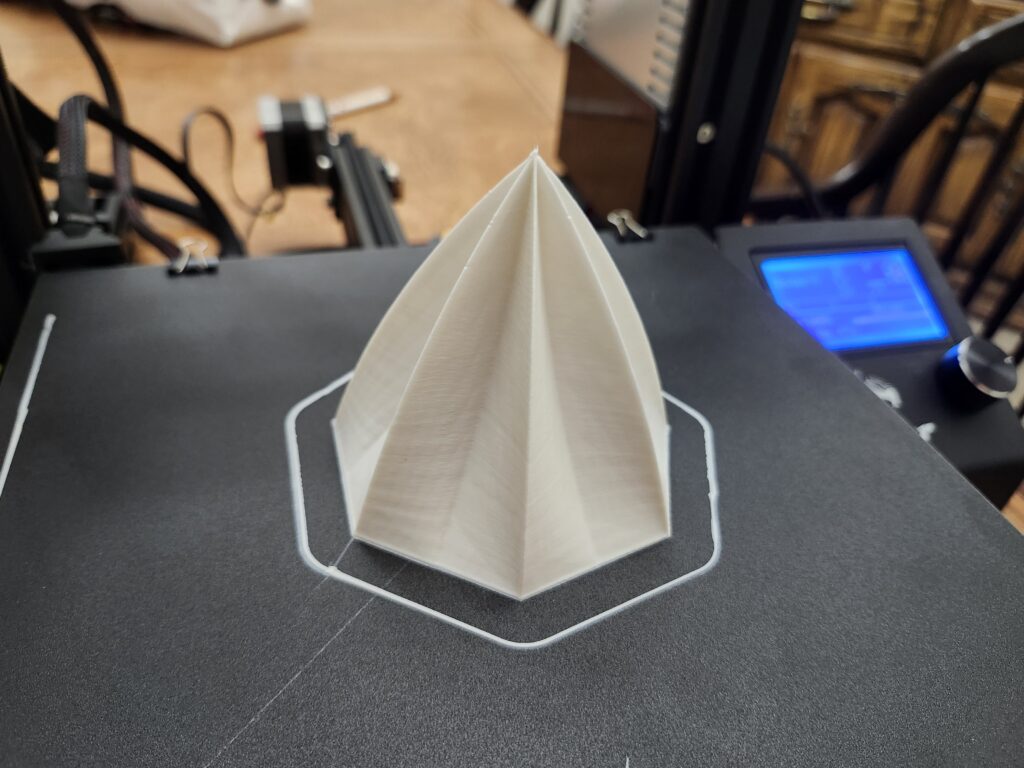
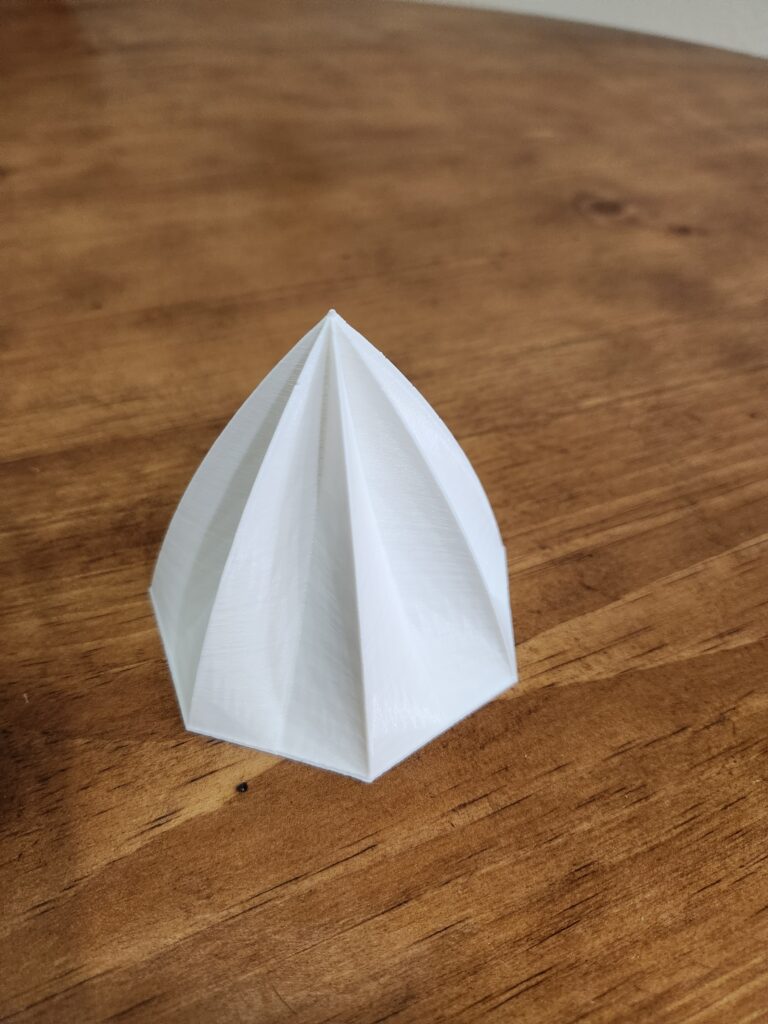
Part 4: 3D Printing
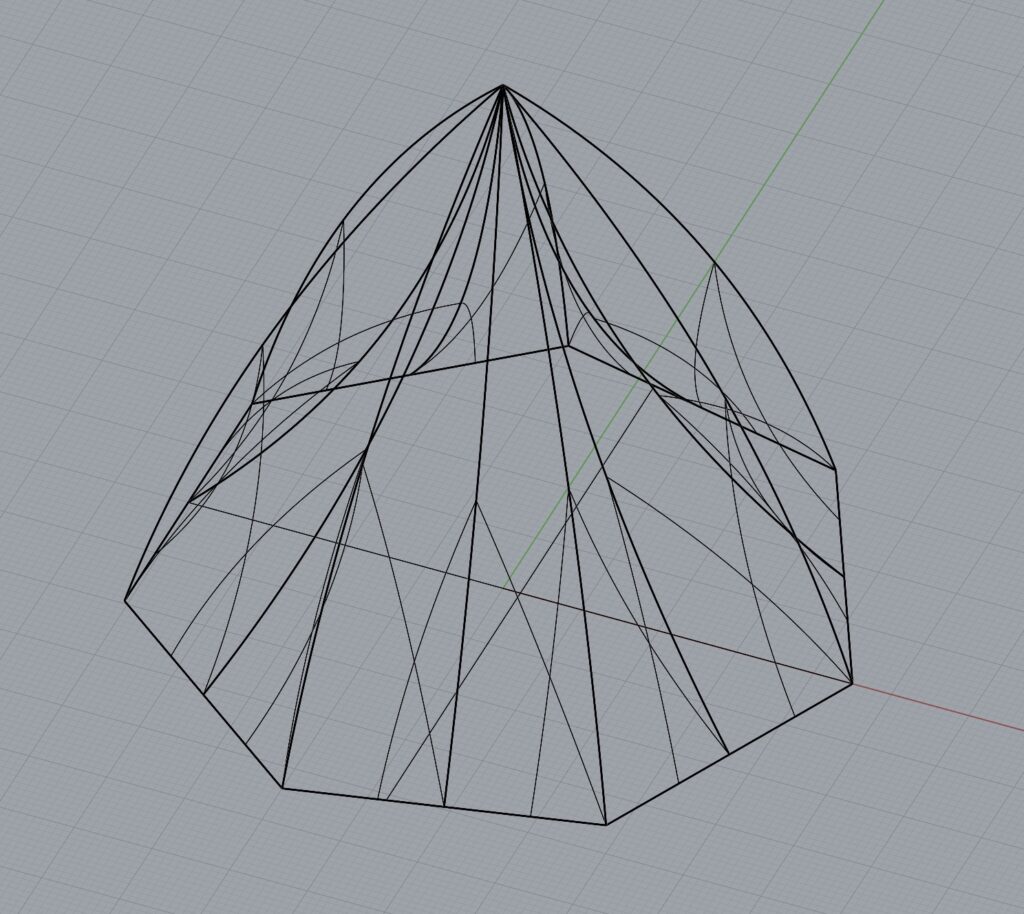
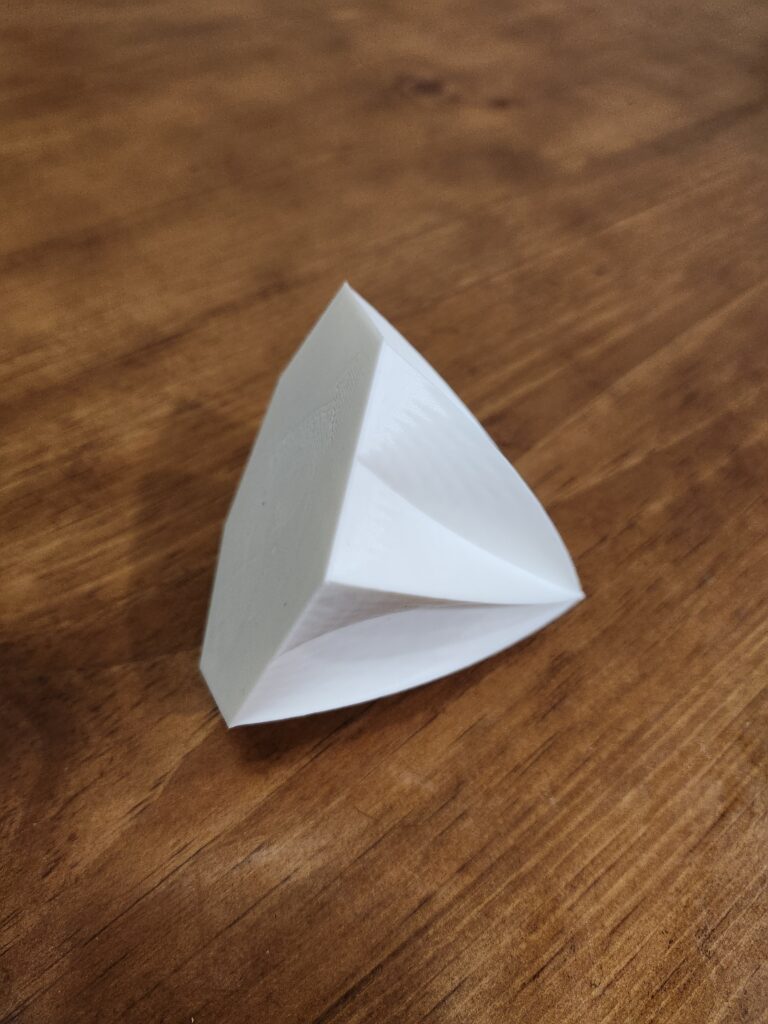
For my final print, I wanted to start with a heptagonal base (a seven-sided polygon). From each corner of the base I made a curve that curved outwards slightly. From each midpoint on the base I made a curve that curved inwards slightly. Then I used EdgeSrf to create survaces between all the curves, and I capped the base. I made sure it was at least 3 inches in diameter and 3 inches tall. Since I created something new, here’s the rhino file:
Model details:
Max width (x) = 85.544 mm = 3.368 inches
Max depth (y) = 87.744 mm = 3.454 inches
Max height (z) = 78.590 mm = 3.094 inches
Volume = 132,951.526 (+/- 0.0001) cubic millimeters (I used the volume command in rhino to get this)
By the assignment directions, it should be close to 3^3 cubic inches in volume, or 76.2^3 = 442,450.728 cubic millimeters. Because my model wasn’t a cube and the top was so much smaller than the base, it’s volume is a bit less, but the dimensions are still close to the intended size.
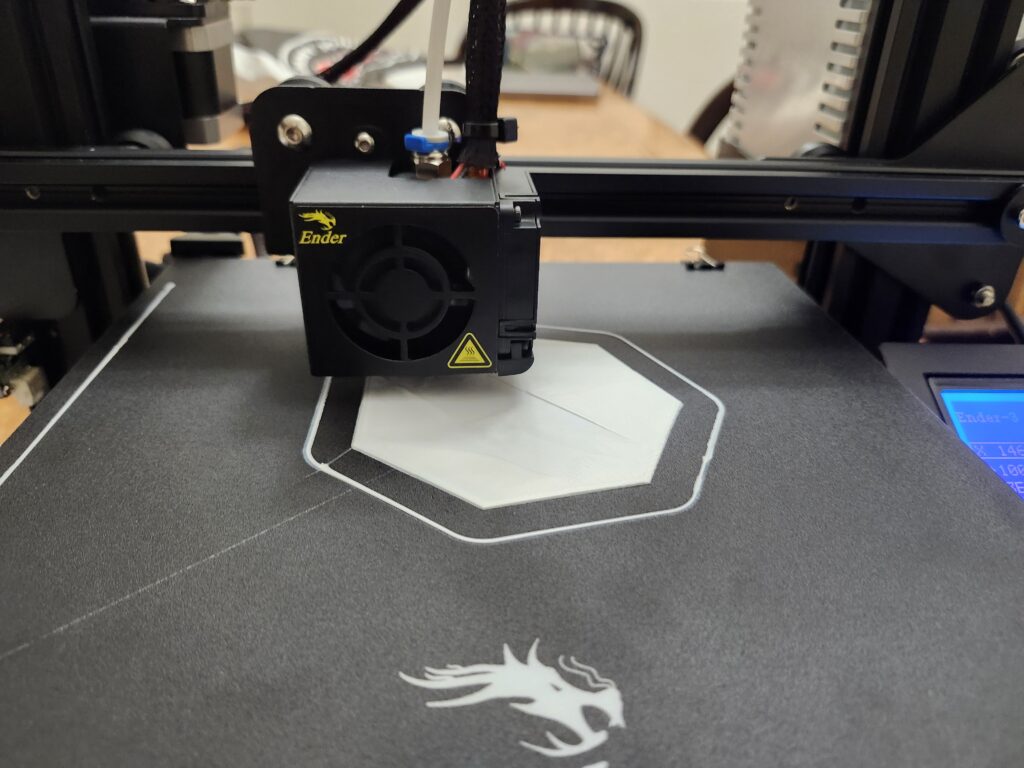
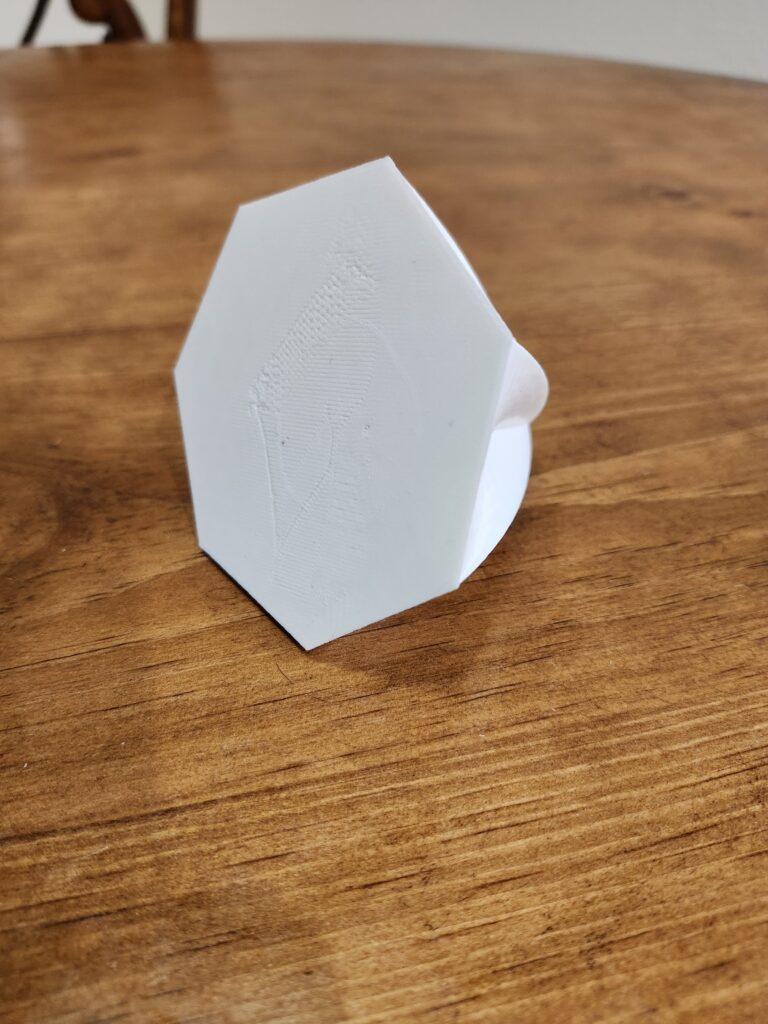
The bottom had a few imperfections.
Hey Nathaniel, your final print is really cool. I really like the unique design you created especially how I can tell that you made it geometrically balanced enough to stand on its own which is especially cool and something that I personally struggled with while designing my object.