Part 1 – Curves
Open a new Rhino File and practice the curves commands by completing the following steps. Organize your Rhino file so each step is clear. Use the Text command to label each step and the commands you used.
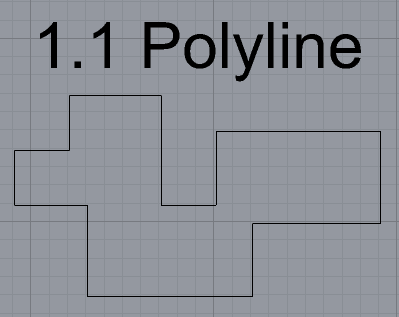
- Make the specific footprint below – Commands: Polyline
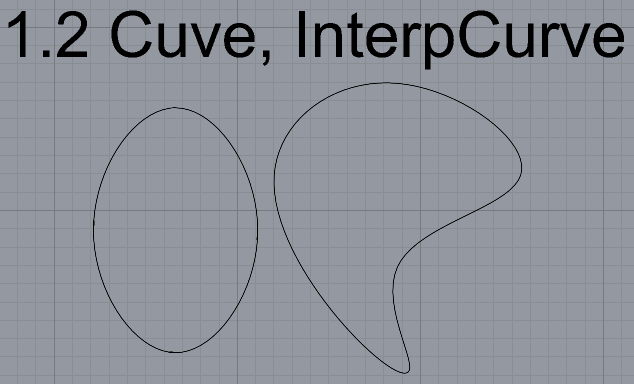
- Make 2 closed rounded curves using the various curve commands – Commands: Curve, InterpCurve
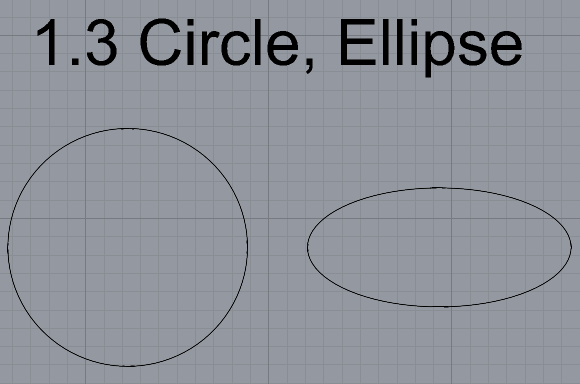
- Make 2 closed curves using polygon, ellipse, or circle – Commands: Circe, Ellipse, Polygon
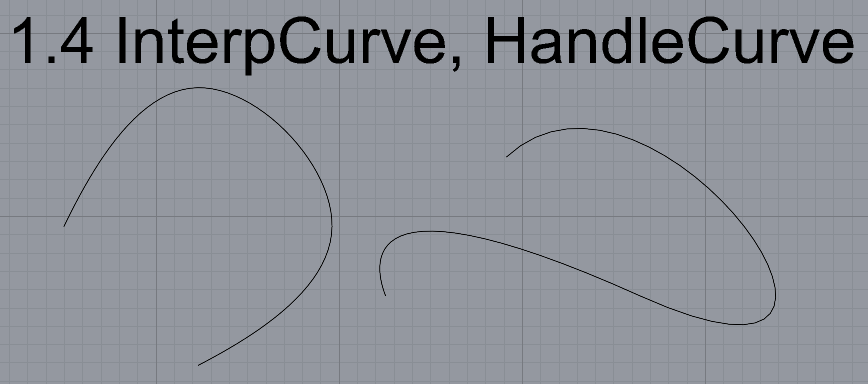
- Make 2 open curves – Commands: Curve, InterpCurve, HandleCurve Sketch
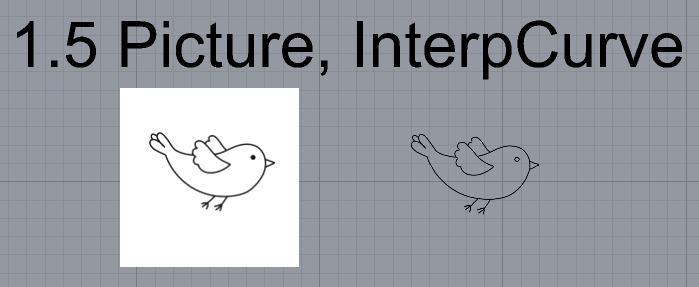
- Import picture and trace an image – Commands: Picture, IterpCurve
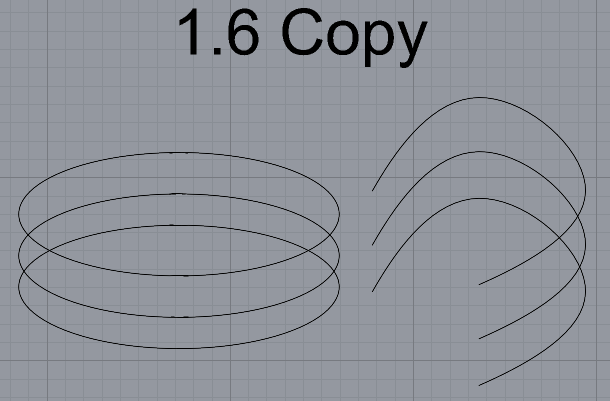
- Pick one open curve, and one closed rounded curve and make three copies of each – Commands: Copy
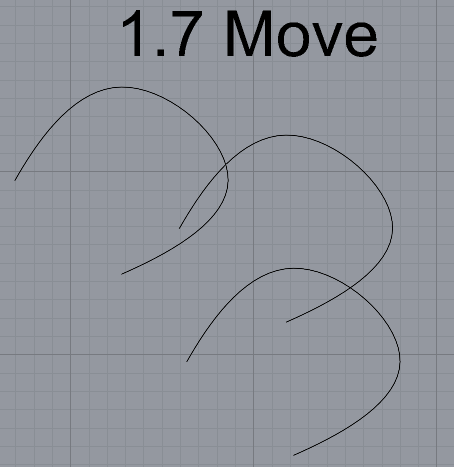
- Take at least 3 of your closed curves and overlap them to create a new shape – Commands: Move
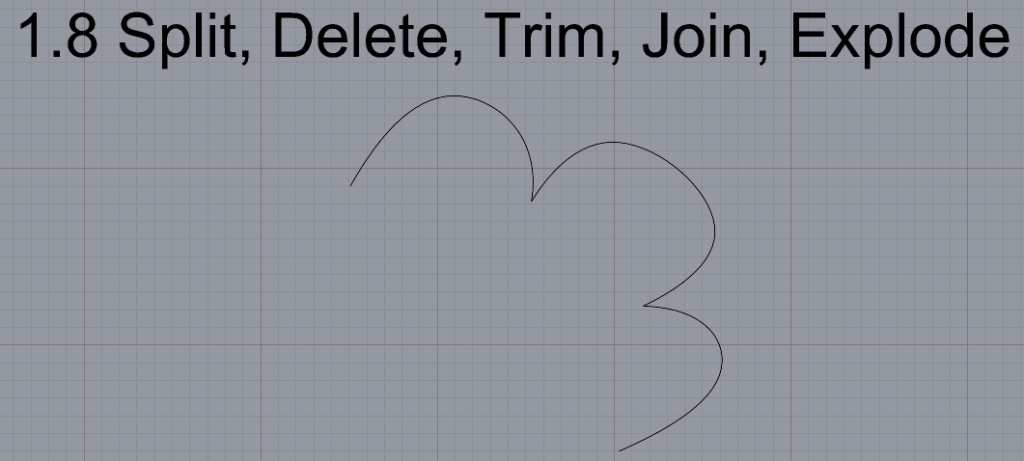
- Use split, delete, and trim to combine these curves into one open curve – Commands: Split, Delete, Trim, Join, Explode
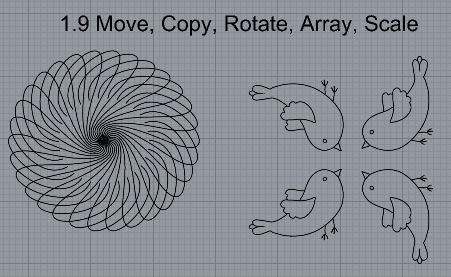
- Take at least two curves and use various transformations to make a pattern or composition – Commands: Move, Copy, Rotate, Mirror, Array, Scale, Offset, Fillet, FilletCorners
- Organize your Rhino file so each step is clear. Use the Text command to label each step and the commands you used. Add a link to your FirstnameLastname_Curves file at this point in your post.
Part 2: Surfaces
Open a new Rhino File and practice the surfaces commands below by making two different surfaces for each command. Organize your Rhino file so each step is clear. You may want to use some of the curves you modeled in Part 1. Use the Text command to label each step and the commands you used.
- Plane

- PlanarSrf

- EdgeSrf

- ExtrudeCrv

- ExtrudeCrvAlongCrv

- Loft

- Sweep1

- Sweep2

- Revolve

- RailRevolve

I used the same shape as the Revolve photo. However, I created a circle at the bottom and utilized it as a rail. - Add a link to your FirstnameLastname_Surfaces file at this point in your post
Part 3: Solids
Open a new Rhino File and practice the solids commands below by making two different solids for each command. You may want to use some of the curves and surfaces you modeled in Parts 1 and 2. Organize your Rhino file so each step is clear. Use the Text command to label each step and the commands you used.
- Box

- Cylinder

- Sphere

- ExtrudeCrv and Cap

- Pipe

- MoveFace

- MoveEdge

- OffsetSrf

- BooleanUnion

- BooleanDifference

- BooleanIntersection

- BooleanSplit

- Using the surfaces and solids you modeled and the boolean tools, make solid shapes you find interesting

- Add a link to your FirstnameLastname_Solids file at this point in your post
Part 4: 3D Printing
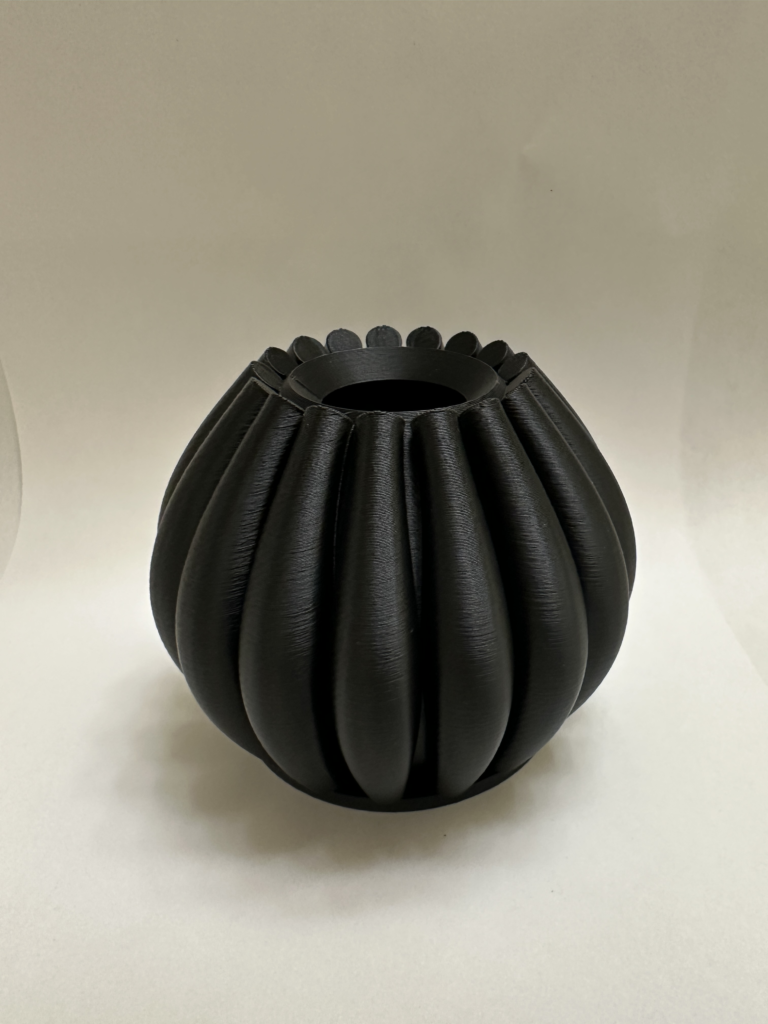
The final print wasn’t too challenging. The first print was way too small, so after some scaling and editing I was able to meet the final requirements.
Design:

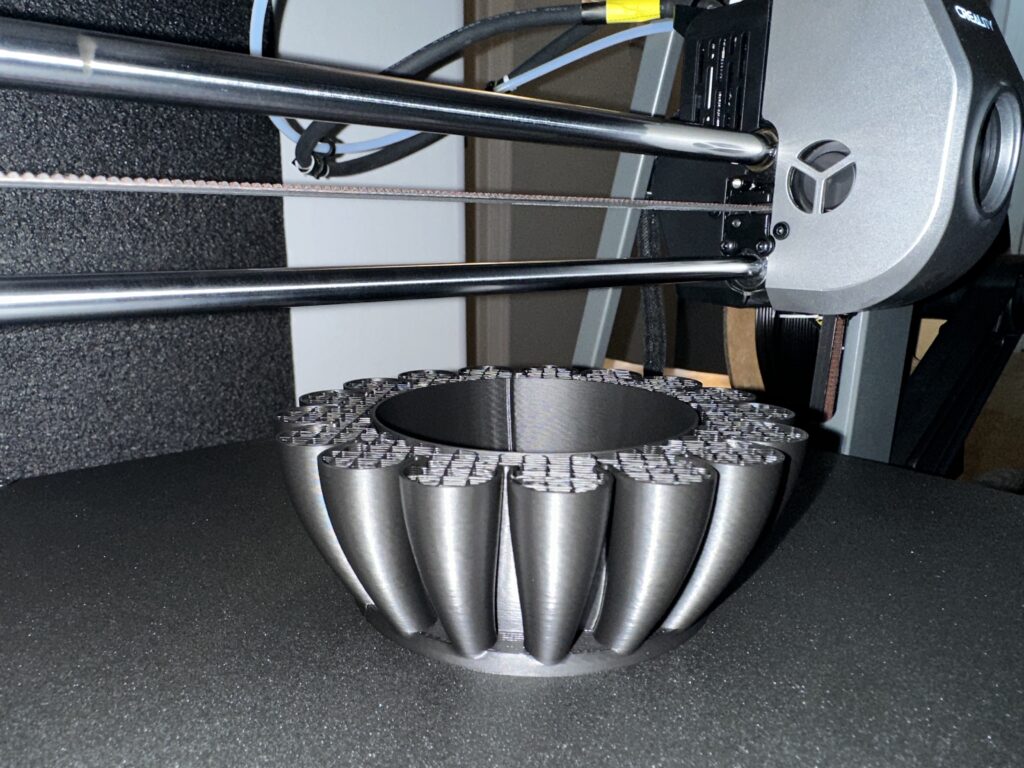
Printing:
Final Product:
Total print time was 5 hours. Things I learned:
– Have a solid foundation for the print, more adhesion to the print surface the better
– Ensure it is properly scaled prior to printing
Hi Justin,
Your print came out awesome! The black filament makes if look very classy and clean. This print would work very well for a plant, the shape has a lot of depth to it. I wonder if you could remove some of the inner circle thickness to give the inside more empty room.
Justin,
I also agree with Andrea’s comment about the black filament making your print look classy. I think I’ll be buying some for myself to use for future projects. Five hours of print time is not bad considering the details of your model, hopefully your lessons learned didn’t set you back too much during this assignment. Side note, I like the models you created in your Part 1, Step 9 section!