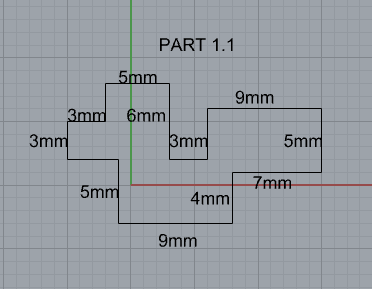
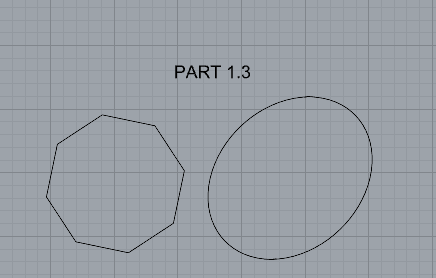
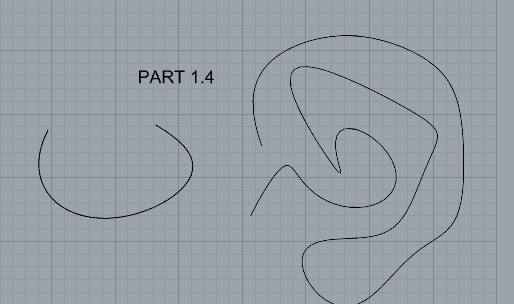
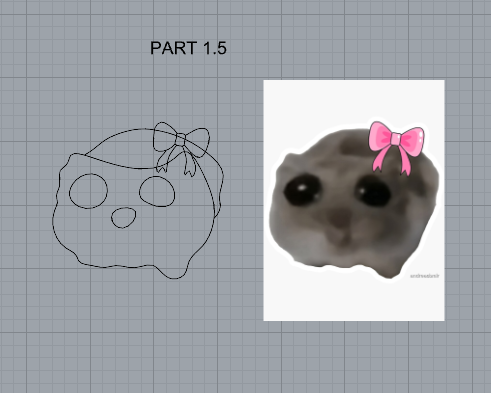
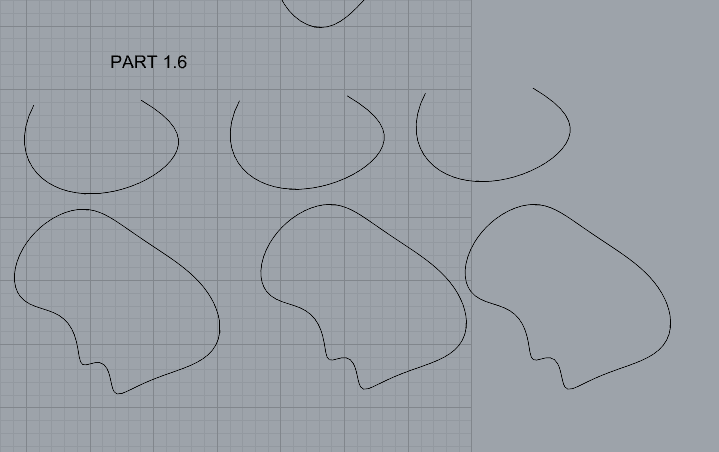
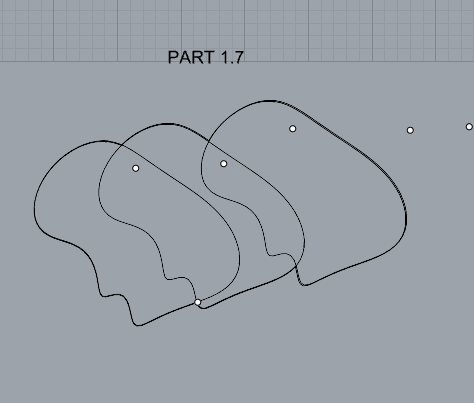
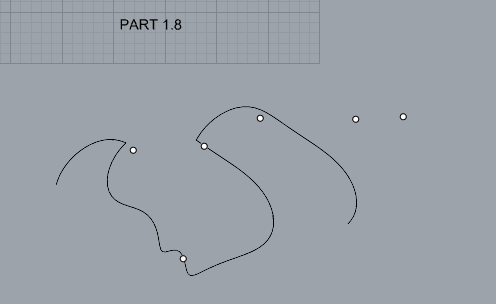
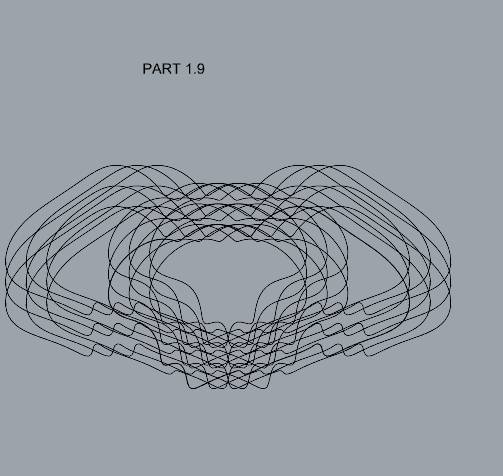
Make the specific footprint below.Commands: Polyline Commands: Curve, InterpCurve, HandleCurve Commands: Circle, Ellipse, Polygon Commands: Curve, InterpCurve, HandleCurve, Sketch Commands: Picture, InterpCurve Commands: Copy Commands: Move Commands: Split, Delete, Trim, Join, Explode Take at least two curves and use various transformations make a pattern or composition.Commands: Move, Copy, Rotate, Mirror, Array, Scale, Offset, Fillet, FilletCorners Organize your Rhino file so each step is clear. Use the Text command to label each step and the commands you used. Add a link to your FirstnameLastname_Curves file at this point in your post.Part 1: CurvesOpen a new Rhino File and practice the curves commands by completing the following steps. Organize your Rhino file so each step is clear. Use the Text command to label each step and the commands you used.

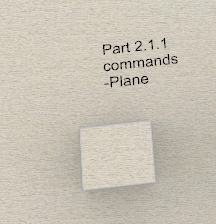
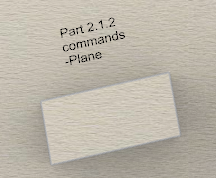
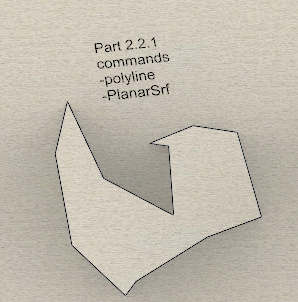
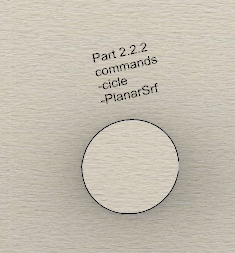
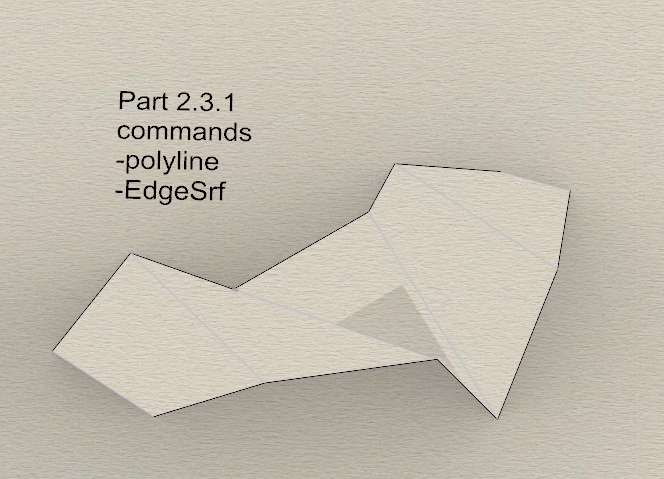
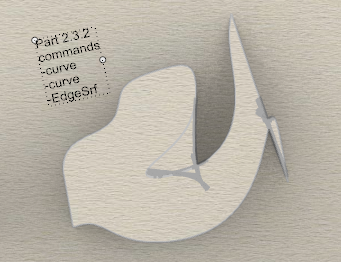
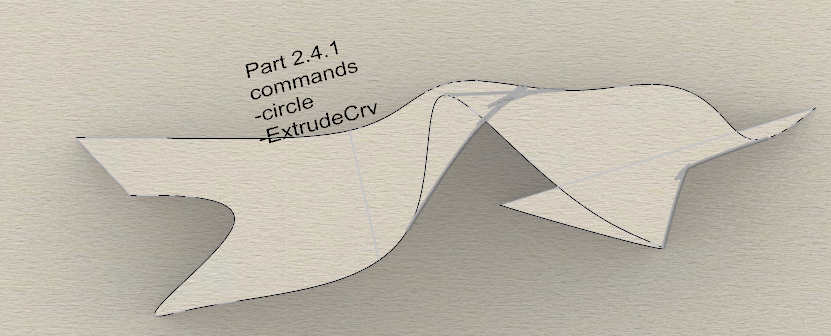
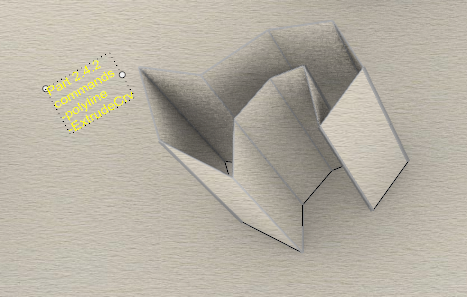
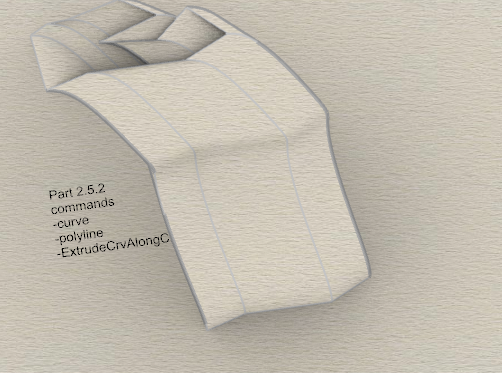
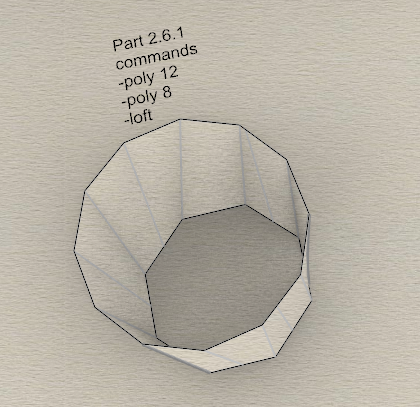
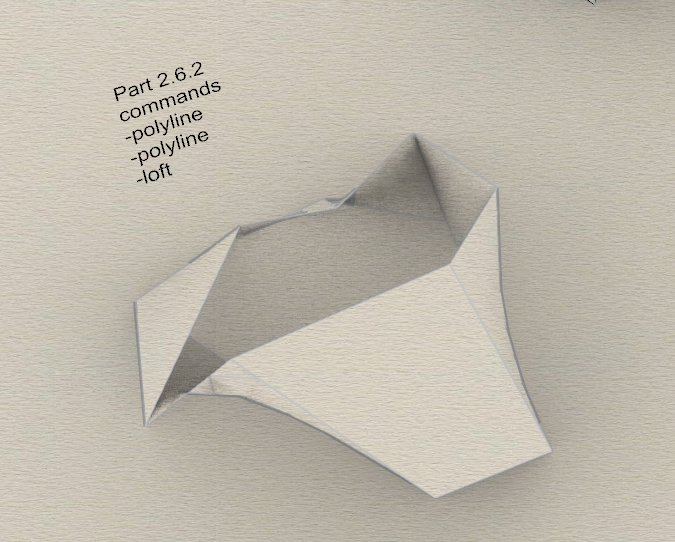
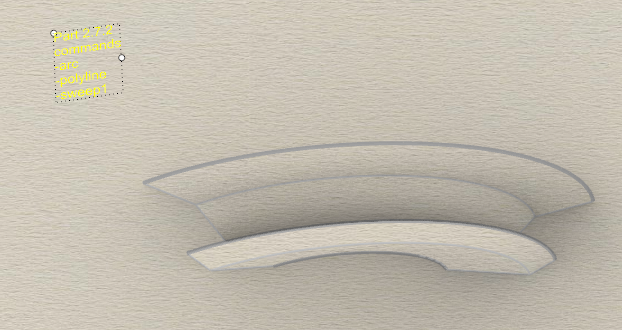
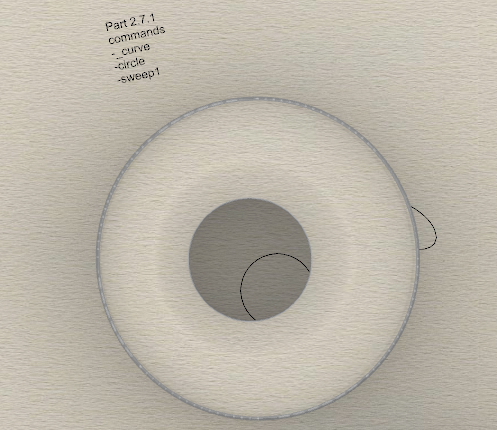
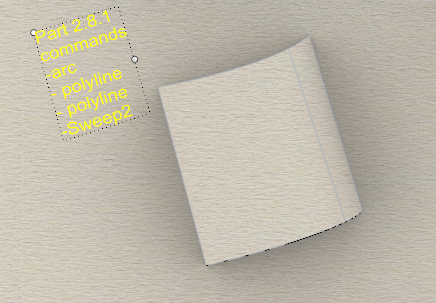
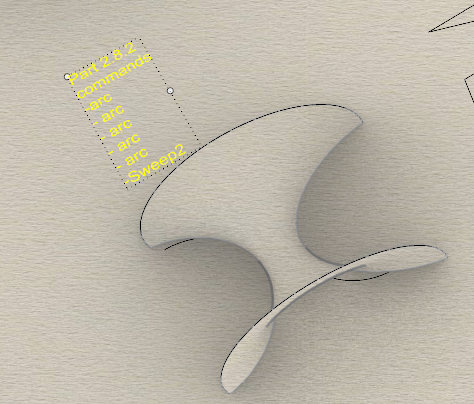
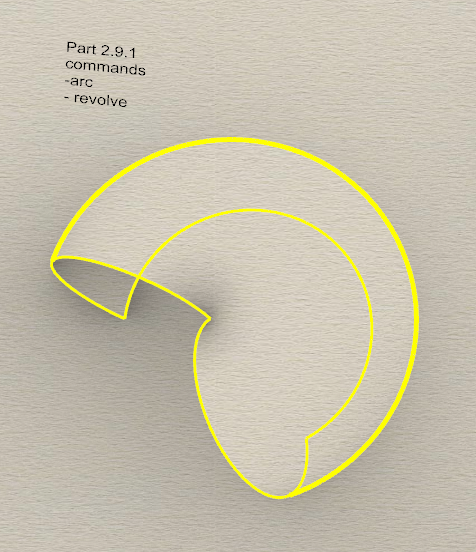
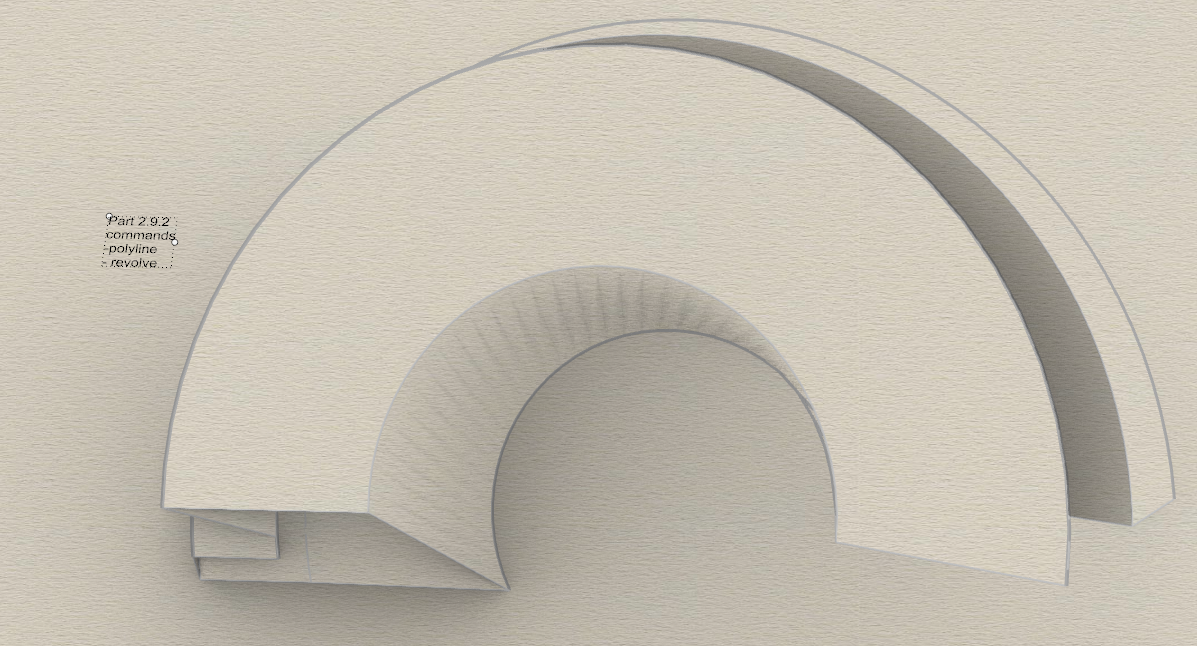
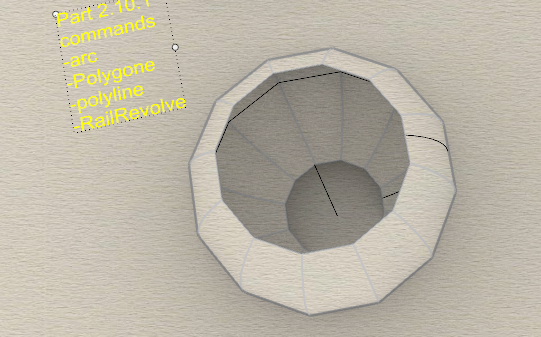
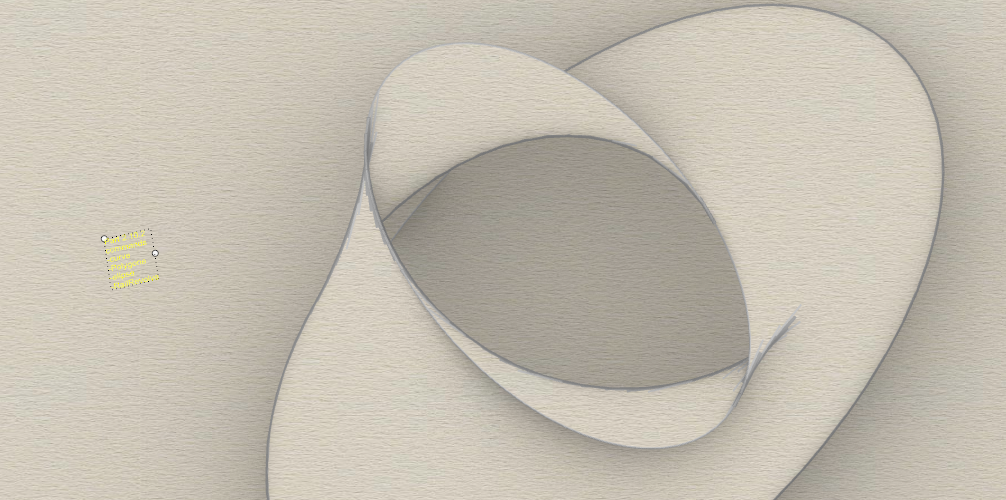
Plane PlanarSrf EdgeSrf ExtrudeCrv ExtrudeCrvAlongCrv Loft Sweep1 Sweep2 Revolve RailRevolve Add a link to your FirstnameLastname_Surfaces file at this point in your post.Part 2: SurfacesOpen a new Rhino File and practice the surfaces commands below by making two different surfaces for each command. Organize your Rhino file so each step is clear. You may want to use some of the curves you modeled in Part 1. Use the Text command to label each step and the commands you used.

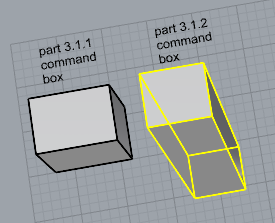
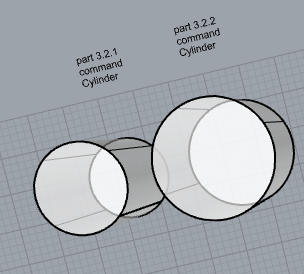
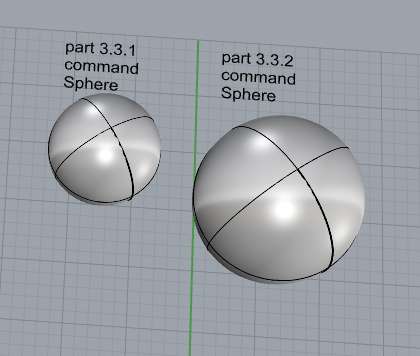
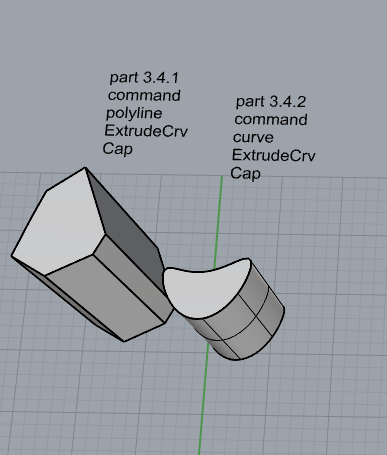
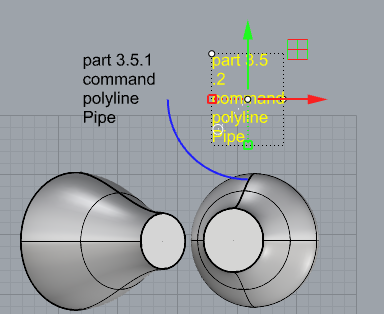
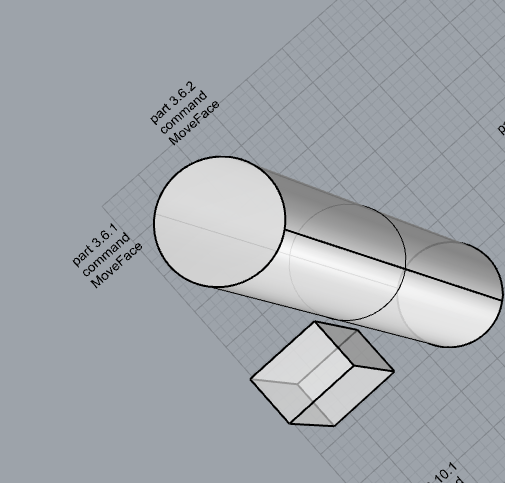
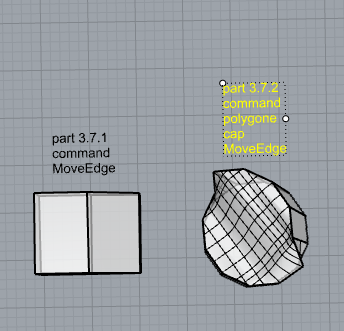
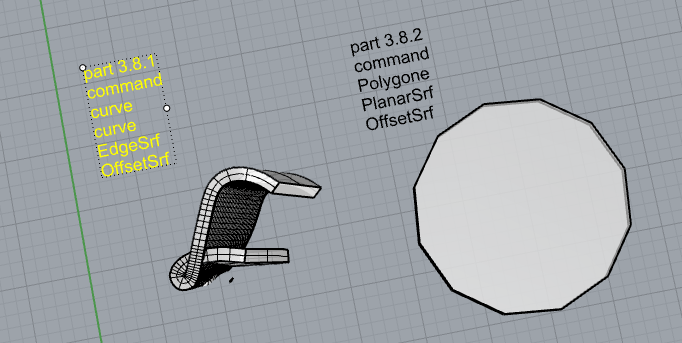
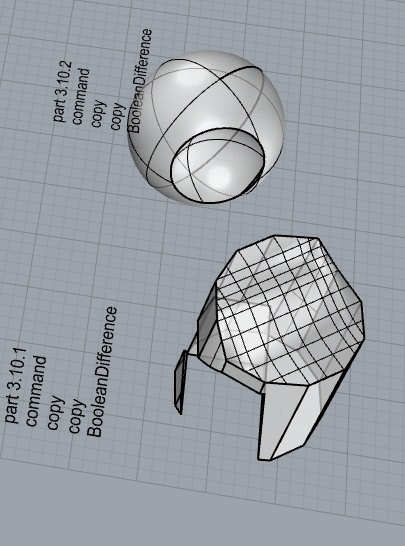
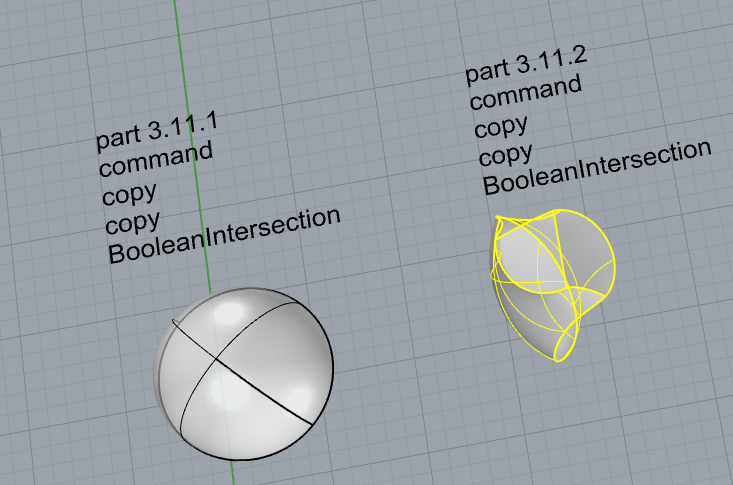
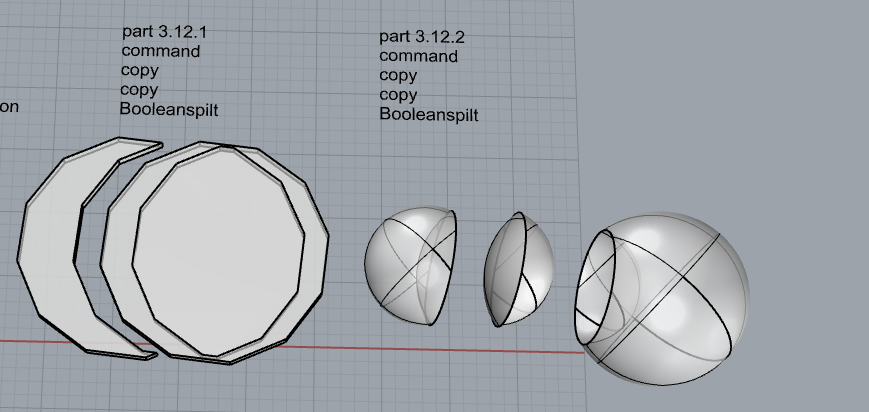
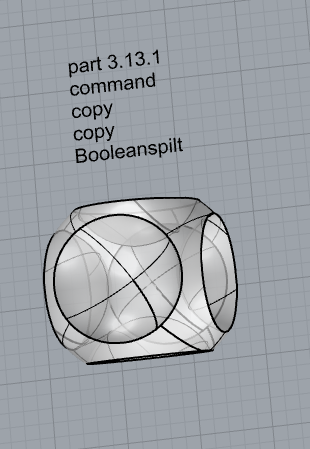
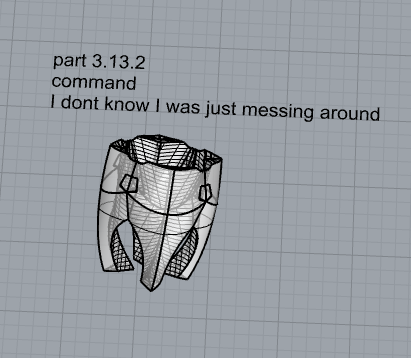
Box Cylinder Sphere ExtrudeCrv and Cap Pipe MoveFace MoveEdge OffsetSrf BooleanUnion BooleanDifference Boolean Intersection BooleanSplit Using the surfaces and solids you modeled and the Boolean tools, make three solid shapes you find interesting. Add a link to your FirstnameLastname_Solids file at this point in your postPart 3: SolidsOpen a new Rhino File and practice the solids commands below by making two different solids for each command. You may want to use some of the curves and surfaces you modeled in Parts 1 and 2. Organize your Rhino file so each step is clear. Use the Text command to label each step and the commands you used.

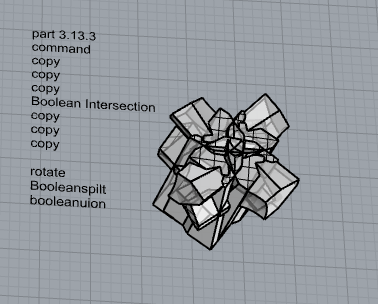
Part 4
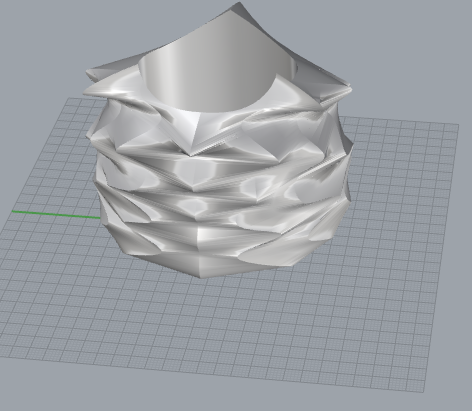
What it should look like :
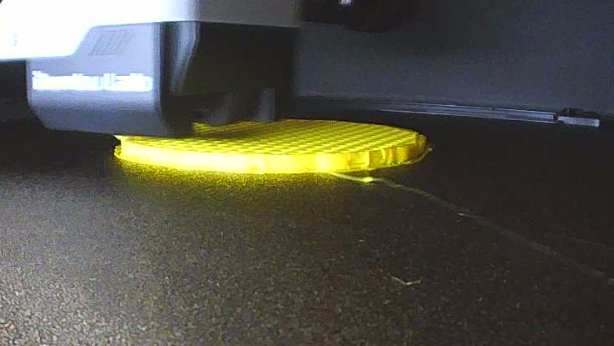
What the printer looks like:
What the final product looks like:

Hi Nick,
Your print is very closely resembling a pineapple. Im curious to what commands you used to get these spikes. Also, did you have any issues with printing the spikes?
Hello Andrea,
I think if the print was red you wouldn’t say it looked like a pinapple. The Shape was made by stacking 12 side polygont then an 11… all the way to a point,and putting a smoothing skin on it then cutting out the center to save on print time. The spikes are very wavy so they have a little bit of support under them so I think that supports in the slicer were not needed but I chickened out and add them.
Hey Nicholas, your print looks really neat! What settings do you have for the surface models? They have a very interesting texture.